Other Accessories
-
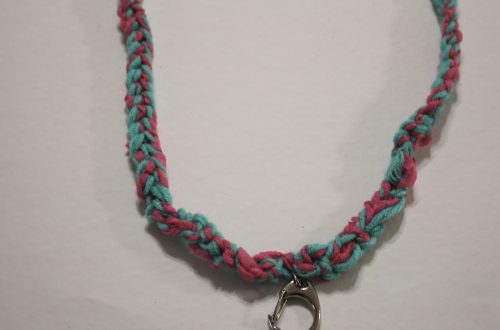
Get Hands-Free and Stylish with a DIY Crochet Phone Wrist Strap: Follow our Step-by-Step Tutorial Now!
It’s great to keep track of your phone without having to old it in your hands all the time, strap on this crochet wrist strap to ensure you don’t lose yours! This tutorial is a beginners crochet tutorial, and the results are pretty cool! Please note that it contains affiliate links.
You’ll need these tools and materials to make your crochet phone strap:
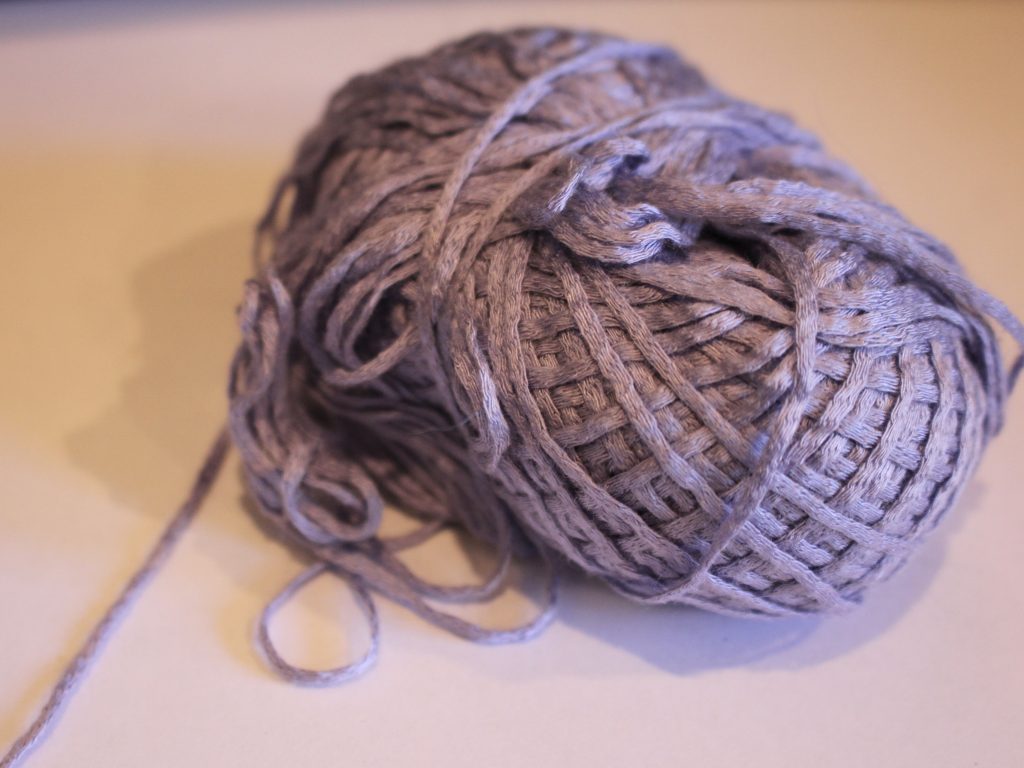
1: Some yarn or thread. I used this beaded thread.

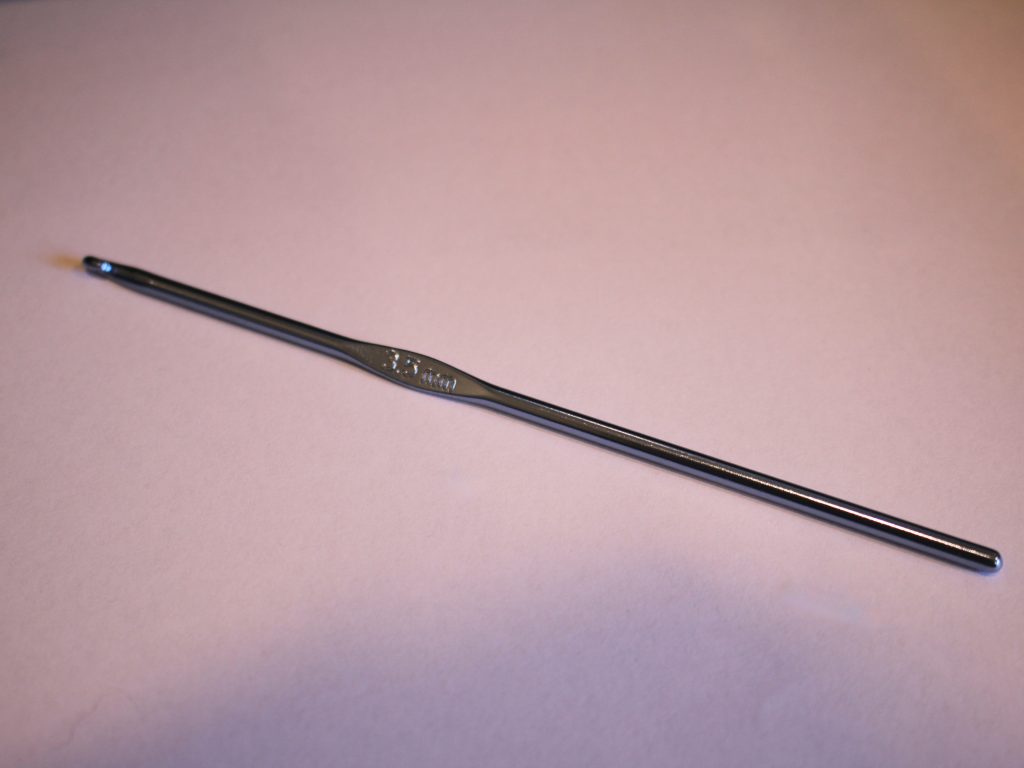
2: A crochet hook. I used this 3.5mm hook, If you like the loose look you can see in this tutorial, this size is fine for the thickness of thread I used, but if you want it to be tighter, try using a smaller crochet hook.
3: Scissors.

4: Super Glue.

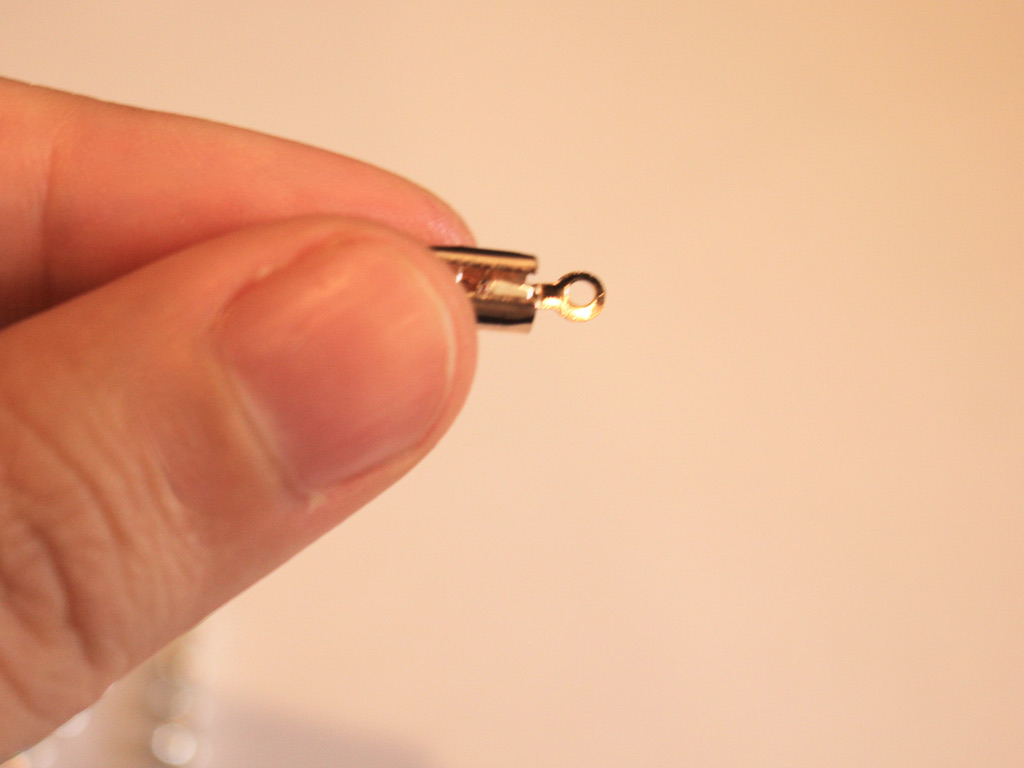
5: A phone strap keychain.

Follow these steps to make your cute crochet wrist strap:
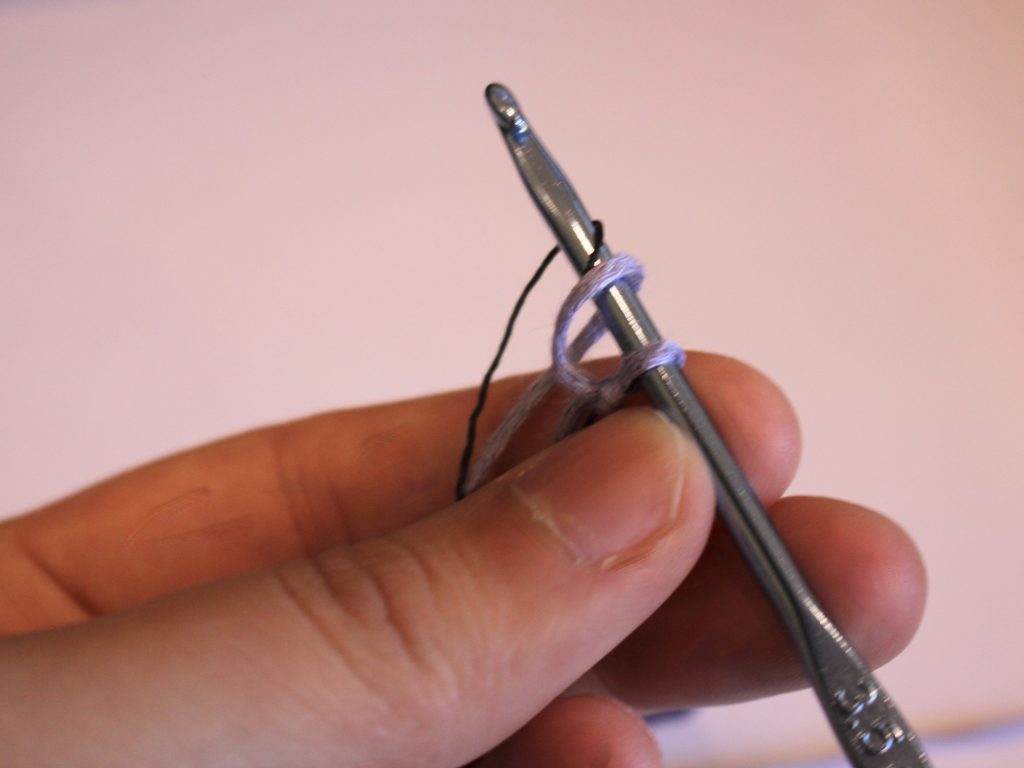
1: Take your chosen yarn and create a slip knot.


2: Slide the knot over the crochet hook and then pull it tight.

3: Take the long end of the yarn and loop it over the crochet hook in front of the first loop you added.

4: Take the first loop and pull it over the second loop and off the crochet hook. You can find a video demonstration here.

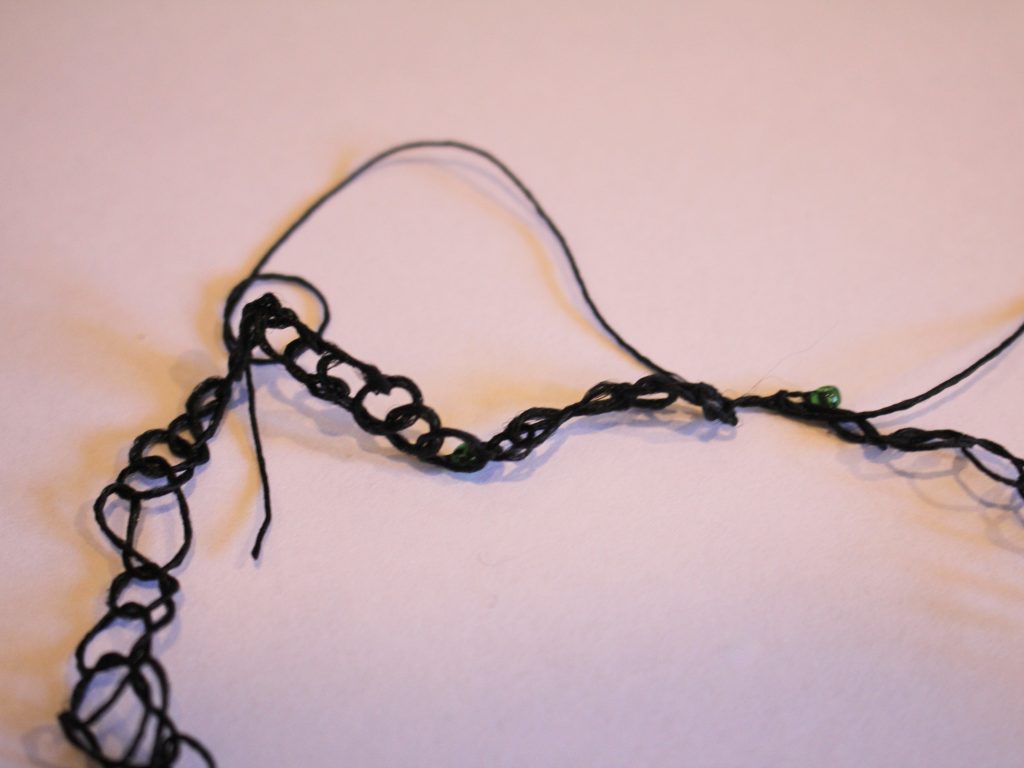
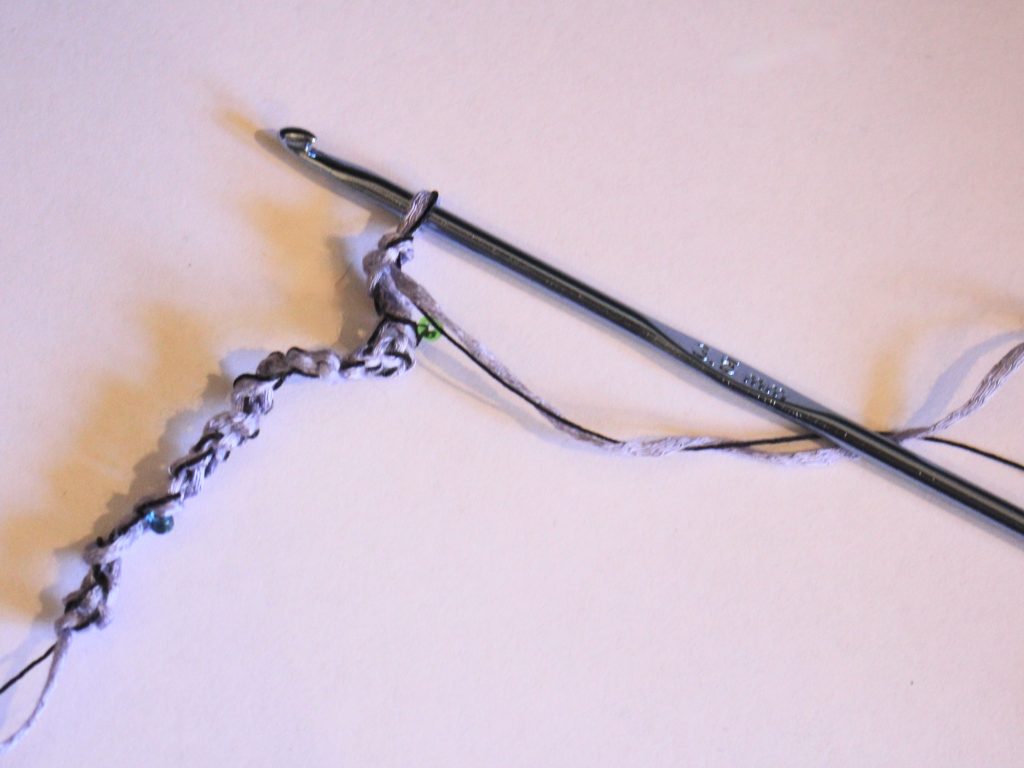
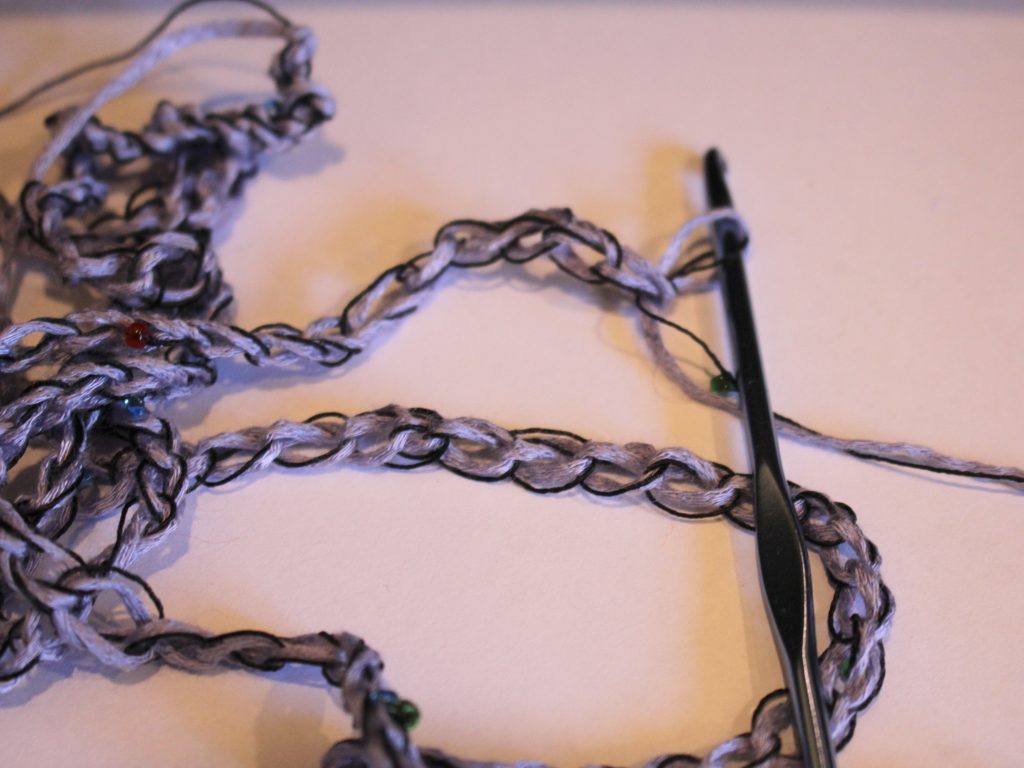
5: Repeat steps 3 and 4 until you have a length of crochet chain you like. I made mine about 30cm long but you might want to make yours longer or shorter depending on your wrist size.


6: Once you have a length you like, cut the end of the yarn so that you have a 12cm tail.
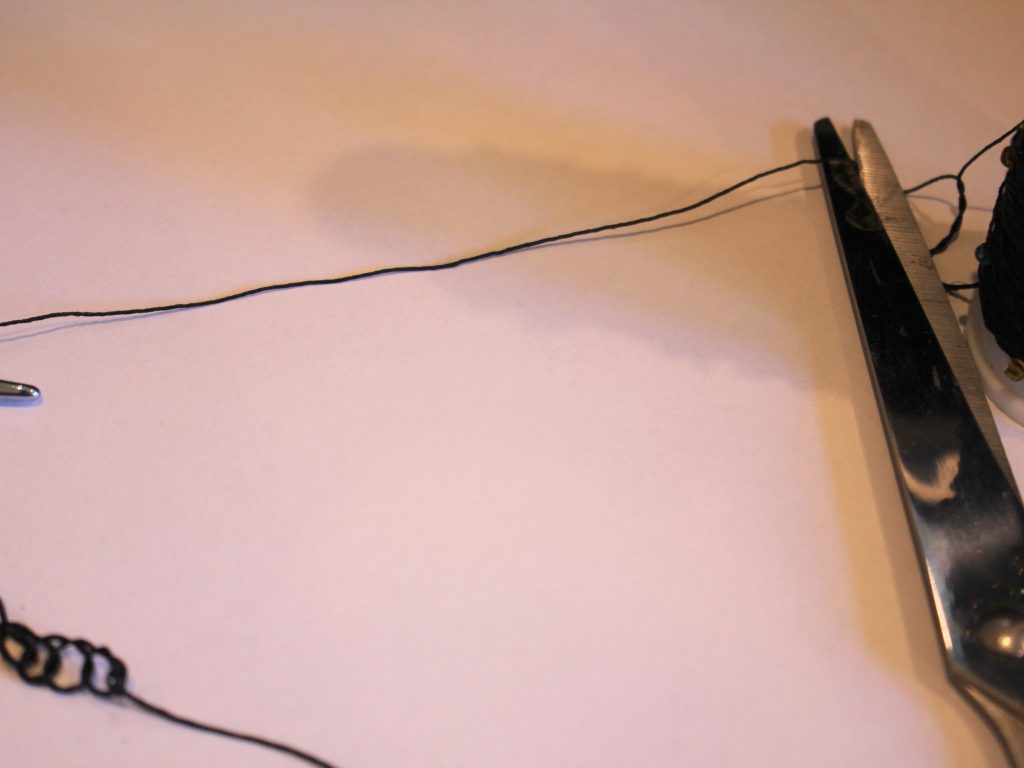
7: Take the final loop off of the crochet hook and thread the tail through the loop pulling it tight to secure it.


8: Knot the ends of the crochet chain together.

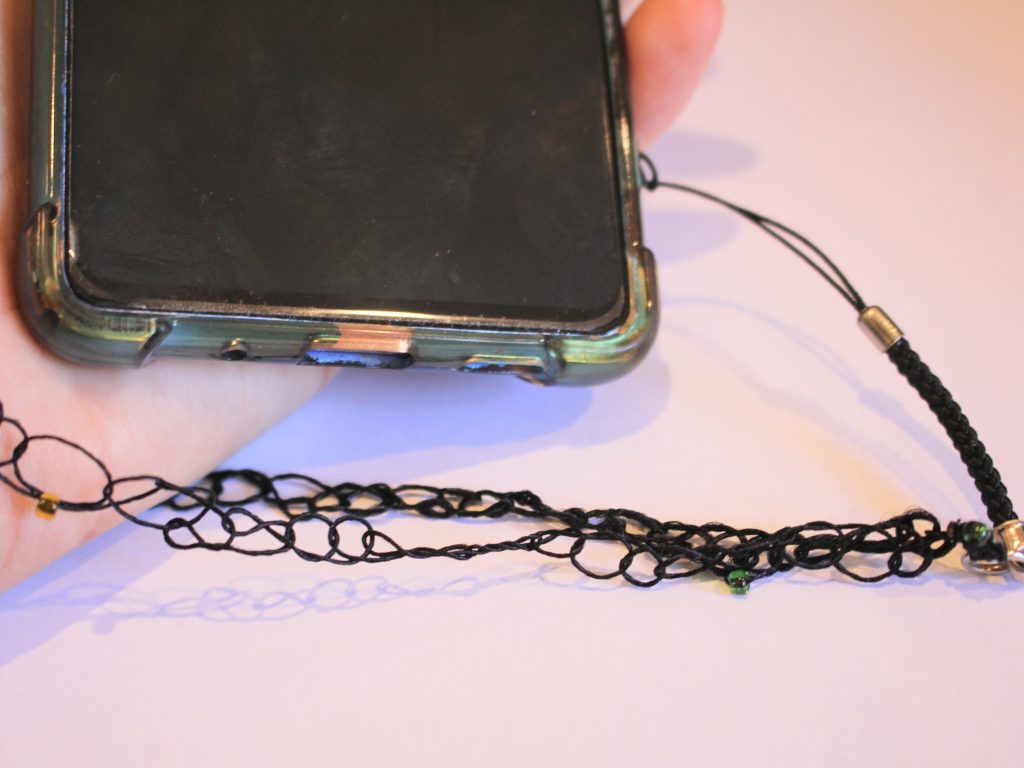
9: Thread the yarn through the jump ring on the keychain and create a few knots to secure it.


10: Trim the ends of the yarn and add a dab of superglue to secure it.


Now your crochet phone wrist strap is finished and ready to use! How fun?!

Here are some other wrist strap tutorials to follow:
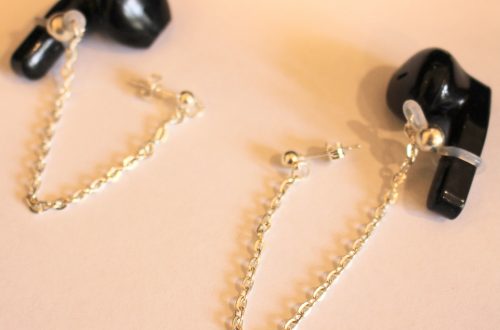
1: A chain and rhinestone phone strap
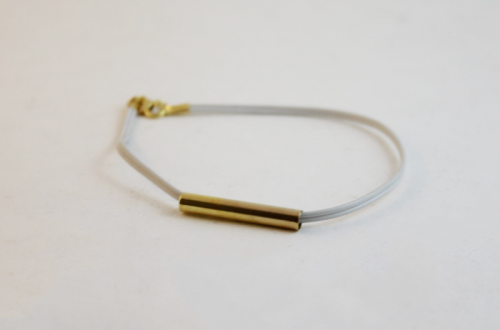
3: This simple chain phone strap
4: A tutorial that shows you how to transform a necklace into a phone strap.
-
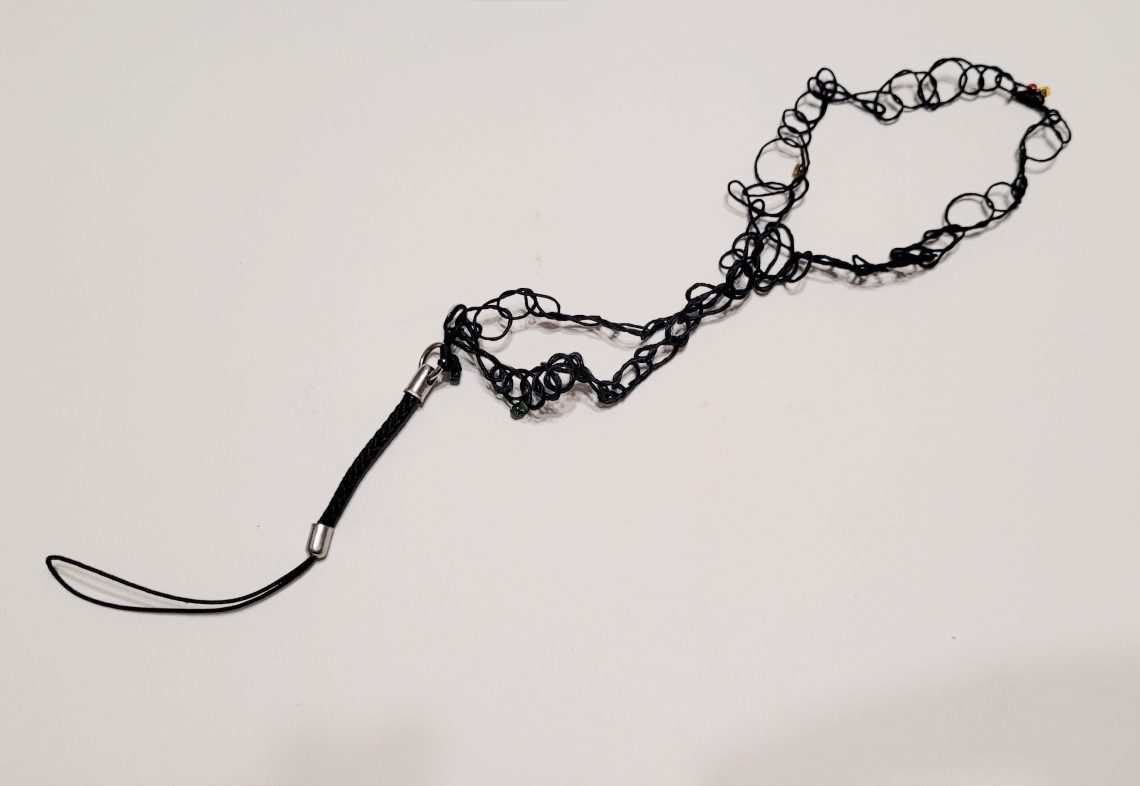
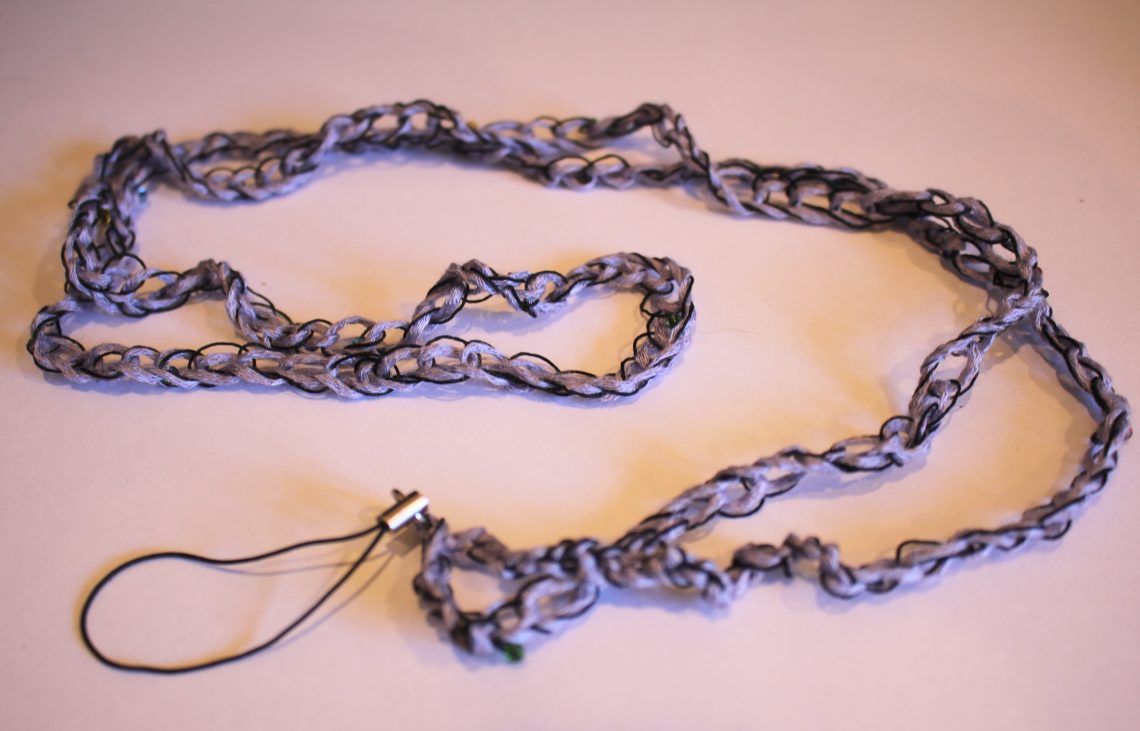
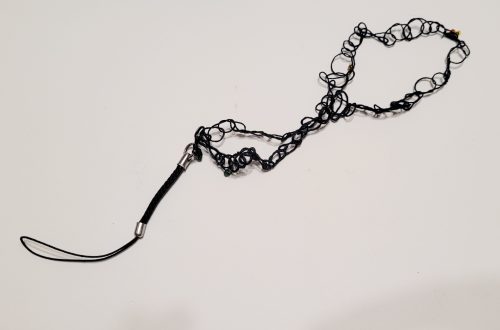
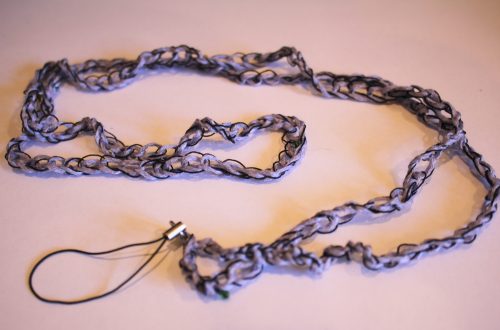
Never Lose Your Phone Again: Learn How to Crochet Your Own Stylish Phone Lanyard!
I sometimes worry that my phone could be easily lost or stolen from me, so I decided to make this sweet crochet lanyard so I can wear my phone and tuck it into my bag or pocket at the same time! This lanyard uses loose crochet and thin thread to add length. Kinda cute and also practical! Please note that this is a beginner crochet tutorial that contains affiliate links.
You’ll need the following tools and materials to make this phone lanyard:
1: Some yarn. I used two yarns held together, purple bamboo yarn and thin beaded thread.
Get some purple bamboo yarn here: https://amzn.to/41yN7Qa
Get some black sequin yarn here: https://amzn.to/44VeNS8
or here: https://tidd.ly/3O34oxP
2: A crochet hook. I used one that was 3.5mm in size. If I made this again I would use a crochet hook that was slightly smaller. The size crochet hook you will need depends on the thickness of your yarn.
You can get a 3.5mm crochet hook here
Here: https://amzn.to/3Ml08si
or here: https://tidd.ly/3O2YDQF
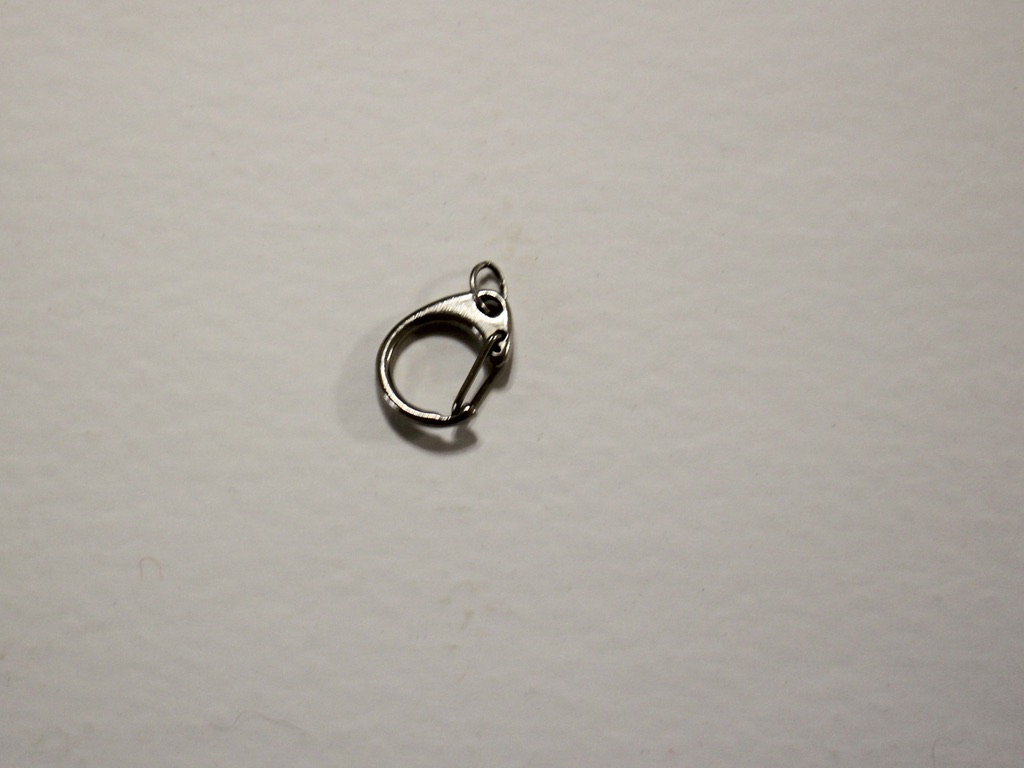
3: A phone loop keychain.

You can get one here: https://amzn.to/42vJzzs, or

5: A pair of scissors.
Here are all the steps you need to follow to make your crochet phone lanyard:
1: Hold the two yarns together.

2: Create a slip knot with the two yarns held together.

3: Slide the open knot over the crochet hook and then tighten it around the hook.

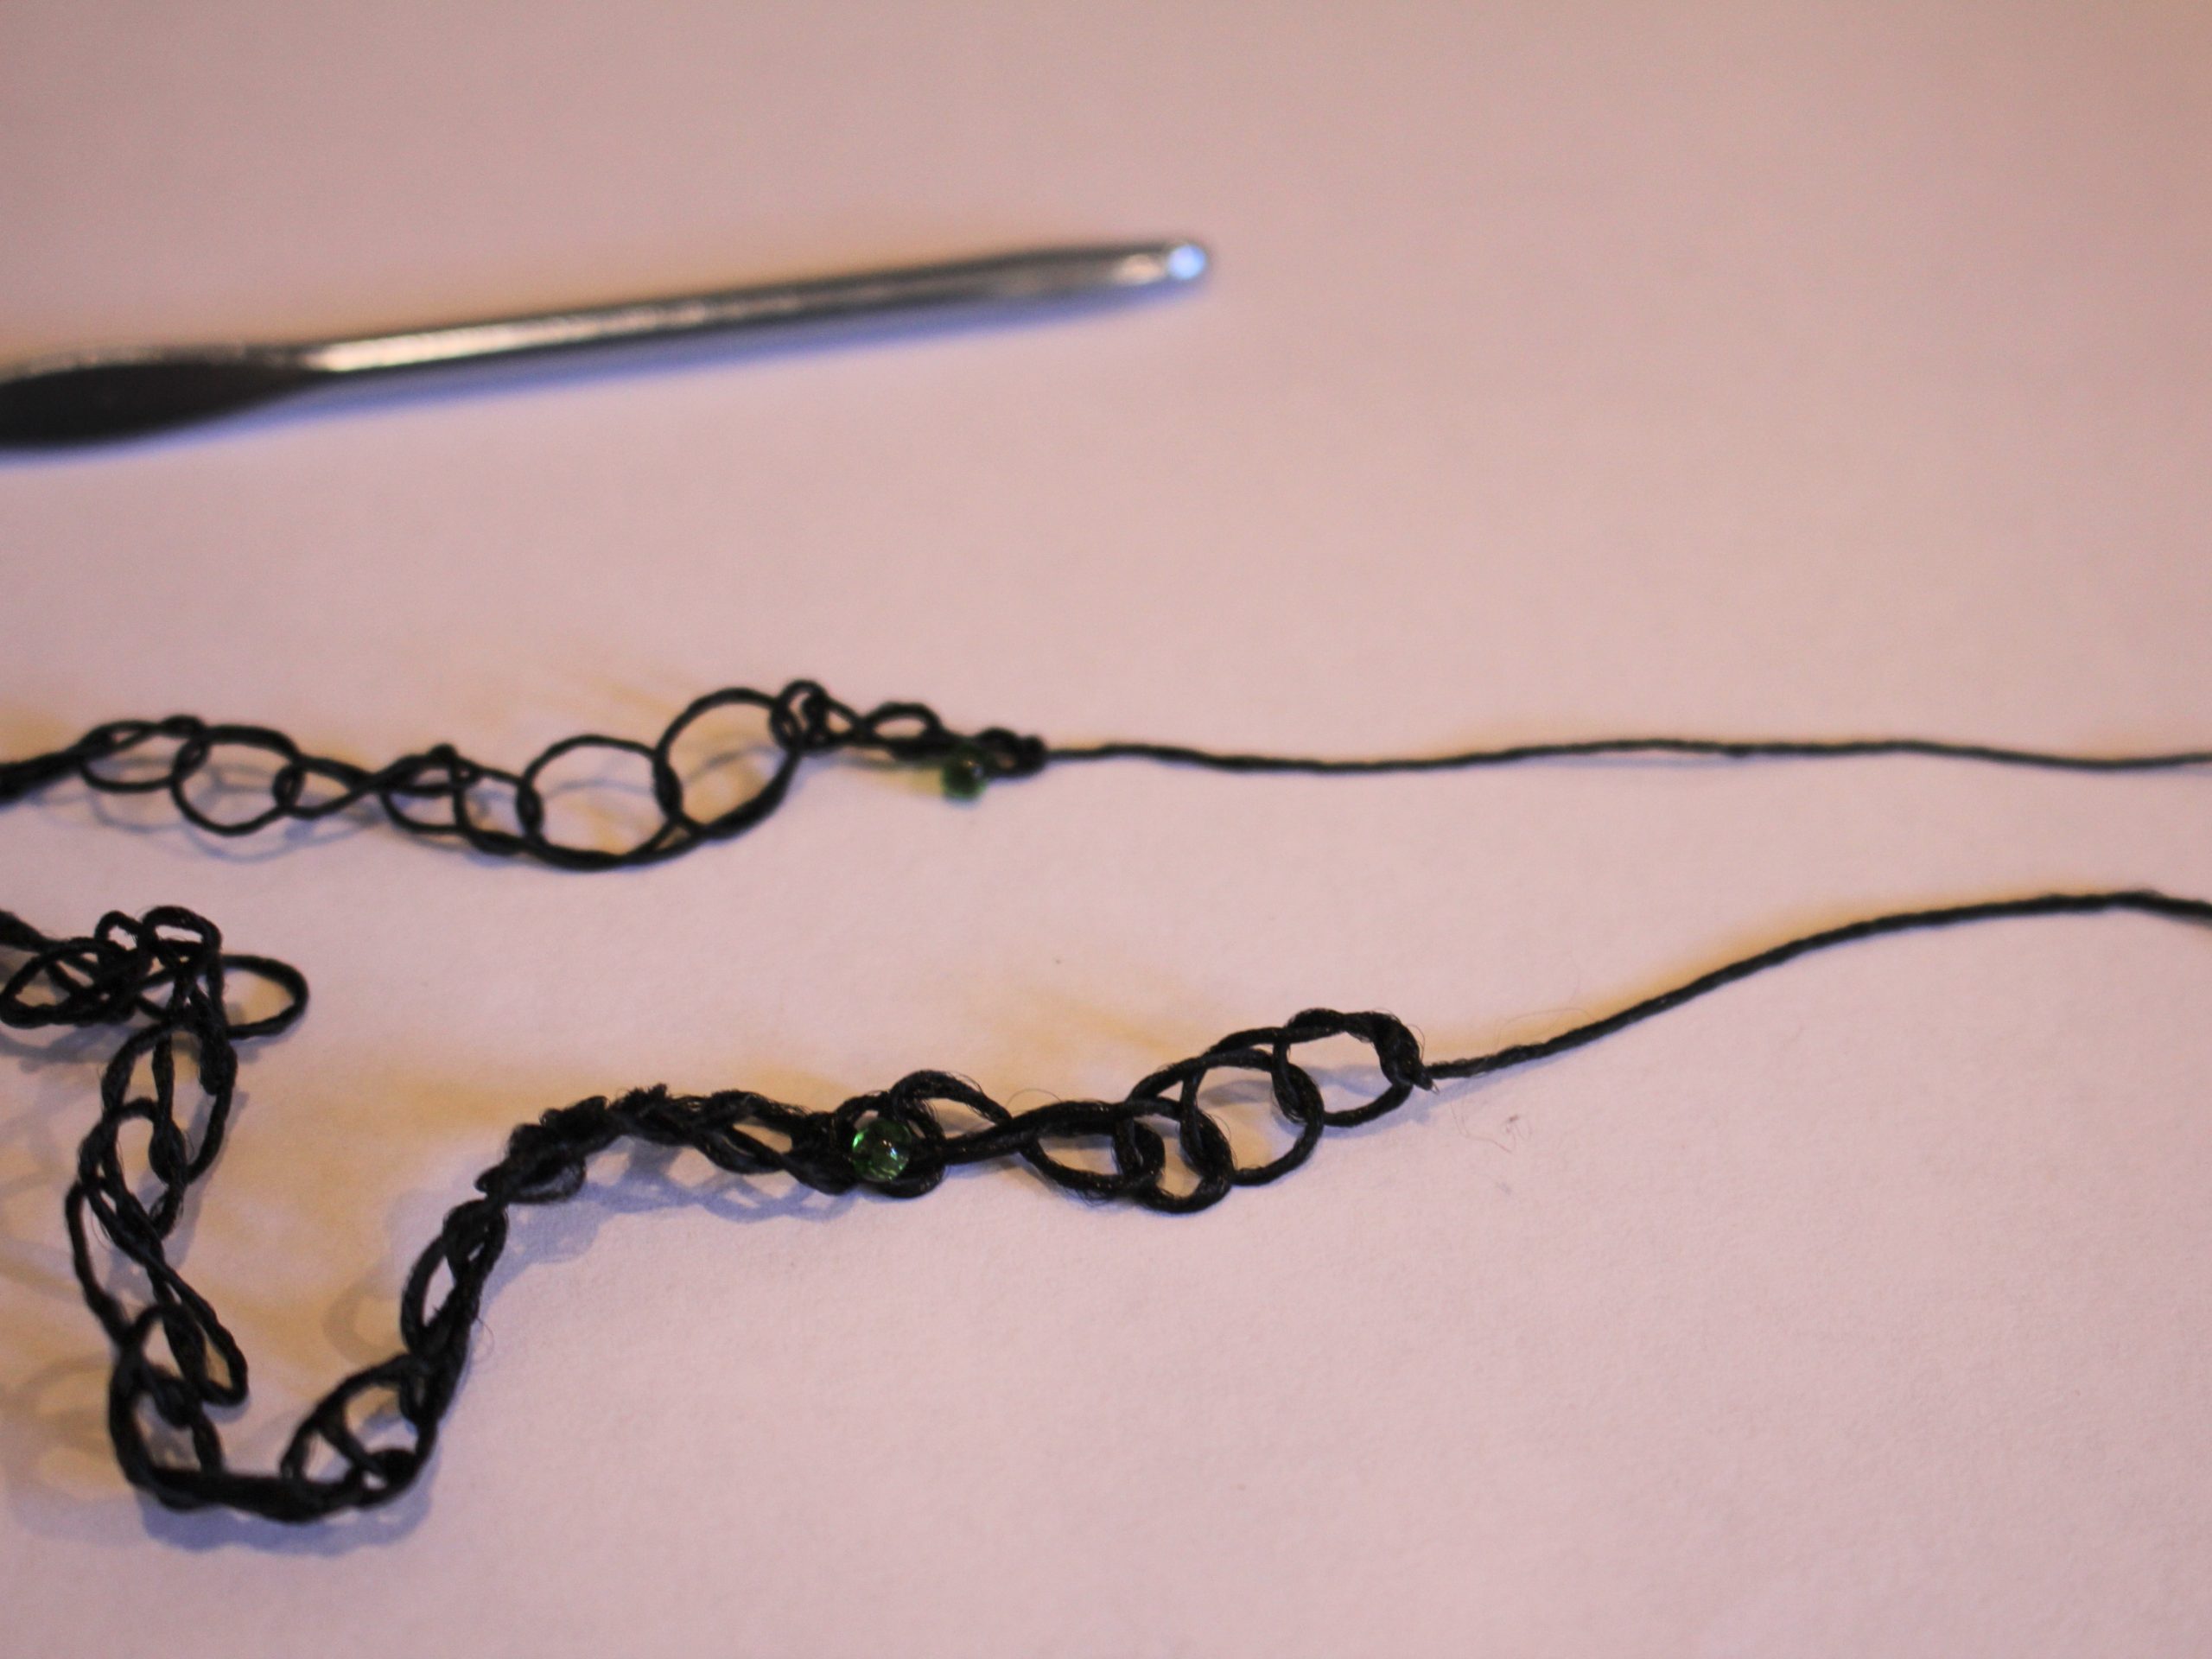
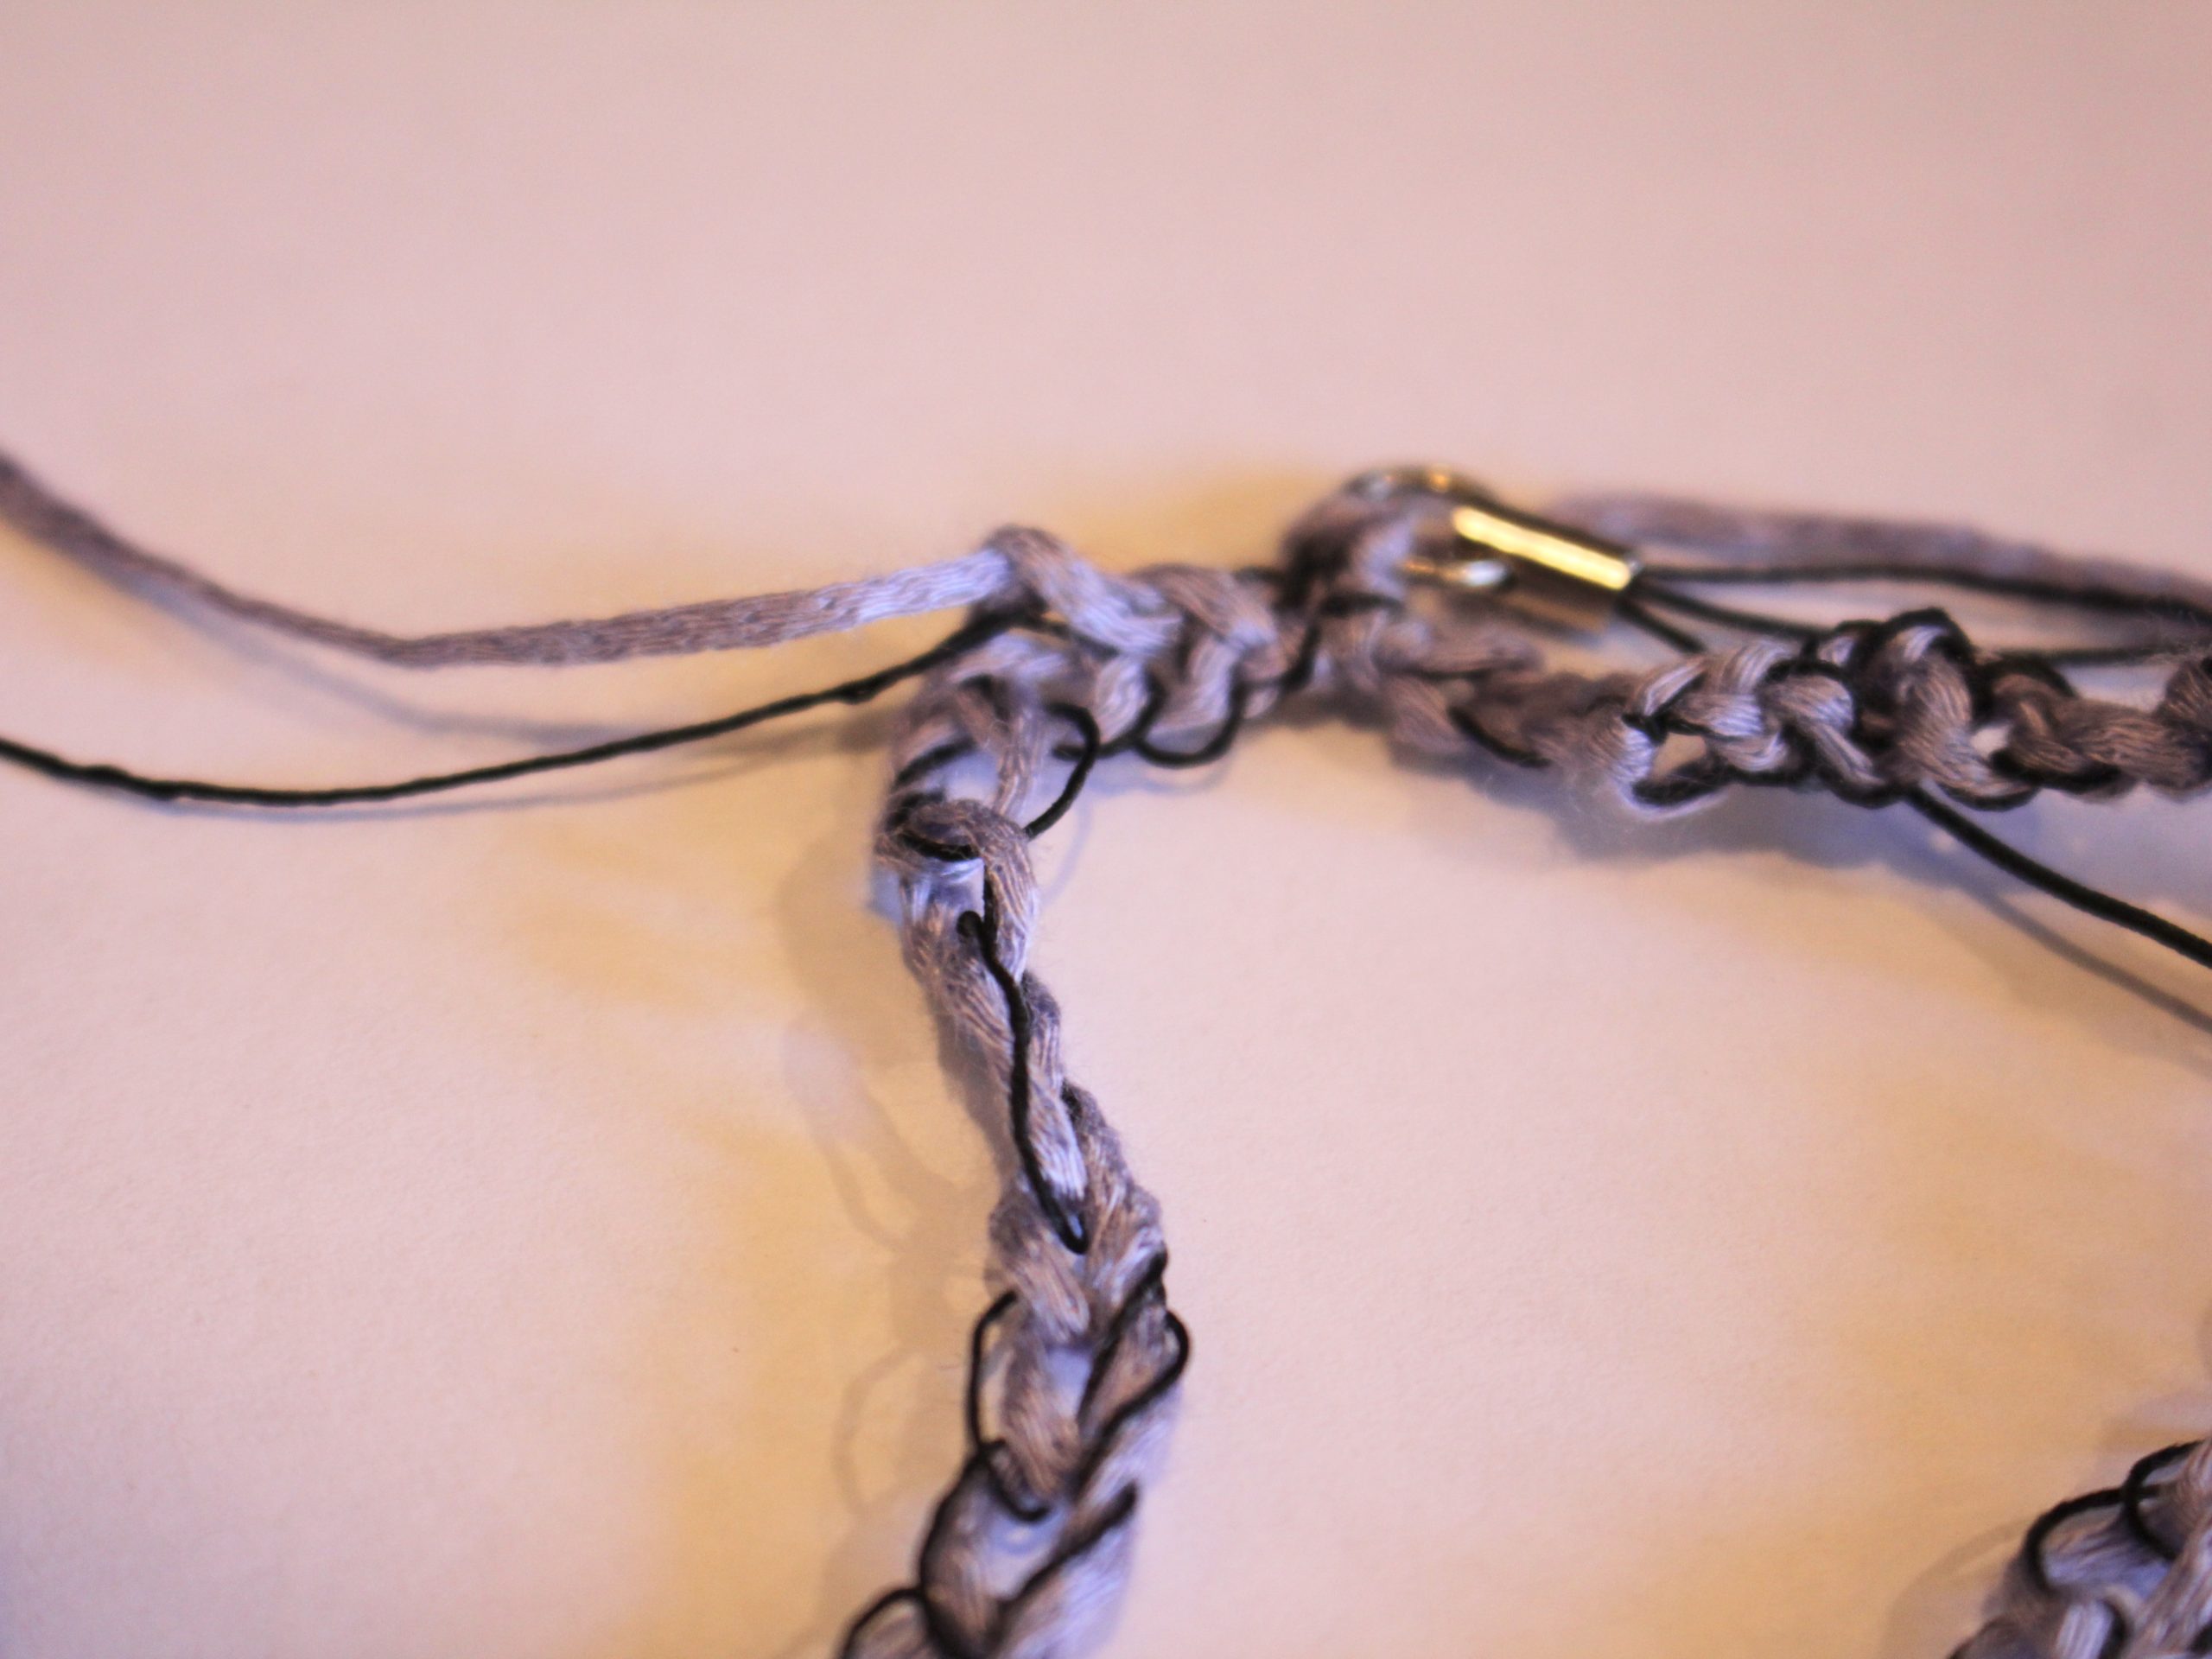
4: Take the long thread and loop it around the hook close to the hook end and in front of the slip knot loop you just tightened. You can see a video of this technique here.
5: Now take the first loop and pull it over the second one and off the crochet hook.

6: Continue steps 4 and 5 to create your crochet chain. Keep making loops until you have a chain long enough to fit across your body like a cross body bag. You can use your favourite cross body back to measure a length you like.

7: Once your crochet chain is long enough, cut the yarn so that you have a shorter length of yarn.

8: Take the last loop off of the crochet chain and loop the end of the yarn through it, pull it tight to create a knot and finish the crochet chain.

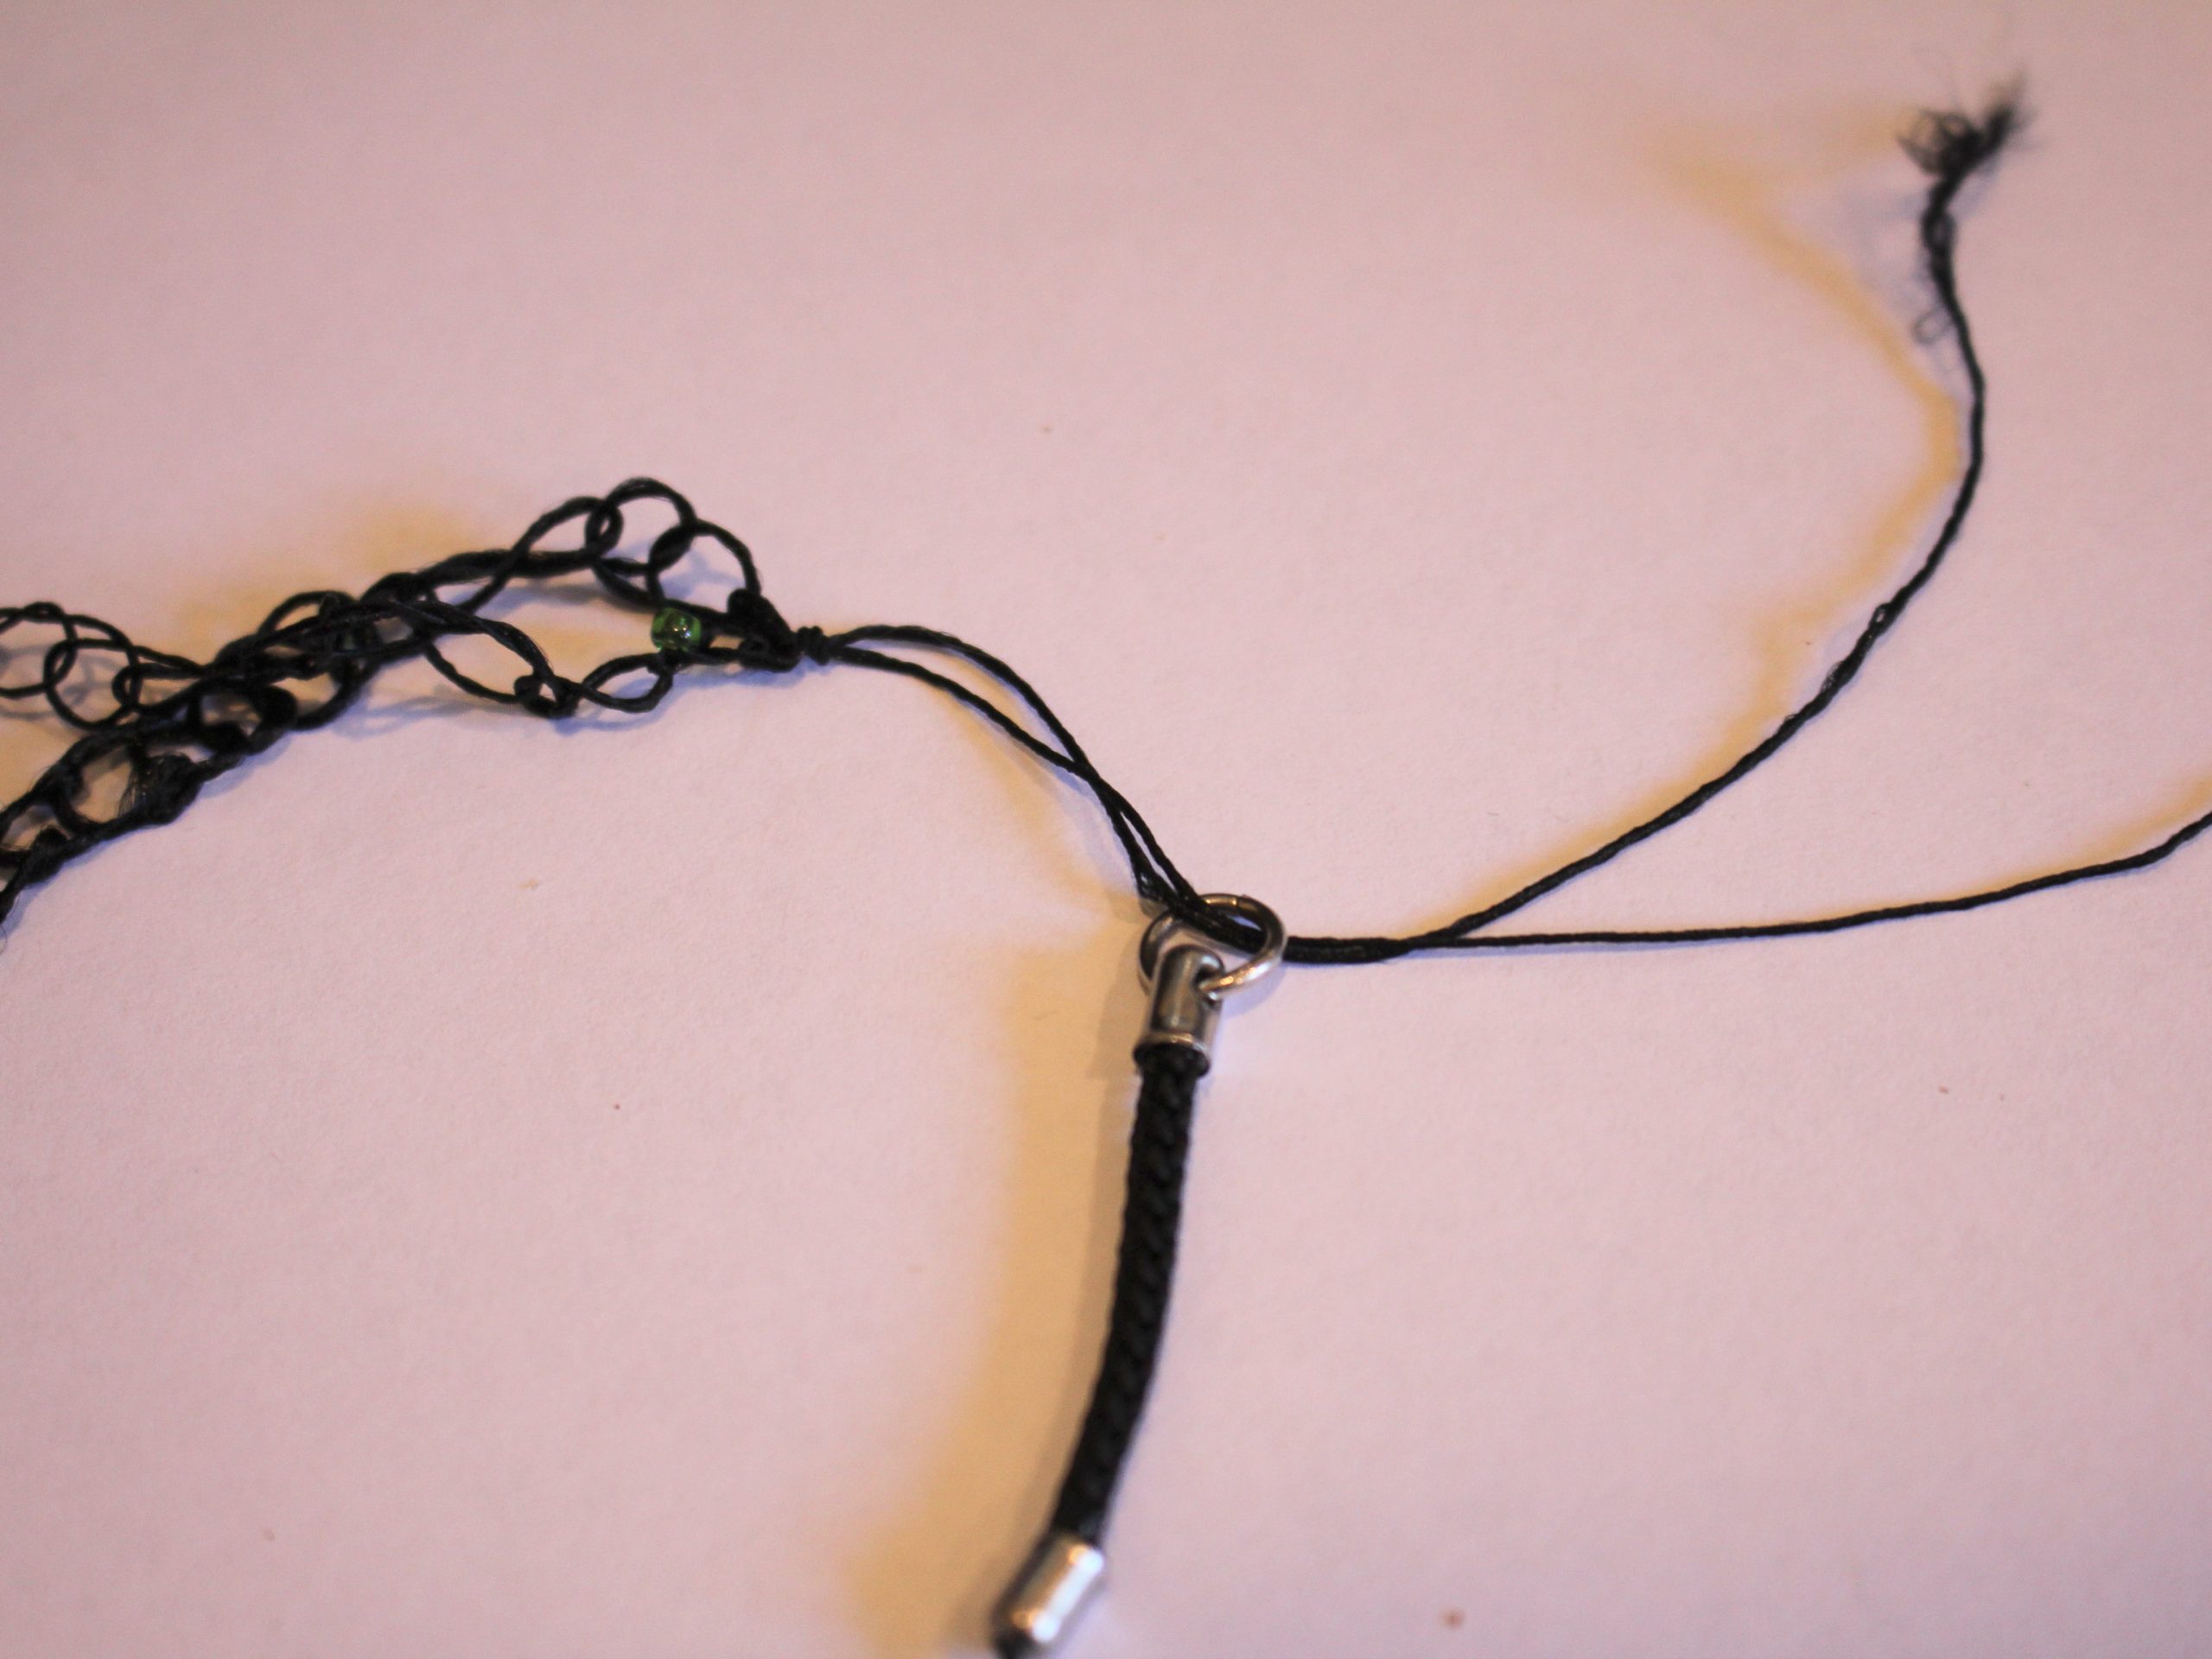
9: Knot the two ends of the crochet chain together.

10: Slide the excess yarn through the jump ring at the end of the phone loop and then create a couple of knots.


11: Use the needle to weave the ends of the yarn into the crochet chain. Trim any excess.


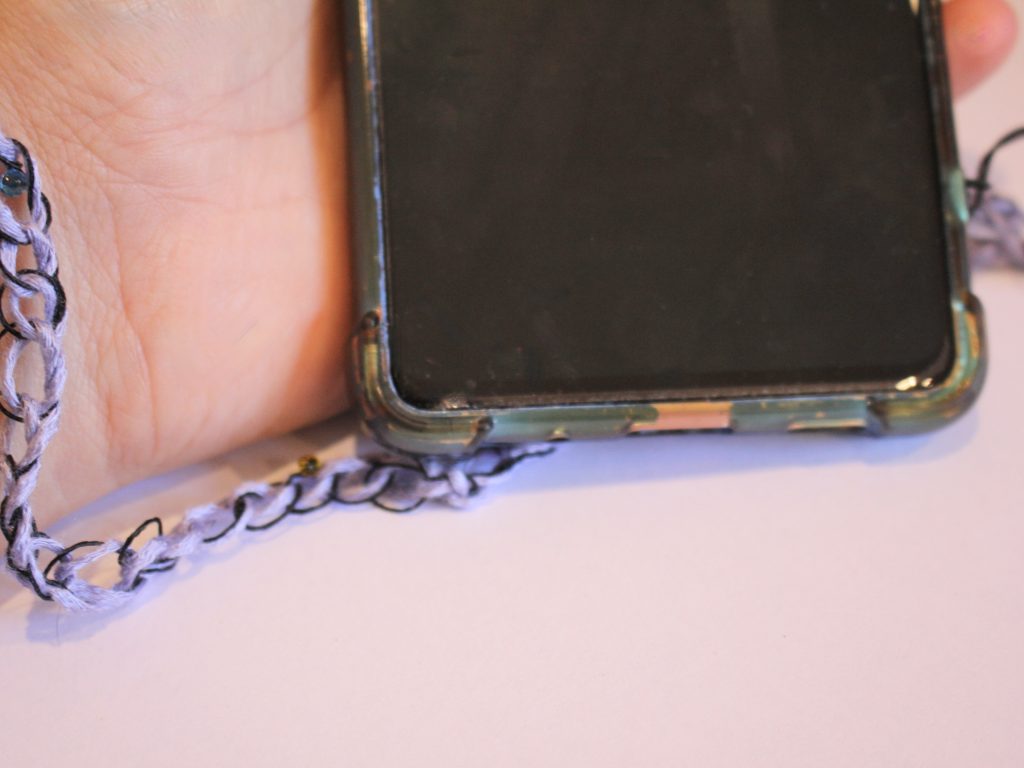
Now your crochet phone lanyard is finished and ready to use! Make one to protect your phone during your travels, or to keep it safe at home! I’ll be wearing mine across my body to protect my neck and help keep track of my phone.

If you want some other phone strap tutorials, you can find some here:
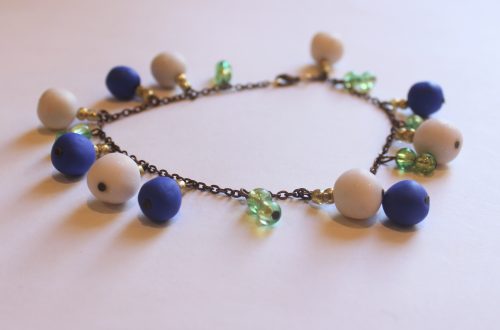
1: Turn a chain necklace into a phone wrist strap.
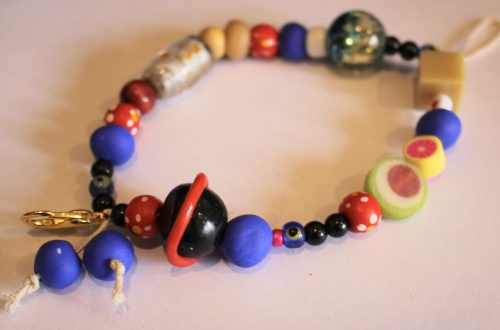
2: Transform some string into an amazing beaded phone strap.
3: Make your own sparkly rhinestone wrist strap for your phone.
4: Construct a simple chain phone strap.
And if you want some lanyard inspiration, here are some additional tutorials you can try:
-
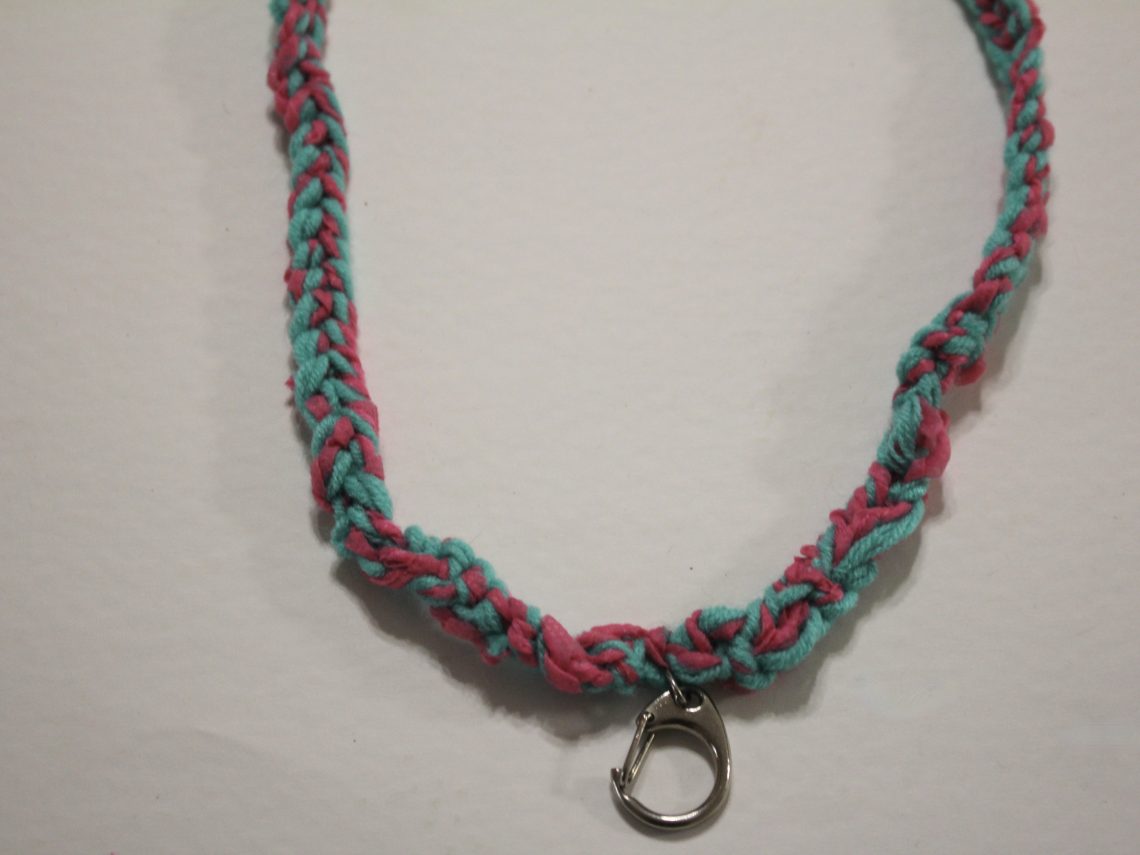
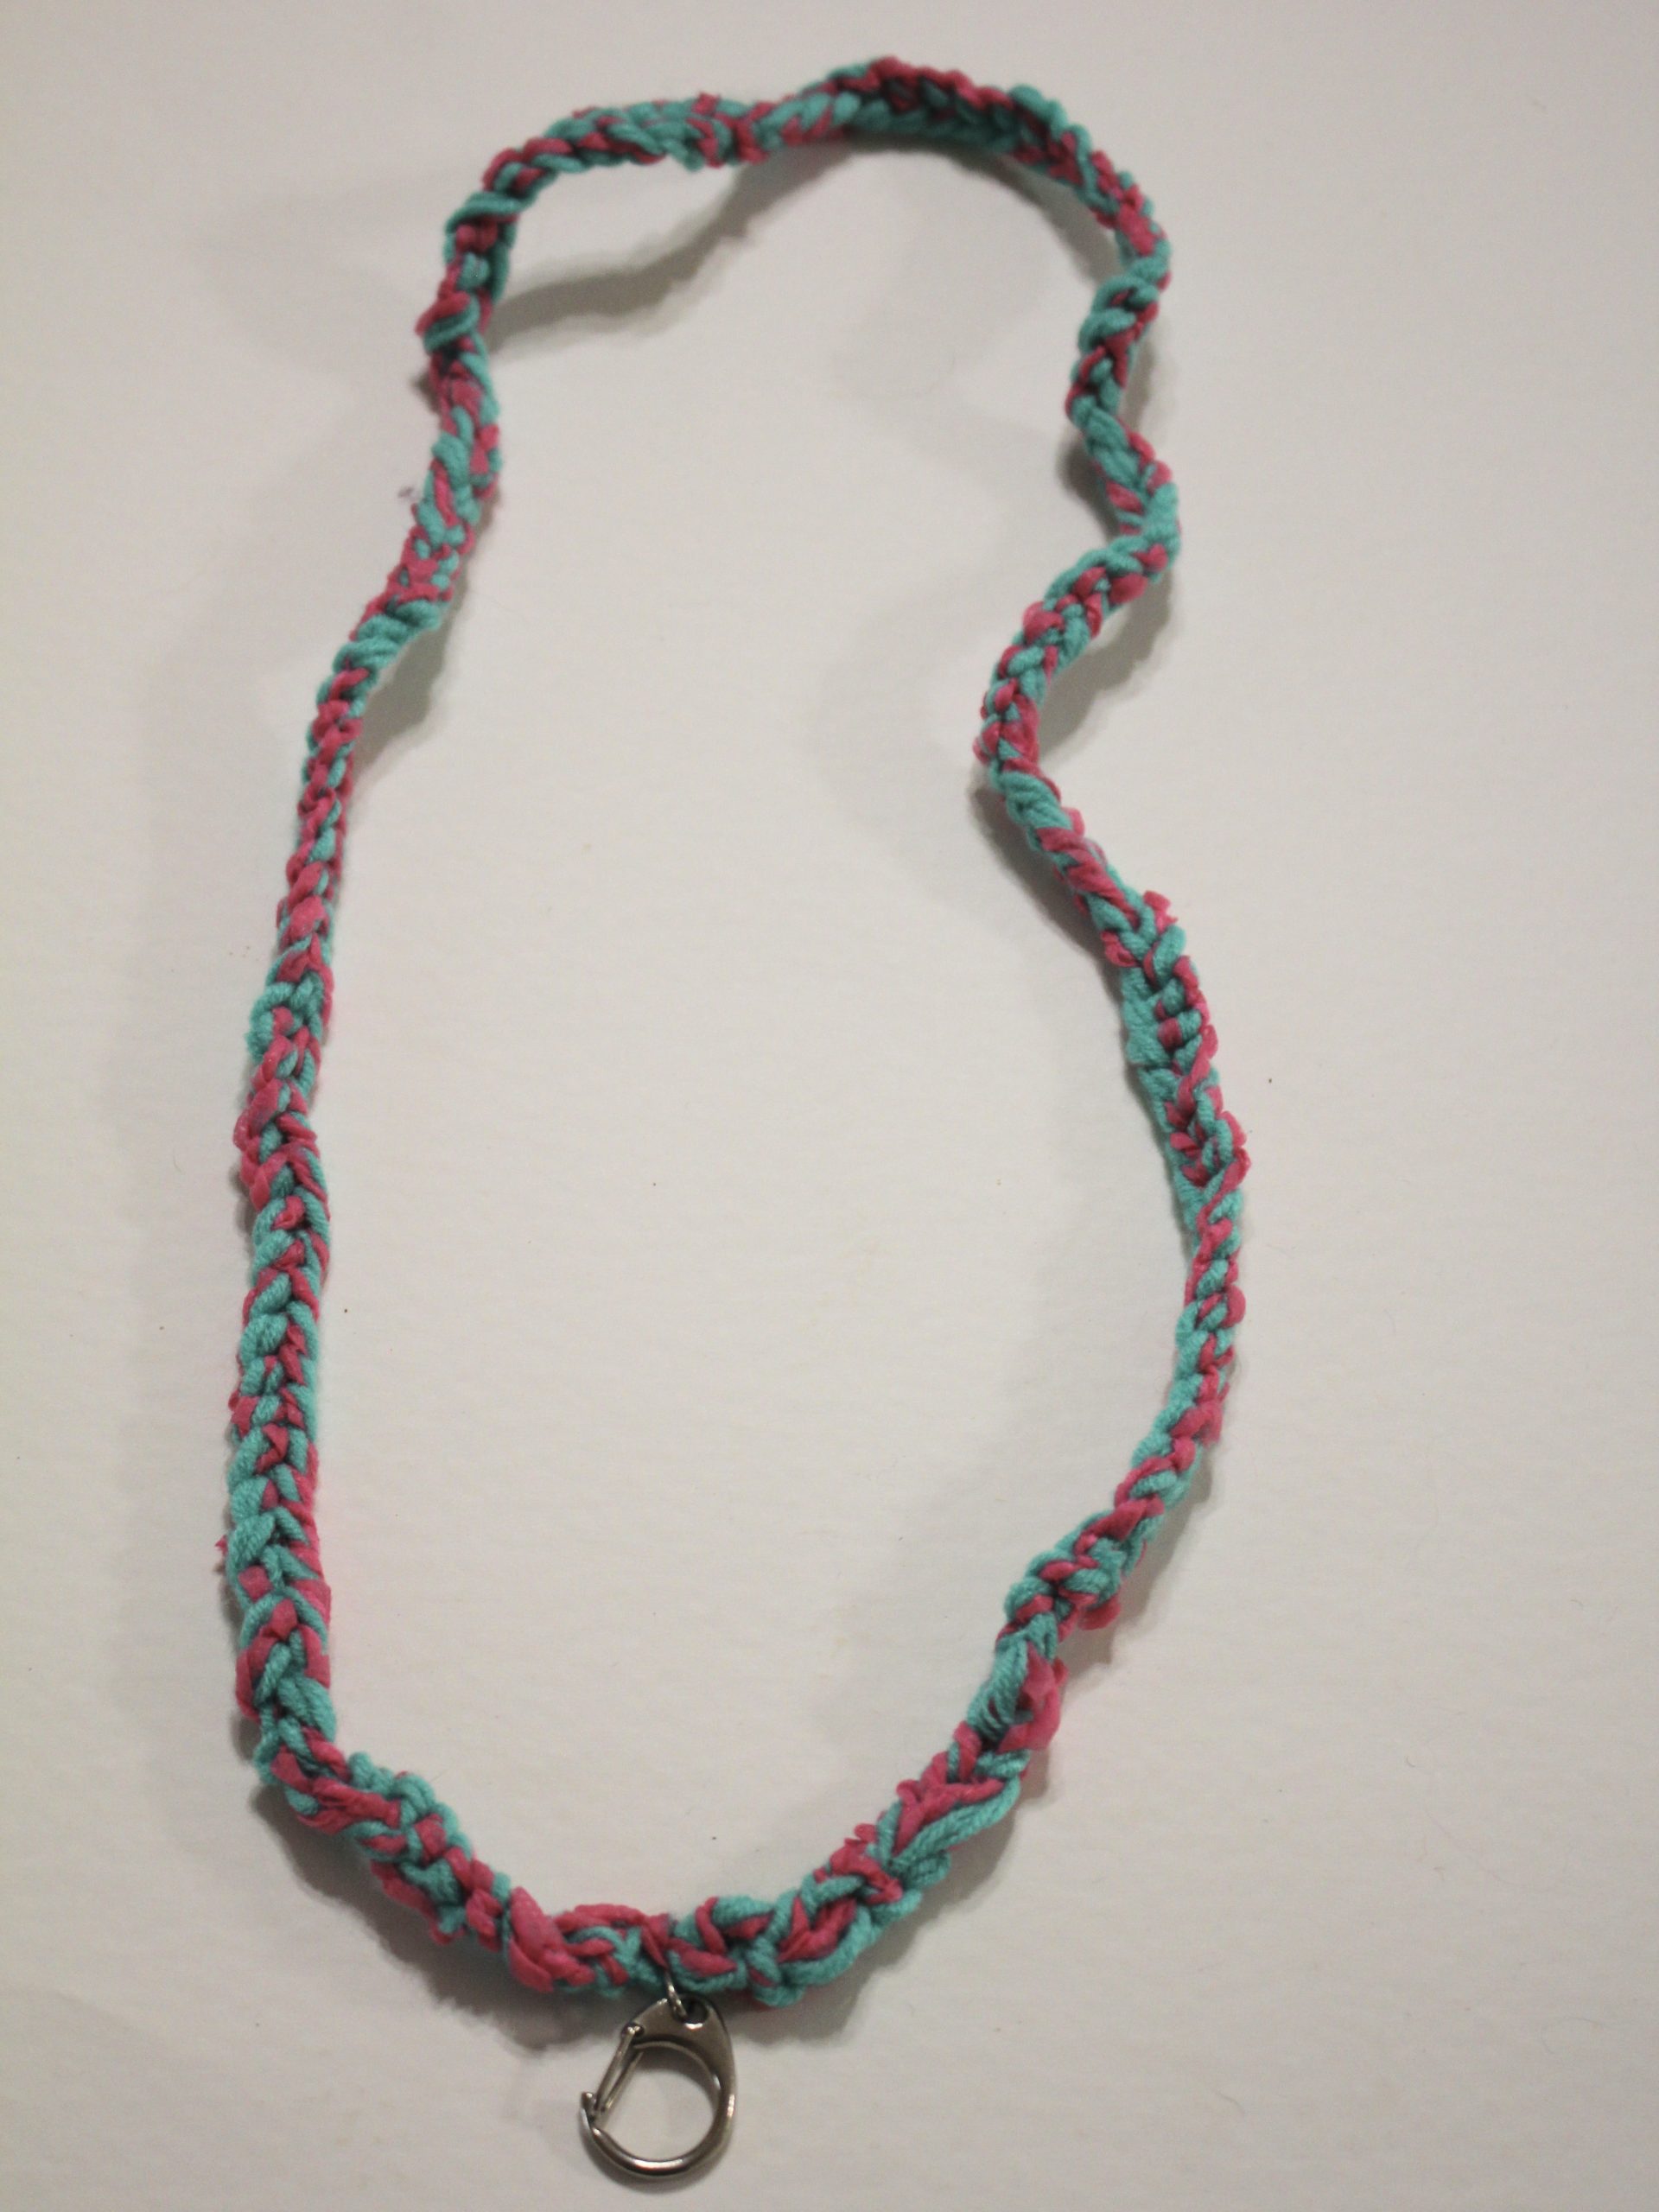
Here’s how to make a colorful crochet lanyard!
I have a teacher friend who loves a colourful lanyard, so this tutorial is inspired by her! This lanyard uses basic crochet combined with a large claw clasp to create a fun and practical accessory. I think this tutorial is a great way to use up scrap yarn and turn it into something useful. Please note that this tutorial contains affiliate links.
You’ll need these tools and materials to make this lanyard:
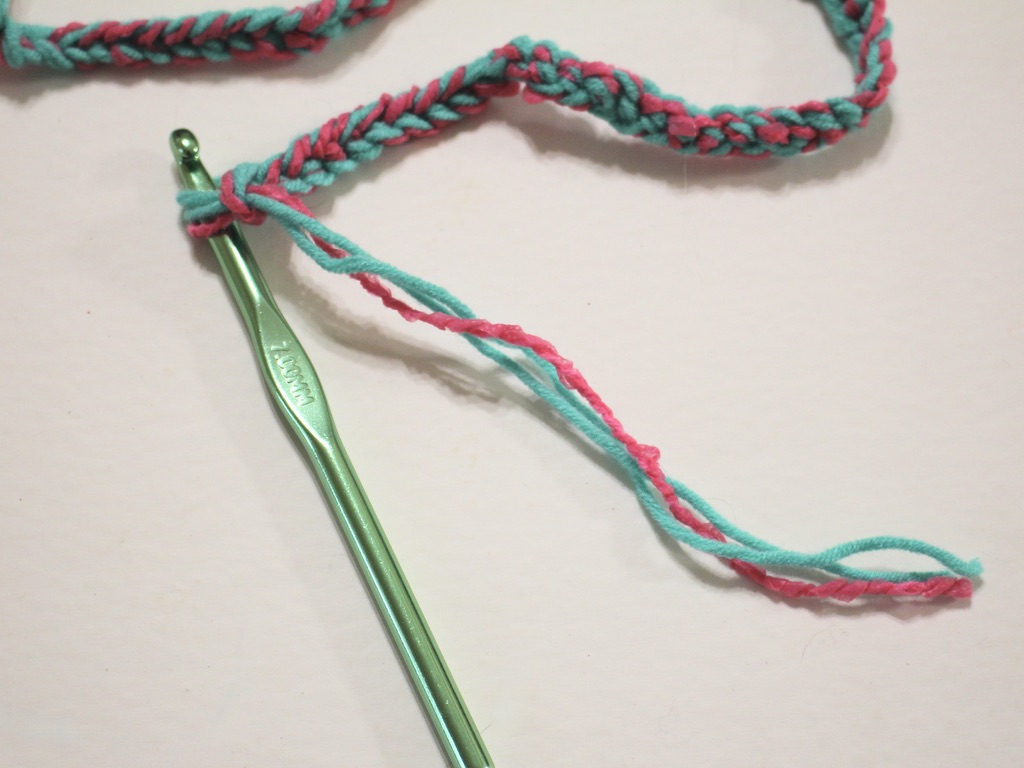
1: A crochet hook, large enough for chunky yarn. I used a 7mm hook.

2: Some yarn. I used three strands held together, two green strands and one pink strand.

Green yarn
Pink yarn
3: Scissors.
4: A darning needle.
5: A large lobster claw or similar. I used this chunky one that was recycled from an old keychain.
Here are the steps to make your own crochet lanyard.
1: Gather the three strands together.

3: Create a slip knot.

4: Place the loop around the crochet hook and pull the short end of the yarn to tighten it around the loop.

5: Take the long end of the yarn and wrap it around the hook before the first loop you made.

6: Grab the first loop and pull it over the top of the yarn you just wrapped around the crochet hook. This will leave you with just one loop on the hook again.

7: Repeat steps 5 and 6 to start creating a single row of crochet. Here’s a video that shows you what that looks like.

8: Continue crocheting until you have a length you like.


9: Cut the yarn leaving a reasonably long tail, about 15cm.

10: Remove the crochet hook and then loop the end of the yarn through the loop at the top.
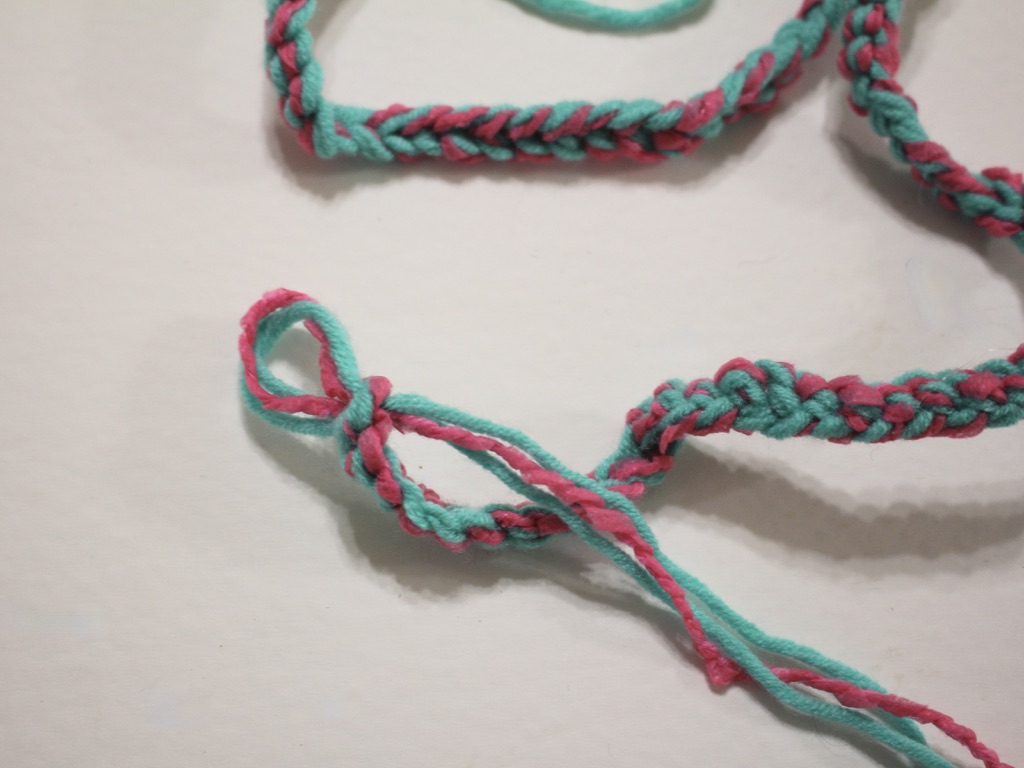
11: Pull the yarn tight to secure the end of the crochet cord closed.

12: Once you’ve got your preferred lanyard length and have the ends secured, take two of the strands (out of three) on each side and tie them together.


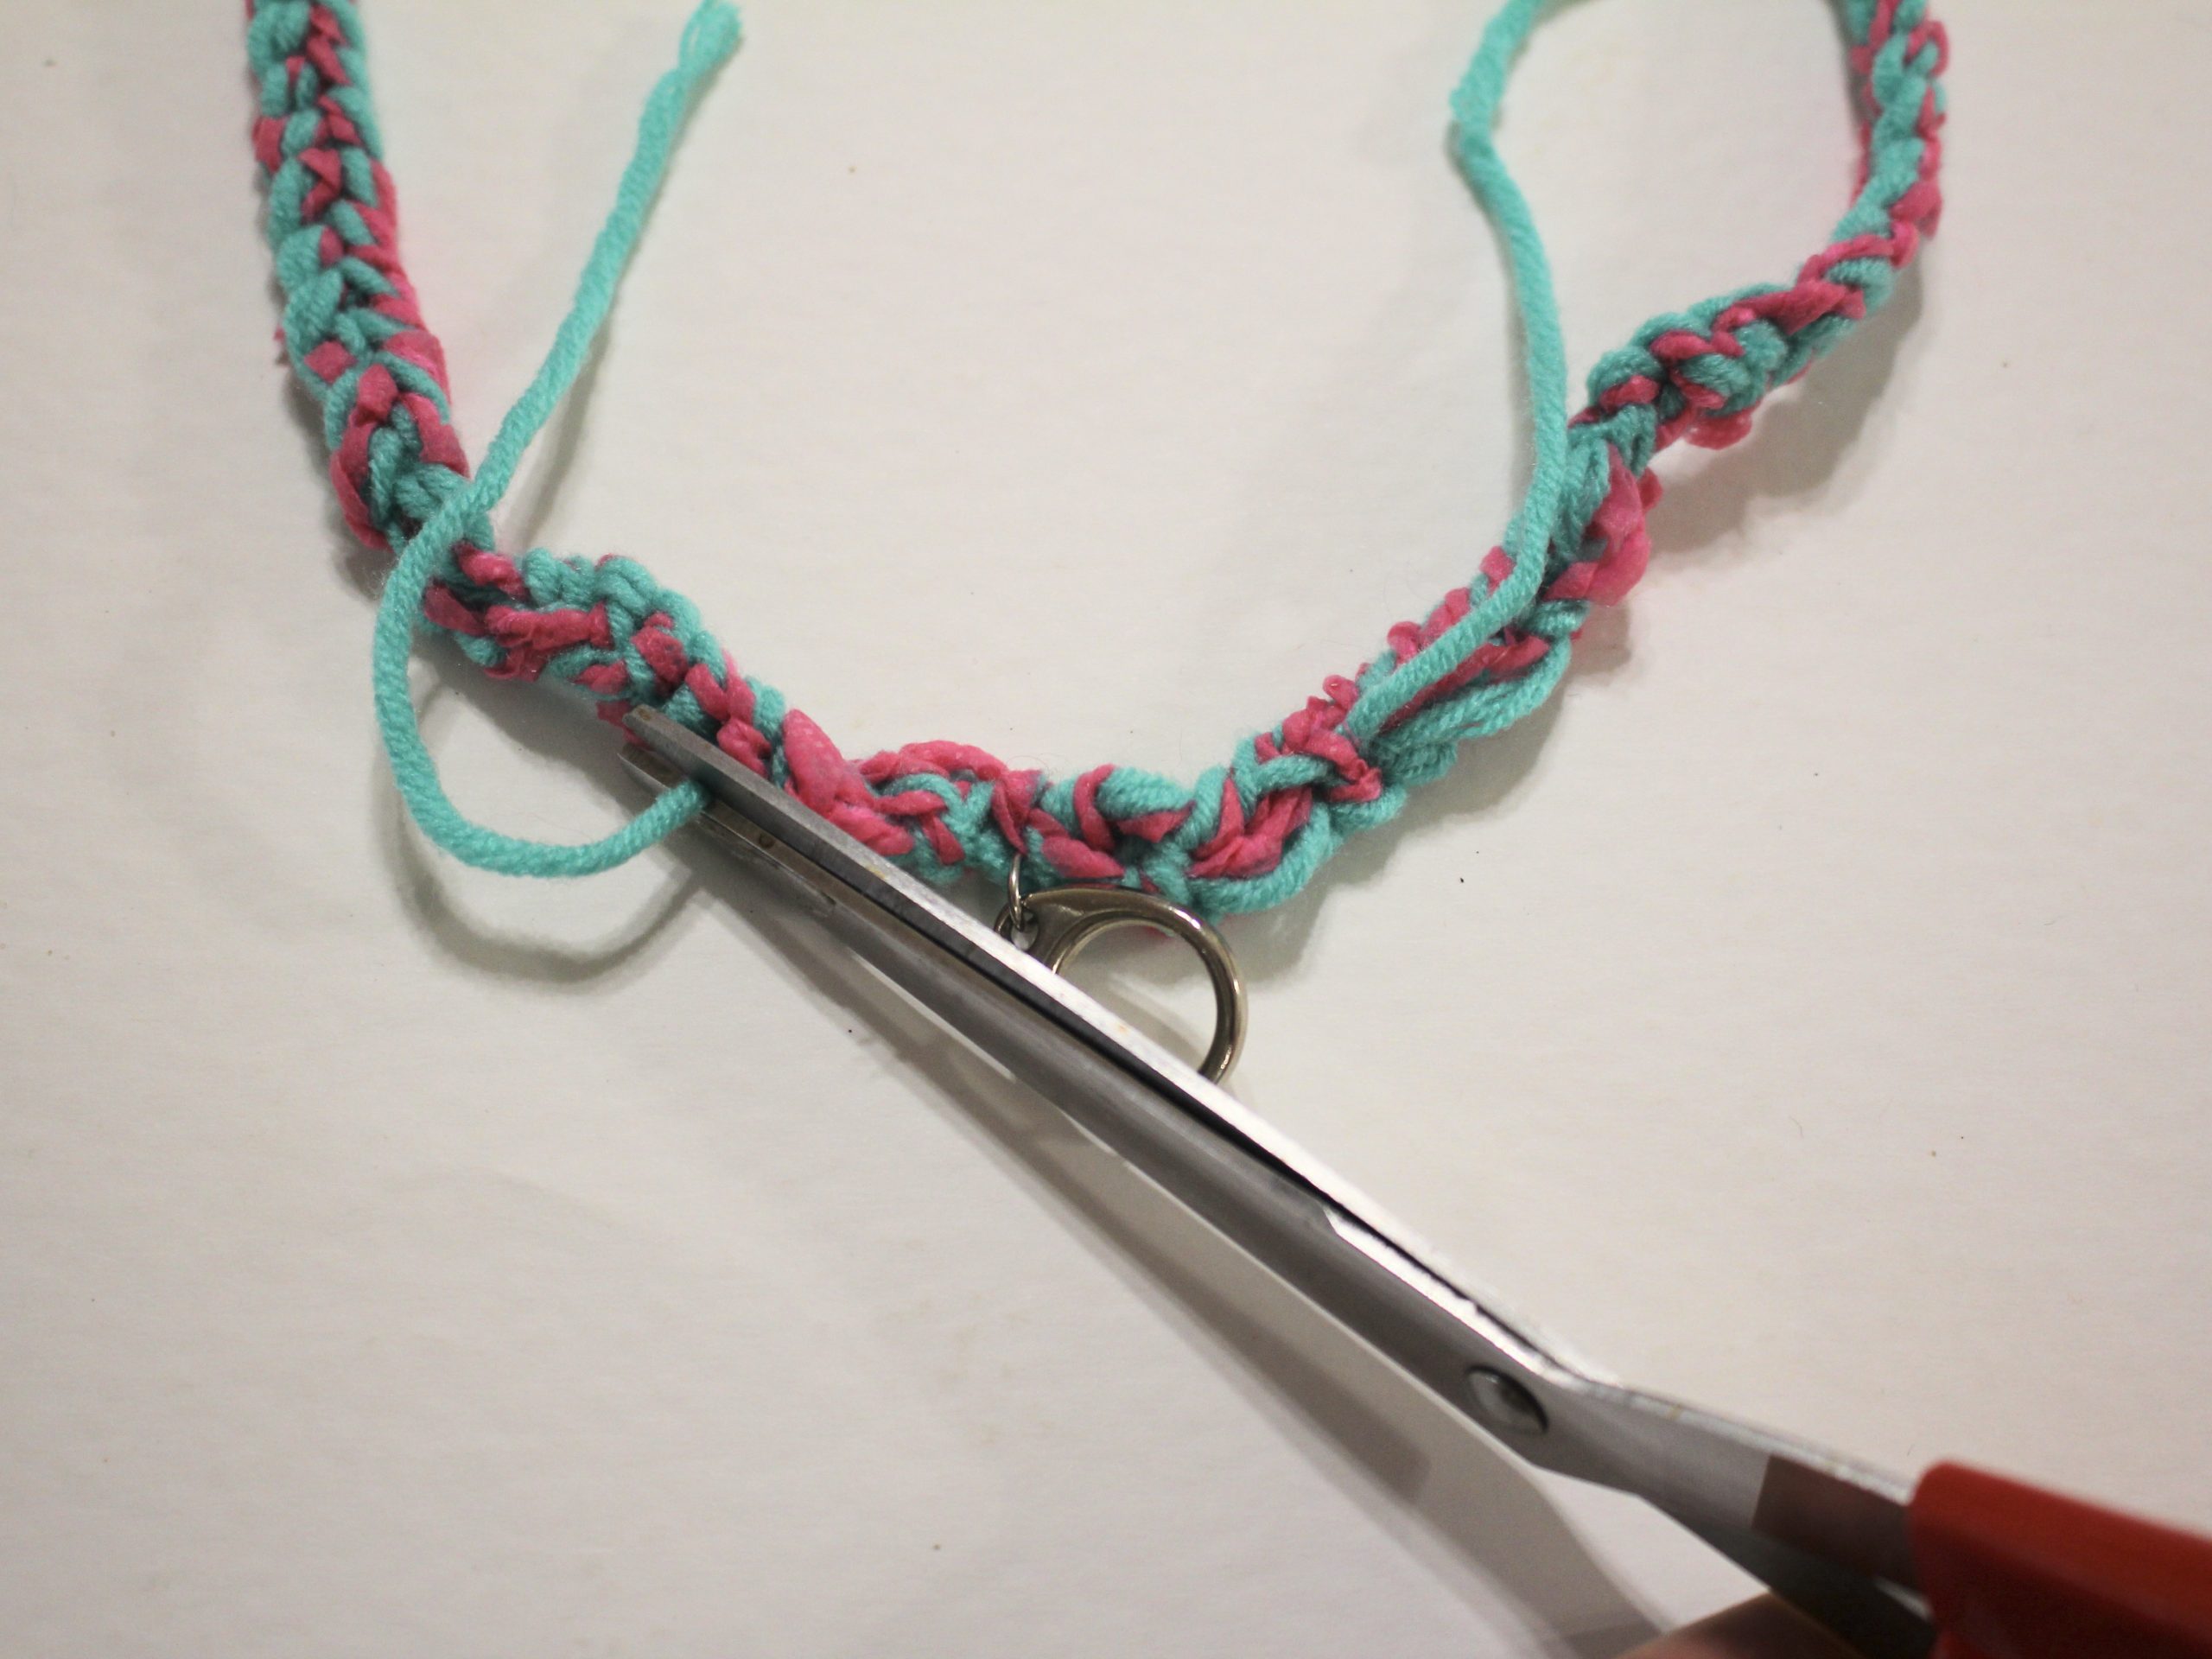
13: Use the needle to weave the paired threads through the crocheted part of the lanyard, trim the ends when you’re done. Do this for both sides of the lanyard.


14: Use the remaining strands to tie the claw clasp to the lanyard. Do a couple of knots to secure it, and then use the needle again to weave in the ends. Trim any excess yarn.


Once you’ve completed this step, your lanyard is ready to wear! Here’s what it looks like on using my needle sleeve as a sample ID 😉


What colours will your crochet your lanyard in? This is such a versatile technique, once you have your crochet base, you can add decorations by sewing in beads or buttons! You can even use a beaded yarn to add beads right from the start!
If you want to develop a lanyard collection, you can find out how to make a beaded lanyard here.
Here are some other yarn-based tutorials you can follow:
-
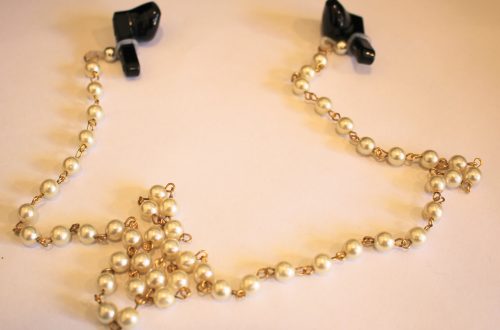
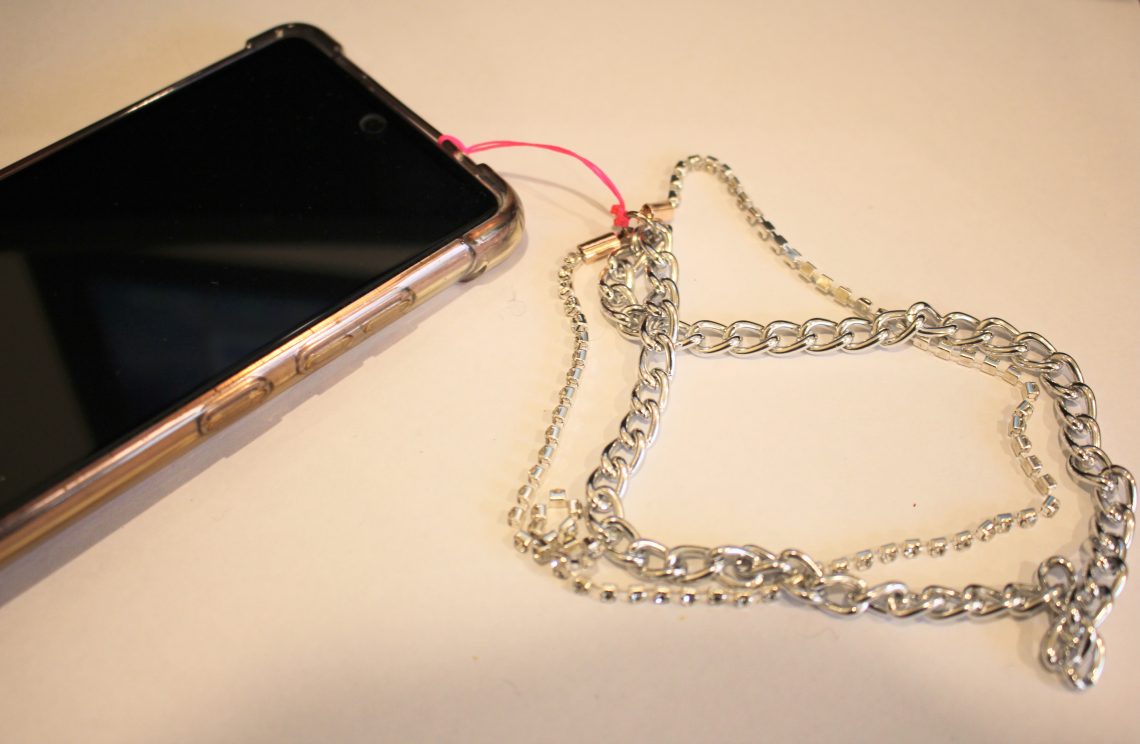
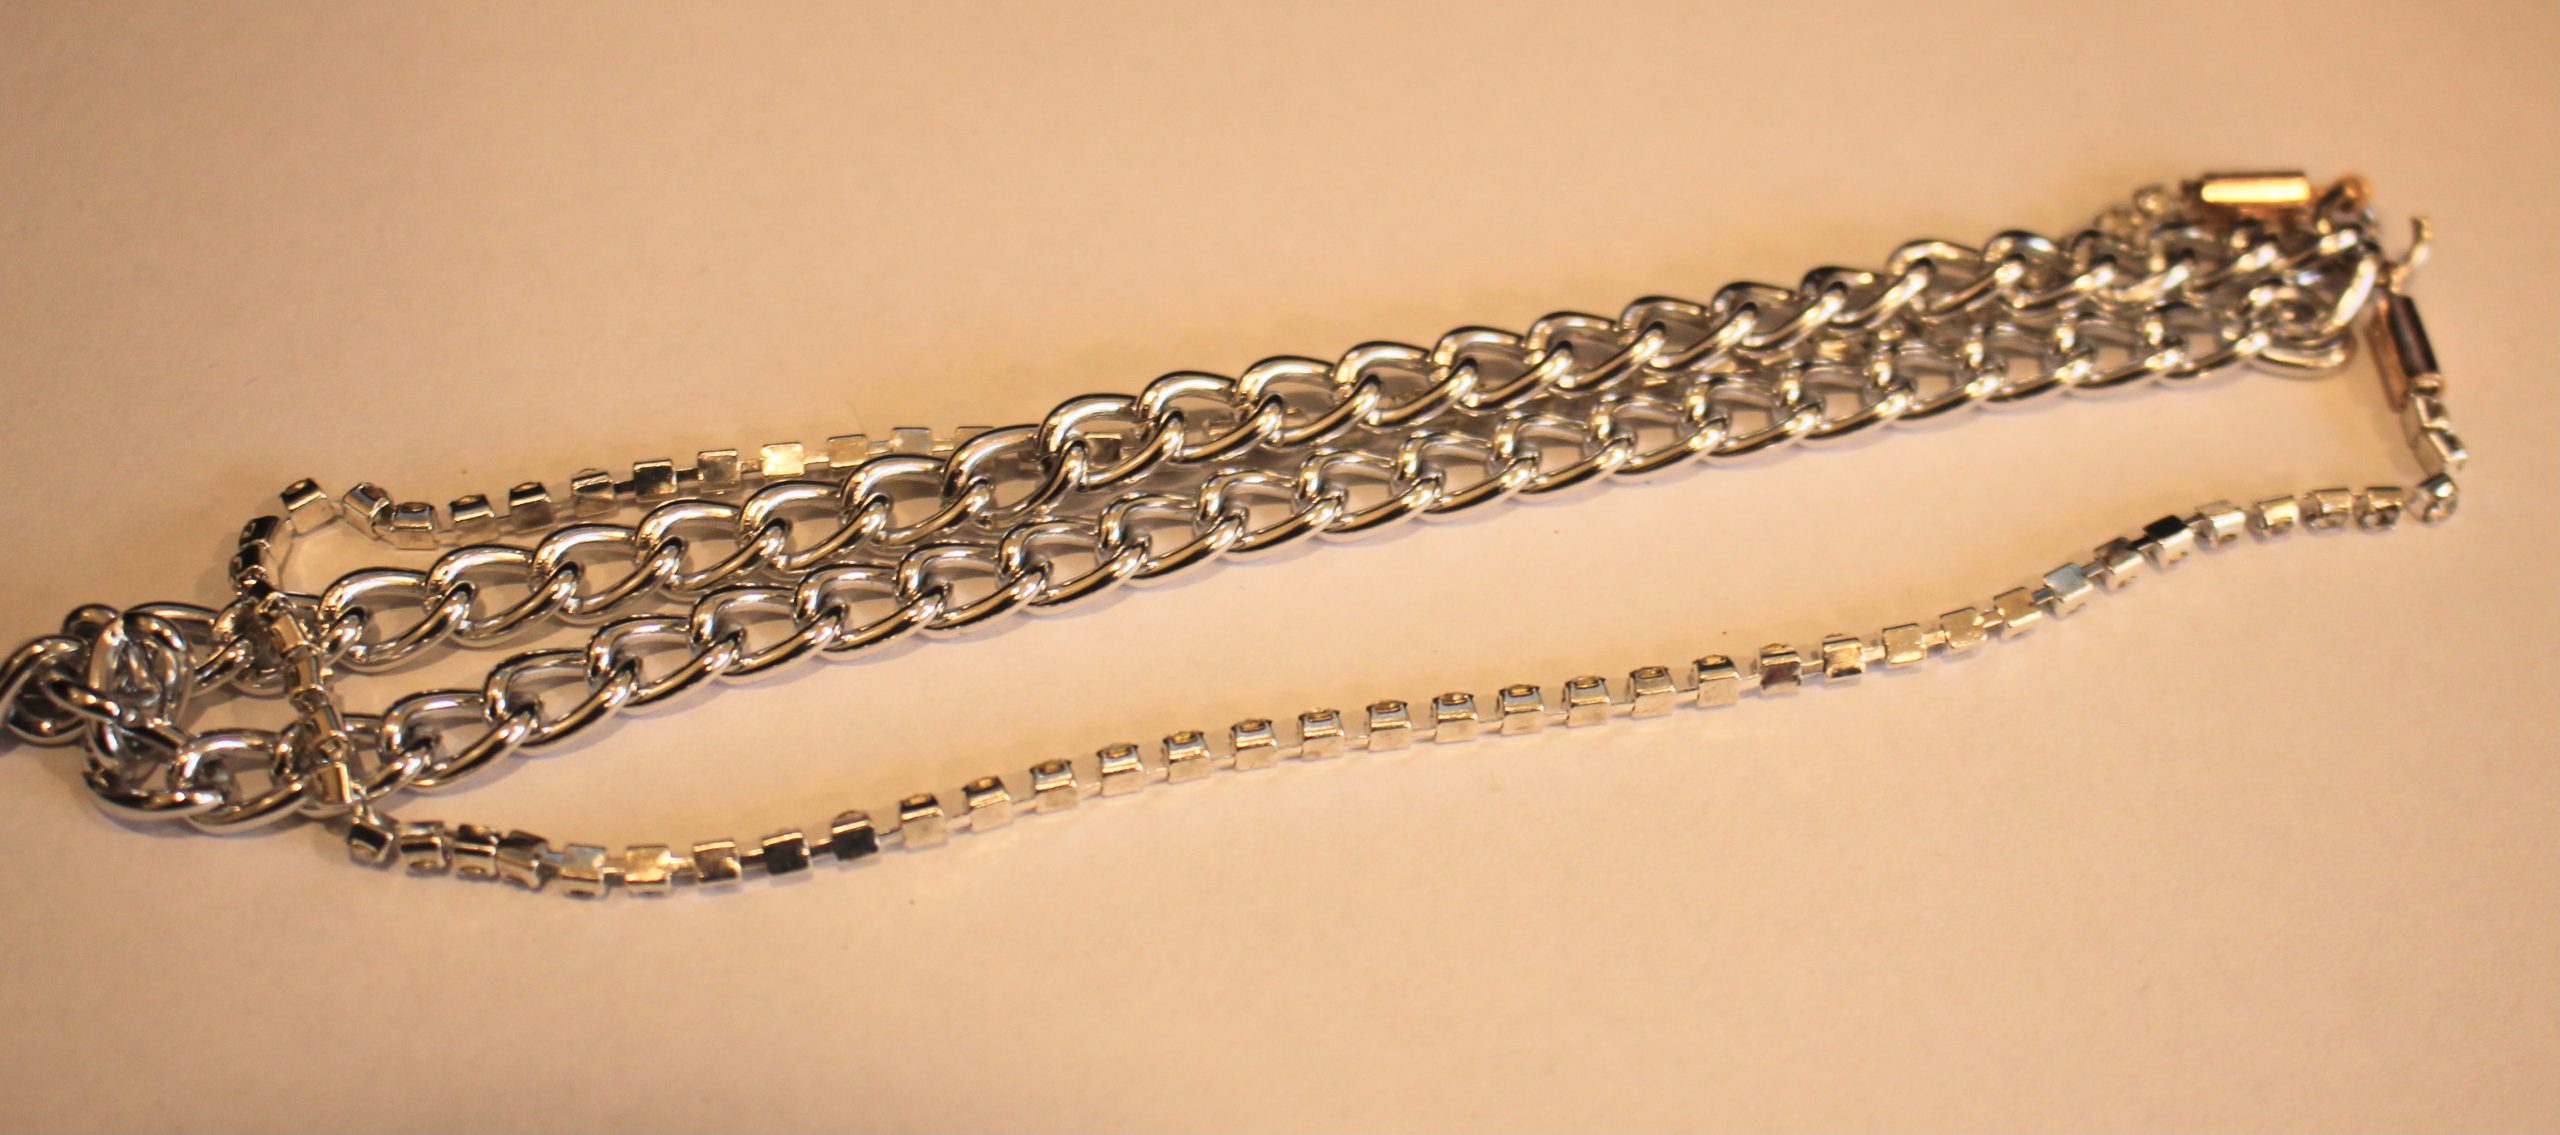
Need help keeping hold of your phone? Here’s how to make a cute chain and rhinestone phone strap so its harder to lose!
I’m loving making phone straps lately! This one combines a chunky chain with some rhinestone trim to create this double stranded phone strap. I decided to add the extra chain for more strength! Please note that this tutorial contains affiliate links.
You will need the following tools and materials to make this phone strap:
1: Pliers. I used my flat nose pliers, round nose pliers and cutting pliers. I also used scissors to trim my string.


2: A piece of chain about 30cm long. I used this silver tone chunky curb chain.

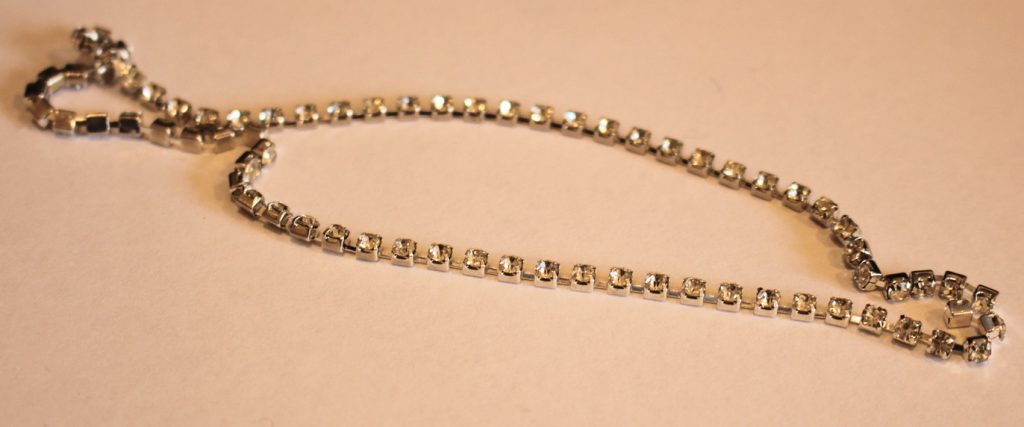
3: A piece of rhinestone trim about the same length as the chain.

4: Two crimp ends.

5: A large jump ring.

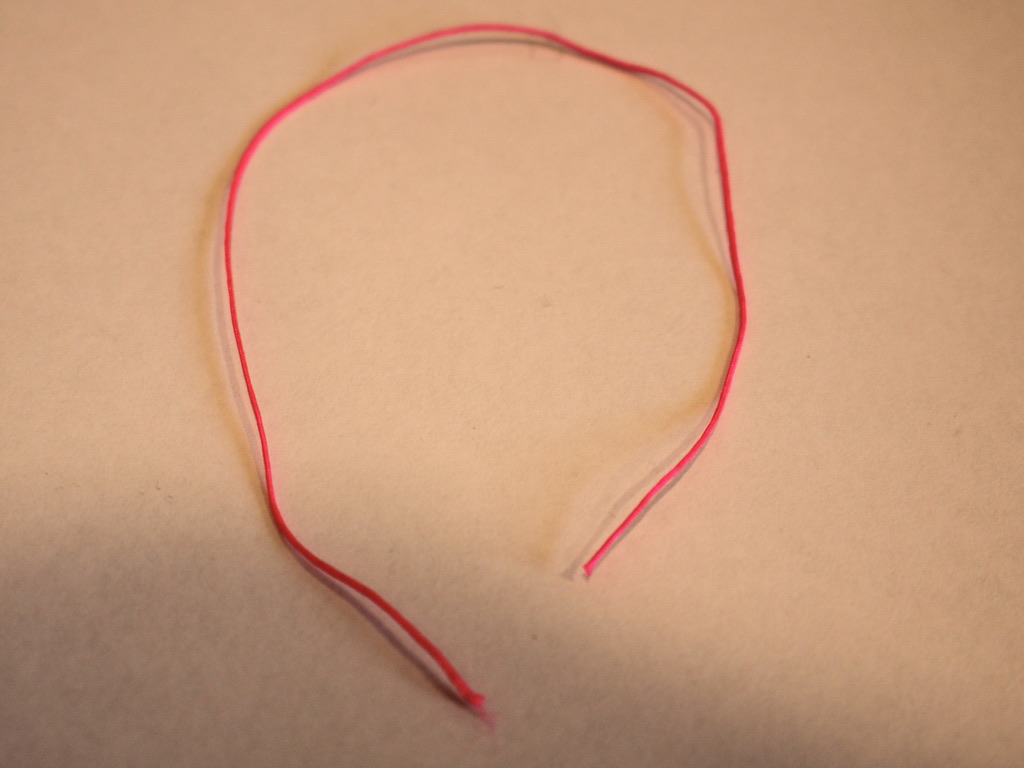
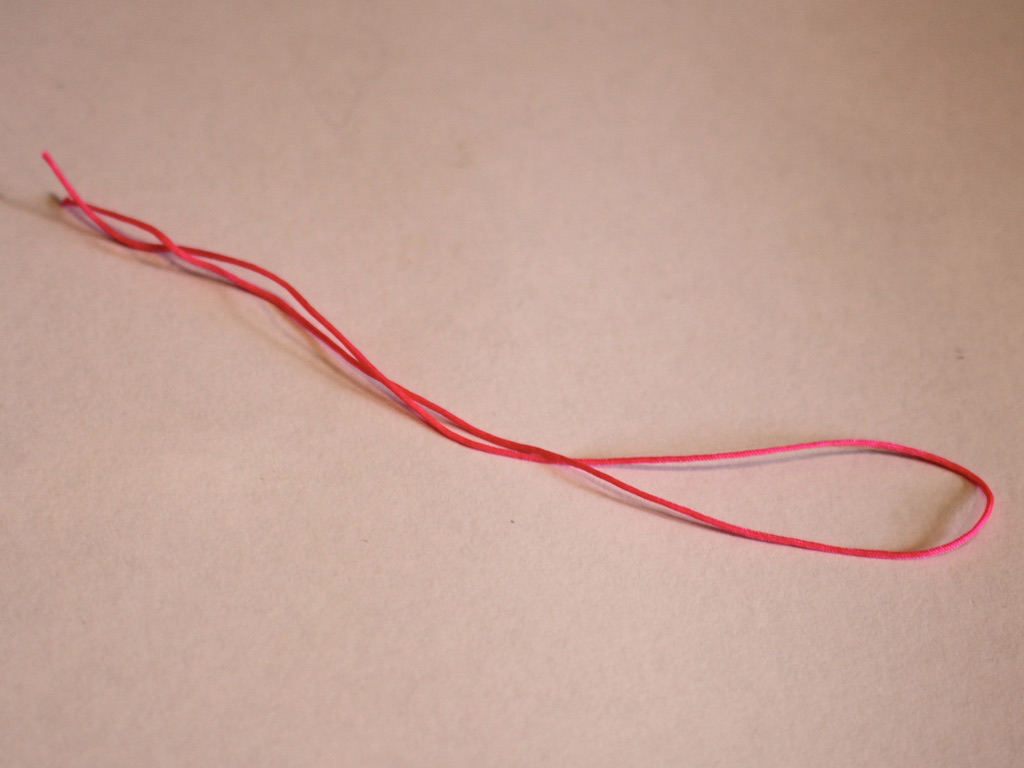
6: A piece of string. I used this hot pink nylon string that I cut to be about 15cm long.
7: Super glue.
Follow these steps to make your rhinestone phone strap:
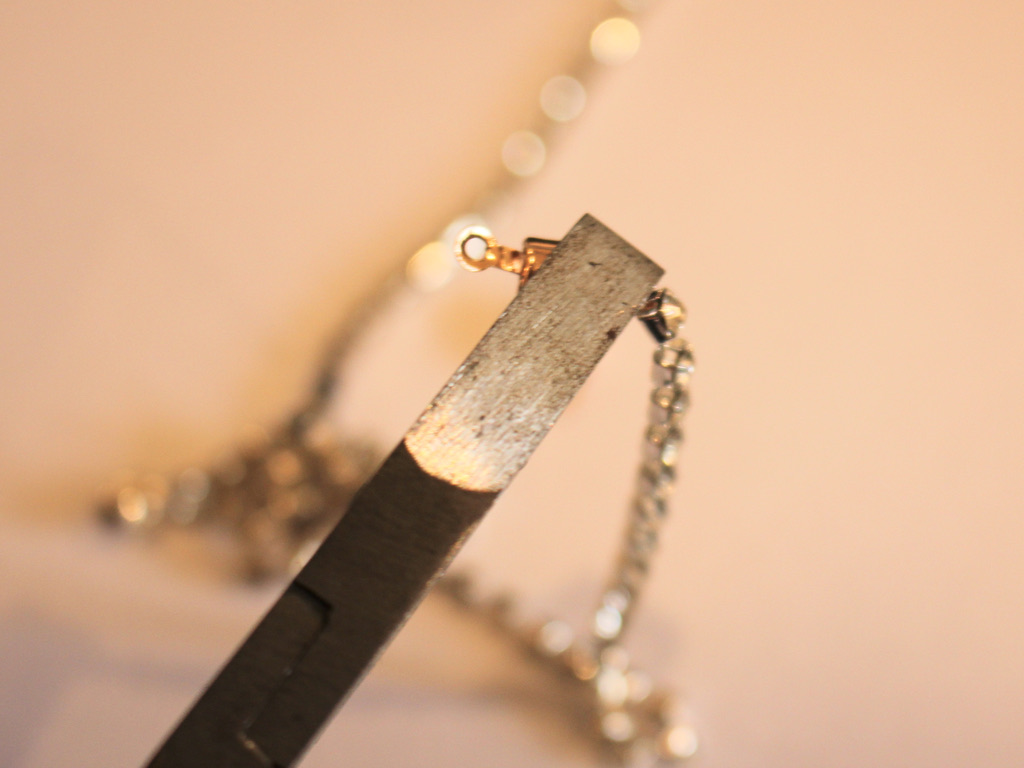
1: Take one end of the rhinestone strand and place it in one of the crimp ends.

2: Squash one side of the crimp around the end of the rhinestones using the flat nose pliers.

3: Repeat the squeezing of the crimp for the other side, folding it around the end of the rhinestones. Squeeze until the crimp feels securely attached to the rhinestone strand.


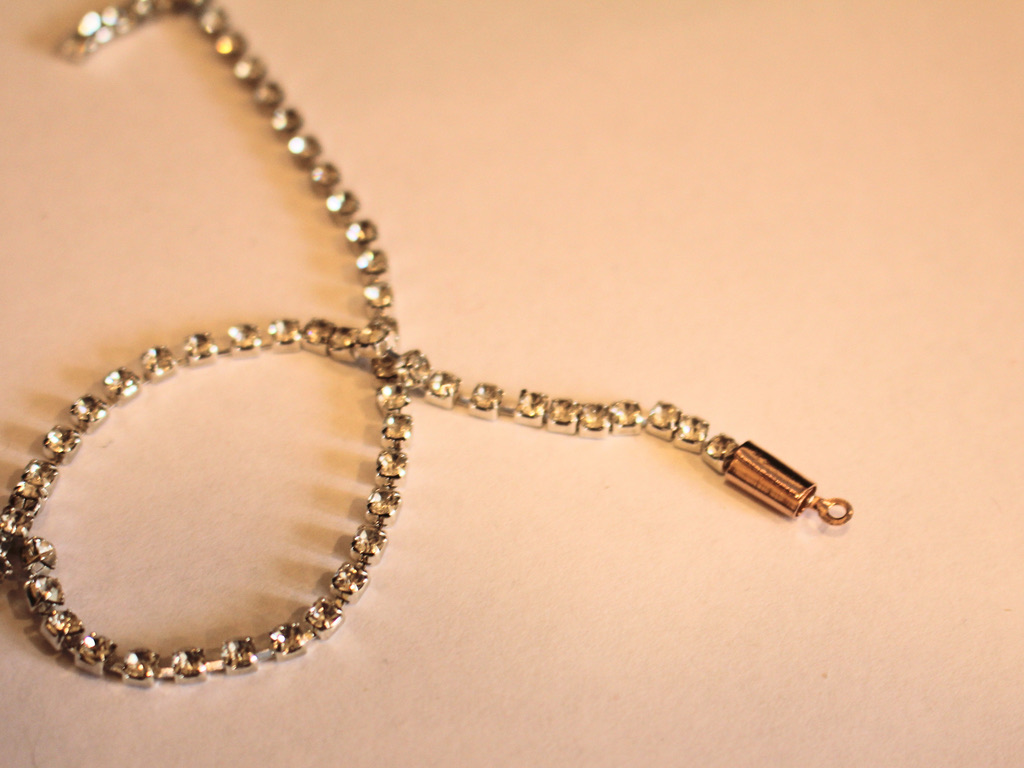
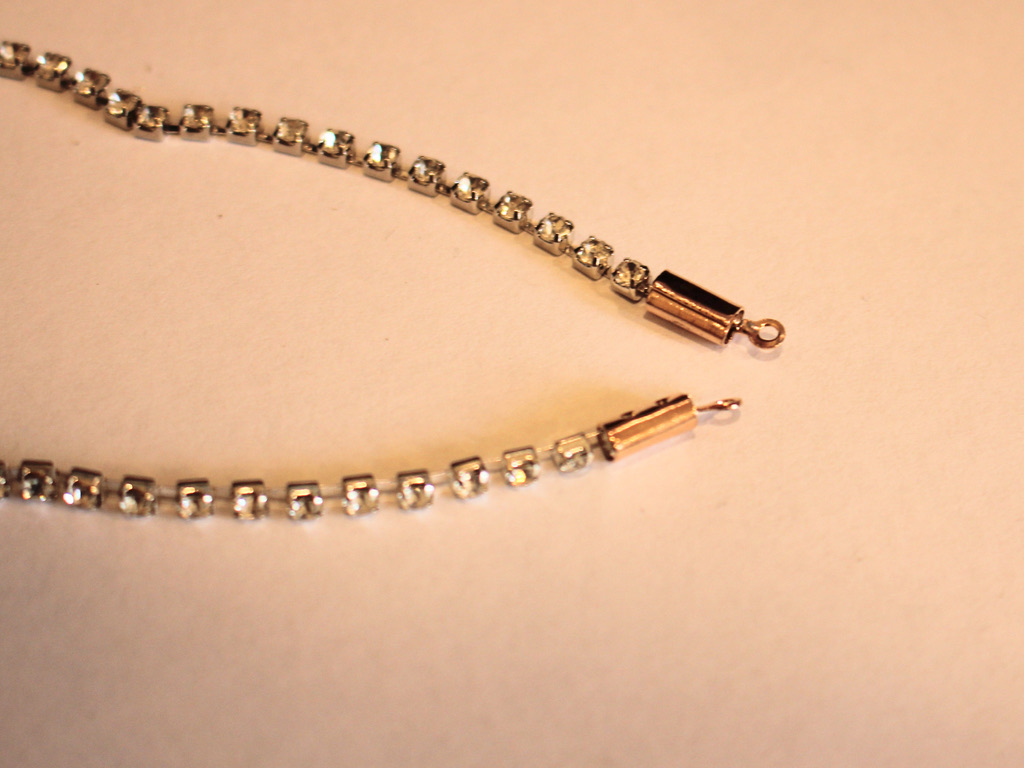
4: Repeat steps 2 and 3 for the other end of the rhinestone chain.

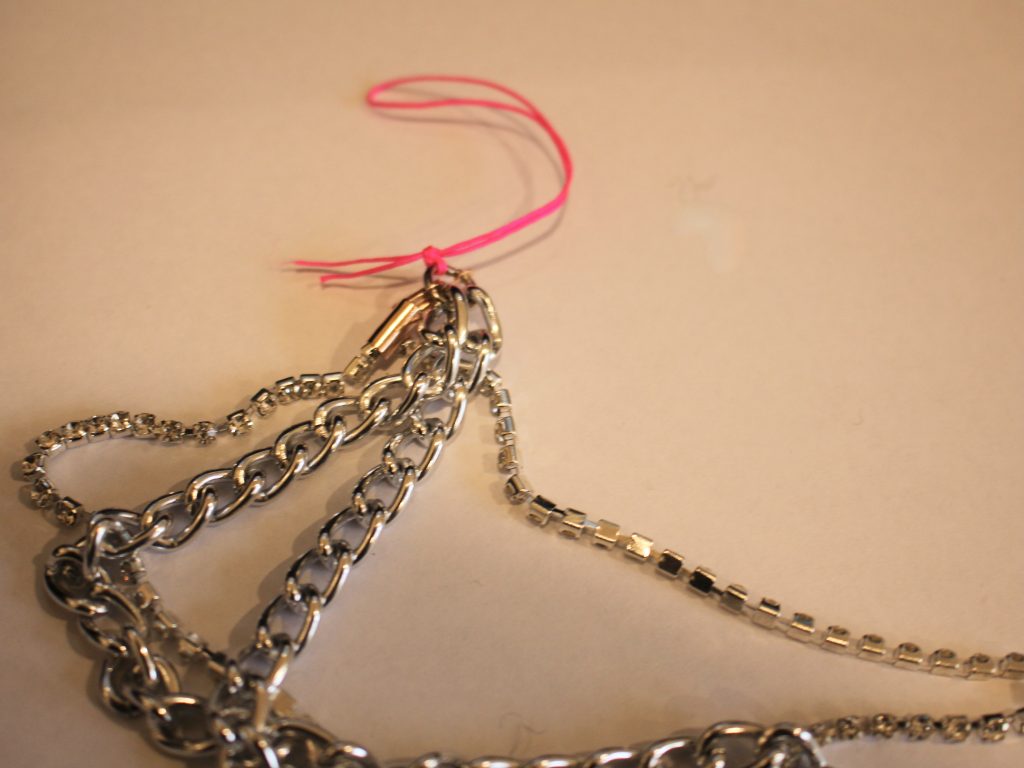
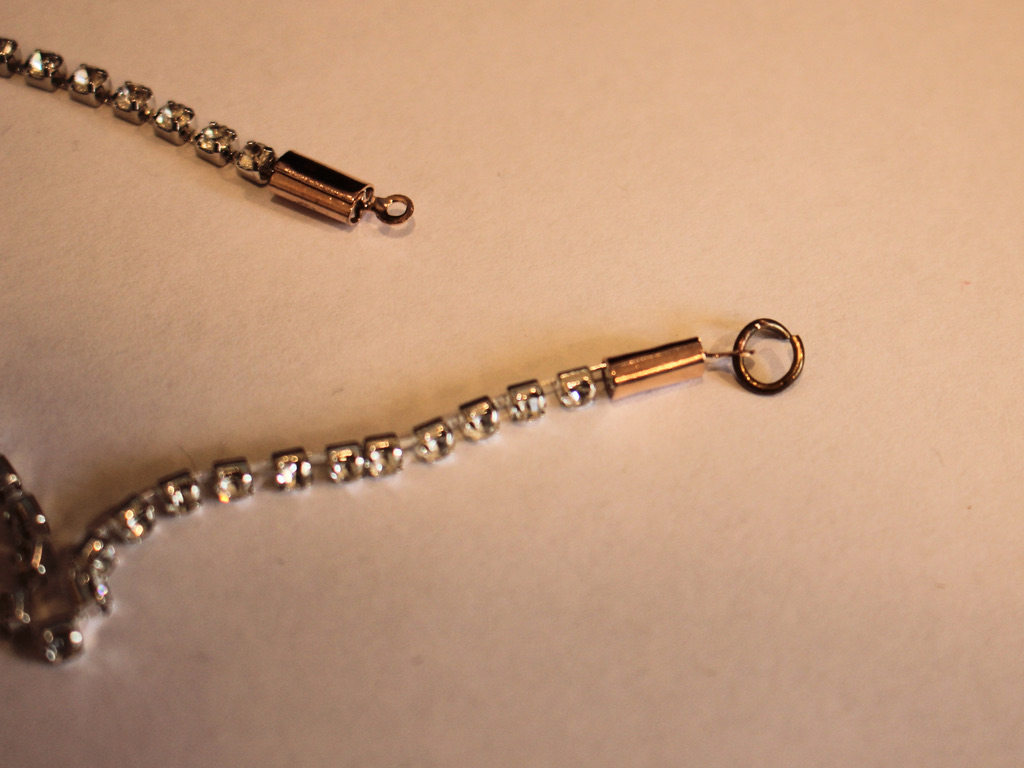
5: Add one end of the chain and rhinestone strand to the jump ring.

6: Add the other end of the chain and rhinestone strand to the jump ring in the same order.

7: Close the jump ring using your pliers.

8: Fold the string in half and tie the open ends around the jump ring, loop and knot it a few times to secure it.


9: Trim the ends of the string.

10: Add a dab of super glue to the ends of the string to secure the knot.

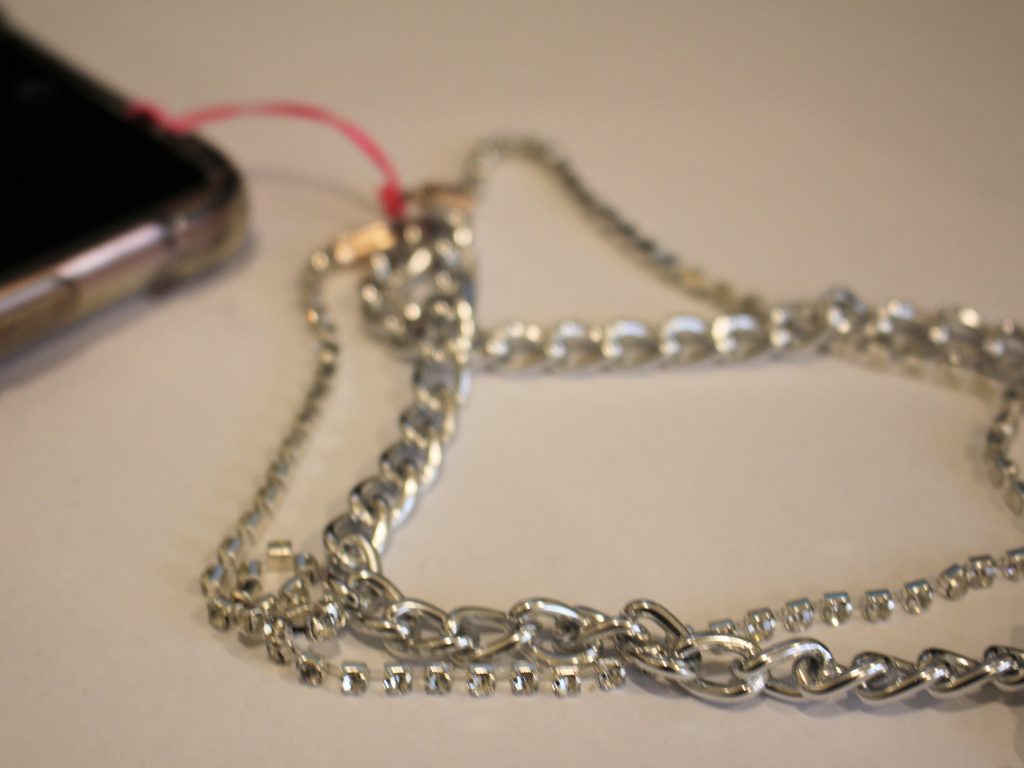
Now your double strand phone strap is finished and ready to pop on your phone. Loop it through on of the holes on your phone case for more phone customisation!


-
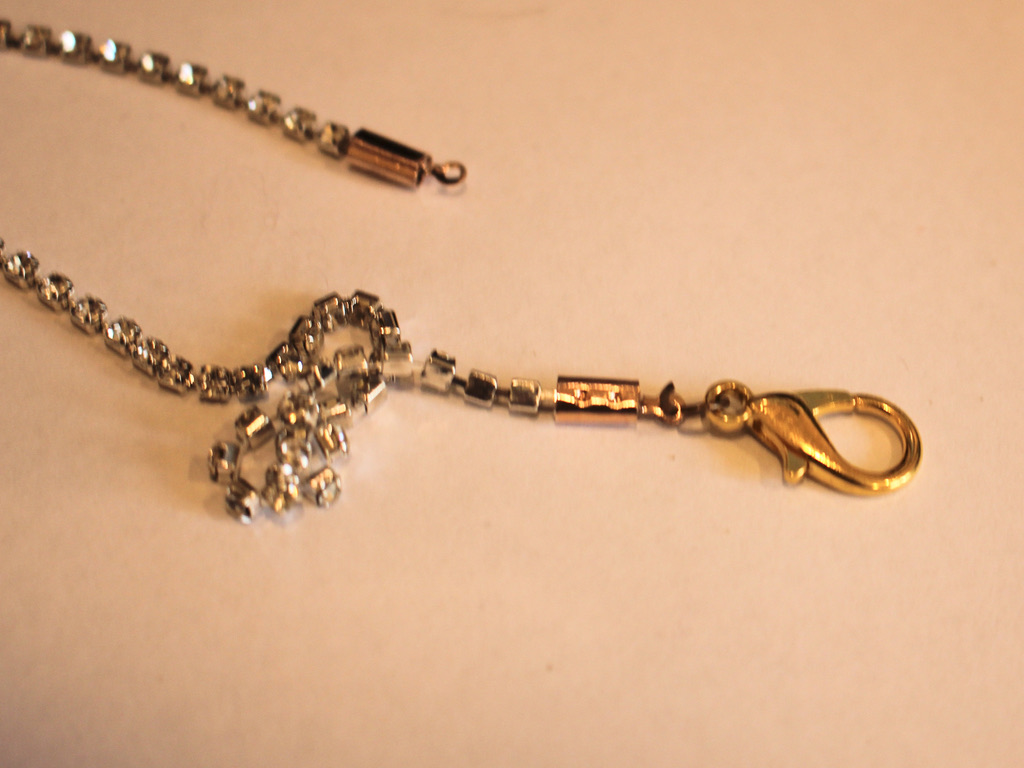
Here’s how you can make an adorable sparkling rhinestone shoe chain!
This is a fun one! The following post will give you all the steps you need to follow to make your own glittery shining shoe chain. I love how sparkly this piece is. Please note that this tutorial post contains affiliate links.
You’ll need these tools and materials to make your sparkling rhinestone shoe chain:
1: A piece of rhinestone strand that is long enough to fit your ankle.
2: Two crimp ends.

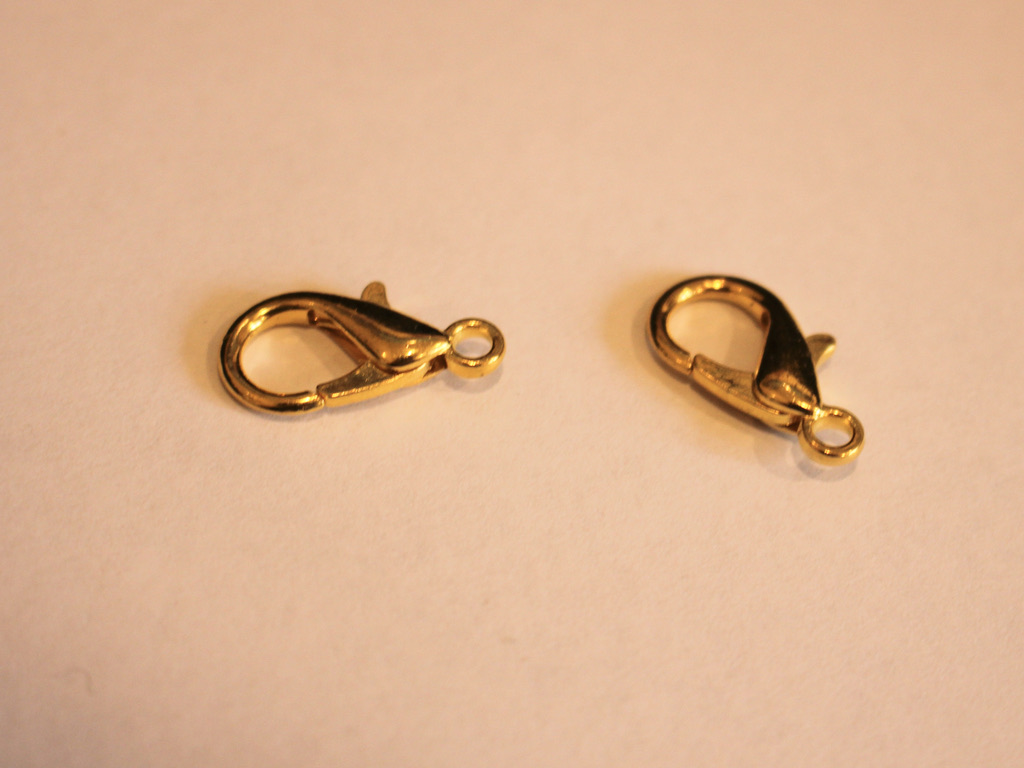
3: Two large lobster clasps.
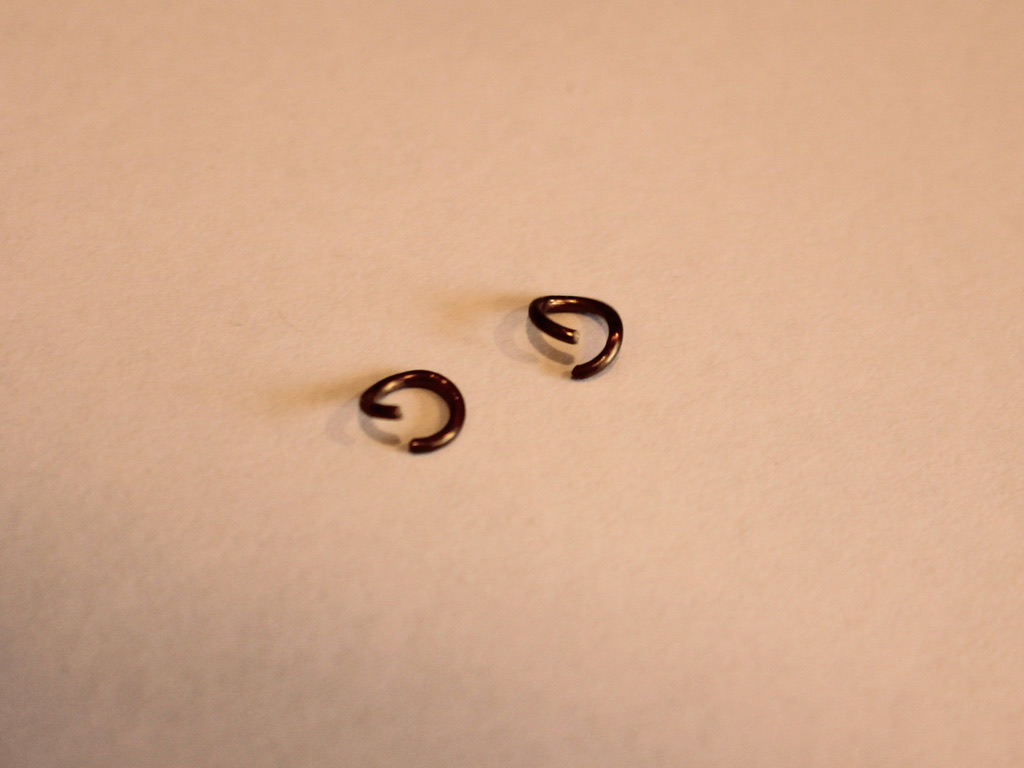
4: Two jump rings.
5: Pliers. I used my cutting pliers to cut my rhinestone chain to length and my flat nose pliers to squash the crimps.

Follow these steps to make your rhinestone shoe chain:
1: Place one of the crimps at one end of the rhinestone chain.
2: Squash one side of the crimp around two of the rhinestone links using the flat nose pliers.
3: Repeat for the other side, squashing the top of the crimp around the rhinestone chain. You can also squeeze from either side to get the crimp to grip even more.
4: Repeat step 3 for the other end of the rhinestone chain.
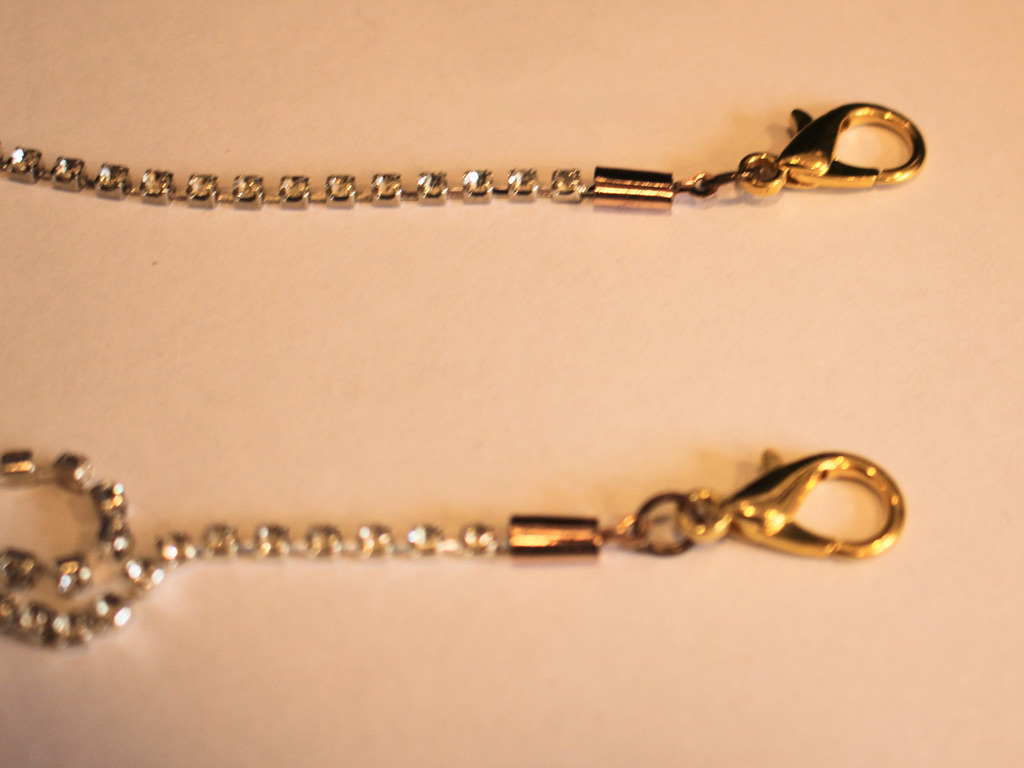
5: Add an open jump ring to one of the crimp ends.
6: Add a clasp to one of the open jump rings and close it using your pliers to secure the clasp in place.
7: Repeat steps 5 and 6 for the other end of the chain.
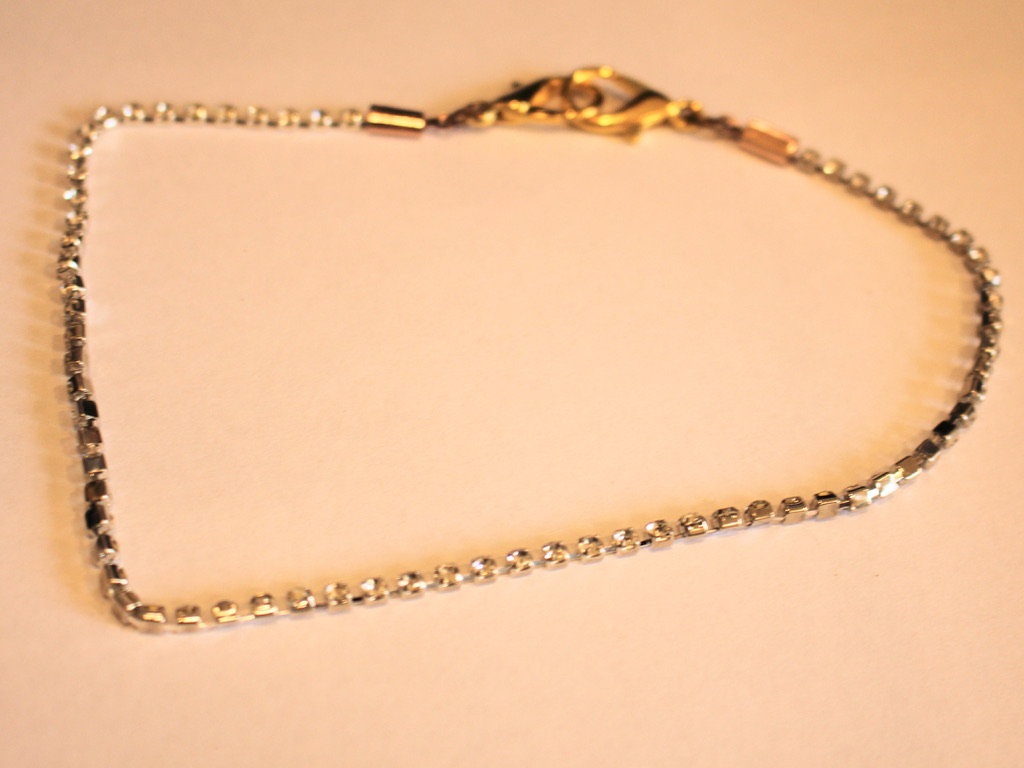
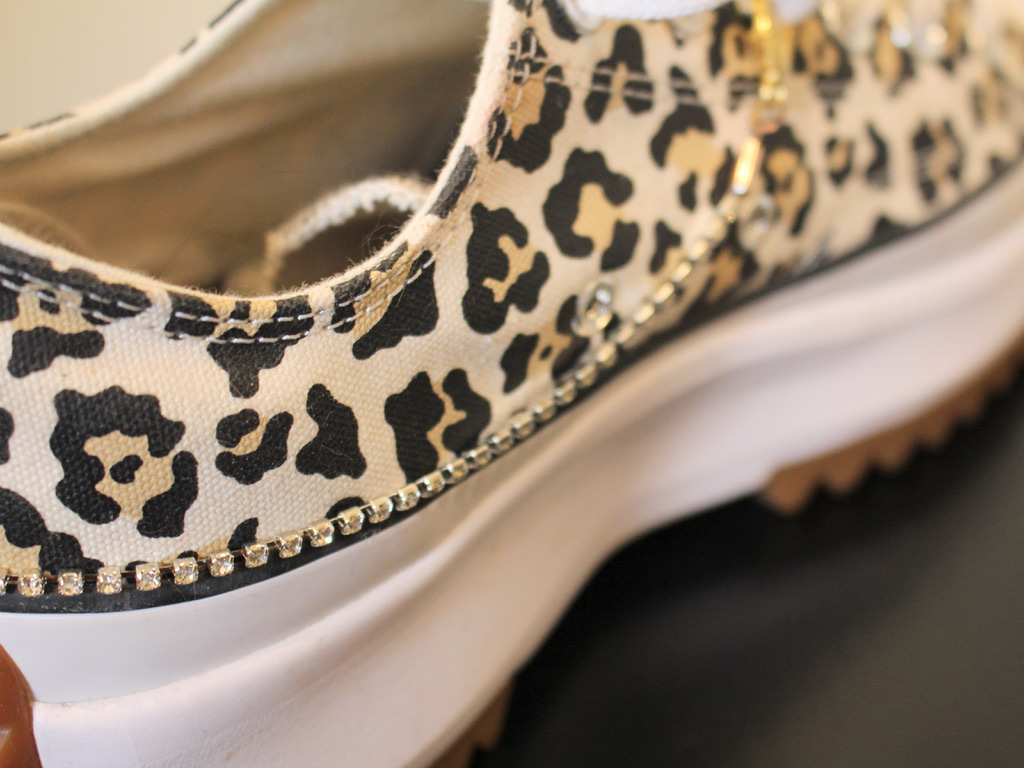
Once your clasps are secured, your sparkly rhinestone shoe chain is finished and ready to clip onto your fave pair of shoes. Here’s mine on a pair of converse!

Here are some more fun shoe chains you can make!
-
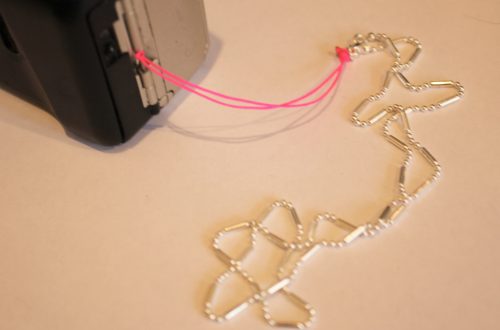
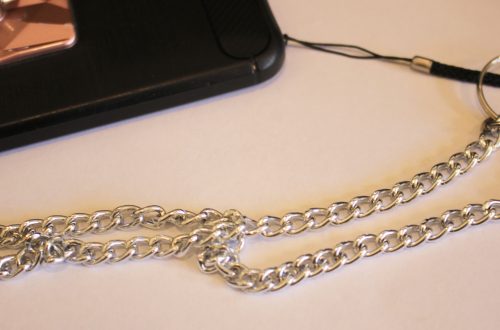
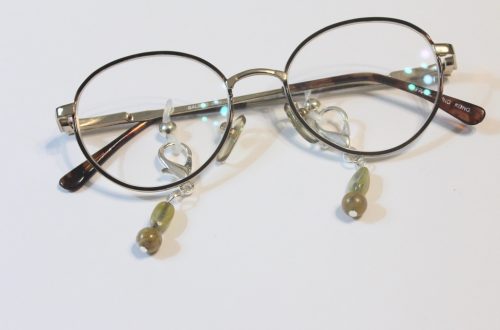
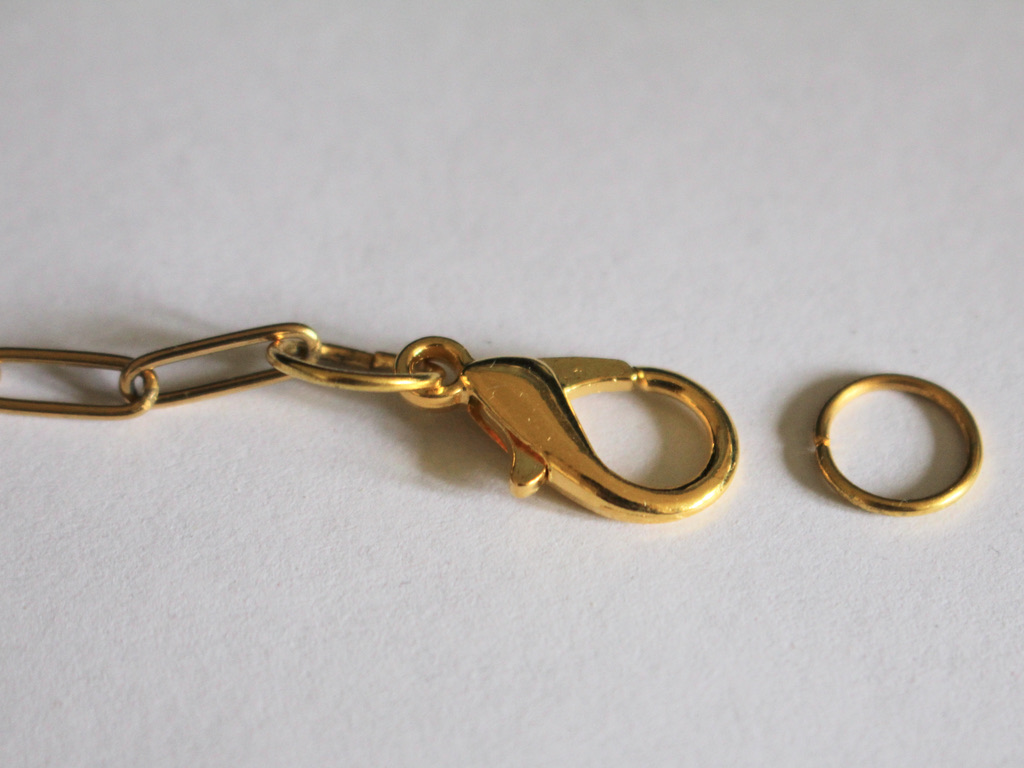
Here’s how to turn a necklace into a strap for your electronics!
You never want to lose your gadgets! I love having a wrist strap for my camera, my phone, all sorts of things… If you want a cute new wrist strap for your fave toy, here’s one you can make from an existing necklace chain and a piece of string! Please note that this tutorial contains affiliate links.
You’ll need these tools and materials to make your electronics strap:
1: A necklace chain.

2: A piece of string, I made mine about 25cm long.
3: A pair of scissors for cutting and trimming string.
4: A couple of pairs of pliers to open and close jump rings.
5: Super glue for securing the end of the string.
Follow these steps to make your wrist strap:
1: Open the jump rings on the chain to remove the clasp.
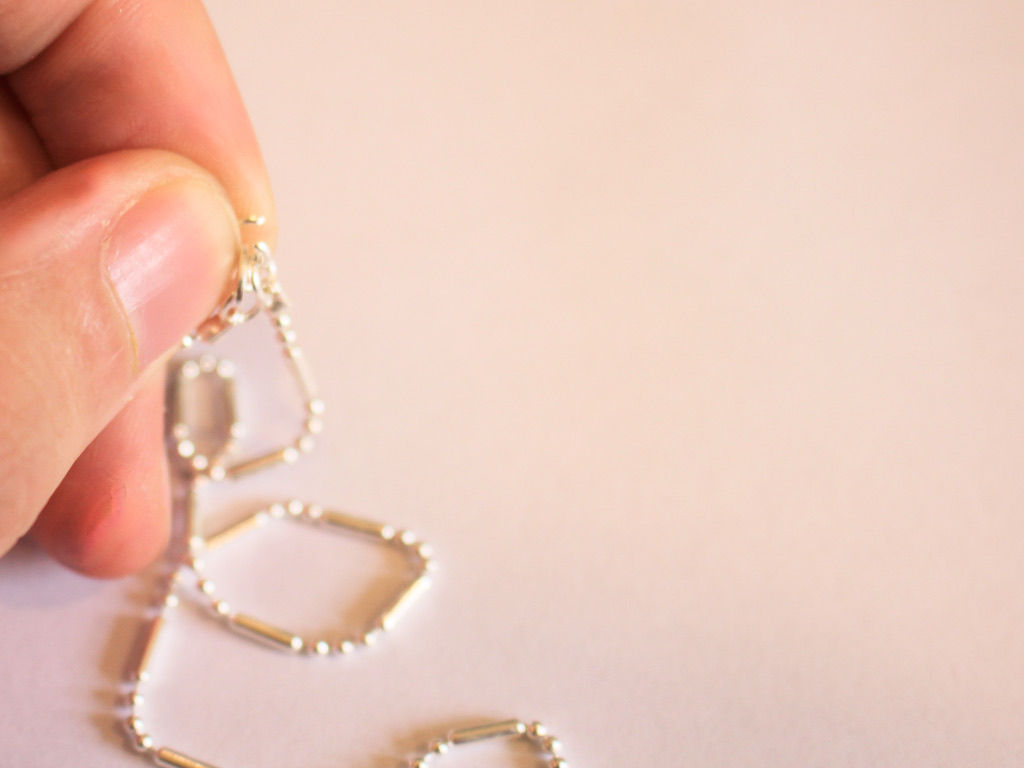

2: Attach the ends of the chains together using the jump rings.

3: Fold the string in half and thread it through one of the jump rings.

4: Tie a knot in the string, leaving a loop on one side.
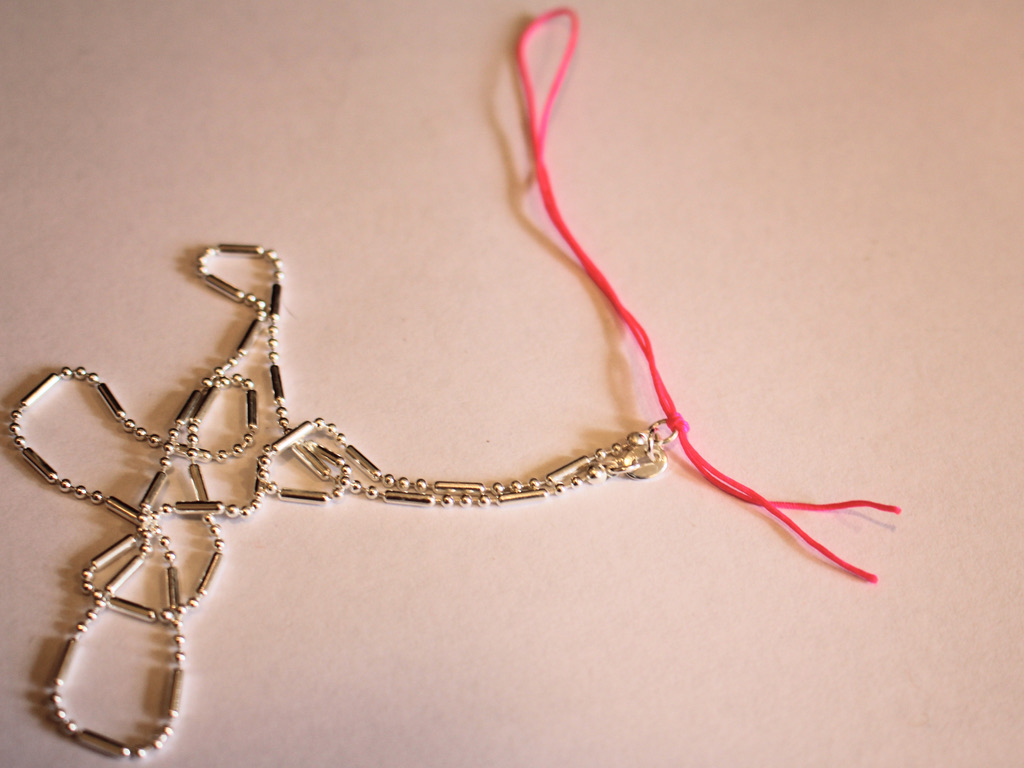
5: Wind the end of the threads through the jump rings and tie an extra few knots to secure the string to the chain.

6: Trim the excess string.

7: Add a dab of superglue to the end of the string to secure it and stop the knot from unraveling.

Now your wrist strap chain is finished! I added mine to my film camera because I’m a super cool hipster 😉


-
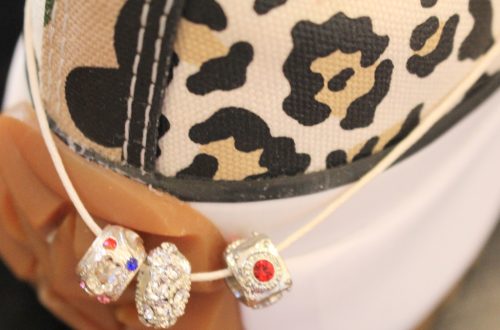
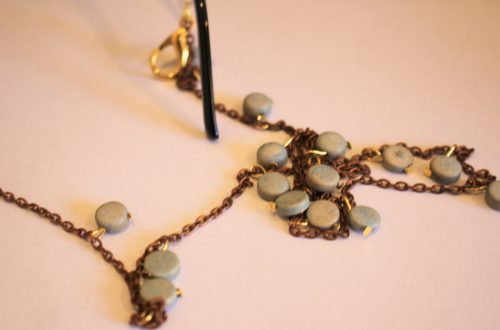
Here’s another sparkly shoe chain tutorial for you…
Shoe jewellery is pretty fun! Here’s how to make a sparkly decoration for your fave shoes using some string and some rhinestone embellished beads. I made this one long enough that you could also clip the ends together so you can wear it around boots. Please note that this tutorial contains affiliate links.
You’ll need these tools and materials to make this shoe chain:
1: A piece of string about 35-40cm long.

2: Two large lobster clasps.

3: Some beads. I used these second-hand rhinestone embellished metal beads.

4: Scissors for trimming the string.
5: Some superglue.
Follow these steps to make your shoe chain using string and beads:
1: Add one of the lobster clasps to one end of the string and tie a knot.


2: Tie two more knots, leaving the end for now.

3: Add the beads to the string.
4: Add the second lobster clasp to the other end of the string and tie three knots as you did in steps 1 and 2.

5: Trim the ends of the string using your scissors.

6: Add a dab of superglue to the knots to secure them then set it aside to dry.
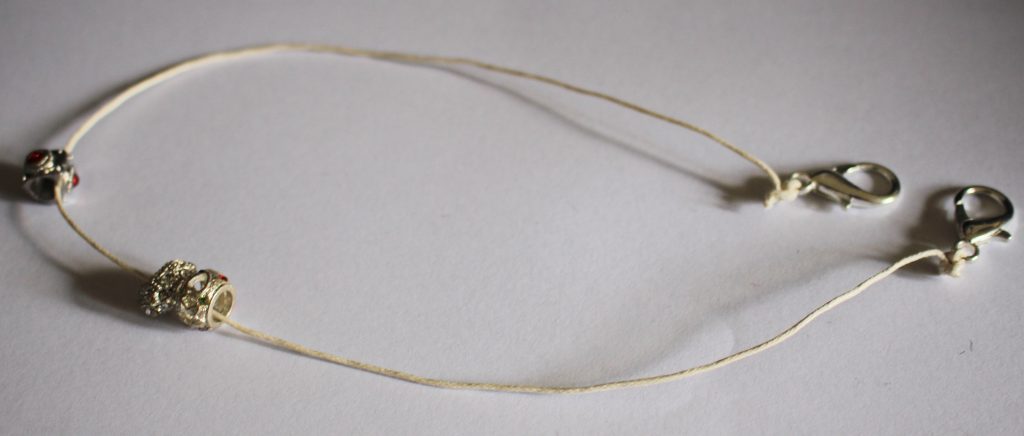
Now your shoe chain is finished. Here it is clipped to some low top sneakers, but you could experiment and add them to high-tops or boots!


-
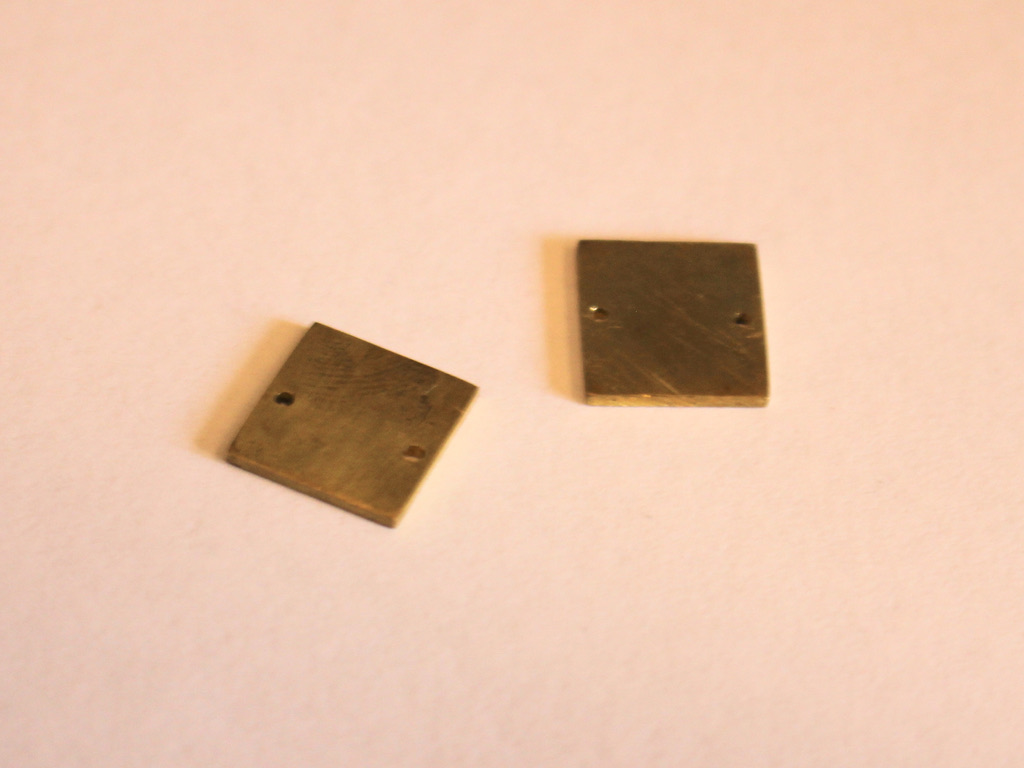
Here’s how to patina brass charms using salt and vinegar…
I’ve already shown you how to turn copper green using salt and vinegar, and the same process can be used on brass! Brass has a high copper content, so it can develop a nice patina when you put it in a container with salt and vinegar, simple ingredients that you can find easily at the supermarket. This is a fun way to add some character and interesting patterns to your metal jewelry designs! Please note that this tutorial contains affiliate links.
You’ll need these tools and materials to do this patina process:
1: Brass charms. I used these brass charms that I made a while ago.
2: A plastic container. I used a recycled takeaway container with a lid.

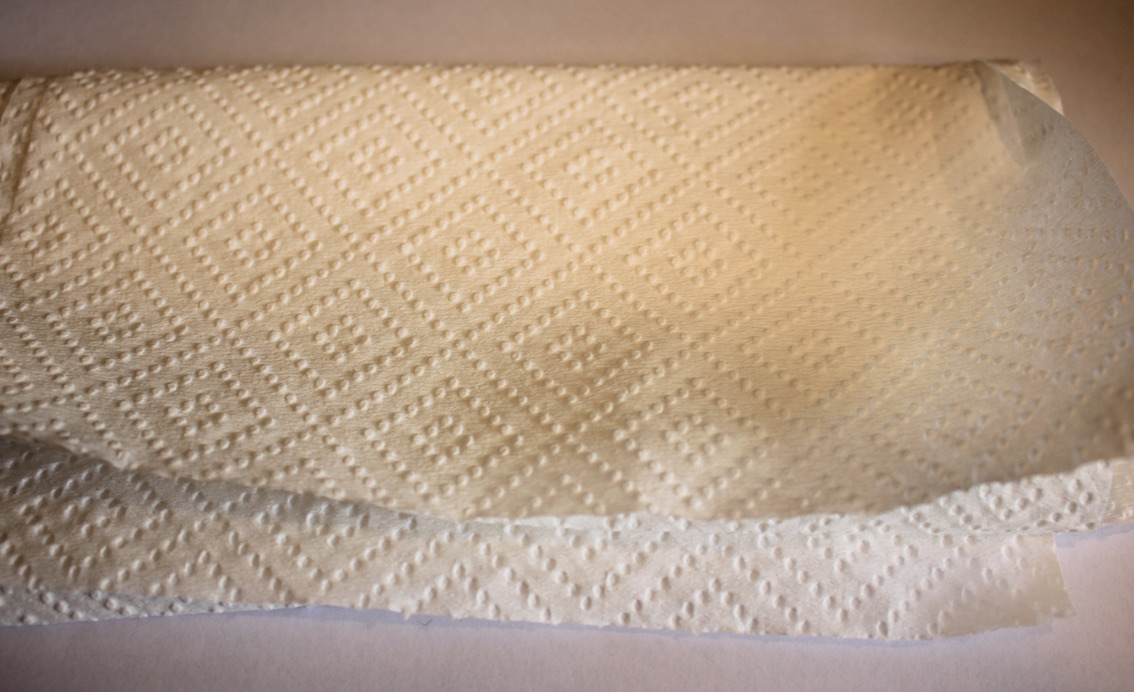
3: Paper towels. I haven’t tried it with reusable cloth, but I bet that would work too!

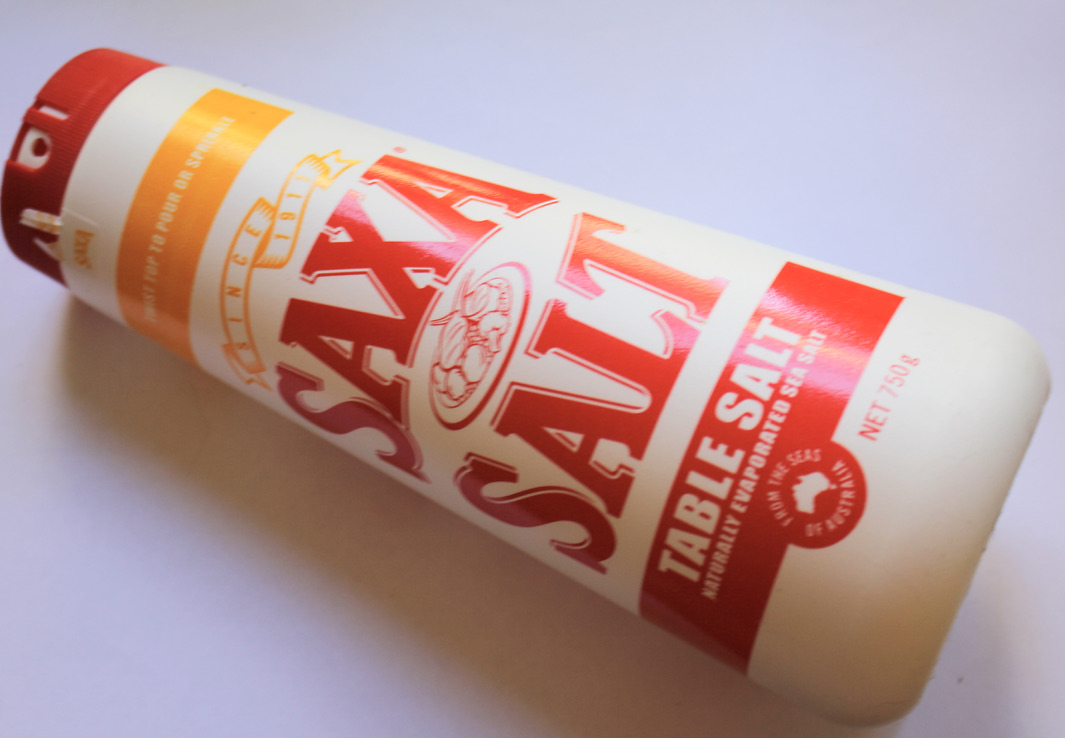
4: Salt.

5: Vinegar. I used white vinegar for this process.

Follow these steps to add patina to your brass charms:
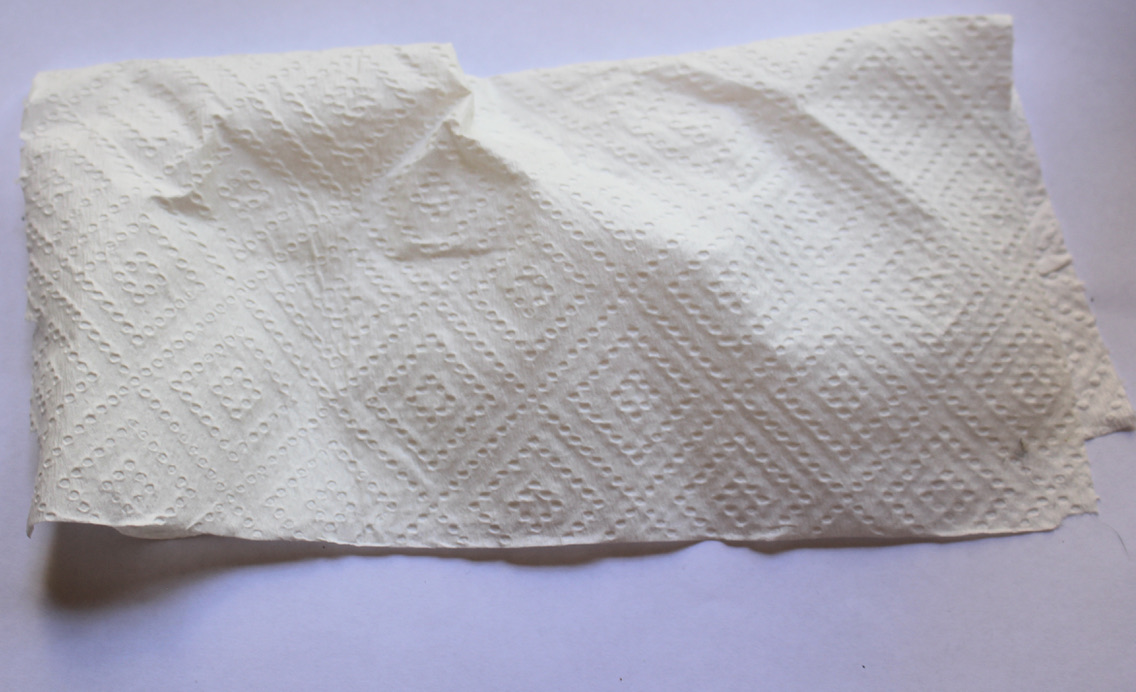
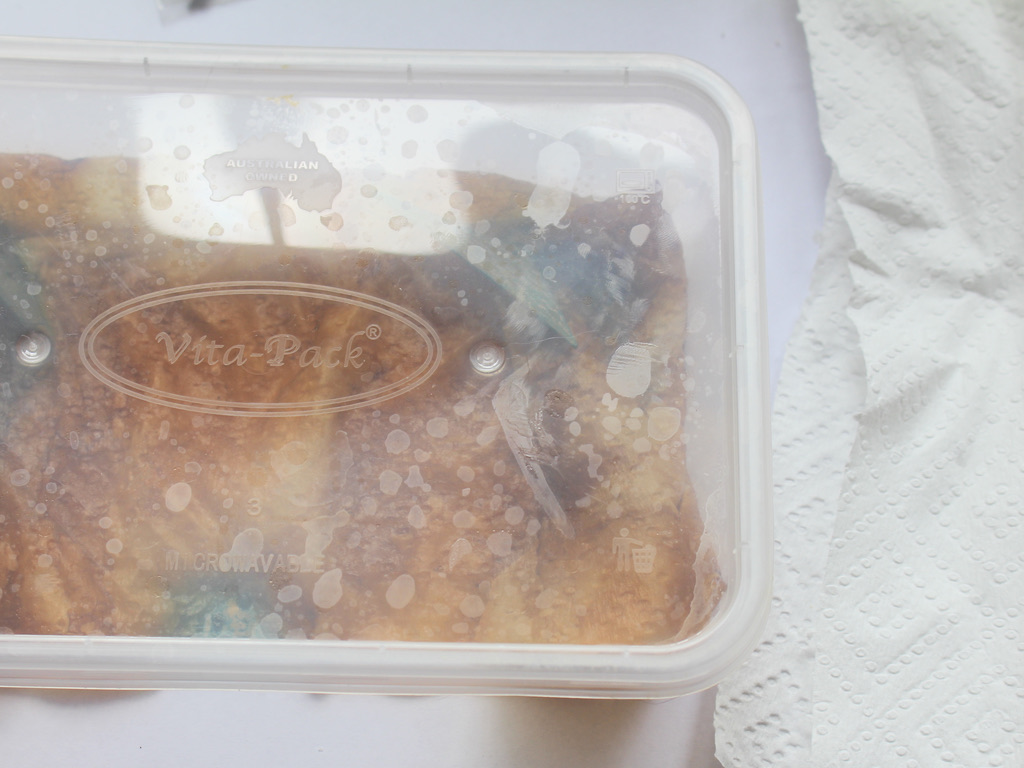
1: Put the paper towel in the container.
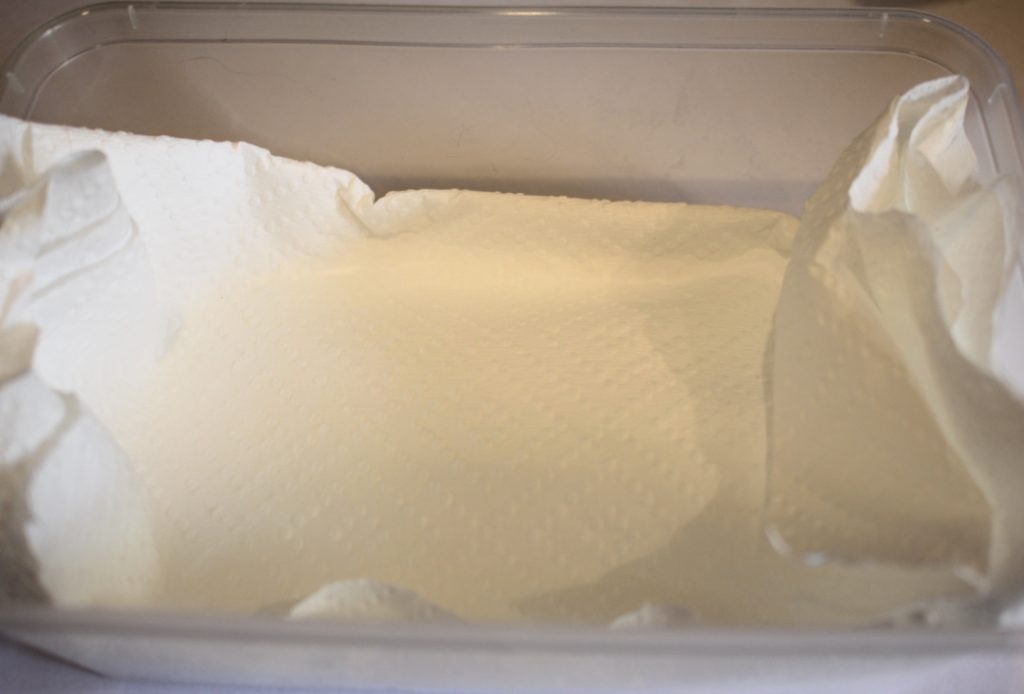
2: Add a dash of vinegar to the paper towel.

3: Sprinkle some salt over the top.

4: Put the charms in the container and put the lid on. Set this container aside for a while, maybe overnight, to allow the patina to develop.
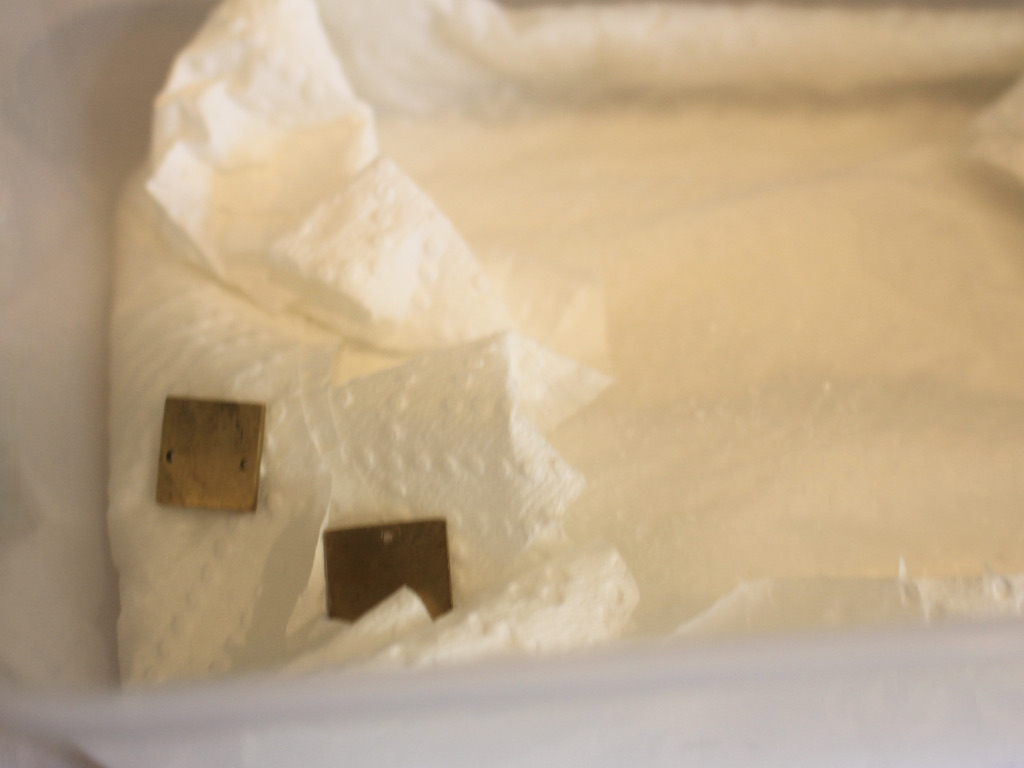
5: Once the charms have a patina you like, take them out of the container and wipe them down gently using more paper towel.


Isn’t it interesting to see how the patina will develop?! this one formed a lot around the grains of salt. Now you can use them in your jewelry designs! Please note that the patina can be delicate, so you can protect it using a product like renaissance wax.
-
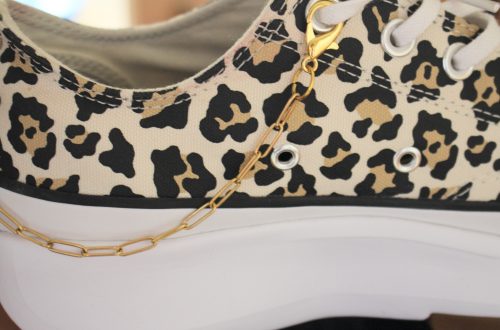
Here’s how to make some fun jewelry for your shoes!
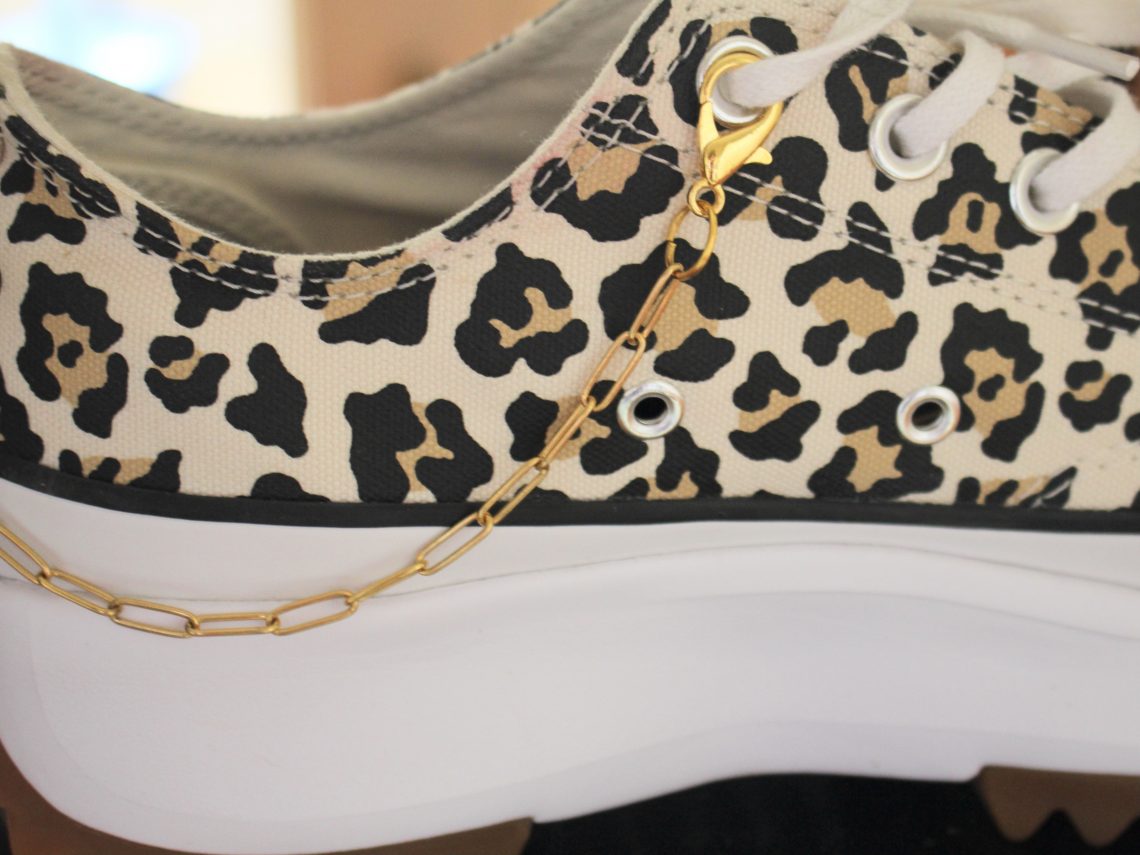
It can be fun to customise and add some flair to all your belongings, like adding gold chains to your fave pair of sneakers! This shoe chain can be clipped to a range of different shoes, the lobster clasps clip around your laces or shoe eyelets to add a personalised flair to your shoe game! Please note that this tutorial contains affiliate links.
You’ll need these tools and materials to make this shoe chain:
1: About 30-35cm of paperclip style chain.

2: Two large jump rings.

3: Two large lobster clasps.

4: Pliers. I used my flat nose, cutting and round nose pliers for this tutorial. I used my cutting pliers to cut the chain to the right length.

Follow these steps to make your own cool shoe chain:
1: Open one of the jump rings and slide it into one of the ends of the chain.

2: Add a clasp to the open jump ring.
3: Close the jump ring using your pliers.
4: Repeat steps 1-3 for the other end of the chain.


And that’s it! Clip your shoe chain to your fave pair of sneakers and head out!


-
Here’s how to turn copper charms green using kitchen ingredients! I love this technique.
Copper is a really fun material to make jewellery with, it is reactive and oxidises easily, so you can make some great patterns and patina using simple household ingredients. In this tutorial I’m going to show you how to turn copper green using kitchen salt and balsamic vinegar! Please note that this tutorial contains affiliate links.
You’ll need these tools and materials to turn copper green:
1: A plastic container with a lid. I used a recycled takeaway container.

2: A couple of paper towels, one for turning the pieces green and another for wiping them off.

3: Some copper charms. I used these charms I made from some copper sheet a while ago.

4: Vinegar. I used balsamic vinegar for this tutorial, but you can try other vinegars such as white vinegar.

5: Salt.
Now, here are the steps to follow to turn your copper green:
1: Put the paper towel inside the plastic container.

2: Add a dash of vinegar to the container, it will soak into the paper towel.

3: Add the salt to the container, sprinkle it over the paper towel.

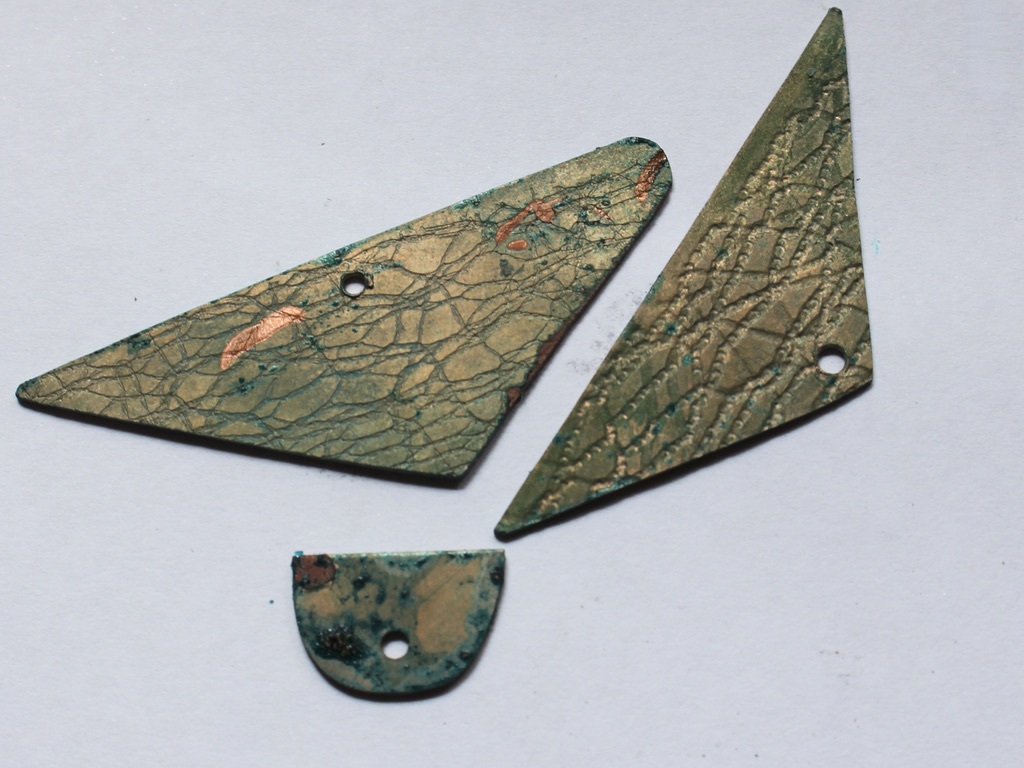
4: Place the copper pieces into the container, try to have them leaning against the side as having the pieces right against the vinegar-coated paper towel stops the patina from developing well (you can see this below with the copper arch charm, one side didn’t turn green because it was directly against the salt and vinegar mixture).

5: Put on the lid and leave the pieces overnight.
6: Once you have a patina you like, you can take the pieces out of the container and gently pat them dry with another paper towel, and that’s all! Now your pieces are ready to make with.


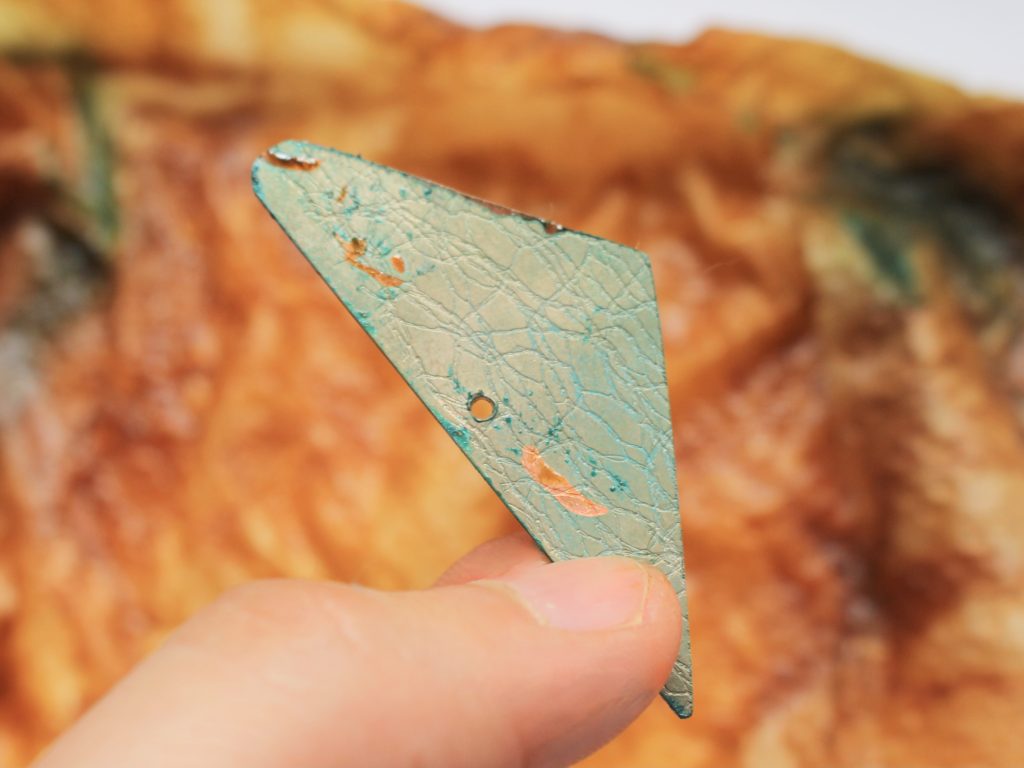


The final patina can be delicate when it is dry, so you can protect it with a substance called renaissance wax, which coats the piece and protects the green patina.
Here are some earrings I made using this technique, what do you think?

If you love this design, you can buy them here: https://www.etsy.com/au/listing/724963620/australian-made-earrings-copper-earrings?click_key=71fb4f1a5e946b8d959e969ff1a5137d17891322%3A724963620&click_sum=ee529605&ref=shop_home_active_27&frs=1

Here’s another pair you can purchase: https://www.etsy.com/au/listing/746942552/copper-and-silver-earrings-white-jade?click_key=42061fd44dcd2c519b427d32fdeaf45615238bcc%3A746942552&click_sum=3fb803a0&ref=shop_home_active_2&frs=1
And a third pair I made using copper wire and jasper beads, you can buy them here: https://www.etsy.com/au/listing/1130385893/textured-copper-earrings-copper-earrings?click_key=1fb520d80bb1c050717c9f98bc6c20c3f0260d48%3A1130385893&click_sum=deed90a6&ref=shop_home_active_8&frs=1