Give Your Jewelry a Unique Edge by Making Your Own Beads!
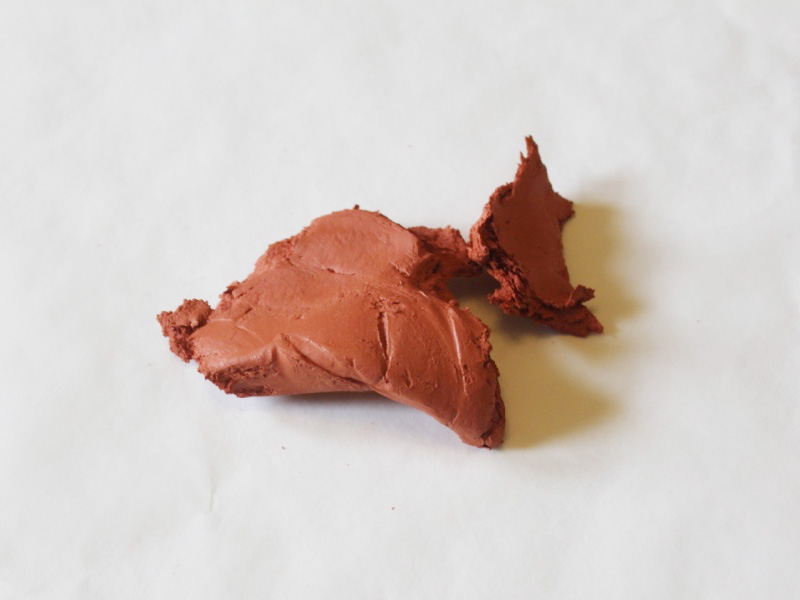
I love making jewelry with pretty beads and pendants made out of different materials like gemstones and glass, but sometimes I want to my jewelry designs to have a special, one of a kind edge. To make sure that my designs are truly unique, I sometimes make my own beads out of air dry clay. Using clay allows you to get really creative with the shapes and forms that you create. Not only can you make your own beads, you can made some beautiful pendants and charms as well. Using air drying clay requires a little bit of extra patience (As you wait for them to dry) but it is an easy fun (and slightly messy) material to work with!
In this tutorial I will show you a few different ways that you can make unique clay beads and pendants.
You will need the following tools and materials to make these clay beads and pendants:
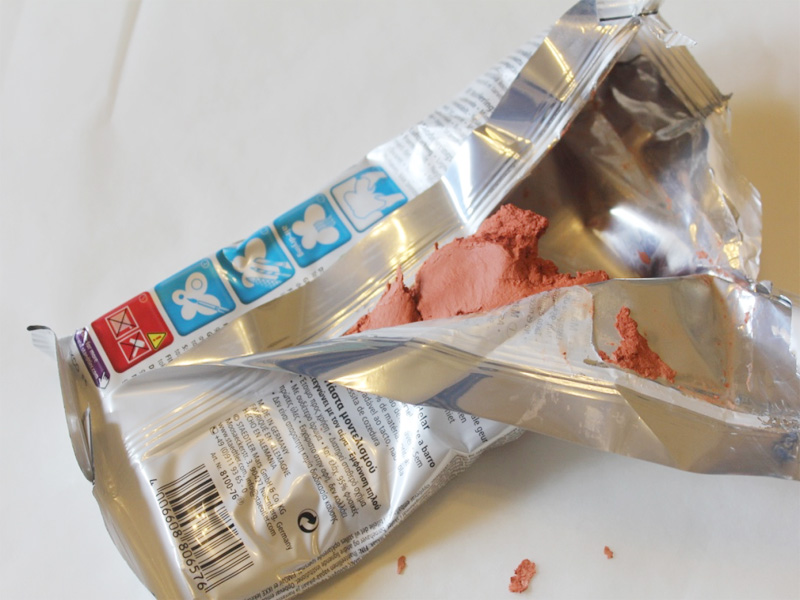
1: Air dry clay. I used terracotta colored Fimo Basic air dry clay.
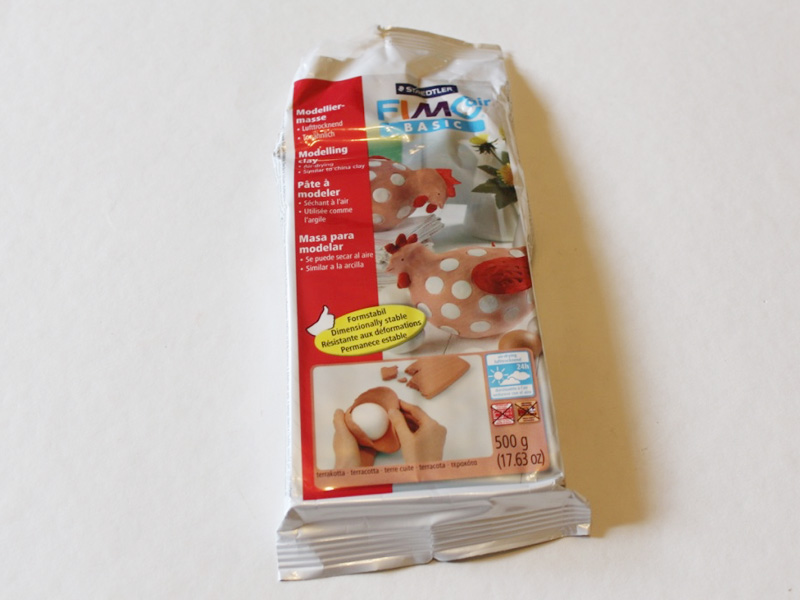
I used terracotta colored Fimo Basic air dry clay but this DAS air dry clay in terracotta gives a similar finish. You can also purchase it in white!
2: Baking paper. Baking paper is a great surface to work on and helps to keep your surfaces clean!

3: A skewer for making holes in your beads and pendants.

4: Buttons or other materials for adding pattern to your beads and pendants.

The Steps:
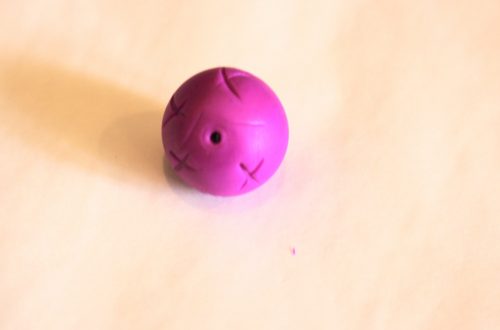
Here are the steps for making a round clay bead:
1: Lay down a piece of baking paper.
2: Take out a portion of clay.
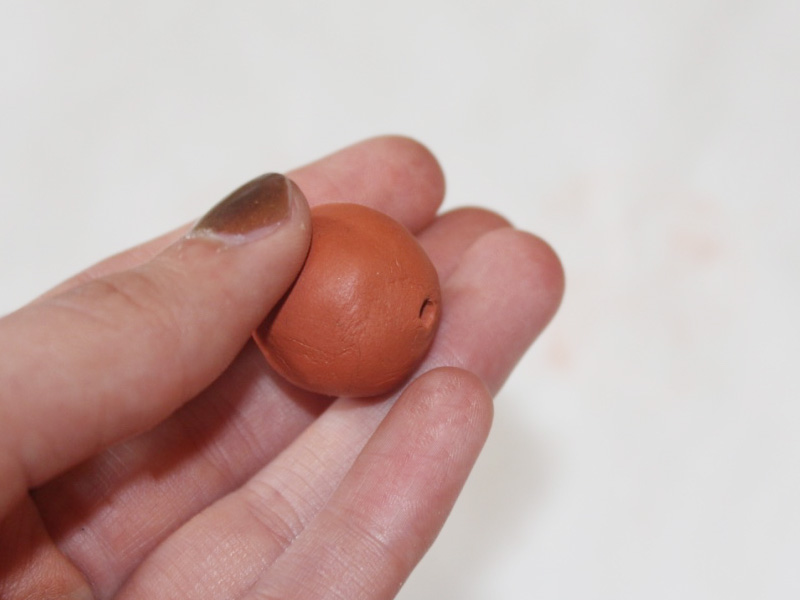
3: Begin rolling and shaping the clay in your hands. Forming a spherical shape can be easier if you roll the piece on a flat surface.


4: Once you are happy with the shape you have made, take the skewer and poke a hole through the center of the bead.


5: Your shape might be a bit disfigured after poking the skewer through, carefully reshape it again and poke the skewer through the hole from the other side. This will ensure that the hole is evenly shaped on both sides.

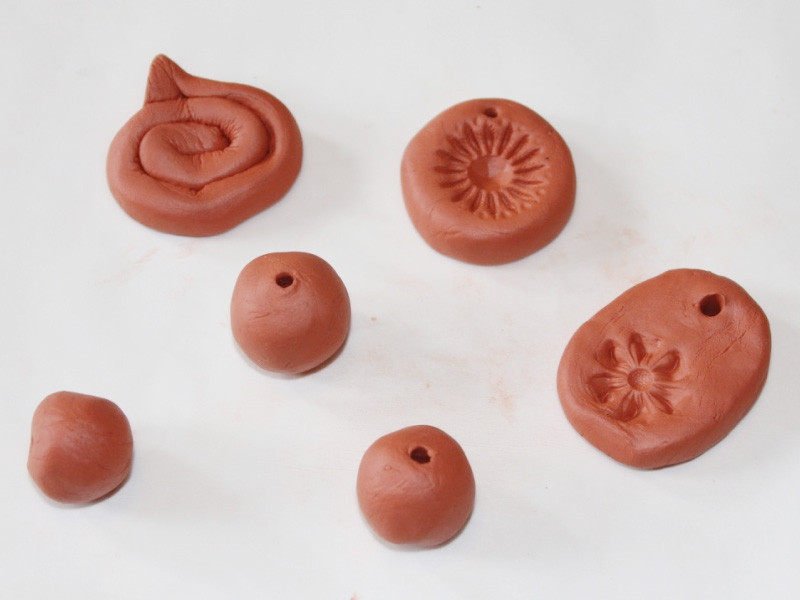
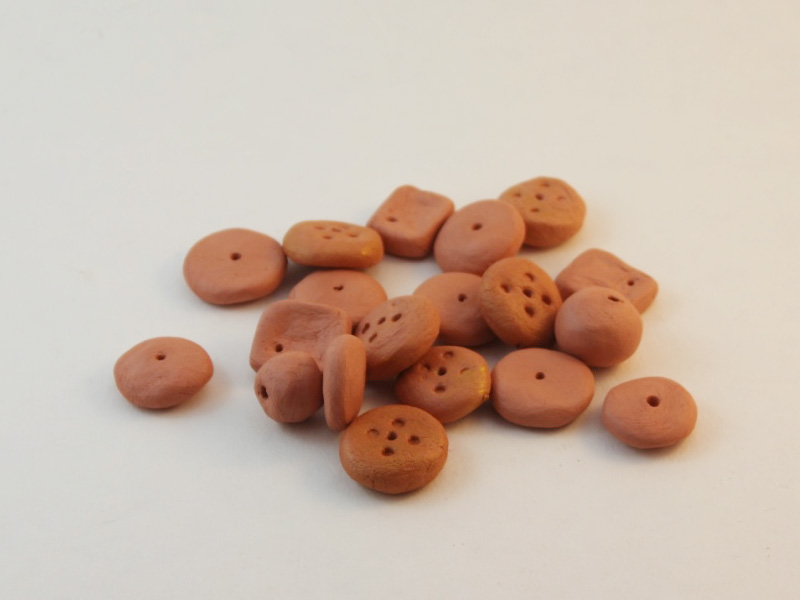
Here are the steps for making a textured round clay pendant:
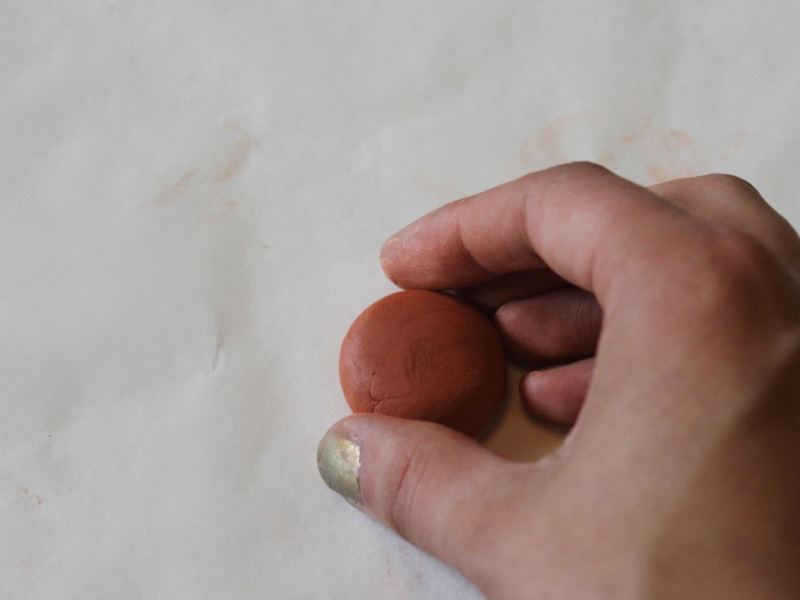
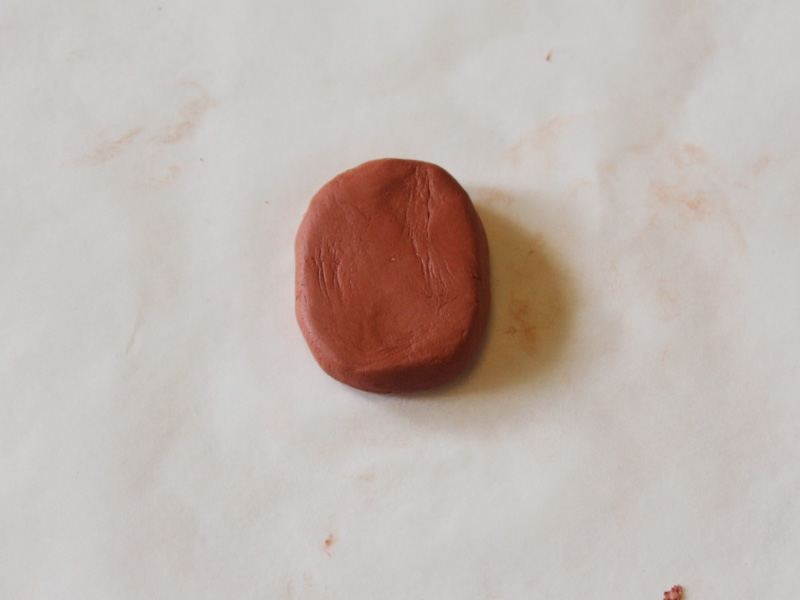
1: Take another piece of clay and begin shaping it into a sphere.
2: Take the spherical shape and then flatten it between your palms to make a disk shape.

3: smooth the surfaces out by pressing each side lightly against a flat surface.
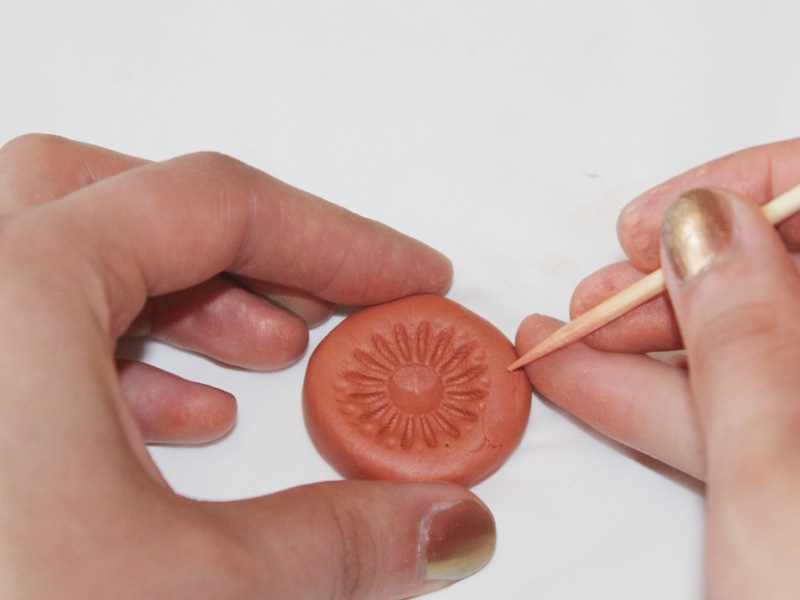
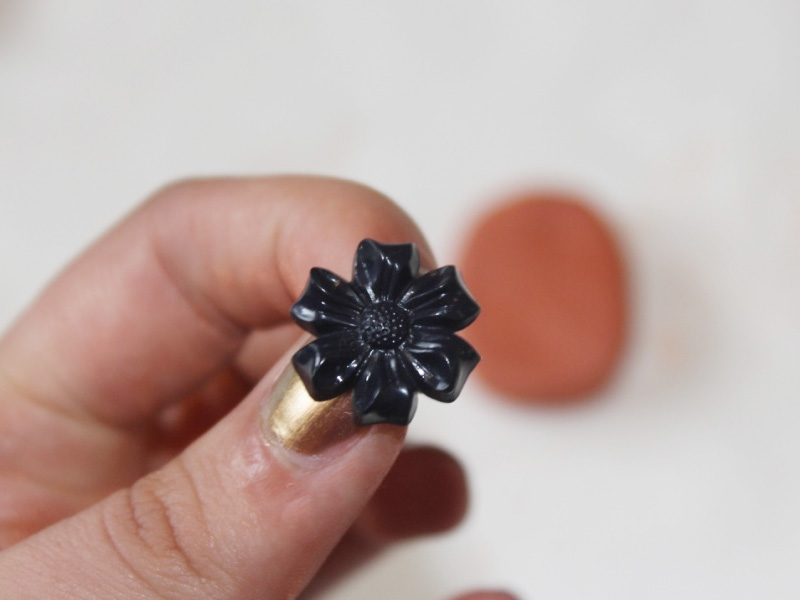
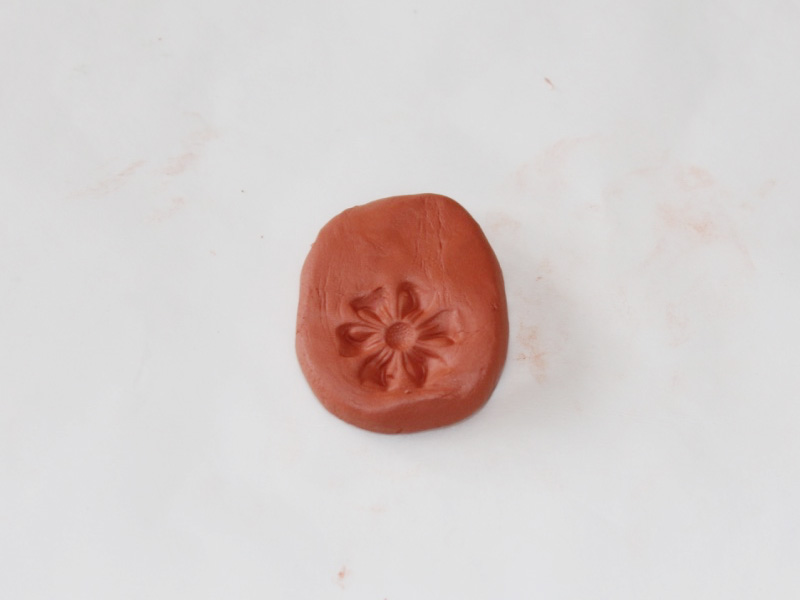
4: Once you are happy with your shape, take a button and press it into the upper face of the clay. Make sure you press down firmly to get a good impression in the clay.


5: Remove the button to reveal the impression made in the clay.

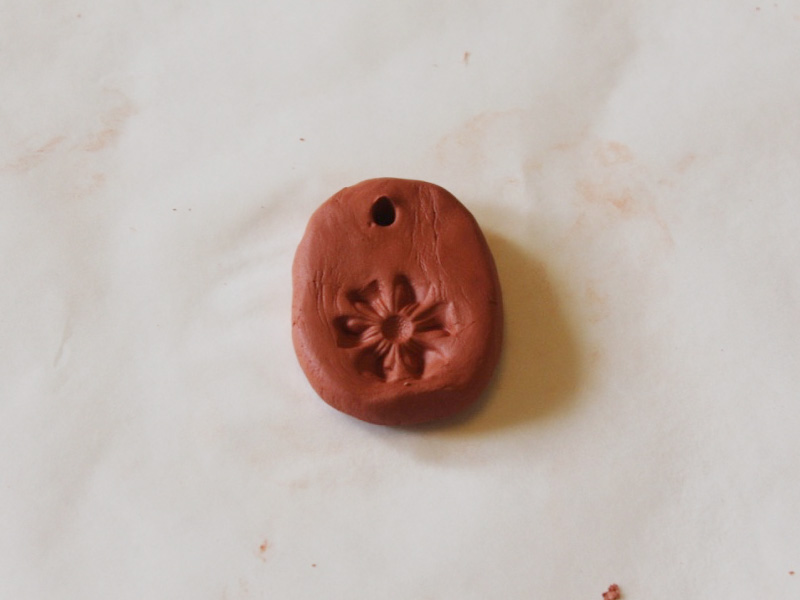
6: Take the skewer and use it to create a hole in the pendant disk. As with the round bead, you may need to poke the skewer through from both sides.
Here are the steps for making a rectangular clay pendant:
1: Form a rectangular shape with a piece of clay using your fingers to make your desired shape.
2: Take another button or charm and press it firmly into one end of the clay shape.


3: Remove the button to see the impression it has left in the clay.
4: Use the skewer to create a hole at the top of the pendant. Make sure you poke the skewer through to create an even hole.

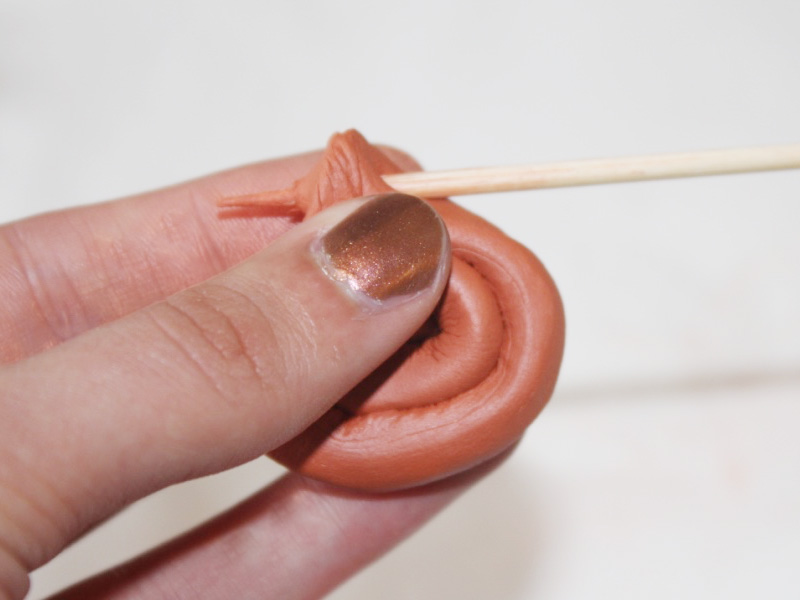
Here are the steps for making a coiled clay pendant:
1: Roll some clay backwards and forwards on a hard surface using your fingers.

2: Continue rolling until your piece of clay is a long flexible log shape.

3: Coil the log into a spiral shape and pinch the end to create a space for the hole to be placed.

4: Poke the skewer through the top part of the pendant. Make sure to even out the hole on both sides.


When you have finished making all of your clay designs, pop them outside to harden in the sun. If that doesn’t suit you can leave them to dry inside.

Once your pieces are dry you can get to beading with them right away or you can add some extra pizzazz by finishing them off with some paint.
Here are some tutorials that show you can use your handmade clay beads and charms:
- Turn your clay charms into scented diffusers
- Make a flower necklace with clay beads
- How to make clay love heart charms
- Make a double strand necklace with clay statement beads
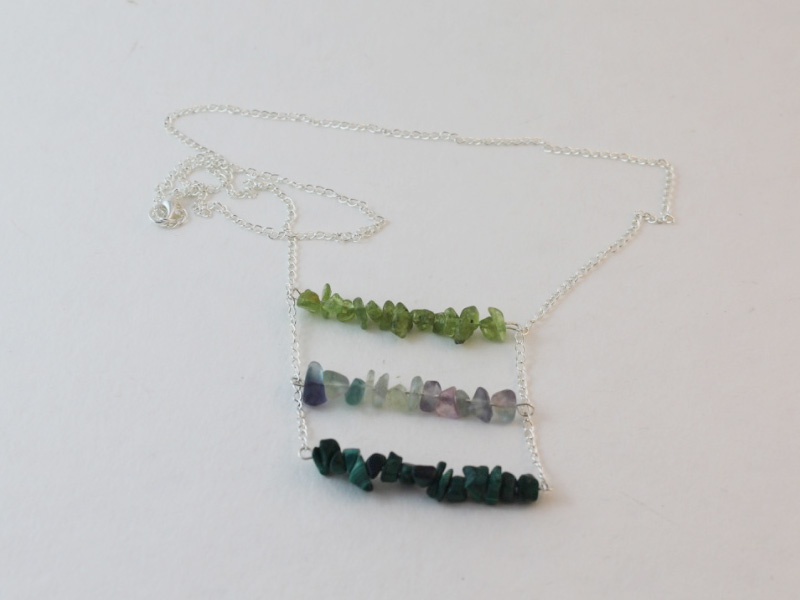
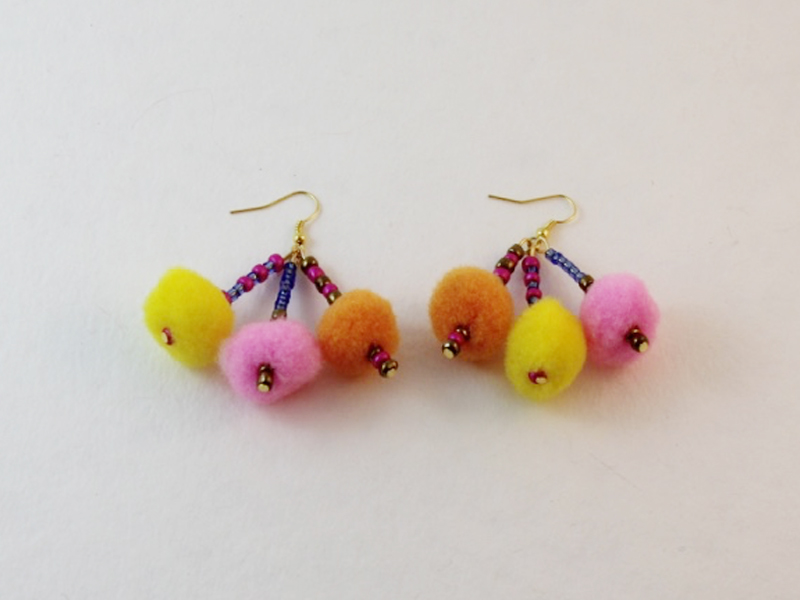
Here is some more inspiration for making jewels out of your handmade clay beads and charms.


This tutorial contains affiliate links
DIY Jewelry Hub
Welcome to DIY Jewelry Hub. If you’ve ever wanted to learn how to make your own jewelry this is the place to start! Jewelry is a great way to show off your individuality and style. You’ll be surprised at how easy it is to create your own unique pieces! DIY Jewelry Hub will equip you with all the knowledge and inspiration you need to make your own jewelry.
You May Also Like

Need some sweet scents in your life? Here’s how to turn your clay beads into oil diffusers!
Want to make something sweet for Mom? How about a handmade heart?!