-
Got some spare ribbon lying around? Turn it into a crochet phone strap!
Phone straps are so useful for keeping hold of your phone, and making sure you don’t drop it on your face. Instead of buying a generic strap, why not try crocheting your own out of some interesting ribbon? This tutorial is a simple crochet chain that is finished off with a bow, a perfect afternoon craft! What ribbon will you choose? Please note that this tutorial contains affiliate links.
You’ll need the following tools and materials to make your crochet phone strap:
1: A ribbon that is about 1m to 1.5m long. I used this ribbon that was left over from a gift.

You can get some similar ribbon here:
2: A crochet hook. If you ribbon is thicker I recommend using a thicker hook, if it is thinner, use a thinner hook. I used a 6mm crochet hook.

You can get a crochet hook here:
3: A pair of scissors for trimming your ribbon if you need too.

You can get some here:
4: A phone charm strap.

You can get something similar here:
Follow these steps to make your crochet ribbon phone strap:
1: Create a slip knot at one end of the ribbon, leaving enough length for tying the bow at the end.

2: Put the knot over the crochet hook and pull it tight.

3: Take the long end of the ribbon and loop it over the hook in front of the first knot.

4: Take the first loop and pull it over the second one you just made. This is the start of the crochet chain.

5: Continue step 3 and 4 to continue forming the chain.

6: When your chain is long enough, thread the end of the ribbon through the end loop and pull it tight.

7: Trim any excess ribbon so that both ends are the same length.
8: Tie the ends of the crochet chain around the end of the phone charm strap.

9: Tie the ends into a bow.

Now your phone strap is finished and ready to use! How handy and satisfyingly simple to make!


You May Also Like

Need a sparkly accessory to cheer up the 2020 silly season? Make this waist chain in time for Christmas this year!

This charm will let you turn any necklace into a lariat!

Need help keeping hold of your phone? Here’s how to make a cute chain and rhinestone phone strap so its harder to lose!
-
Get Hands-Free and Stylish with a DIY Crochet Phone Wrist Strap: Follow our Step-by-Step Tutorial Now!
It’s great to keep track of your phone without having to old it in your hands all the time, strap on this crochet wrist strap to ensure you don’t lose yours! This tutorial is a beginners crochet tutorial, and the results are pretty cool! Please note that it contains affiliate links.
You’ll need these tools and materials to make your crochet phone strap:
1: Some yarn or thread. I used this beaded thread.

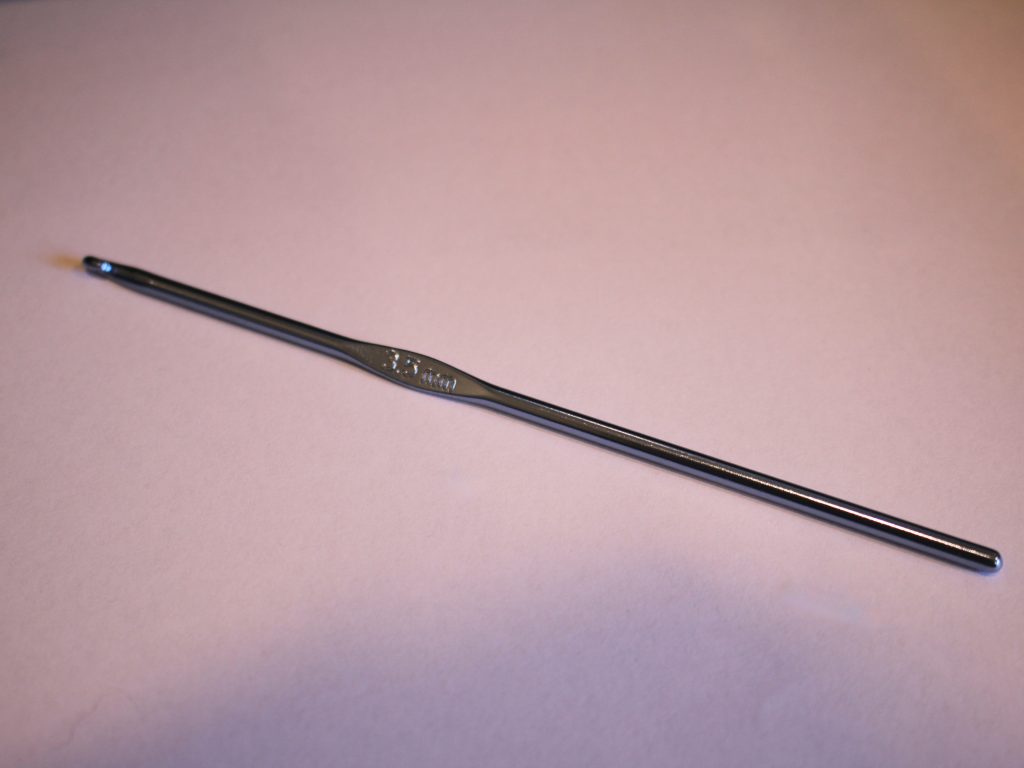
2: A crochet hook. I used this 3.5mm hook, If you like the loose look you can see in this tutorial, this size is fine for the thickness of thread I used, but if you want it to be tighter, try using a smaller crochet hook.
3: Scissors.
4: Super Glue.

5: A phone strap keychain.

Follow these steps to make your cute crochet wrist strap:
1: Take your chosen yarn and create a slip knot.


2: Slide the knot over the crochet hook and then pull it tight.

3: Take the long end of the yarn and loop it over the crochet hook in front of the first loop you added.

4: Take the first loop and pull it over the second loop and off the crochet hook. You can find a video demonstration here.

5: Repeat steps 3 and 4 until you have a length of crochet chain you like. I made mine about 30cm long but you might want to make yours longer or shorter depending on your wrist size.


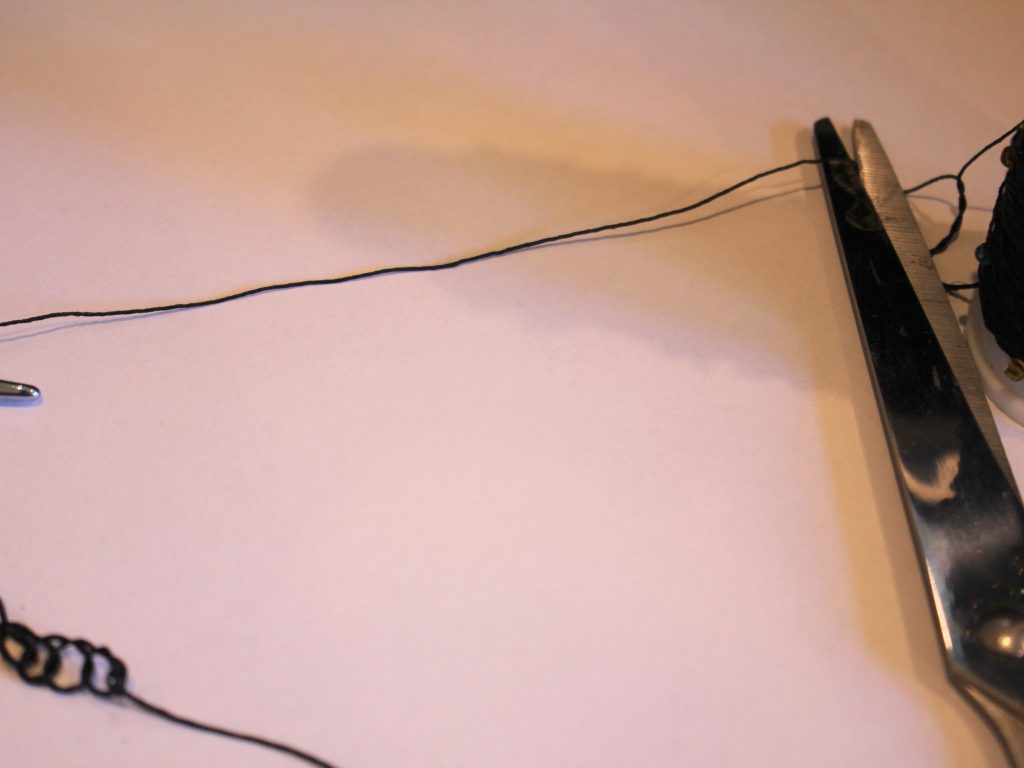
6: Once you have a length you like, cut the end of the yarn so that you have a 12cm tail.
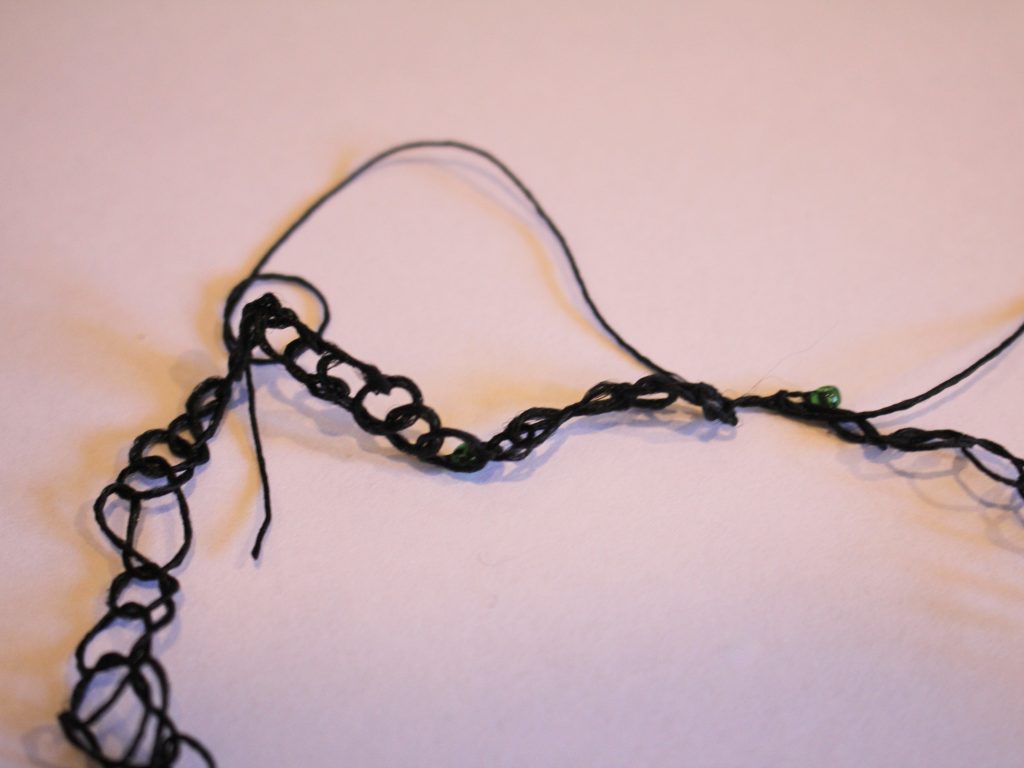
7: Take the final loop off of the crochet hook and thread the tail through the loop pulling it tight to secure it.


8: Knot the ends of the crochet chain together.

9: Thread the yarn through the jump ring on the keychain and create a few knots to secure it.


10: Trim the ends of the yarn and add a dab of superglue to secure it.


Now your crochet phone wrist strap is finished and ready to use! How fun?!

Here are some other wrist strap tutorials to follow:
1: A chain and rhinestone phone strap
3: This simple chain phone strap
4: A tutorial that shows you how to transform a necklace into a phone strap.
-
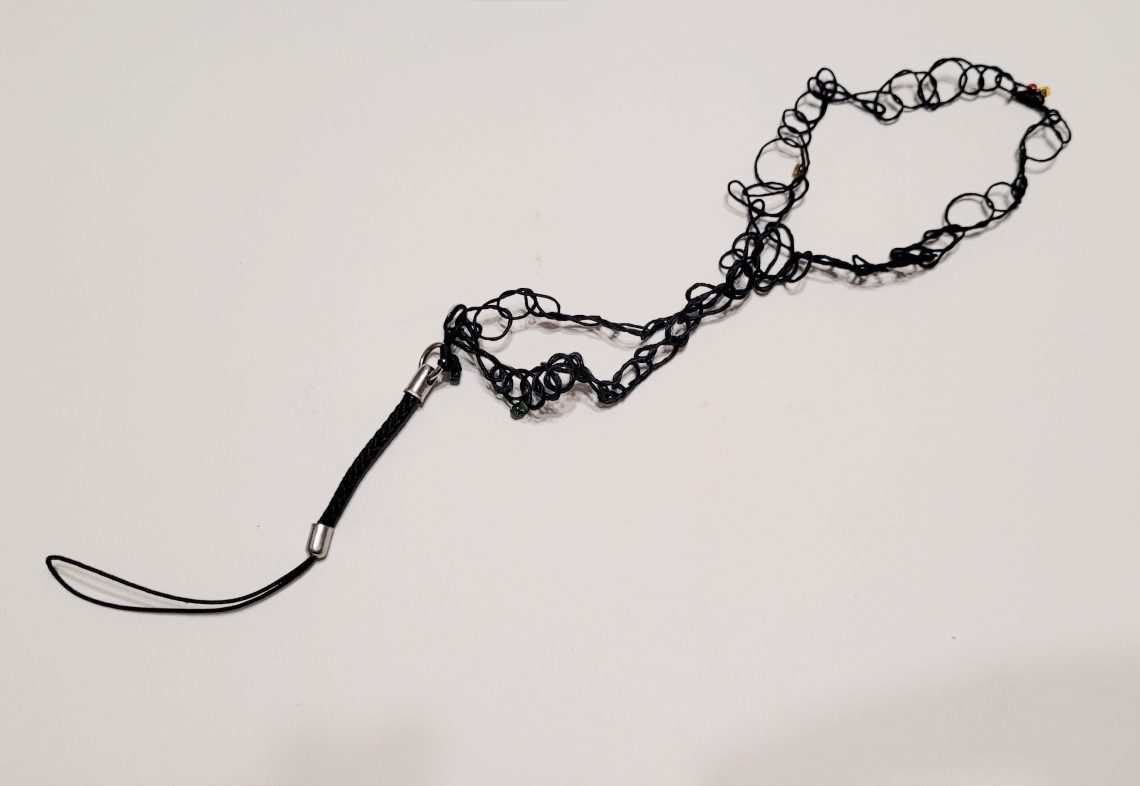
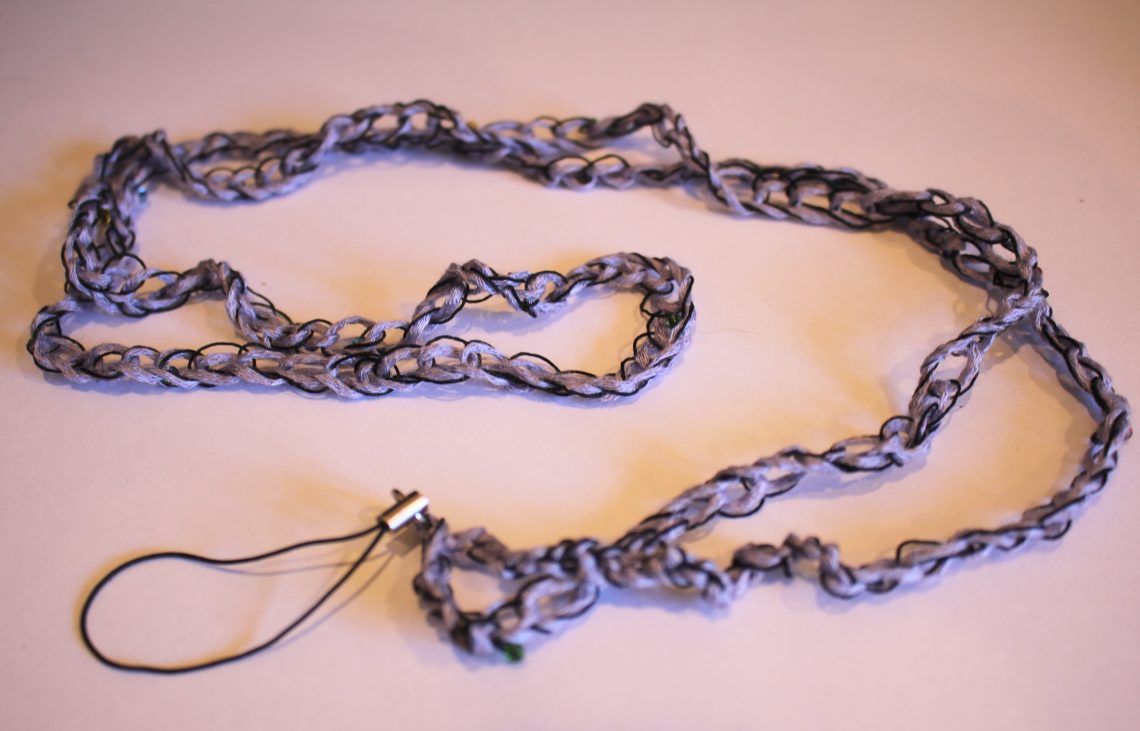
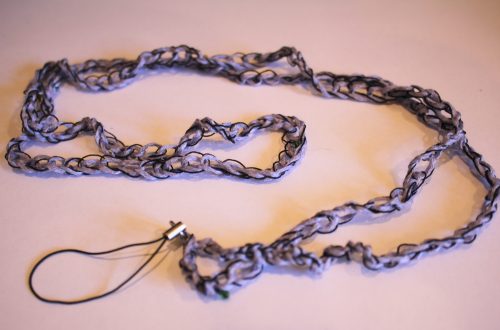
Never Lose Your Phone Again: Learn How to Crochet Your Own Stylish Phone Lanyard!
I sometimes worry that my phone could be easily lost or stolen from me, so I decided to make this sweet crochet lanyard so I can wear my phone and tuck it into my bag or pocket at the same time! This lanyard uses loose crochet and thin thread to add length. Kinda cute and also practical! Please note that this is a beginner crochet tutorial that contains affiliate links.
You’ll need the following tools and materials to make this phone lanyard:
1: Some yarn. I used two yarns held together, purple bamboo yarn and thin beaded thread.
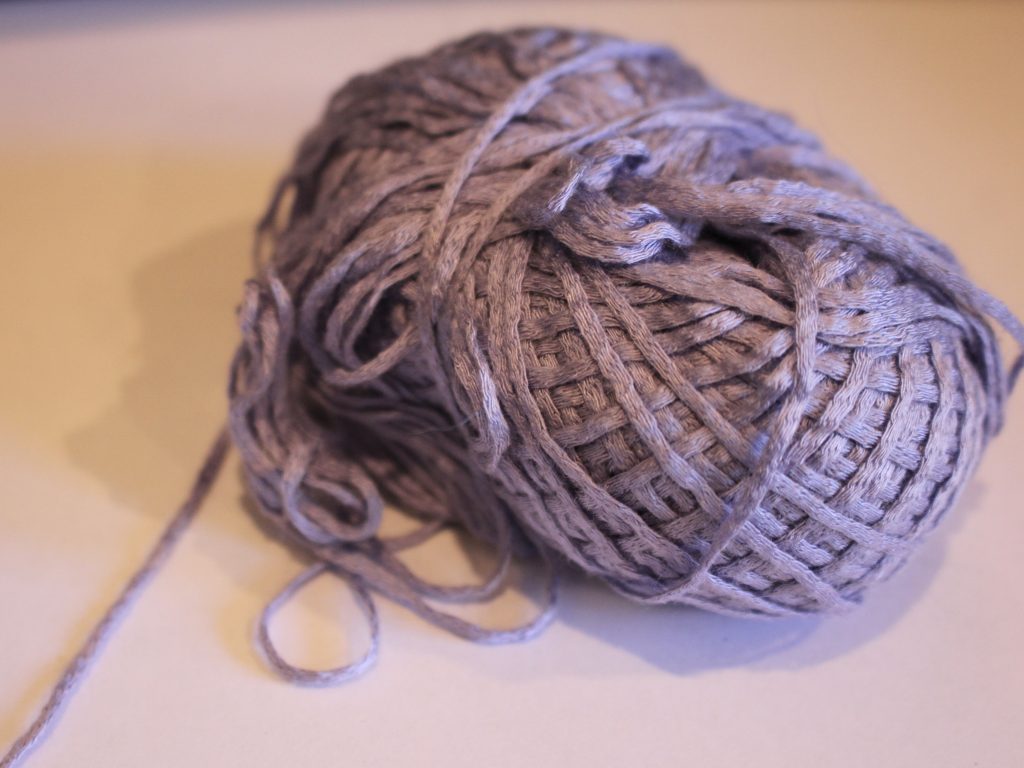
Get some purple bamboo yarn here: https://amzn.to/41yN7Qa
Get some black sequin yarn here: https://amzn.to/44VeNS8
or here: https://tidd.ly/3O34oxP
2: A crochet hook. I used one that was 3.5mm in size. If I made this again I would use a crochet hook that was slightly smaller. The size crochet hook you will need depends on the thickness of your yarn.
You can get a 3.5mm crochet hook here
Here: https://amzn.to/3Ml08si
or here: https://tidd.ly/3O2YDQF
3: A phone loop keychain.

You can get one here: https://amzn.to/42vJzzs, or

5: A pair of scissors.
Here are all the steps you need to follow to make your crochet phone lanyard:
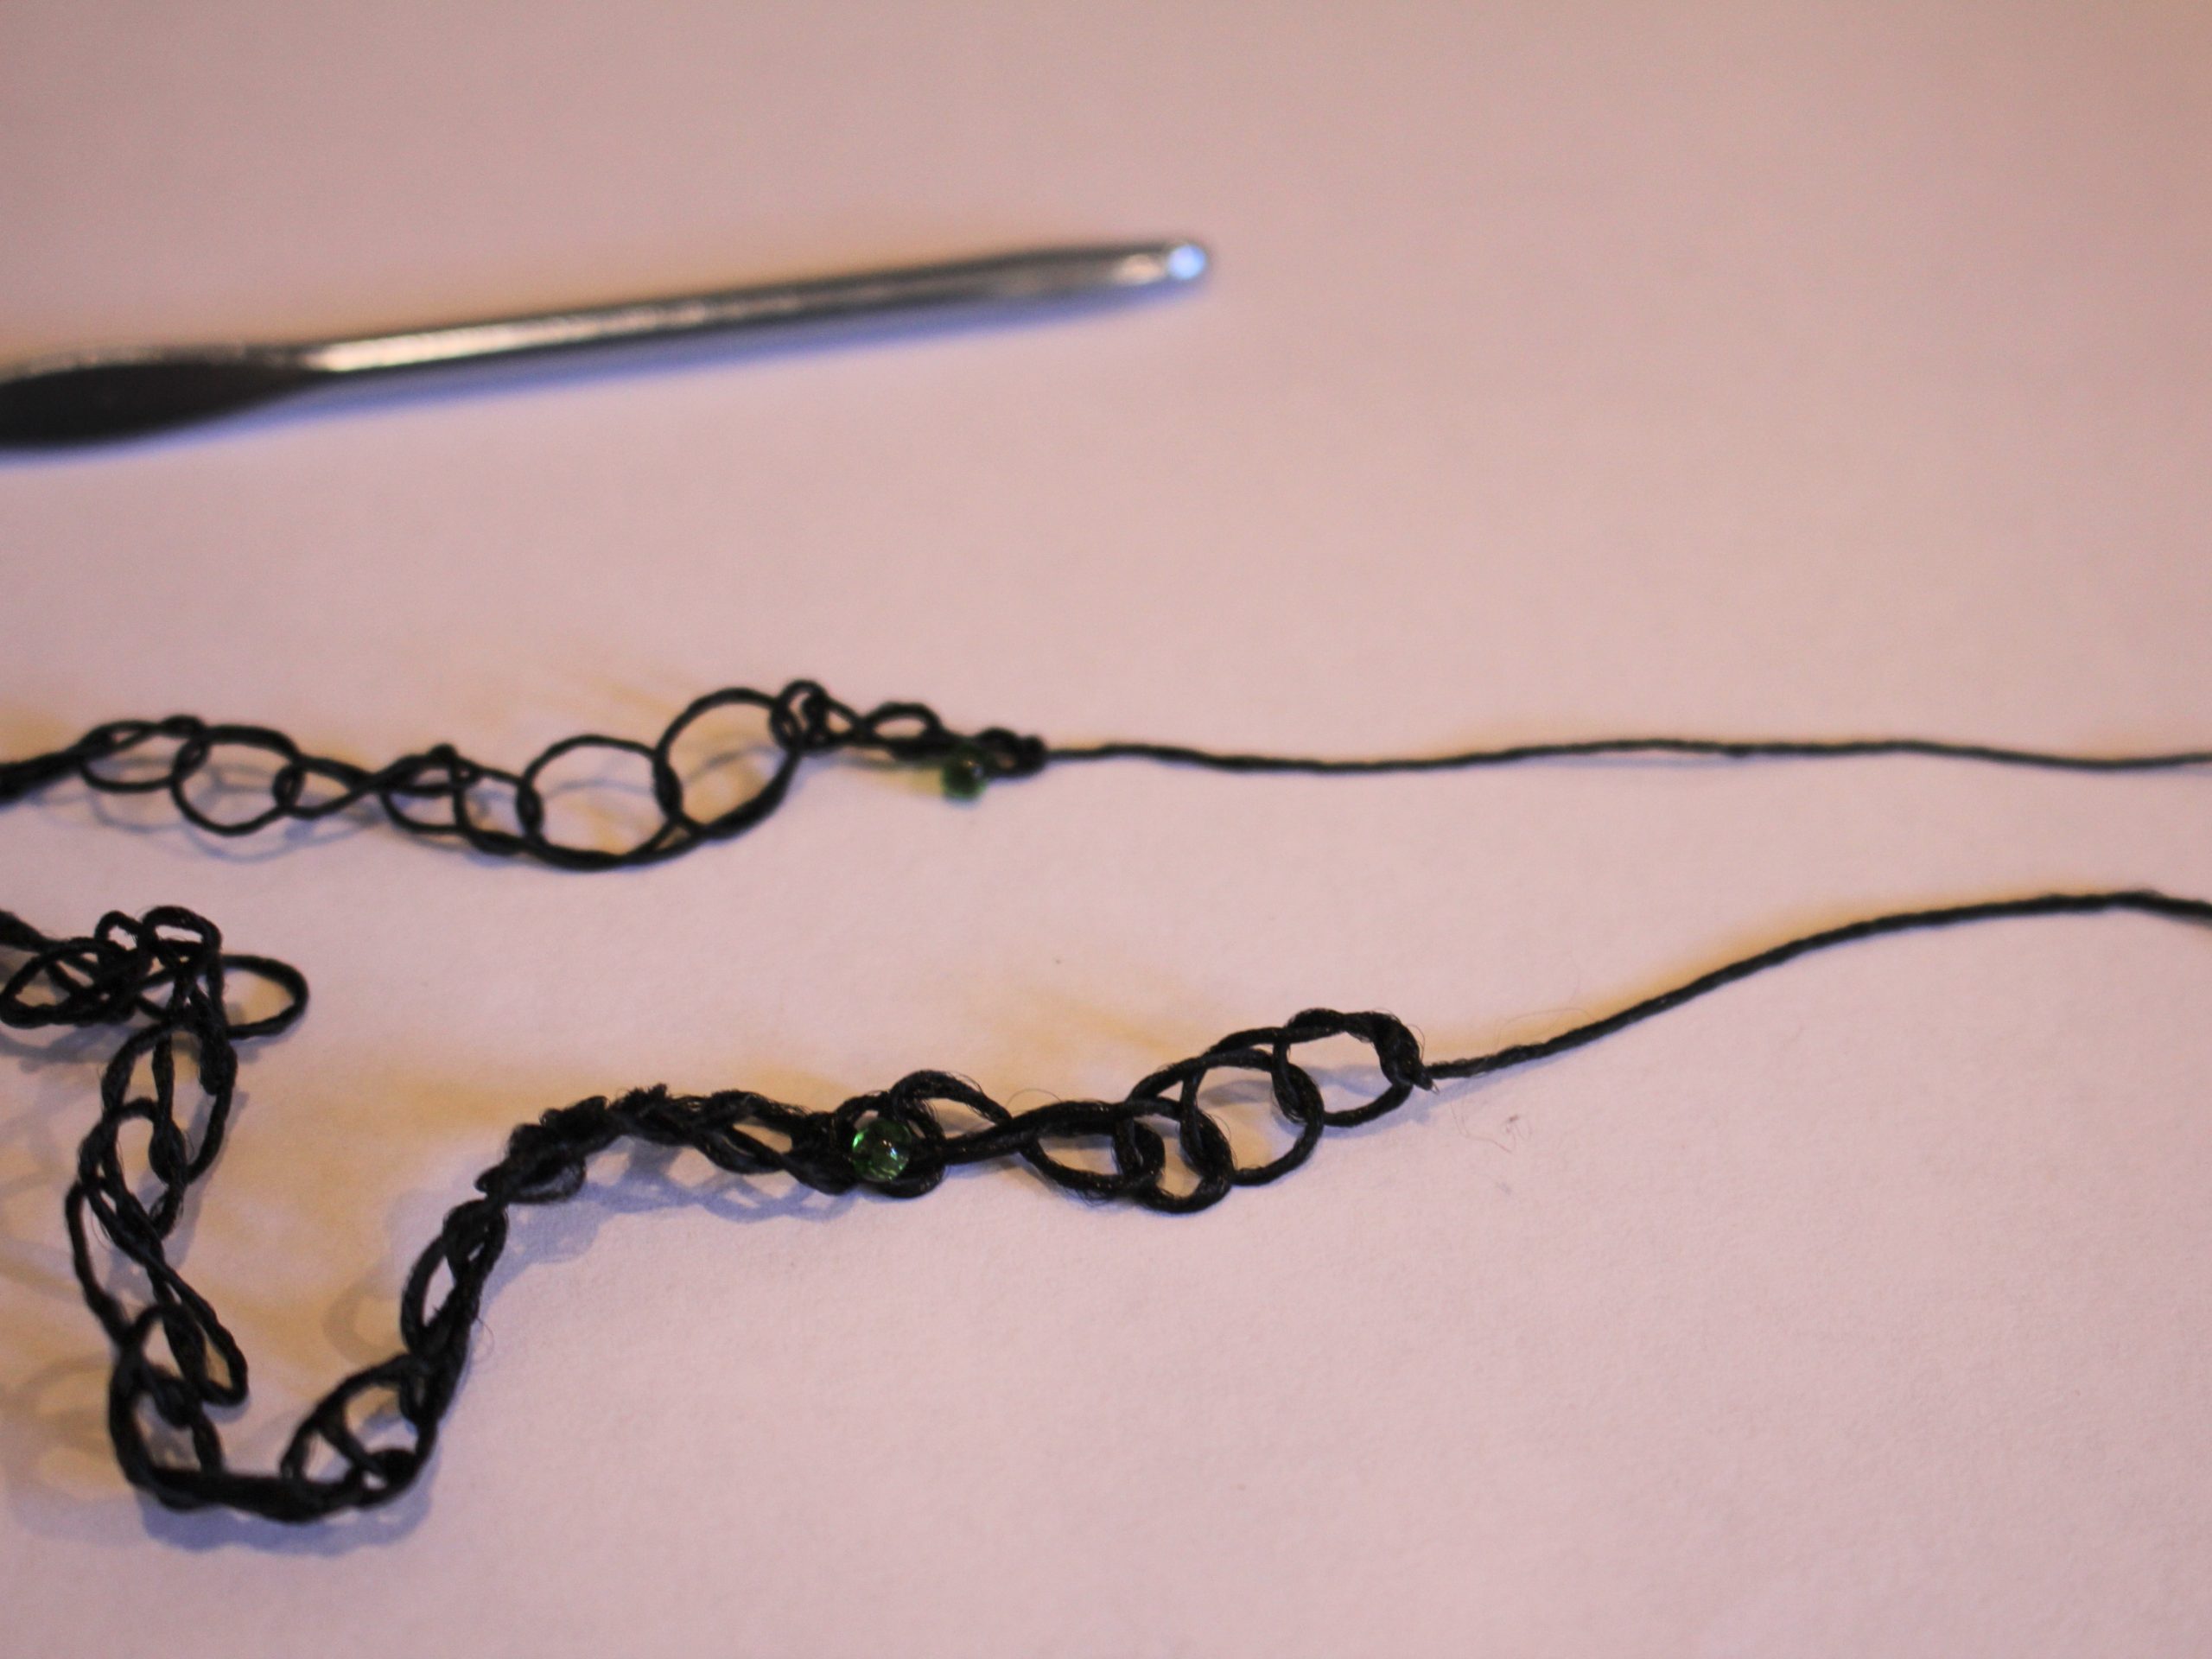
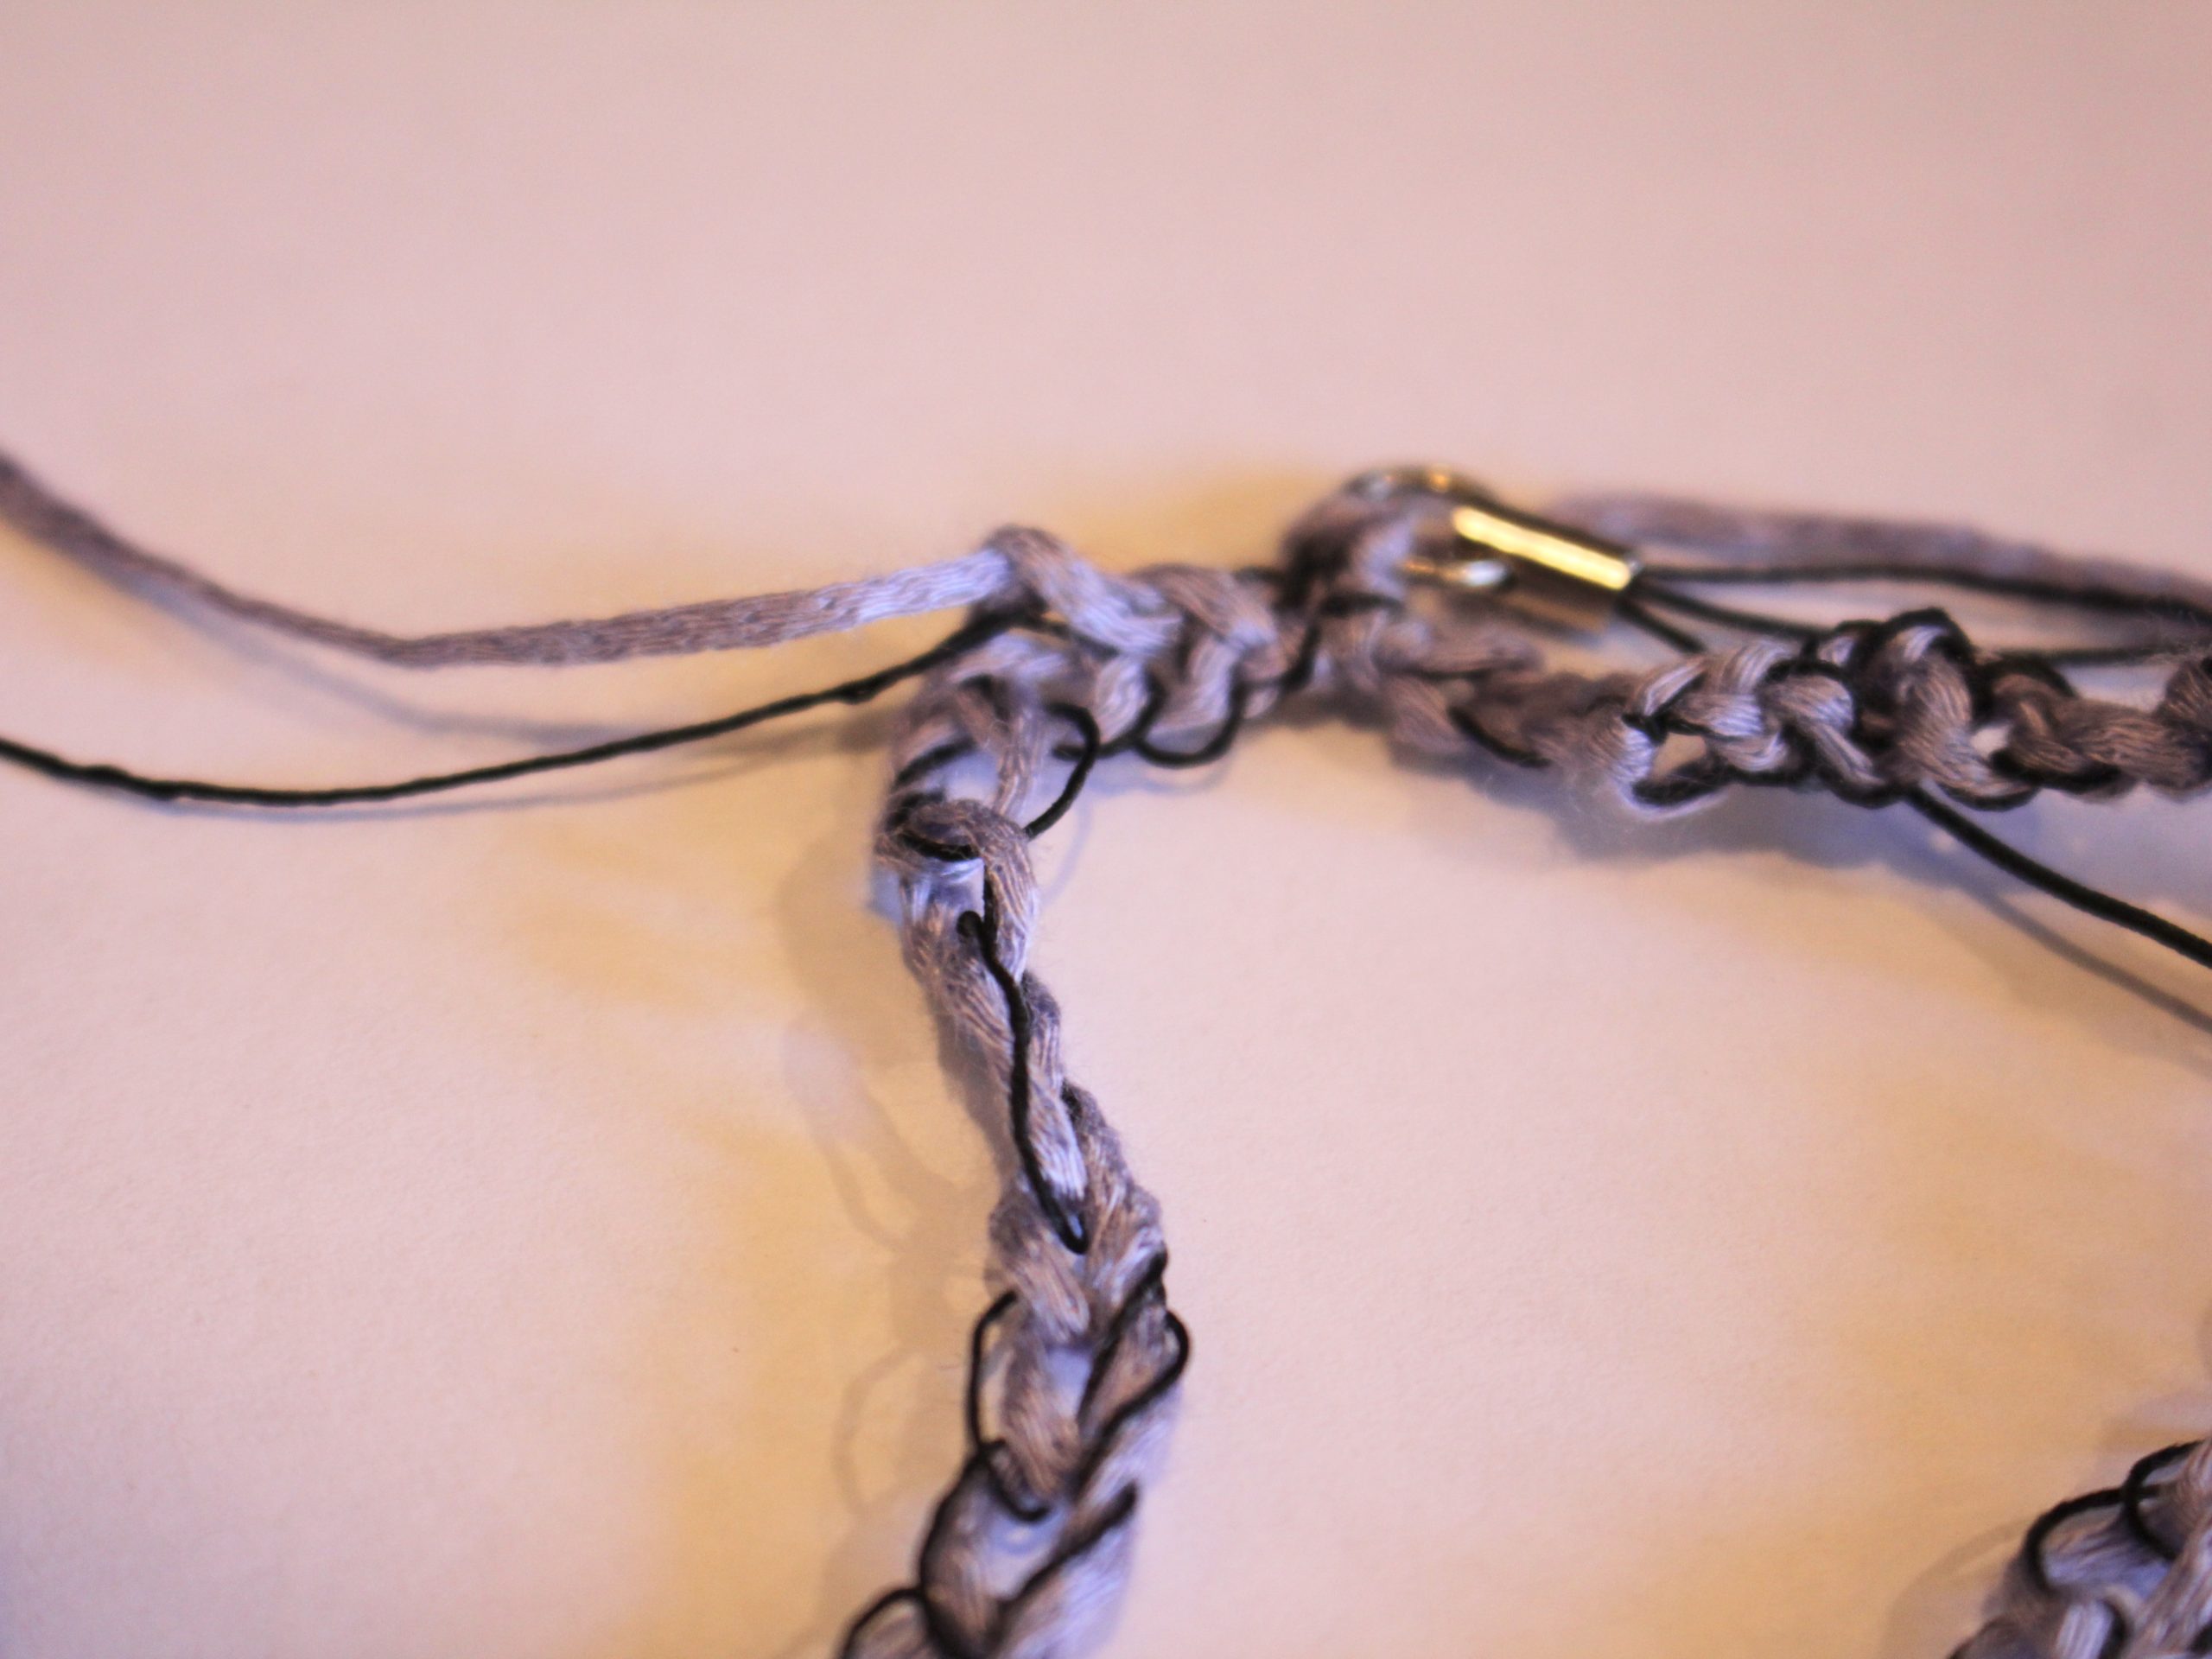
1: Hold the two yarns together.

2: Create a slip knot with the two yarns held together.

3: Slide the open knot over the crochet hook and then tighten it around the hook.

4: Take the long thread and loop it around the hook close to the hook end and in front of the slip knot loop you just tightened. You can see a video of this technique here.
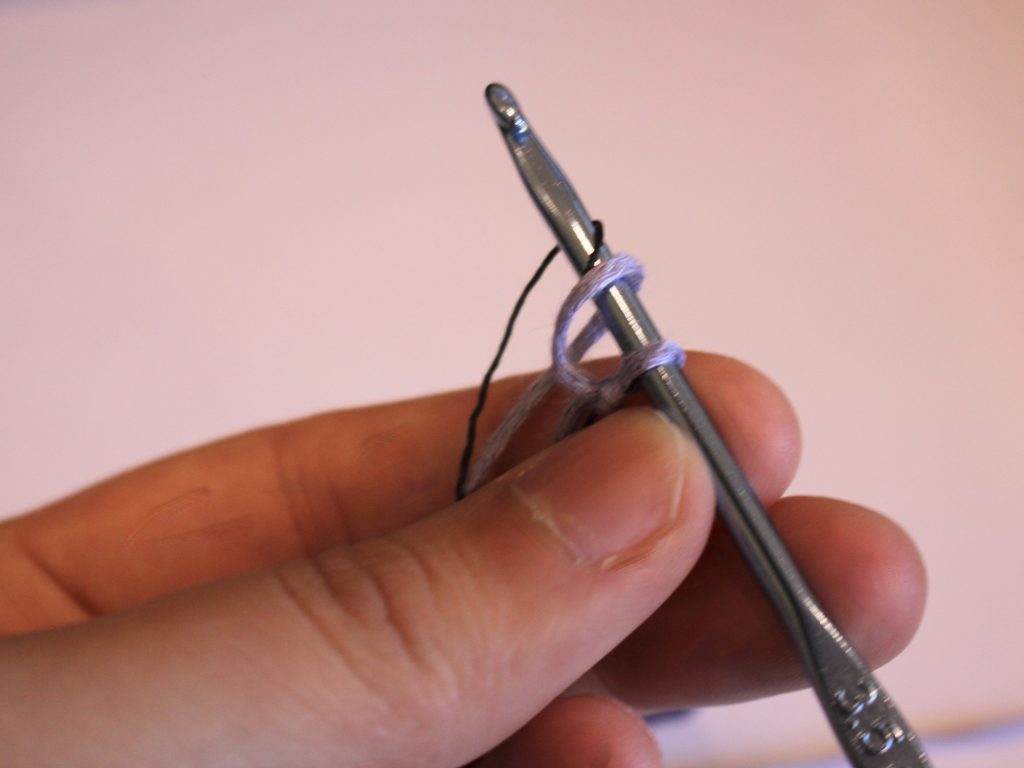
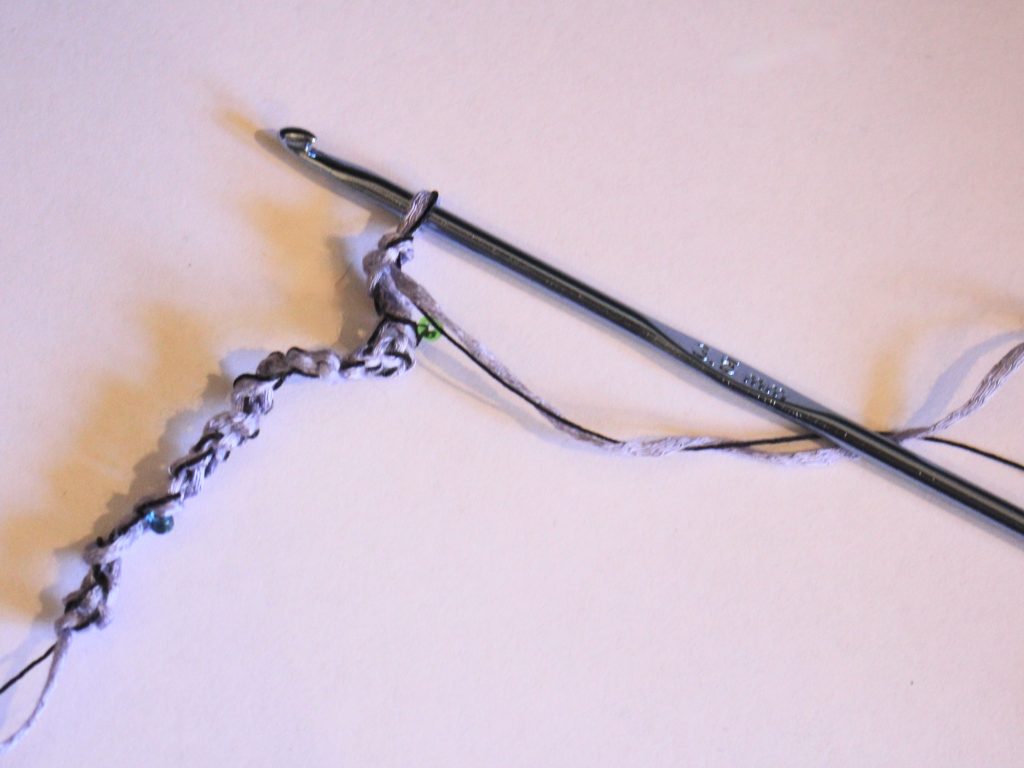
5: Now take the first loop and pull it over the second one and off the crochet hook.

6: Continue steps 4 and 5 to create your crochet chain. Keep making loops until you have a chain long enough to fit across your body like a cross body bag. You can use your favourite cross body back to measure a length you like.

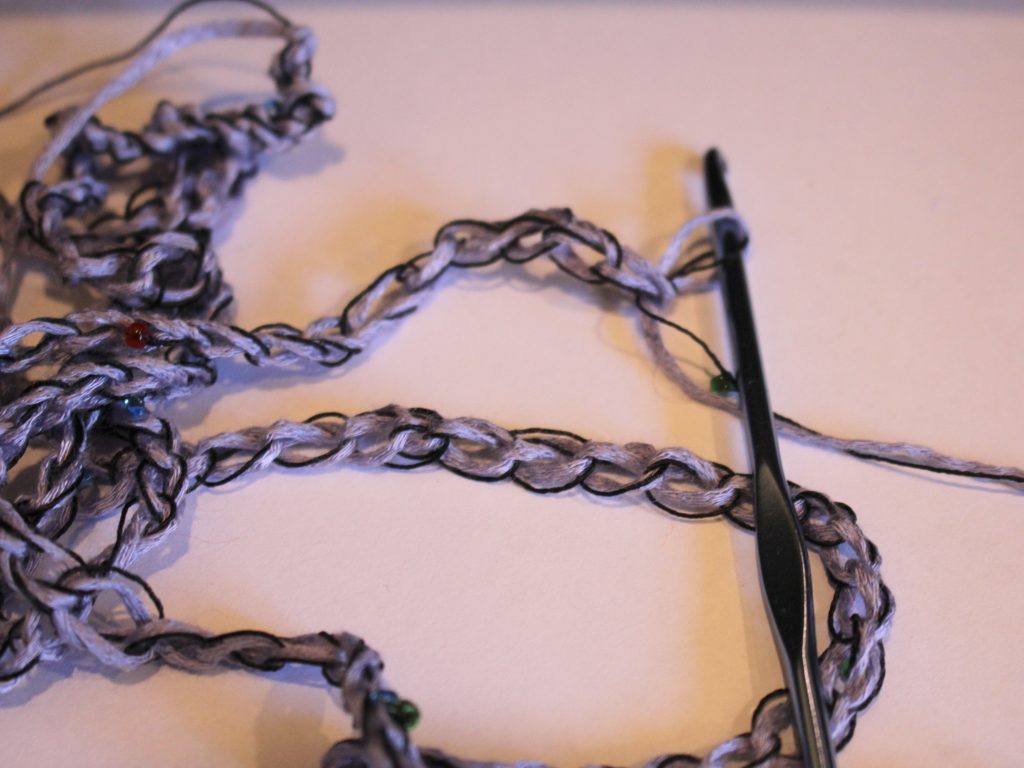
7: Once your crochet chain is long enough, cut the yarn so that you have a shorter length of yarn.

8: Take the last loop off of the crochet chain and loop the end of the yarn through it, pull it tight to create a knot and finish the crochet chain.

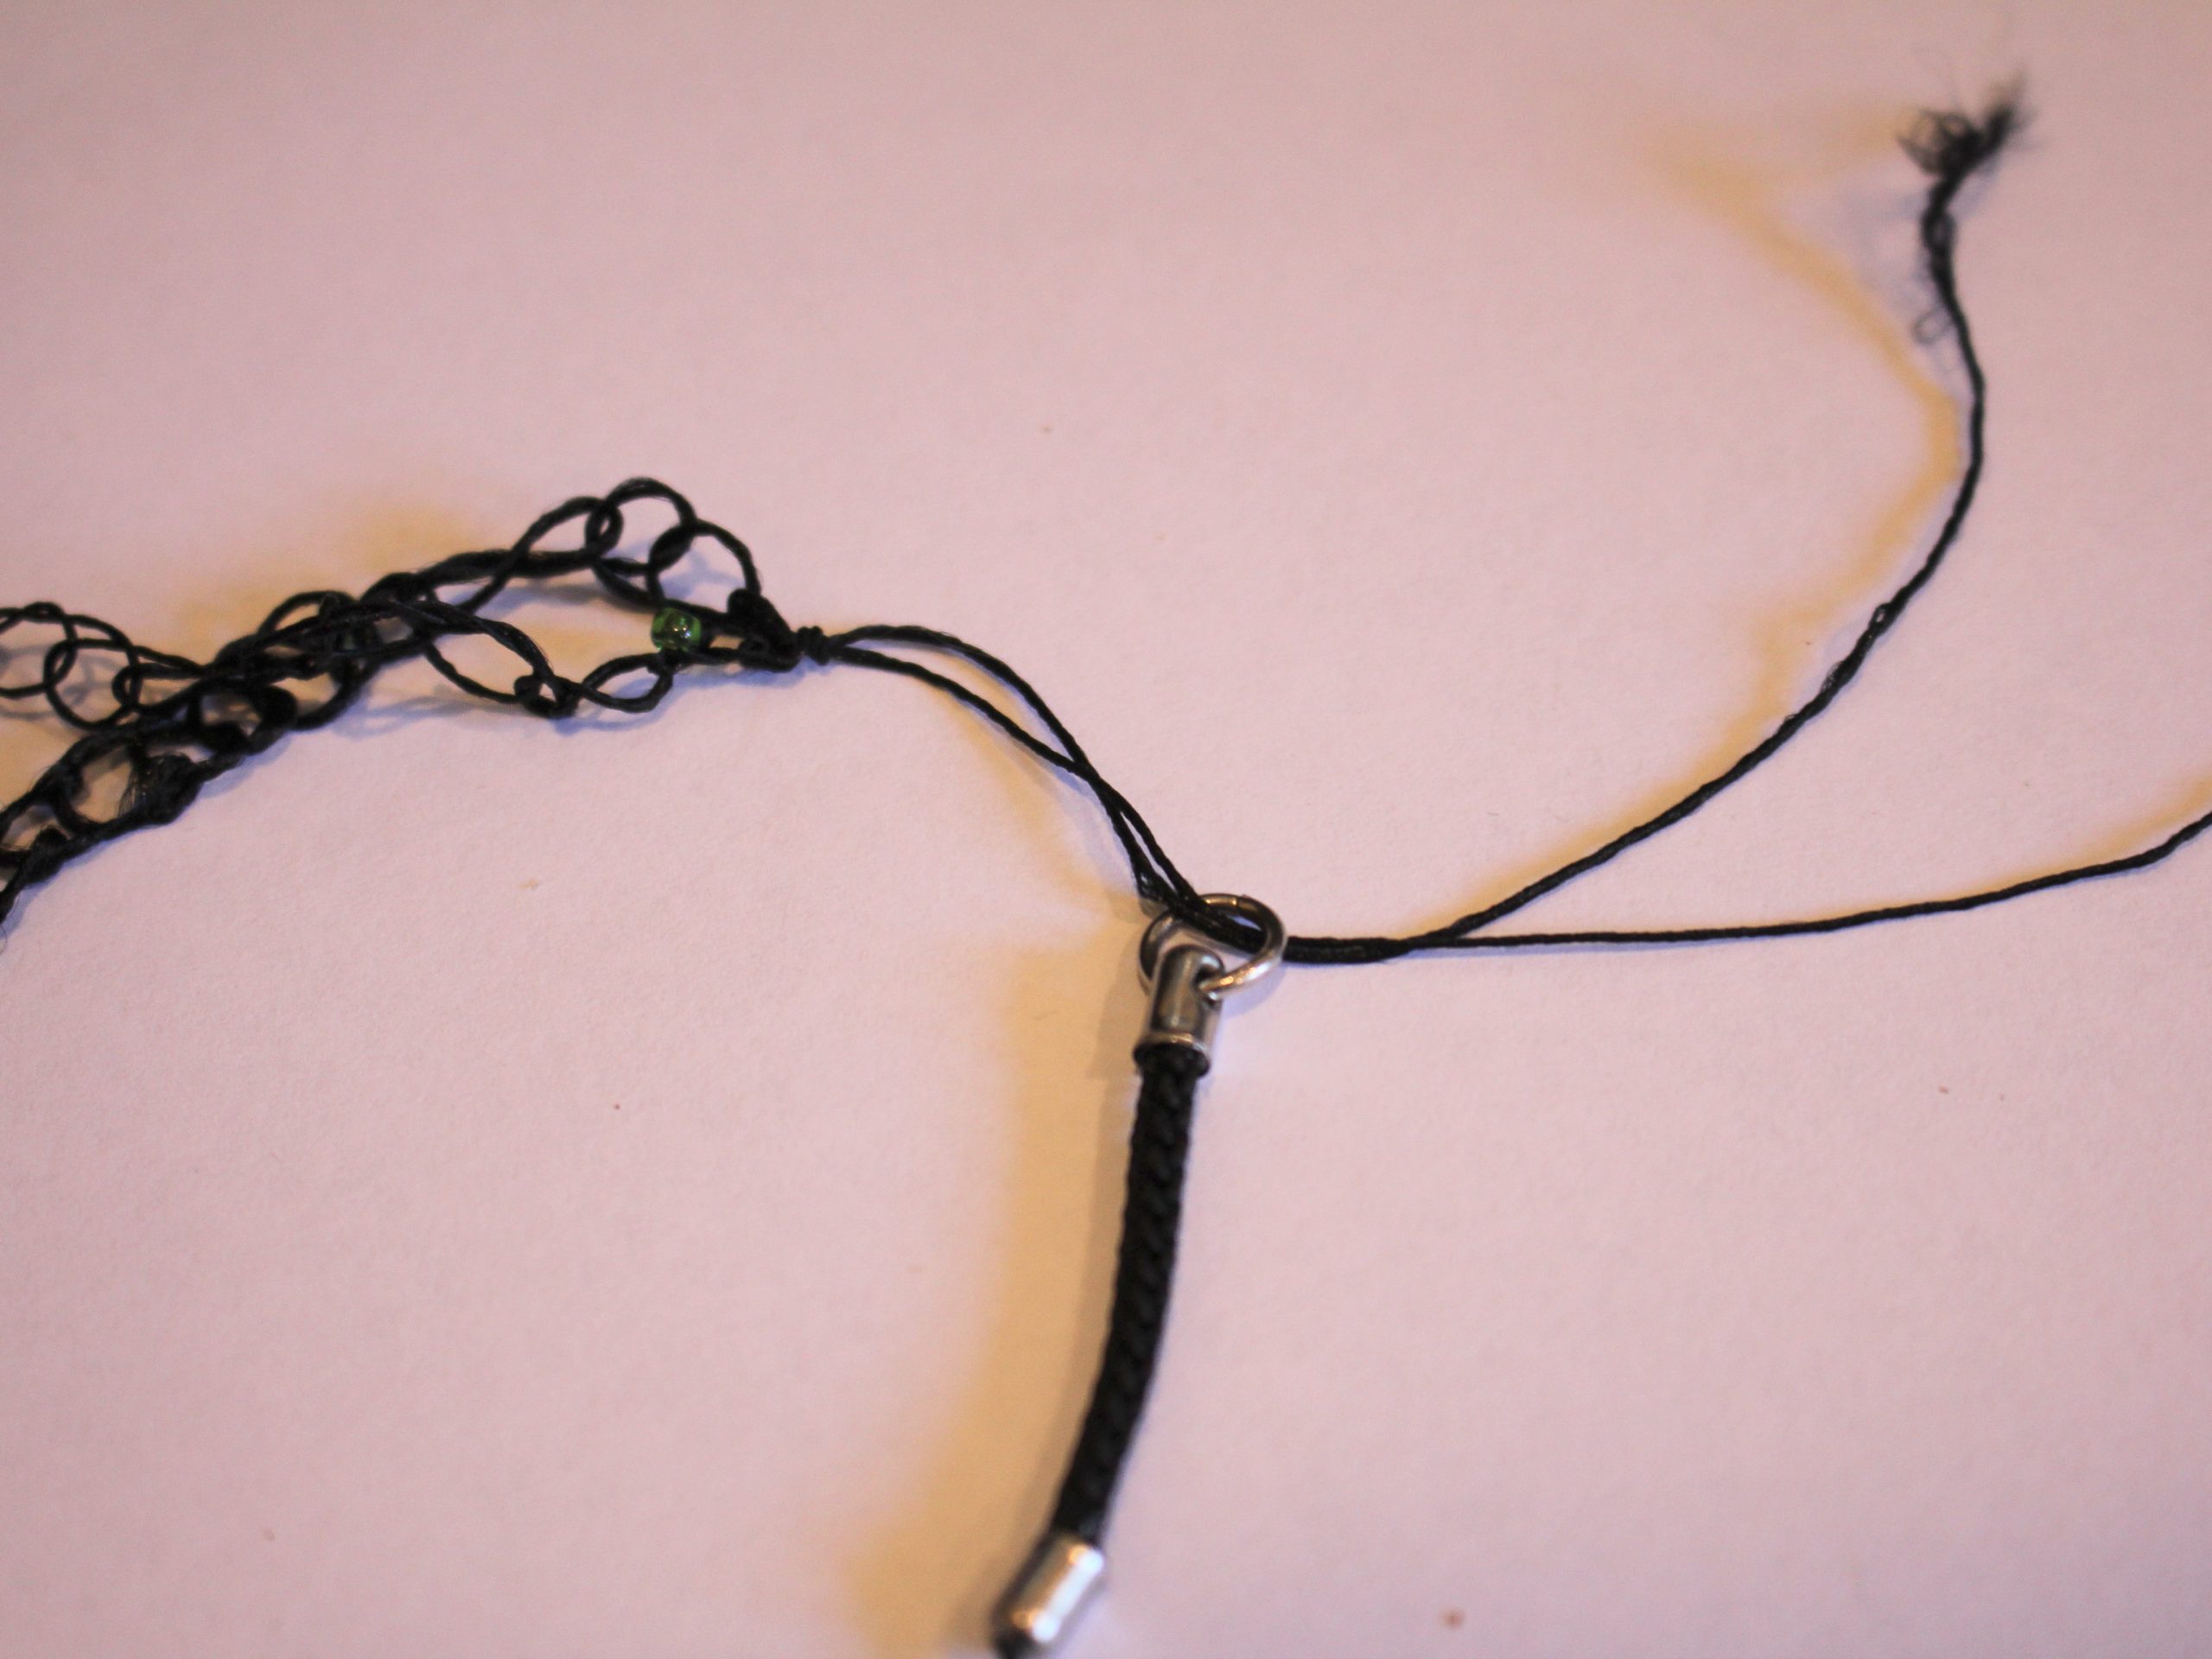
9: Knot the two ends of the crochet chain together.

10: Slide the excess yarn through the jump ring at the end of the phone loop and then create a couple of knots.


11: Use the needle to weave the ends of the yarn into the crochet chain. Trim any excess.


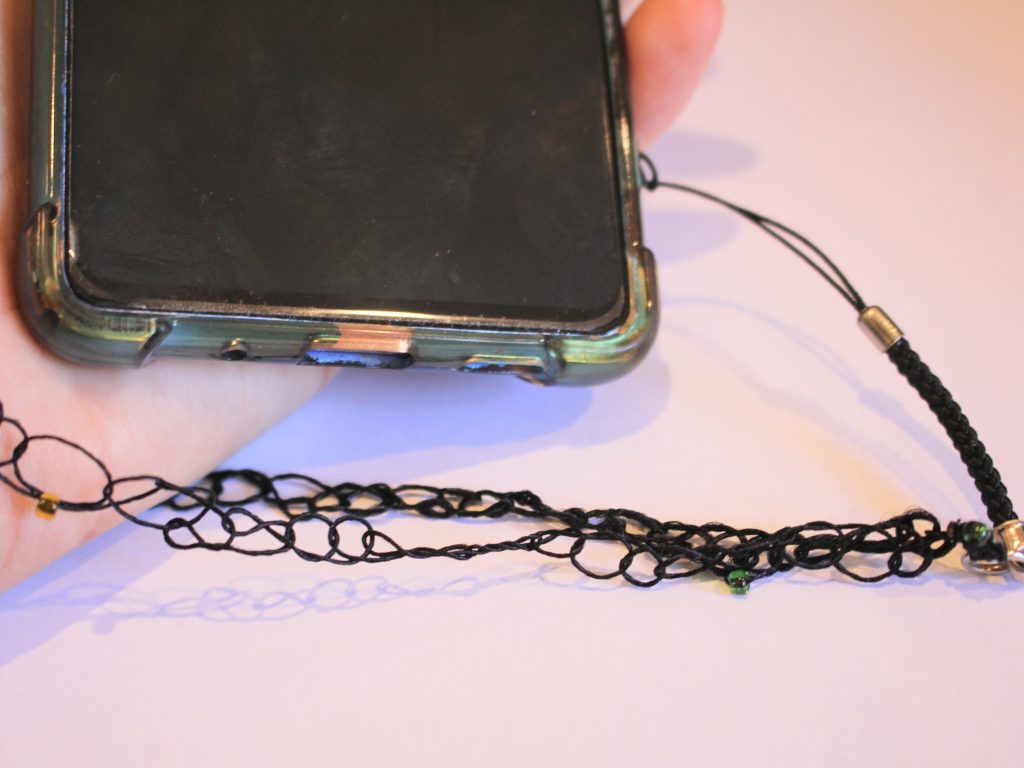
Now your crochet phone lanyard is finished and ready to use! Make one to protect your phone during your travels, or to keep it safe at home! I’ll be wearing mine across my body to protect my neck and help keep track of my phone.

If you want some other phone strap tutorials, you can find some here:
1: Turn a chain necklace into a phone wrist strap.
2: Transform some string into an amazing beaded phone strap.
3: Make your own sparkly rhinestone wrist strap for your phone.
4: Construct a simple chain phone strap.
And if you want some lanyard inspiration, here are some additional tutorials you can try:
-
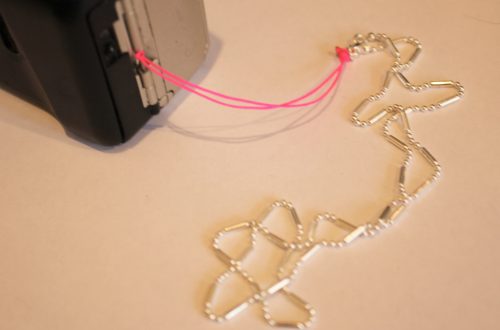
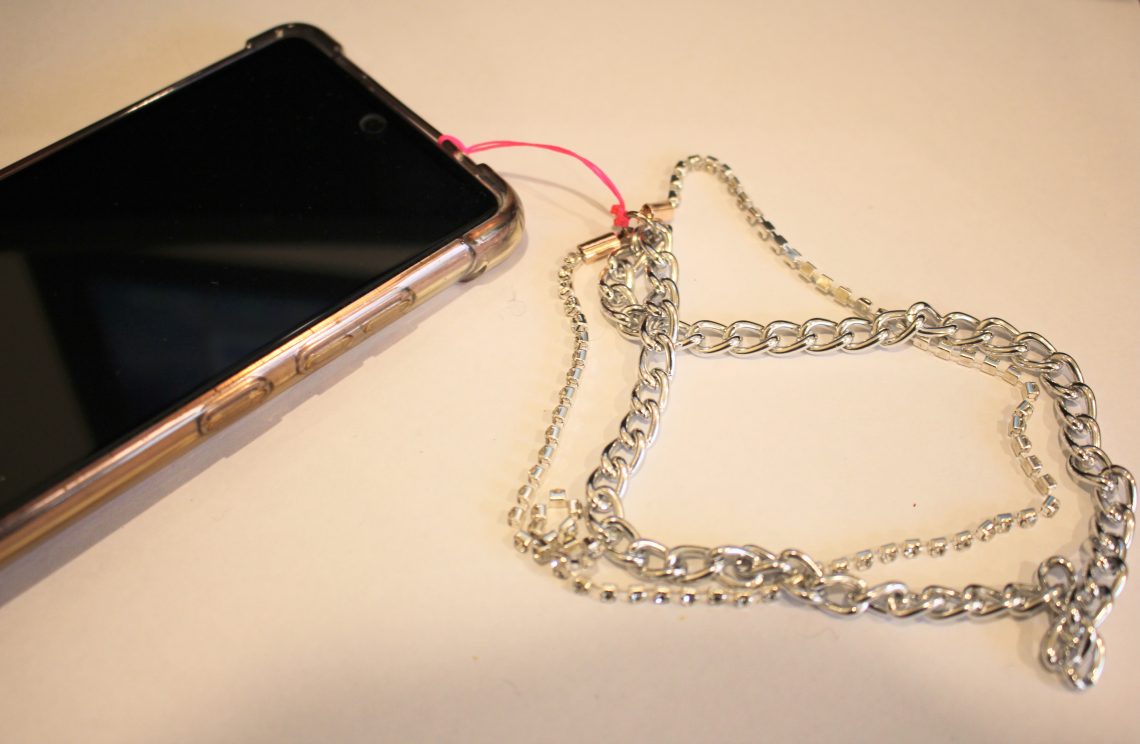
Need help keeping hold of your phone? Here’s how to make a cute chain and rhinestone phone strap so its harder to lose!
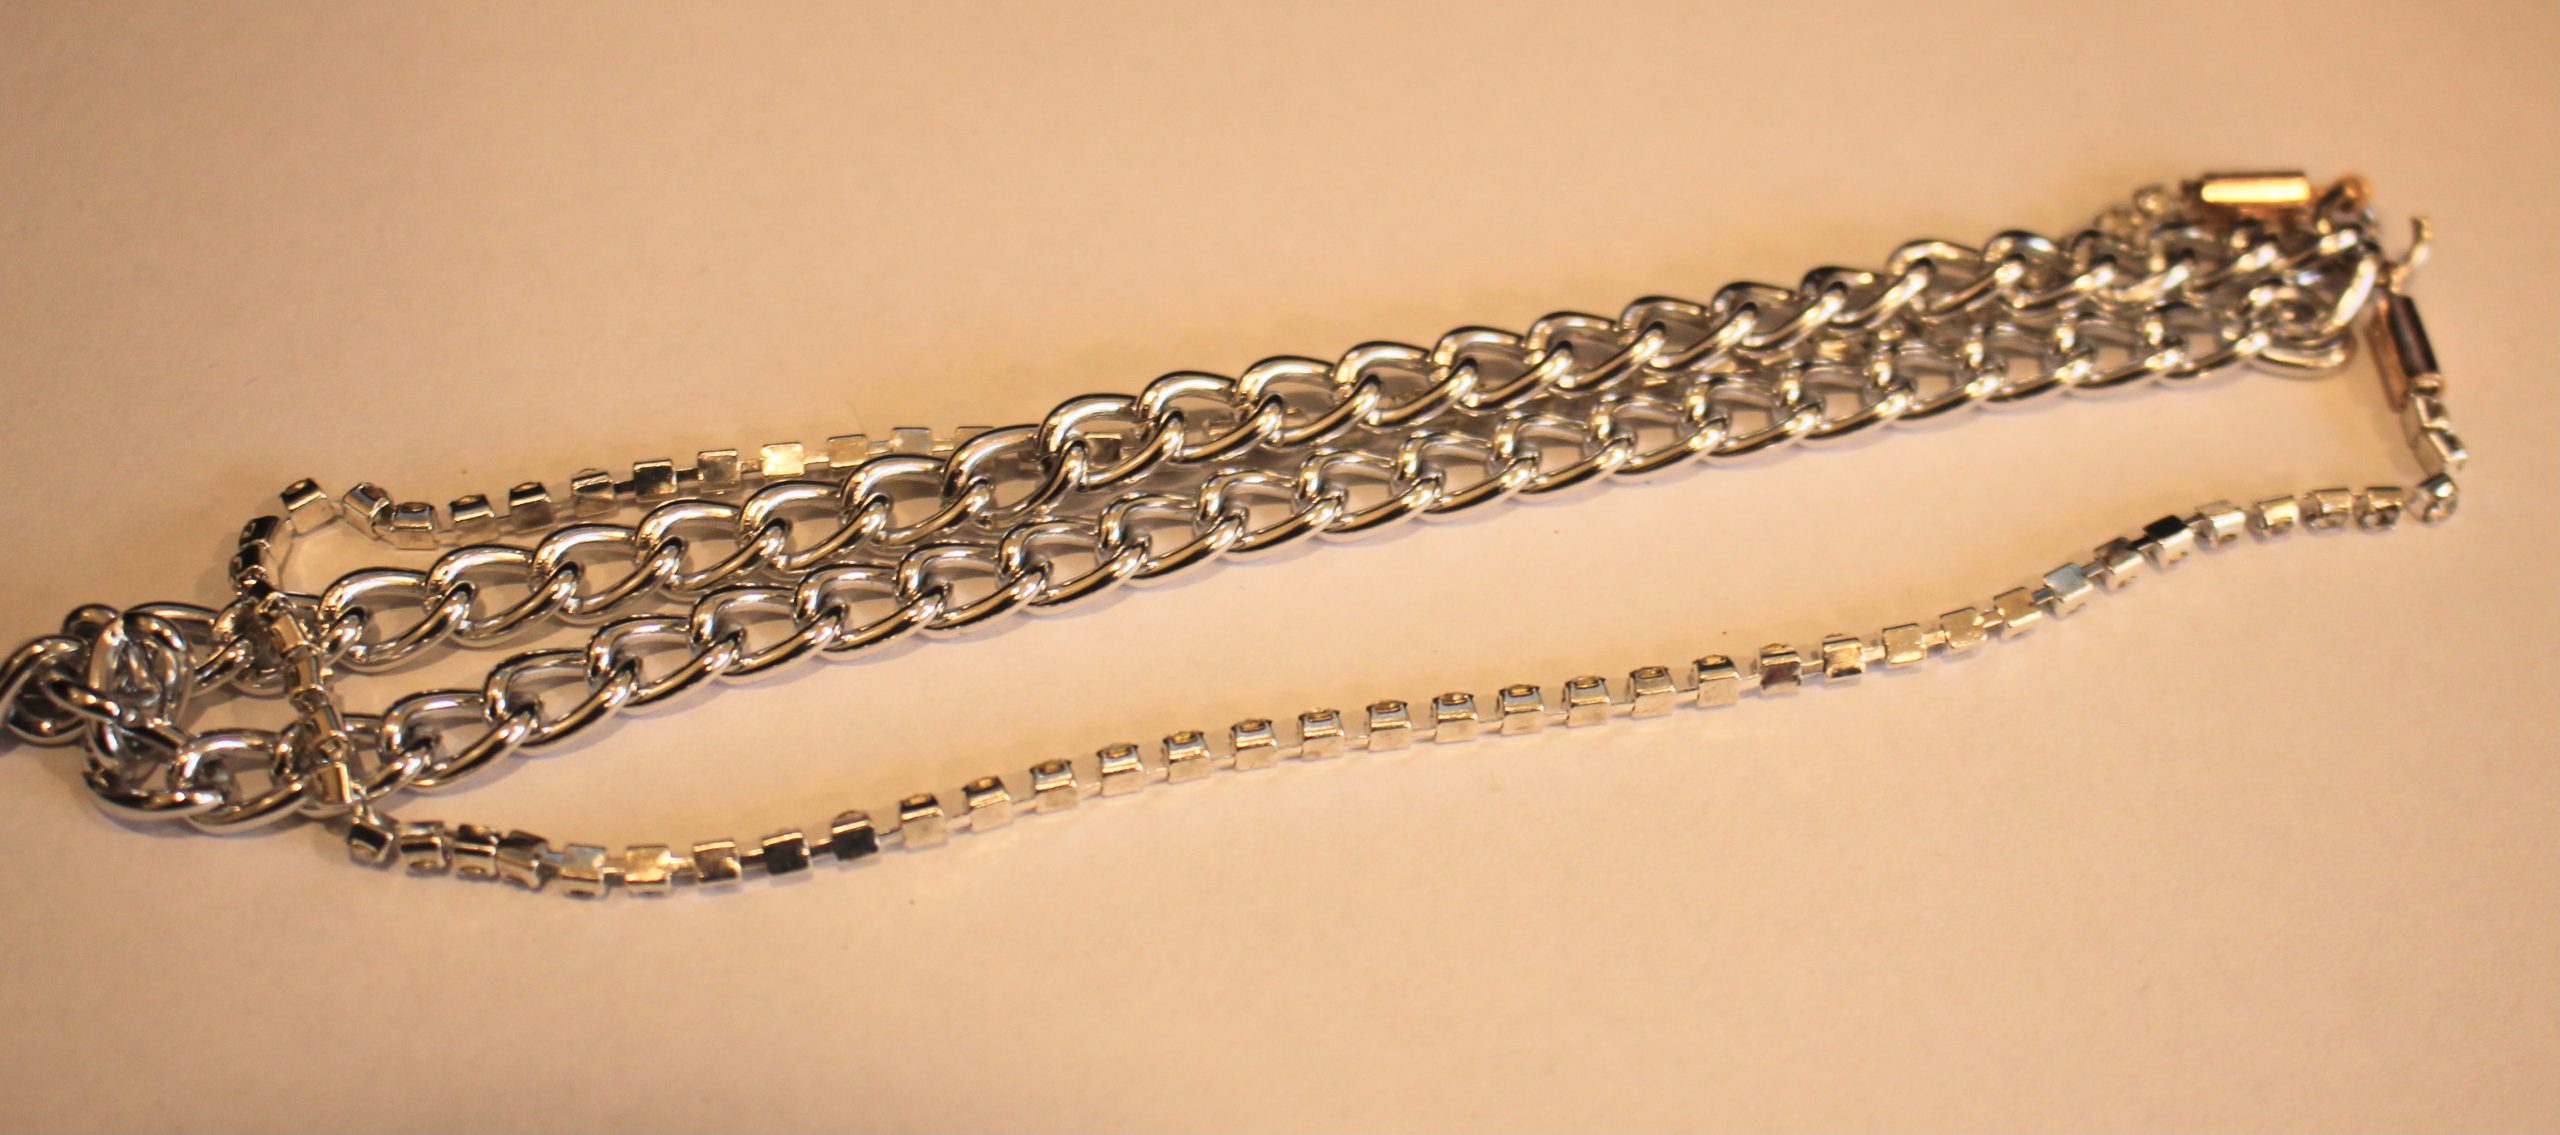
I’m loving making phone straps lately! This one combines a chunky chain with some rhinestone trim to create this double stranded phone strap. I decided to add the extra chain for more strength! Please note that this tutorial contains affiliate links.
You will need the following tools and materials to make this phone strap:
1: Pliers. I used my flat nose pliers, round nose pliers and cutting pliers. I also used scissors to trim my string.


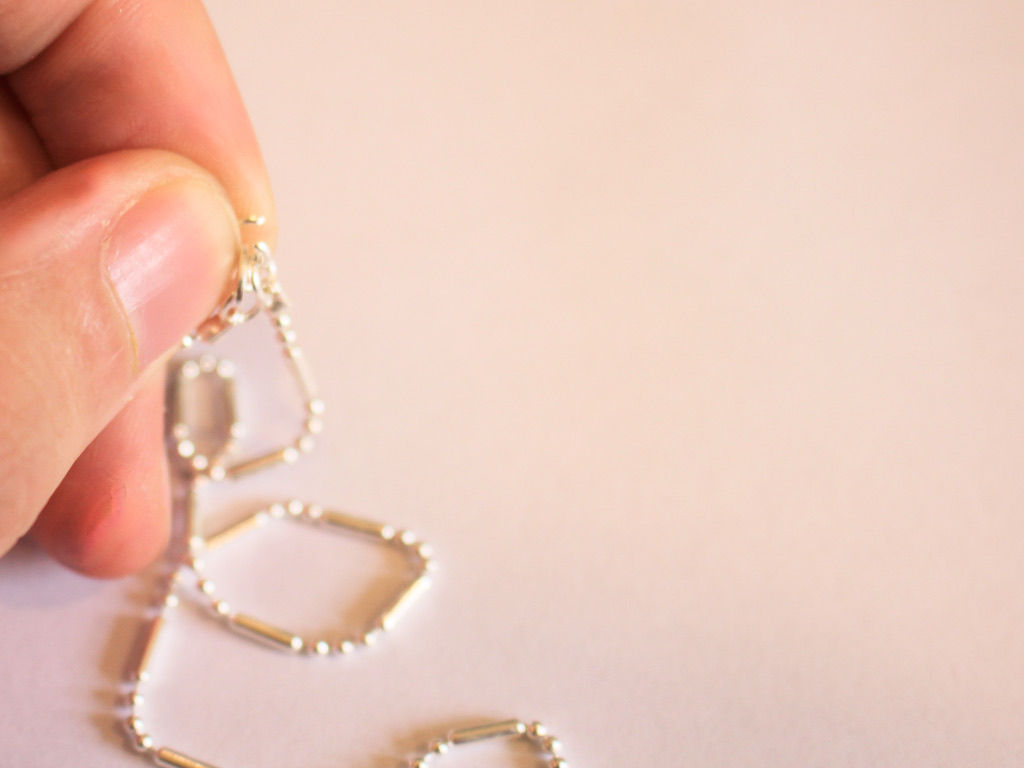
2: A piece of chain about 30cm long. I used this silver tone chunky curb chain.

3: A piece of rhinestone trim about the same length as the chain.

4: Two crimp ends.

5: A large jump ring.

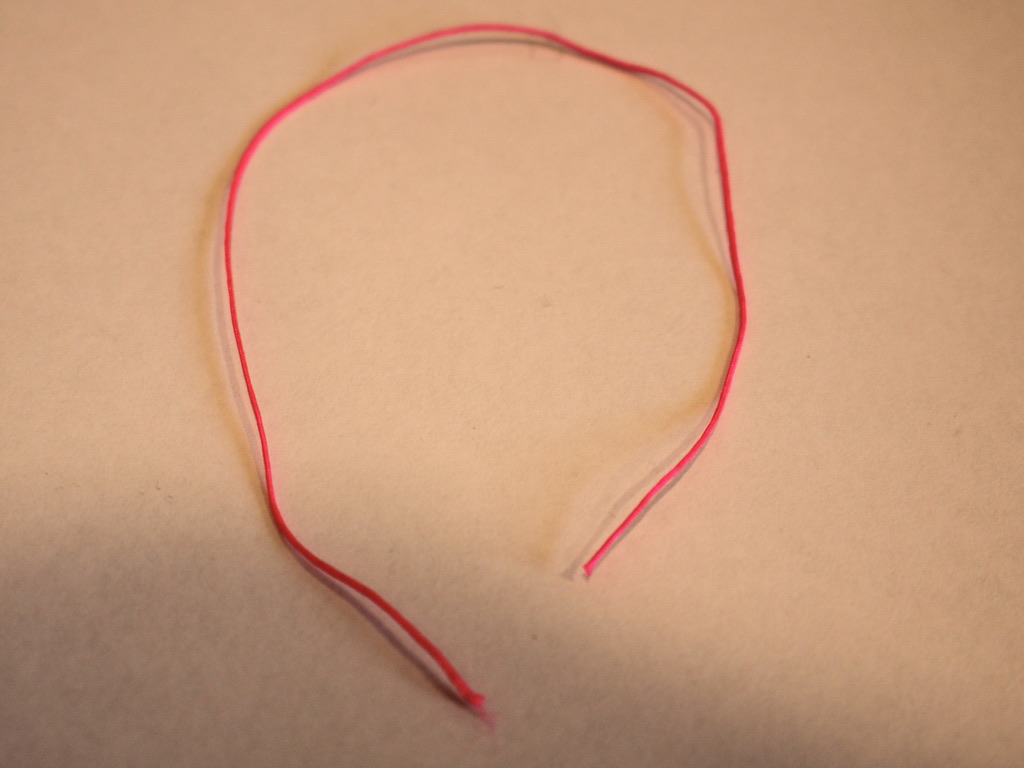
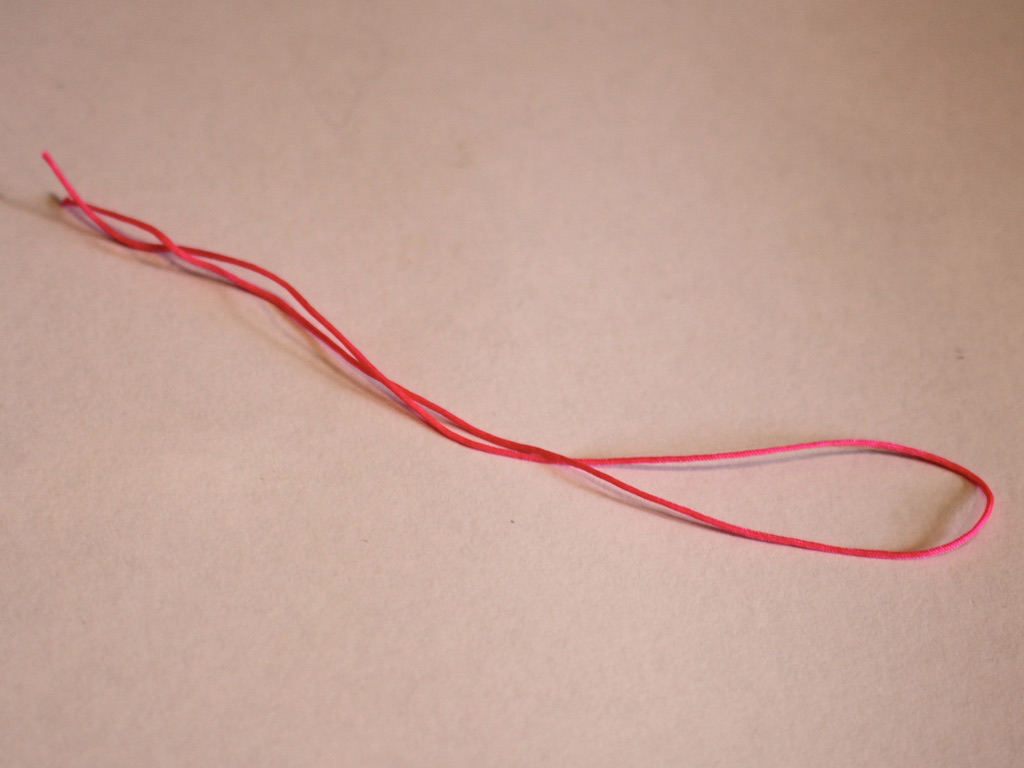
6: A piece of string. I used this hot pink nylon string that I cut to be about 15cm long.
7: Super glue.
Follow these steps to make your rhinestone phone strap:
1: Take one end of the rhinestone strand and place it in one of the crimp ends.

2: Squash one side of the crimp around the end of the rhinestones using the flat nose pliers.

3: Repeat the squeezing of the crimp for the other side, folding it around the end of the rhinestones. Squeeze until the crimp feels securely attached to the rhinestone strand.


4: Repeat steps 2 and 3 for the other end of the rhinestone chain.

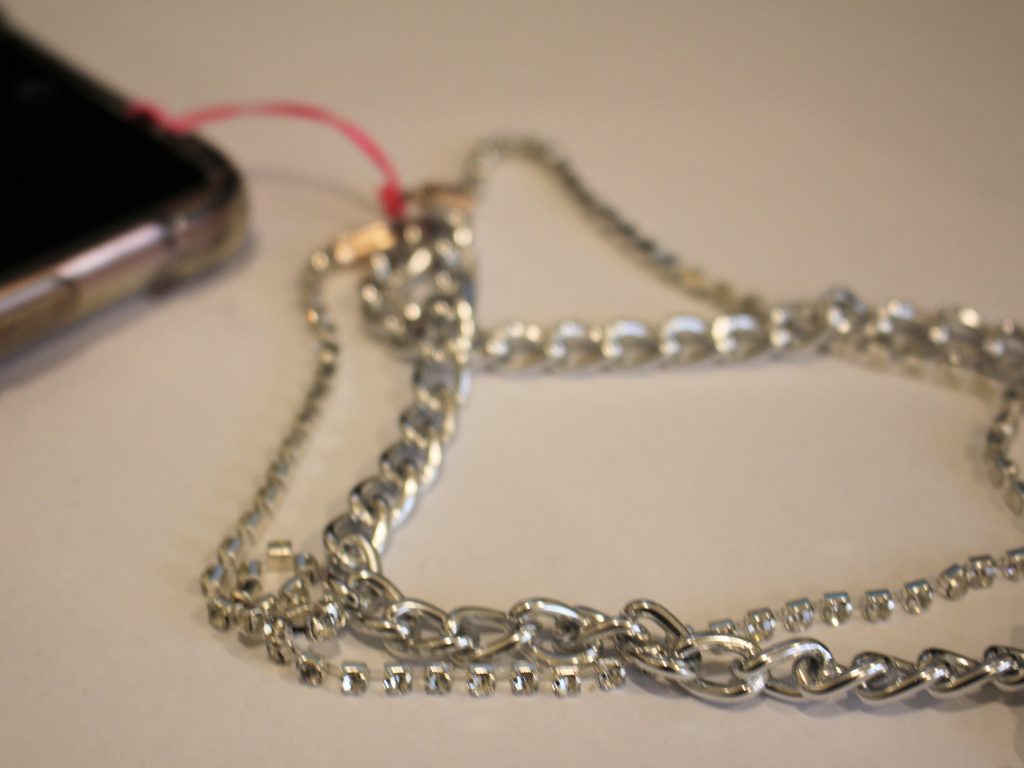
5: Add one end of the chain and rhinestone strand to the jump ring.

6: Add the other end of the chain and rhinestone strand to the jump ring in the same order.

7: Close the jump ring using your pliers.

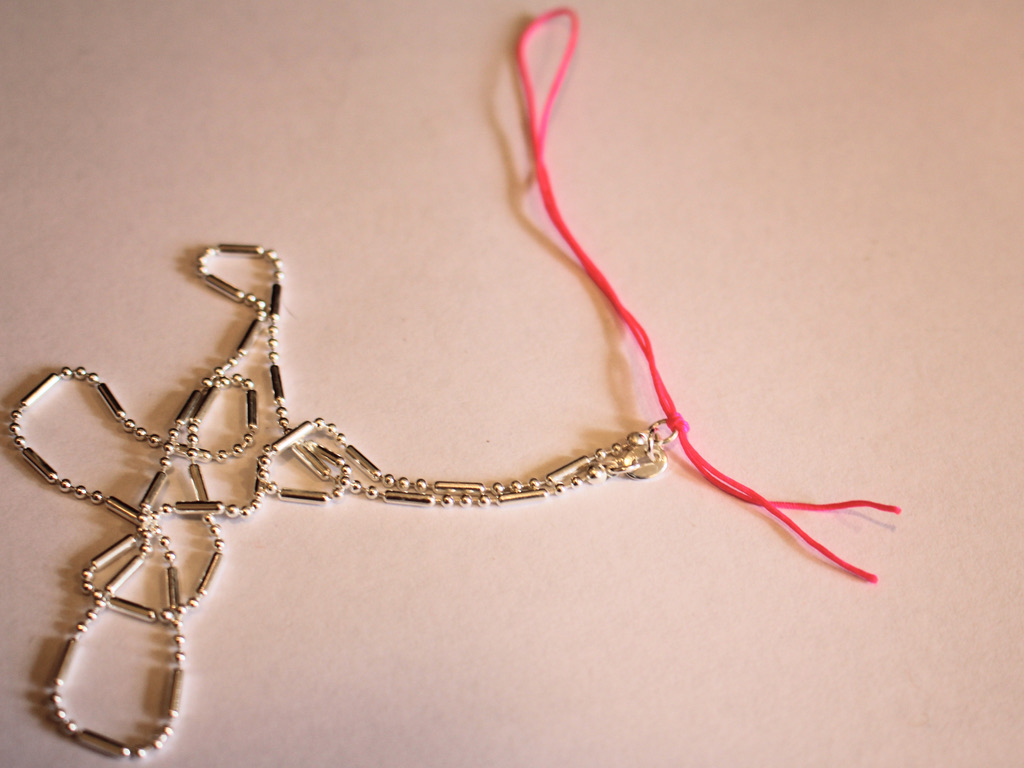
8: Fold the string in half and tie the open ends around the jump ring, loop and knot it a few times to secure it.

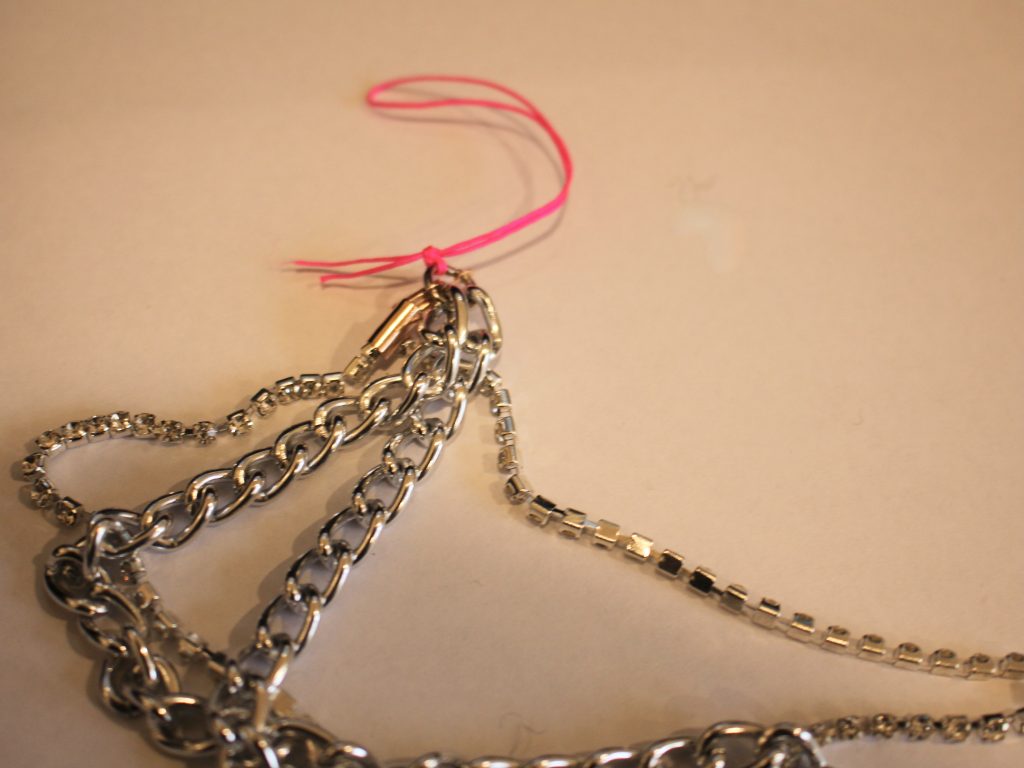

9: Trim the ends of the string.

10: Add a dab of super glue to the ends of the string to secure the knot.

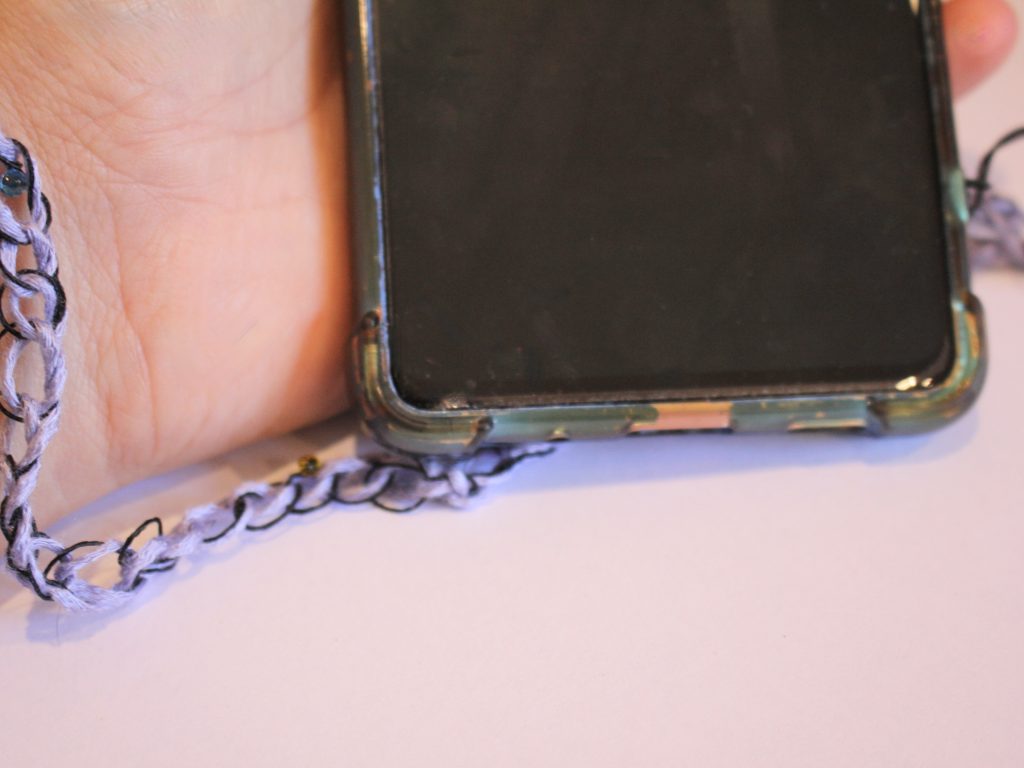
Now your double strand phone strap is finished and ready to pop on your phone. Loop it through on of the holes on your phone case for more phone customisation!


-
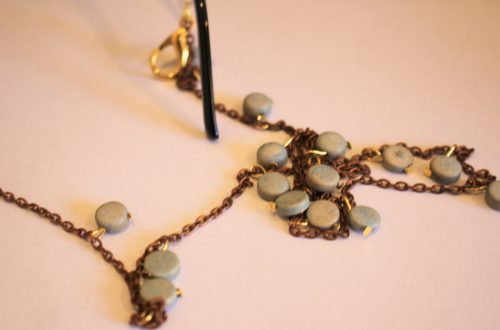
Here’s how to turn a necklace into a strap for your electronics!
You never want to lose your gadgets! I love having a wrist strap for my camera, my phone, all sorts of things… If you want a cute new wrist strap for your fave toy, here’s one you can make from an existing necklace chain and a piece of string! Please note that this tutorial contains affiliate links.
You’ll need these tools and materials to make your electronics strap:
1: A necklace chain.

2: A piece of string, I made mine about 25cm long.
3: A pair of scissors for cutting and trimming string.
4: A couple of pairs of pliers to open and close jump rings.

5: Super glue for securing the end of the string.
Follow these steps to make your wrist strap:
1: Open the jump rings on the chain to remove the clasp.

2: Attach the ends of the chains together using the jump rings.

3: Fold the string in half and thread it through one of the jump rings.

4: Tie a knot in the string, leaving a loop on one side.
5: Wind the end of the threads through the jump rings and tie an extra few knots to secure the string to the chain.

6: Trim the excess string.

7: Add a dab of superglue to the end of the string to secure it and stop the knot from unraveling.

Now your wrist strap chain is finished! I added mine to my film camera because I’m a super cool hipster 😉


-
Like to keep track of your phone? Here’s how to make a handy chain phone strap.
This phone strap is minimalist in design and fairly easy to put together. Phone straps seem to be increasingly popular at the moment, so here’s how you can make one of your own. Please note that this tutorial contains affiliate links.
Grab these tools and materials to make your own chain phone strap:
1: Your jewellery pliers. I used my flat nose and round nose pliers.
2: Some chunky chain, I used about 42cm of chain but you could use less or more depending on the size you want your strap.

3: A sturdy jump ring.

4: A keychain with a phone loop.

Follow these steps to make your chunky chain phone strap:
1: Add both ends of the chain to the jump ring.

2: Add the keychain to the jump ring.

3: Close the jump ring using your pliers.

And that’s it, done in three steps! Now you can attach it to your phone case by looping the little loop around a hole in your phone case, pulling the strap through and then pulling it tight.


Here is another phone strap tutorial in case you like some variety when it comes to your phone accessories!
-
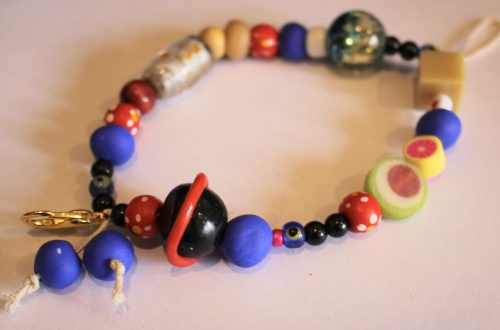
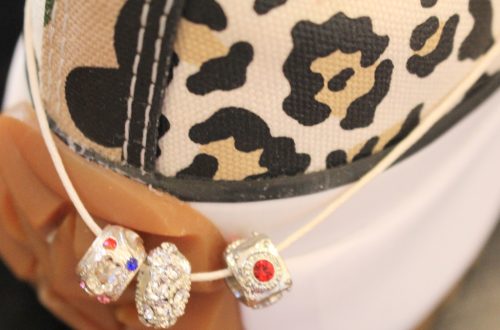
How to make a beaded phone strap using a piece of string!
Beaded phone straps are a bit of a trend right now, and here’s a down and dirty way to make one! Really all you need is some string and some beads. I added a large lobster clasp as well, you can use it to attach the strap to your phone or to add some keys or other important charms to your design! Please note that this tutorial contains affiliate links.
You will need these tools and materials to make your own beaded phone strap:
1: A piece of string. I cut mine to be about 40cm long but I suggest going longer, maybe 50-60cm.

2: A selection of beads. Make sure they have holes big enough to fit over the string. I used a mix of handmade polymer clay beads, glass beads, resin beads, timber beads and plastic beads.

3: A large lobster clasp.

4: A pair of scissors for cutting and trimming your string.
Follow these steps to make your phone strap:
1: Fold the string in half.

2: Take the folded end and create a knot, I made mine a little small, I suggest creating the knot about 8-10cm down the string. After you pull the knot tight you will have a loop and two separate strings.


3: Begin adding beads to one of the strings until you have most of the string beaded.


4: Add beads to the other side, beading the second string to the same length as the first.

5: Tie the ends of each string together, adding the lobster clasp before securing the knot.


6: Add an accent bead to one of the tails of the loop and knot the end to secure the bead in place.


7: Repeat step 6 for the second tail of the beaded phone strap.

Now your phone strap is finished! This is a bit of a down and dirty DIY but the results are pretty cute and you can personalise it to your liking!