-
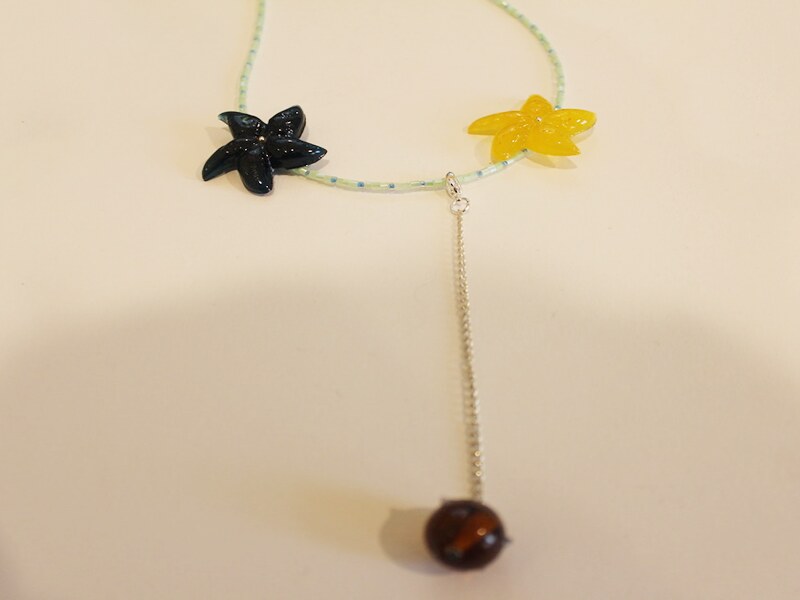
This charm will let you turn any necklace into a lariat!
Do you love the look of a lariat necklace? Here’s a tutorial that will allow you to turn any necklace into a lariat.
You will need the following tools and materials to make your clip on lariat charm:
1: Pliers. You will need your round nose, cutting pliers and flat nose pliers.

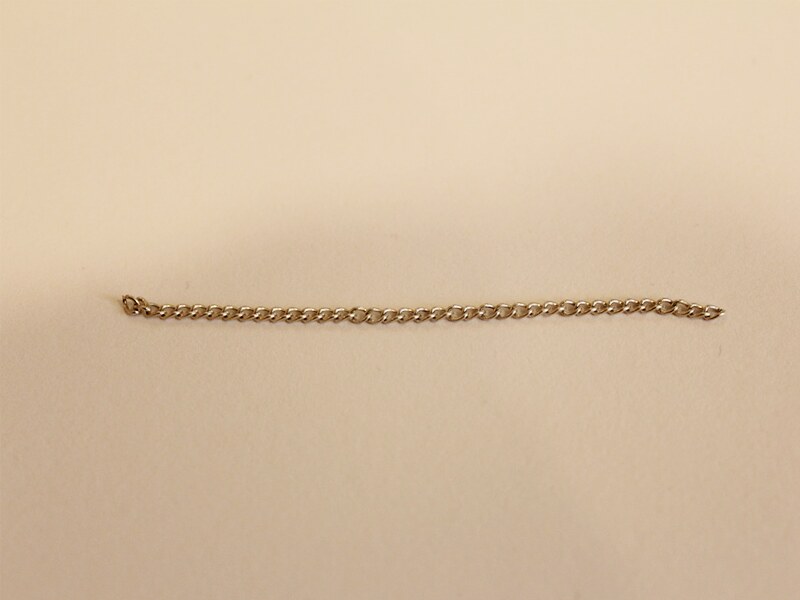
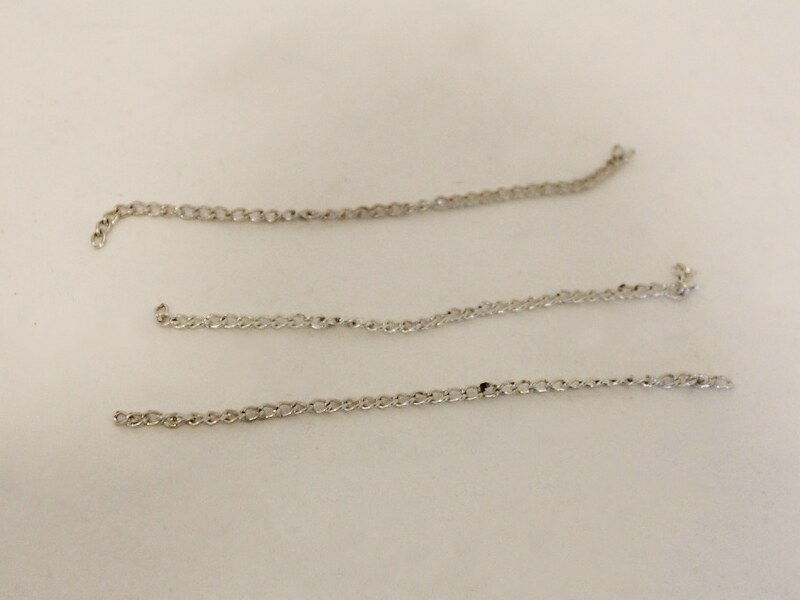
2: A piece of chain, mine was approximately 9cm long.
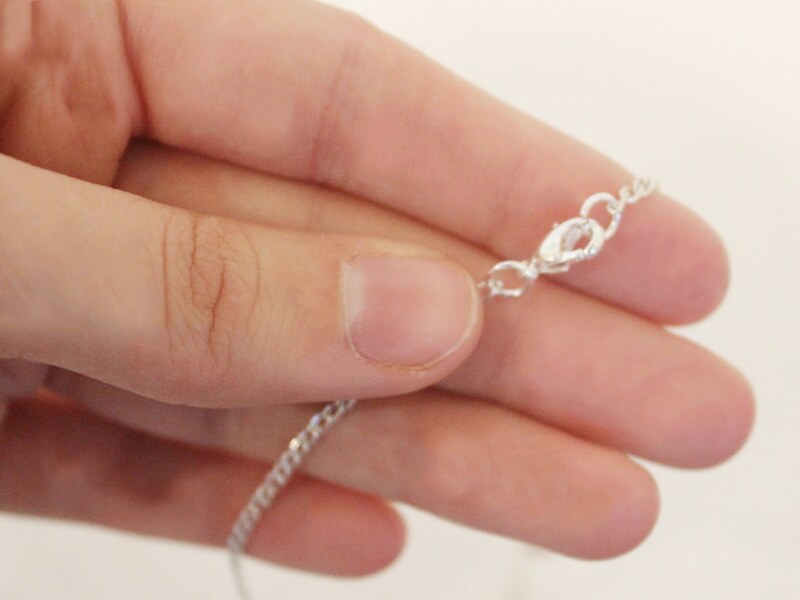
3: A lobster clasp.

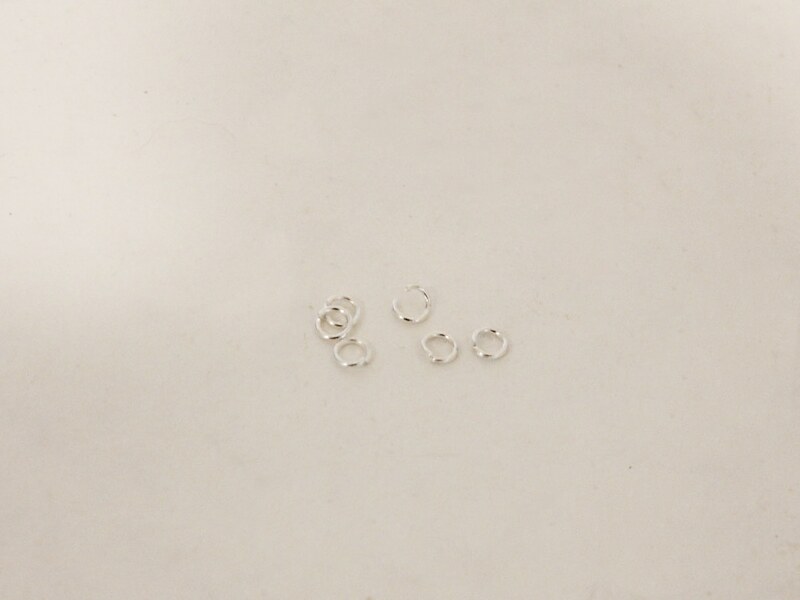
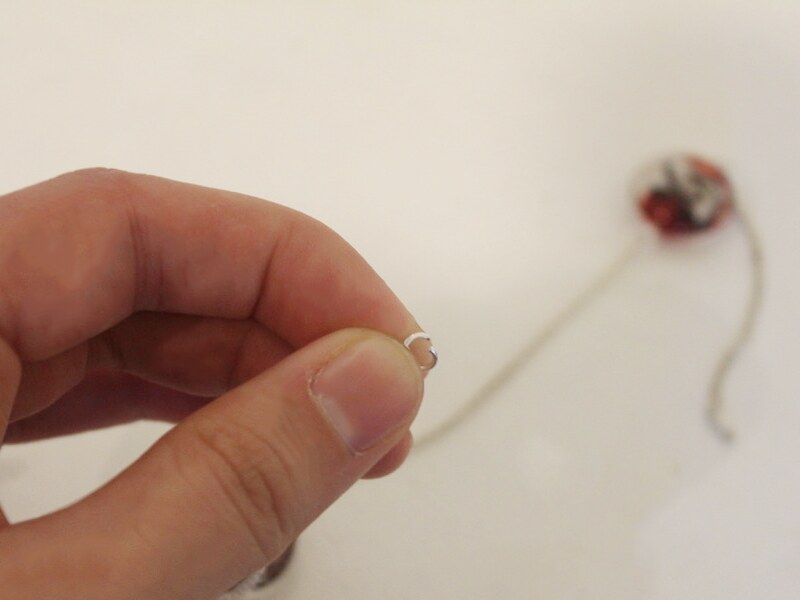
4: A jump ring.

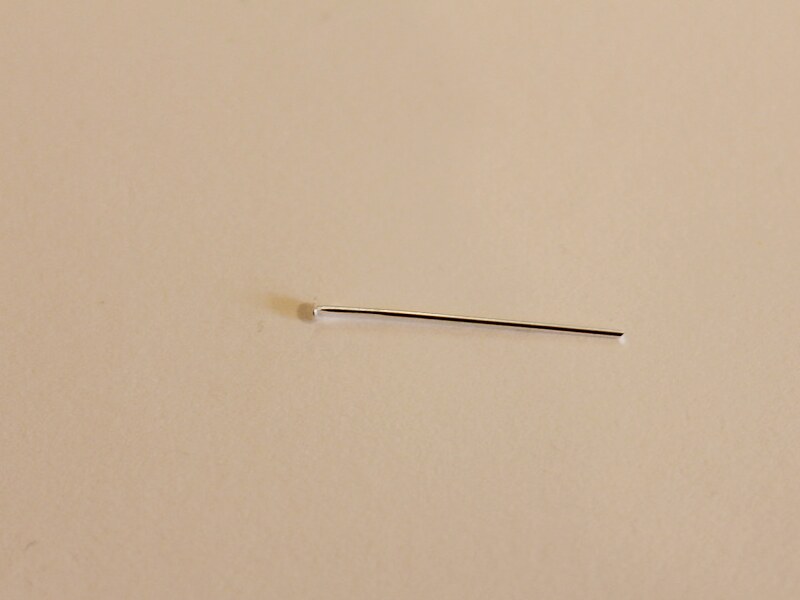
5: A head pin.
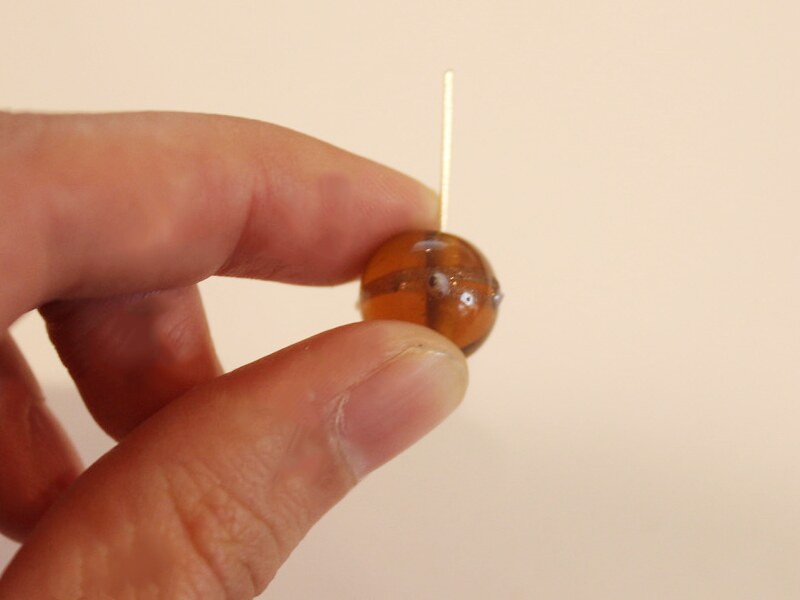
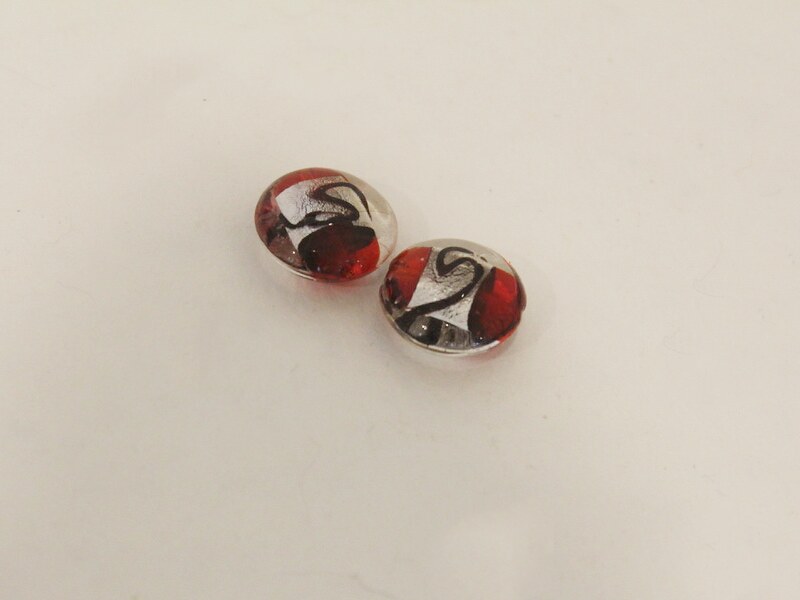
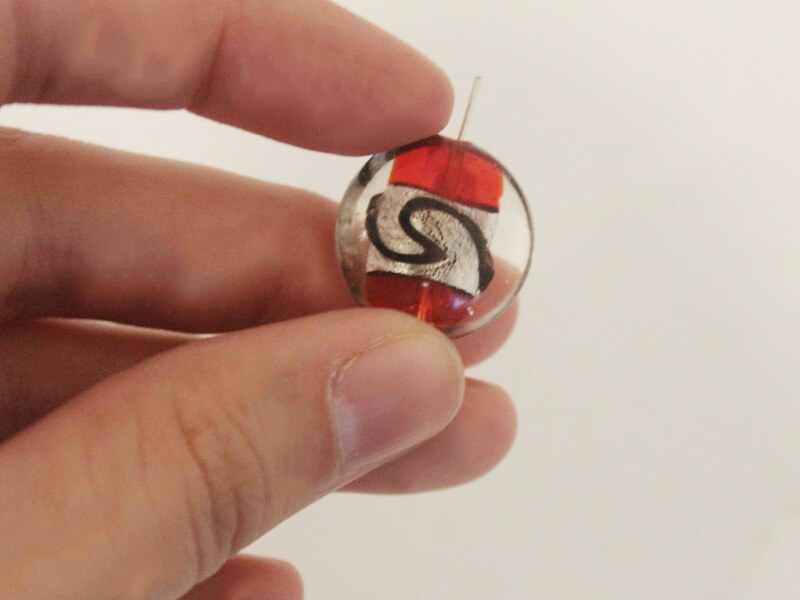
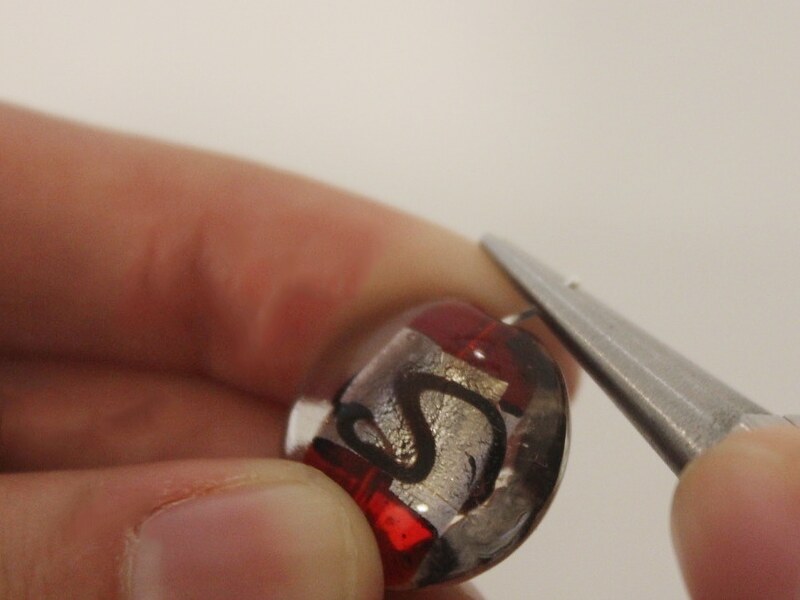
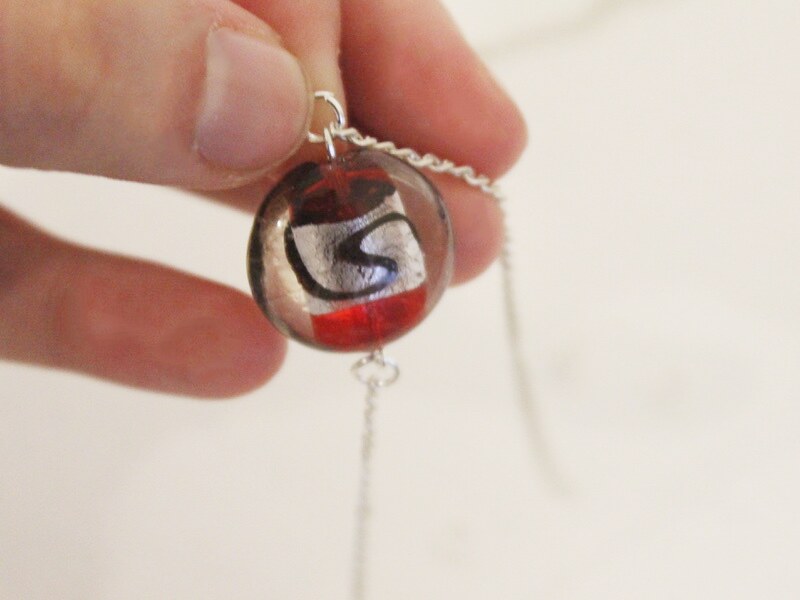
6: A bead of your choice (You can also use a charm). I used this glass bead.

Follow these steps to make your clip on lariat charm:
1: Add the bead to the head pin.
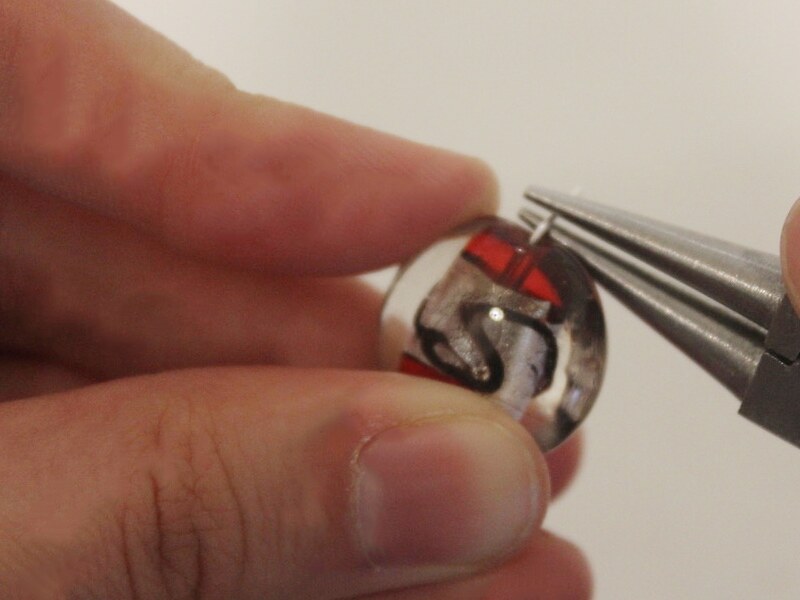
2: Bend the pin to form a right angle.
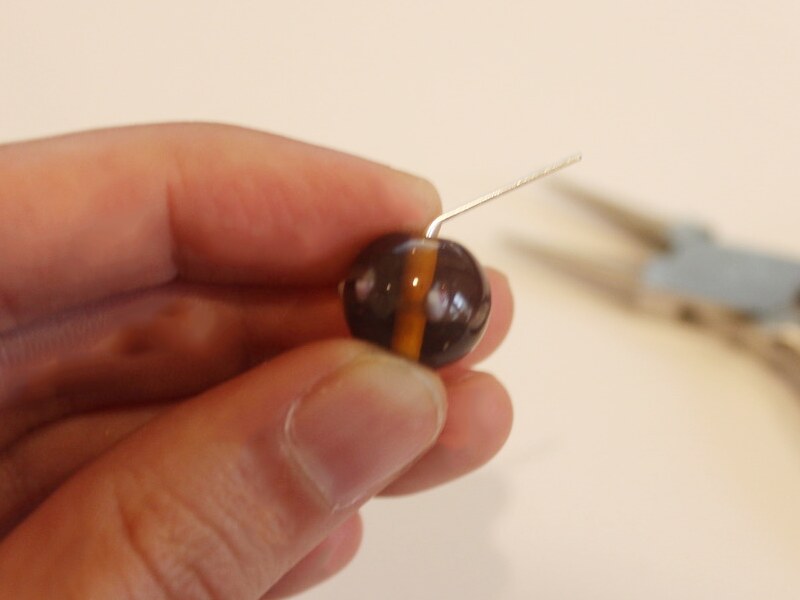
3: Trim the pin so that there is only 1cm left.
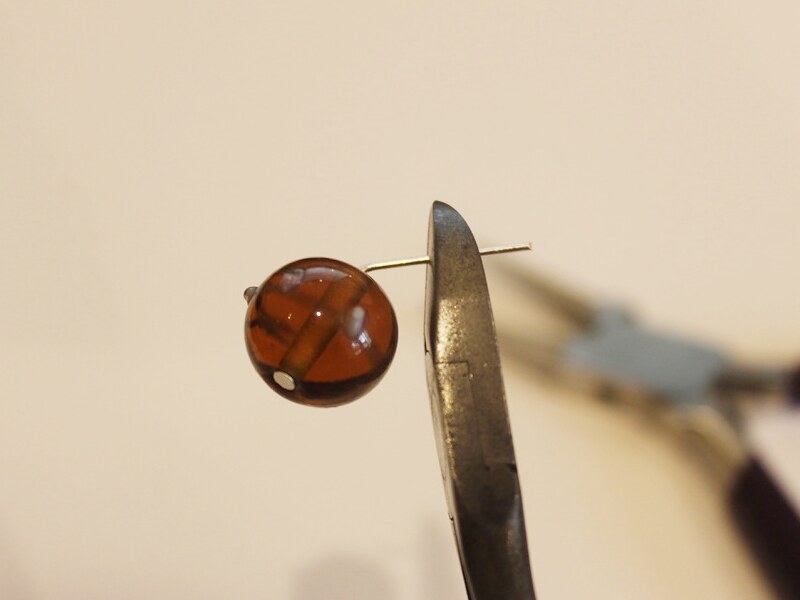

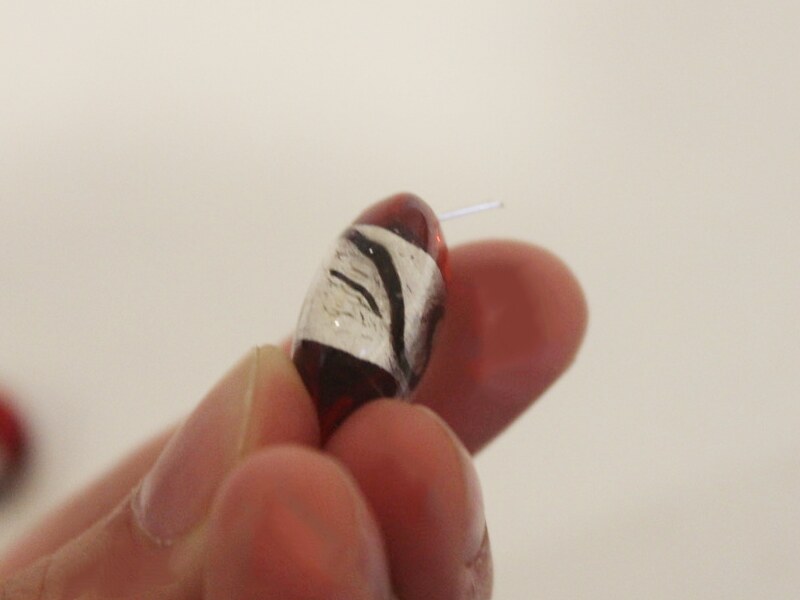
4: Create a loop at the top of the pin using the round nose pliers.

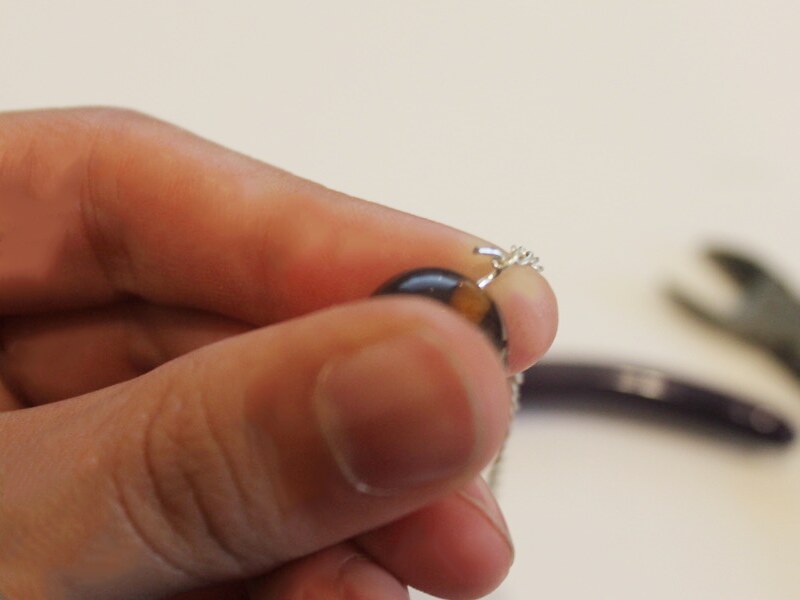
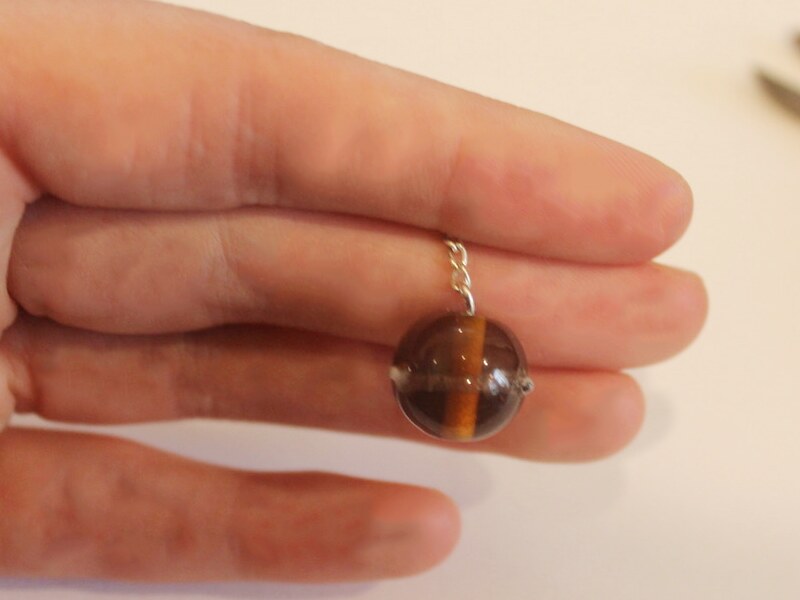
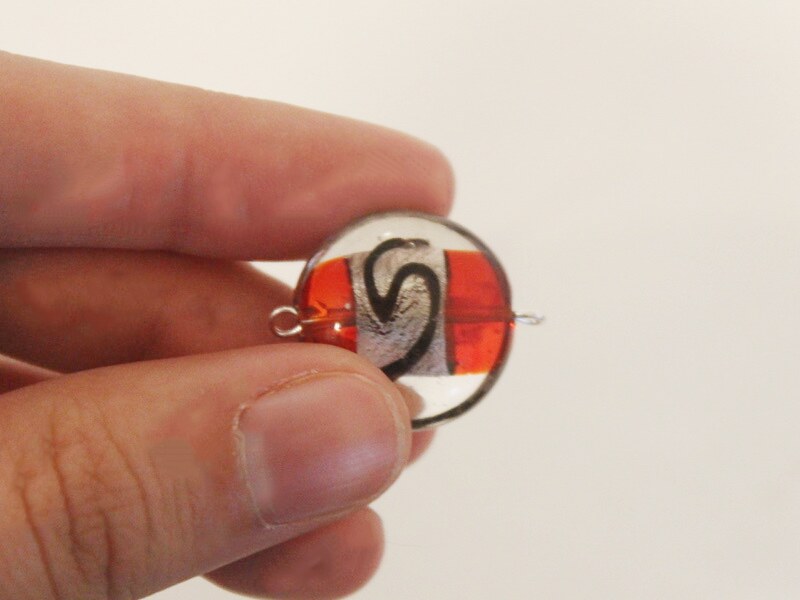
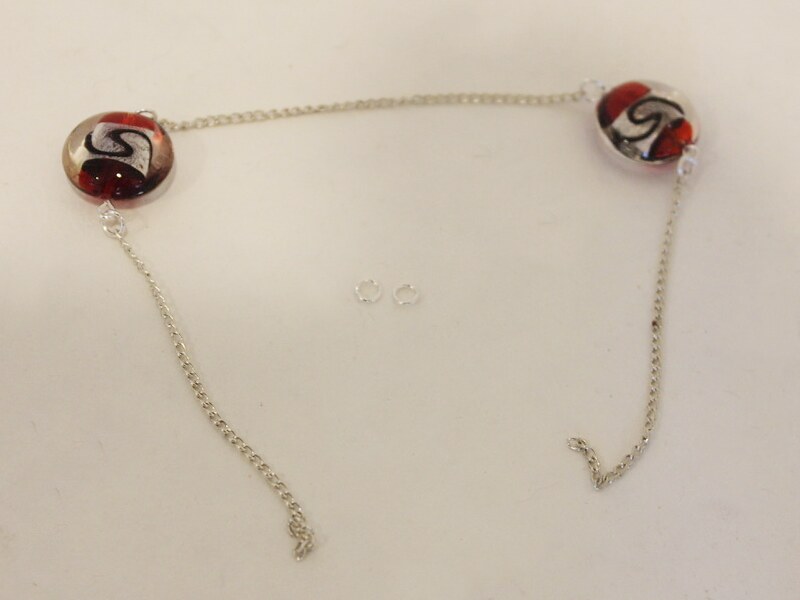
5: Attach the charm to one end of the chain.
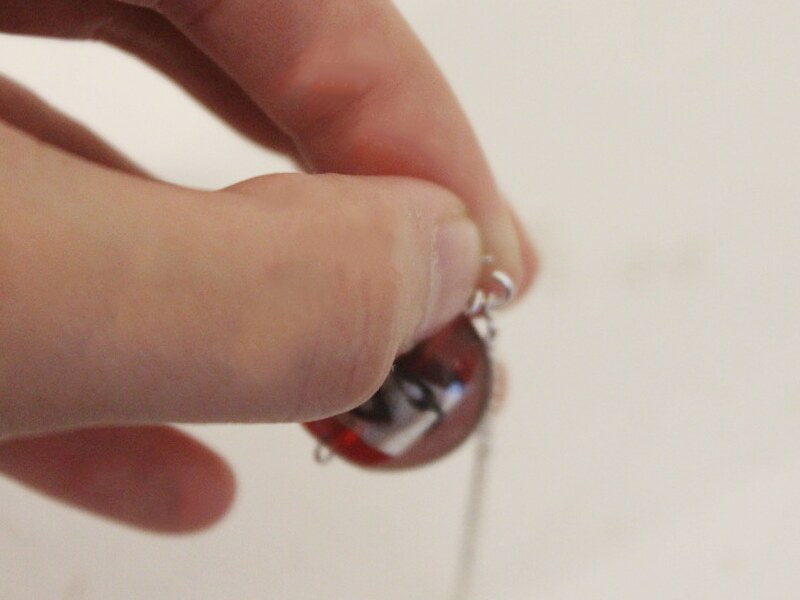
6: Add the jump ring to the other end of the chain and add the lobster clasp.

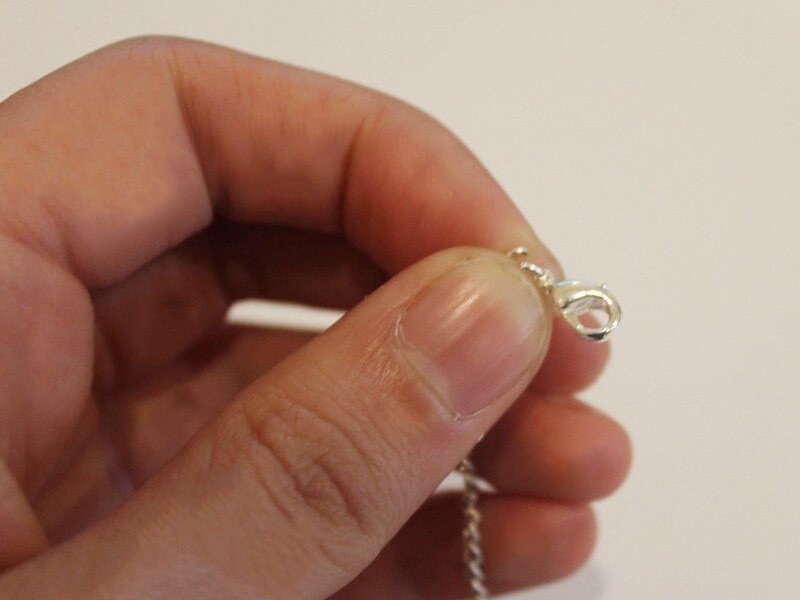
7: Close the jump ring to secure the clasp to the chain.

Once the clasp is in place your charm is ready to be attached to all the necklaces in your collection! How will you style your lariat charm?

-
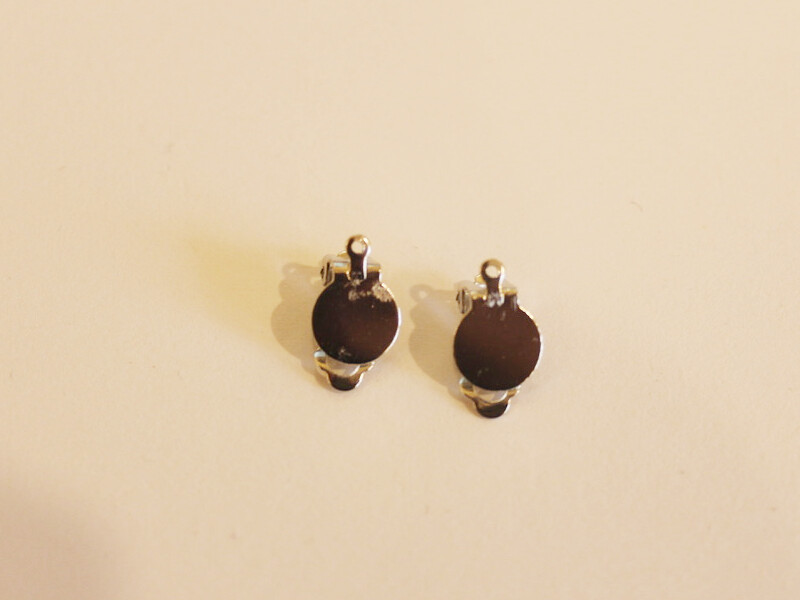
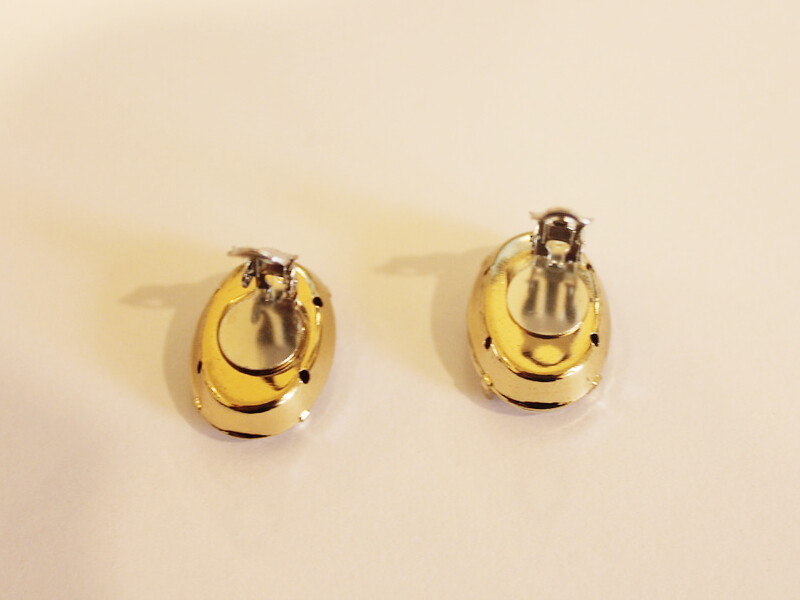
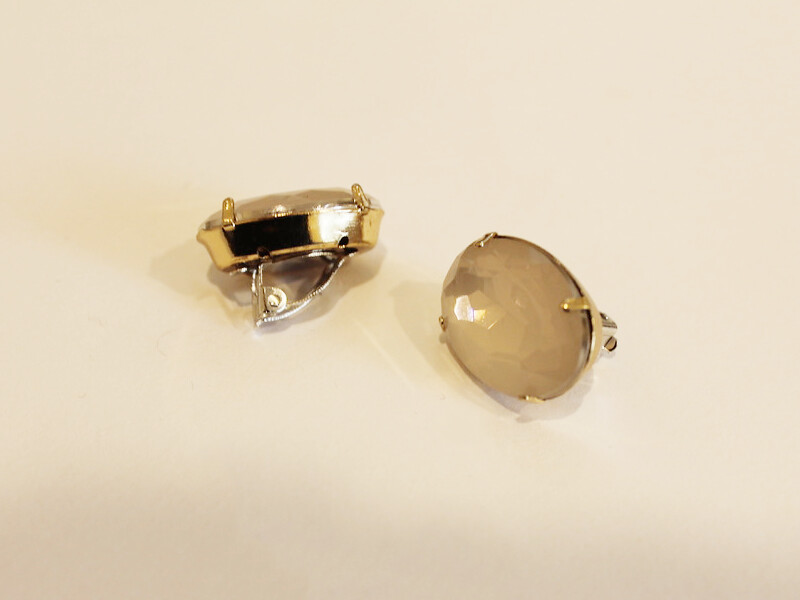
Don’t have pierced ears but want to get in on the statement earring game? Make your own clip on earrings!
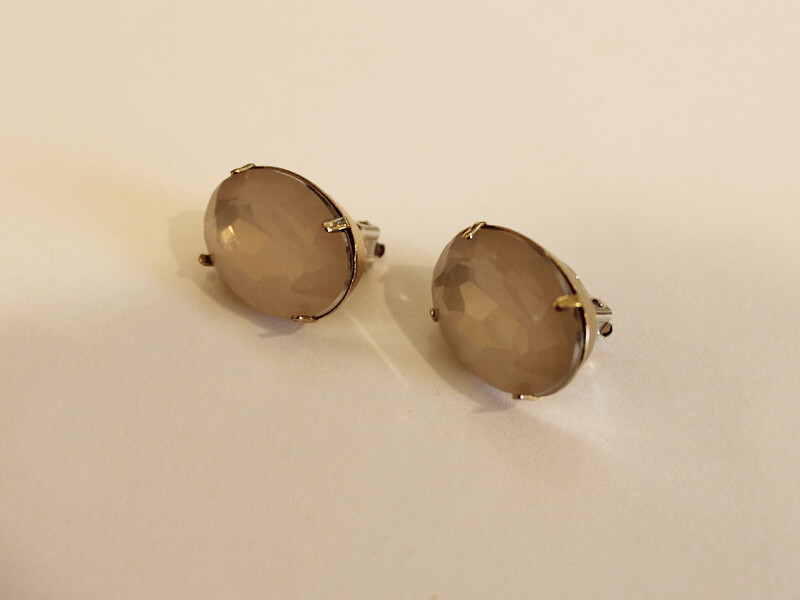
Do you want to get in on the earring game without getting your ears pierced? Here’s how you can make your own clip on earrings!
You will need the following tools and materials to make these earrings:
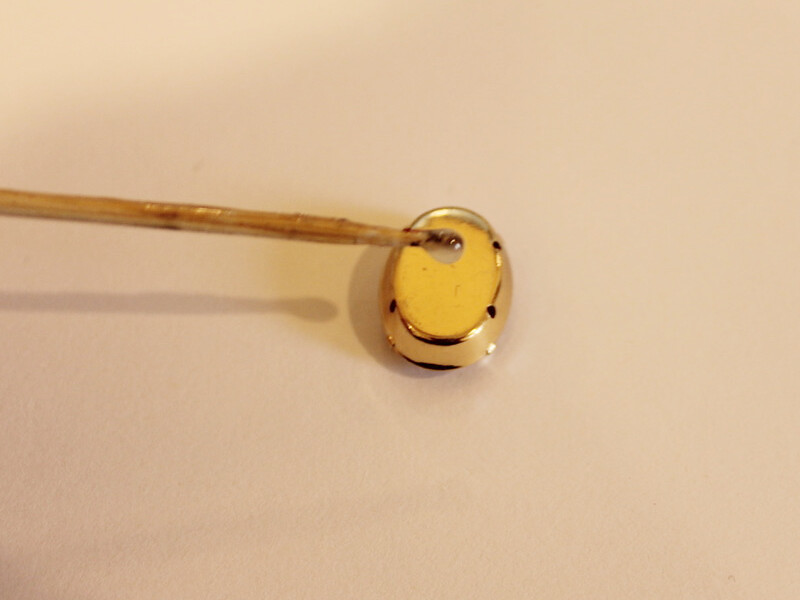
1: Two clip on earring findings.
2: Two charms. I used these large pink rhinestones.
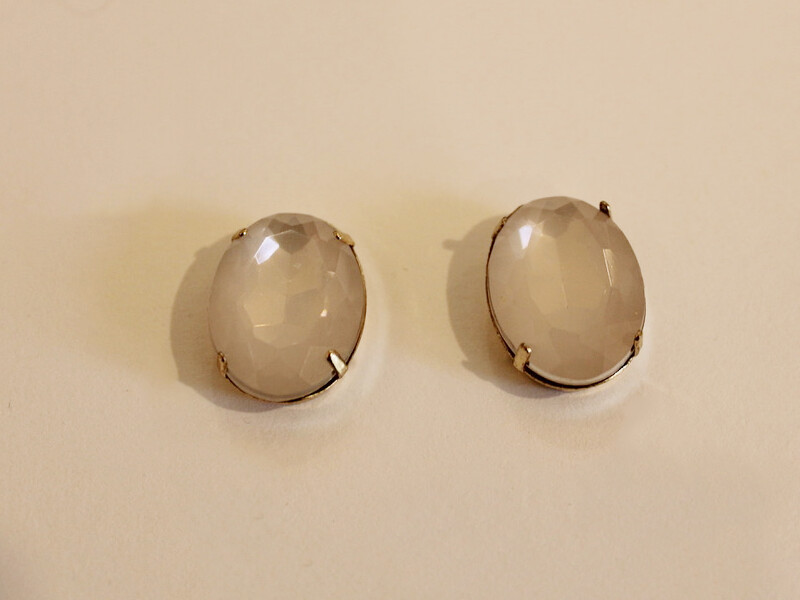
3: Araldite glue.

4: A skewer.

5: Scrap paper.

Follow these steps to make your clip on earrings:
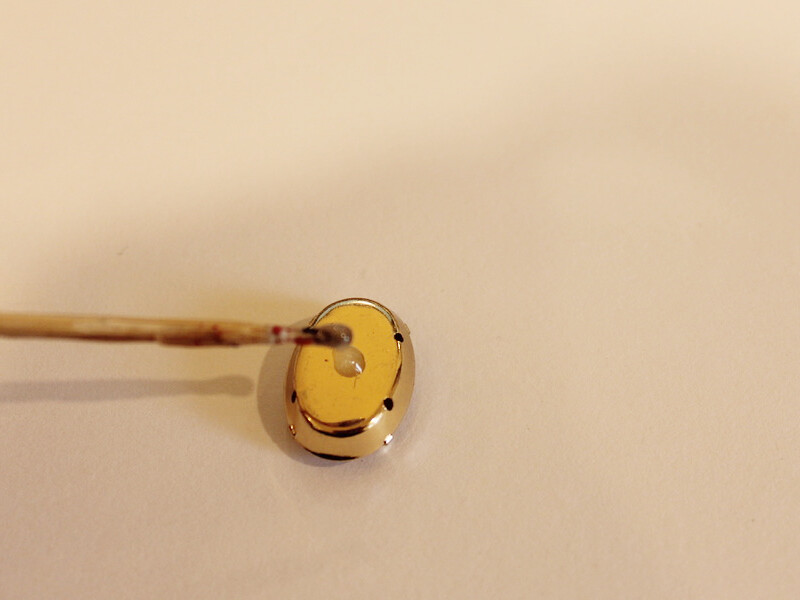
1: Squeeze out the glue in equal parts onto the scrap paper.


2: Mix the glue with the skewer.

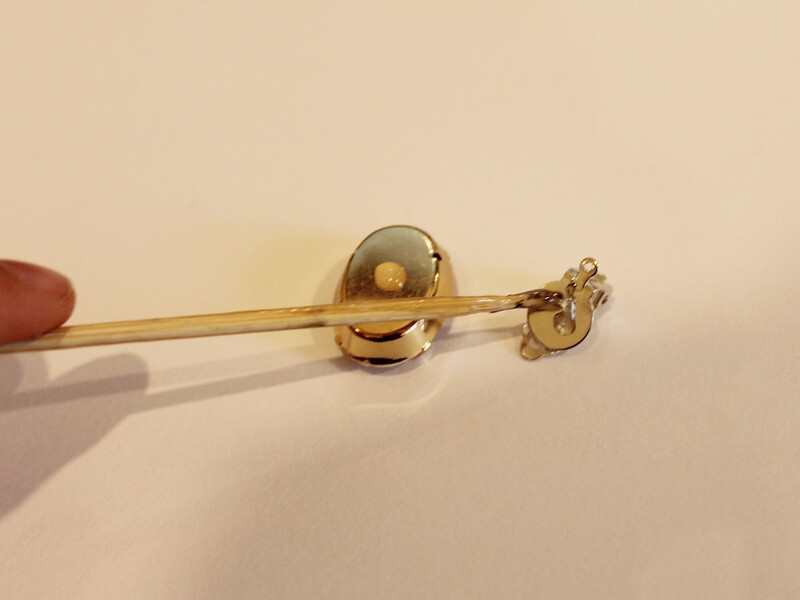
3: Add the glue to the backs of both rhinestones and the clip on earrings. (Open the earrings so that the clip doesn’t get glued shut).
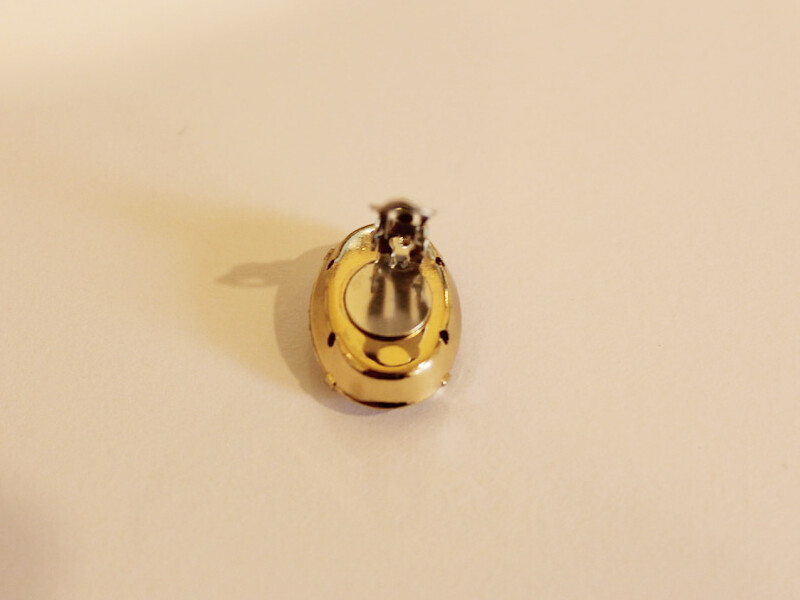
4: Once your earrings are dry they are finished and ready to wear!!!
-
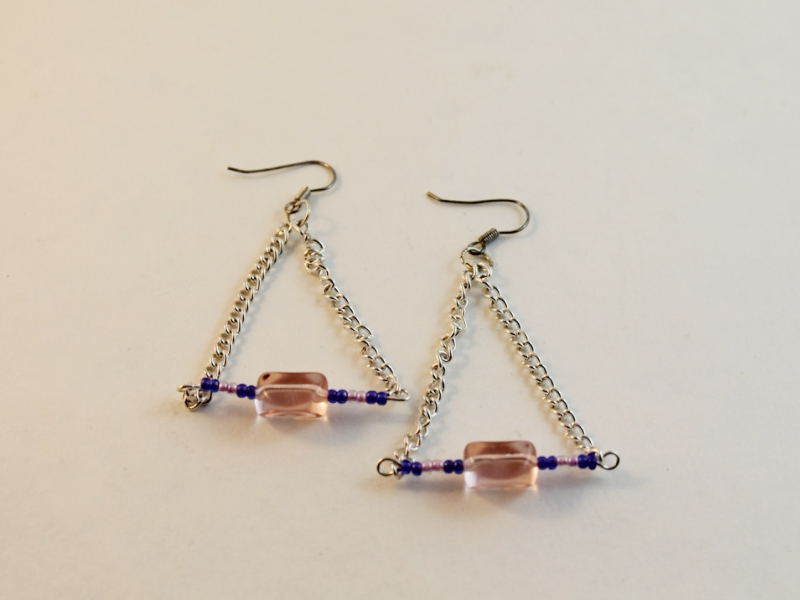
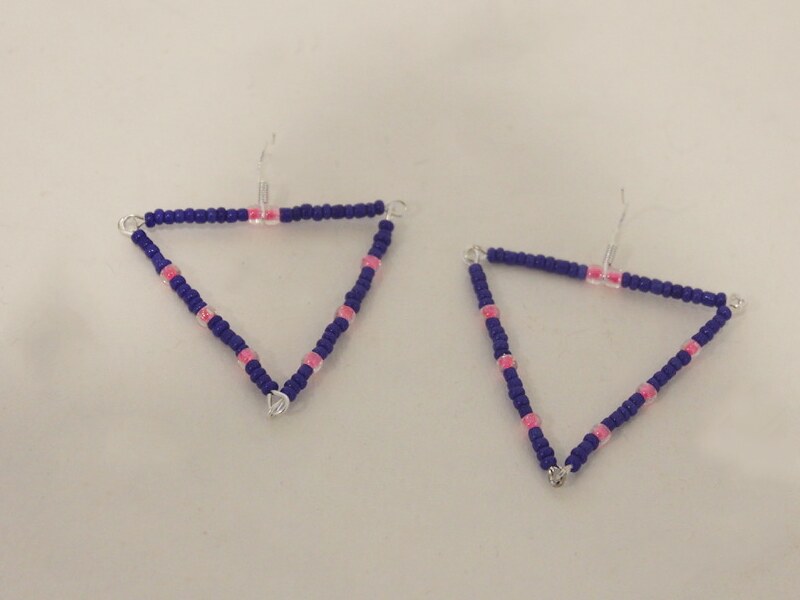
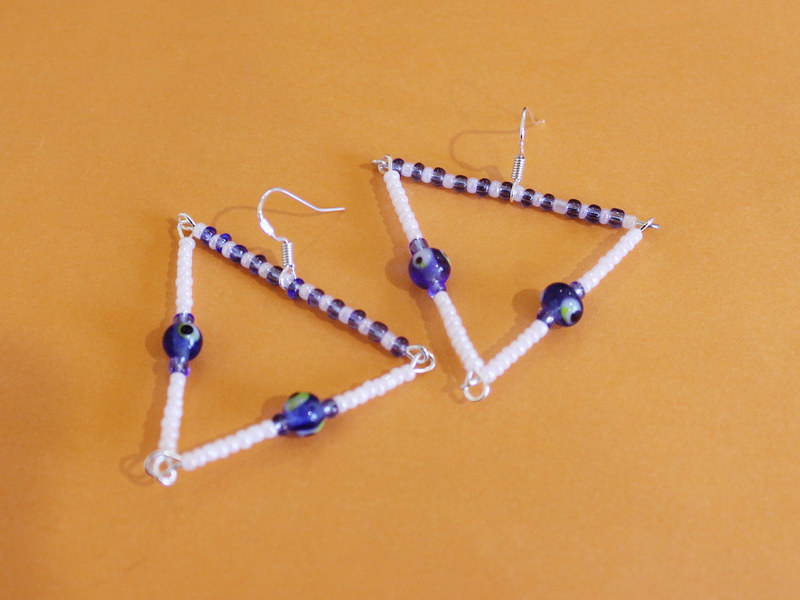
These triangle earrings are SICK! Make yours today!
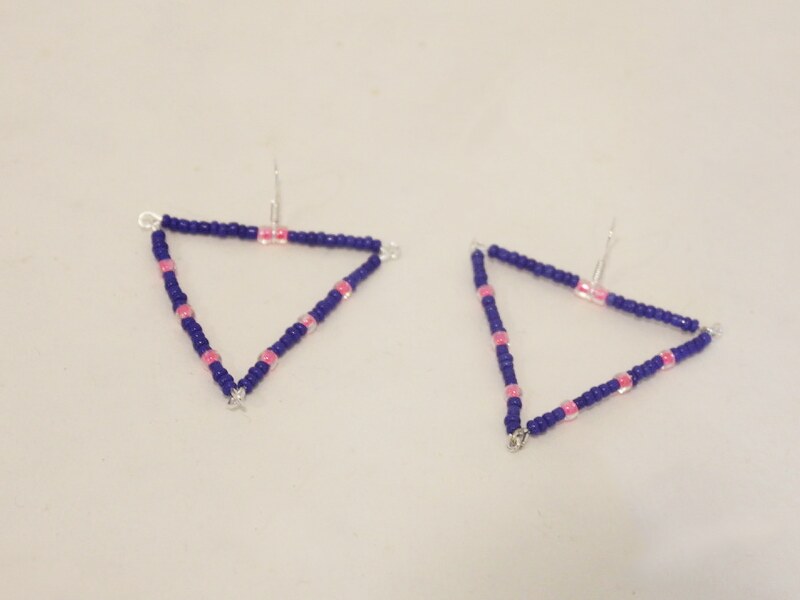
Remember the tutorial for these triangle earrings? Here’s another way to make some cool triangle dangles.
You will need the following tools and materials to make your earrings:
1: Pliers. You will need your round nose pliers and flat nose pliers.


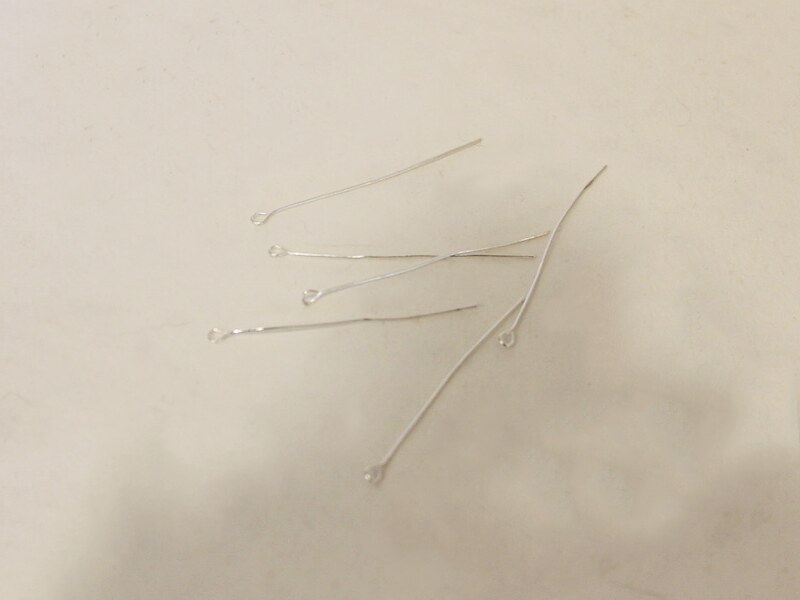
2: Six eye pins.
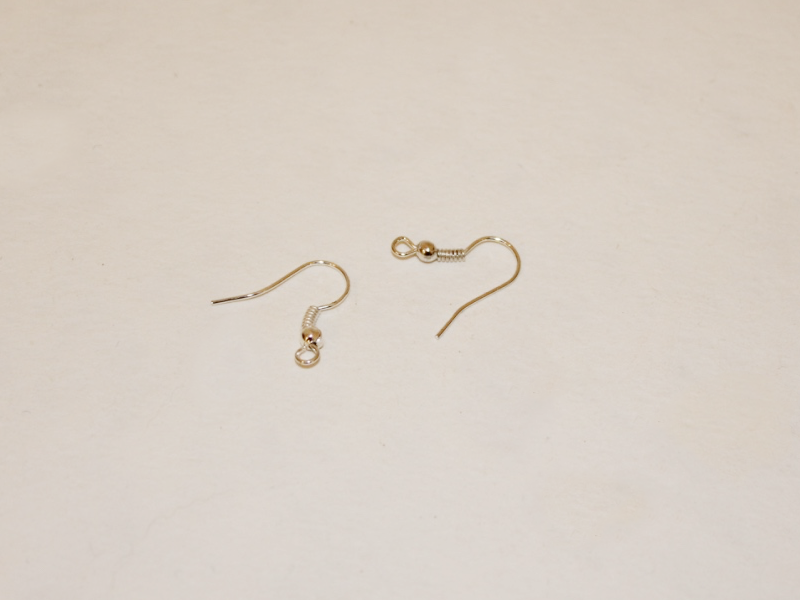
3: Two earring hooks.
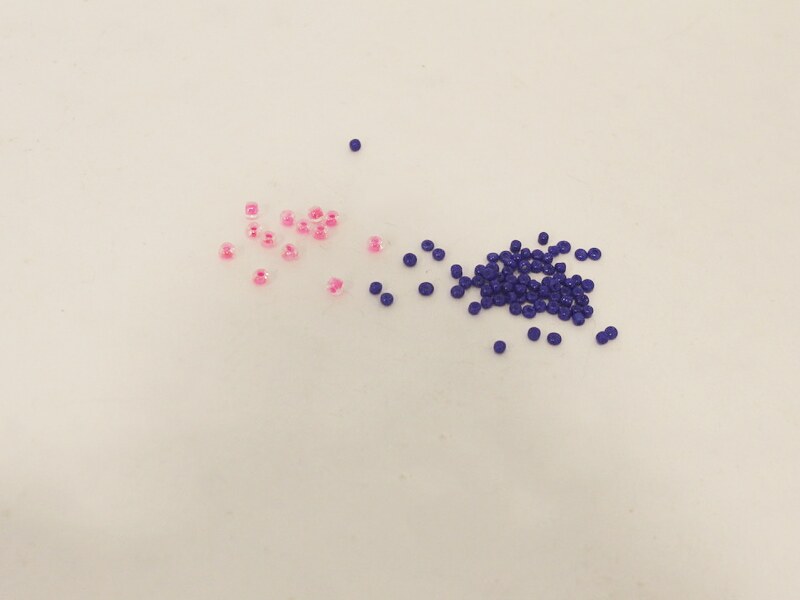
4: Beads of your choice. I used these blue and pink glass seed beads.
Follow these steps to make your triangle earrings:
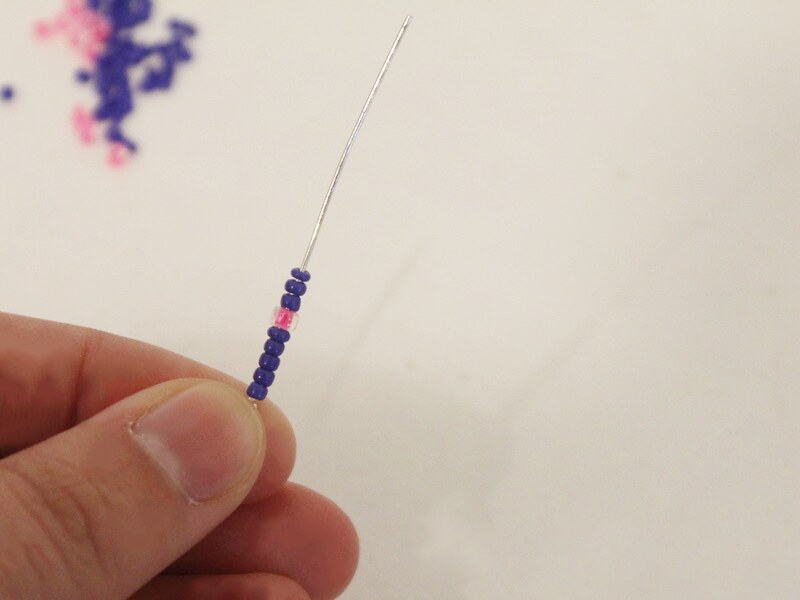
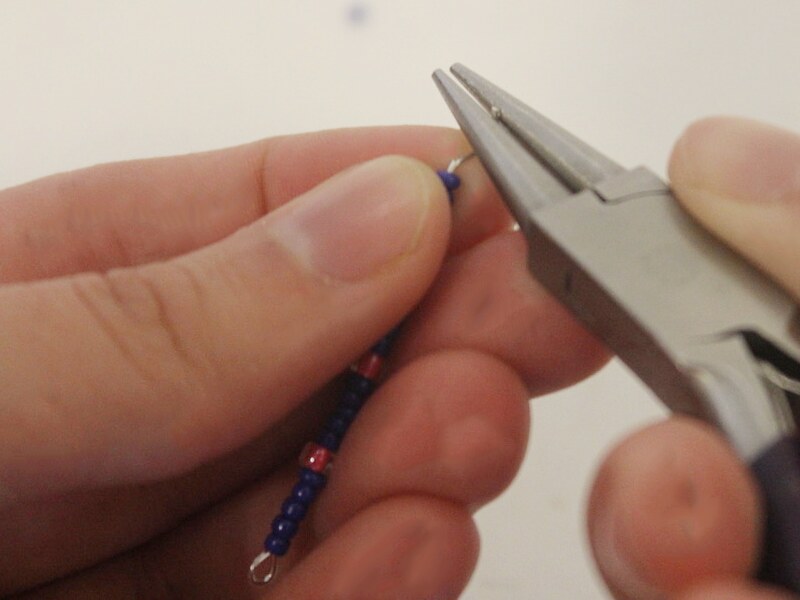
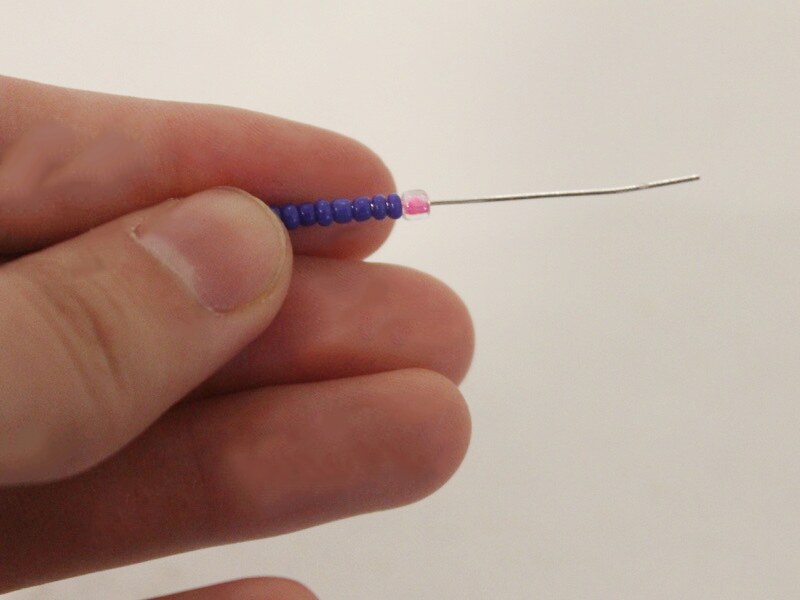
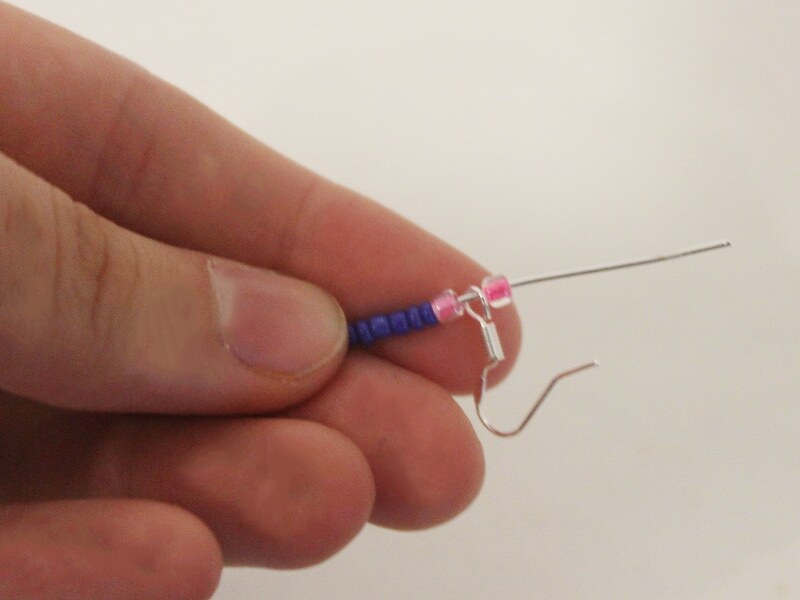
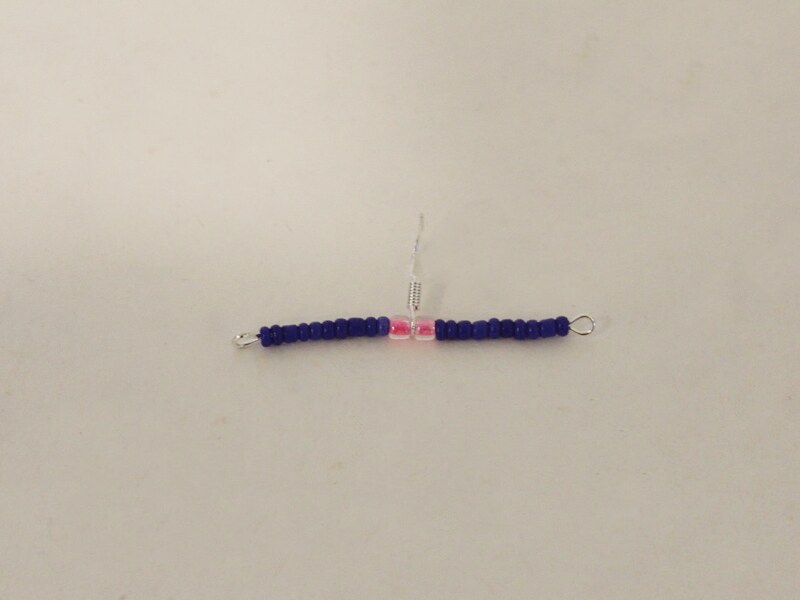
1: Add beads to one of the eye pins in a pattern of your choice.

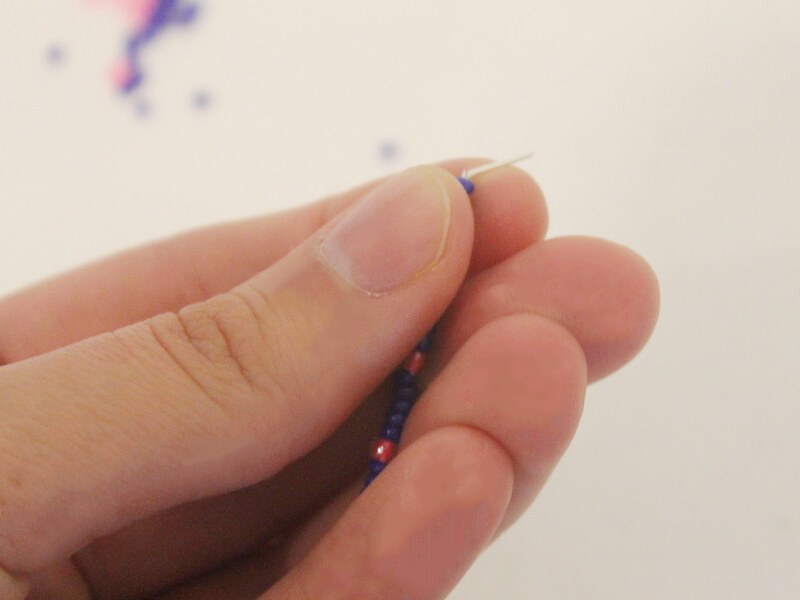
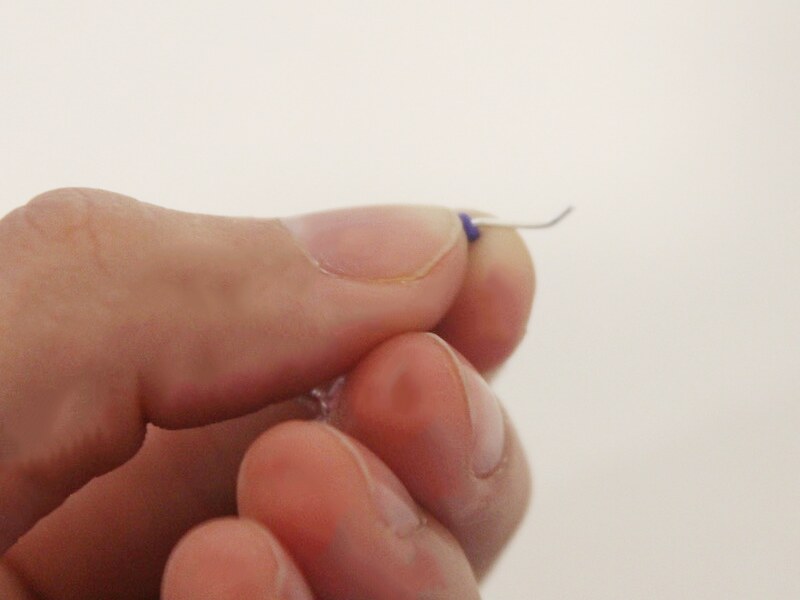
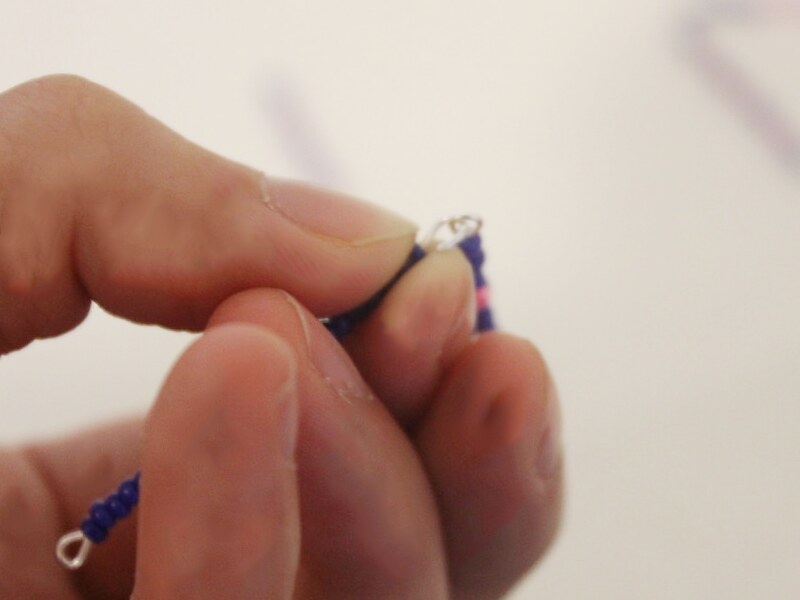
2: Bend the end of the pin to a right angle.
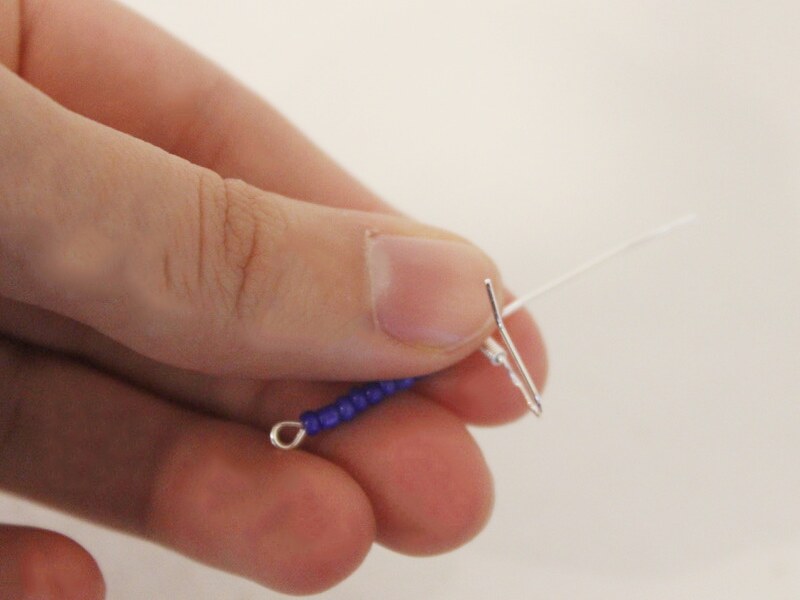
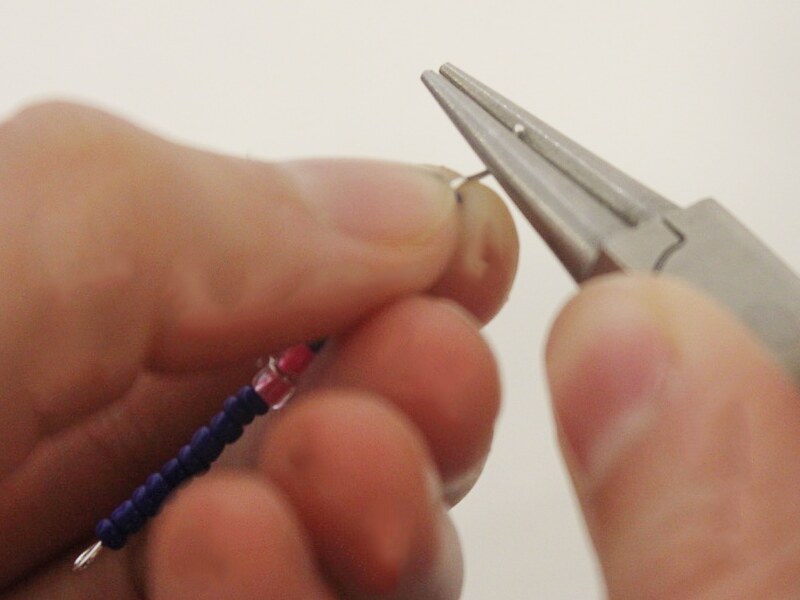
3: Loop the end of the pin using round nose pliers.
4: Repeat steps 1-3 for three more of the eye pins.
5: Add beads to one of the remaining eye pins, I added around 11 beads.
6: Add one of the earring hooks to the pin.
7: Add beads to the other side of the hook so that it is secured halfway across the pin.

8: Create a loop at the end of the pin to secure the beads and earring hook in place.
9: Repeat steps 5-8 for the last eye pin.
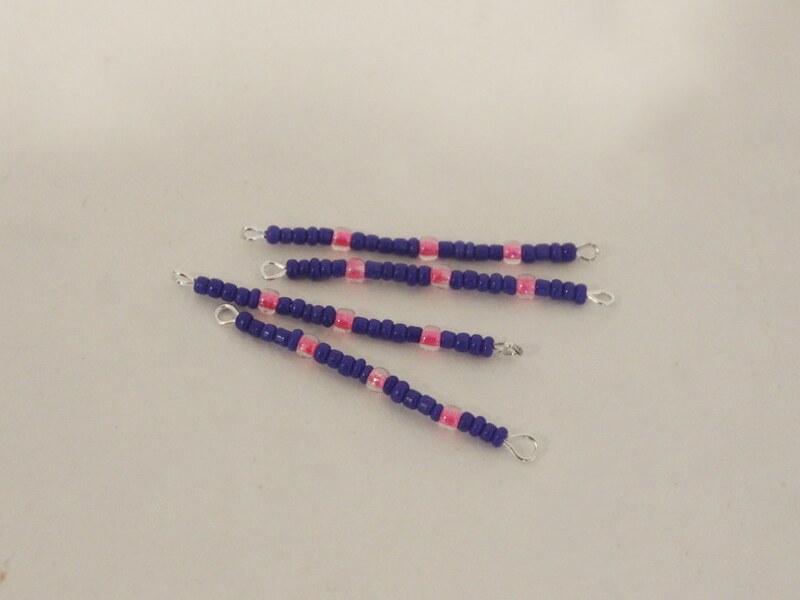
10: Once you’ve finished beading all the pins you can start putting them together.
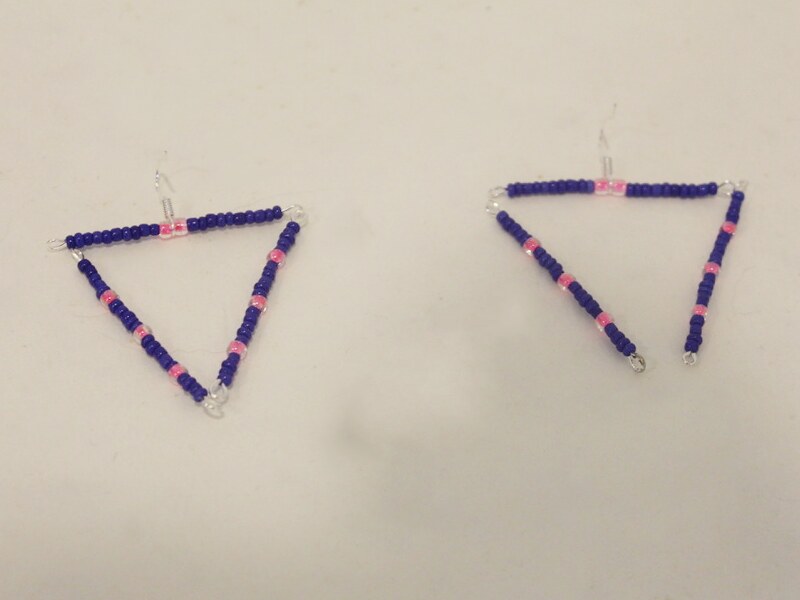
11: Attach the ends of three of the pins (two of the first pattern, and one with the earring hook) together to form a triangle.
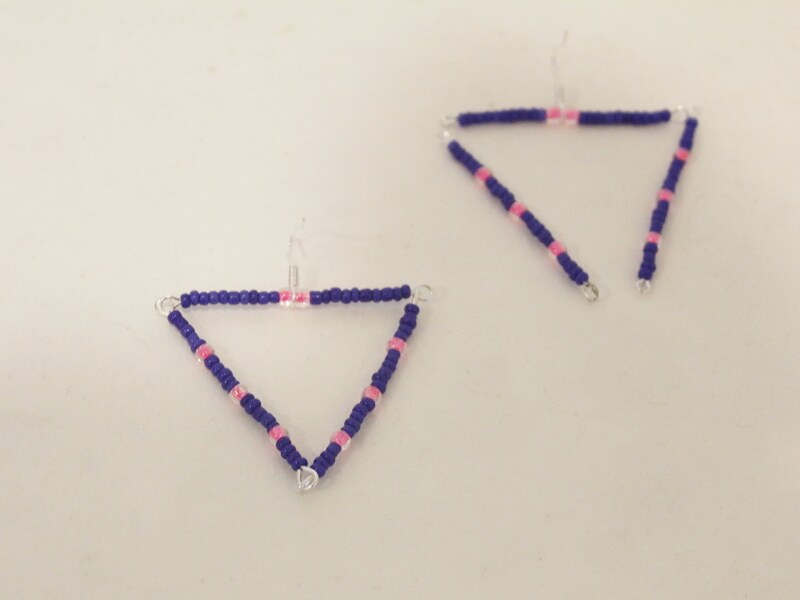
12: Repeat step 11 for the other earring to complete the design.
Here’s another pair I made using some seed beads and some glass eye beads.

And another pair made with chains and charm connector studs instead of earring hooks.

-
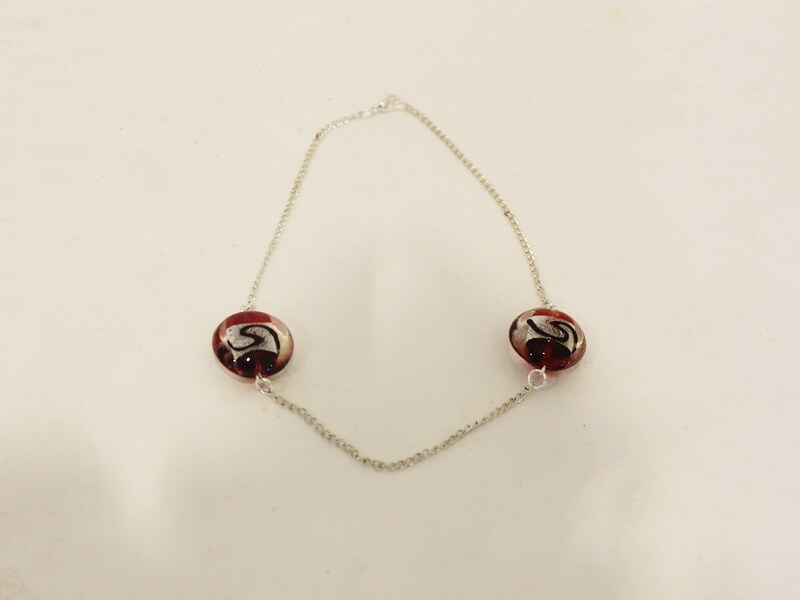
How to make a bead and chain choker necklace
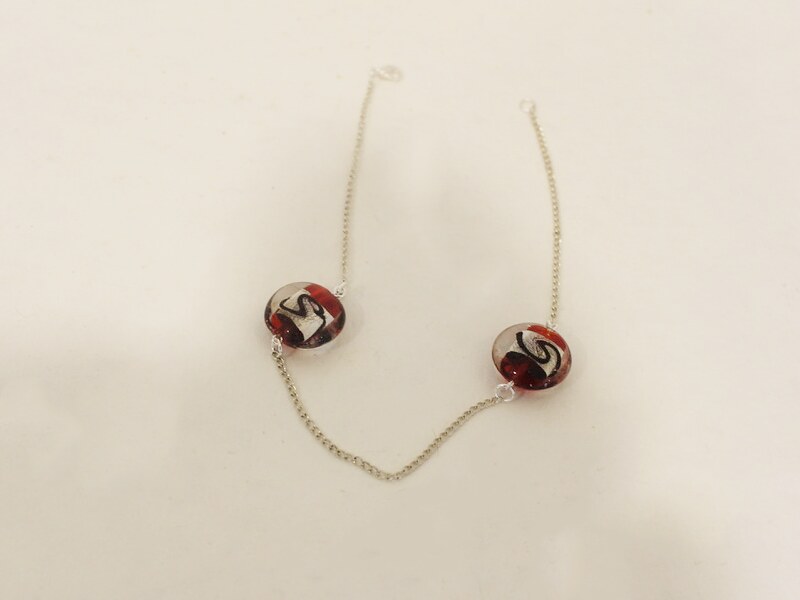
This choker necklace combines cool beads and pieces of chain for a cool effect.
You will need the following tools and materials to make this choker necklace:
1: Pliers. You will need round nose pliers and flat nose pliers.
2: Three short pieces of chain, approximately 8-10cm long.
3: Six jump rings.
4: Two eye pins.

5: Two glass beads.
6: A lobster clasp.

Follow these steps to make your glass bead choker necklace:
1: Add a bead to the eye pin.
2: Bend the eye pin to form a right angle.
3: Loop the end of the pin to secure the bead in place.
4: Repeat steps 1-3 for the other bead.
5: Add a jump ring to one side of one of the beads and a piece of chain. Close the jump ring to secure the bead and chain together.

6: Repeat step 5 to attach all the pieces of chain to the bead charms, forming a long piece of chain broken by two beads.
7: Add a jump ring to the end of the chain and add the lobster clasp to the open jump ring. Close the jump ring to secure the clasp in place.

8: Add the other jump ring to the other side of the necklace to finish it off.
Now your beaded chain choker is finished and ready to wear!