-
Make your next hairstyle special with a customized Bobby Pin
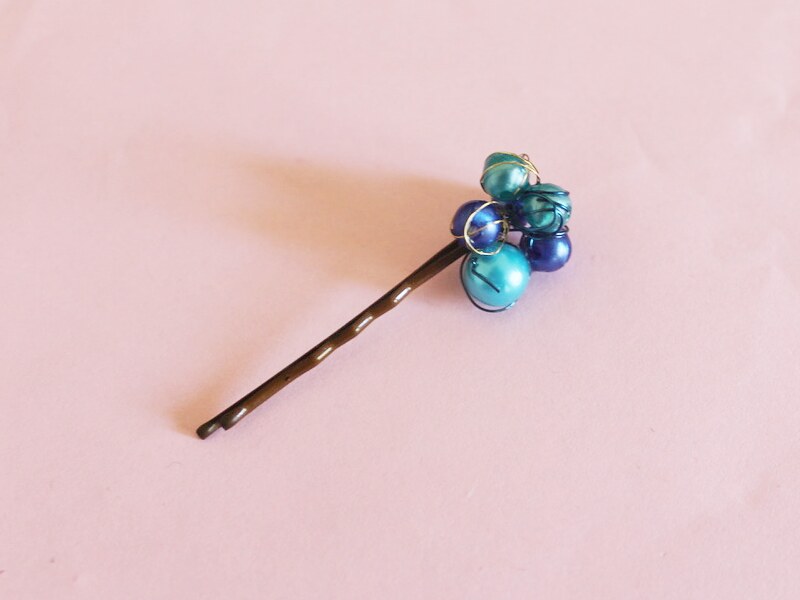
Do your up dos need something special? Why not make this beaded bobby pin to add something amazing to your hair styling.
You will need the following tools and materials to decorate your bobby pin:
1: Cutting pliers for cutting the wire.

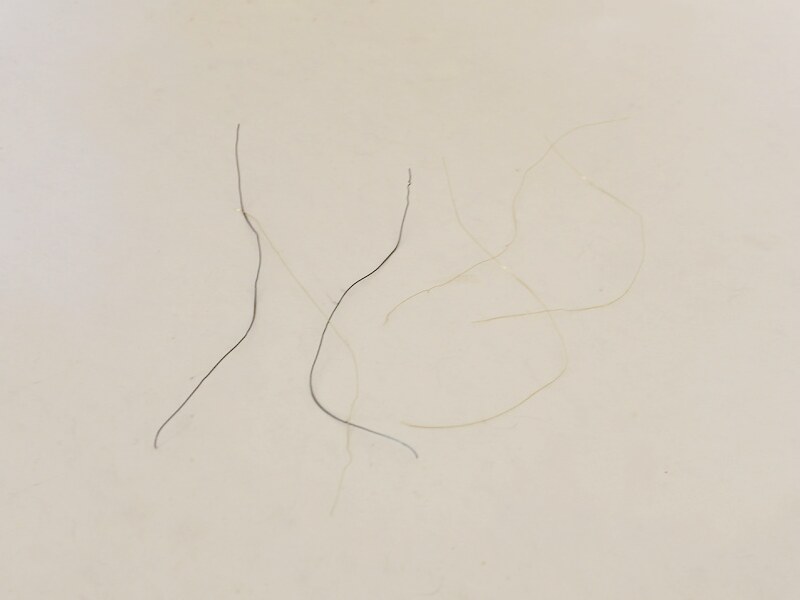
2: Pieces of thin wire cut to approximately 15cm long. You can cut as many as you like.
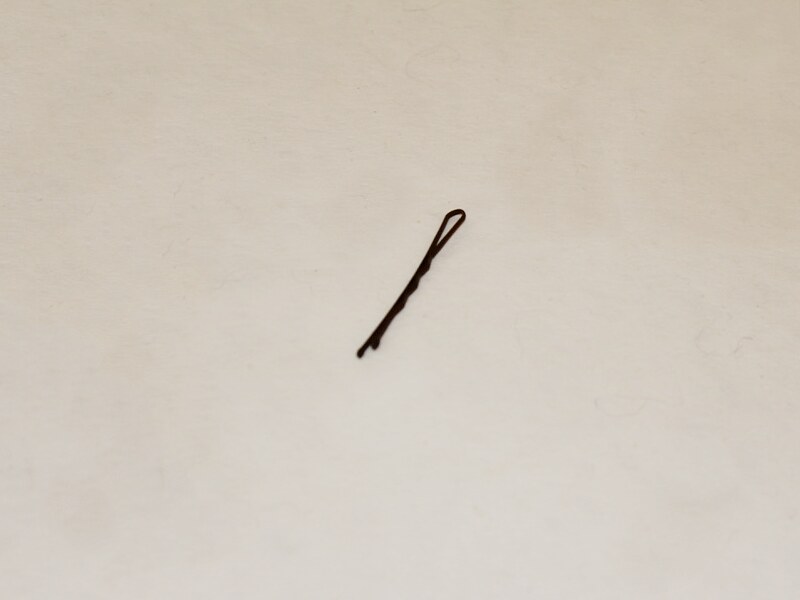
3: A Bobby Pin.
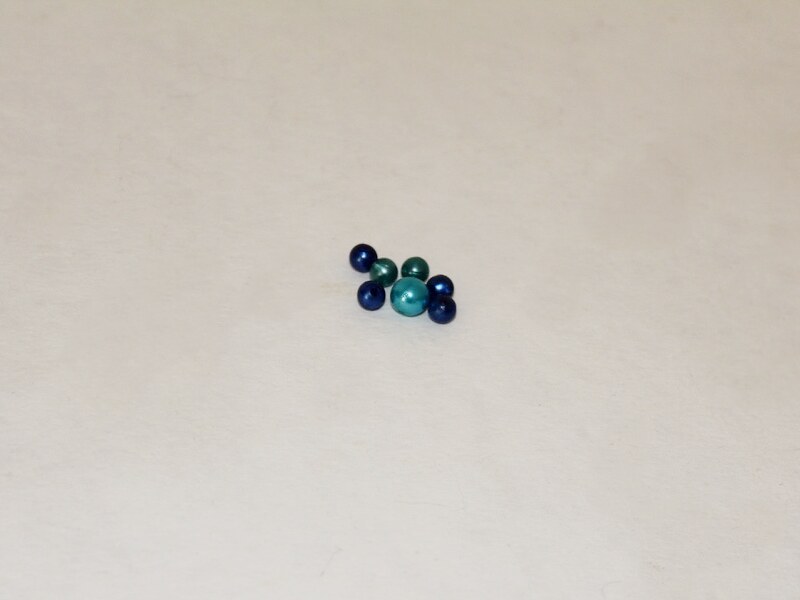
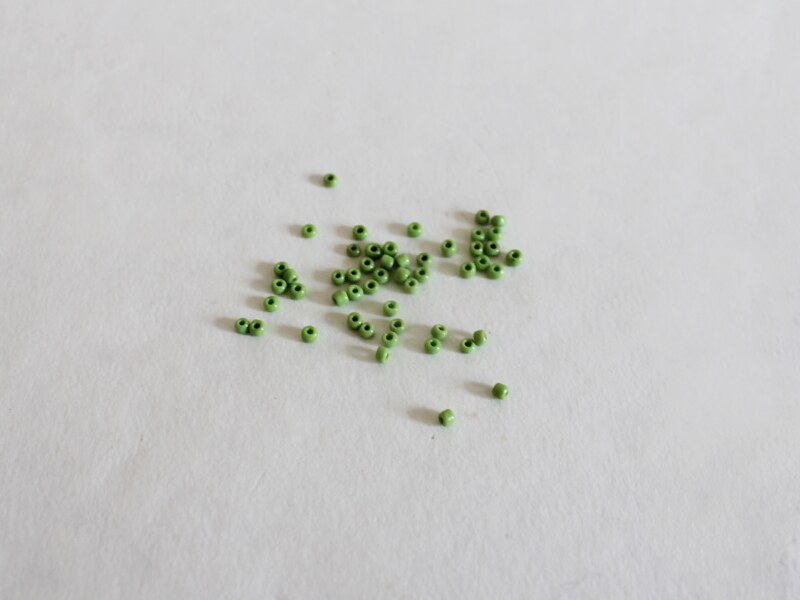
4: Beads of your choice. I used these plastic beads.
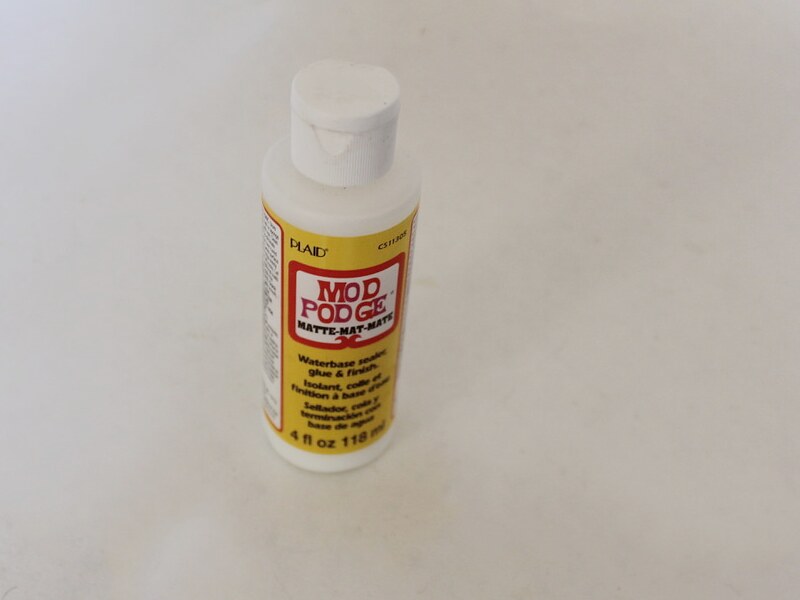
5: Water based glue. I used Mod Podge.
6: A Skewer.

Follow these steps to decorate your bobby pin:
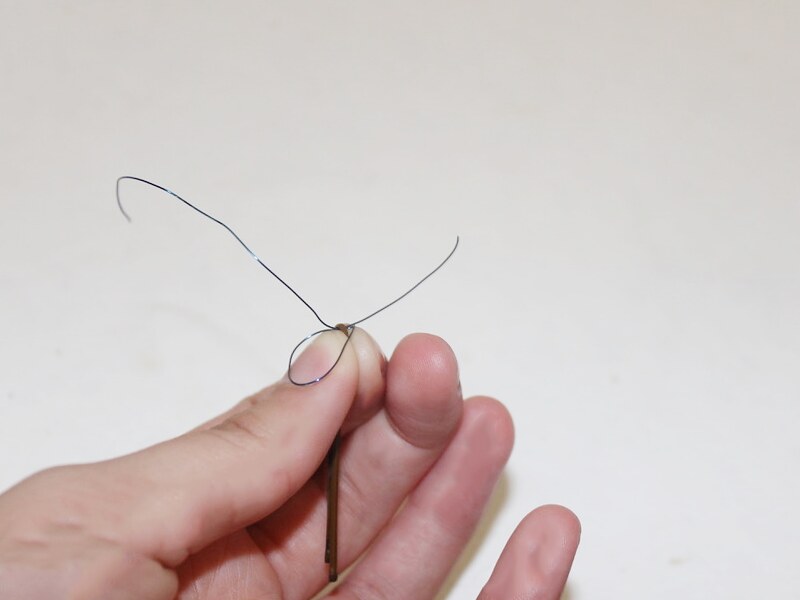
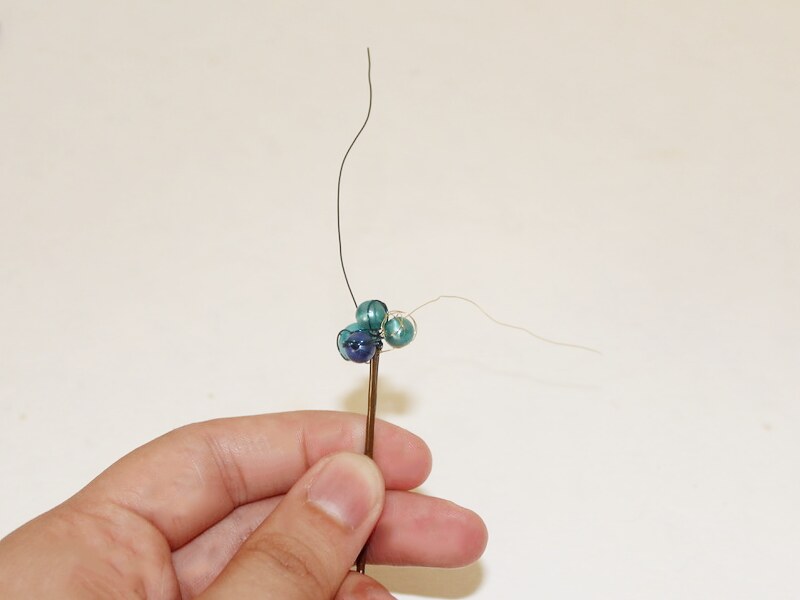
1: Put a piece of wire between both sides of the bobby pin, up near the bent part of the pin.

2: Wrap the piece of wire around the top of the pin where it bends over.

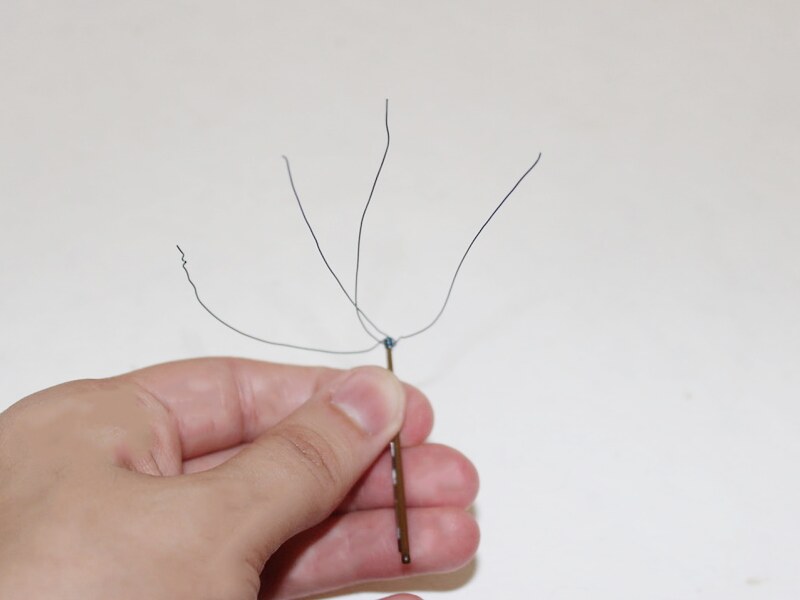
3: Add more pieces of wire in the same way. Add as many as you like depending on how many beads you want clustered on your bobby pin.
4: Add a bead to one of the ends of the wire.
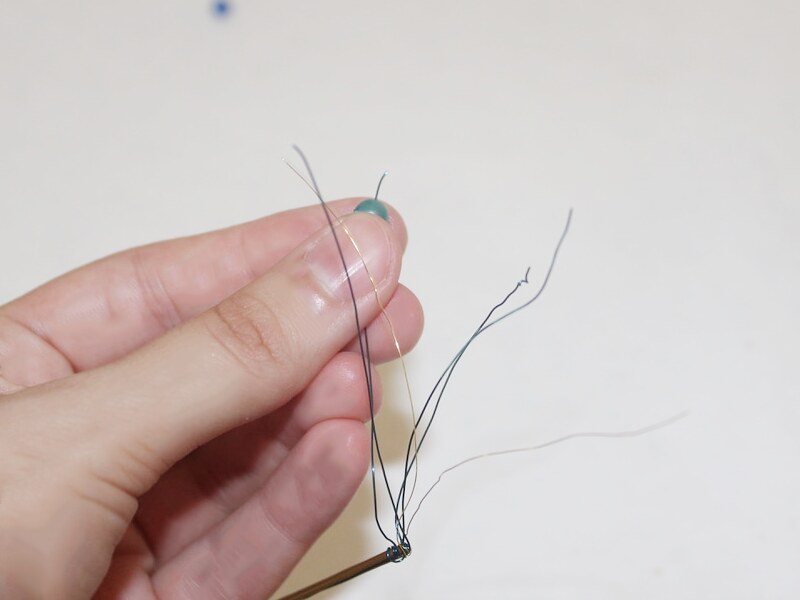
5: Wrap the wire around the bead so that it sits close to the pin.
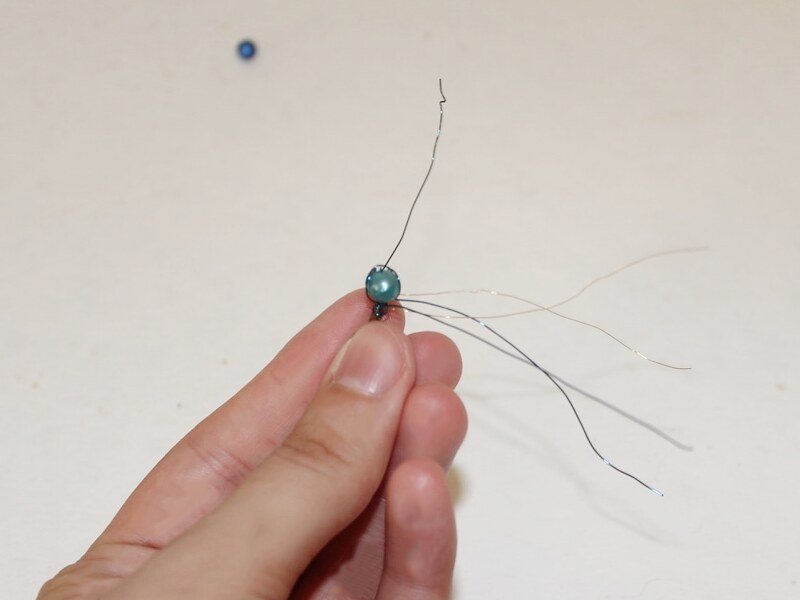
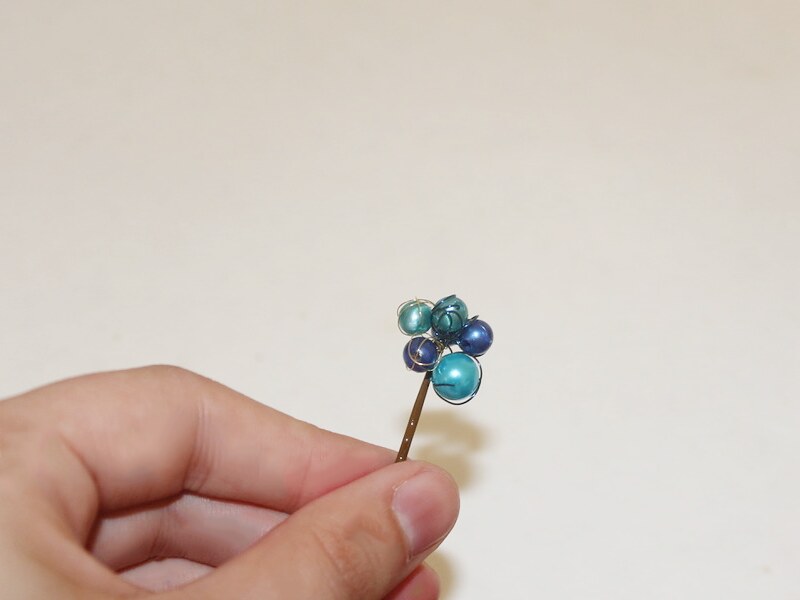
6: Repeat steps 4 and 5 until all the pieces of wire have been beaded and you have formed a cluster of beads on the bobby pin.
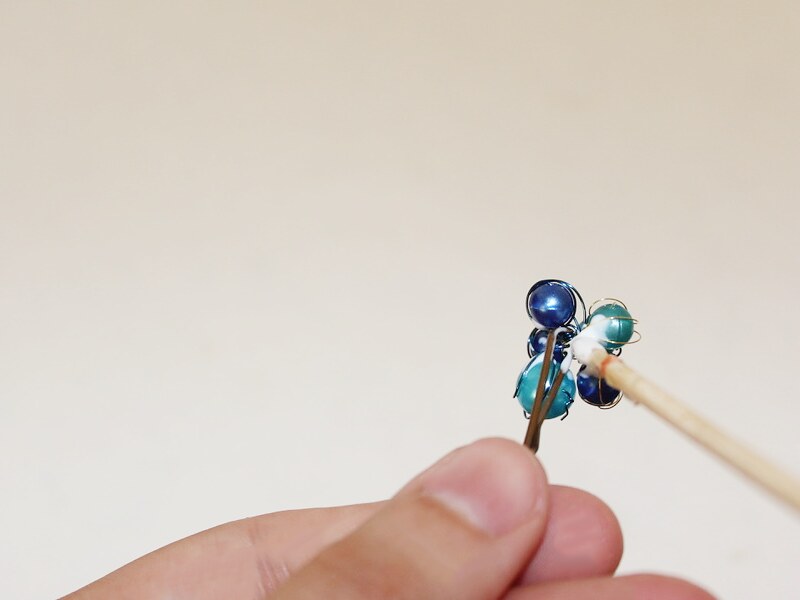
7: Add some PVA glue to the ends of the wire to secure the beads in place.
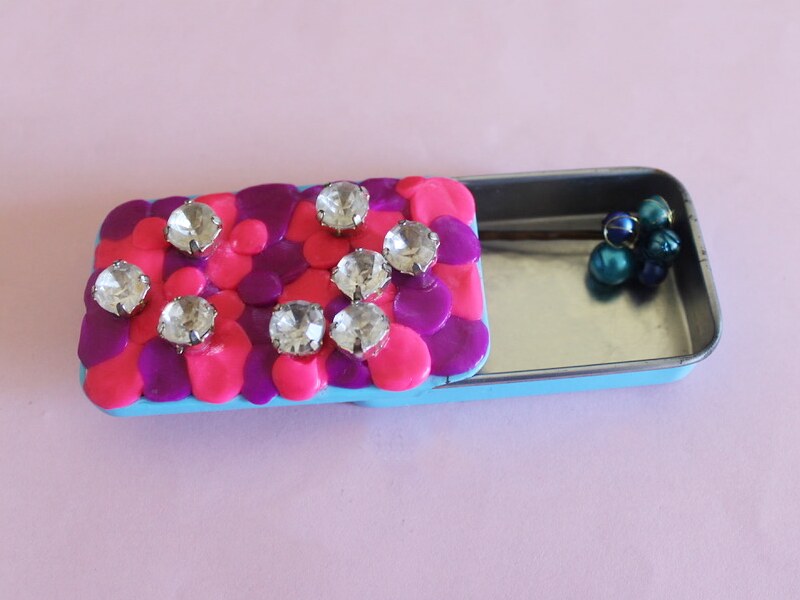
Once the glue is dry your bobby pin is finished and ready to wear!
-
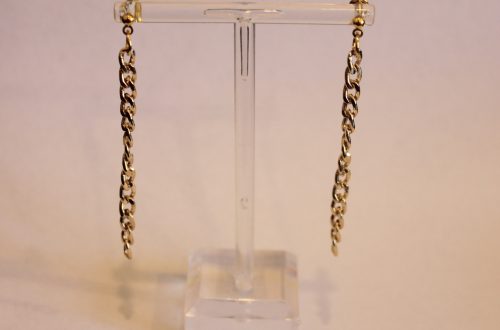
These earrings are SO Awesome! Here’s how to make some special chain dangle hoop earrings.
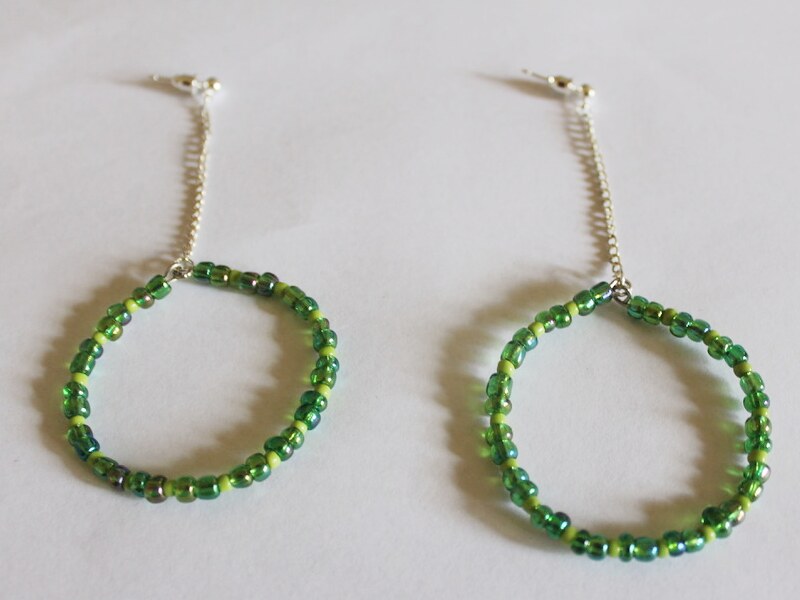
These earrings are hoops… with a twist. These beaded hoop earrings dangle down on some delicate chains. Features affiliate links.
You will need the following tools and materials to make your earrings:
1: Pliers. You will need your round nose pliers, flat nose pliers and jump rings to make these earrings.

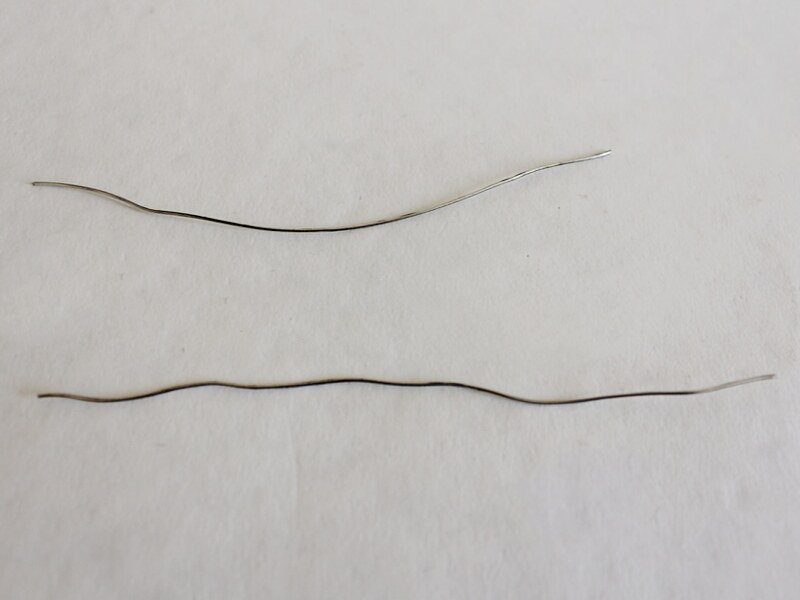
2: Two pieces of wire approximately 12cm long.
3: Two short pieces of chain.

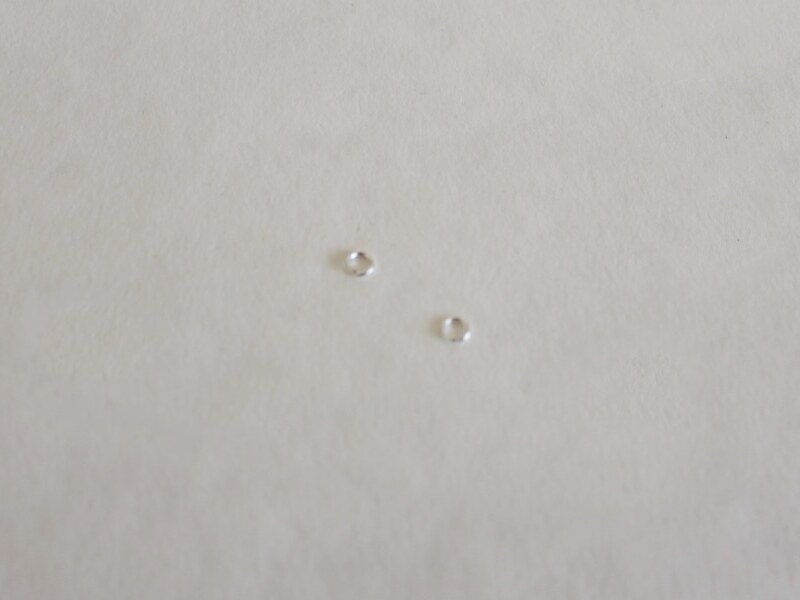
4: Two small jump rings.
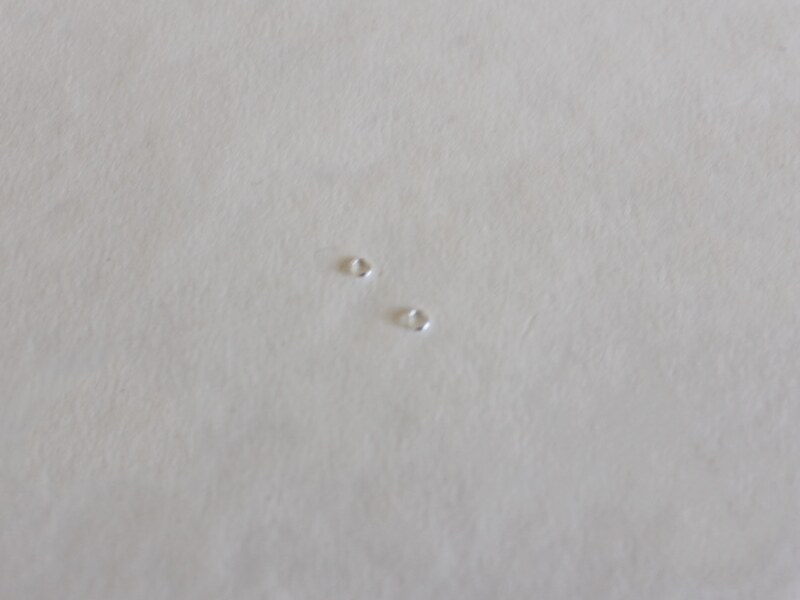
5: Two larger jump rings.
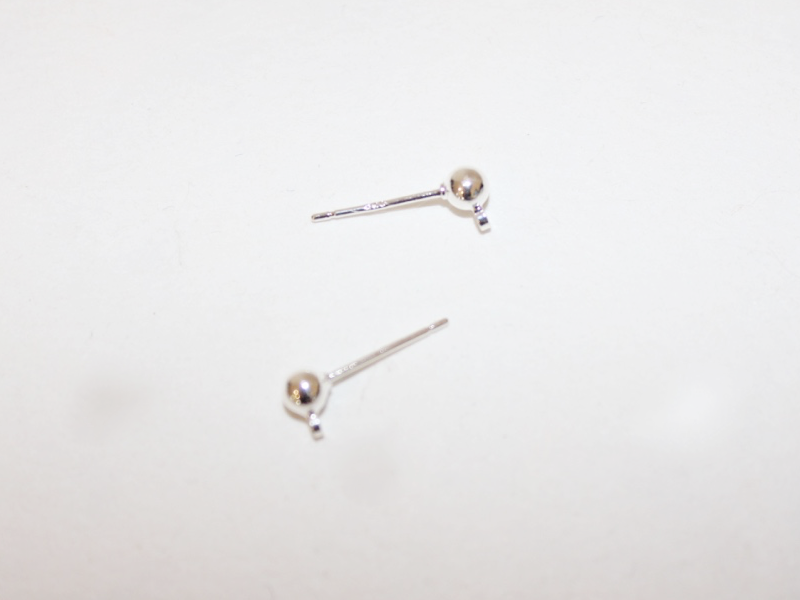
6: Two charm connector earrings.
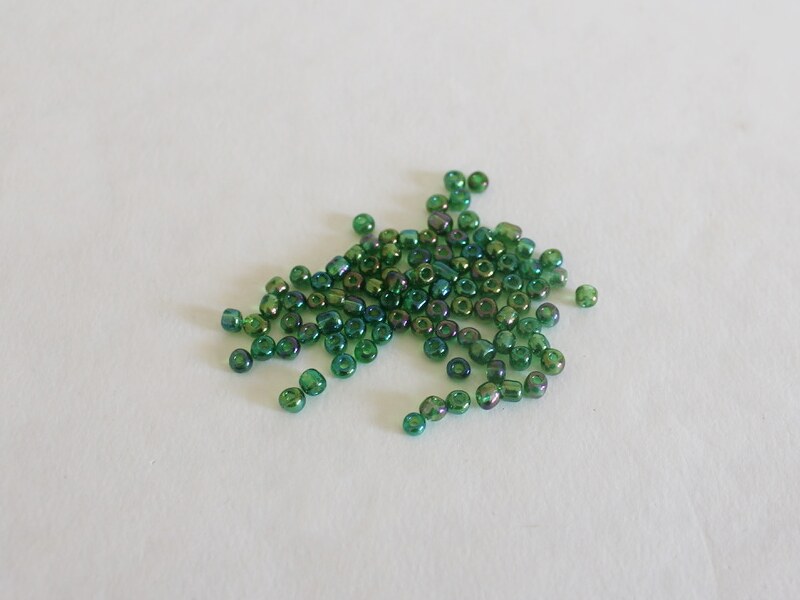
7: Beads of your choice. I used a selection of green glass beads.
Follow these steps to make your earrings:
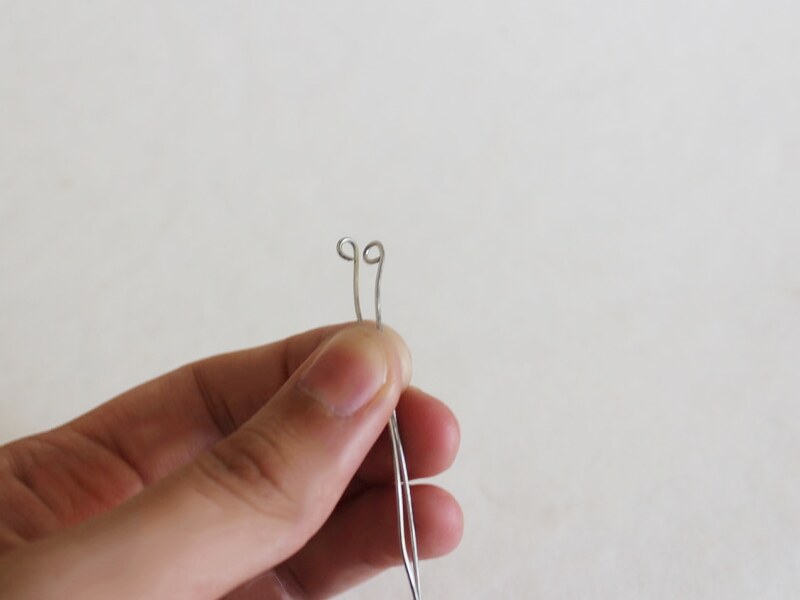
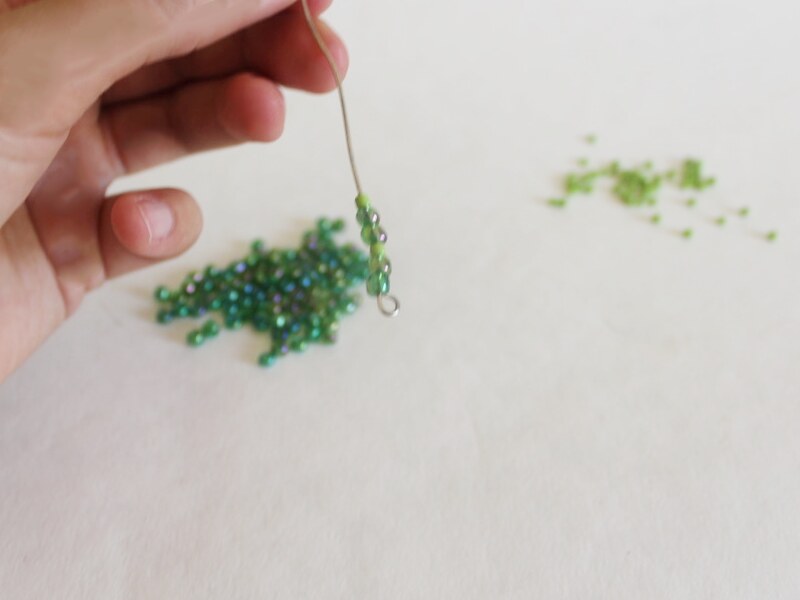
1: Create a loop at the end of each piece of wire using the round nose pliers.
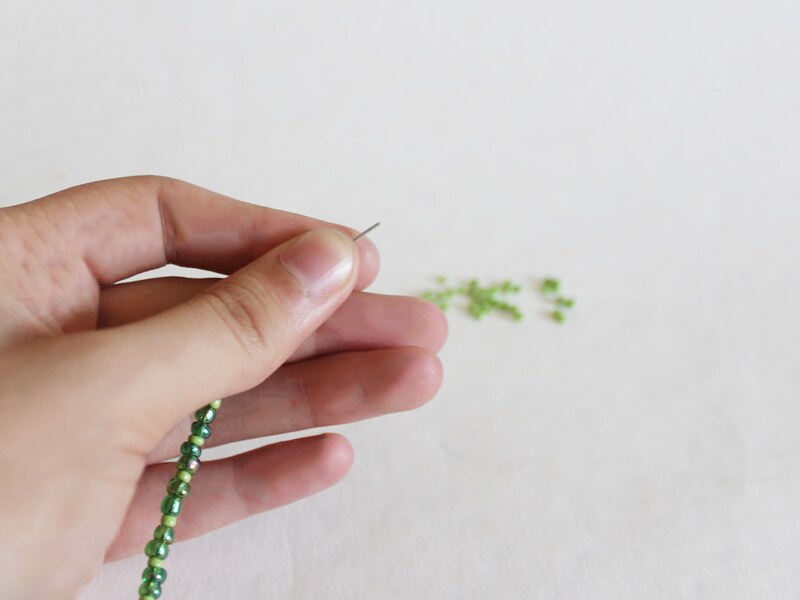
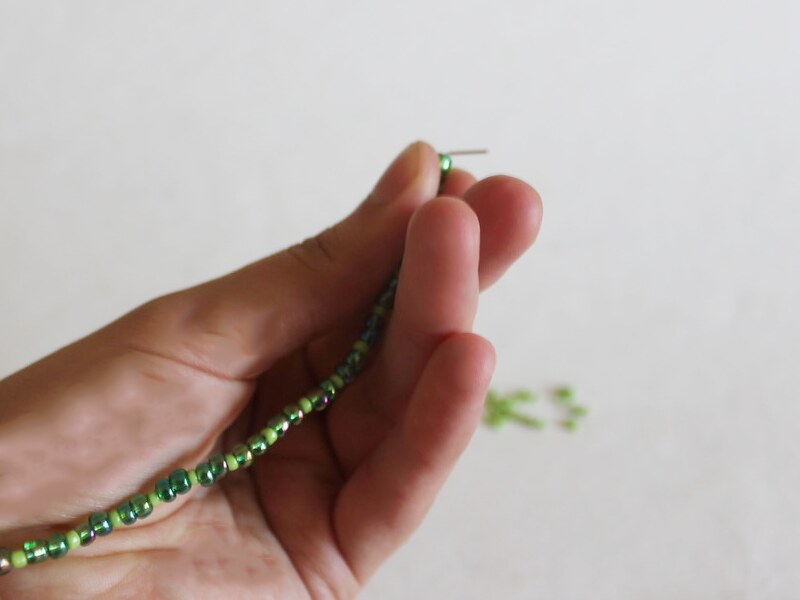
2: Add beads to both pieces of wire in pattern of your choice.
3: Once the pieces are beaded with 1cm of wire left unbeaded, create a loop at the end of each piece of wire.
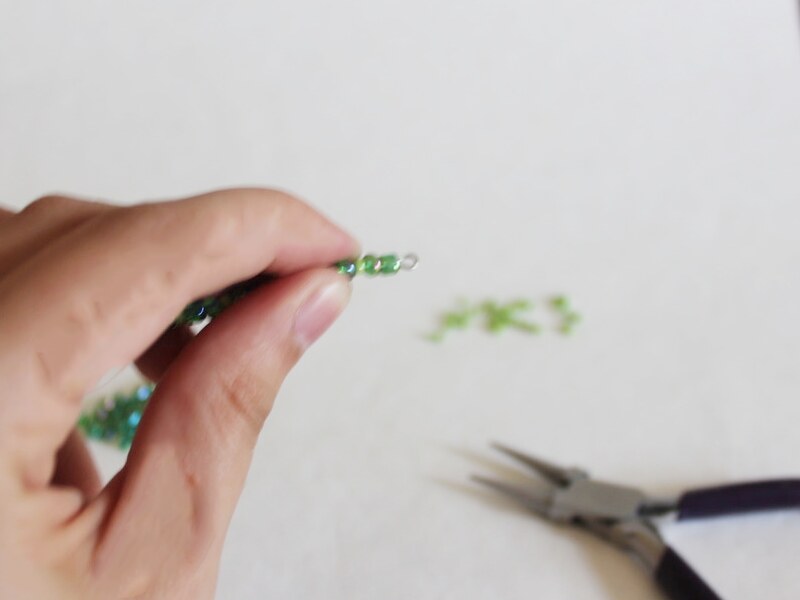
4: Attach each of the ends of the wire together by the loops. Secure them in place using the round nose pliers to close them.
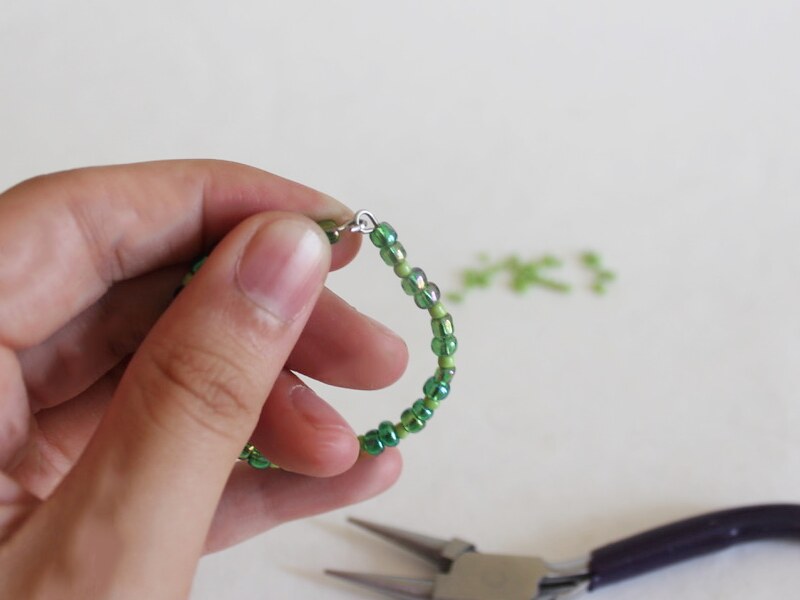
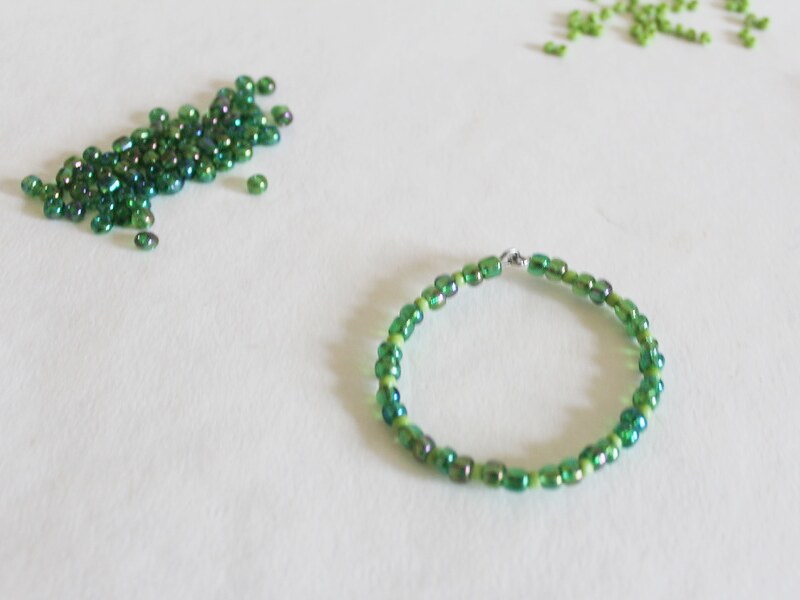
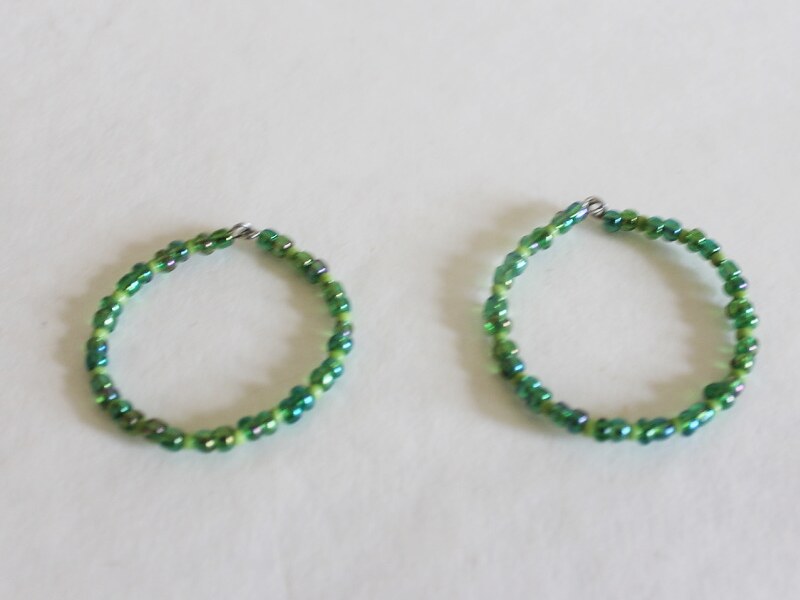
5: You will now have two beaded loops.
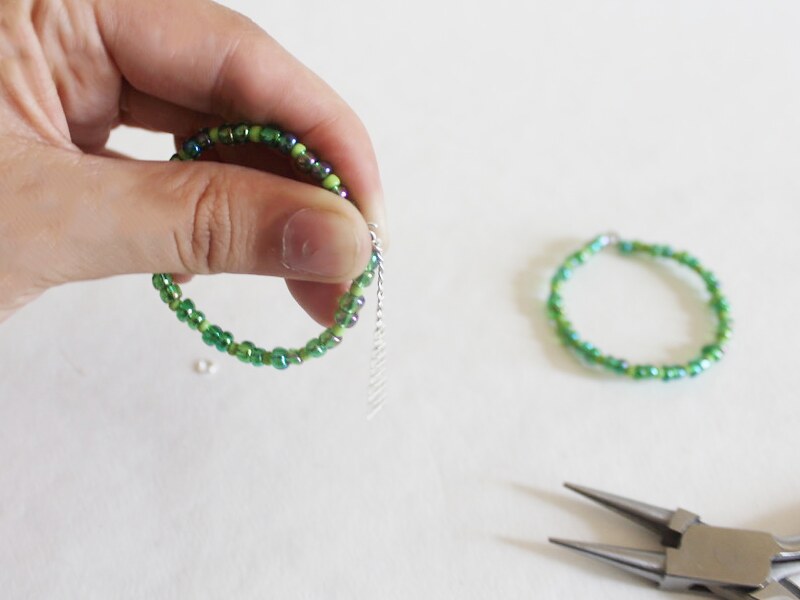
6: Attach a chain to each loop using the larger jump rings.
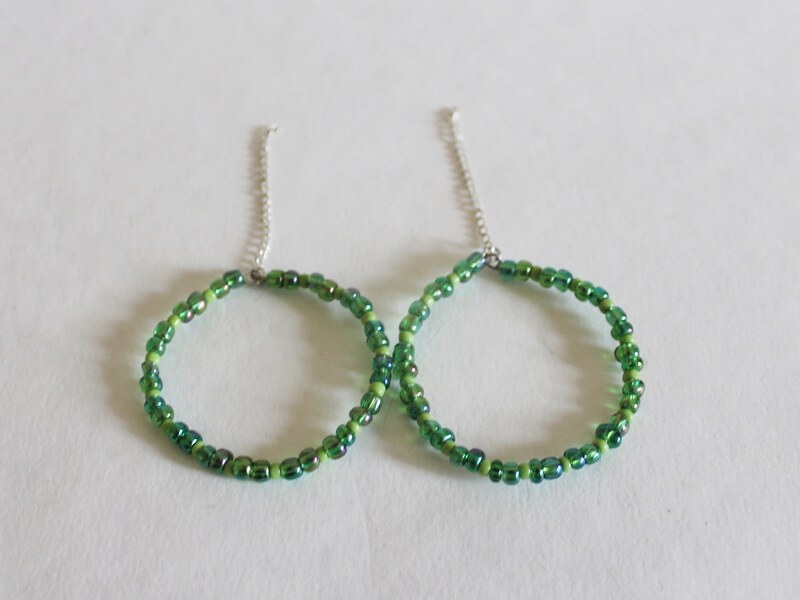
7: Attach the other end of the chains to each of the charm connector earrings to finish the earrings off. Connect the earring charms to the earring posts using the smaller jump rings.

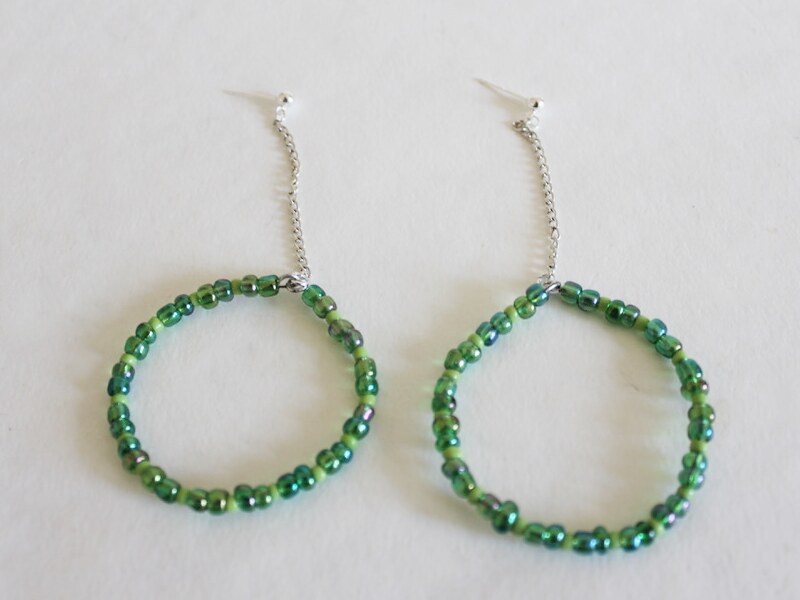
Now the charms are attached to the earring posts your earrings are finished and ready to wear!
-
Do You Want More Special Charms In your life? Why not try making this free-form bead and wire charm?
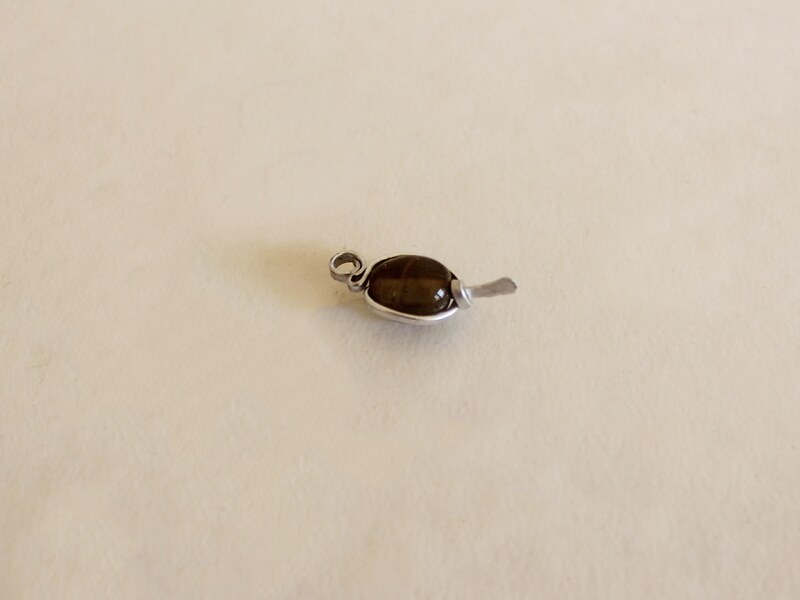
This charm tutorial is a really fun way to use your special decorative beads. I like making them with unique glass beads! Note: includes affiliate links.
You will need the following tools and materials to make your bead charm:
1: Pliers. You will need your round nose pliers and cutting pliers to make this charm.

2: A hammer.

3: A steel hammer block.

4: Soft jewelry wire.

5: A file.

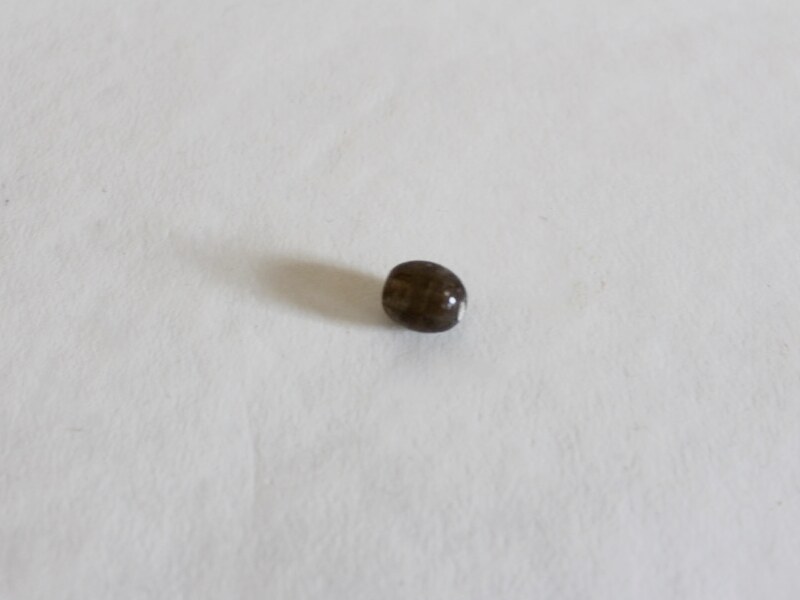
6: A bead of your choice. I used this glass bead.
Follow these steps to make your free form charm:
1: Cut the wire to be approximately 12-15 cm long using the cutting pliers.

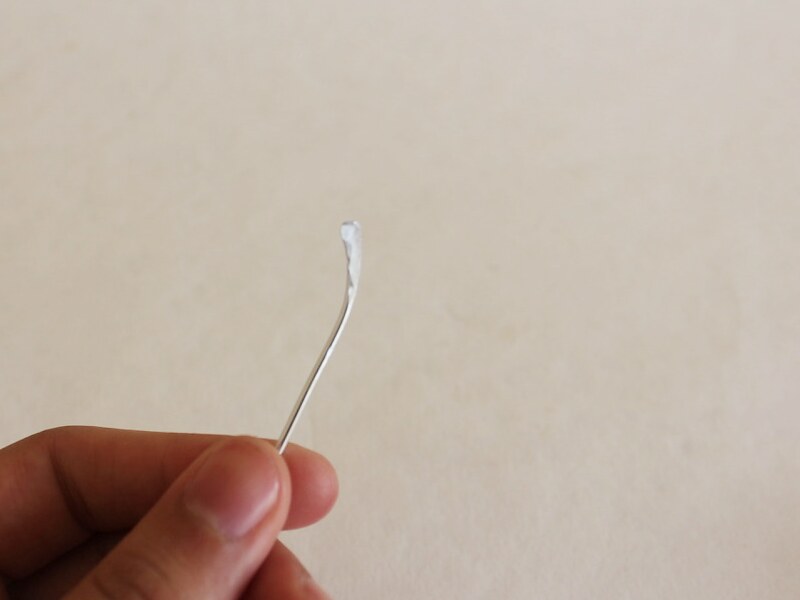
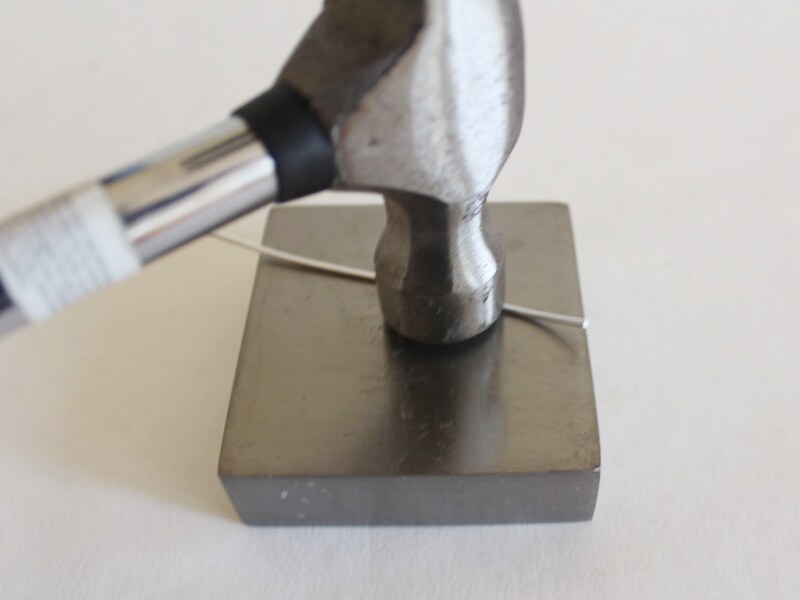
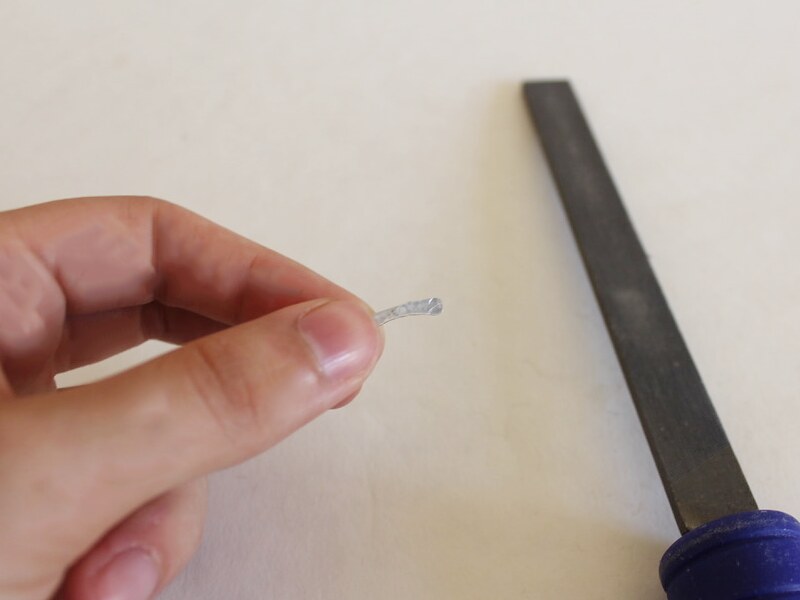
2: Hammer the end of the wire wide and flat using the hammer. It should be wide enough to keep your bead from falling off the wire.
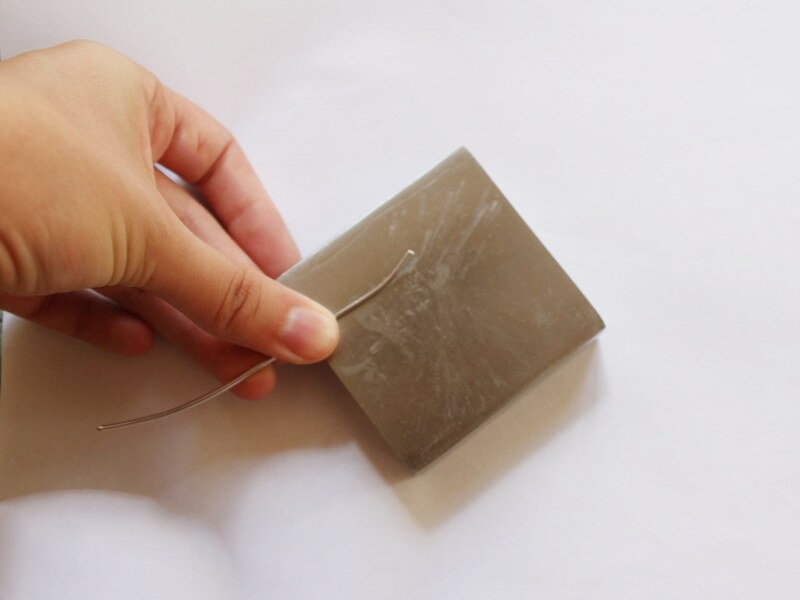
3: Hammer the rest of the wire flat but not so wide that your bead won’t go onto the wire.
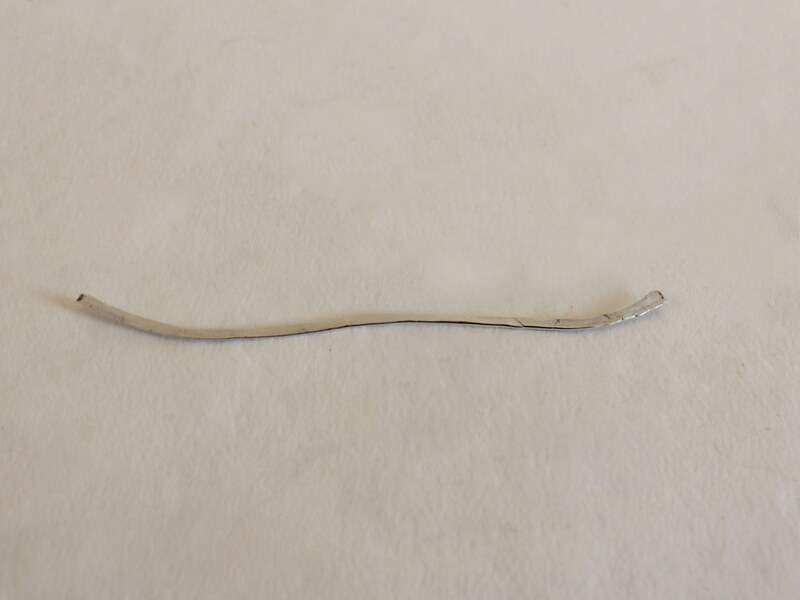
4: File the ends of the wire so that they are not sharp.
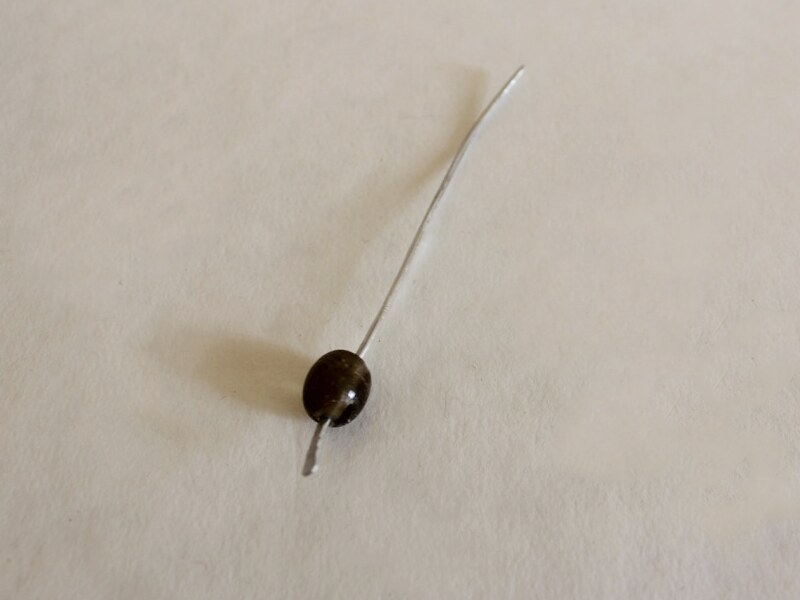
5: Add the bead to the wire, securing it against the widest end of the wire.
6: bend the wire around the bead in any formation you like.
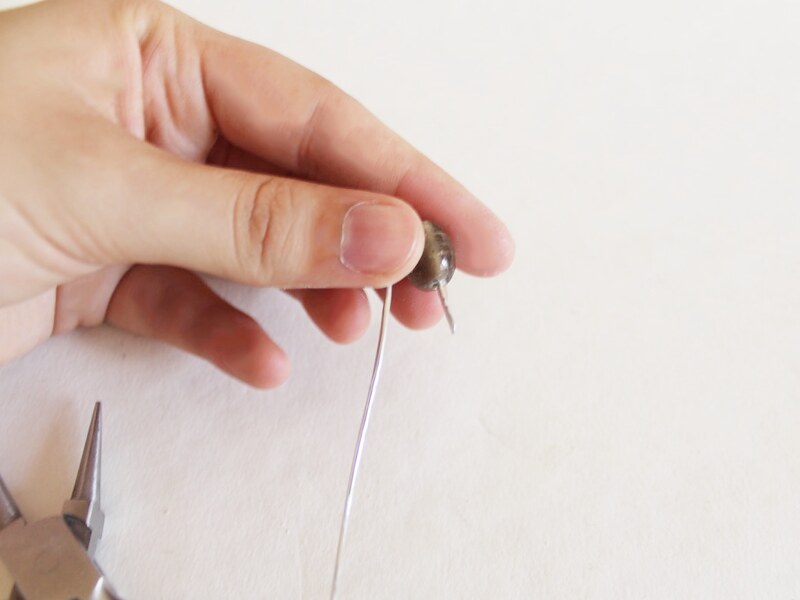
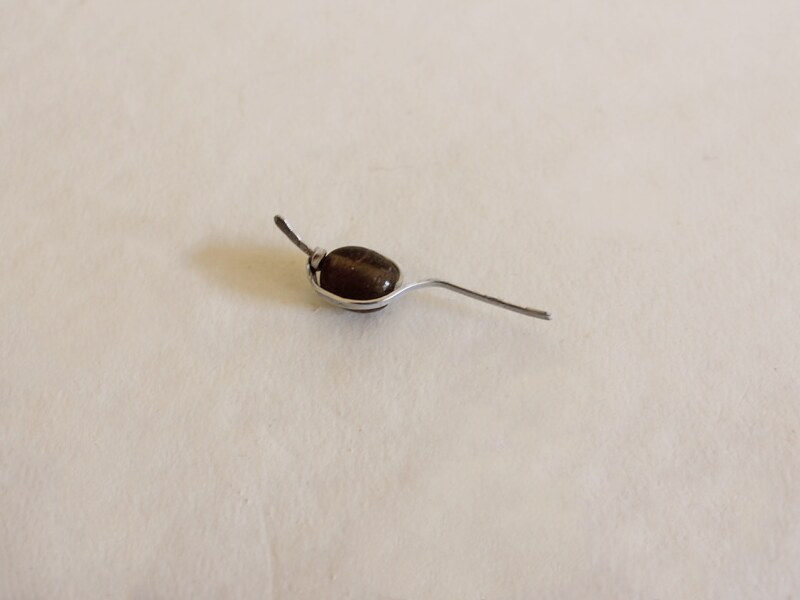
7: Bend the end of the wire into a bail at the top of your bead, you can use the round nose pliers to make this look neat.

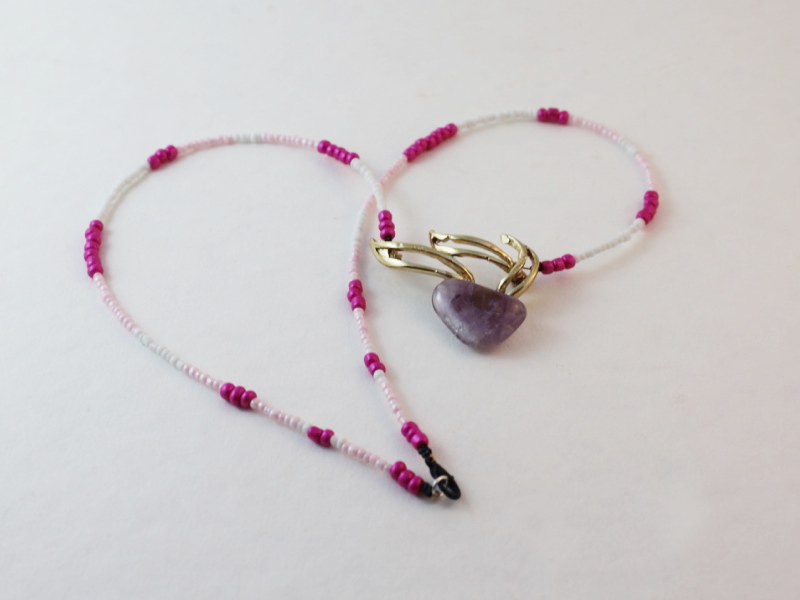
Once your bail has been made your pendant is complete! How will you form yours?
Here’s the charm on a memory wire beaded choker!

-
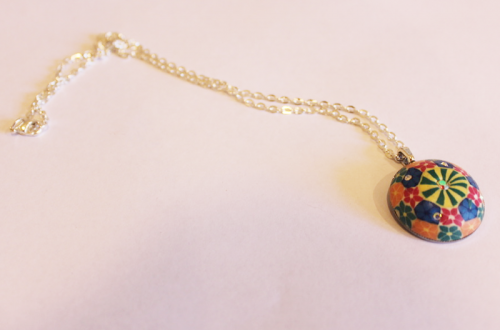
This Circle Pendant Is Simple and Beautiful, Load Yours up With Your Favorite Beads!

The highlight of this necklace is a lovely beaded circle pendant! You can use all kinds of lovely beads to make this design your own. note: contains affiliate links.
You will need the following tools and materials to make your necklace:
1: Pliers. You will need your cutting pliers, round nose pliers and flat nose pliers to make your necklace.
2: Wire. I used some copper wire to make my circle pendant. I cut mine to approximately 12cm in length.

3: Three jump rings.

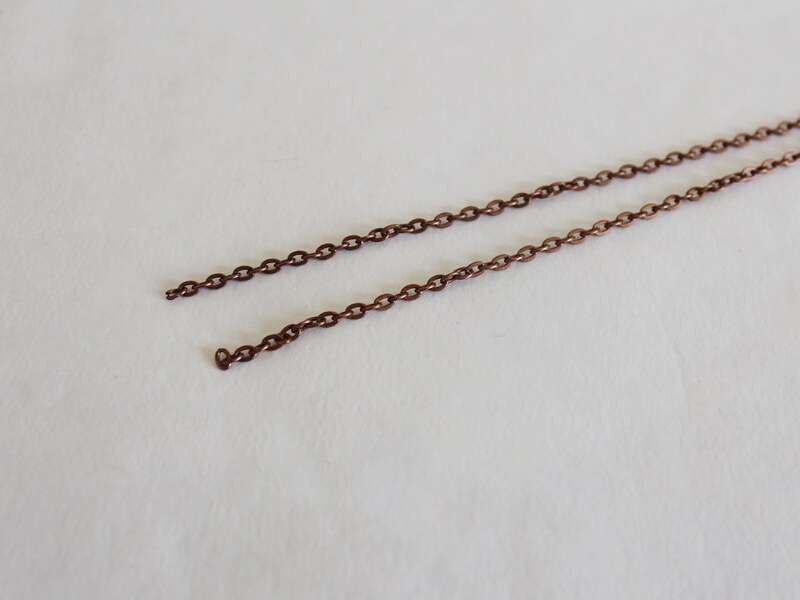
4: A piece of chain at the length you want your necklace. I used copper chain to match the wire.

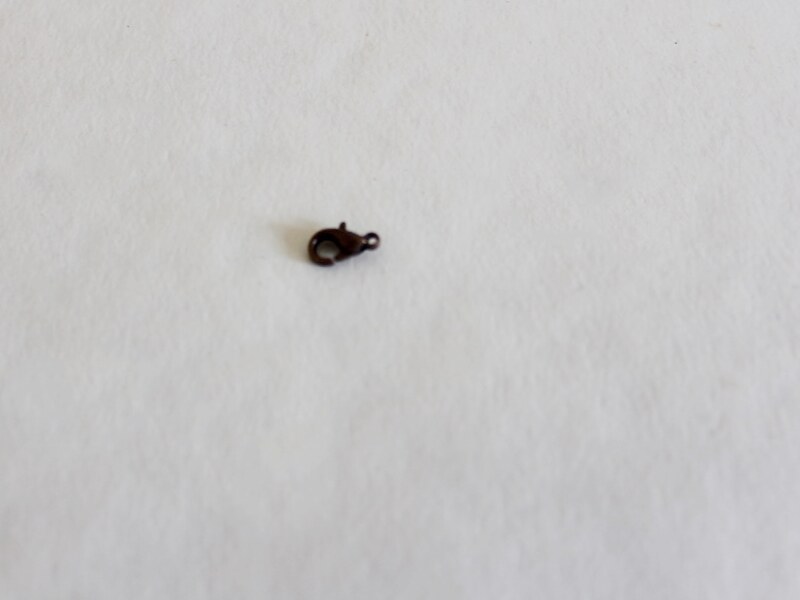
5: A lobster clasp. I used this copper colored one.
6: Beads of your choice. I used some red glass seed beads and some small timber beads.


Follow these steps to make your circle pendant necklace:
1: Create a loop at one end of the wire using the round nose pliers.


2: Add the beads to the wire in your choice of pattern.

3: Continue beading until there is approximately 1cm of wire remains unbeaded.

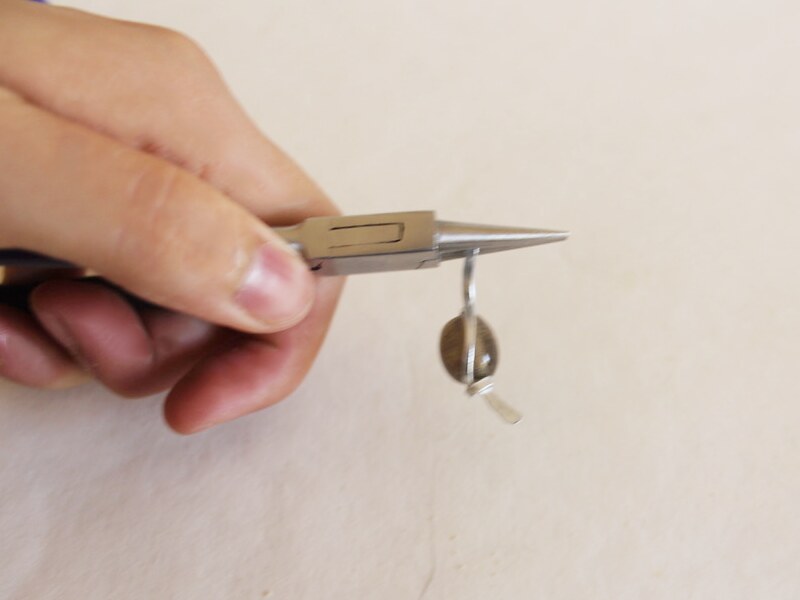
4: Bend the end of the wire so that it is at a right angle to the beaded section.

5: Create a loop at the end of the wire using the round nose pliers.
6: Attach the two loops together and close them to create a circle shape. You might need to gently reshape the loop to make it more of a circle shape.


7: Attach a jump ring to one of the loops at the top of the circle pendant.
8: Slide the ends of both chains onto the open jump ring.


9: Close the jump ring to secure the chain in place.

10: Split the chain in the middle opposite the place where the pendant is attached.
11: Add a jump ring to one side of the chain and add the lobster clasp. Close the jump ring to secure the lobster clasp in place.

12: Add the remaining jump ring to the other side of the chain to finish the necklace!