-
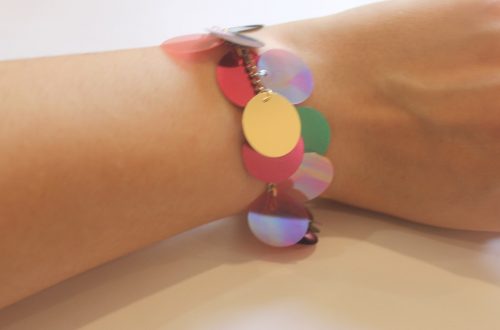
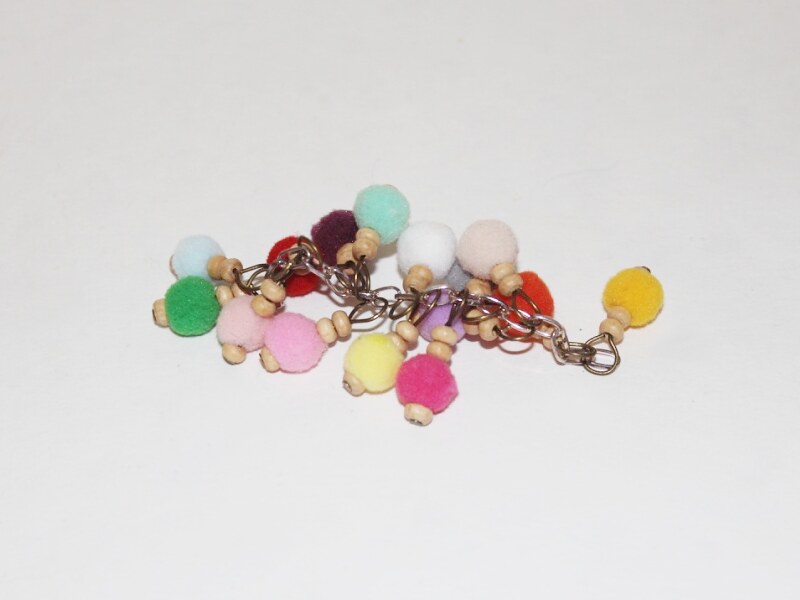
This Pom Pom Charm Bracelet is a Whole Lotta fun!
This pom pom charm bracelet is so much fun to put together and even more exciting to wear! Contains affiliate links.
You will need the following tools and materials to make this bracelet:
1: Pliers. You will need your round nose pliers, flat nose pliers and cutting pliers to make this bracelet.

2: A short piece of chain.

3: Two pieces of string cut to the same length.

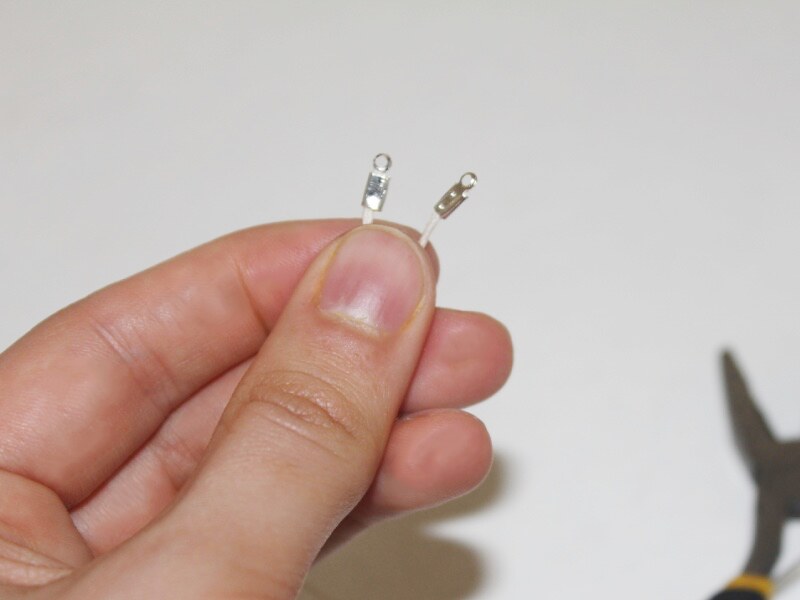
4: Two leather crimp ends.

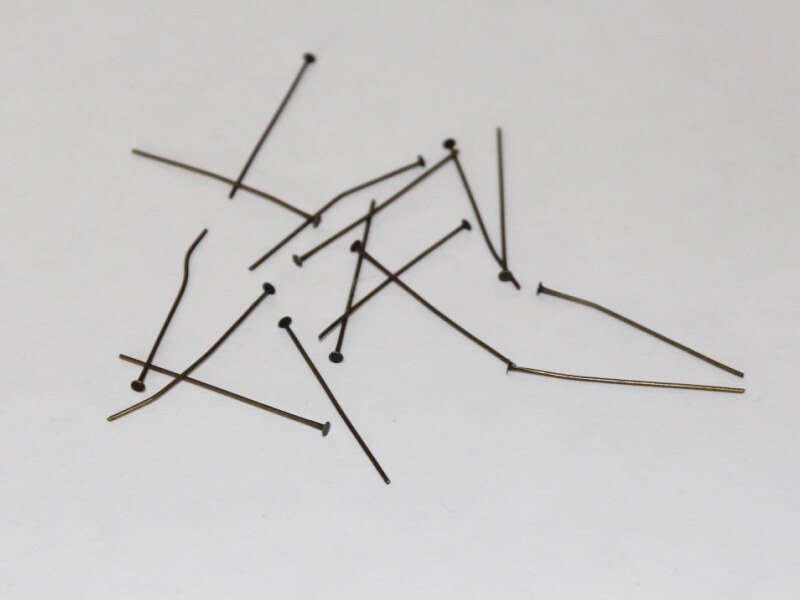
5: Head pins. I used 15 head pins so that I could add one charm to each link of the chain.
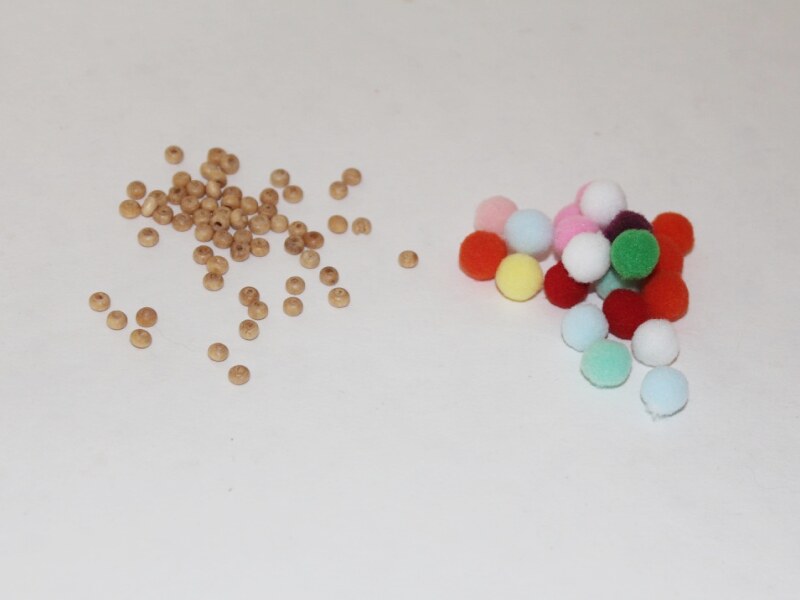
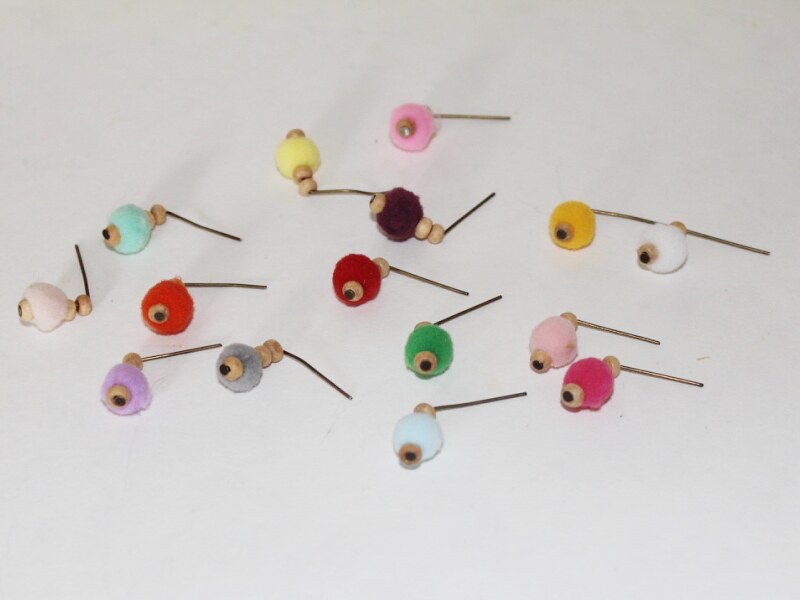
6: Pom Poms and beads of your choice. I used these small multi-colored pom poms and some small timber beads.
Follow these steps to make your pom pom bracelet:
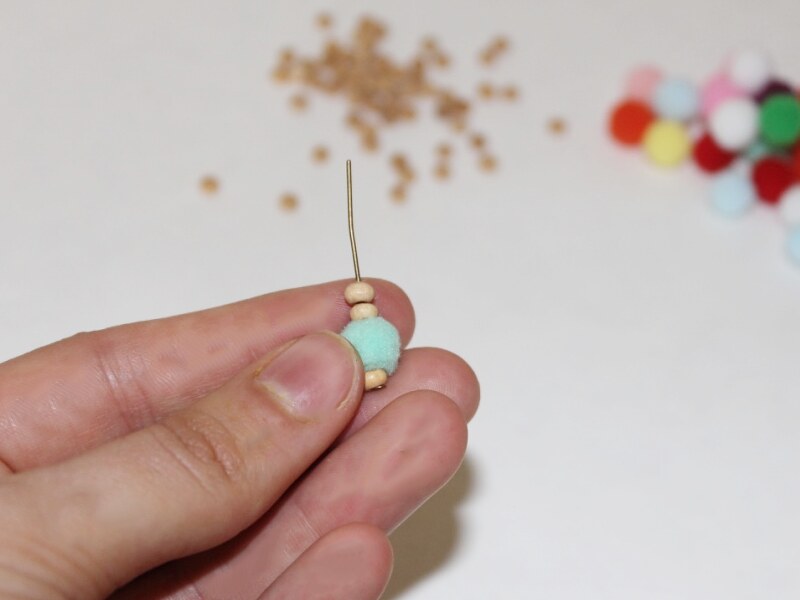
1: Add the beads and pom poms to each of the head pins.

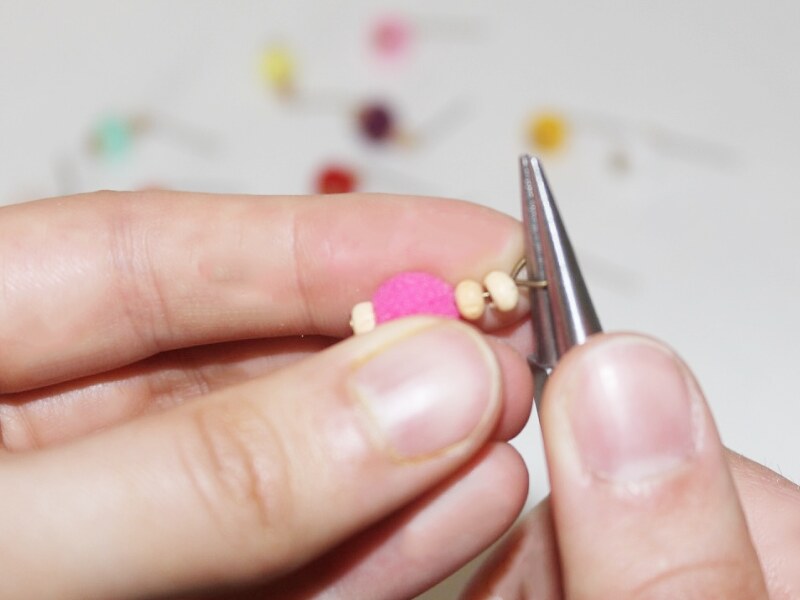
2: Bend each pin to form a right angle using the round nose pliers.
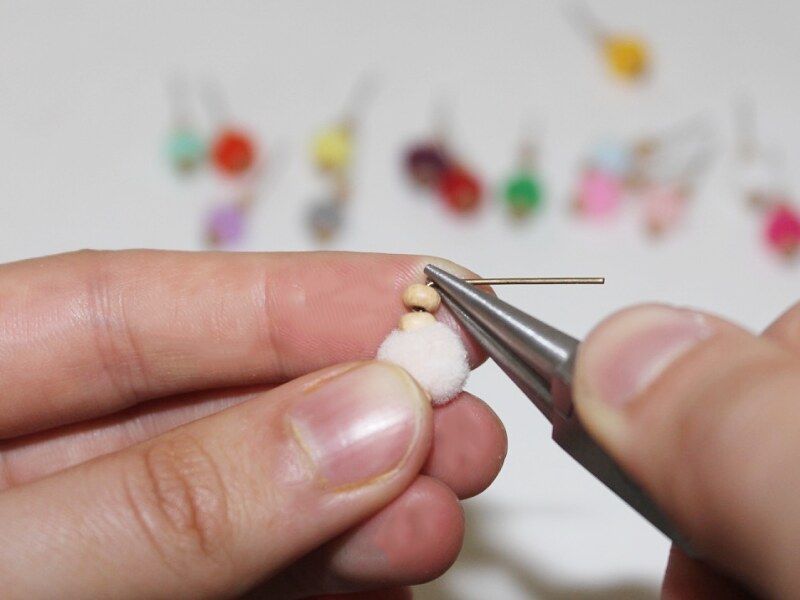
3: Form a loop at the top of each pin using the round nose pliers.
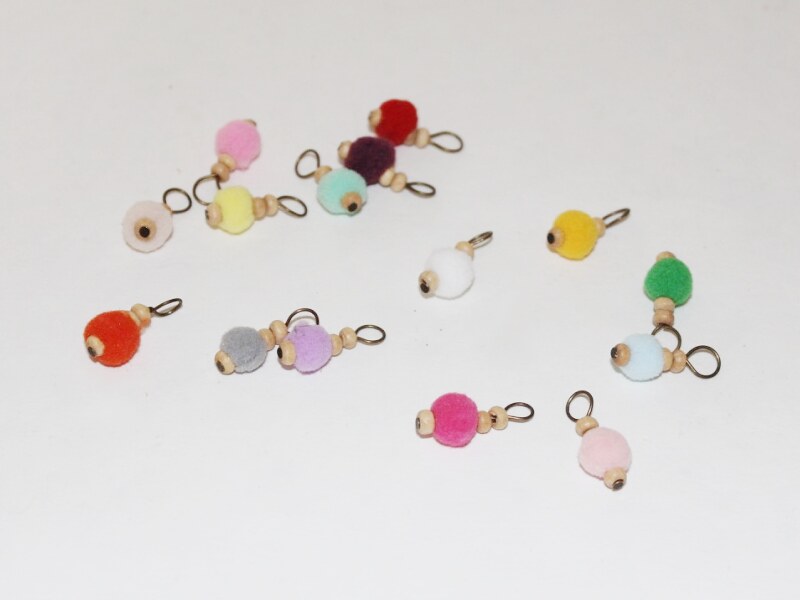
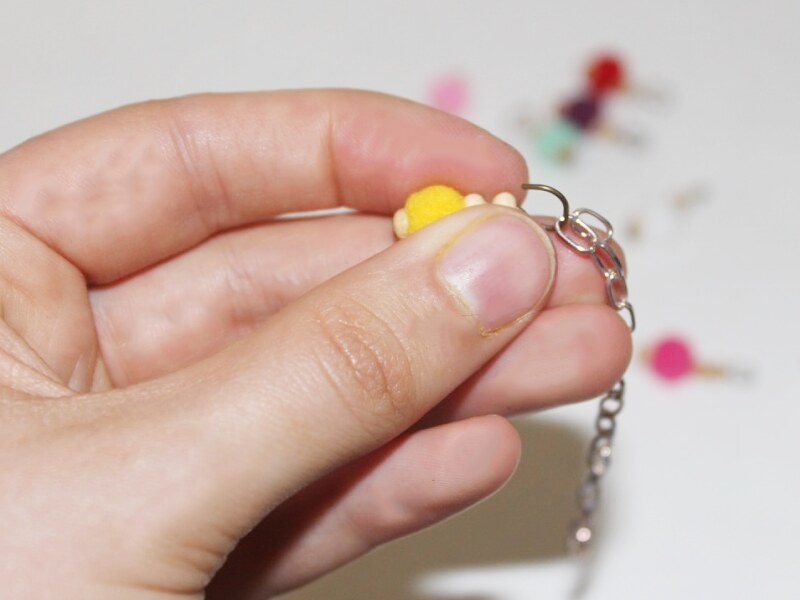
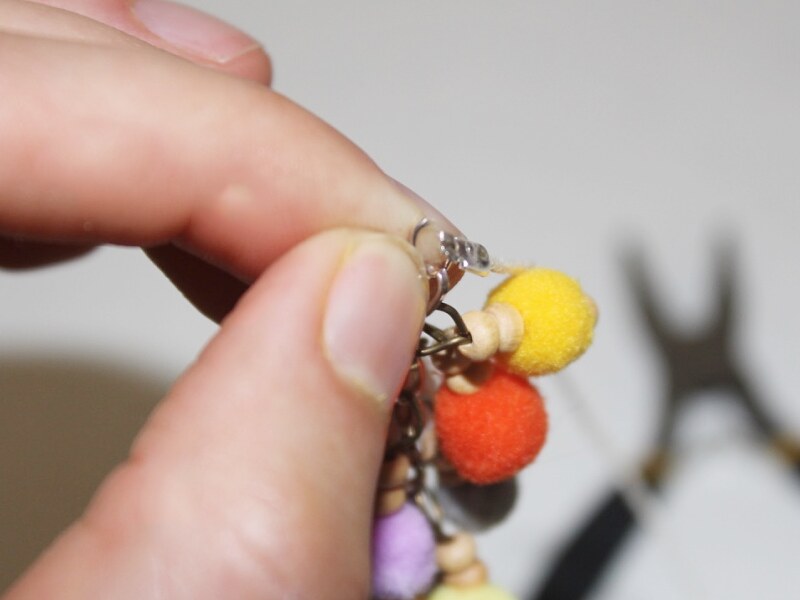
4: Add each of the pom pom charms to a link on your chain. I left the links on each end empty.
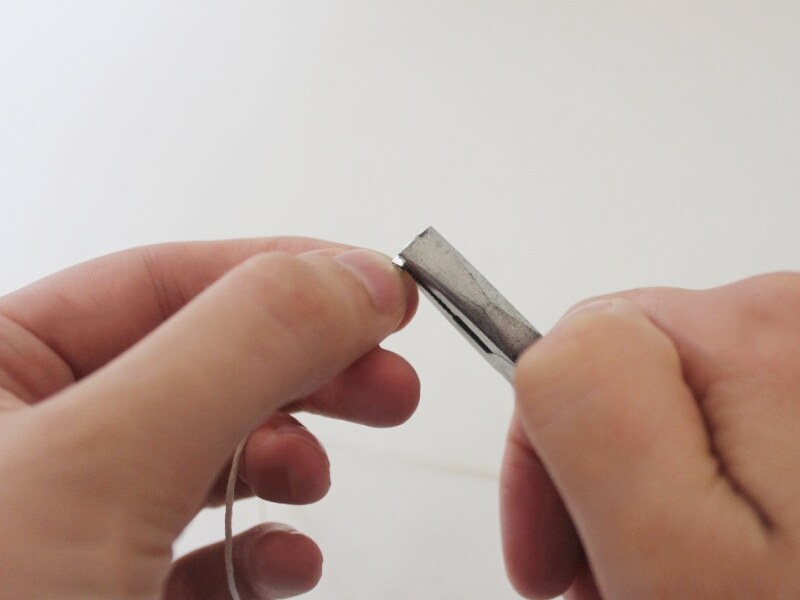
5: Add a crimp end to each of the strings, leaving one end open.
6: Attach the strings to either end of the chain by opening the chain links or using some jump rings.
Once the strings are attached your bracelet is finished and ready to wear!


-
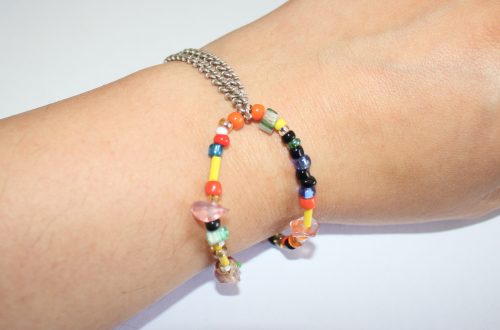
Easy Layers with this Double Chain Necklace

This double chain layered necklace gives the effect of layered pendants for a cool look.
You will need the following tools and materials to make this chain layered necklace:
1: Pliers. You will need your round nose pliers, flat nose pliers and cutting pliers to make this necklace.
2: Two pieces of chain, one longer than the other.

3: Two eye pins.

4: Four small jump rings.

5: Two larger jump rings.

6: A clasp.

7: Beads of your choice. I used these stone beads.
Follow these steps to make your necklace:
1: Place both the beads on each of the eye pins.

2: Bend each eye pin at an angle to the bead.


3: Create a loop to secure the beads on the pins.


4: Attach the ends of the chains to each side of the charms using the smaller jump rings.


5: Separate the chains at the center of the chain.

6: Attach one end of each chain to one of the larger jump rings.

7: Attach the other side of the necklace chains to the other jump ring and attach the clasp. Close the jump ring to complete the necklace.
Now your chain layered necklace is finished and ready to wear!
Here are some more layered necklace designs you can make:
- This delicate bead and chain 2 tier necklace
- A statement necklace made with memory wire
- A super cute double layer beaded necklace
This tutorial contains affiliate links.
-
Do You Have Any Special Pieces You Wish You Could Wear as a Pendant? Here’s How You Can…

With a glue on bail you can turn almost anything into a pendant. Here’s how to use one!
You will need the following tools and materials to make this pendant:
1: A glue on bail.
2: Araldite glue.

3: A skewer.

4: A scrap piece of paper.

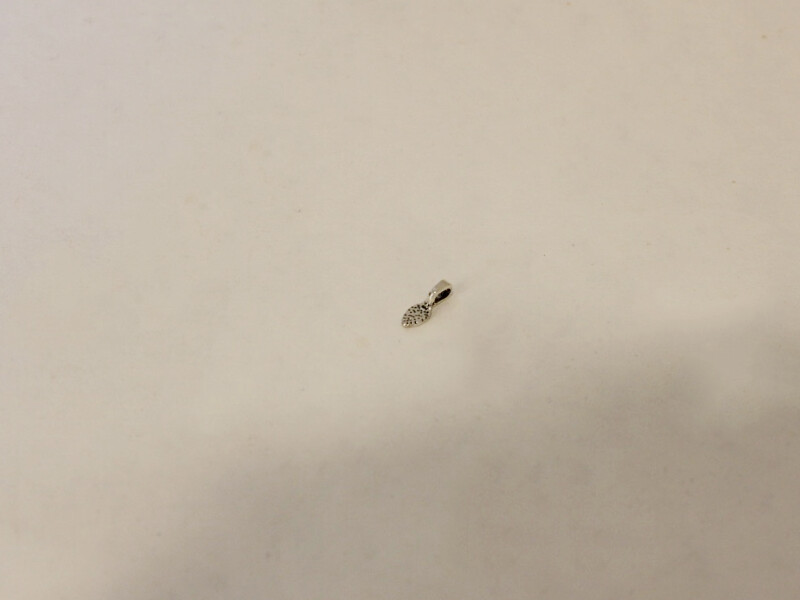
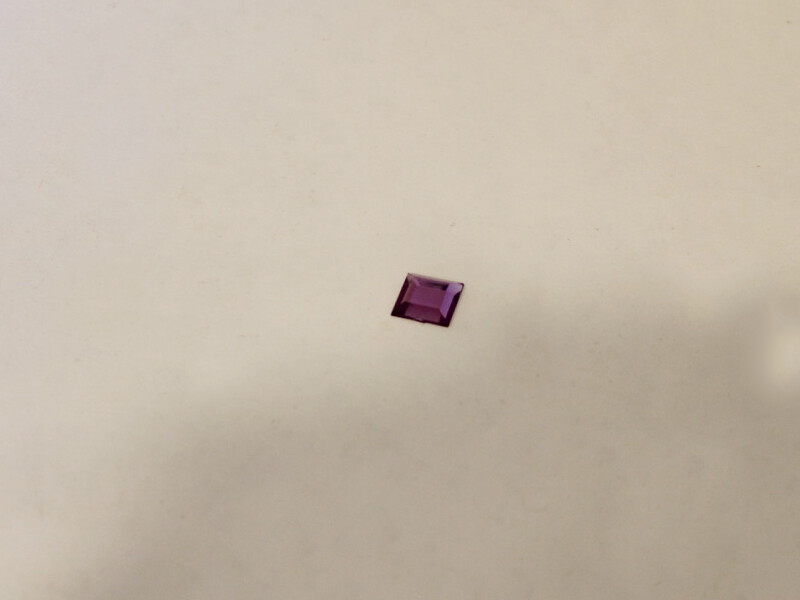
5: A plastic charm/decoration. I used this circular resin piece and a plastic gemstone.
Follow these steps to make your pendant:
1: Squeeze the glue in equal parts onto the piece of scrap paper.


2: Mix the glue using the skewer.

3: Add the glue to the bail and to the back of the charm where you want your bail to sit.
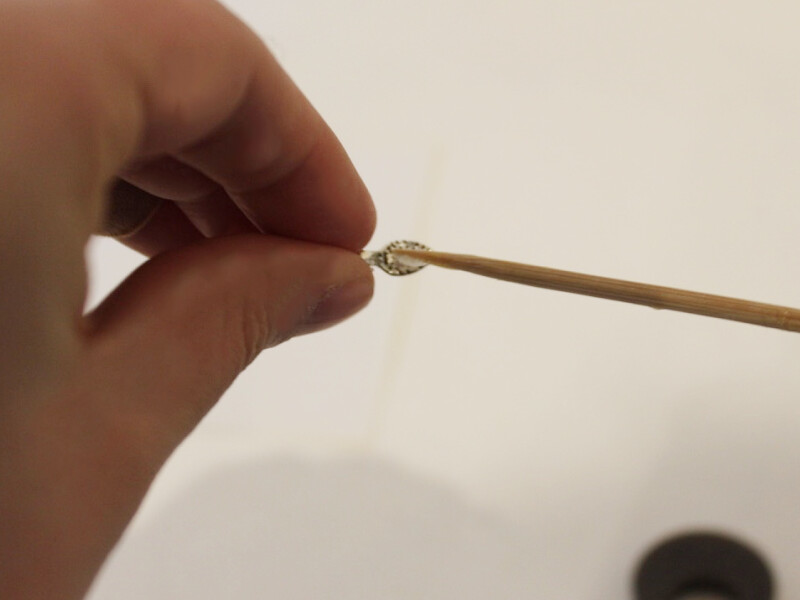
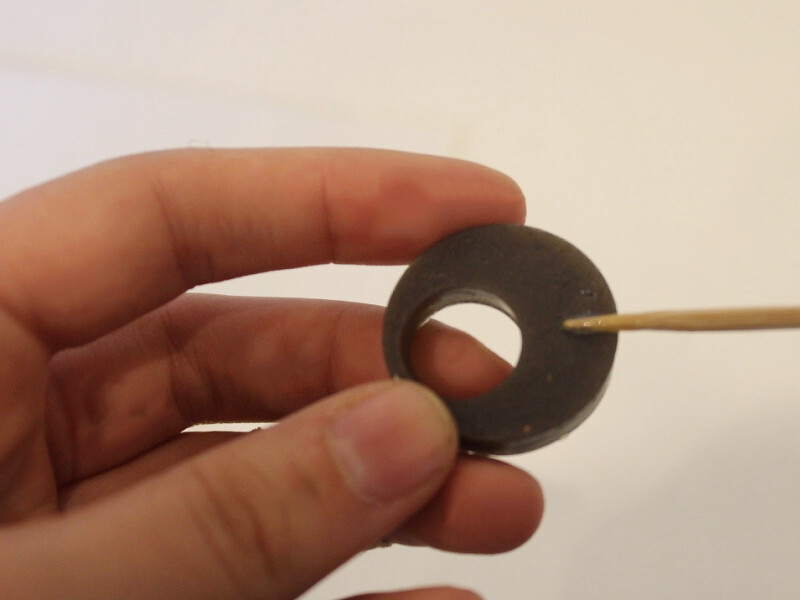
4: Place the bail onto the charm and wait for it to dry.

5: Depending on how long it takes for the bail to dry you might need to mix up some more glue.
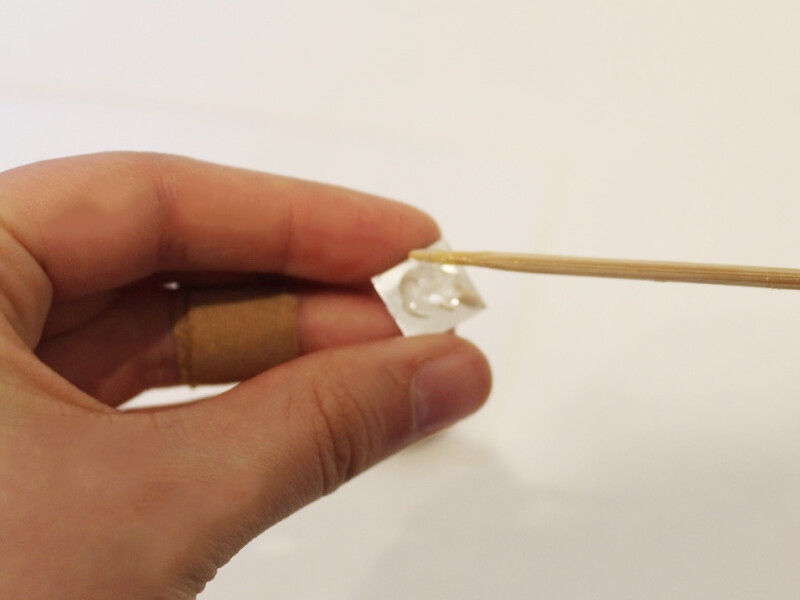
6: Add more glue to the back of the plastic gemstone and place it on the front of the other charm.
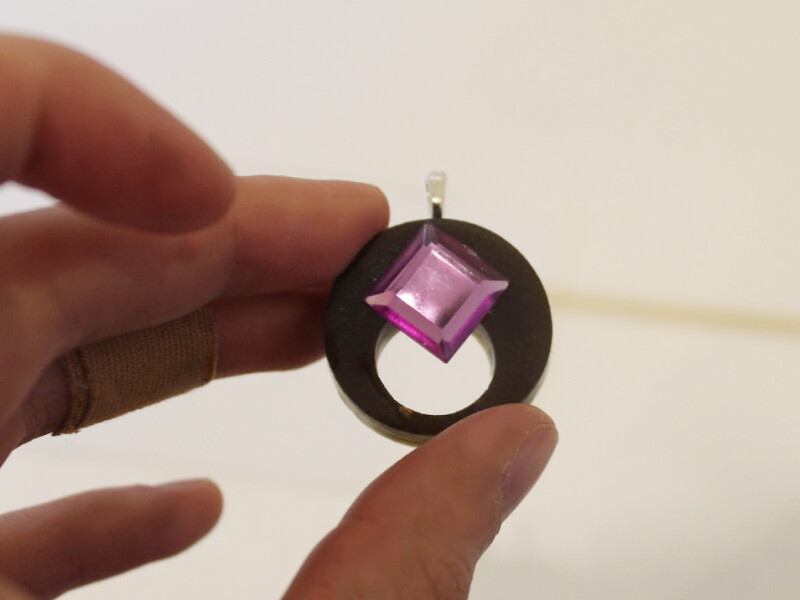
Once the charm is completely dry it is finished and ready to attach to a chain and wear!
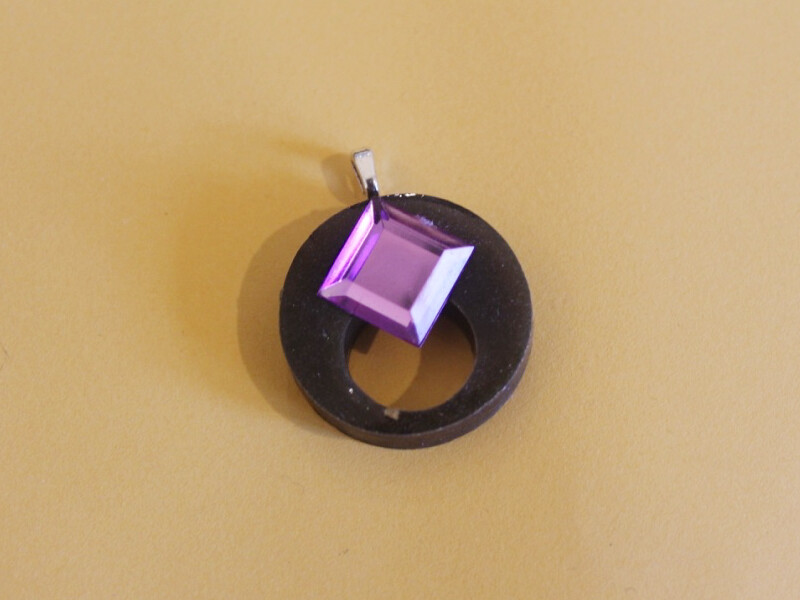
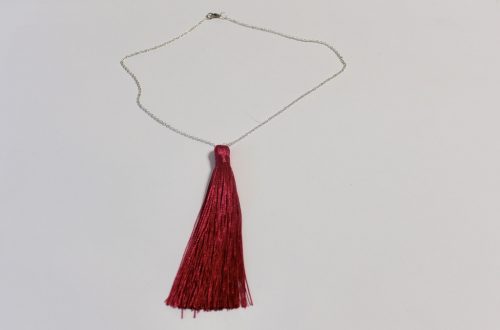
I attached my pendant to some string to wear as a necklace.

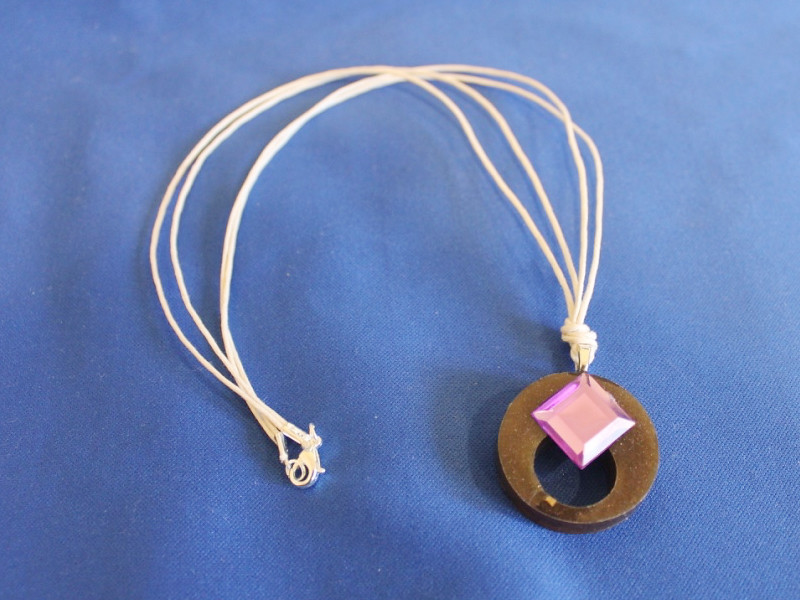
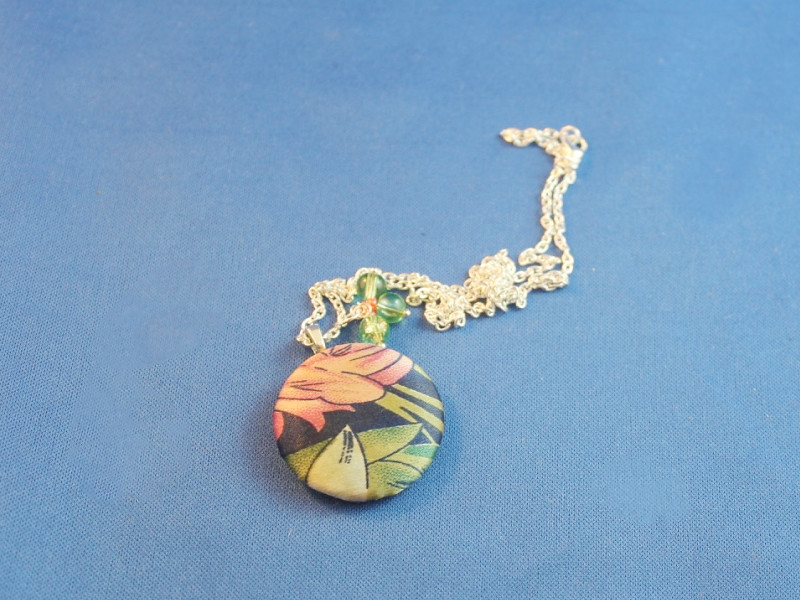
Here is another pendant made from a broken button.
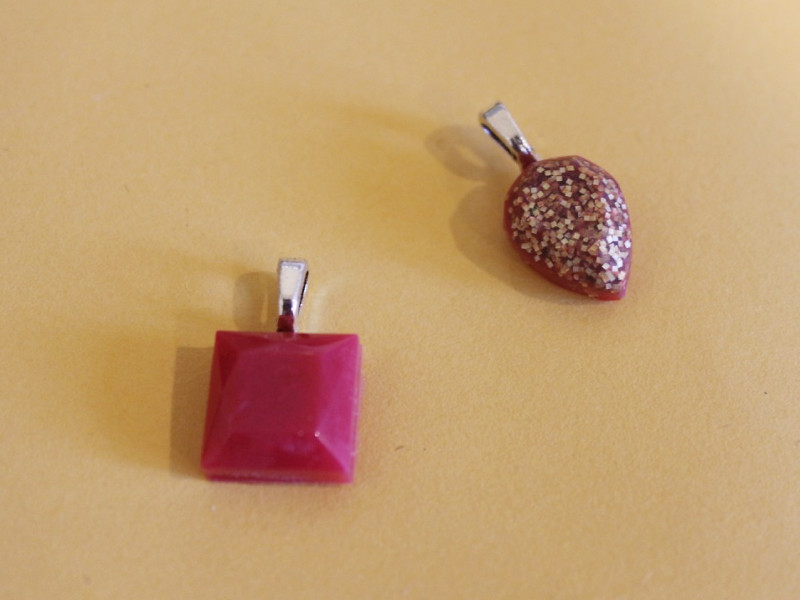
And a couple of small pendants made from resin cabochons
-
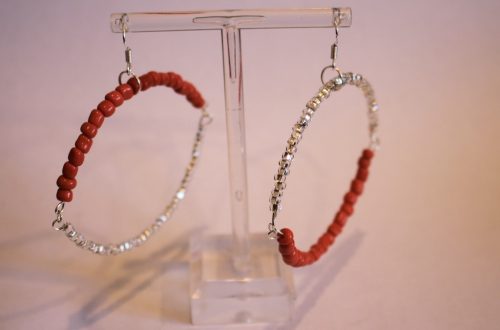
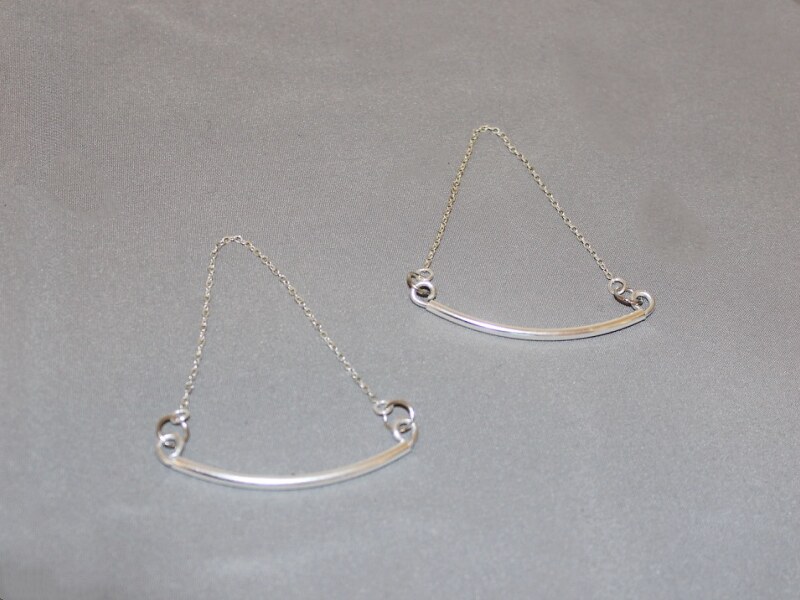
How to Make Curved Bar Earrings Using Some Cool Tube Beads.
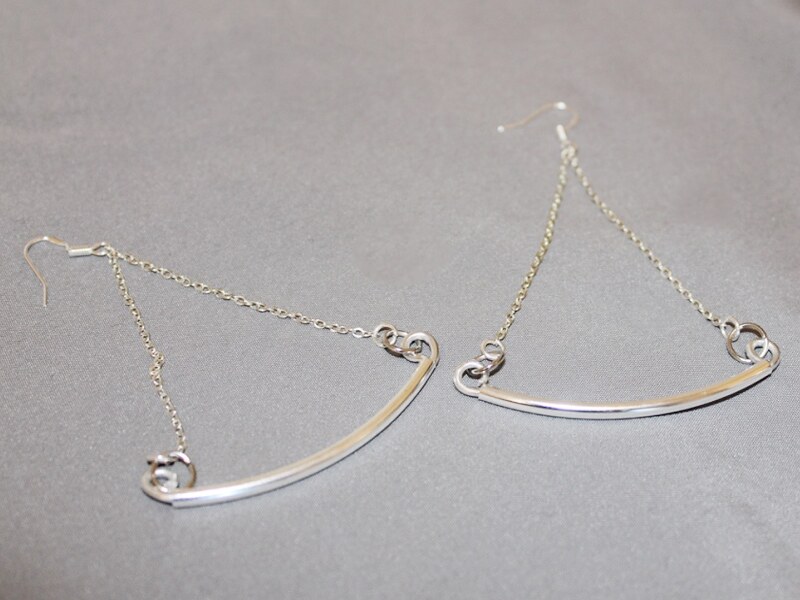
Do you like your earrings to be nice and curvy? This tutorial shows you how to make some sweet curved earrings that hang on delicate chains. Contains affiliate links.
You will need the following tools and materials to make these curved bar earrings:
1: Pliers. You will need your flat nose pliers, round nose pliers and cutting pliers to make these earrings.
2: Two pieces of wire. I used this thick silver colored wire.
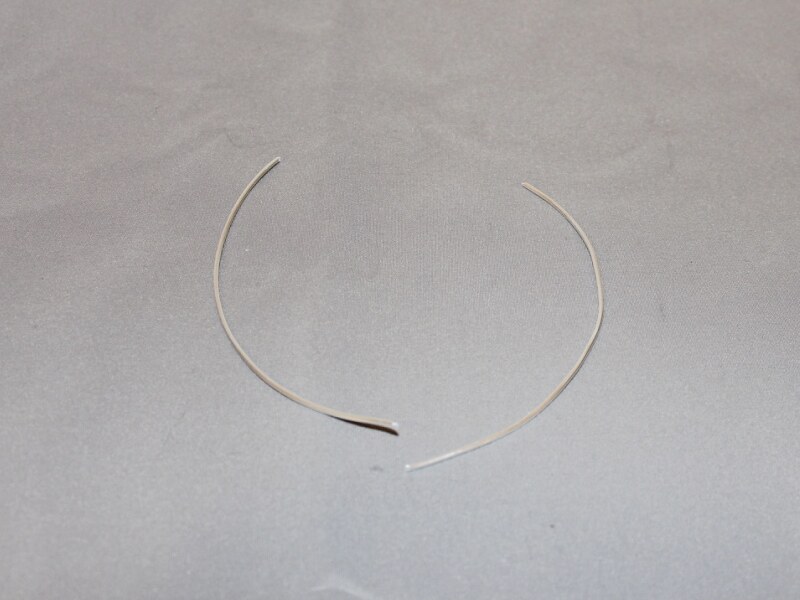
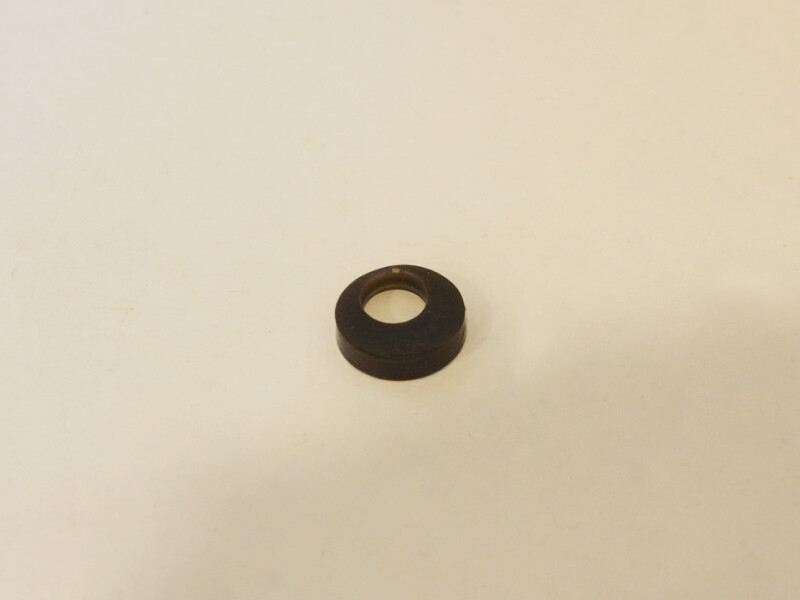
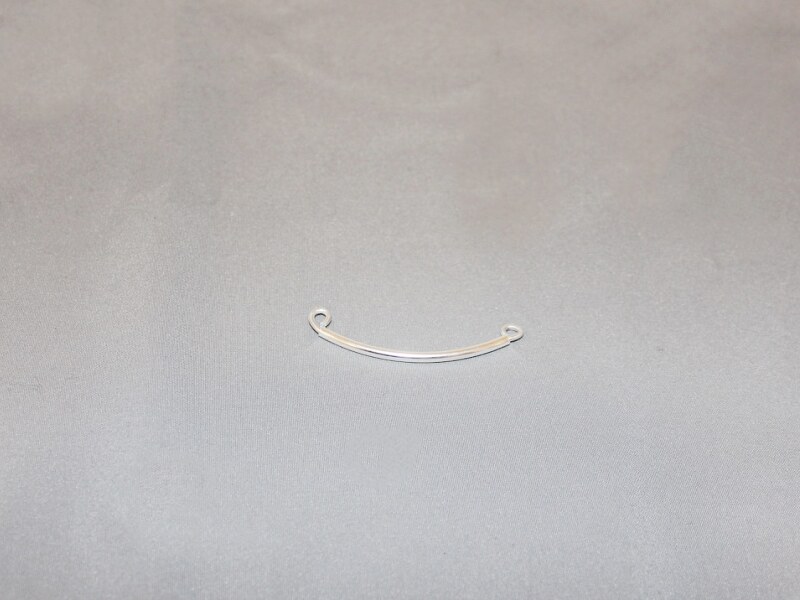
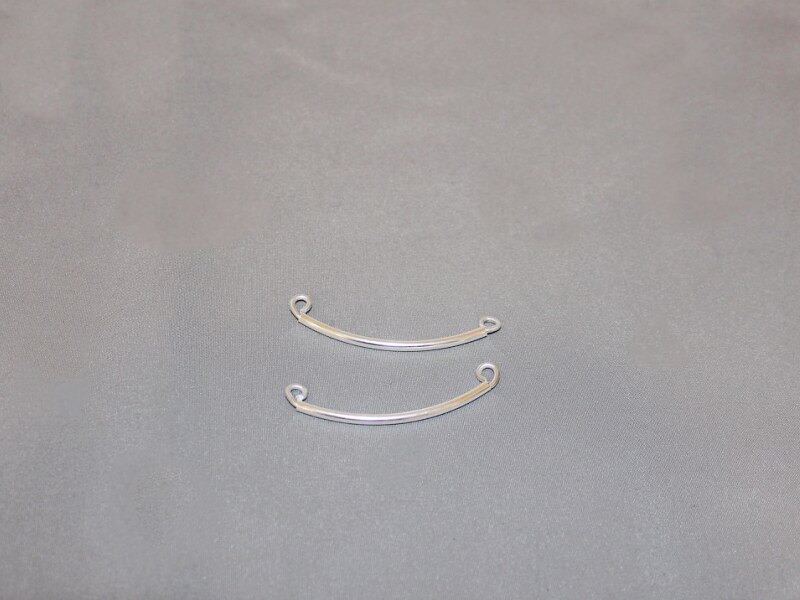
3: Two curved tube beads.
4: Two pieces of chain. the length will determine how far your earrings drop. My pieces were approximately 10cm (approx 3.9 inches) long.

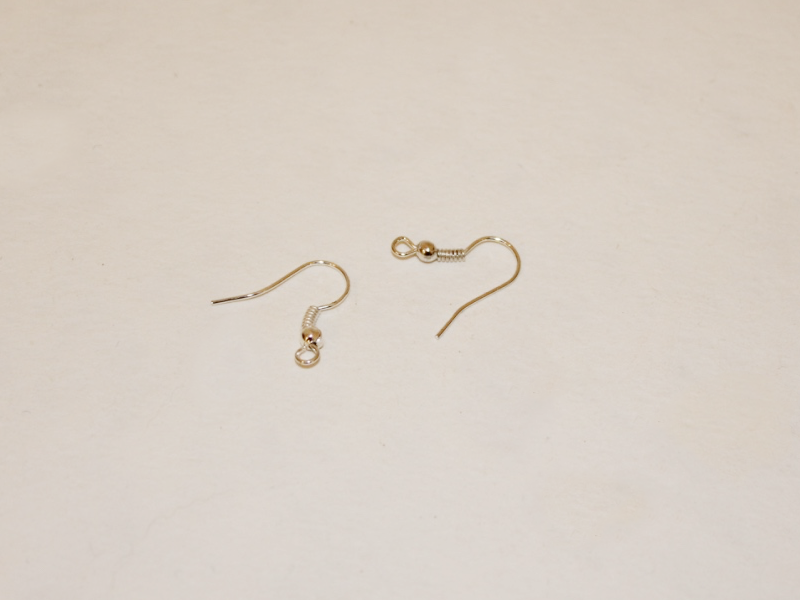
5: Two earring hooks.
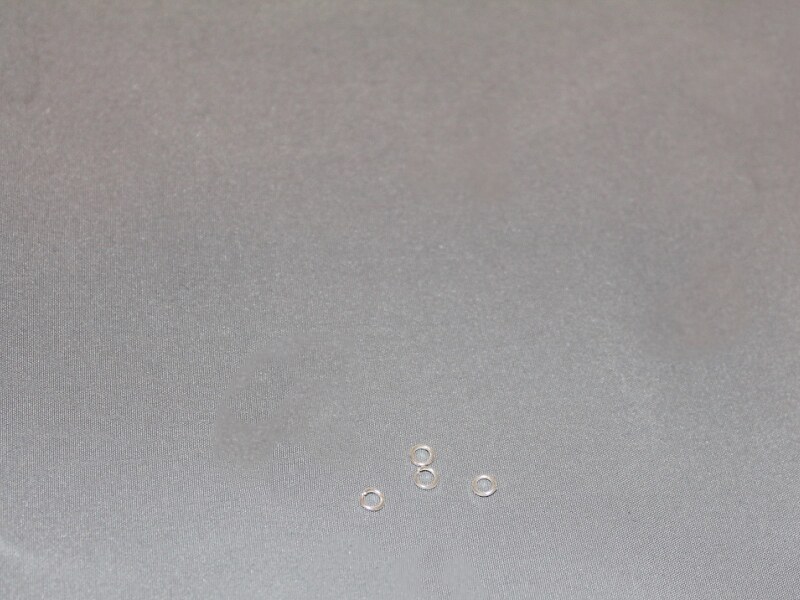
6: Four large jump rings.
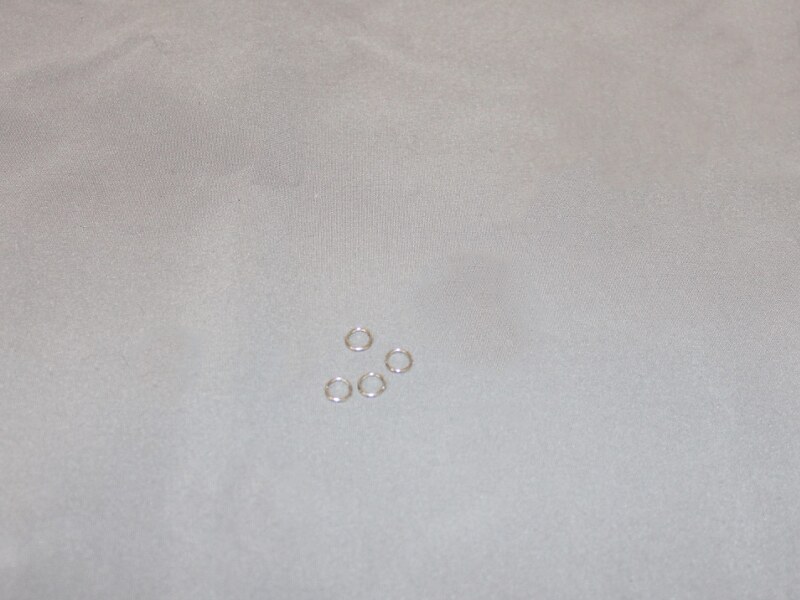
https://www.awin1.com/cread.php?awinmid=10781&awinaffid=1029234&ued=https%3A%2F%2Fwww.etsy.com%2Fau%2Flisting%2F62573744%2F100pcs-925-sterling-silver-4mm-open-jump%3Fga_order%3Dmost_relevant%26ga_search_type%3Dall%26ga_view_type%3Dgallery%26ga_search_query%3Dsterling%2Bsilver%2Bjump%2Brings%26ref%3Dsc_gallery-1-1%26bes%3D1%26sts%3D1%26plkey%3D03a0882d2bdf37c941bdf704bf4acd8ac8de47e7%253A62573744 7: Four small jump rings.
https://www.awin1.com/cread.php?awinmid=10781&awinaffid=1029234&ued=https%3A%2F%2Fwww.etsy.com%2Fau%2Flisting%2F733879360%2Fsterling-silver-jump-rings25mm-3mm-4mm%3Fga_order%3Dmost_relevant%26ga_search_type%3Dall%26ga_view_type%3Dgallery%26ga_search_query%3Dsterling%2Bsilver%2Bjump%2Brings%2Bsmall%26ref%3Dsc_gallery-1-1%26sts%3D1%26plkey%3Dc9251a6bca3549ce13b286c6eea64a0b994e7864%253A733879360 Follow these steps to make your curved earrings:
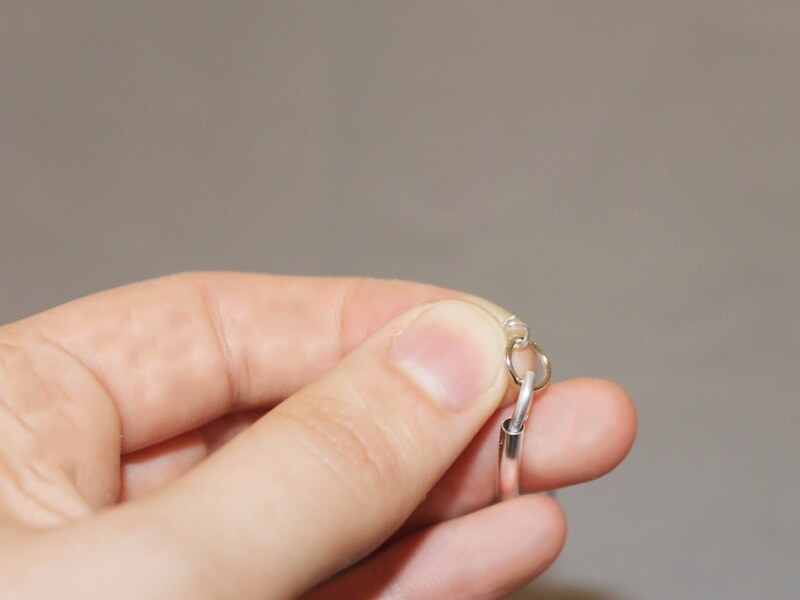
1: Create a loop at the end of one of the pieces of wire using the round nose pliers.
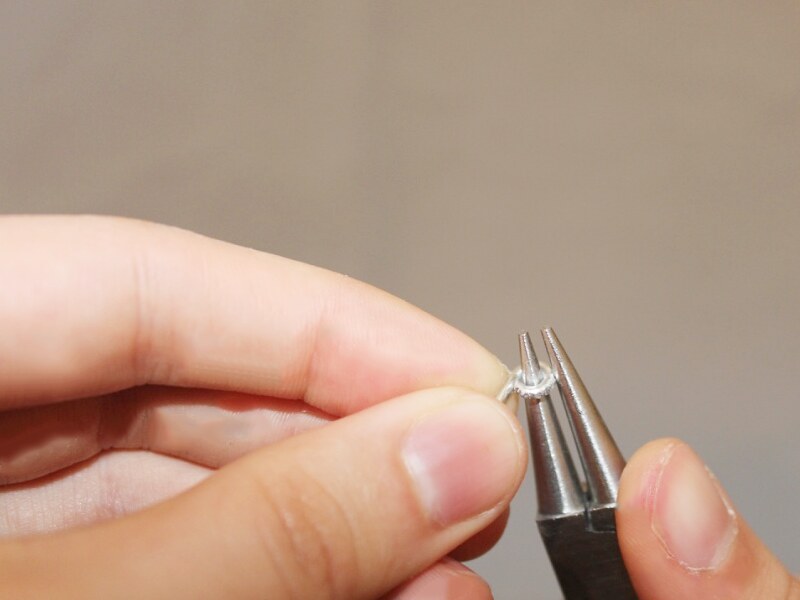
2: Add one of the long tube beads to the piece of wire.
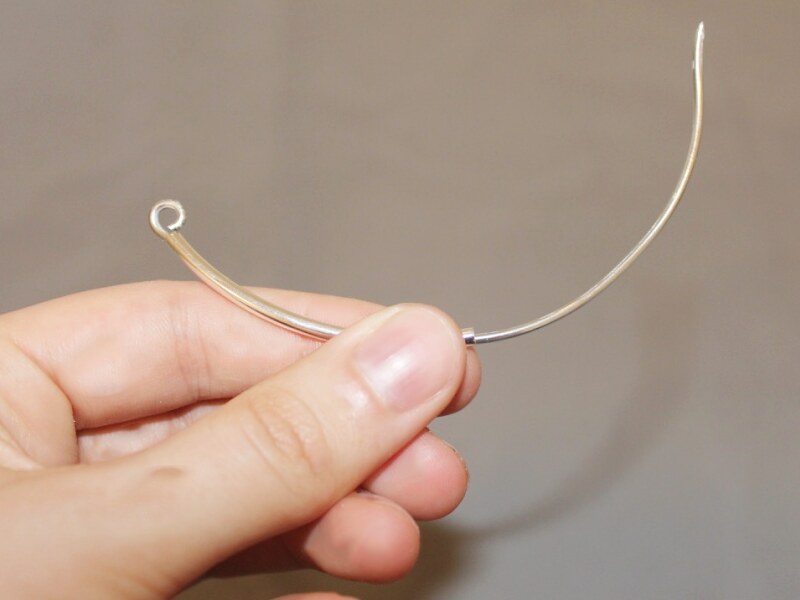
3: Trim the wire using your cutting pliers until only approximately 1.5cm protrudes from the bead.
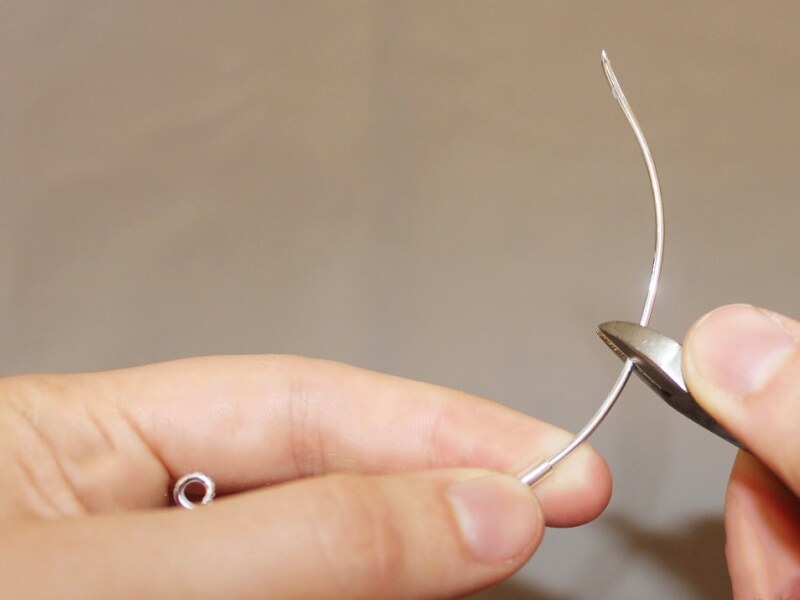
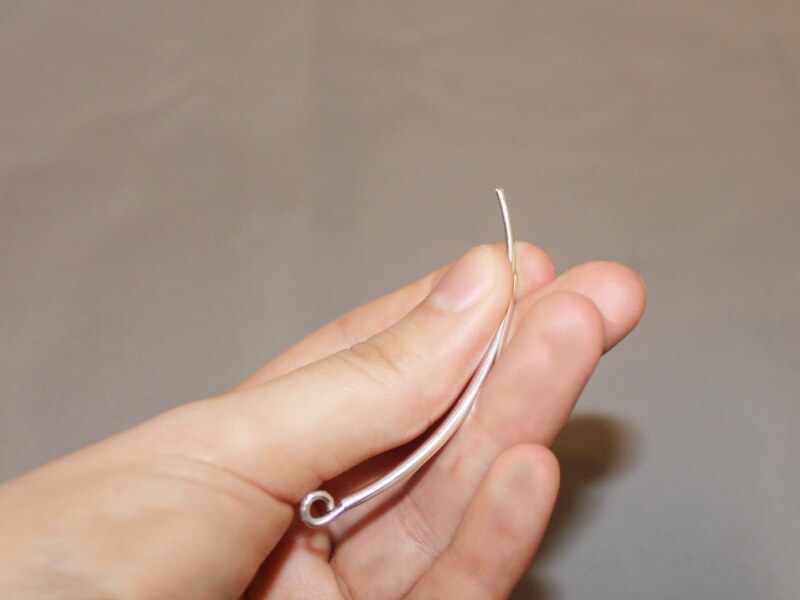
4: Create a second loop at the other end of the wire to secure the long tube bead in place.

5: Repeat steps 1 to 4 for the second charm using the other piece of wire and tube bead.
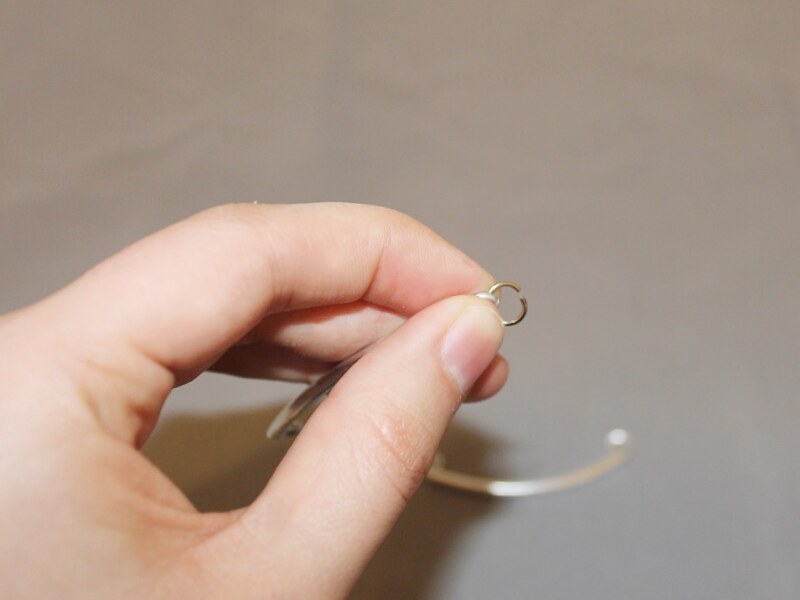
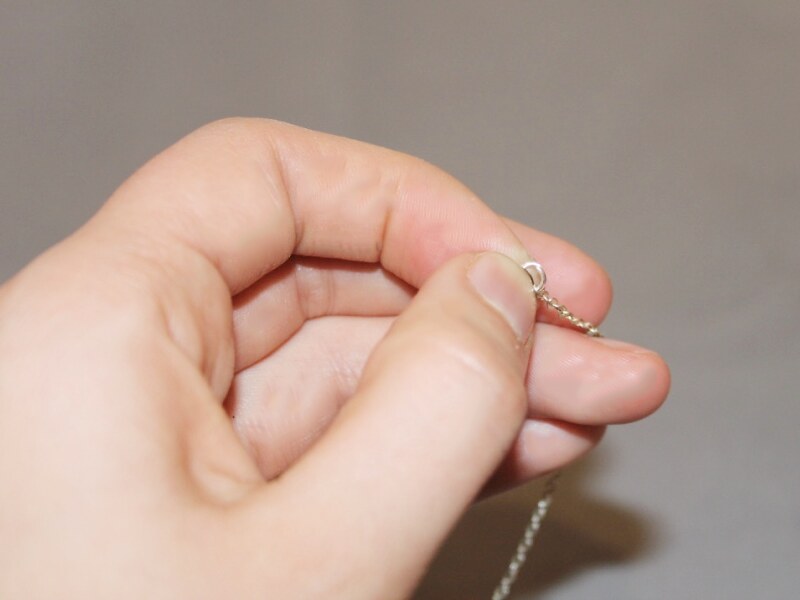
6: Add two large jump rings to either side of the curved charm, attaching them to the loops you just made.
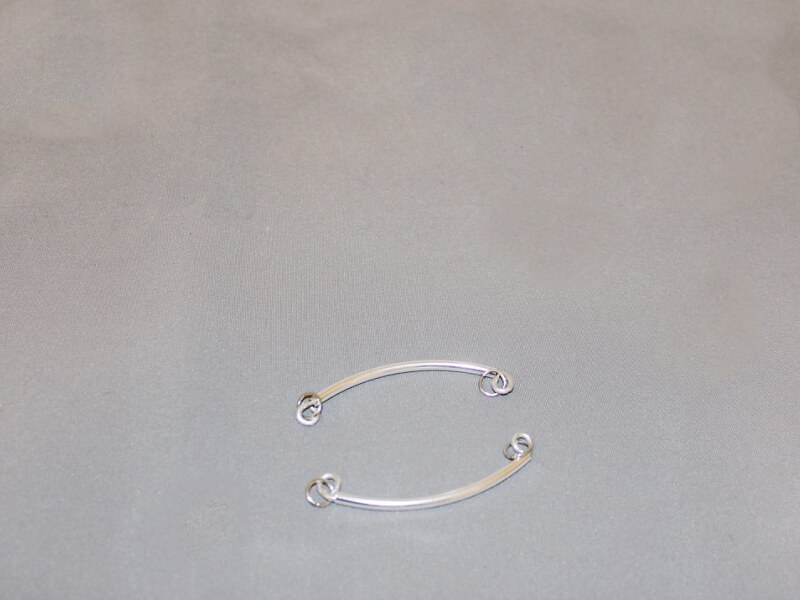
6: Add a small jump ring to either end of the pieces of chain. (You won’t need to do this if you are using chain that has large links).

7: Attach the ends of the chain to the larger jump rings, closing the smaller jump rings to secure the ends in place.
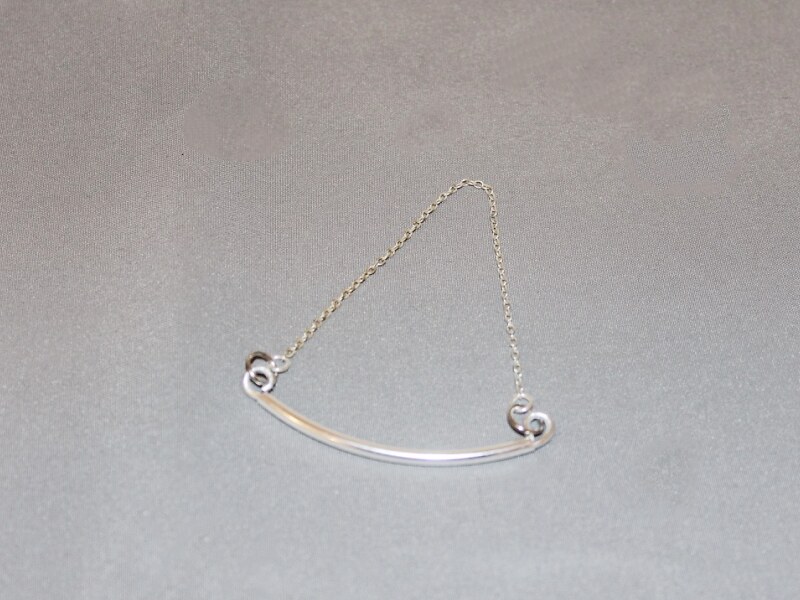
8: Find the middle of the chain and attach one of the earring hooks to form a triangle shape.

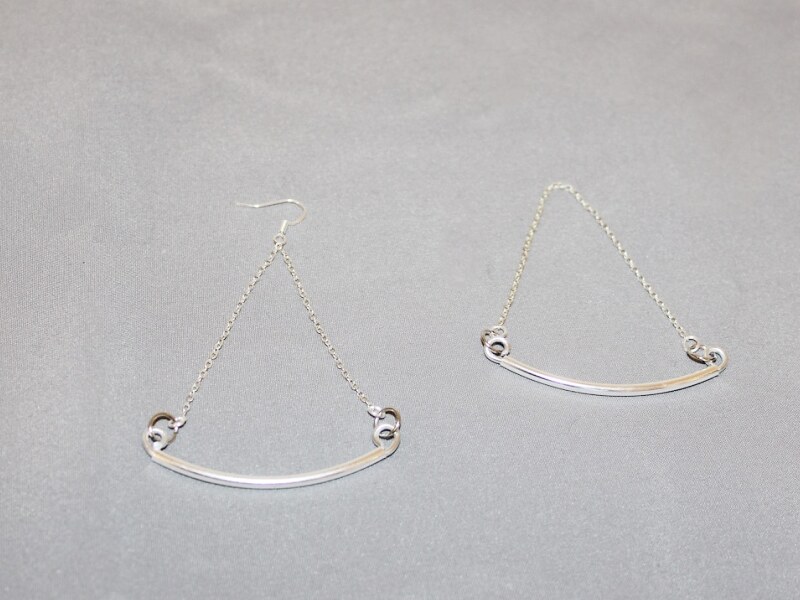
9: Repeat step 8 for the second earring to make a pair.
Once you’ve finished both pairs your earrings are finished and ready to wear.