-
Here’s how to make round polymer clay beads using a bead maker!
I’m no expert on polymer clay, but I do like using it from time to time. I recently received this polymer clay bead maker as a gift and I thought it would be fun to try it out and take you along for the ride! So here’s how to make some cute round polymer clay beads using a special bead maker! Please note that this tutorial contains affiliate links.
You’ll need these tools and materials to make some polymer clay beads with me:
1: Some polymer clay.

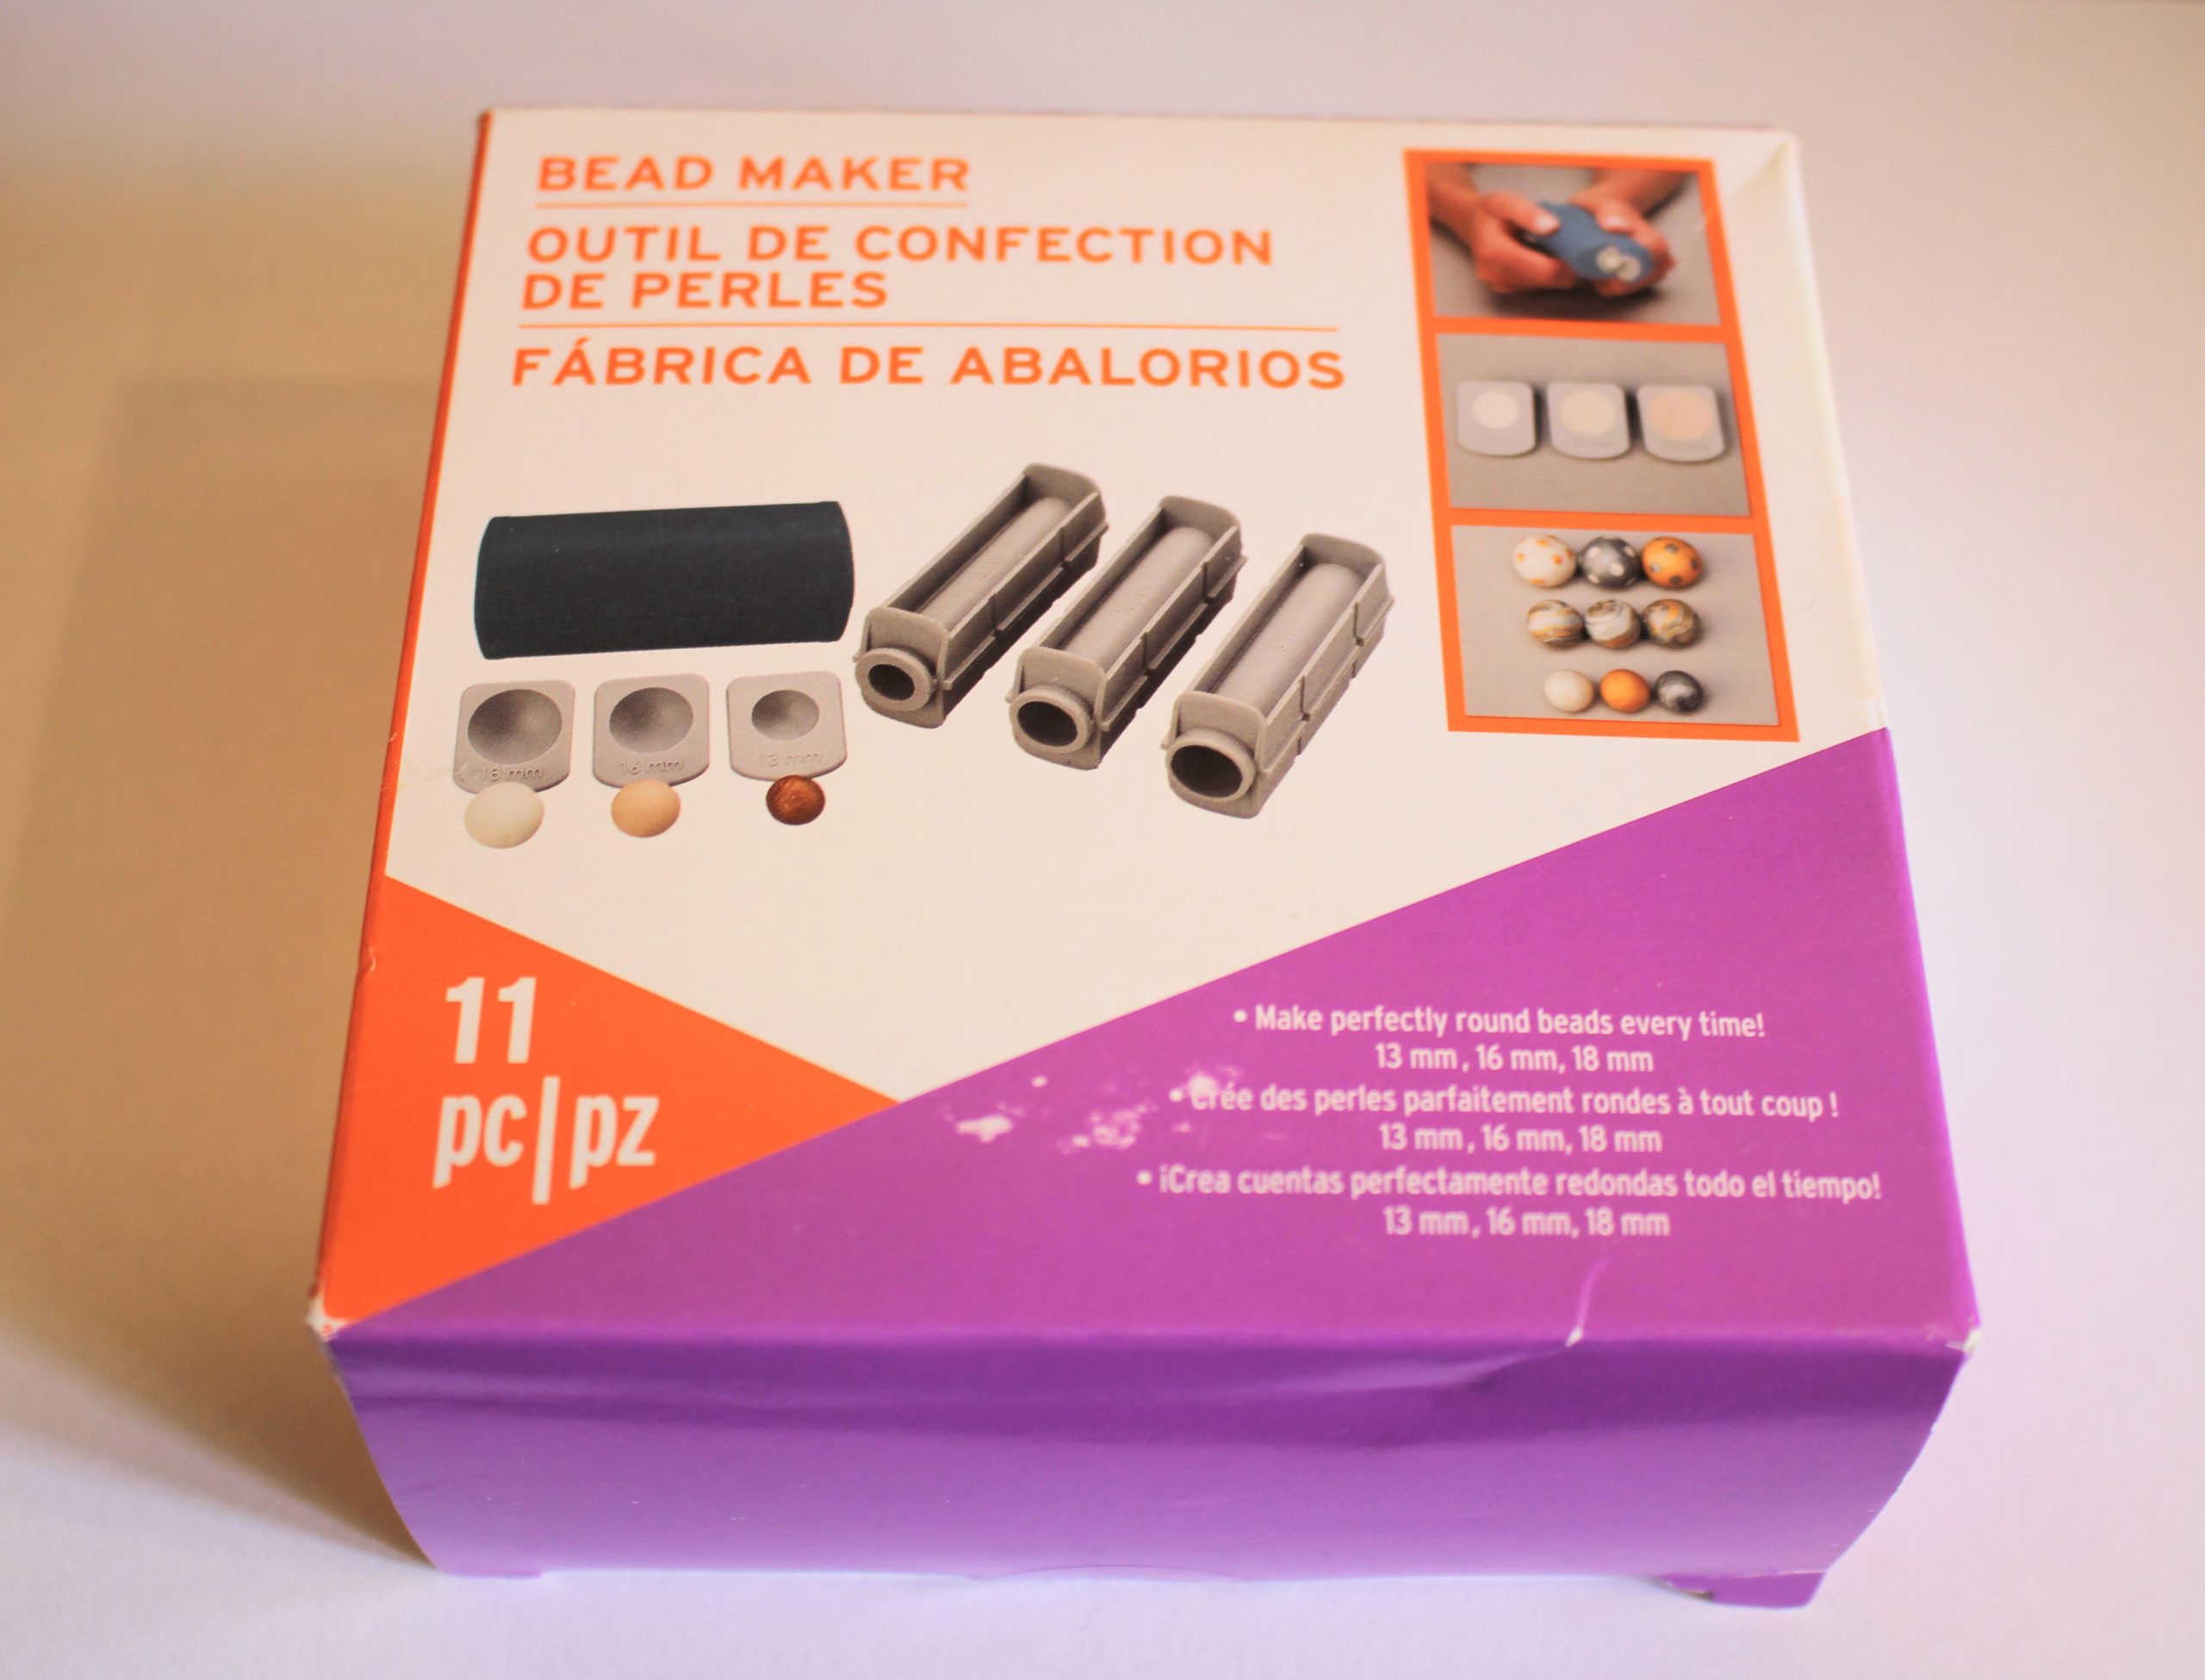
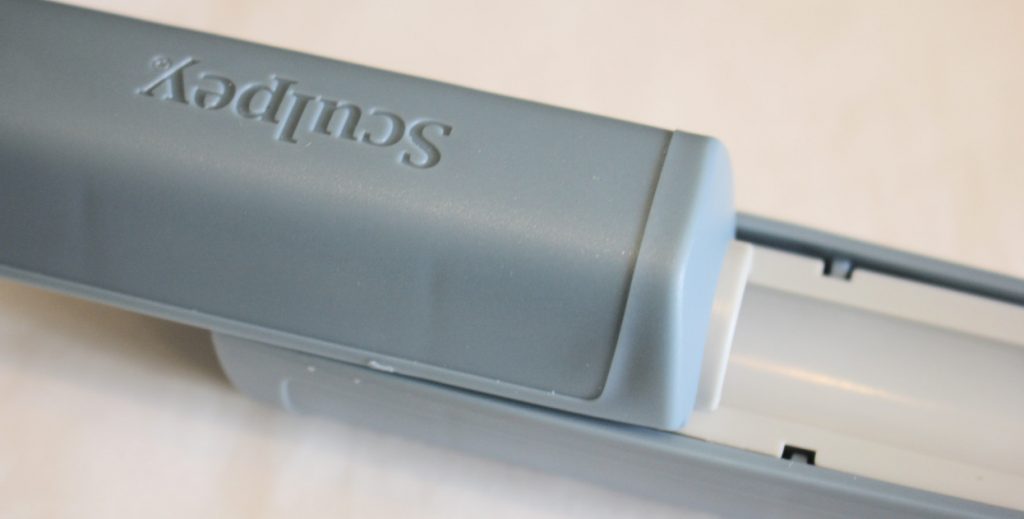
2: A polymer clay bead maker. I used this Sculpey Tools branded one.

3: A carving tool or something similar that has a long pin on it for making the bead hole.

4: Some baking paper and foil for working on and baking. It is best to use a baking surface just for polymer clay and not trays you prepare food in. I like to fashion a little tray out of foil and then recycle it when I’m done.


5: An oven.
Follow these steps to make your polymer clay beads:
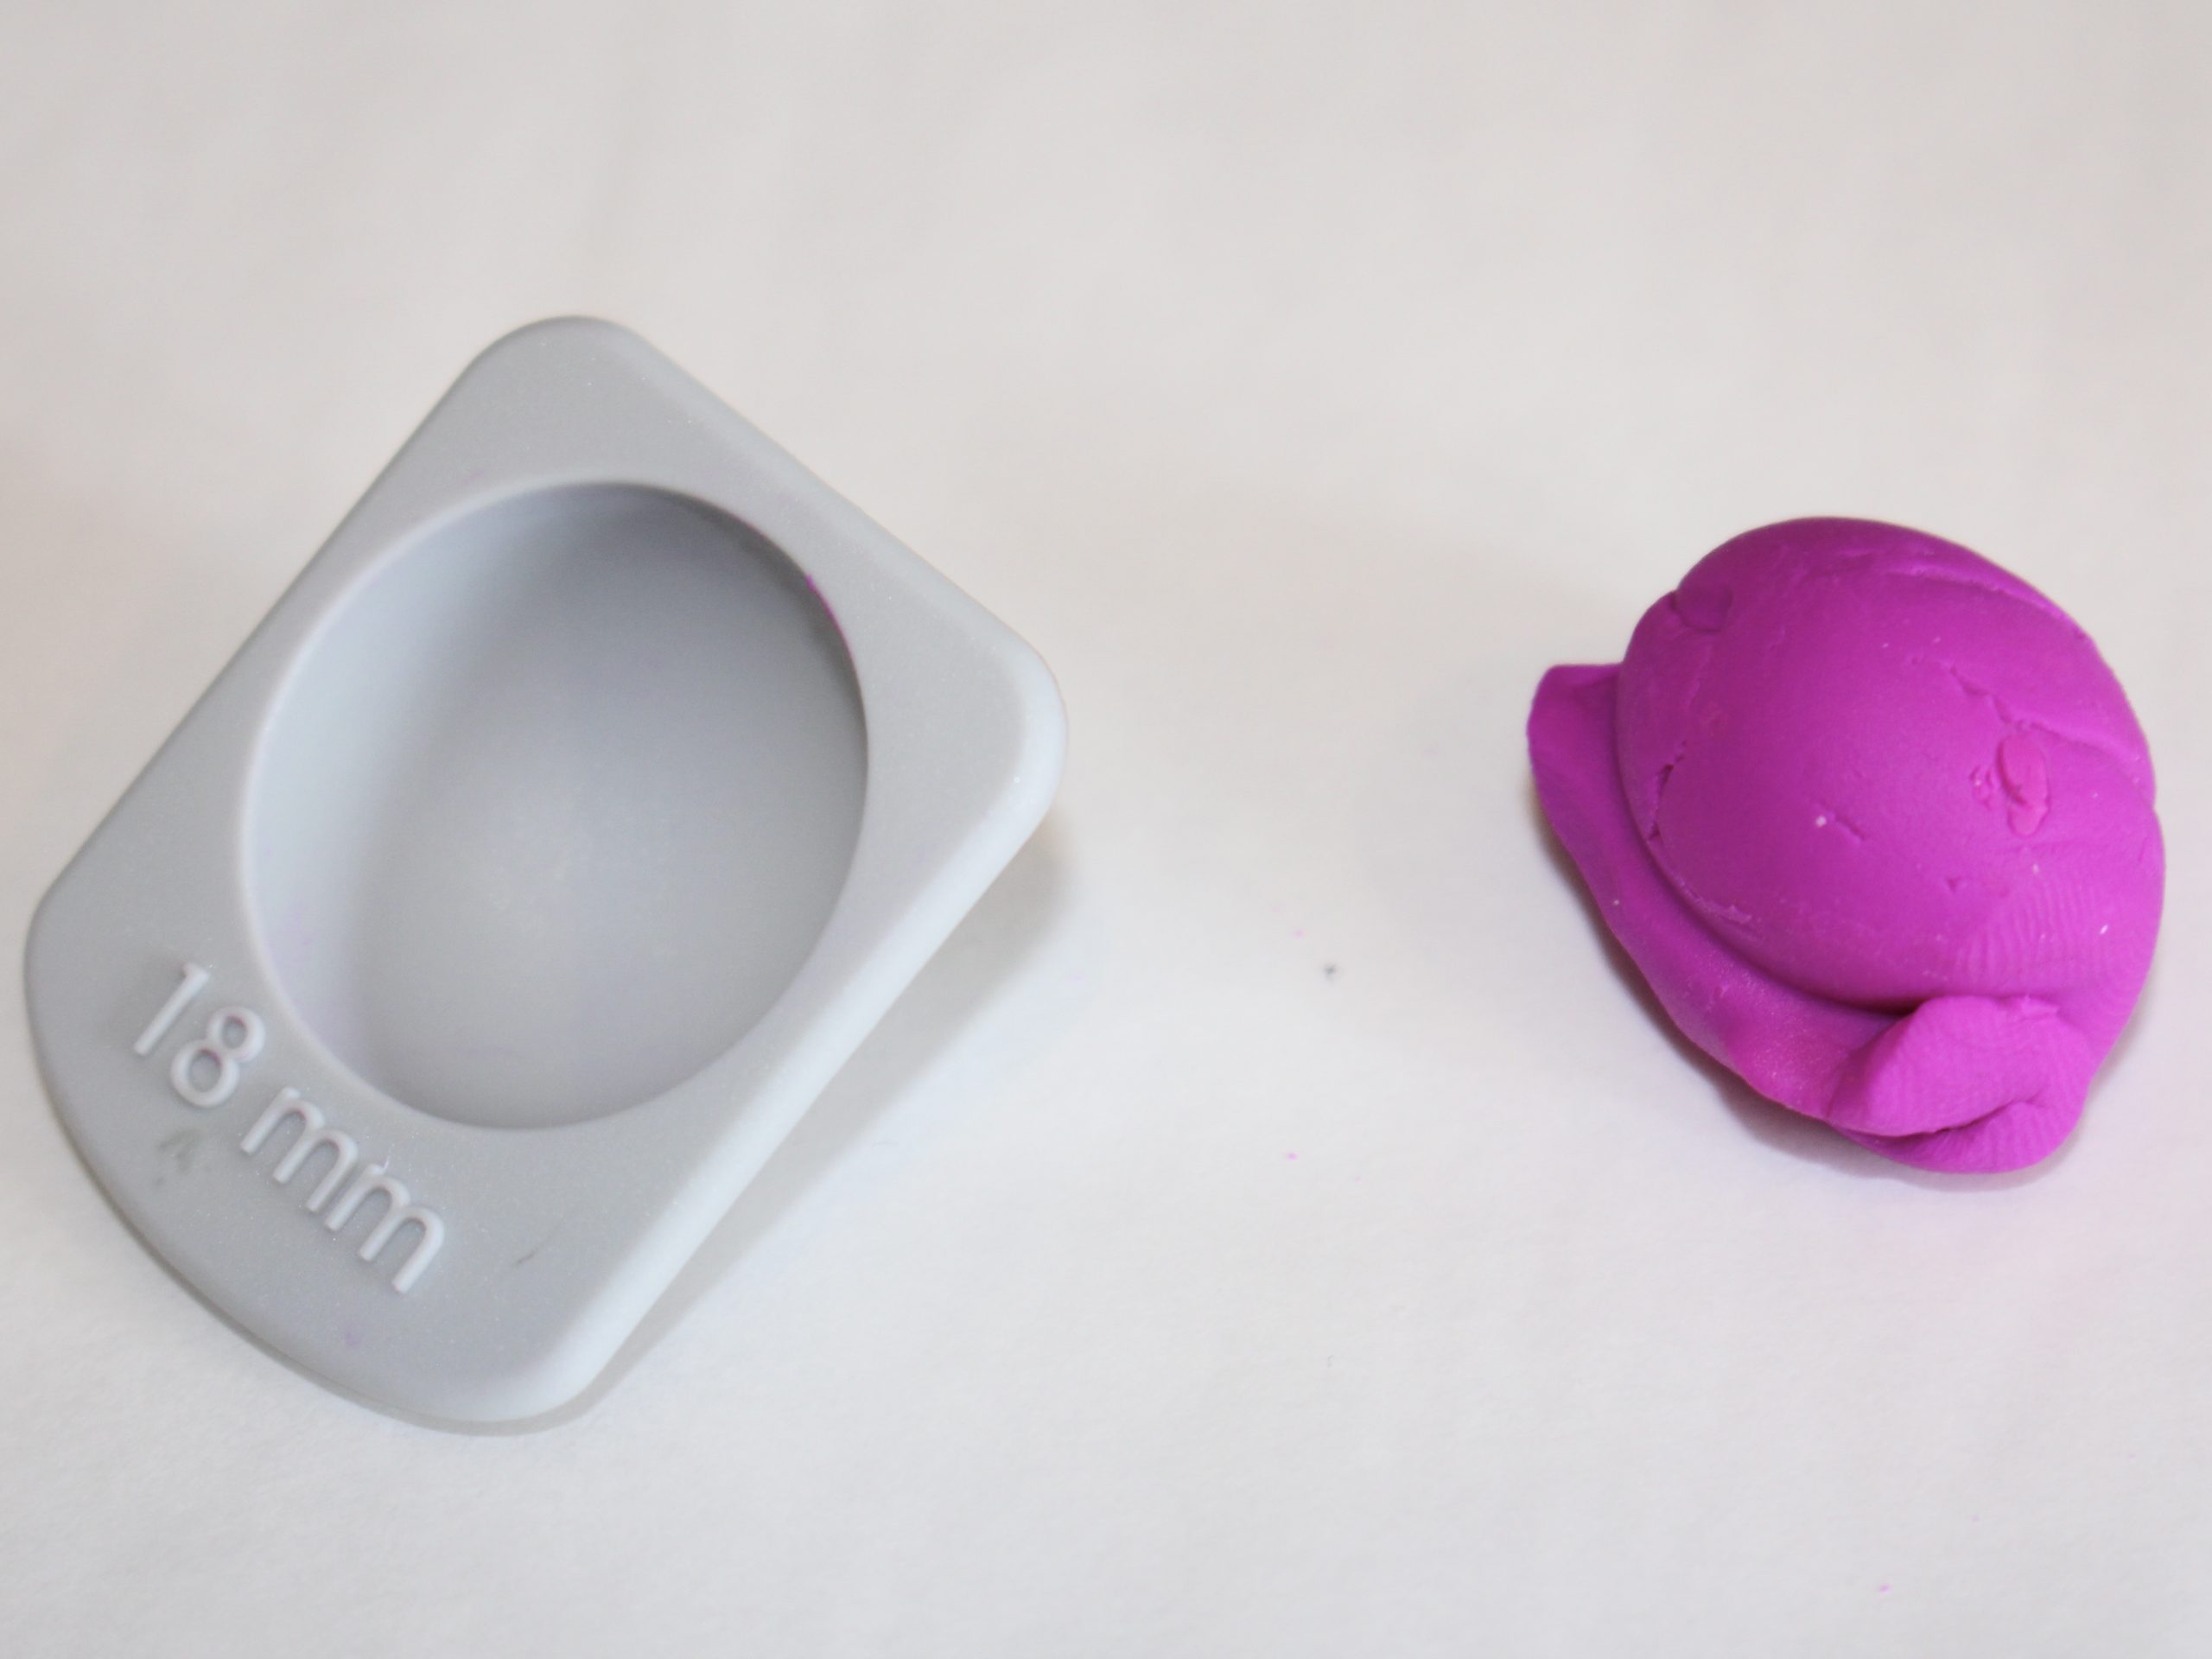
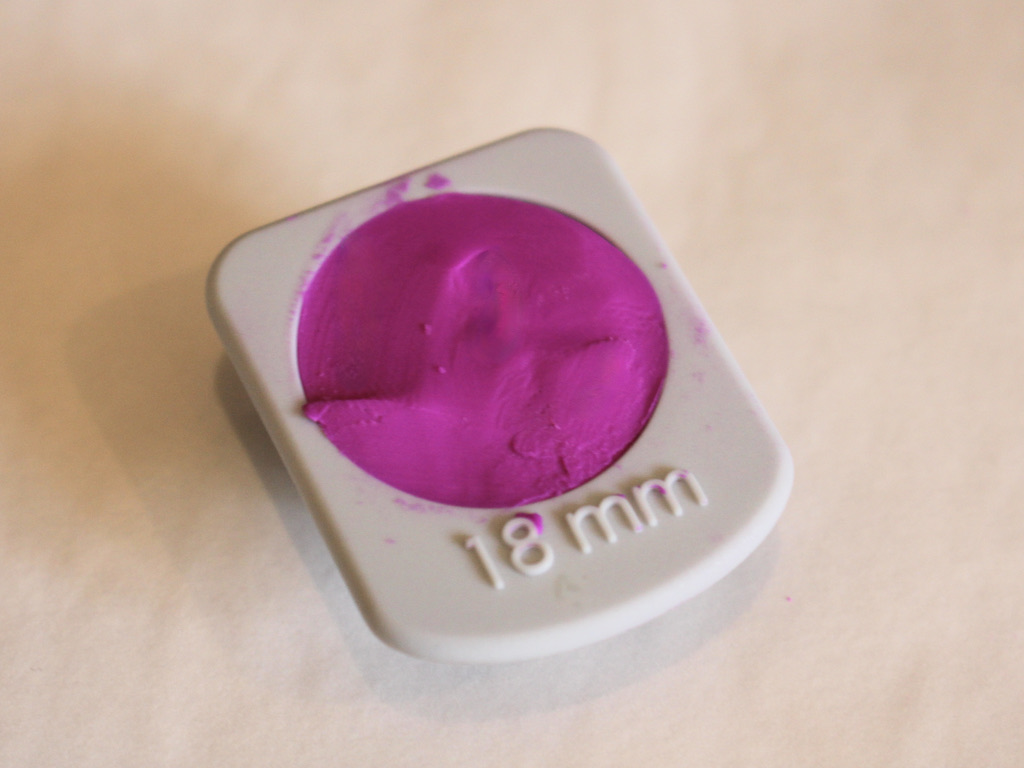
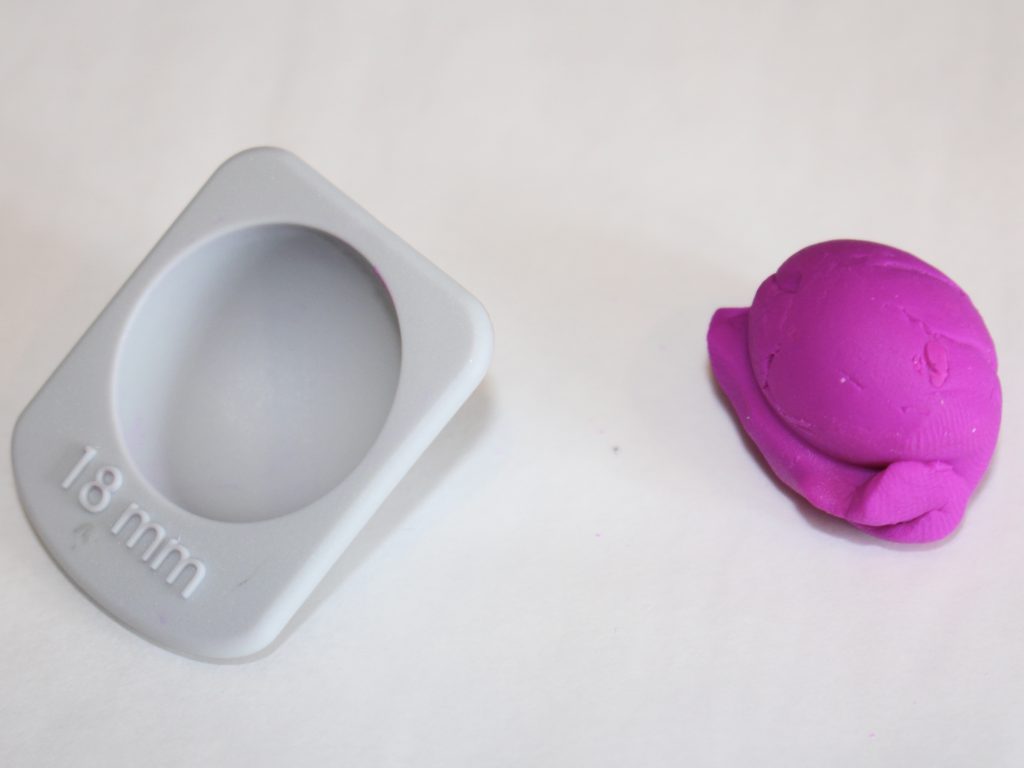
1: Choose the size of bead you want to make and fill the corresponding measuring cup with polymer clay. I chose 18mm.
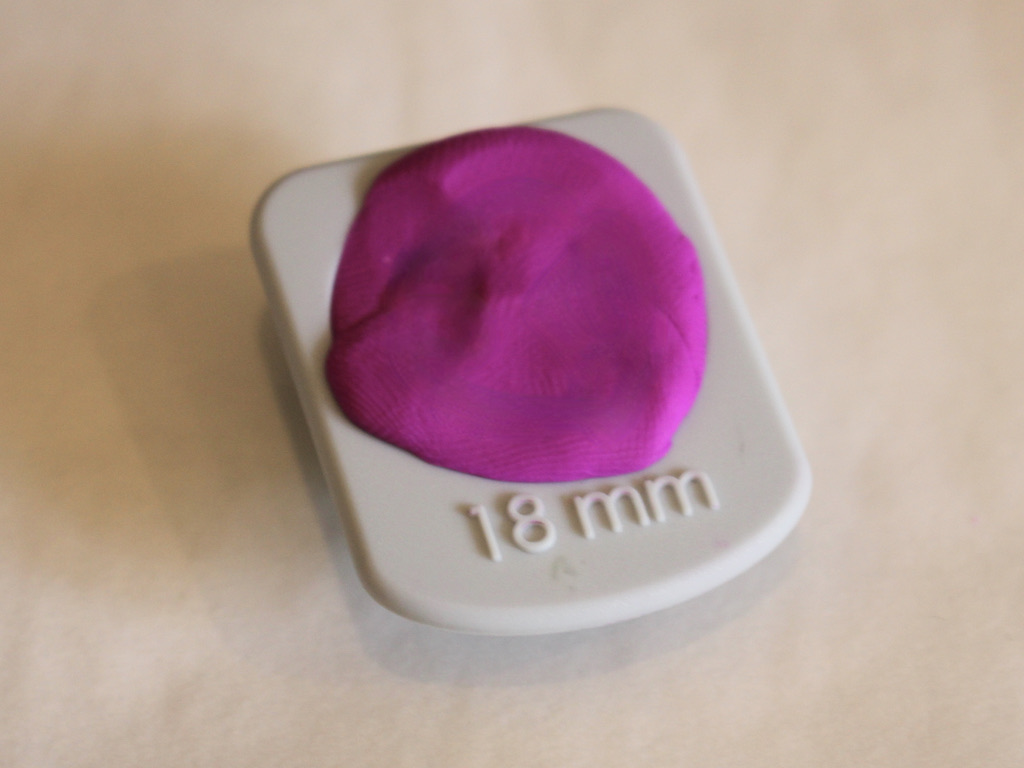
2: Scrape off excess clay so that the clay sits flush in the cup.
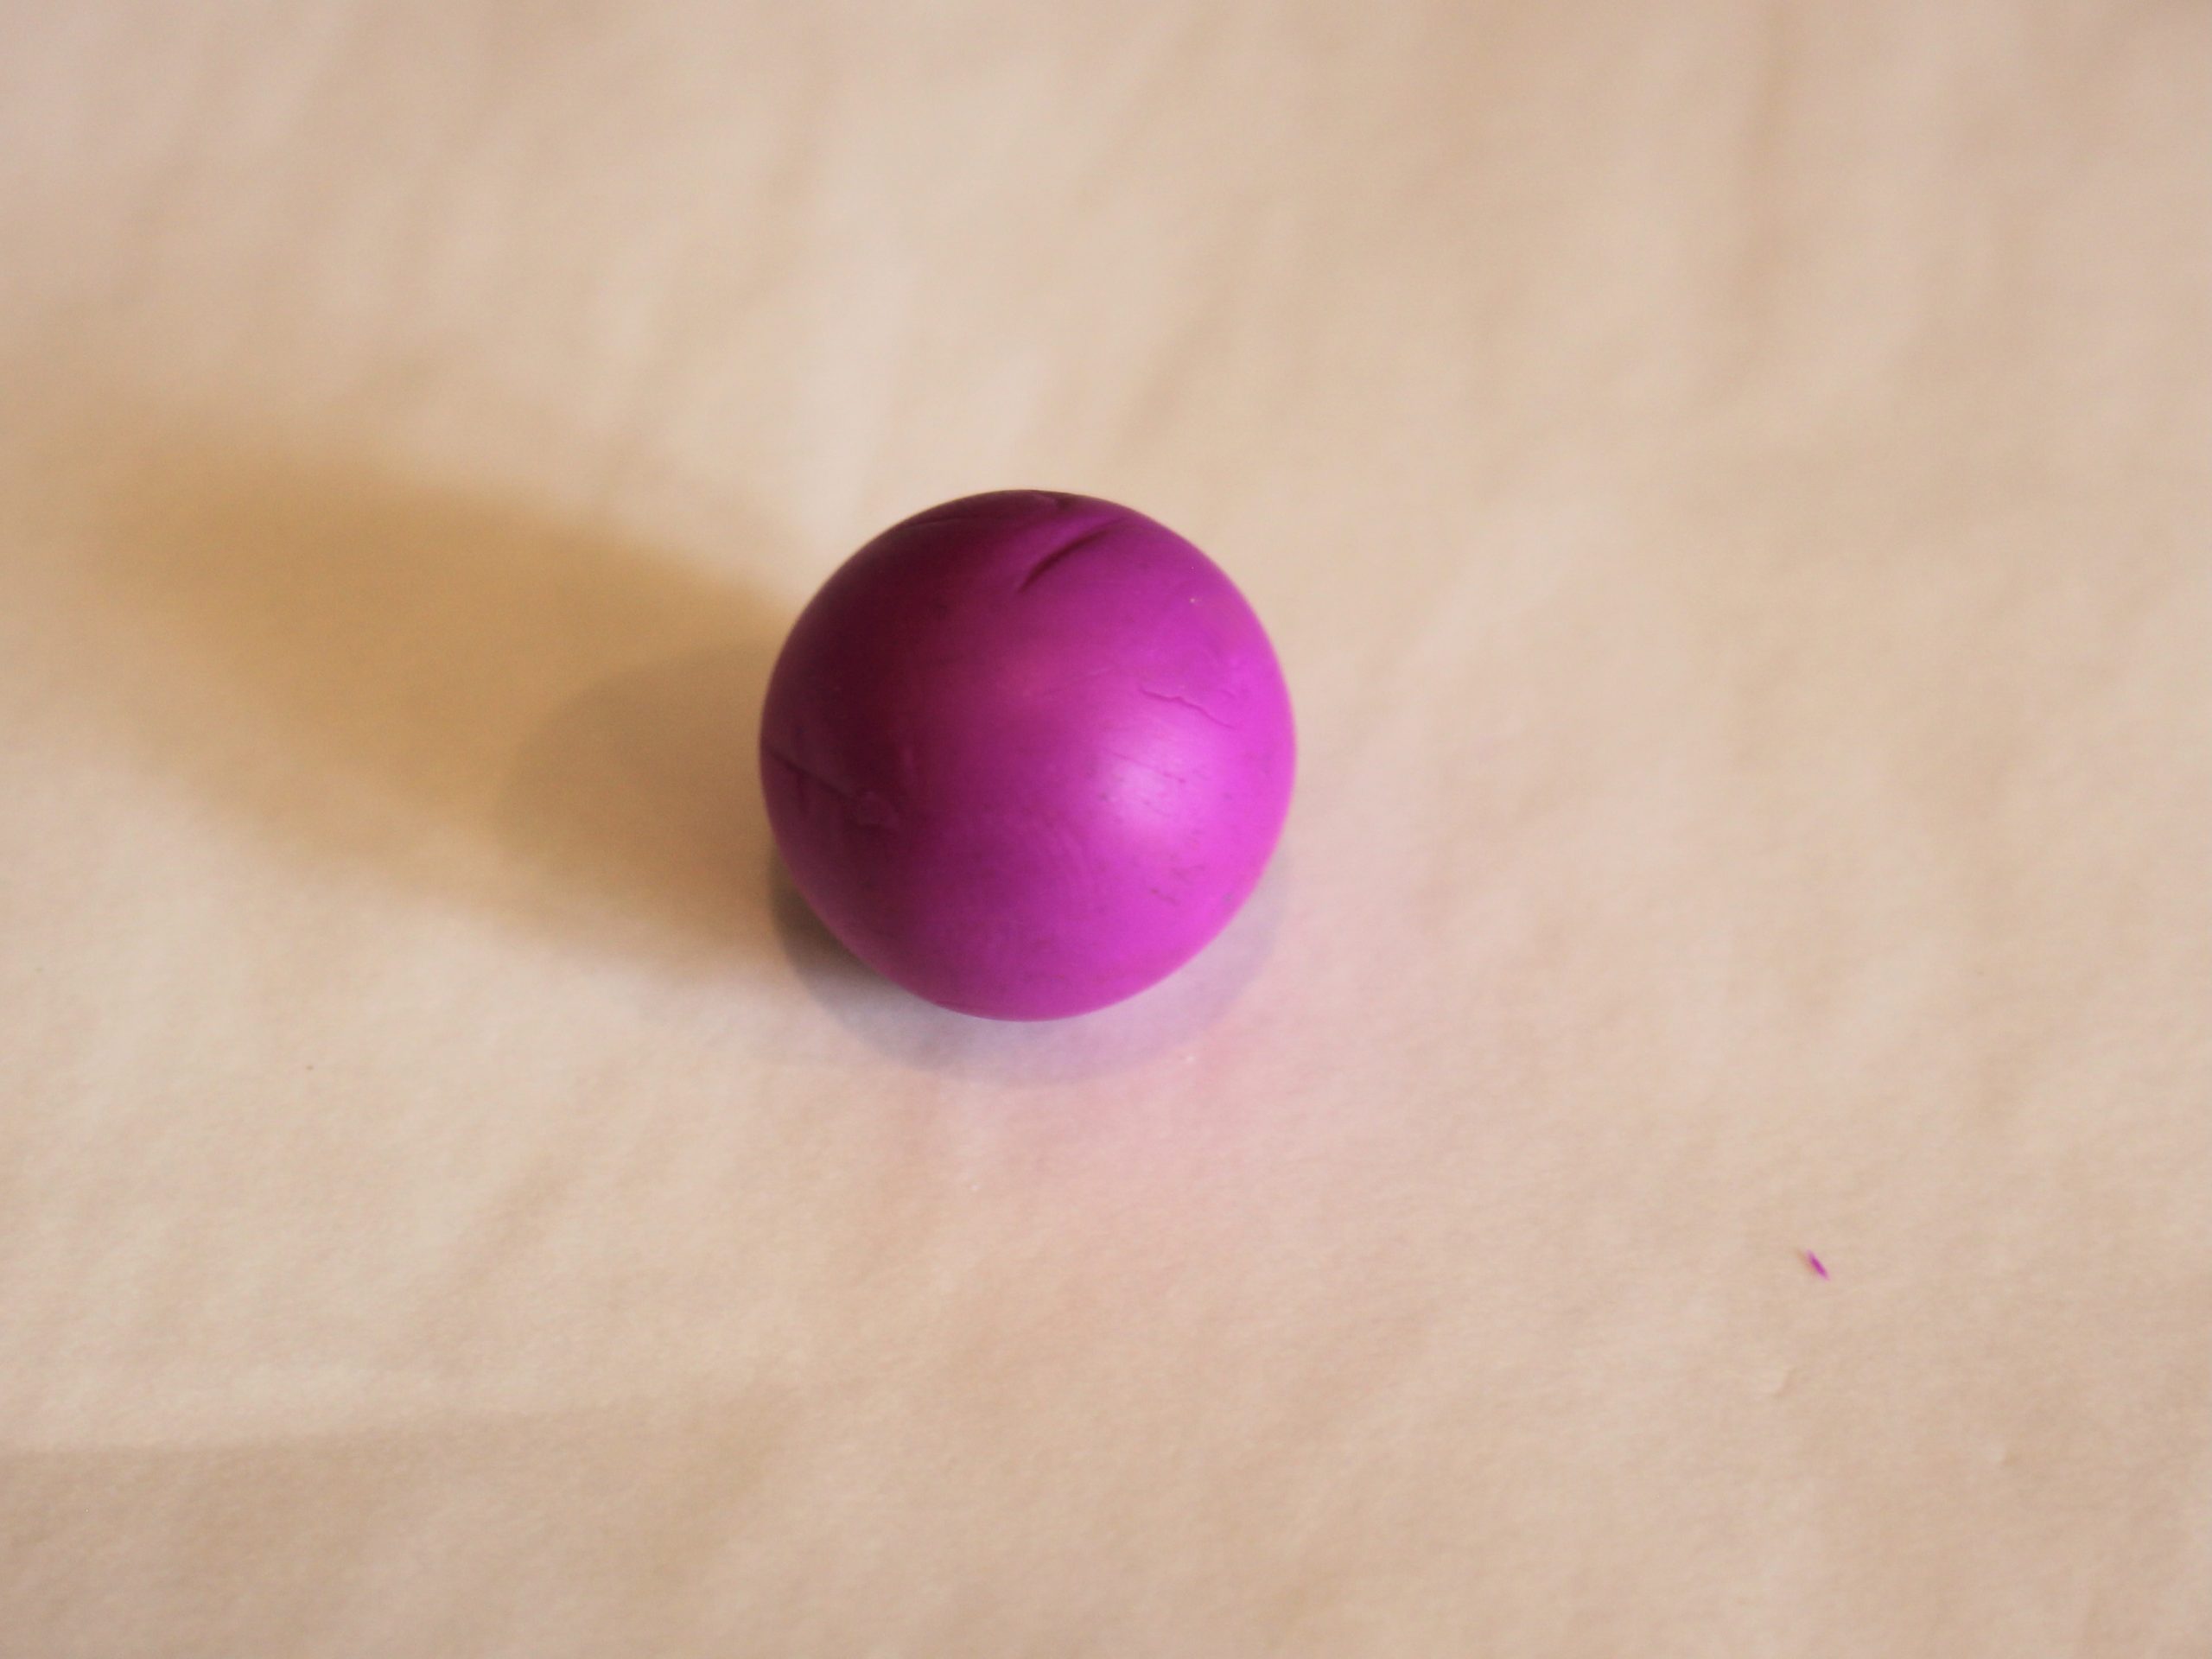
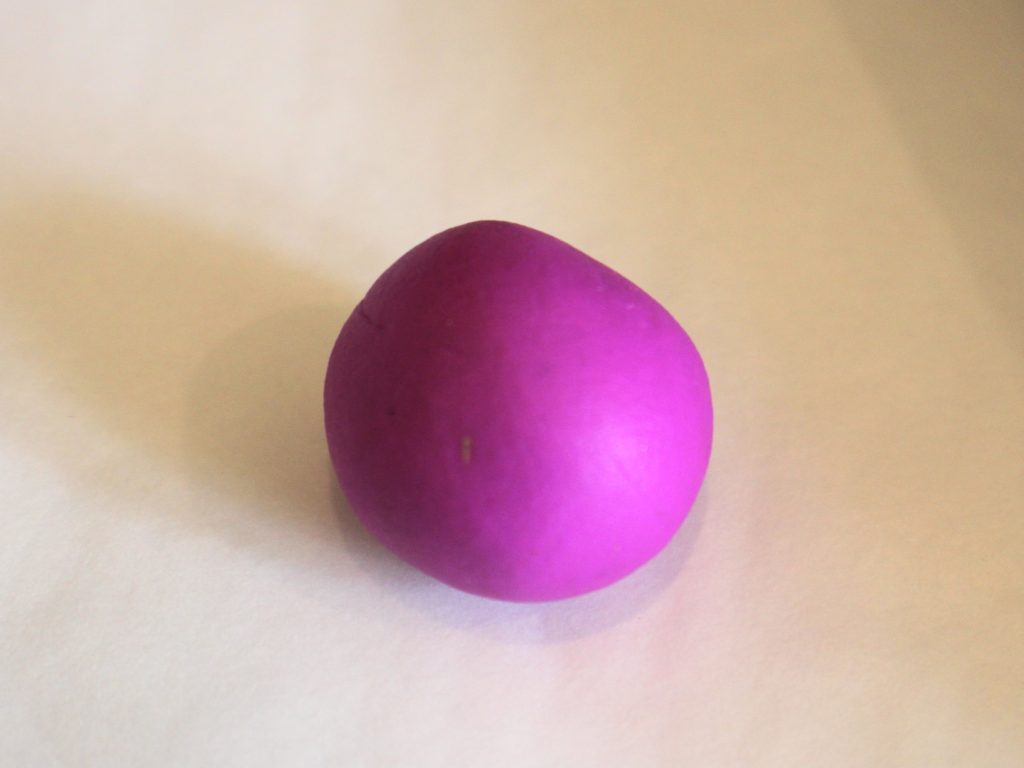
3: Take the clay out of the cup and then roll it into a ball shape.
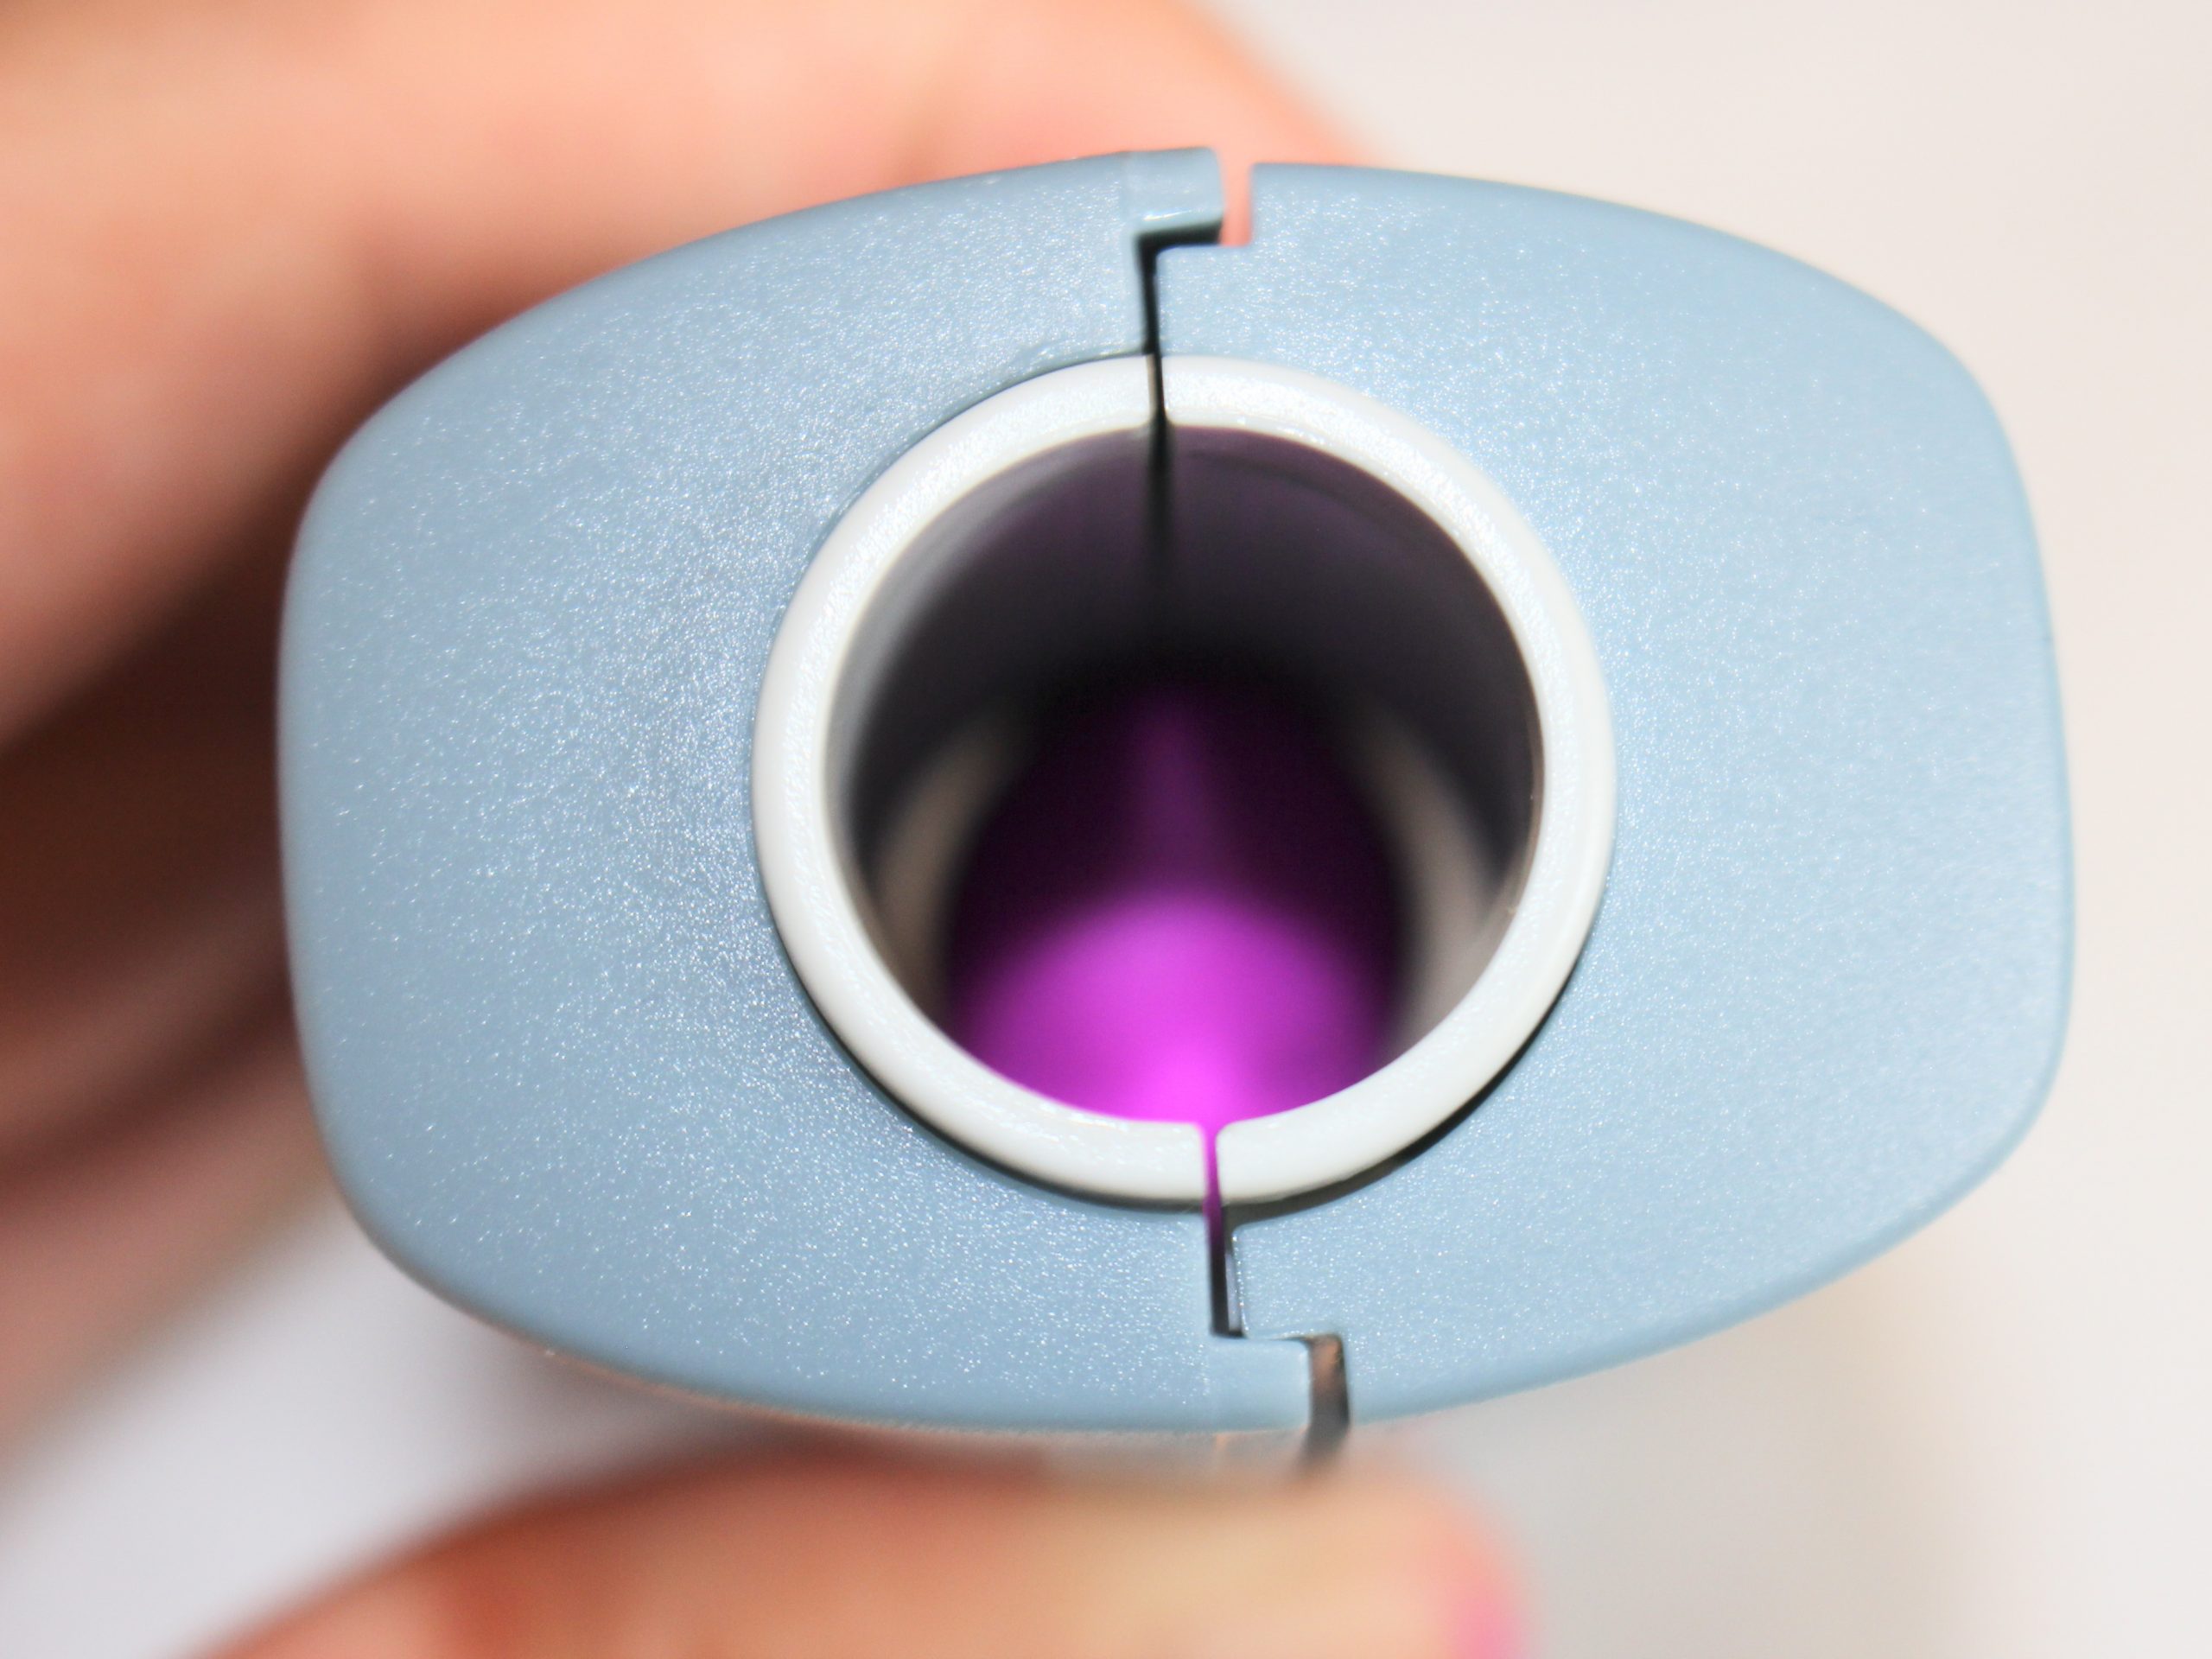
4: Put the the bead roller inserts that are the right size for your bead into the roller base. I used 18mm rollers.
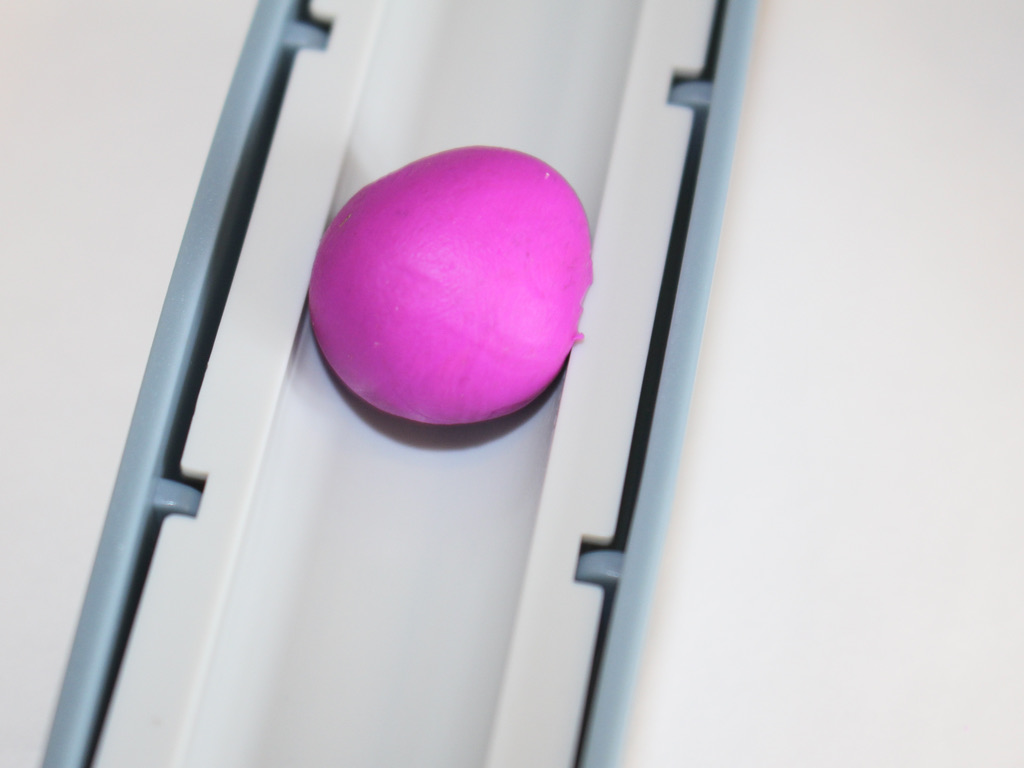
5: Put the polymer clay ball between the two rollers.

6: Push the rollers back and forth with the polymer clay inside to make the ball round.

7: Take the ball out of the rollers and poke a hole through it using the poker tool.

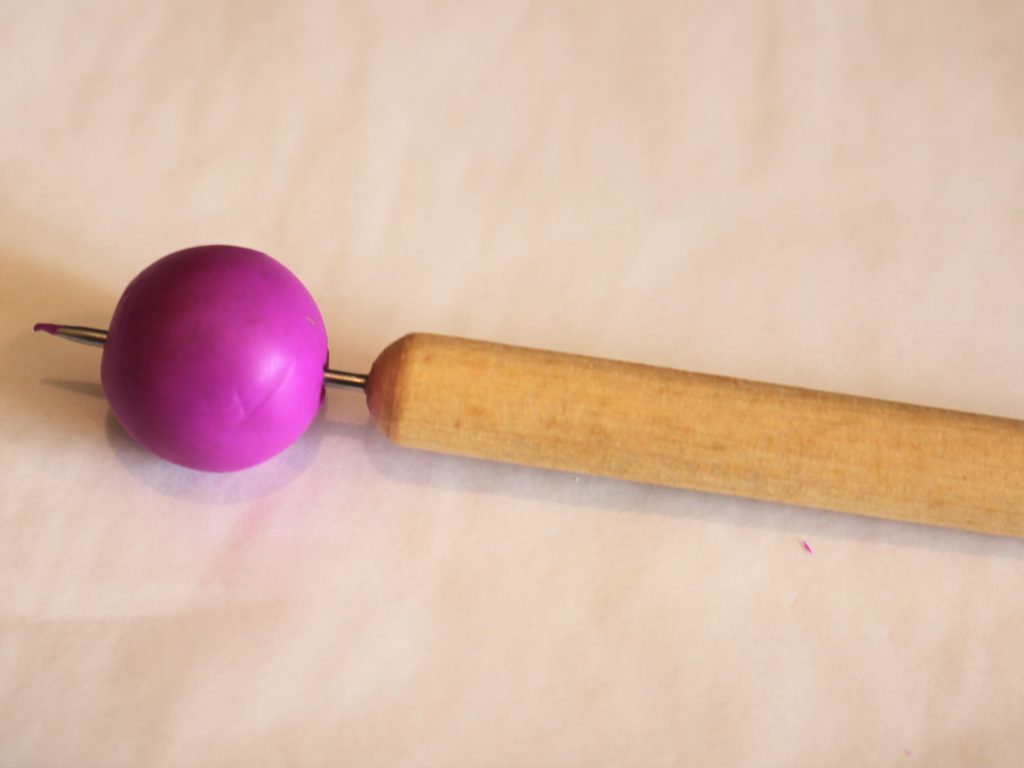
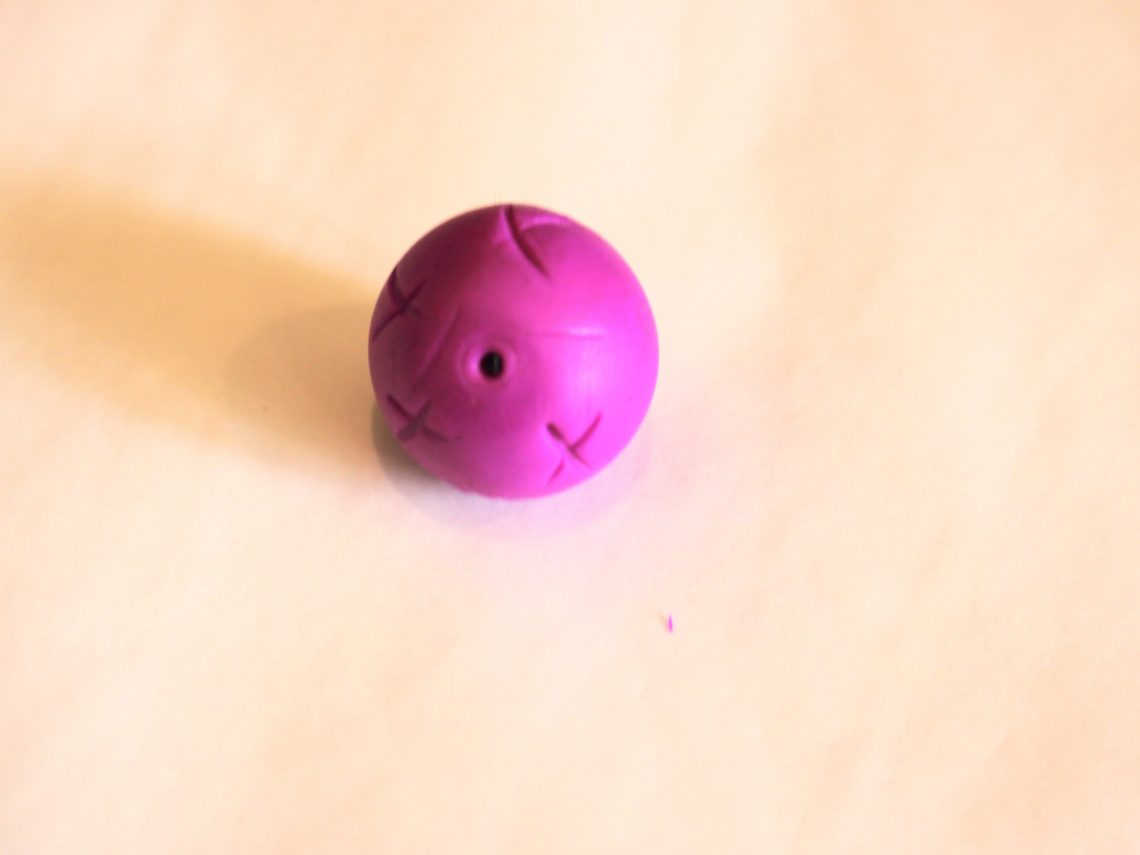
8: Now you can decorate your ball, you might want to roll it again gently to reshape it after making the hole. I used the other end of my poker tool to add some cross designs on my bead.


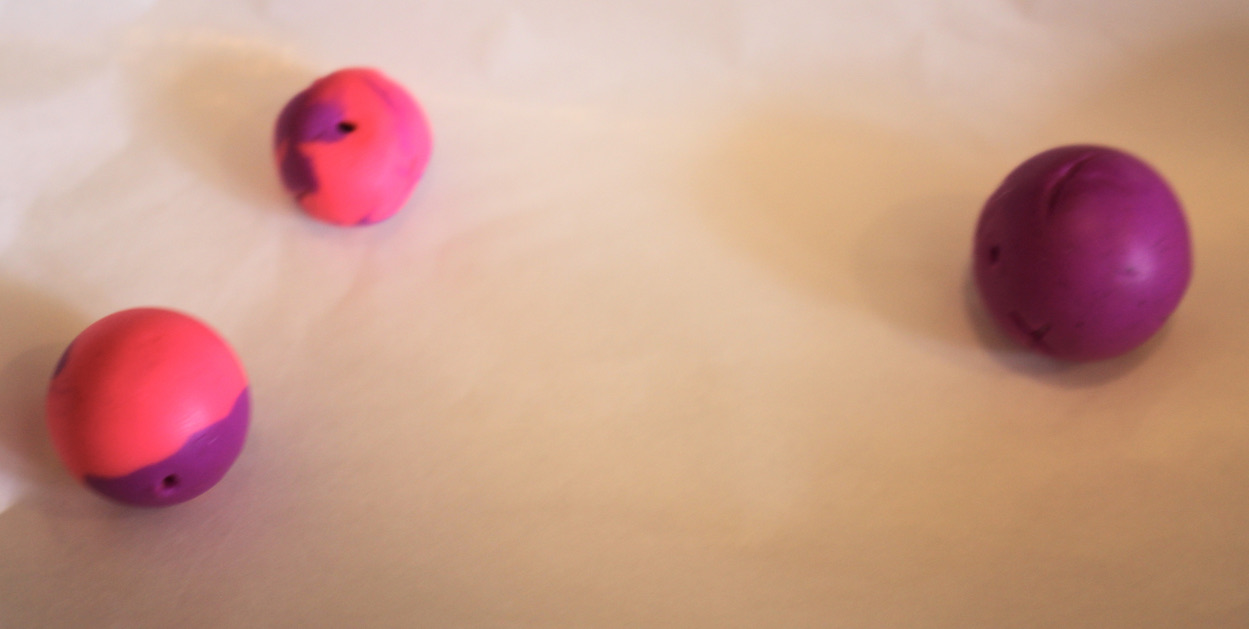
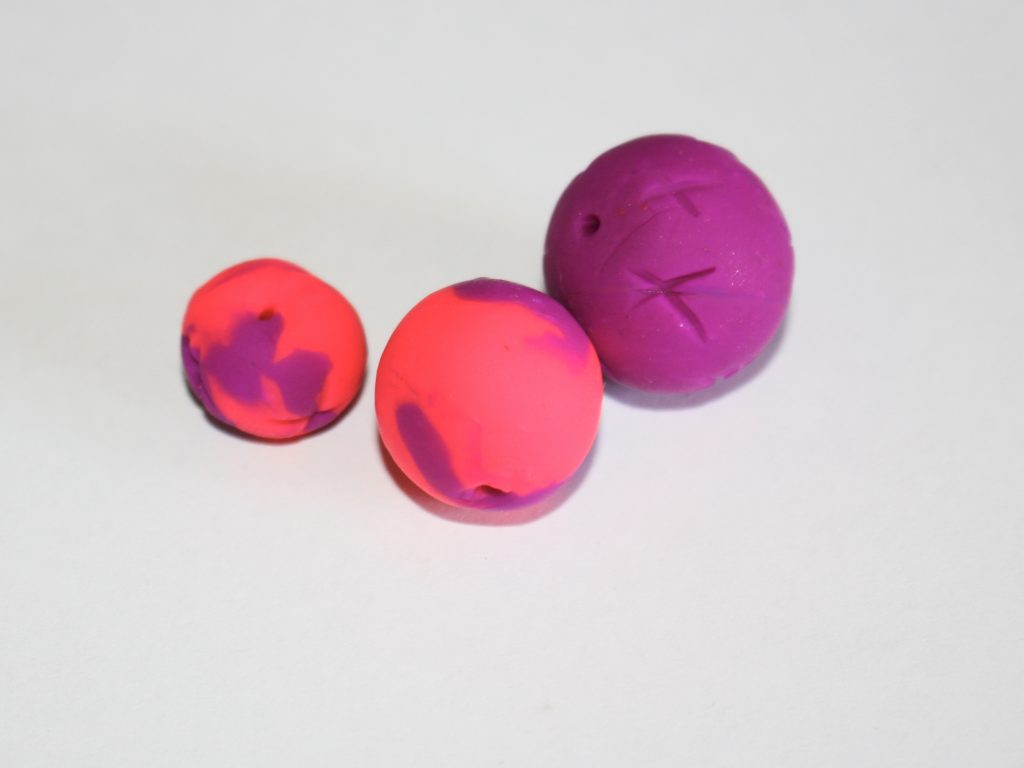
9: Bake the bead according to the instructions on the package of your chosen brand of polymer clay. I made a couple more beads before I baked them. Here they are before being baked.
Once your bead is baked it is ready to use in your jewellery designs! Stay tuned for a tutorial where I use my polymer clay beads in a design!

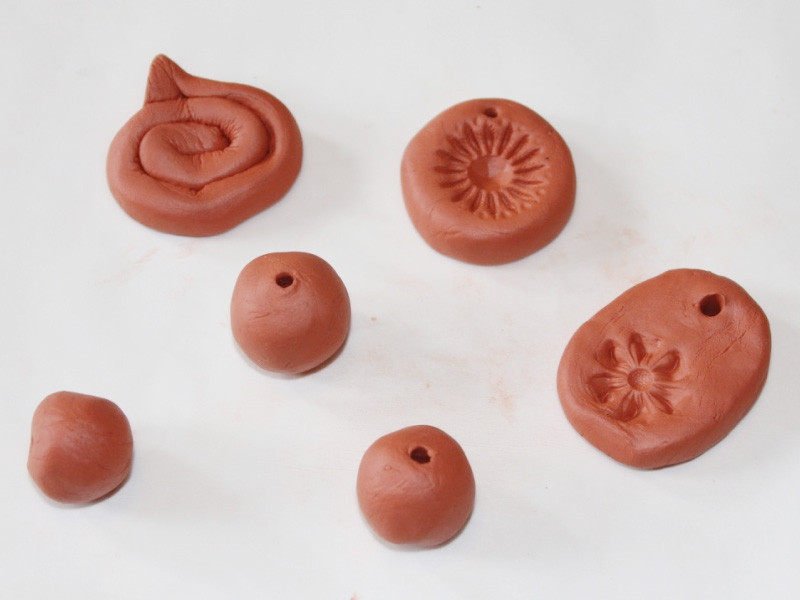
Here are the baked beads. If you liked this tutorial, here are some other ways to make polymer clay pieces to include in your jewelry designs:
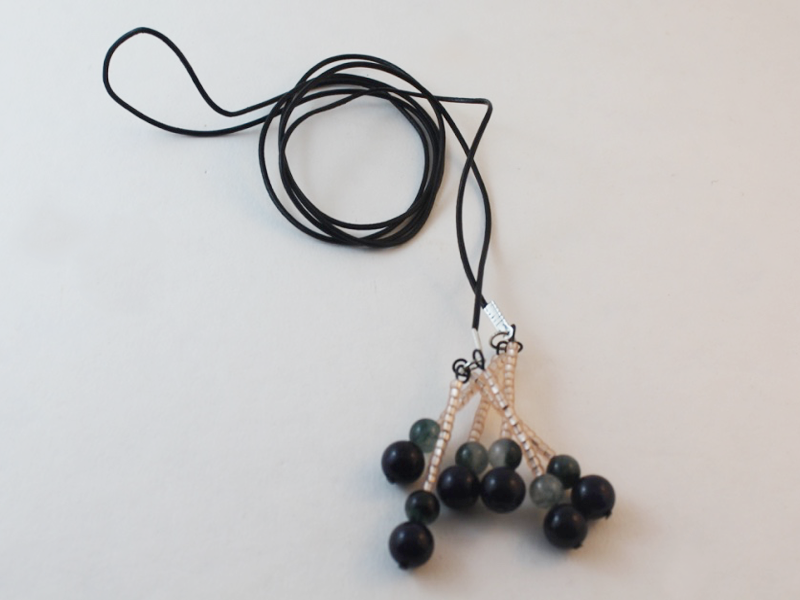
- Here’s how to make polymer clay earrings with a beaded tassel
- Here’s how to make polymer clay charms for long statement earrings
And here are some pieces that make use of polymer clay beads and charms:
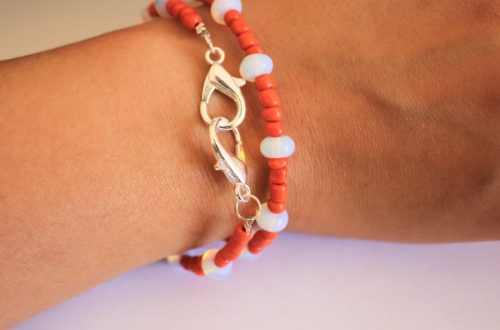
- A bracelet made using polymer clay beads and beading thread
- Maybe you’ll make a funky beaded lanyard with polymer clay beads?
- Make a cute charm bracelet with your handmade polymer clay beads.
- Use some cube shaped polymer clay beads to make a fun stacking ring
- Add some polymer clay beads to a funky beaded phone strap
- Or use polymer clay beads to make a unique anklet
- Maybe you’ll add polymer clay beads to an amazing mixed bead statement necklace.
If you want to make beads in other materials here are some tutorials:
-
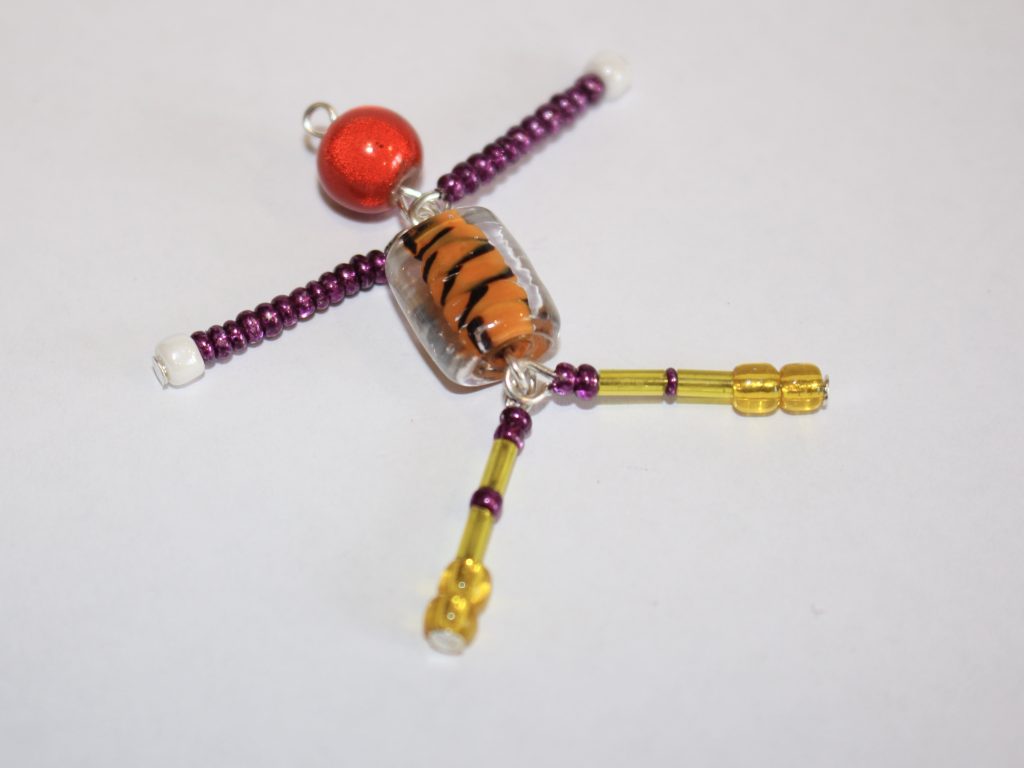
Here’s how to make a little person out of beads! This is such a cute tutorial!
I love things that look like other things, so I just had to make this little beaded body! This bead person is made using some head and eye pins and a bunch of beads. Please note that this tutorial contains affiliate links.
You’ll need these tools and materials to make this funny bead person charm:
1: Pliers. I used my round nose, flat nose and cutting pliers for this piece.

Cutting pliers (left), Round nose pliers (middle) and flat nose pliers (right) 2: Two eye pins, one longer and one shorter. These will be for the head and body.
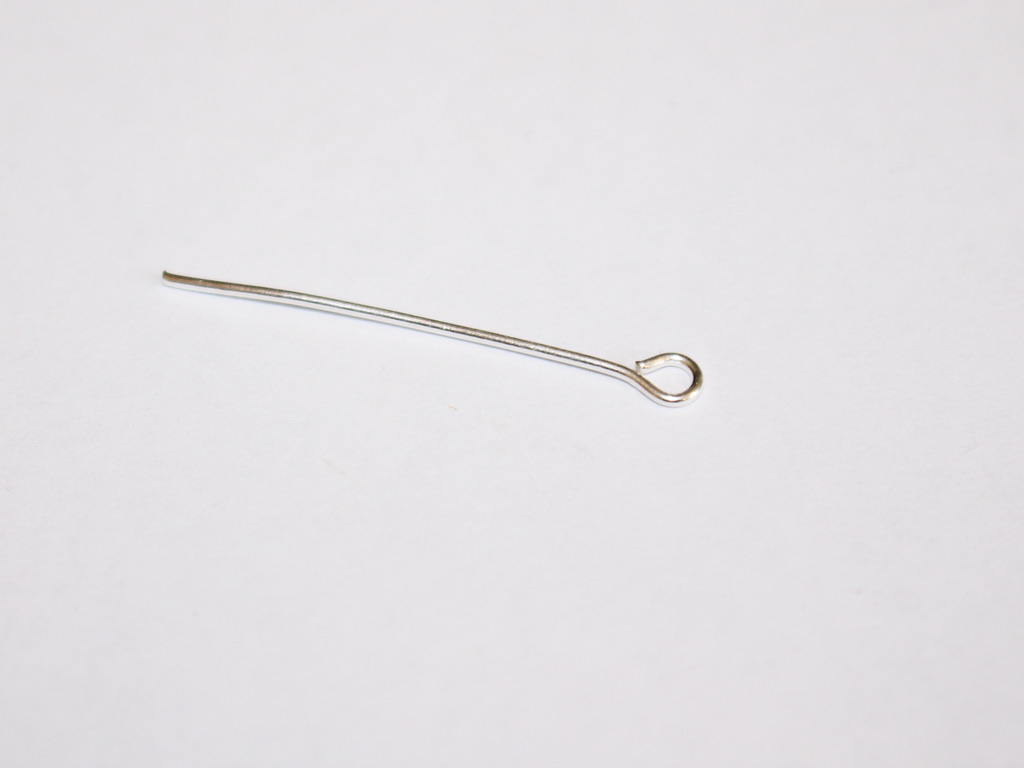
The longer eye pin 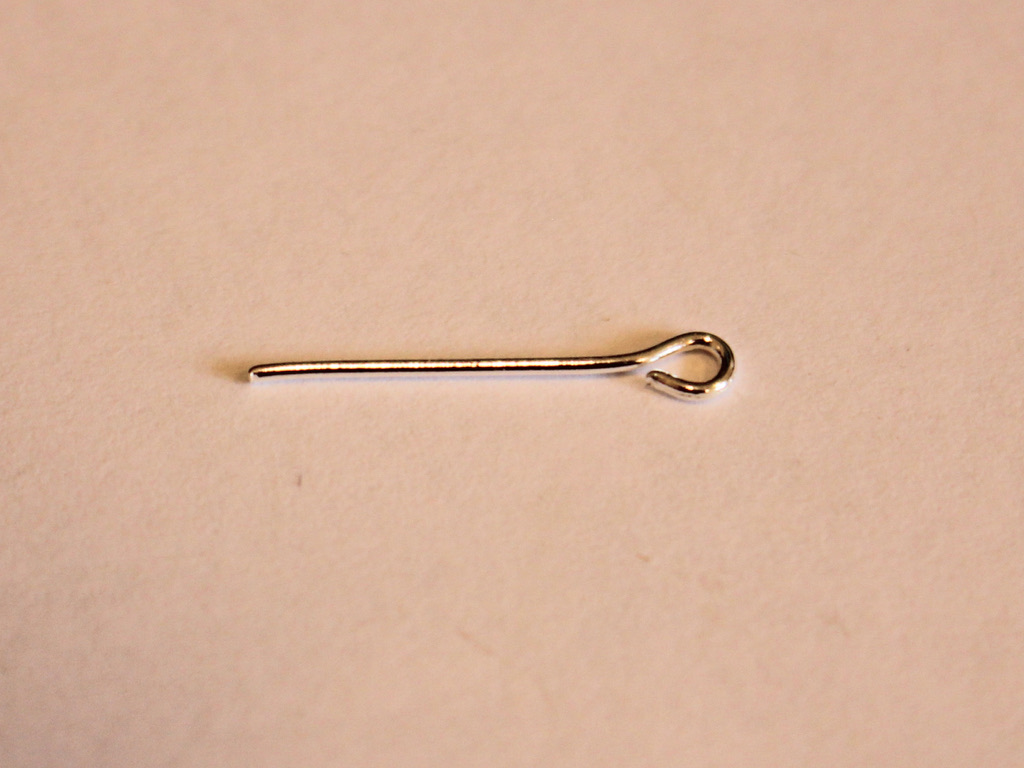
The shorter eye pin 3: Four head pins for the arms and legs.
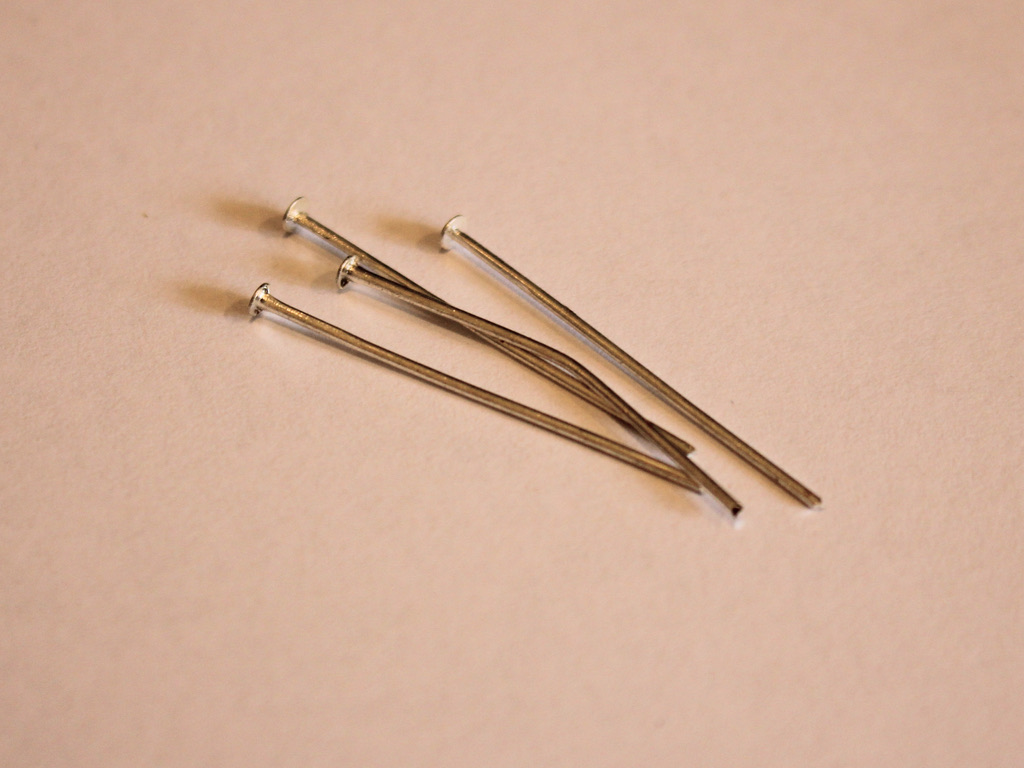
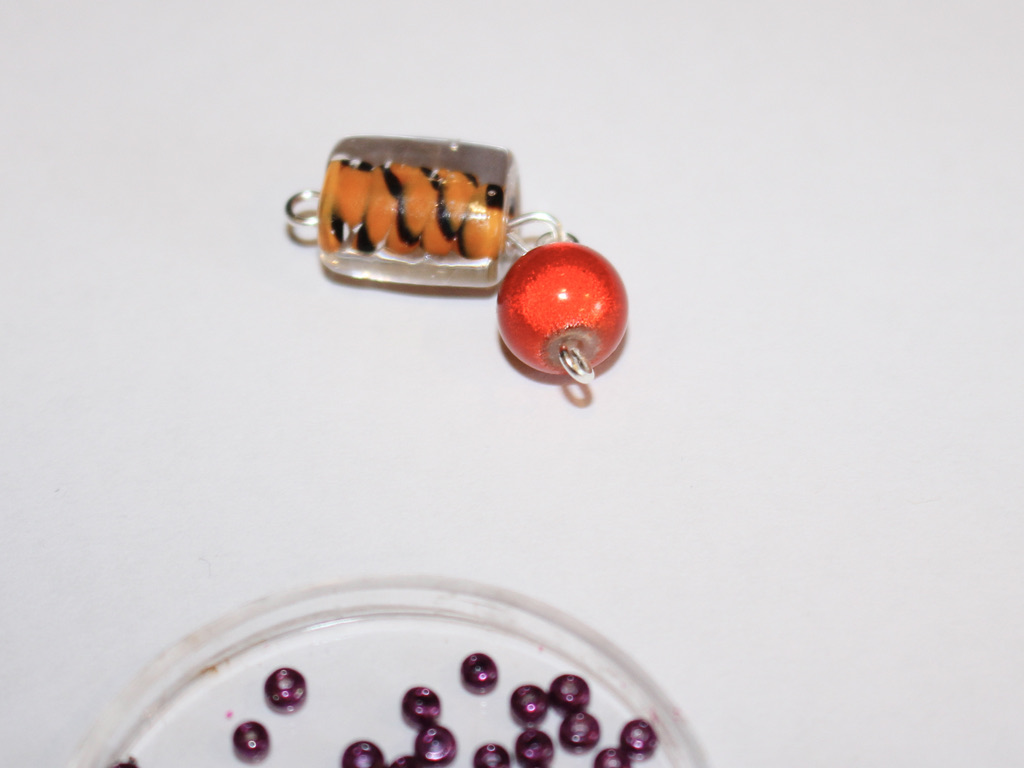
4: A selection of beads. You will need a round bead for the head and a larger bead for the body. I suggest going a bit crazy with your beads and using a mix of sizes and shapes to represent the different body parts.

Link to a round orange bead:
Some body bead options:
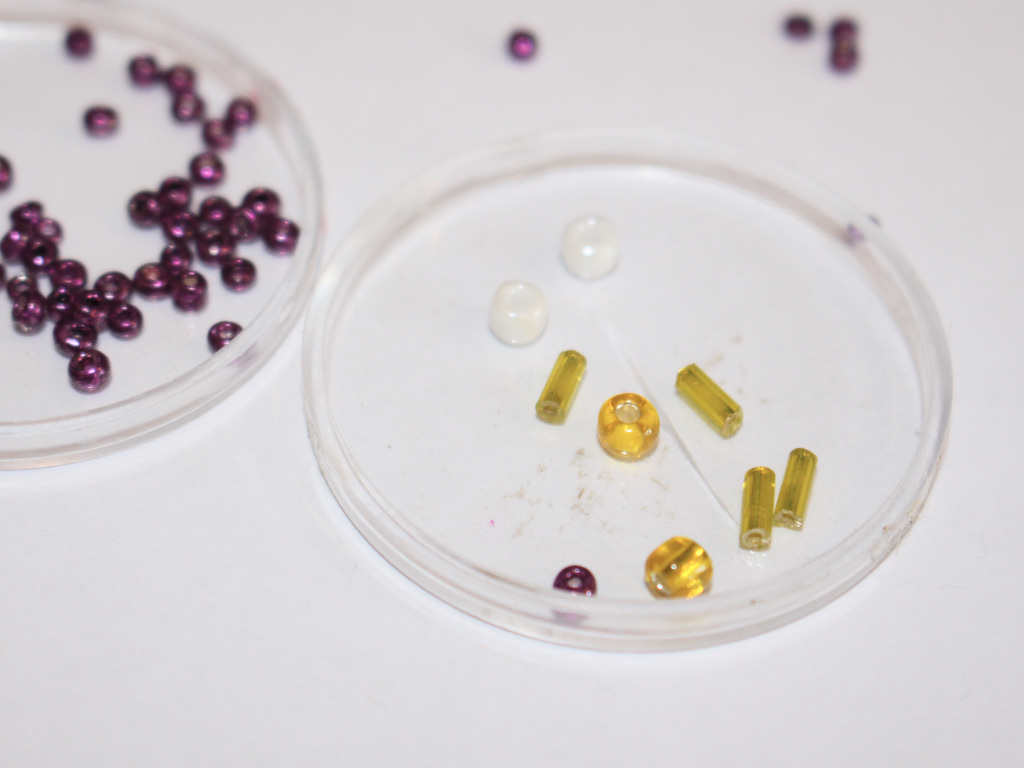
Mixed bead options:
And now here are all the steps to follow to make your bead person charm:
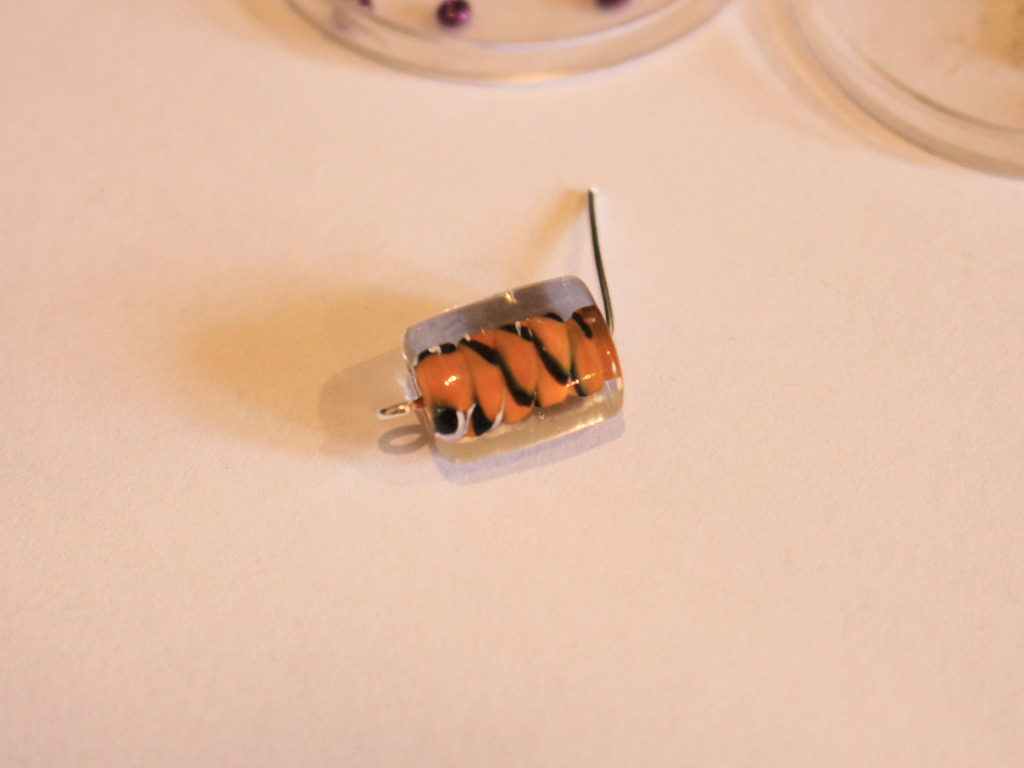
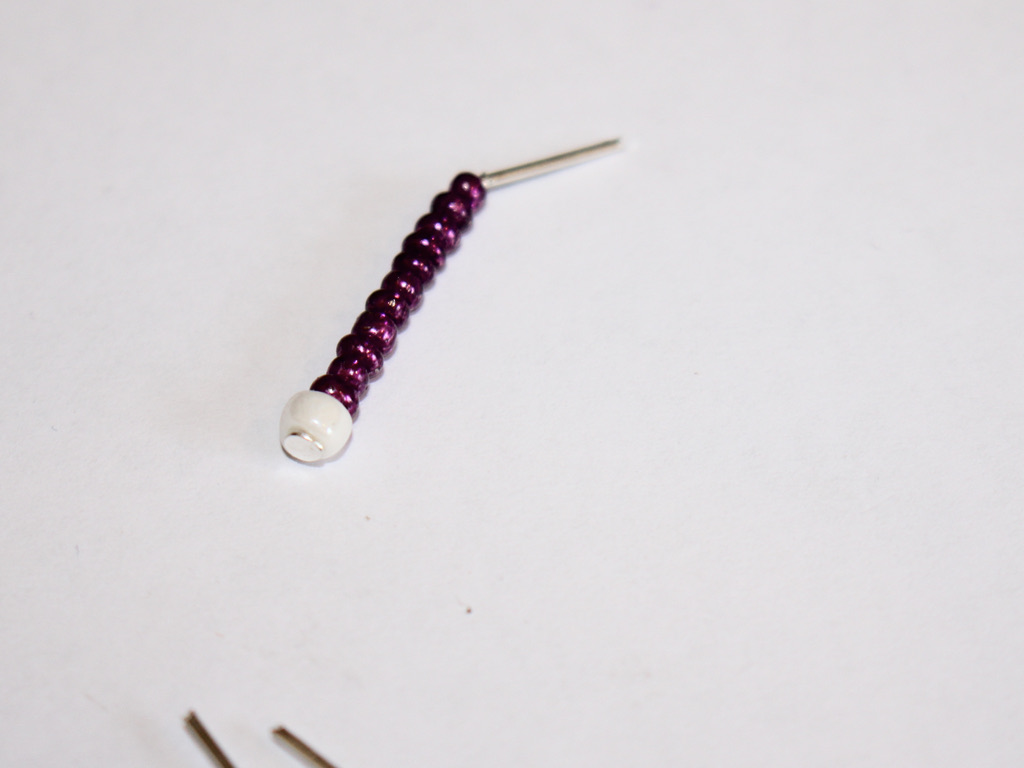
1: Take the shorter eye pin and put the round bead on it.
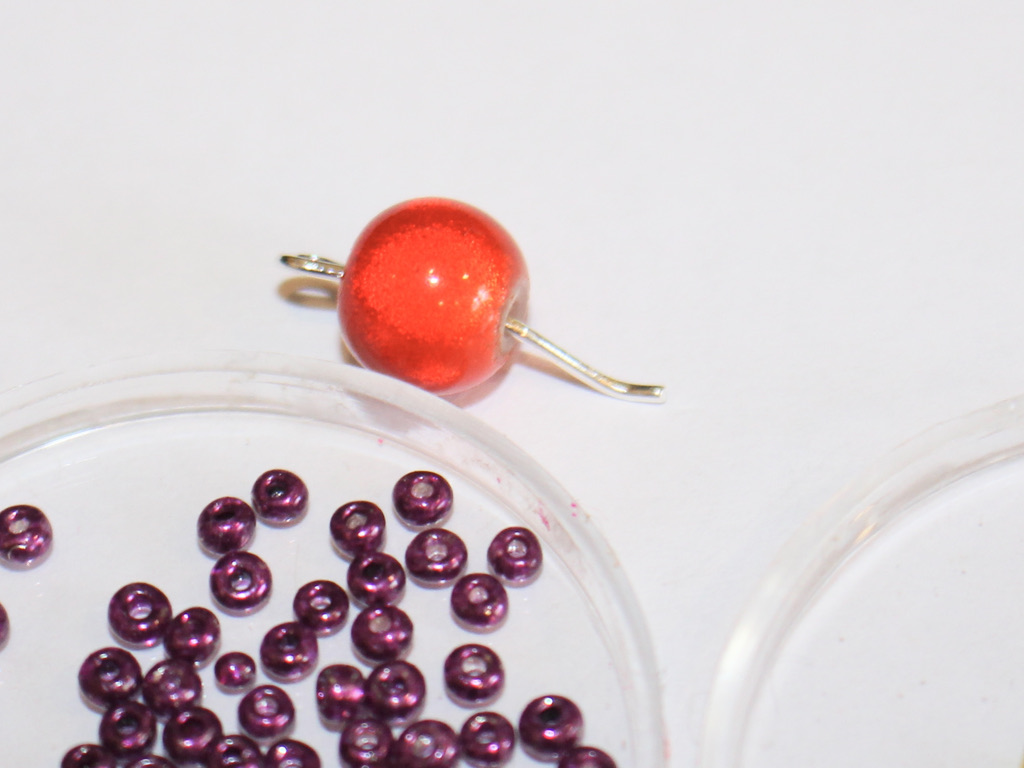
2: Bend the pin to form a right angle with the bead.
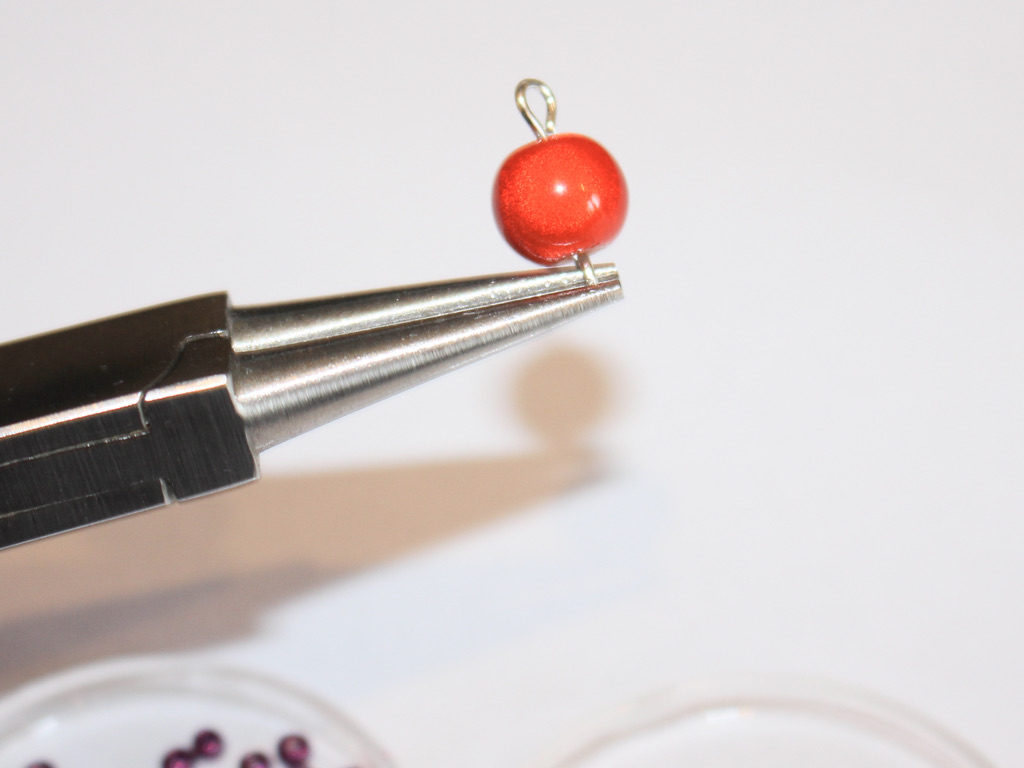
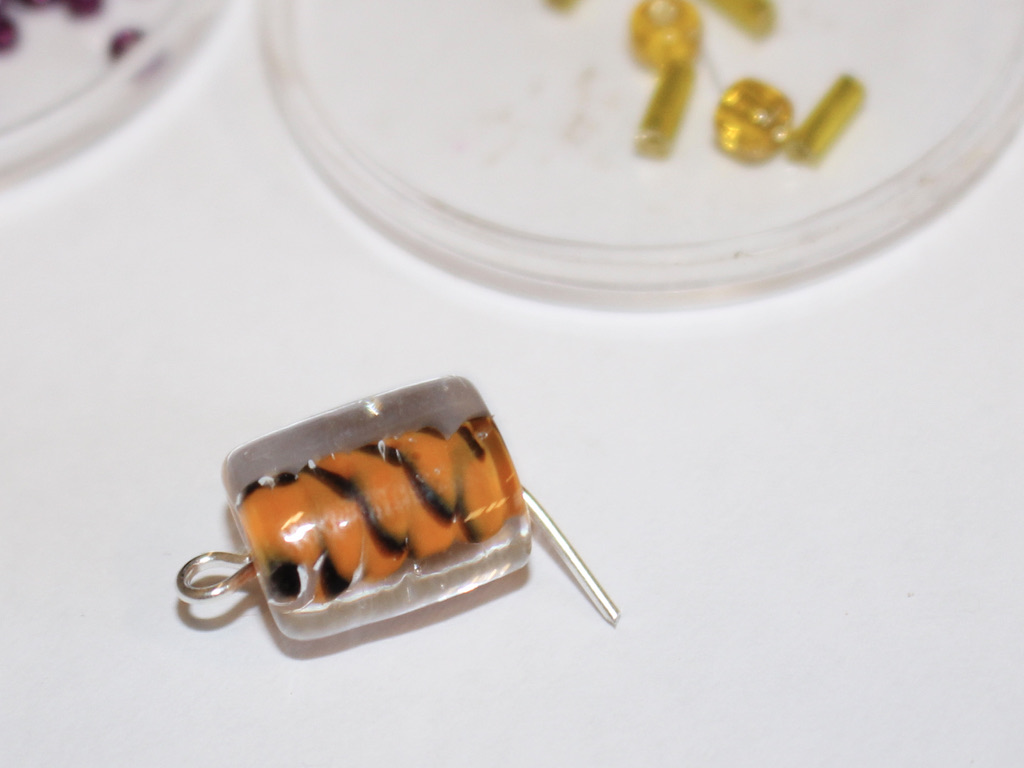
3: Create a loop at the end of the bead using the round nose pliers. This will secure the bead onto the pin.
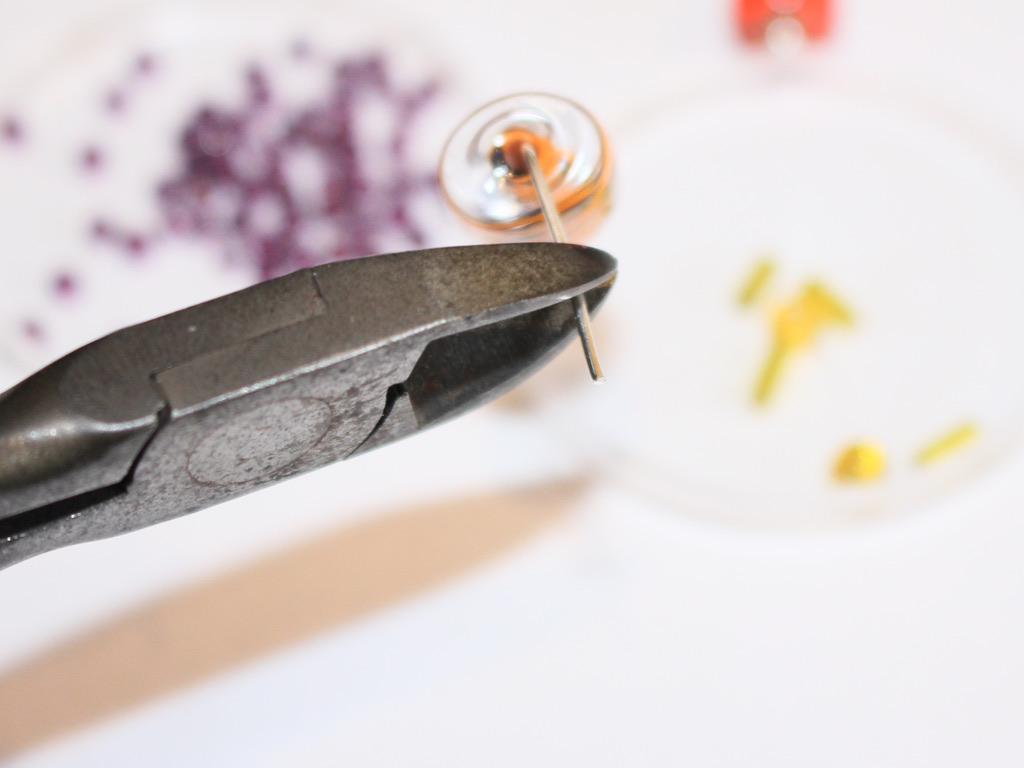
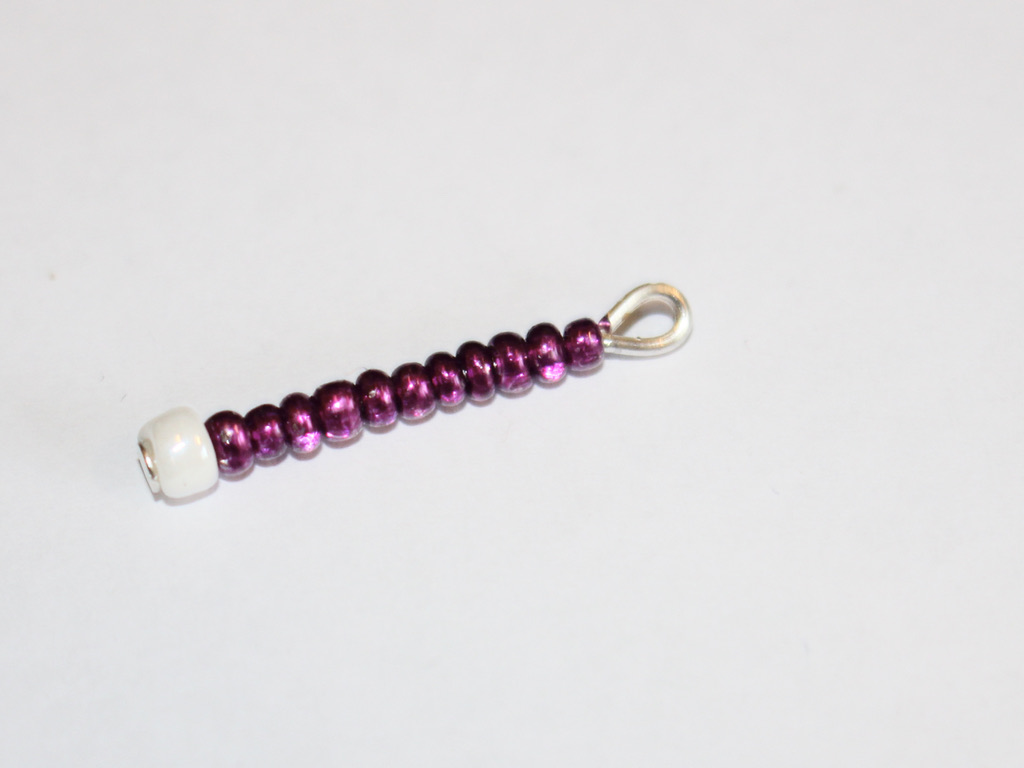
4: Repeat steps 1 and 2 for the larger bead and longer eye pin. I had to trim my pin for this one, to do this, I used my cutting pliers to cut the pin down so that there was about 1cm left of the bent part of the pin.

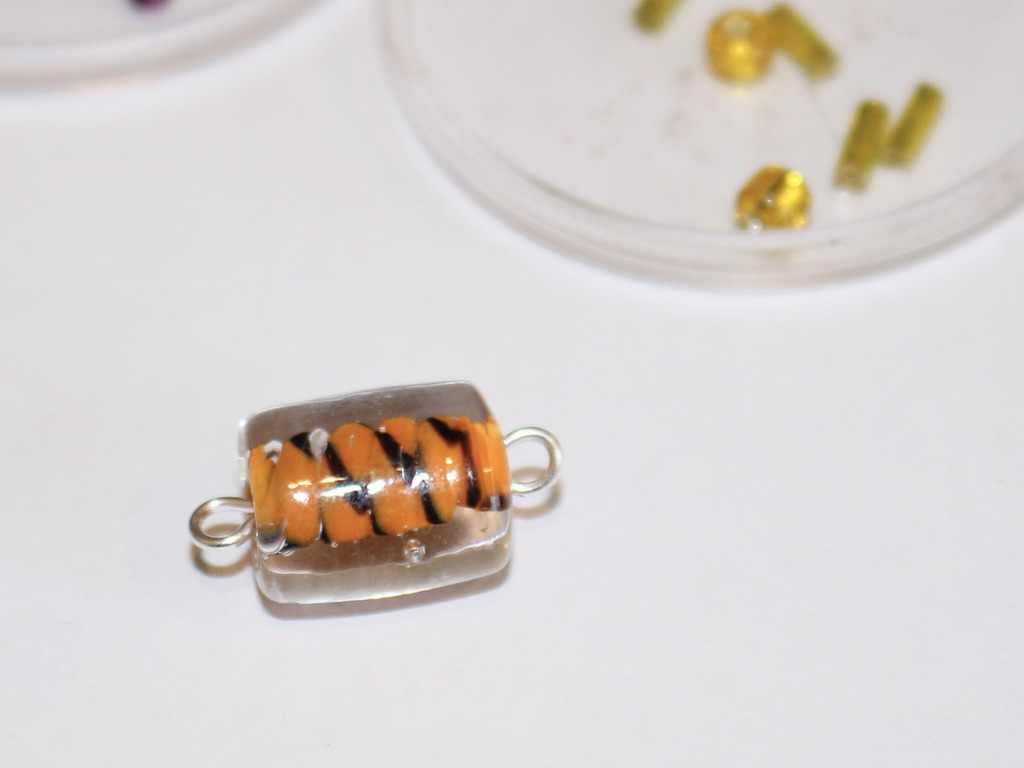
5: Once I trimmed the pin, I looped it to secure the bead in place using my round nose pliers.
6: Now you will need to open one of the bead loops on either the head or body charm to attach the head and body together. Close the loop once you have slid the charms together.

7: Set the head and body aside.
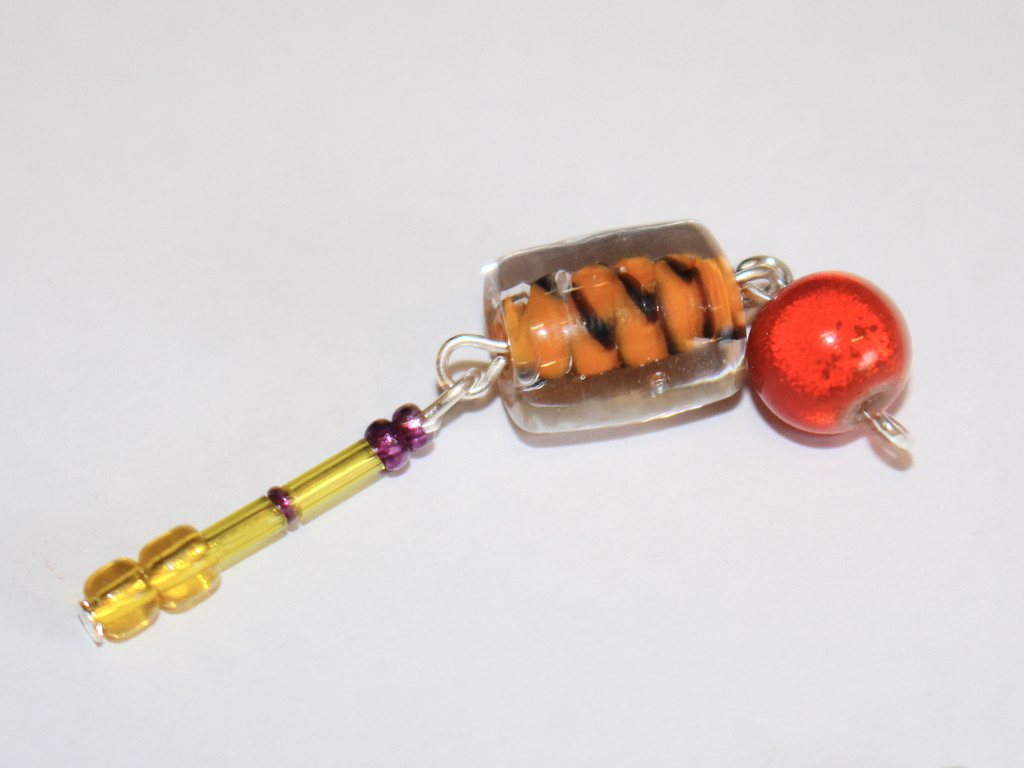
8: Add beads to each of the head pins to form the arms and legs. Get creative with the patterns and beads you choose.
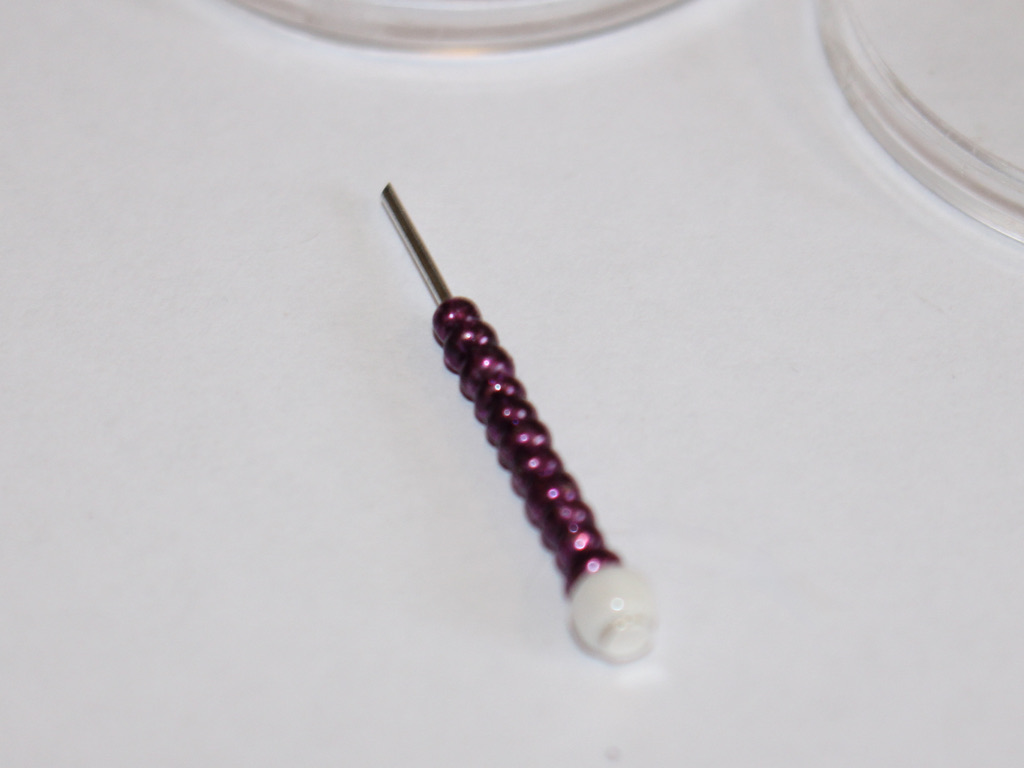
Making the first arm 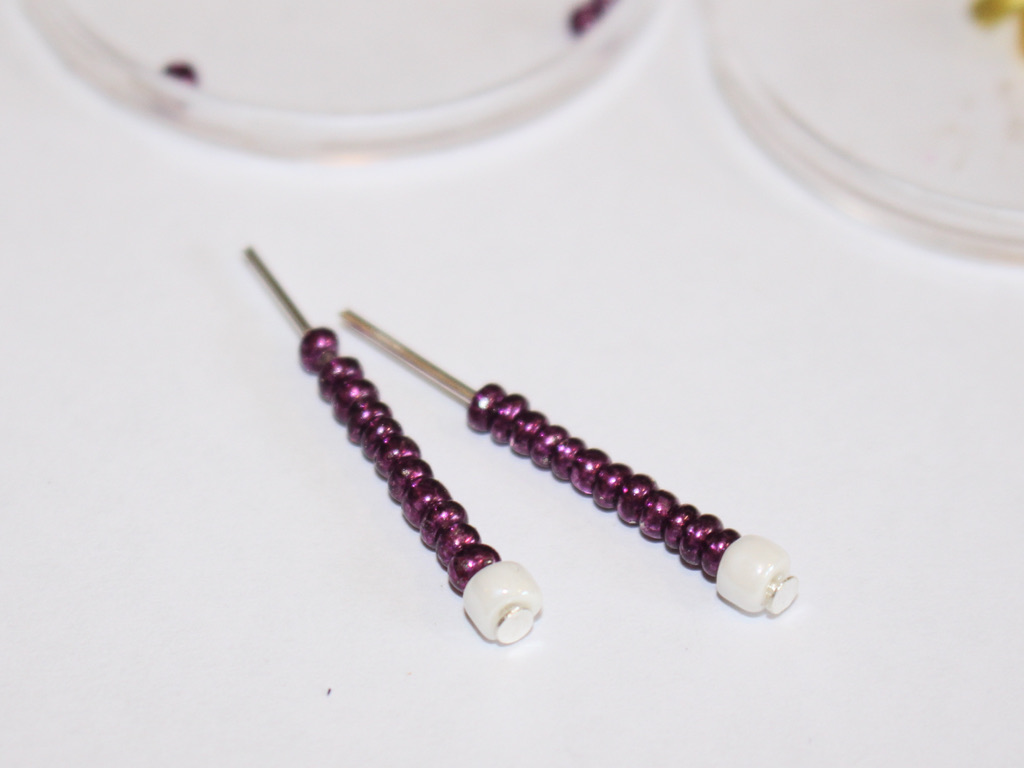
Two beaded arms 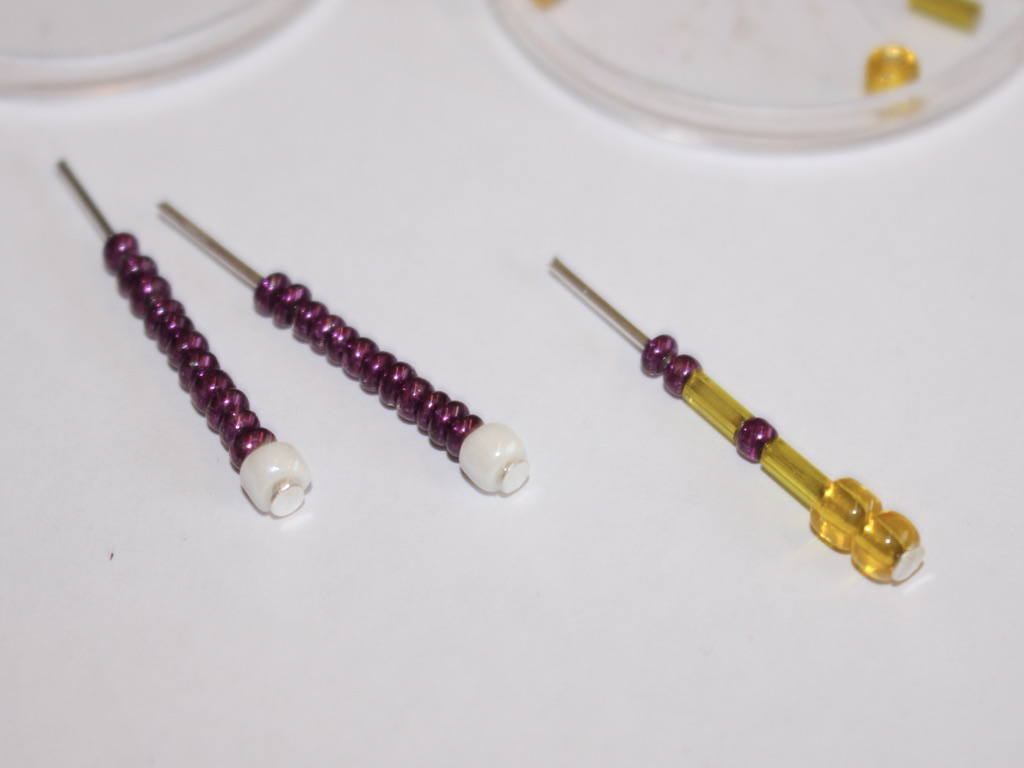
Two arms and one leg 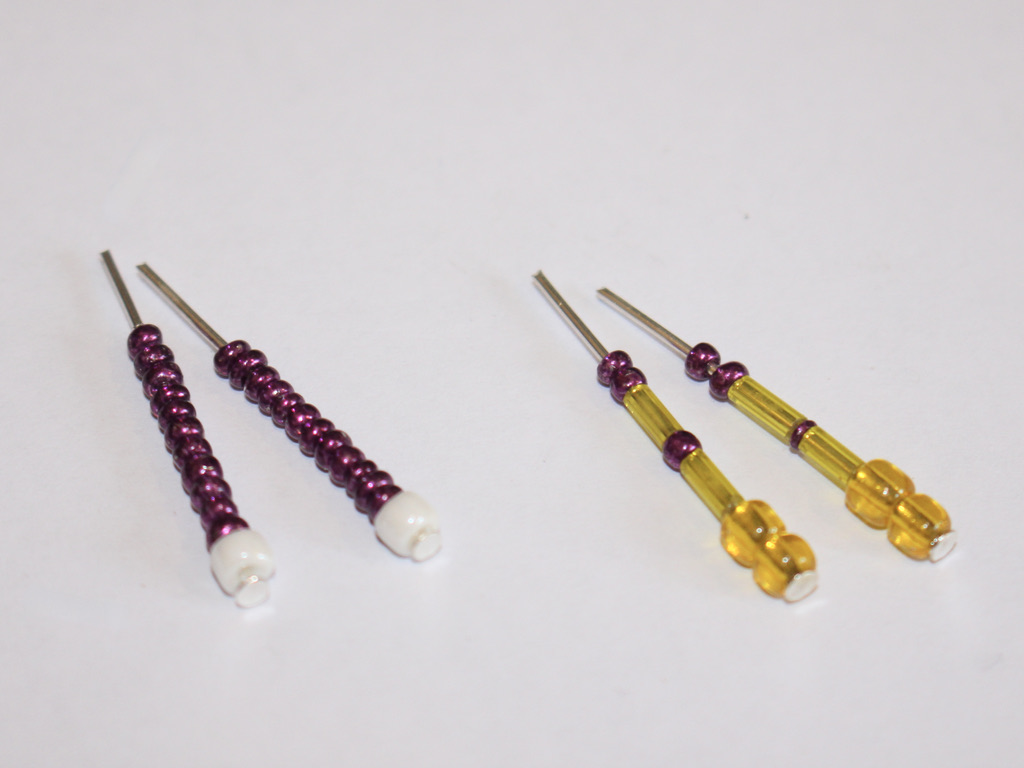
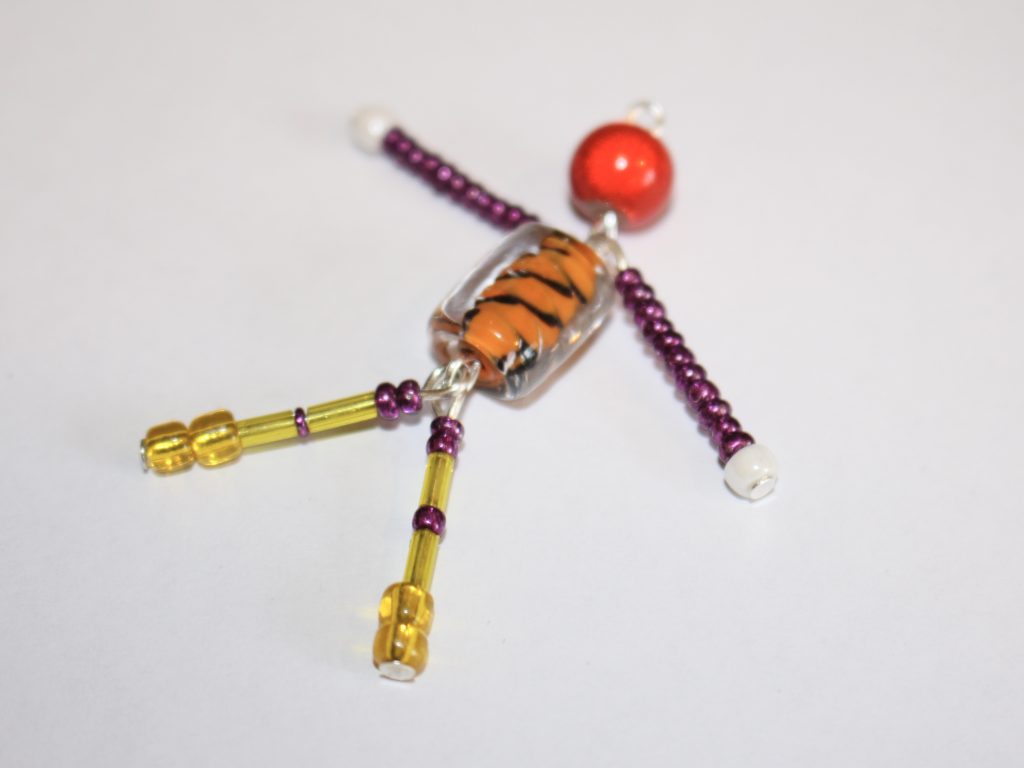
All arms and legs beaded 9: Once your pins are beaded, you can bend the ends to form right angles and create loops at the top to secure the beads.
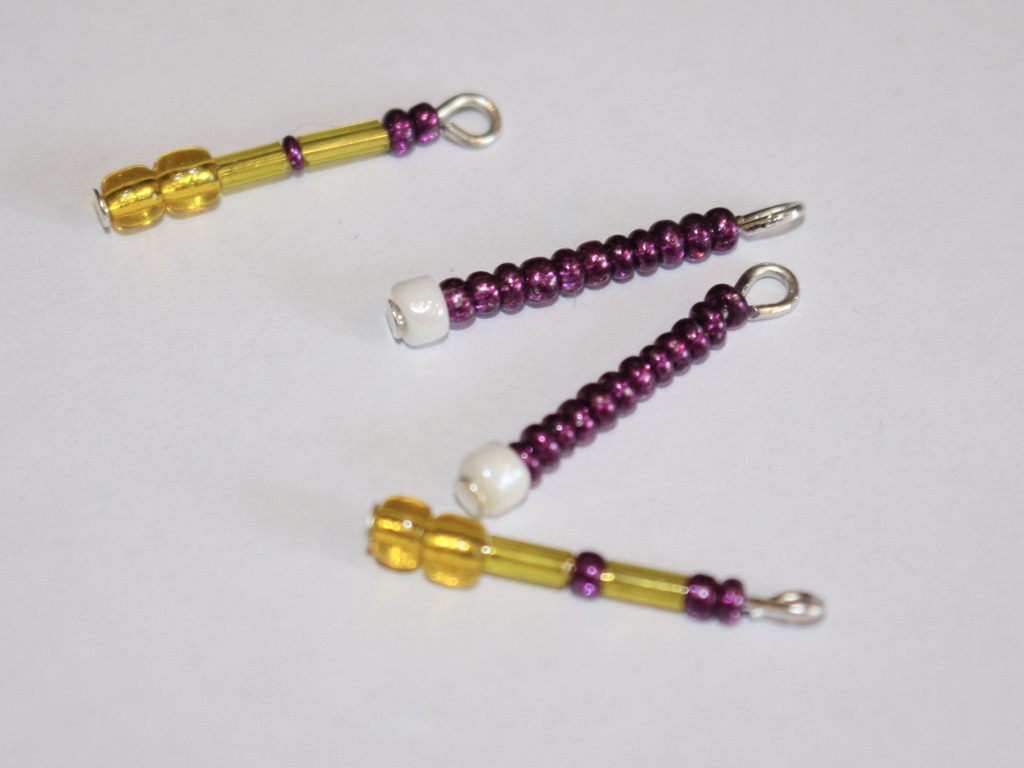
10: Add two of the leg pins to the bottom of the larger bead (the body), do this by slightly opening the loop at the bottom of the body bead and sliding the pins on. Close the loop to secure the legs in place.

11: Add the arms in the same manner to the loop at the top of the body bead. This time you will need to open and close the loops on the end of each arm so that you can attach the pins to either side of the head.

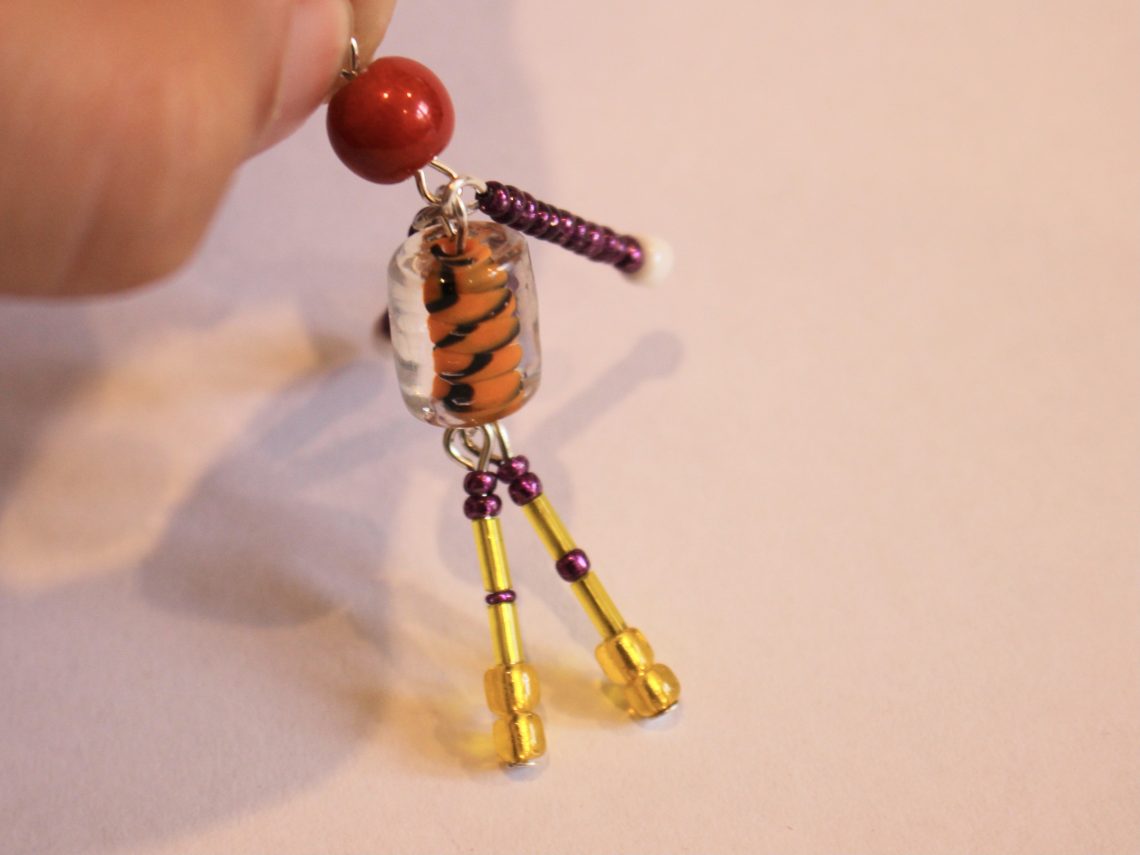
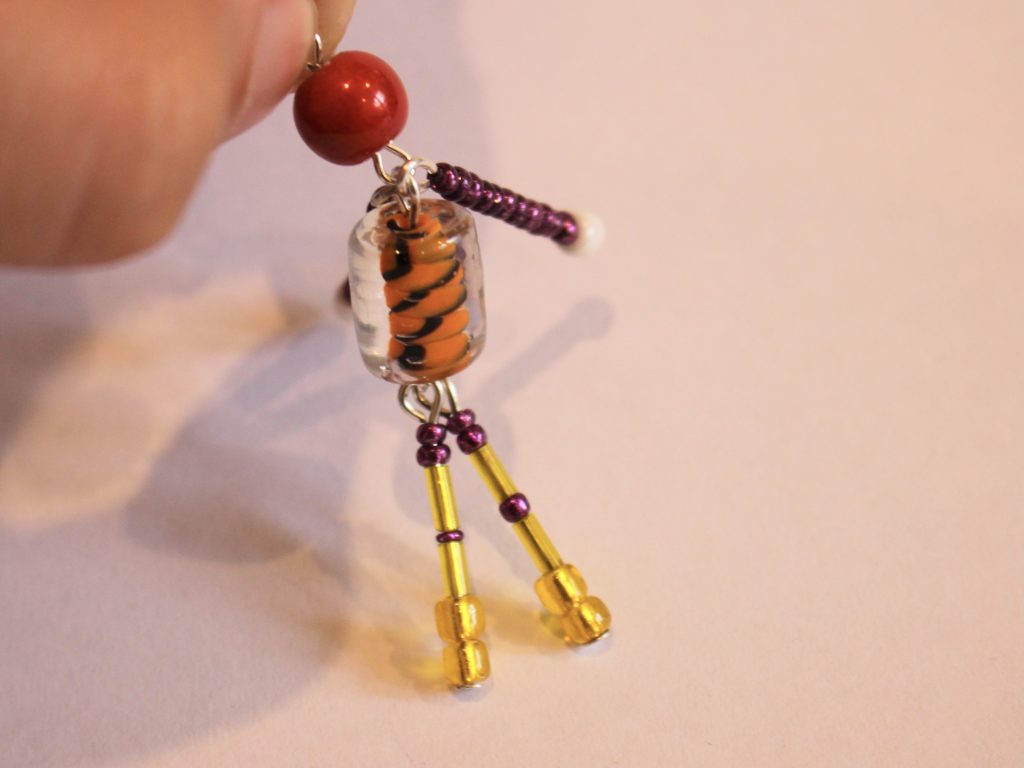
Once all your appendages are attached, your little bead person charm is finished and ready to go! Make another one to wear as a pair of earrings or attach one to a chain to make a cute necklace. Maybe it could also keep you company as a phone charm?!
-
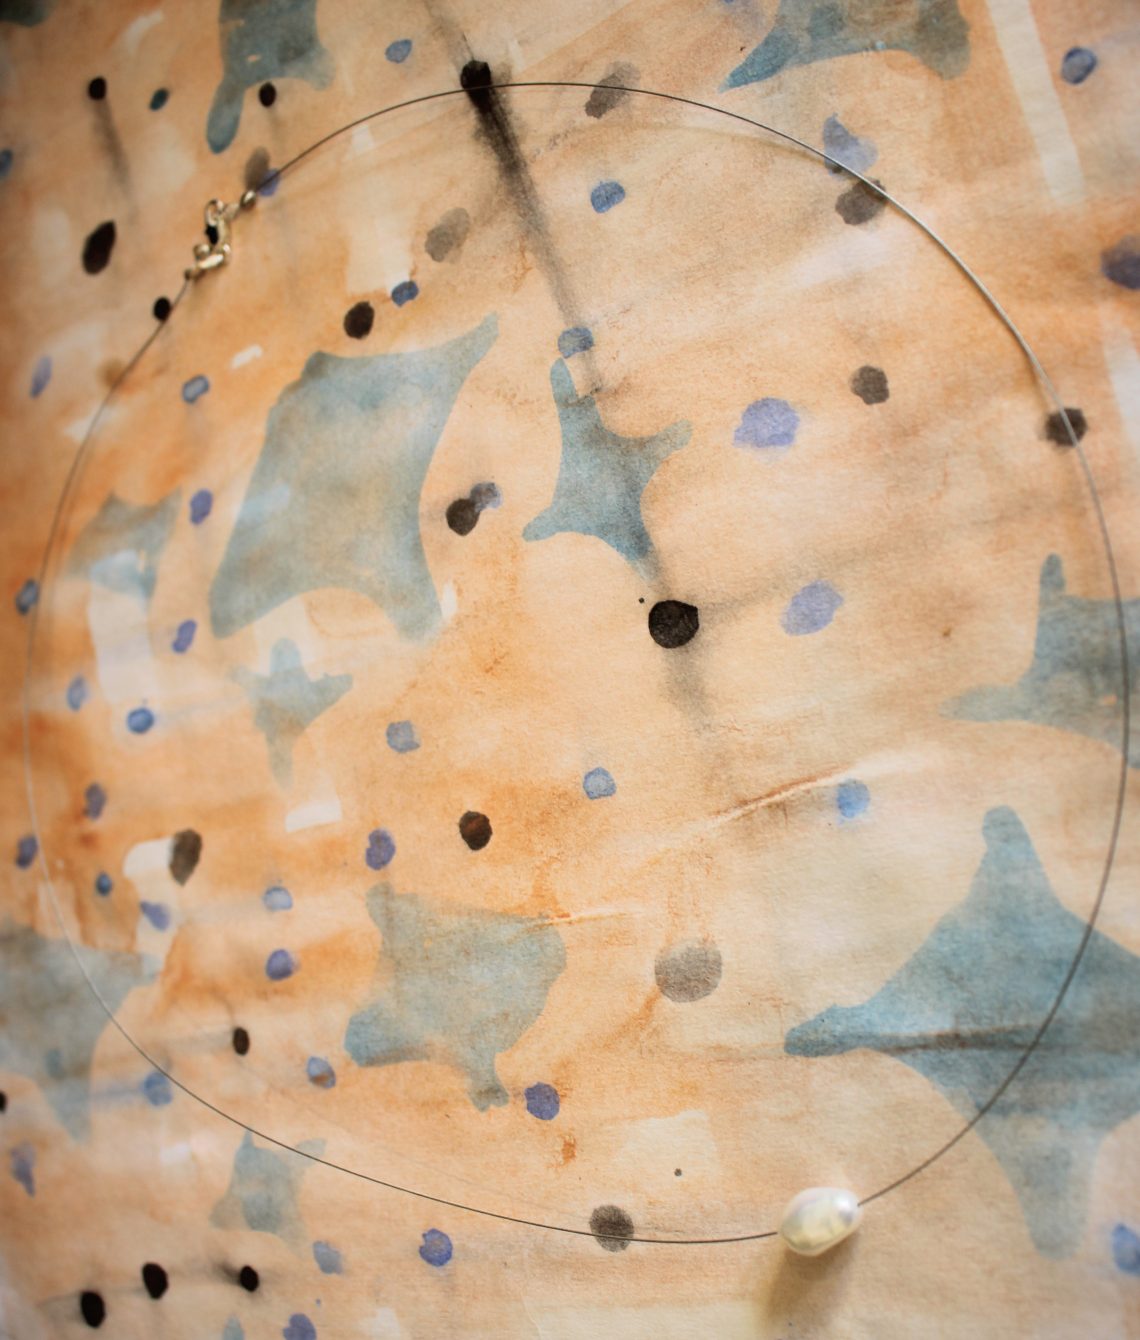
Here’s how to make a single floating pearl necklace!
I’ve made a floating pearl necklace before using multiple pearls, you can see the tutorial here. This design is a bit different. For this one you won’t need extra crimp beads, the pearl instead slides freely on the tiger tail wire! I also added some crimp covers on this version so that the trimmed tigertail ends don’t scratch your neck! Please note that this tutorial contains affiliate links.
You’ll need these tools and materials to make this floating pearl necklace:
1: Pliers. I used my cutting pliers, flat nose pliers and round nose pliers for this floating pearl necklace.
Cutting pliers (left), Round nose pliers (middle) and flat nose pliers (right) 2: Tiger tail wire. Cut to your desired length, I made mine a bit longer than I usually like, but you can check your length by holding the wire loosely around your neck or measuring the wire against the length of your fave necklace and adding about 3cm extra.

3: Two crimp beads.

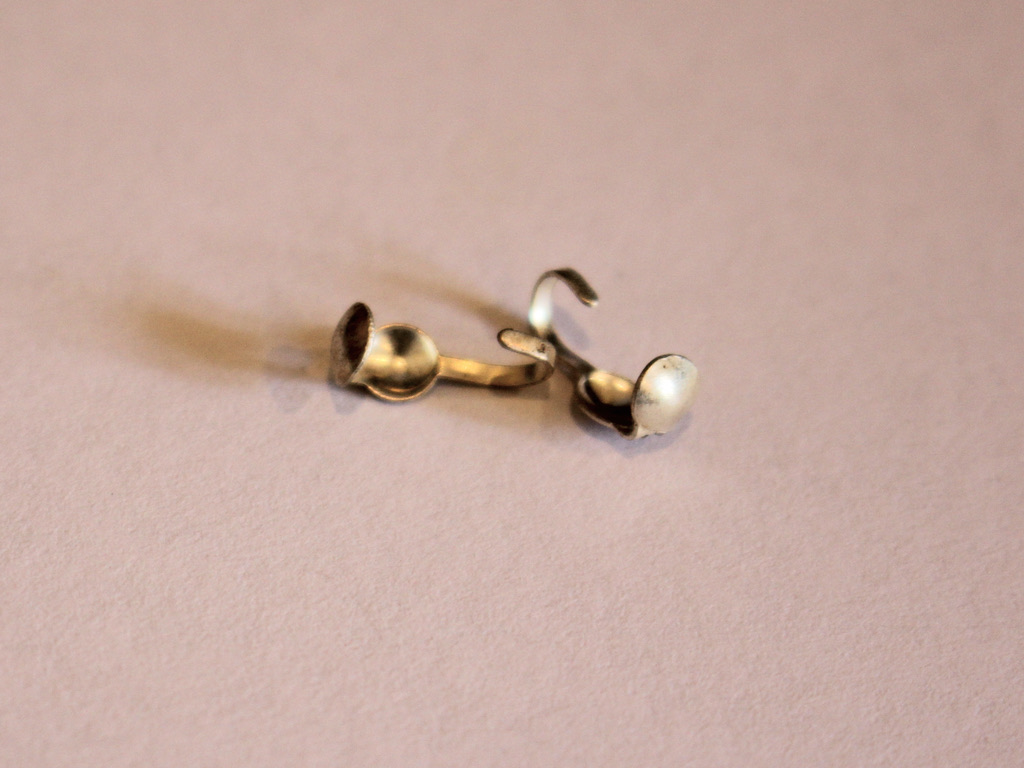
4: Two crimp cover findings.
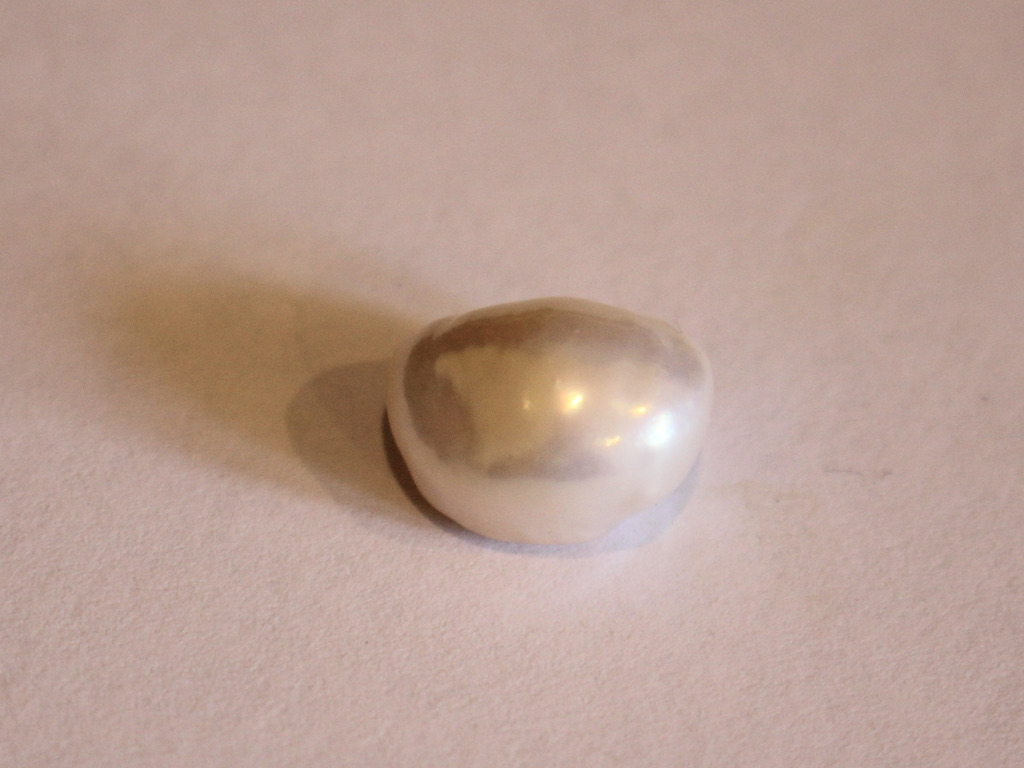
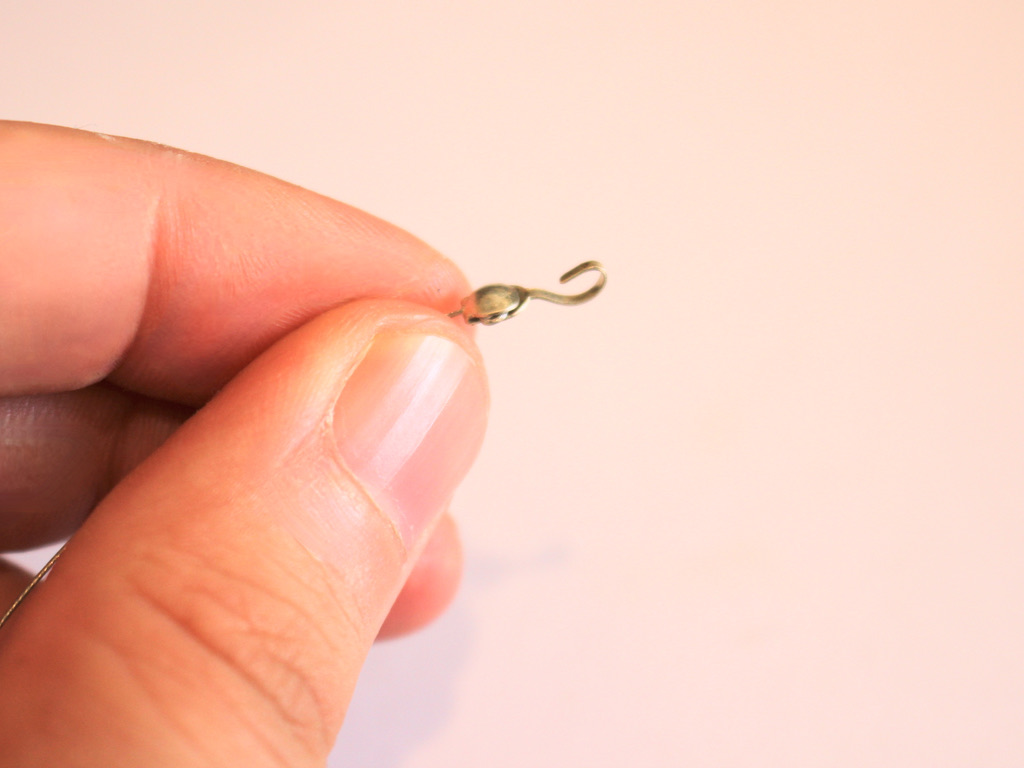
5: A pearl bead. I used this oval shaped freshwater pearl bead.
6: A clasp and extra jump ring.


Follow these steps to make your floating pearl necklace:
1: Add a crimp bead to one end of the wire.
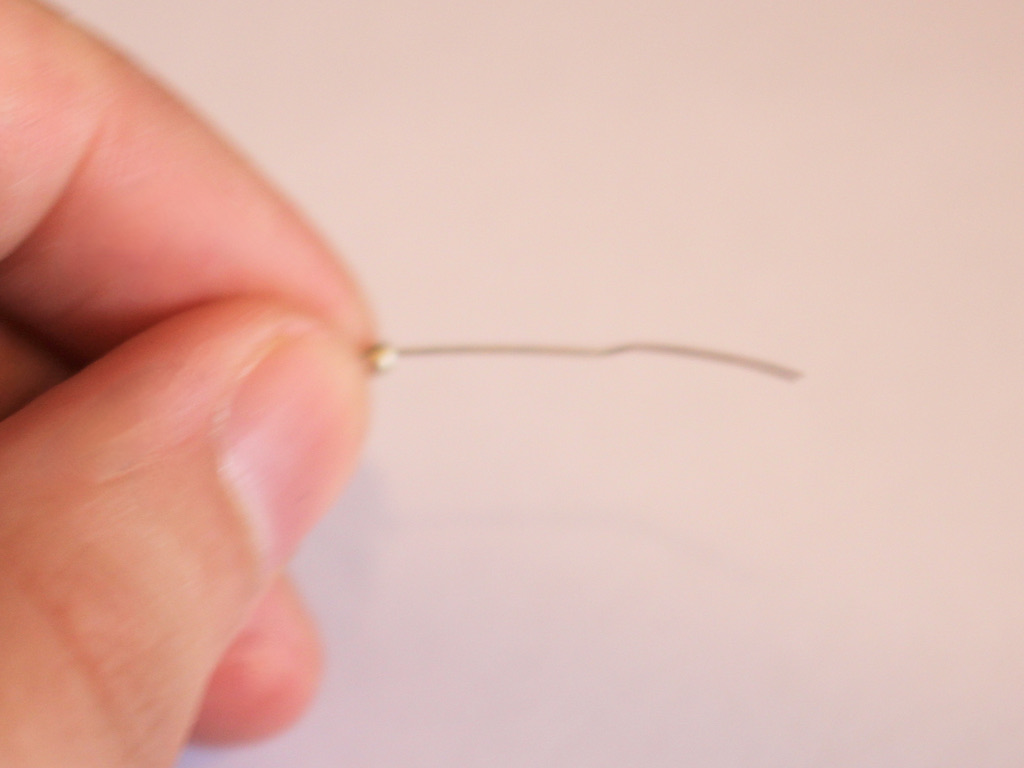
2: Loop the end of the wire back through the crimp to create a loop.

3: Pull the loop tight around the crimp bead.

4: Squash the crimp bead using flat nose pliers and then trim the excess wire at the end.


5: Add a crimp cover from the other end of the wire, pulling it so that it sits around the squashed crimp bead.

6: Close the crimp cover around the squashed crimp bead using the flat nose pliers.
7: Add the pearl to the wire.

8: Add the second crimp cover to the wire and let it fall out of the way.

9: Add the second crimp bead to the wire and repeat the loop that you did in steps 2-4.


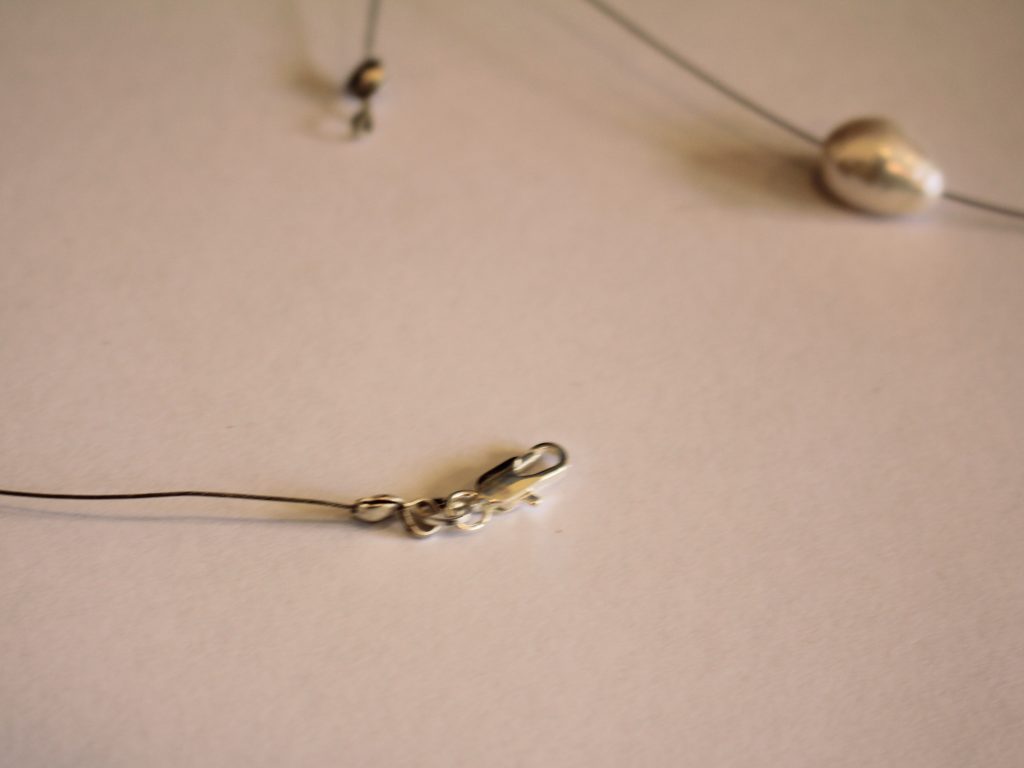
This is before trimming the excess wire. I suggest trimming the wire before closing the crimp cover. 10: Pull the crimp cover back up the wire and fold it around the crimp bead end, close it carefully using the flat nose pliers.

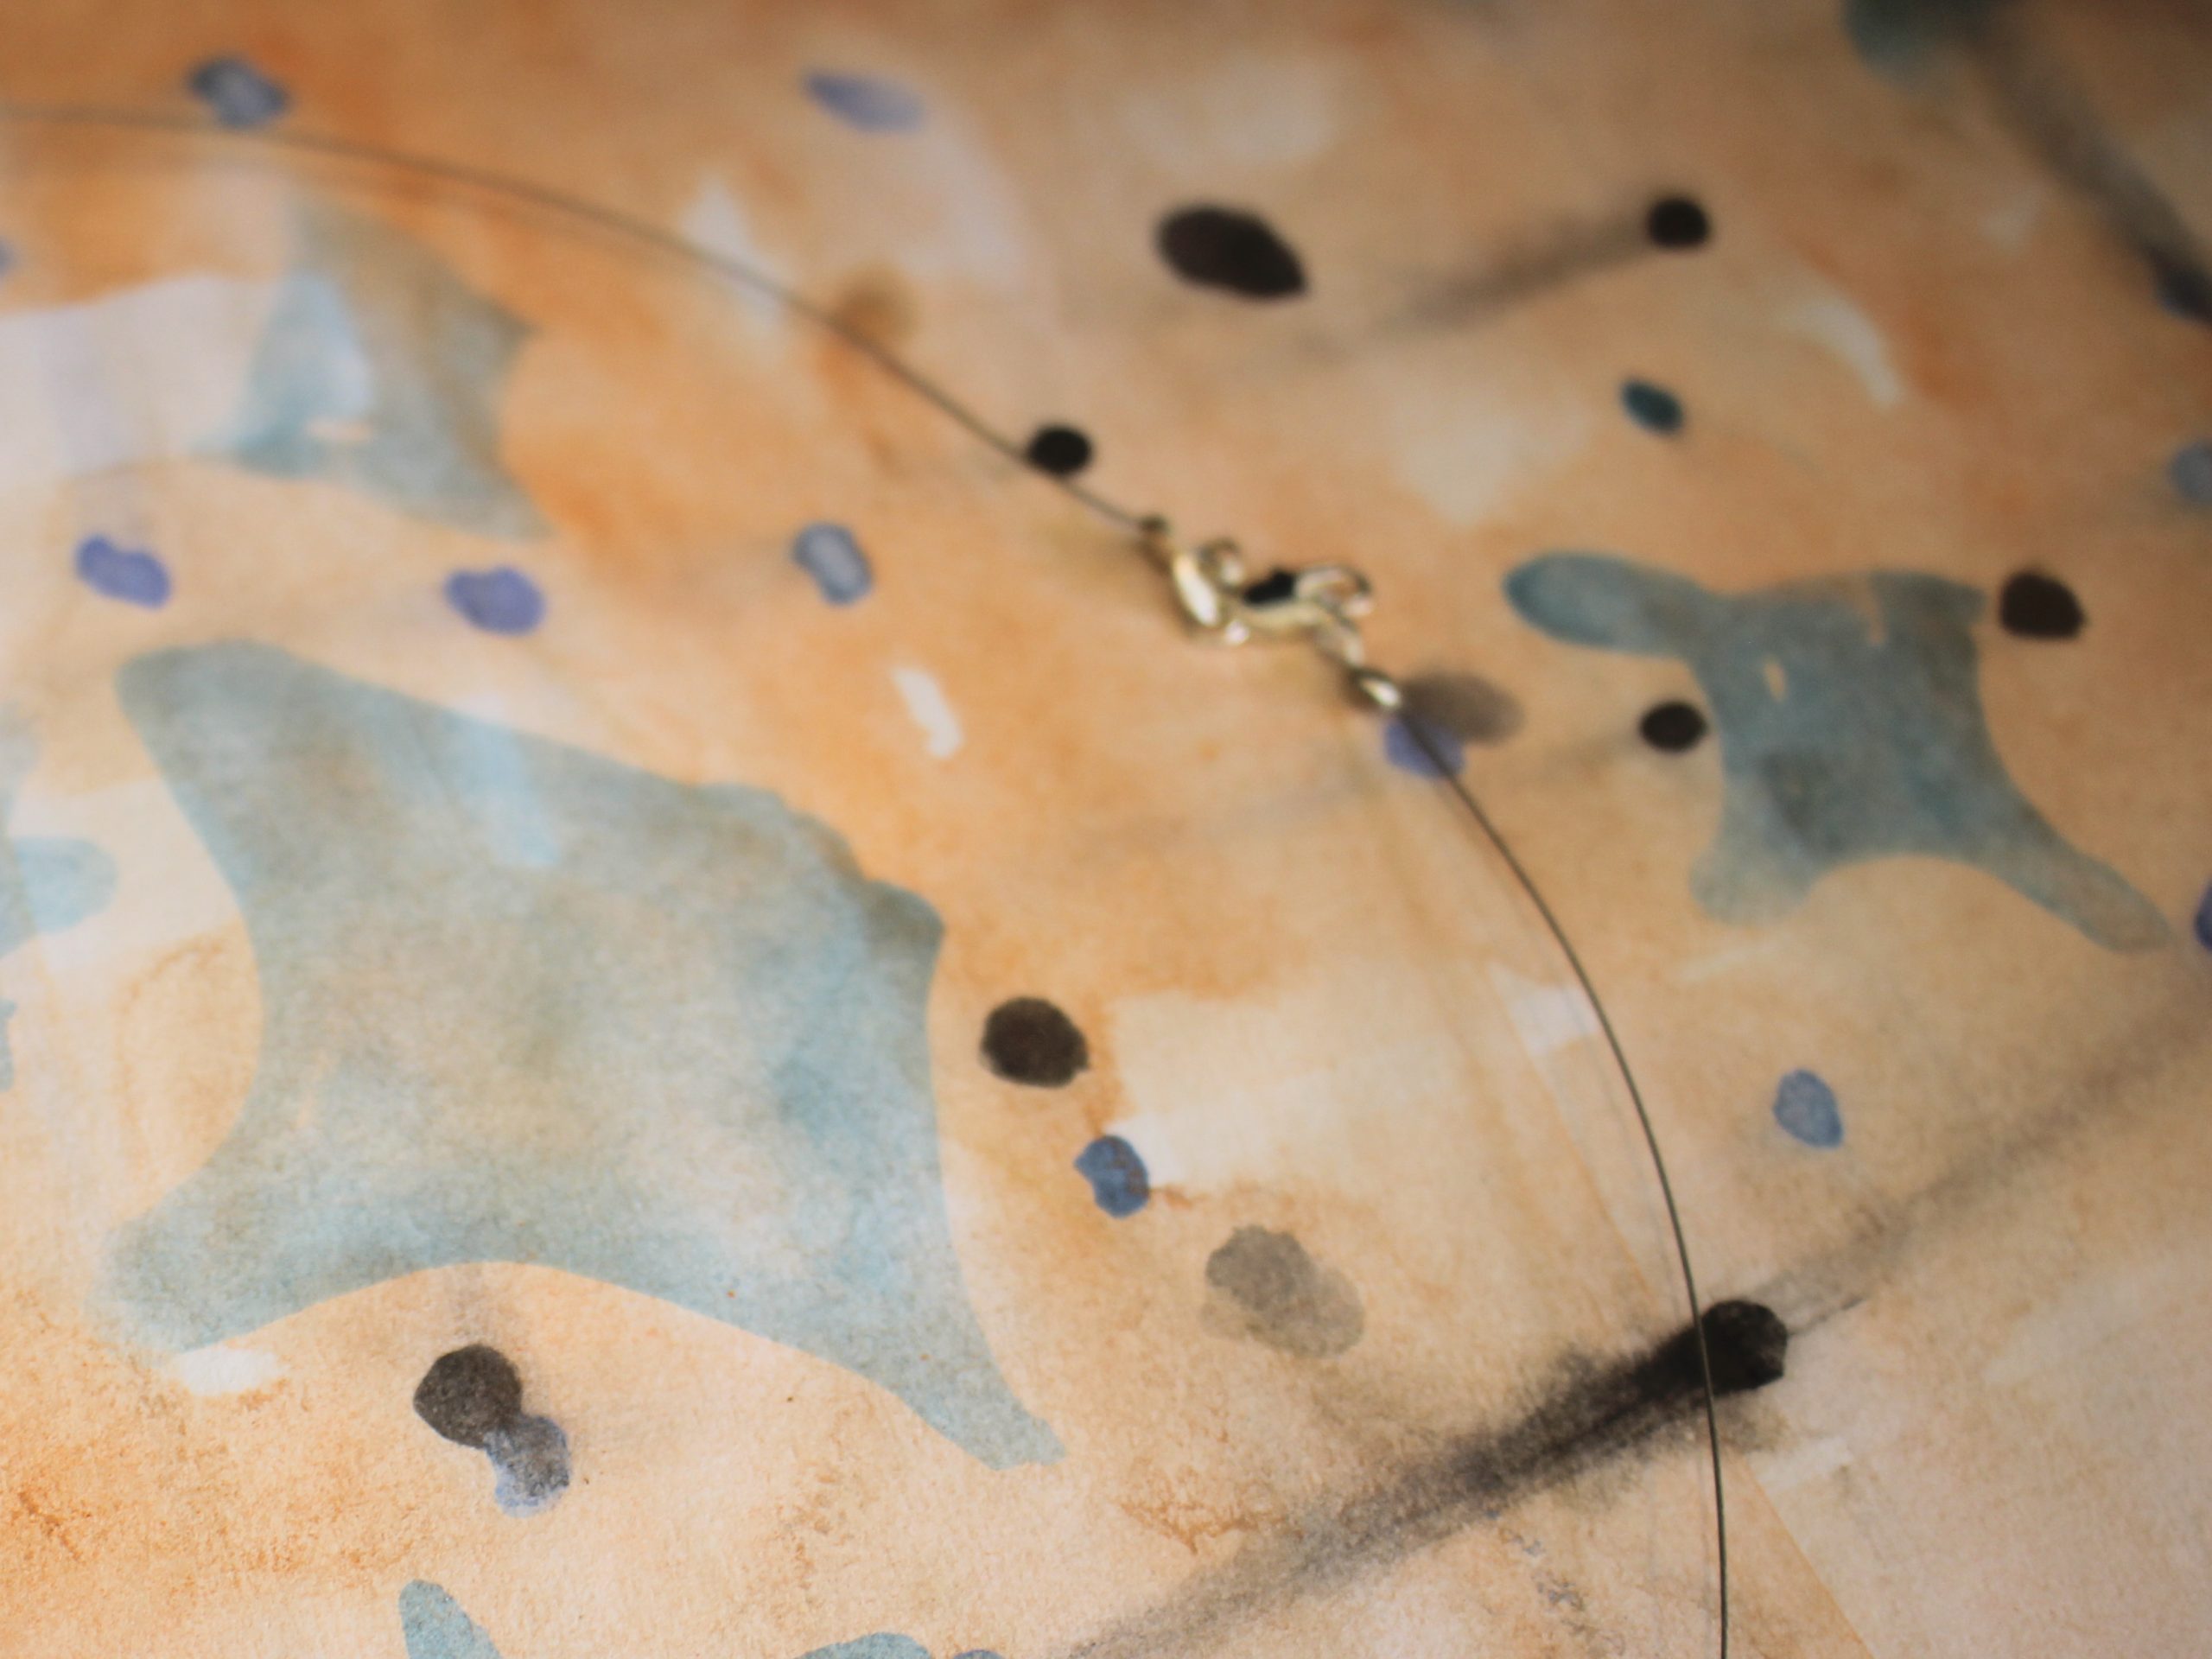
11: Use the loops at the end of the crimp covers to attach the clasp to one side of the necklace and the jump ring to the other side. Shape and close the crimp cover loops using the round nose pliers.

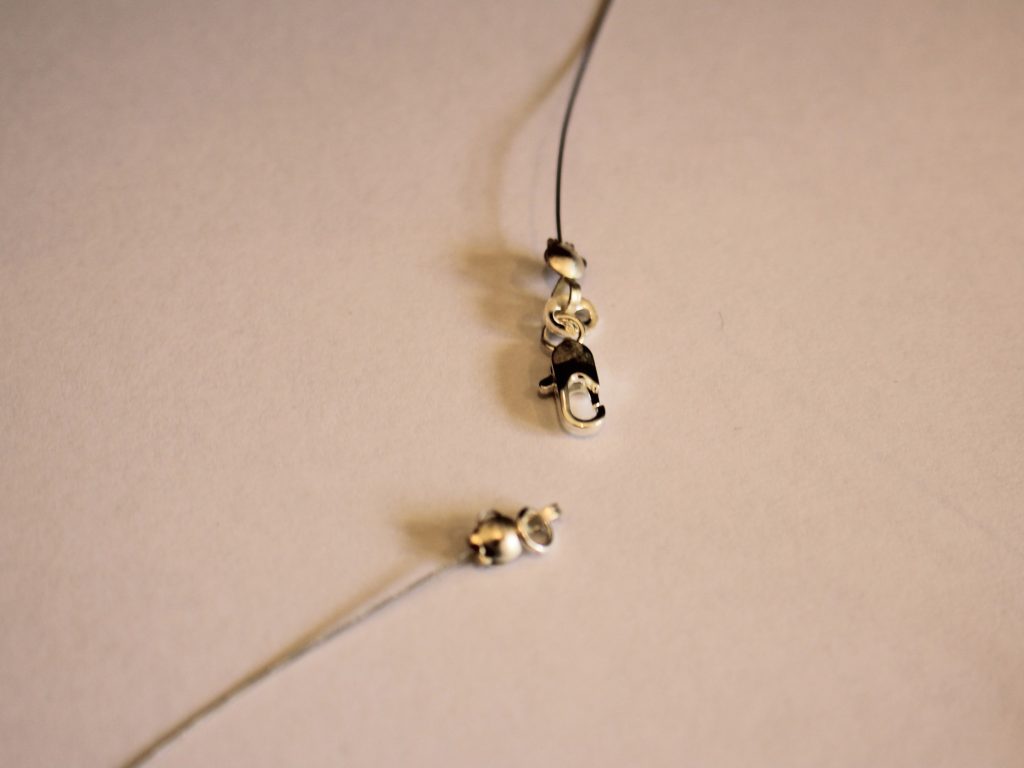

Once the clasp has been attached, your floating pearl necklace is ready to wear! Would you wear this piece as a simple statement or layered with other pieces?


Here are some other pearl necklace designs you can make:
-
Here’s another sparkly shoe chain tutorial for you…
Shoe jewellery is pretty fun! Here’s how to make a sparkly decoration for your fave shoes using some string and some rhinestone embellished beads. I made this one long enough that you could also clip the ends together so you can wear it around boots. Please note that this tutorial contains affiliate links.
You’ll need these tools and materials to make this shoe chain:
1: A piece of string about 35-40cm long.

2: Two large lobster clasps.

3: Some beads. I used these second-hand rhinestone embellished metal beads.

4: Scissors for trimming the string.

5: Some superglue.

Follow these steps to make your shoe chain using string and beads:
1: Add one of the lobster clasps to one end of the string and tie a knot.


2: Tie two more knots, leaving the end for now.

3: Add the beads to the string.
4: Add the second lobster clasp to the other end of the string and tie three knots as you did in steps 1 and 2.

5: Trim the ends of the string using your scissors.

6: Add a dab of superglue to the knots to secure them then set it aside to dry.
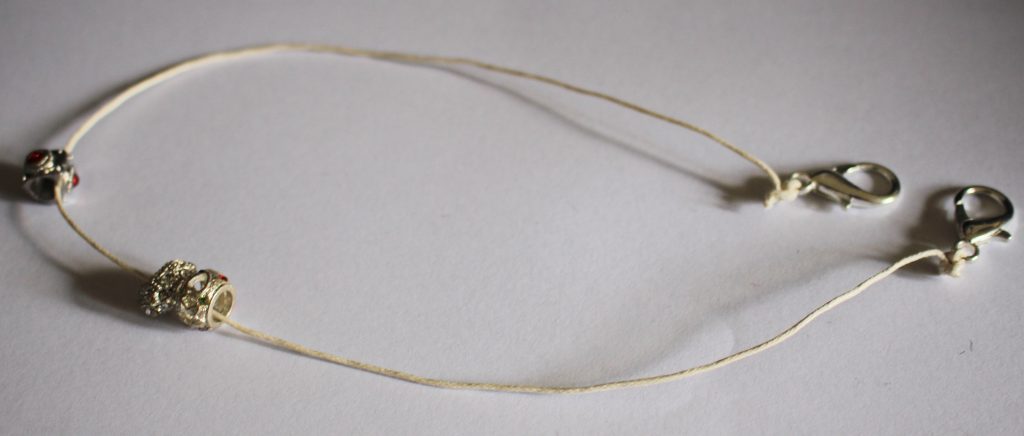
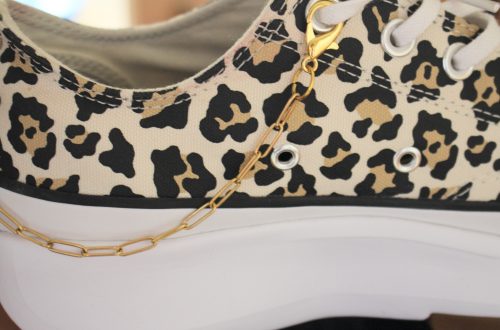
Now your shoe chain is finished. Here it is clipped to some low top sneakers, but you could experiment and add them to high-tops or boots!