-
Jingle Jangle How to Make A Bangle!
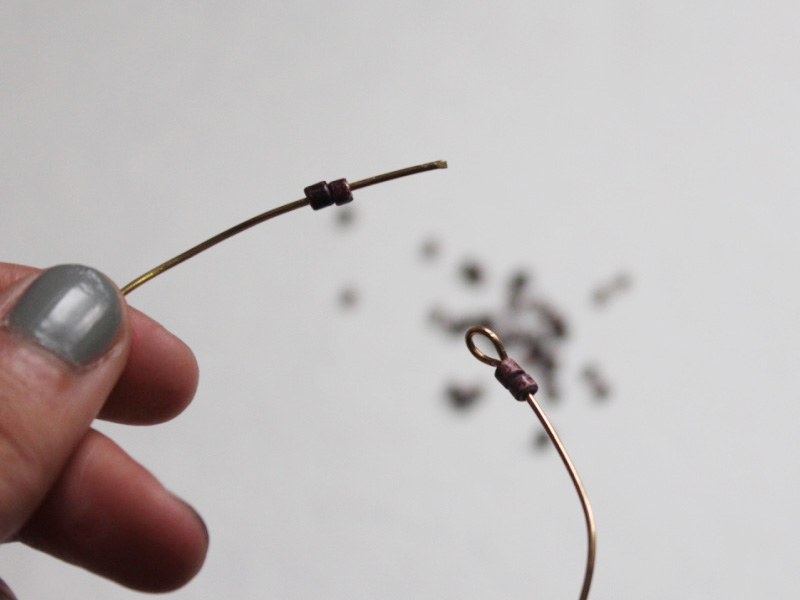
In this tutorial you can learn how to make your own beaded bangle. This design is pretty easy to put together. All you need is some 18 gauge jewelry wire, your pliers and some beads. This pattern is a bit of a blank canvas… once you’ve made one you won’t be able to stop! Try making this bangle design with different beads and charms to make it your own. I’d also love to see your creations!
You will need the following tools and materials to make this bangle:
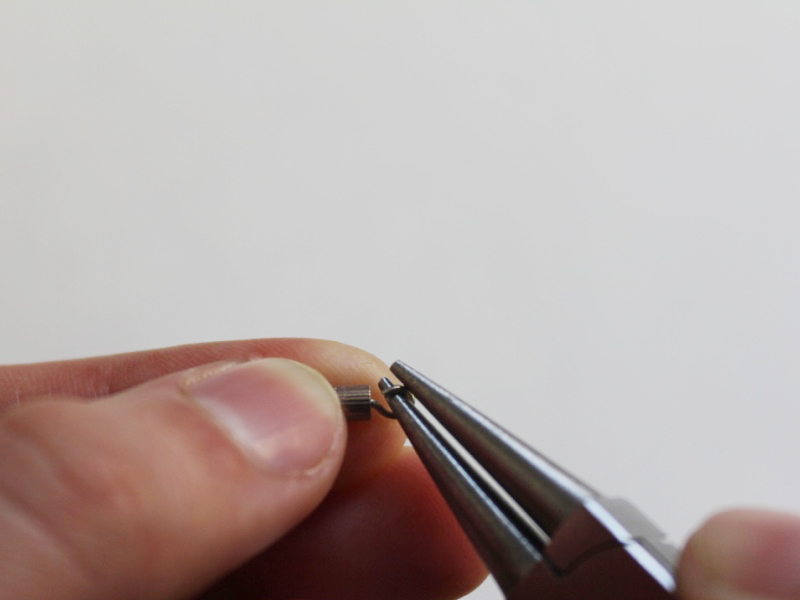
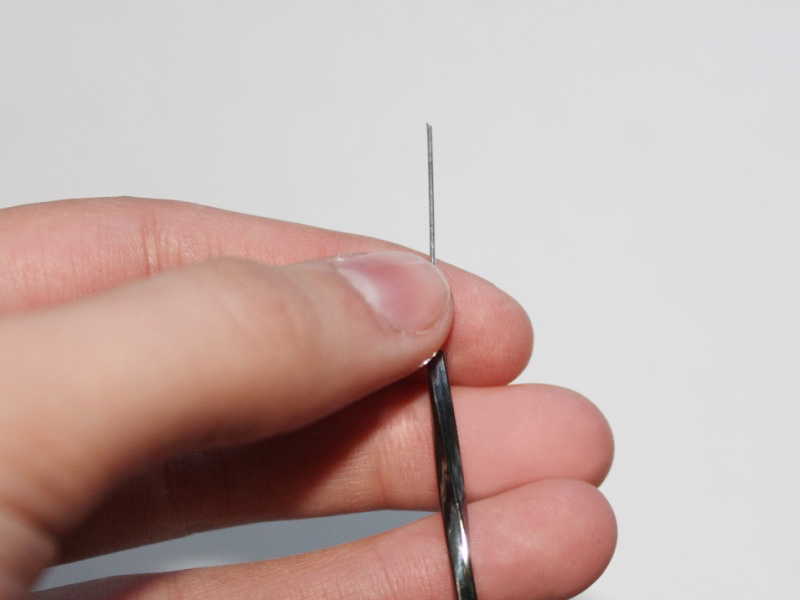
1: Pliers
You won’t need the flat nose pliers to make this bangle but do make sure you have your cutting pliers and round nose pliers handy!


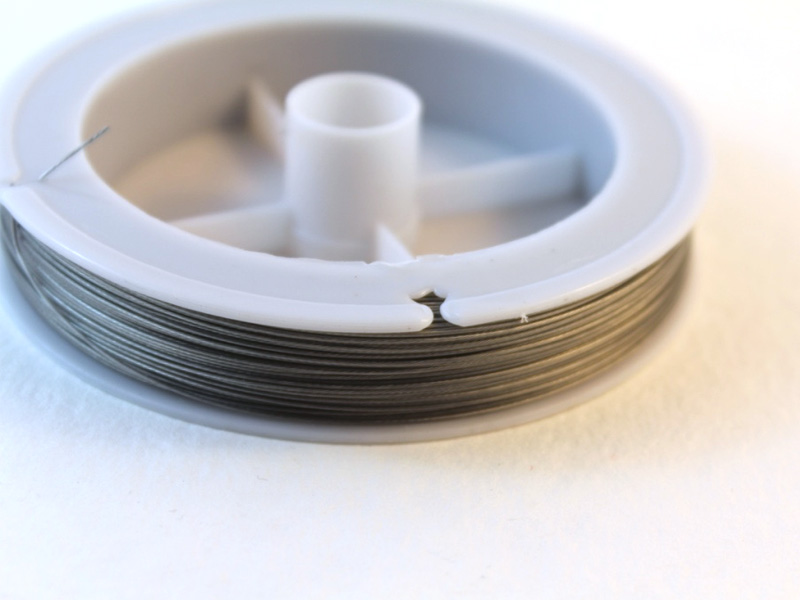
2: Wire.
I used some 18 gauge gold colored wire for this bangle.

3: Two head pins.
I used some antique brass colored head pins for this design.
4: Beads for the bangle.
I used these yellow glass beads with some purple ceramic beads.


5: Beads for the charms.
I used this large pink(ish) glass bead and three yellow glass beads to create my charms.


The Steps:
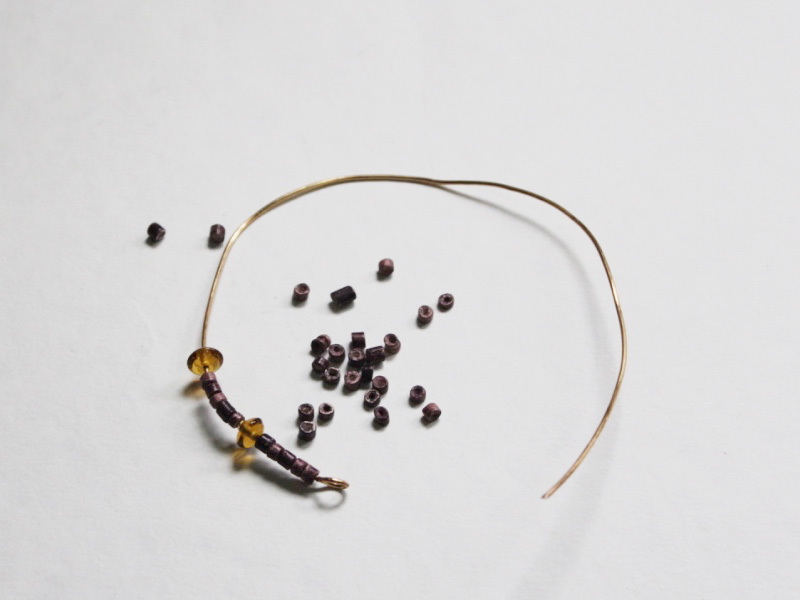
1: Measure the wire before you trim it. I measured how much I need by wrapping my wire loosely around my wrist. Make sure your wire is long enough to allow your hand to fit over your hand. I cut my wire to approximately 24cm (9.5 inches)
2: Cut the wire to your desired length using the cutting pliers.


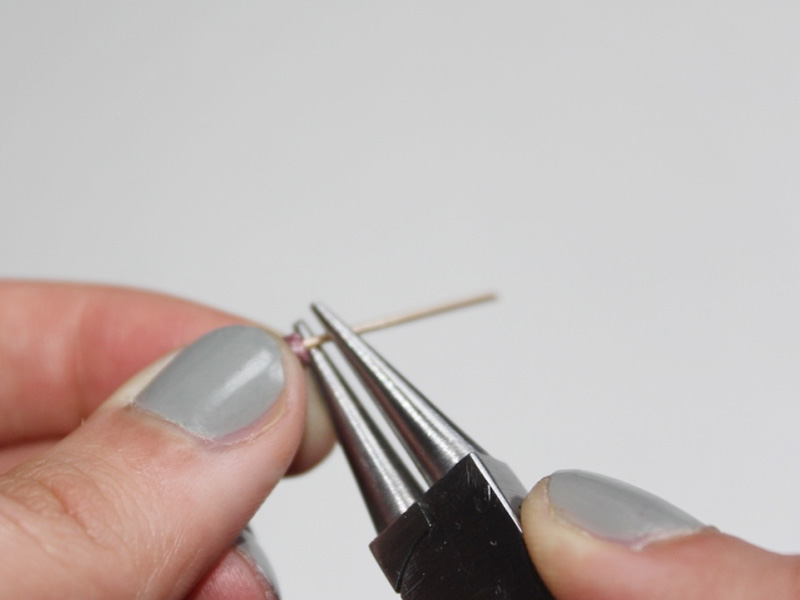
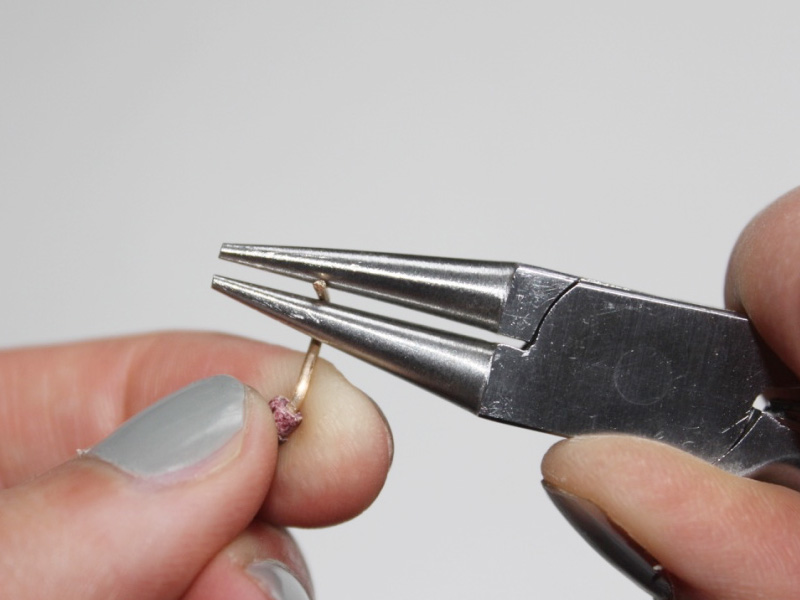
3: Once you have cut your wire, use the round nose pliers to make a loop at one end of the wire.


4: After the loop has been formed you can start adding your beads.
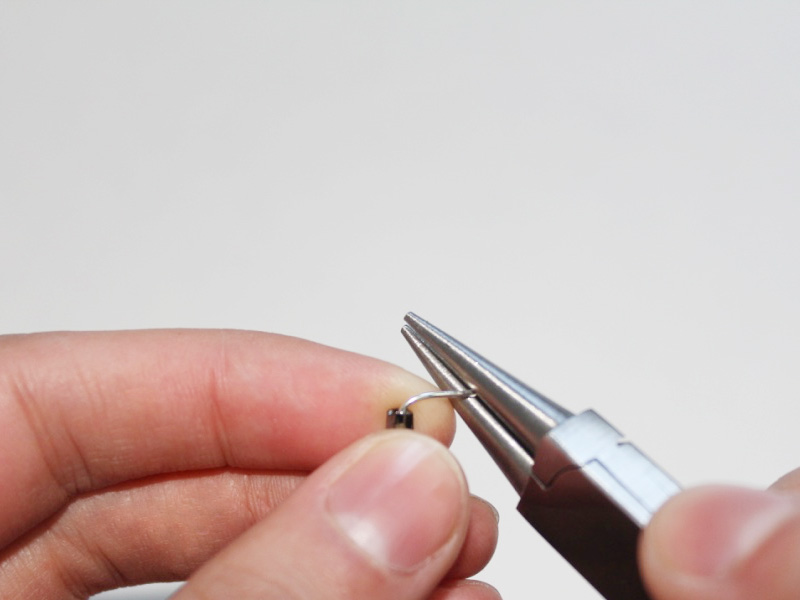
5: Once the beading is complete, use the round nose pliers and bend the end of the wire at a right angle to the beads.
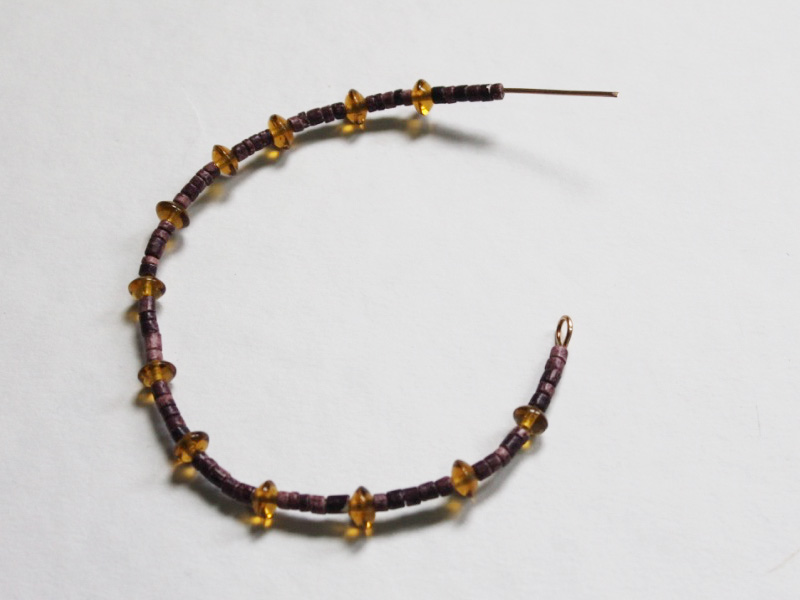
6: After you have bent the wire, use the cutting pliers to trim the end so that it is approximately 1cm (0.4 inches) long.

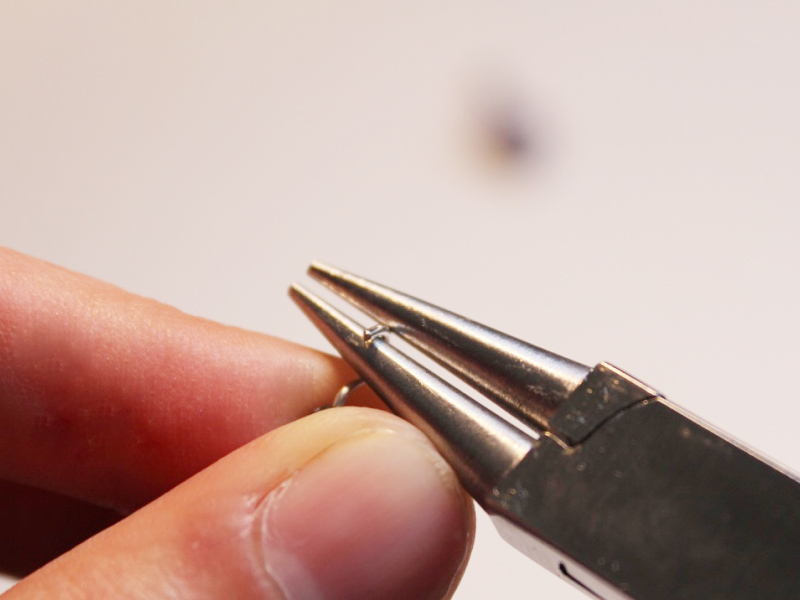
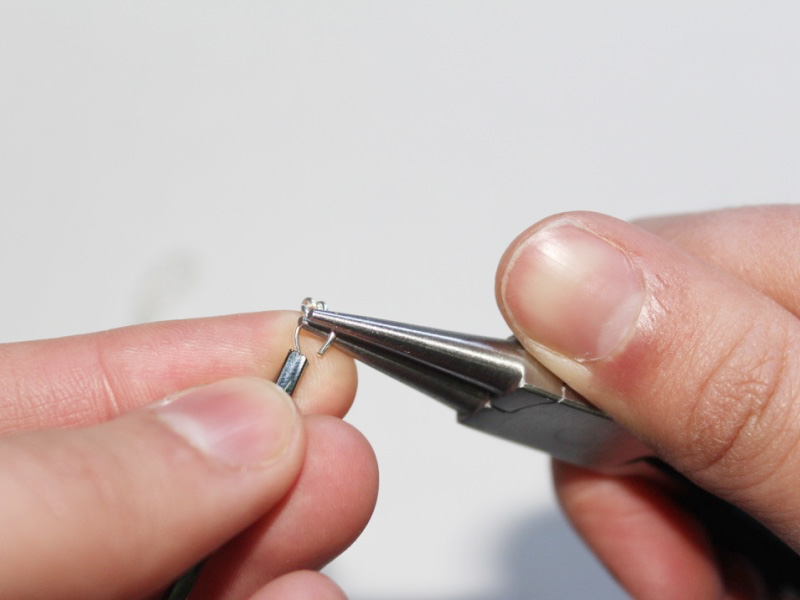
7: Once the end of the wire has been trimmed, use the round nose pliers to form a loop, leaving it slightly open.
8: Slide the open end into the loop at the other end of the wire. Once the open loop is in place, close it using the round nose pliers.


9: Now you’ve got a fully formed bangle! You can leave it here, but for this design I decided to add a couple of extra bead charms as well.

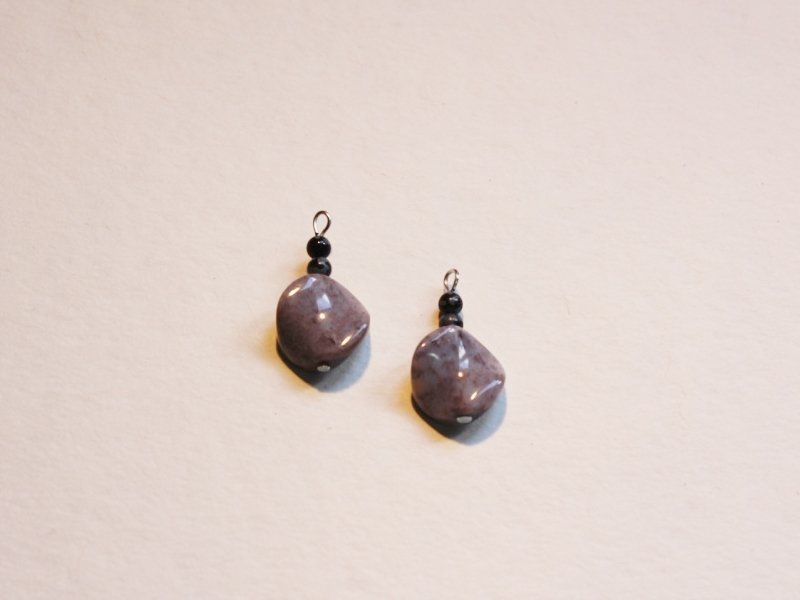
10: Add your chosen charm beads to the two head pins.

11. I used some shorter head pins in this design so there was no need to trim them before forming the loop. Bend the pin at a right angle to the beads using the round nose pliers. Make sure you repeat this for both charms.

12: Use the round nose pliers again to form a loop on the end of each pin.


13: Open each loop slightly and then slide both charms onto one of the looped ends of the bangle.
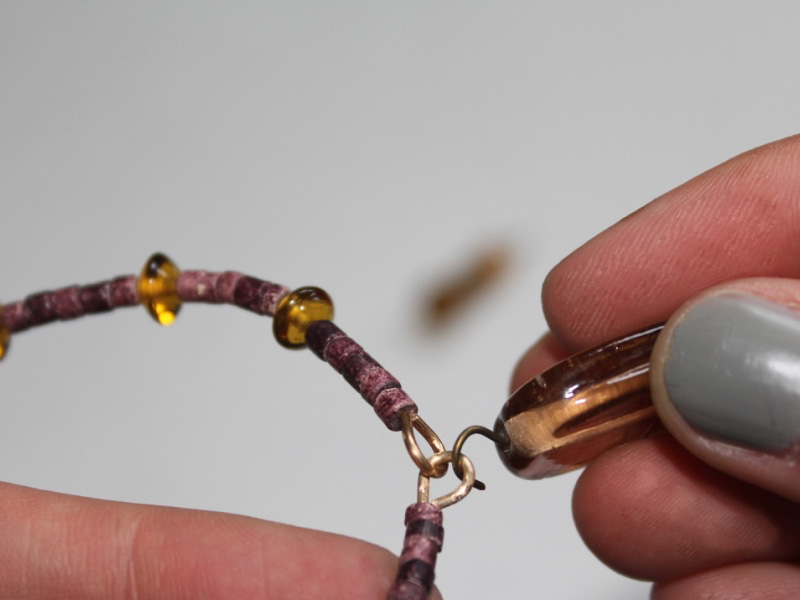
14: Use the pliers to close the charm loops again and secure them into place.

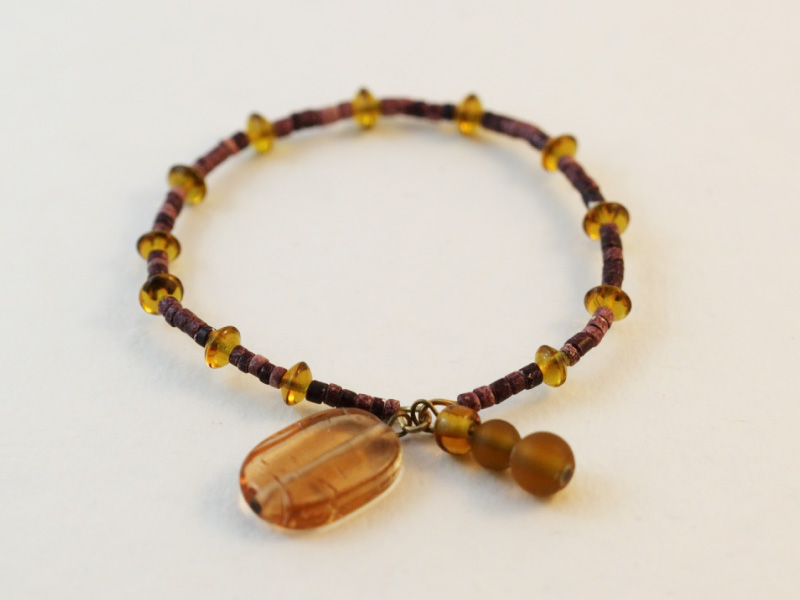
15: Once the charms are in place you’re finished! Pop it on and head out on your way. Imagine a stack of these beauties on your wrists… I think it would look pretty spectacular!
-
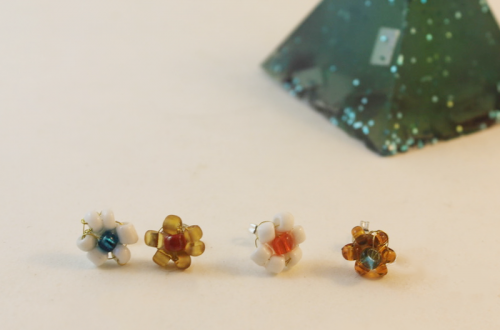
What do I do with these things? Here’s How to Make Earrings Using Charm Connectors
I’ve already showed you how you can use charm connectors to make a multi-strand bracelet, but I thought I would show you how to use them to make some pretty earrings as well! I like using charm connectors because they make simple pieces appear more intricate and complicated. So here we go… check out these steps to make your own cute earrings using charm connectors.
You will need the following tools and materials to make these earrings:
1: Pliers.
To make these earrings you will need to use round nose pliers, flat nose pliers and cutting pliers.

2: Two charm connectors.

3: Two head pins.

4: Two pieces of chain.
These pieces are each 9cm (3.5 inches) long.

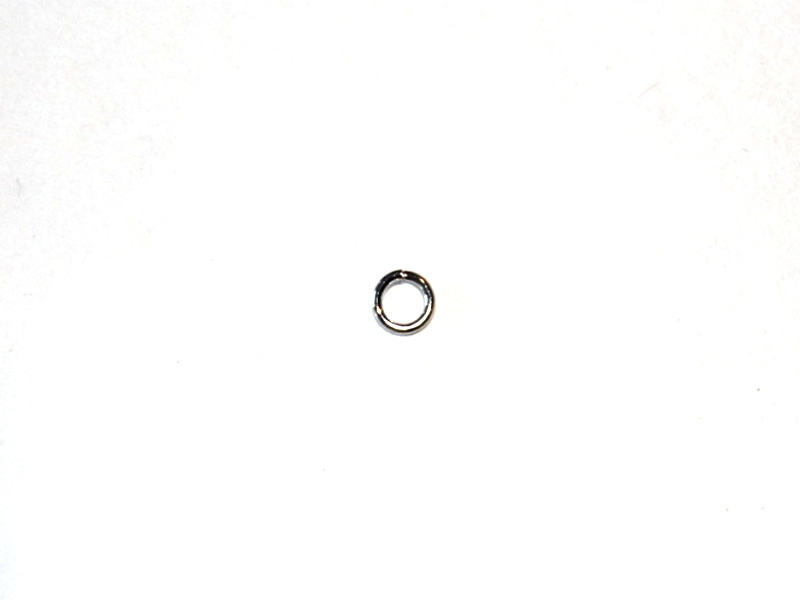
5: Four jump rings.

6: Two earring hooks.

7: Beads of your choice.
For this design I used two purple jasper beads and four round snowflake obsidian beads (unfortunately the spots don’t show up very well in this image but they are very pretty).


The Steps:
1: Start by threading the beads onto each of the head pins.

2: Once the beads have been threaded, use the round nose pliers to bend the remaining pin at a right angle to the beads.


3. Trim the pins to approximately 1cm (0.4 inches) from the top of the beads using the cutting pliers. Be careful and try to hold the pin on either side of the pliers to prevent the trimmed end from flying away!


4. Use the round nose pliers to create a loop at the end of the head pins and secure the beads in place. Repeat this step for both of your beaded head pins.

5. Open each loop slightly and slide one head pin onto the center loop of each charm connector.


6. Use the round nose pliers again to close the loop and secure the pin onto the charm connector.

7. Open a jump ring using the round nose pliers (and the flat nose pliers if it is a strong one) and slide it onto one of the loops on the charm connector.

8. Leaving the jump ring open, slide one end of a piece of chain onto the ring. Once the chain has been attached, close the jump ring again using the pliers.


9. Repeat steps 7 and 8 to secure the opposite end of the chain to the last loop on the charm connector.

10. Repeat steps 7 to 9 for the other earring charm.

11. Use the round nose pliers to open the loop on one earring hook.

12. Slide the completed charm onto the earring hook loop and then close again using the round nose pliers. Repeat steps 11 and 12 for the remaining earring.

13. Now your charm connector earrings are complete and ready to wear with flair!

Here are some more charm connector tutorials that you can try:
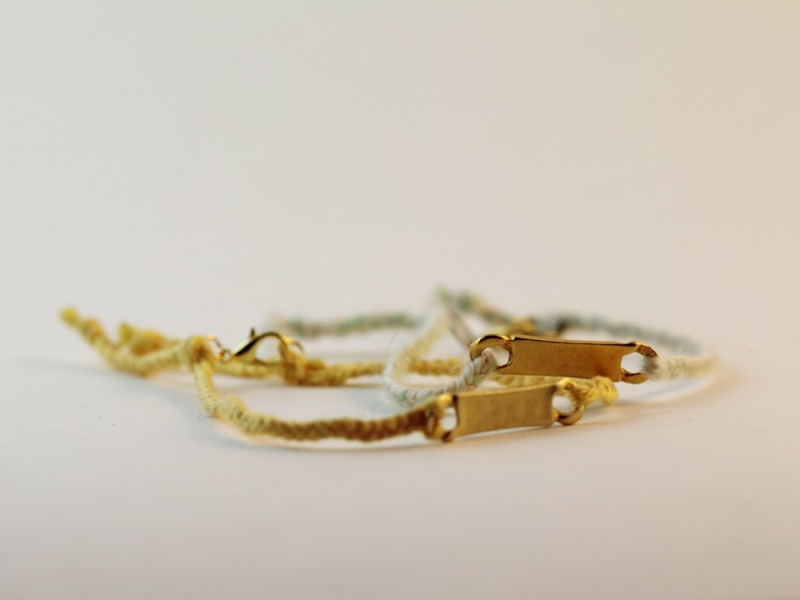
- A delicate charm connector anklet
- a beaded bangle featuring a charm connector
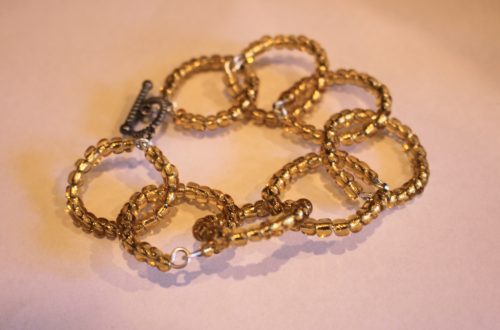
- a charm connector toggle bracelet
- a braided charm connector stack bracelet
- Using charm connectors to make a multi-strand bracelet
- A multi-strand charm connector choker
This article contains affiliate links
-
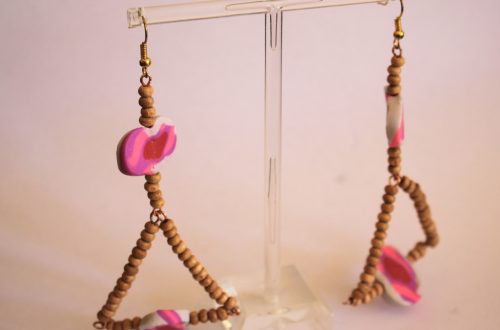
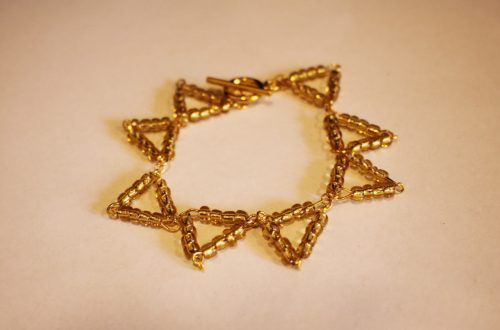
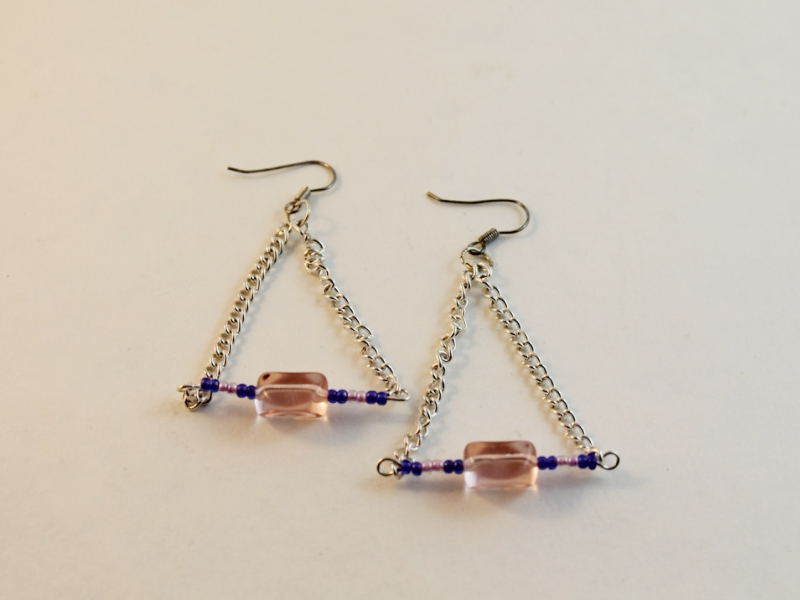
You’ll be jumping to make these cute little triangle Earrings
Want to get a bit more adventurous with your earring designs? Try making these triangle chain drop earrings. The process is simple but the results are incredible. All you need to make these elegant chain earrings is some jewelry chain, a couple of eye pins and some beads. Follow the step-by-step instructions below to learn how to make these earrings.
You will need the following tools and materials to make these earrings:
1.Pliers
To make these earrings you will need to use some round nose pliers, flat nose pliers and cutting pliers.
2. Four pieces of chain.Each of these pieces is 5cm (2 inches) long.

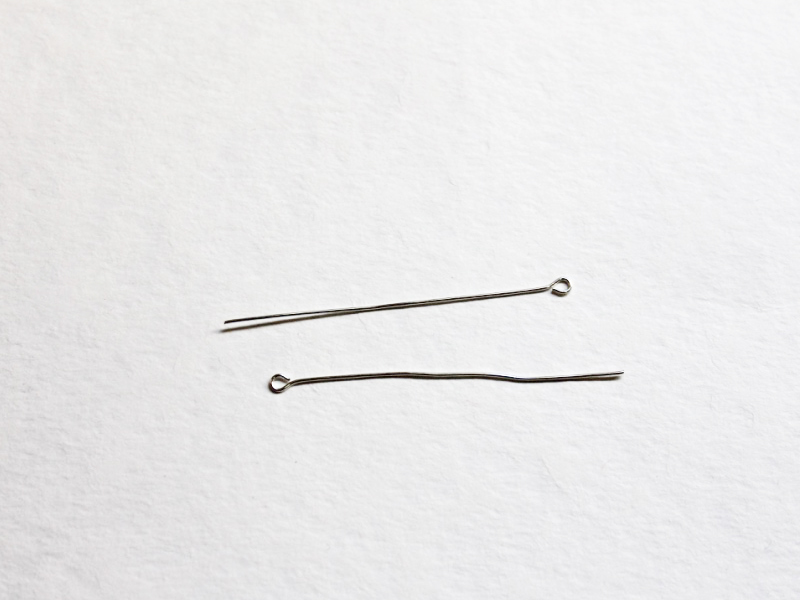
3. Two head pins.
4. Earring hooks.
5. Two jump rings.

6. Beads of your choice.
For this design I used two large pink glass beads and some pink and purple seed beads.


The Steps:
1.Thread your chosen beads onto each eye pin.


2. Using the round nose pliers, bend the top of the pin at a right angle to the beaded section.


3. Once the pins have been bent, use the cutting pliers to trim them so that the ends are approximately 1cm (0.4 inches) long. Be sure to hold the pin on either side of the pliers to that the end doesn’t go flying. Repeat this step for both pins.

4. Use the round nose pliers to form a loop on the straight end of each pin to secure the beads in place.


5. Open each loop slightly using the round nose pliers.

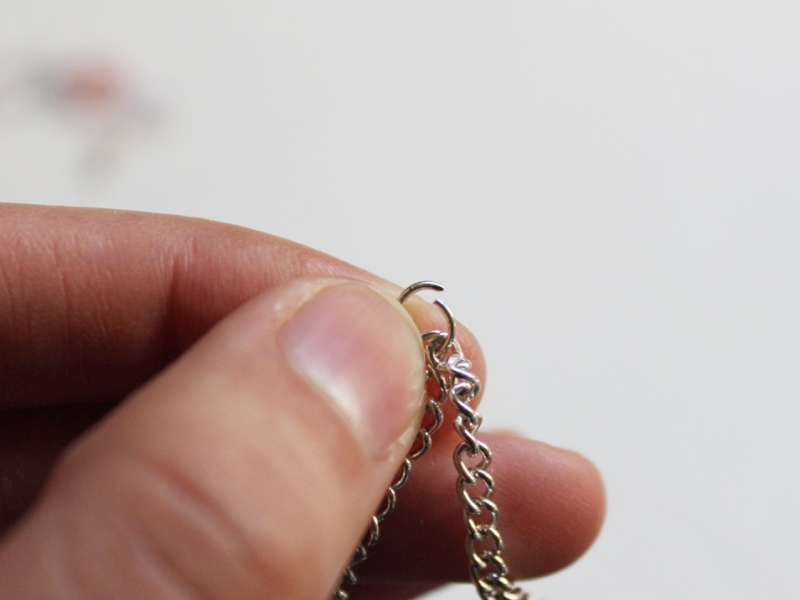
6. Slide on a piece of chain to each end and use the pliers again to close the loop.


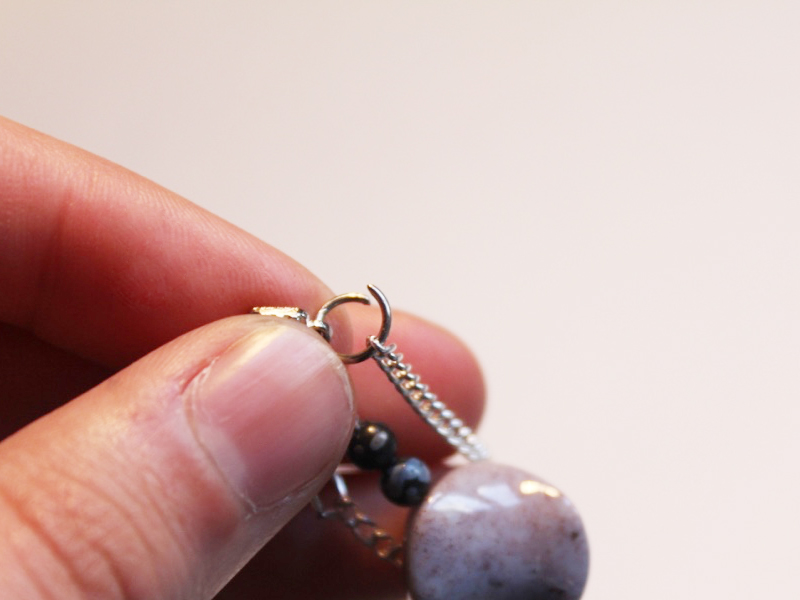
7. Add both loose ends of the chain to an open jump ring to form a triangle shape. Once you have done this you can close the jump ring again using the pliers. Repeat this for both earrings.


8. Open the loop at the end of the earring hooks using the round nose pliers.

9. Add the jump ring end to the earring hook and then close again using the round nose pliers. Repeat this step for both earrings.

10. Now your triangle chain drop earrings are complete. Is there anything more satisfying than a project that you can make and then wear in one day?!
-
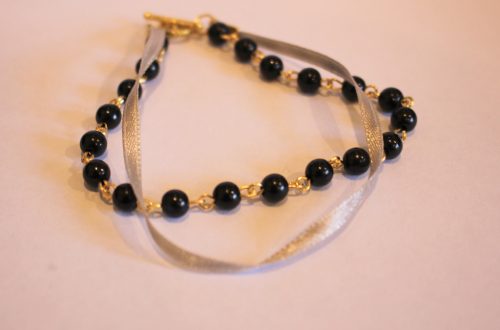
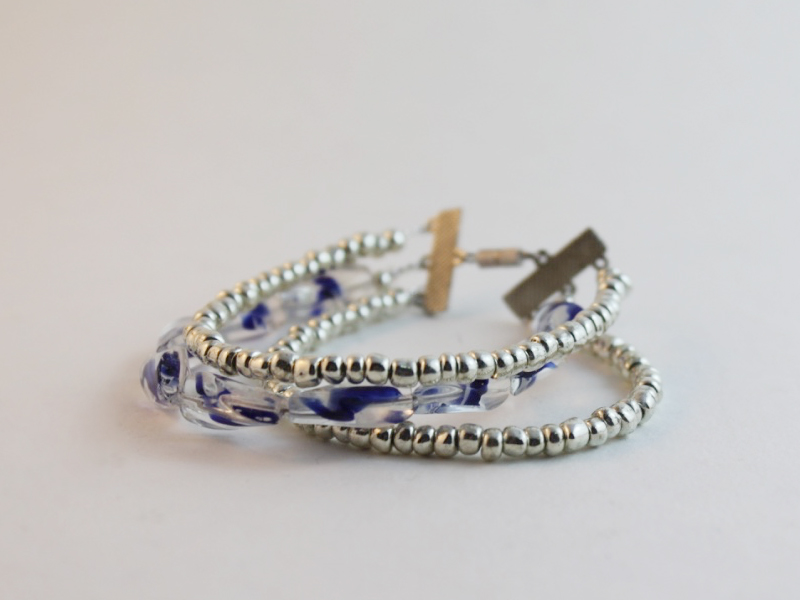
Because More Is Always Better, You Need to Know How to Make a Multi-Strand Bracelet
Multi strand bracelets are great for giving the illusion of a wrist that is stacked full of bracelets without having the hassle of putting them all on! The three-strand bracelet featured in this tutorial is so easy to make thanks to the use of some handy charm connectors. Follow these DIY jewelry instructions and you’ll be sporting an arm full of beads in no time.
You will need the following tools and materials to make this bracelet:
1. Pliers.
For this DIY jewelry project you will need your round nose pliers, flat nose pliers and cutting pliers.
2. Tiger tail wire.
3. 12 crimp beads.

3. 2 charm connectors.
4. A clasp. For this bracelet I used a screw clasp but I usually use a toggle clasp when I am making bracelets as they are easier to operate with one hand.

5. Beads of your choice. In this design I used some silver e beads for the two outer strands and some twisted glass beads for the center strand.


The Steps:
1. Cut three strands of tiger tail wire so that they are slightly longer than the length you would like your bracelet to be. You can measure your tiger tail by wrapping the wire loosely around your wrist.

2. Once all the wire has been cut to size, start to attach the ends to one of the charm connectors. Do this by poking one of the wire through the hole and then bending it around the connector.


3. Add two crimp beads so that they sit close to the charm connector.

4. Once the crimps are in place use the flat nose pliers or round nose pliers to squash them and secure them in place. Repeat steps 2 to 4 for the two remaining strands so that all the wire pieces are secured to the charm connector.

5. Start adding beads to the first strand and continue beading until you have reached your desired length.


6. Once you’ve completed the beading add another two crimp beads to the strand.

7. After you have added the crimps, thread the end of the tiger tail wire through the second charm connector and pull the end back through the crimp beads.


8. Once the wire has been fully pulled through, use the round nose pliers to squash the crimp beads and secure the strand in place.

9. Use the cutting pliers to trim the excess wire.

10. Repeat steps 5 to 9 for the remaining strands.


10. Once the strands are secured to the charm connectors on both ends it is time to add the clasp. Open one end of the clasp using the round nose pliers.
11. Slide the open loop onto the end of the bracelet and then close the clasp loop again using the round nose pliers.

12. Repeat steps 10 and 11 for the other end of the clasp to complete the bracelet.

13. Now you are done, wear and enjoy!
-
Here’s why You Should start Giving DIY Jewelry Gifts

Buying gifts for people can be tricky, they can be expensive, difficult to find or just uninspired. Sometimes, the thought of having to head out and choose a gift for someone can be almost too overwhelming. So why not try making gifts for the special people in your life instead? I love making jewelry for different occasions, bracelets, earrings, necklaces and all kinds of other jewelry pieces make great gifts for all kinds of celebrations.
There are so many great things about giving someone one of your very own DIY jewelry designs. My favorite thing about giving a handmade jewelry design as a gift is that I know that they won’t already have one! Isn’t it the worst when you think you’ve found someone the perfect gift only to find that they already have it?
Another wonderful thing about DIY jewelry gifts is that it makes your present seem that much more special. Giving someone something that you took the time and effort to makes it just that bit more sentimental… and when they wear it they’ll always think of you!
Another, slightly less adorable, reason why handmade jewelry gifts are so awesome is that they be a bit friendlier on the wallet. Making your own jewelry is often far less expensive than purchasing something that has already been made. How’s that for a bonus… you can keep your friends and your wallet happy at the same time!
To be honest, I can’t think of any reasons why you shouldn’t start making DIY jewelry gifts for your friends and family. Go on, get experimental and share your DIY jewelry designs with the people you love!
Get creating and have fun!
-
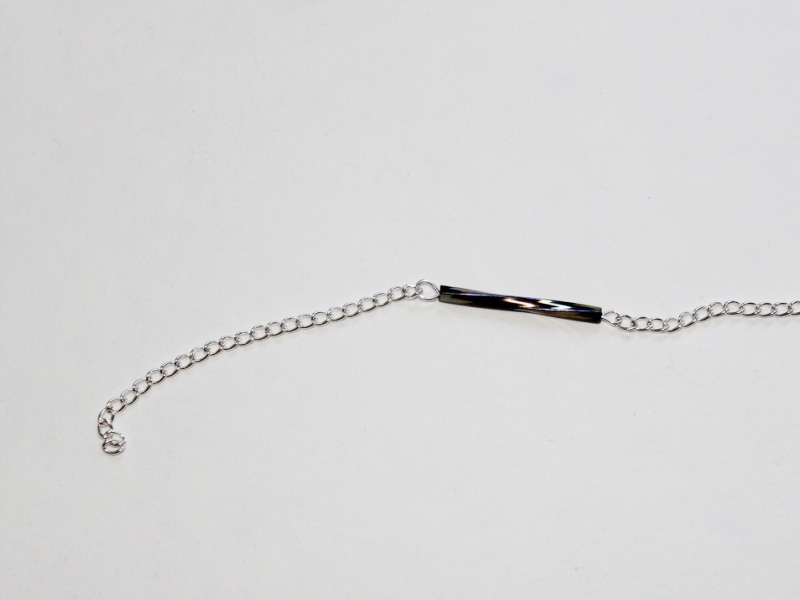
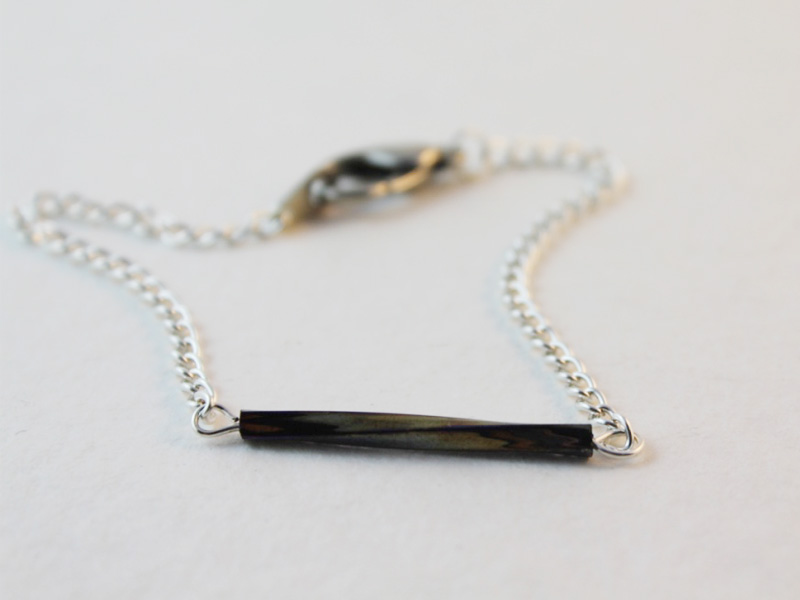
How to Make a Chain Bracelet… with a twist!
This chain bracelet features a pretty beaded bar charm. This DIY bracelet really couldn’t be any more simple to make, all you need is some chain, a clasp, an eye pin, a jump ring and your choice of beads! All you need to do now is follow these simple instructions and you’ll be well on your way to having some brand spanking new arm candy.
You will need the following tools and materials to make this bracelet:
1. Pliers
to make this bracelet you will need to use some round nose pliers, cutting pliers and flat nose pliers.
2. One eye pin.

3. Jewelry Chain.
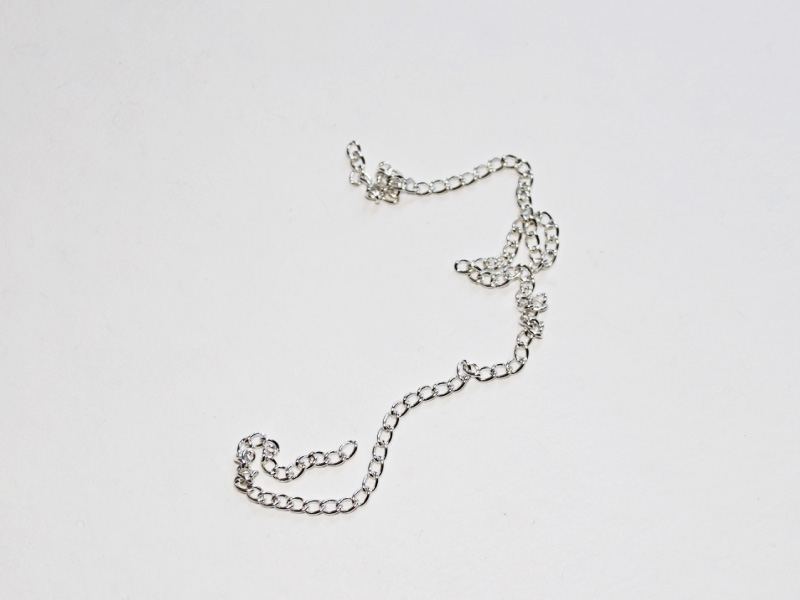
4. One lobster clasp.

5. One jump ring.
6. Beads of your choice.
For this bracelet I used this long glass tube bead.

The Steps:
1. Thread your chosen beads onto the eye pin.
2. Use the round nose pliers to bend the pin at a right angle to the beads.


3. trim the pin approximately 1 cm (0.4 inches) from the end of your beads. Make sure you hold both sides of the pin so that it doesn’t go flying!

4. Use the round nose pliers to make a loop at the end of the pin.
5. Open the loop again slightly using the round nose pliers and slip on one end of your chain.

6. Now you’ll have to split your chain so that you can add the clasp to the middle. Do this by measuring out the length you want (you can take a rough measurement by holding the beaded pin at the top of your wrist and then wrapping the chain around to the underside of your wrist) and then use your round nose or flat nose pliers to open one link and separate the chain.

7. Repeat step 5 for the other end of the eye pin. Now you will have chain attached to both ends of the eye pin.
8. Use your pliers to open a chain link at one end of the bracelet, then slip on the clasp tag and close the link to secure the tag.

9. Attach an open jump ring to the other end of the bracelet. Keeping the jump ring open, slide on your lobster clasp. Once the clasp is in place, close the jump ring using your pliers.


10. Once the jump ring is closed your bracelet is complete. Now all that is left is sit back and admire it… and maybe wear it as well!

-
How to Make a Bracelet Using Memory Wire. No Findings Required!
Here’s another way that you can make a bracelet, this time using memory wire. Memory wire is another type of jewelry making wire that is able to hold its shape. You don’t need any extra findings for this bracelet, just your beads, wire and your pliers!
You will need the following tools and materials to make this bracelet:
1. Pliers
You will need round nose pliers, flat nose pliers and cutting pliers.
2. Memory Wire.

3. Beads.
In this design I have used these pink enameled beads and some green seed beads.


The Steps:
1. Cut the memory wire to your desired length. You can check this by trying the wire on and seeing how many times you would like it to wrap around your wrist (make sure you are careful if you measure your bracelet this way, memory wire can have very sharp ends).
Take care when cutting your wire, memory wire can be tough to cut through, make sure you hold both ends of your wire firmly and away from your face.
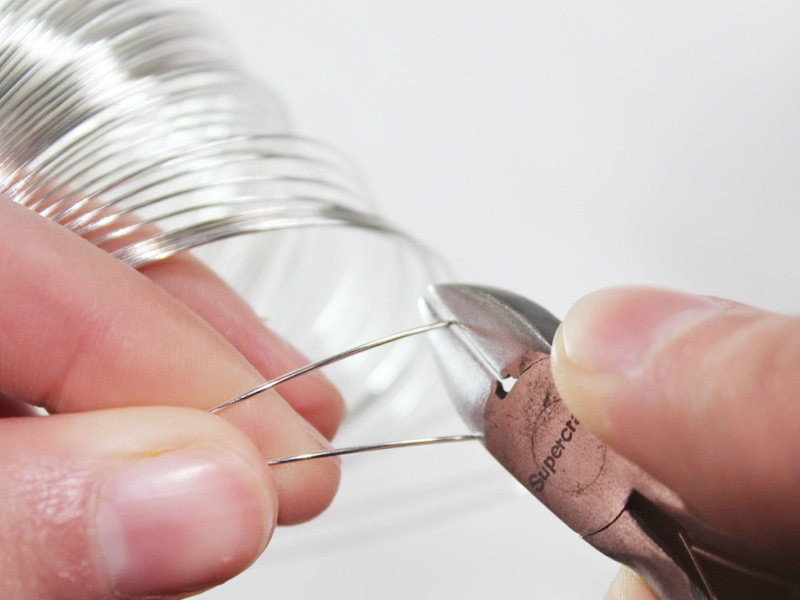

2. Use the round nose pliers to loop one end of the trimmed memory wire coil.


3. Begin beading your wire.

4. continue beading until you only have a small length left that doesn’t have beads.

5. Use the round nose pliers to bend the wire so that it is at a right angle to the beads.

6. Trim the end of the memory wire so that you have 1cm (0.4 inches) remaining. Be careful here, try holding the piece of wire against a soft surface to prevent the trimmed piece from flying away or cutting your fingers.

7. Once the wire has been trimmed you can use the round nose pliers to make a loop to stop the beads from falling off.

8. And now your bracelet is done! For a little something extra, you can also add some beaded head pins or charms to the looped ends of your bracelet.

-
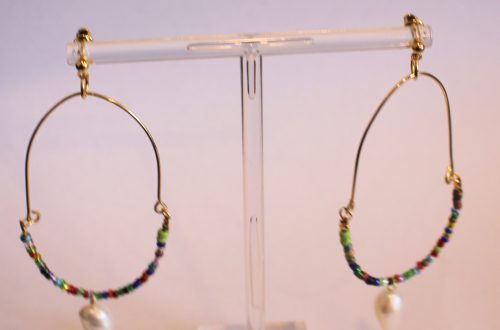
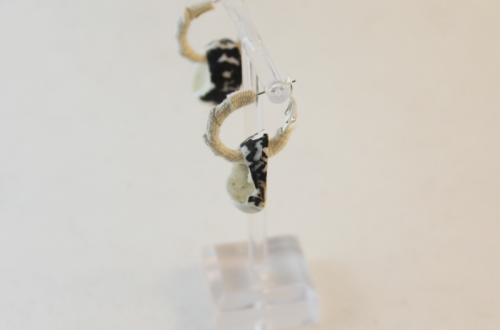
How to Make Hoop Earrings And Then Kill it in the style stakes!
Want to take your DIY earring designs to the next level? DIY Jewelry Hub has another tutorial on how to make earrings. Follow these step-by-step instructions to make your own dangly beaded hoop earrings.
You will need the following tools and materials to make these earrings:
1. Pliers
To make these earrings you will need flat nose pliers, round nose pliers and cutting pliers.
2. Two head pins.3. Two hoop findings.

4. Two earring hooks.

5. Feature beads for the hoops.
In this design I used six coral beads, three on each hoop.

6. Seed beads.
I used white seed and clear seed beads in this design.


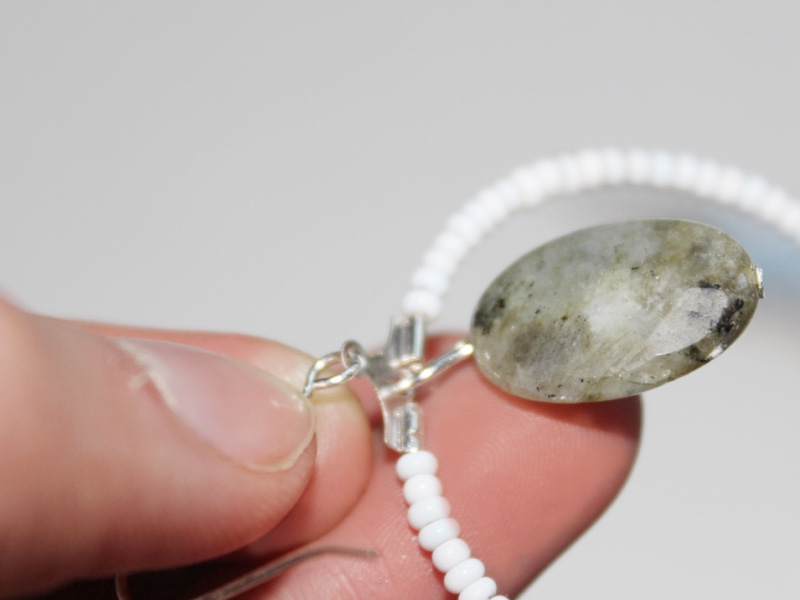
7. Two feature beads.
I used two green labradorite beads in this design.

The Steps:
1. Open one of the earring hoops.

2. Begin adding beads to the hoop. Continue adding beads to create your desired pattern.


3. Continue beading the hoop until only a small part is left bare and then lace this end back into the top attachment. Tip: Add a little glue to this end to ensure that it doesn’t pop out while you are wearing your earrings! Repeat these steps for the second hoop.

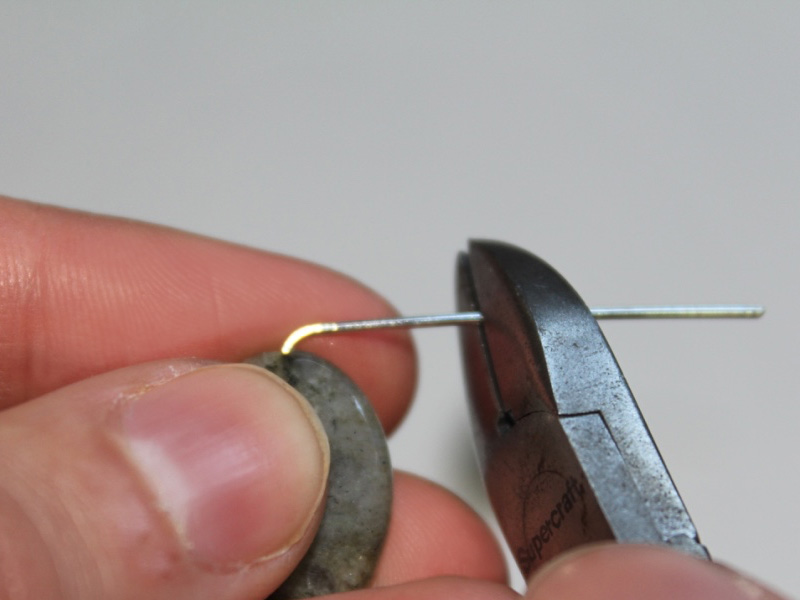
4. Once your hoops have been completed, take your feature beads and thread them onto the head pins.


5. Bend each pin at a right angle to the bead using the round nose pliers.

6. Trim both pins so that there is approximately 1cm (0.39 inches) protruding from the bead.
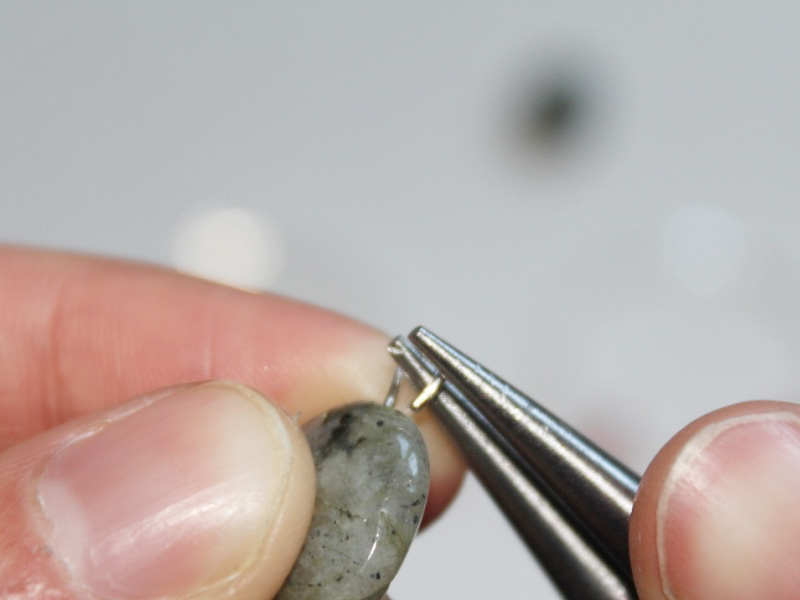
7. Once your pins have been trimmed, create a loop using the round nose pliers.


8. Once you loops have been created, open them slightly and slide the feature bead into the center of your earring hoop.

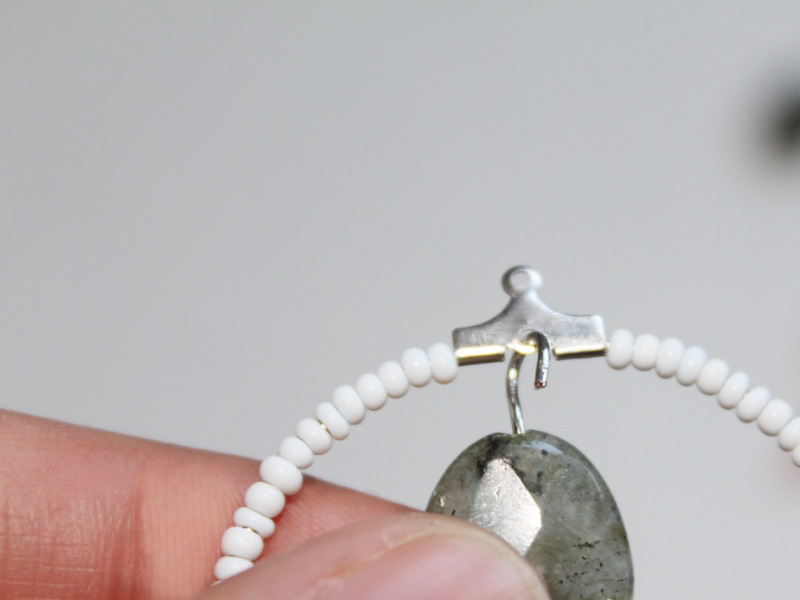
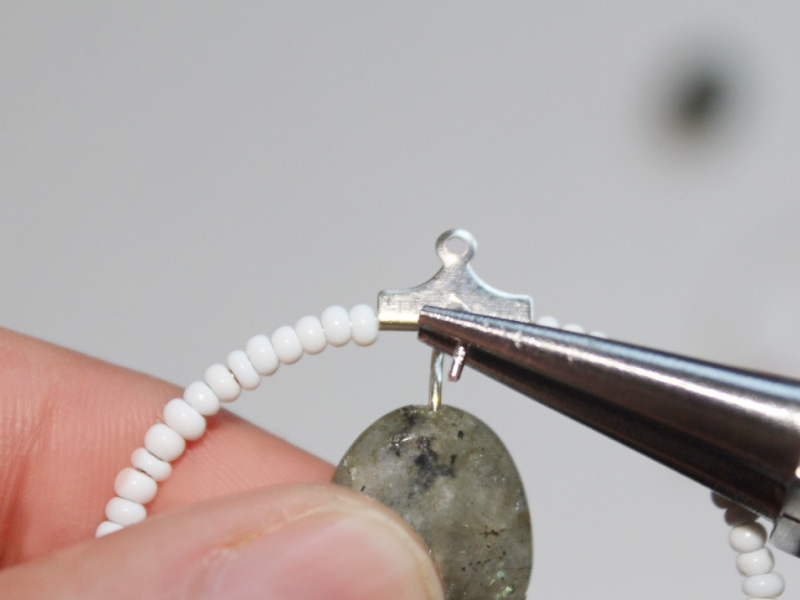
9. Close the bead loop using the round nose pliers. Make sure you repeat this for both of your earrings.

10. Open the loop at the bottom of the earring hooks using the round nose pliers.


11. Slide the open loop into the top of your beaded earring hoop and then close. Repeat this step for both earrings.
12. Your earrings are done! Now all that is left to do is wear them.