-
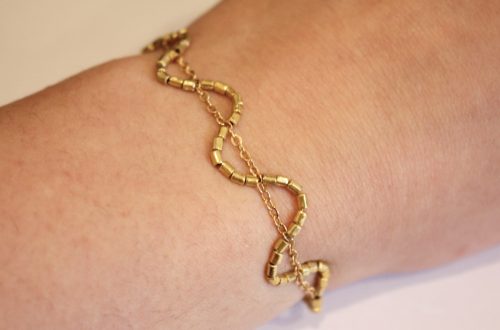
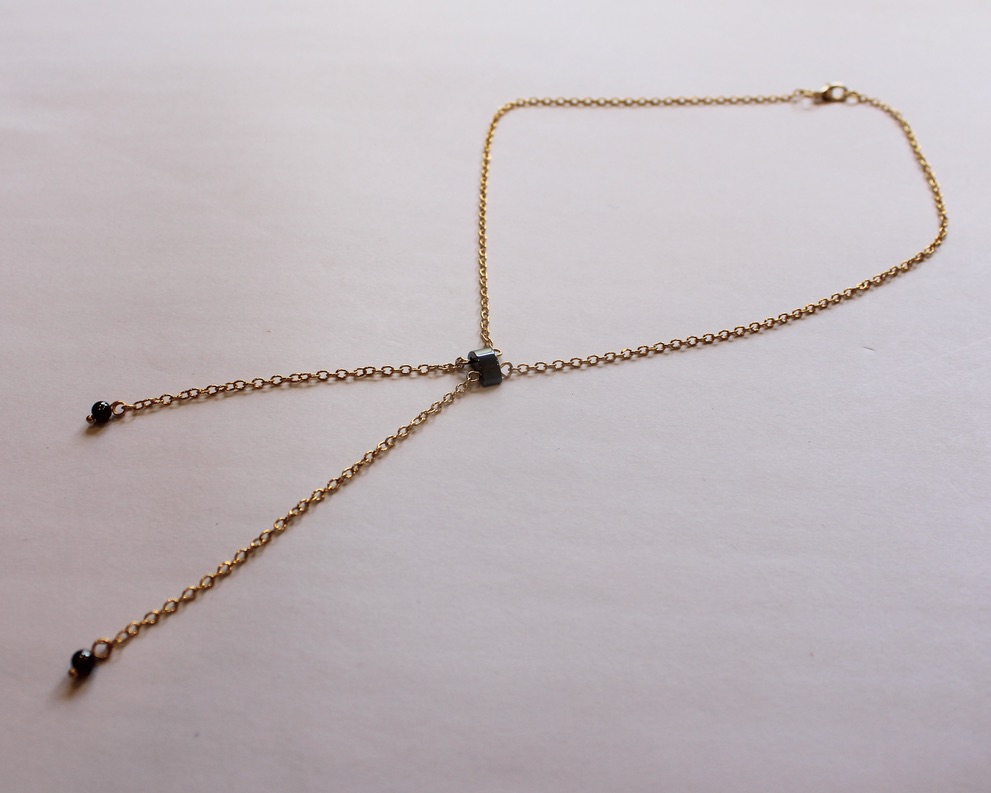
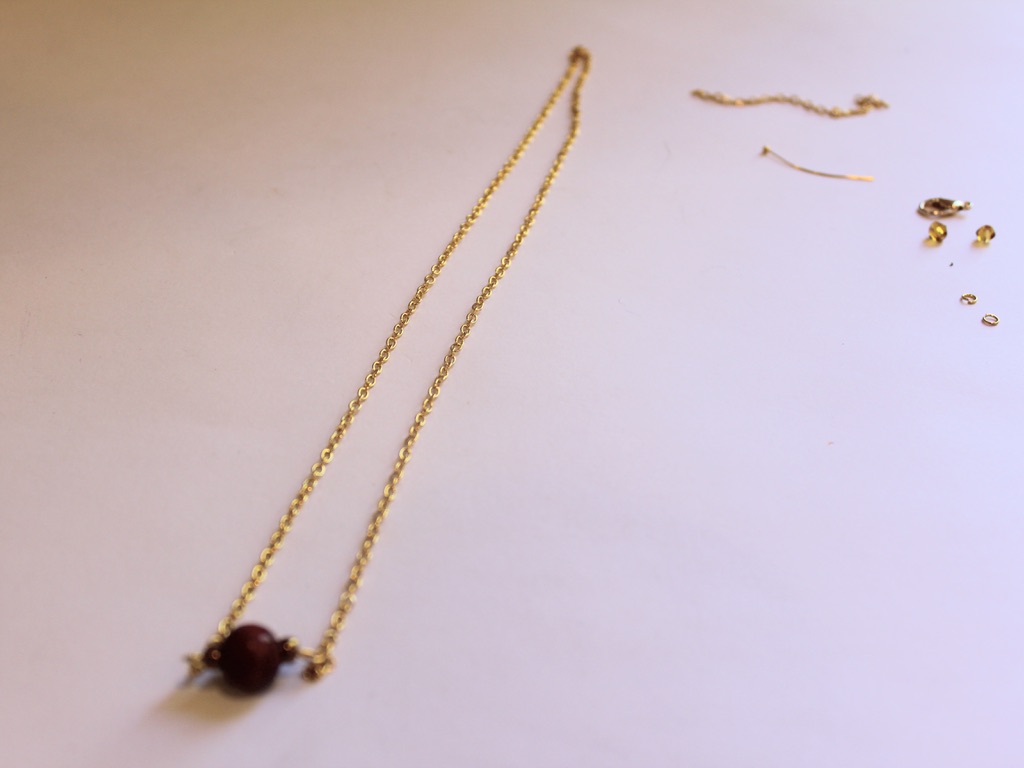
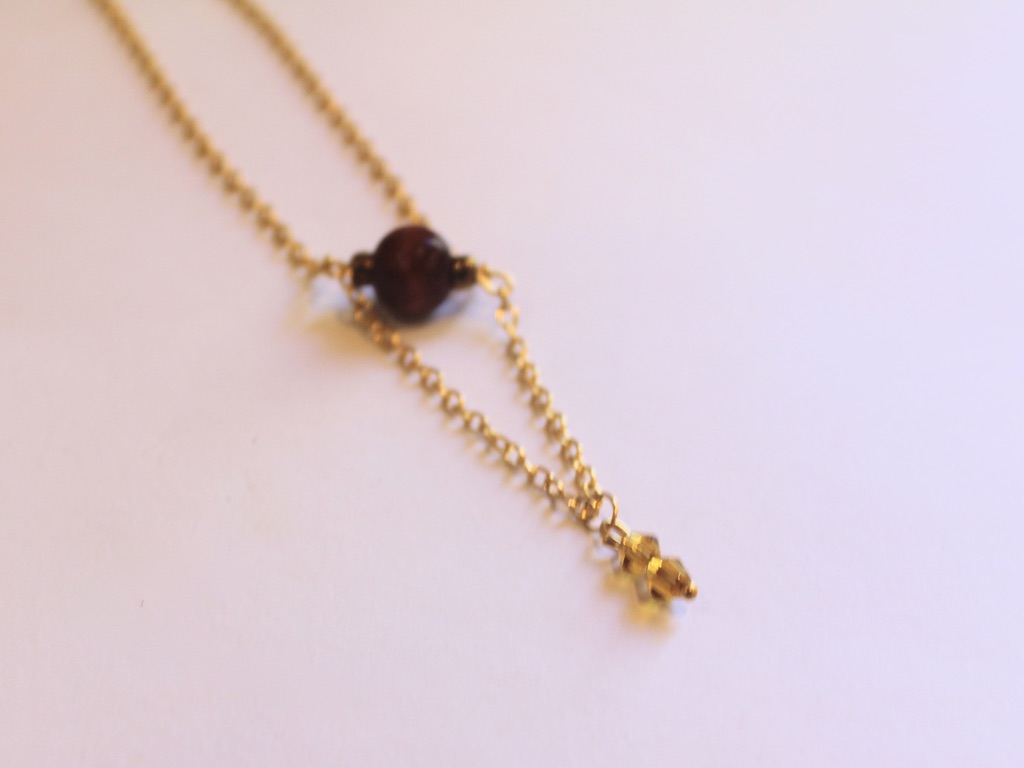
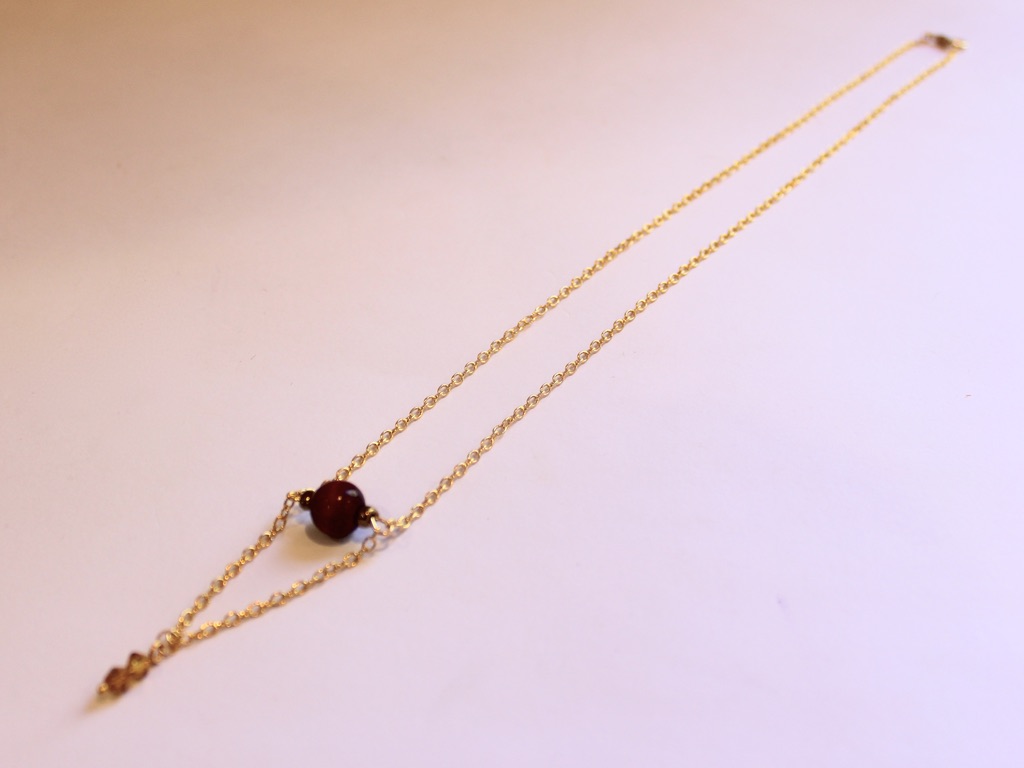
I am super into lariat necklaces right now, here’s another way to make one with a double-hole bead.
Lariat necklaces are so elegant and cool. I really like how they look with a low cut top that hints at cleavage! We already have a few lariat tutorials on the site, but this is one that has a bit of a twist. All the materials and steps are listed below! This tutorial contains affiliate links.
You’ll need these materials and tools to make your lariat:
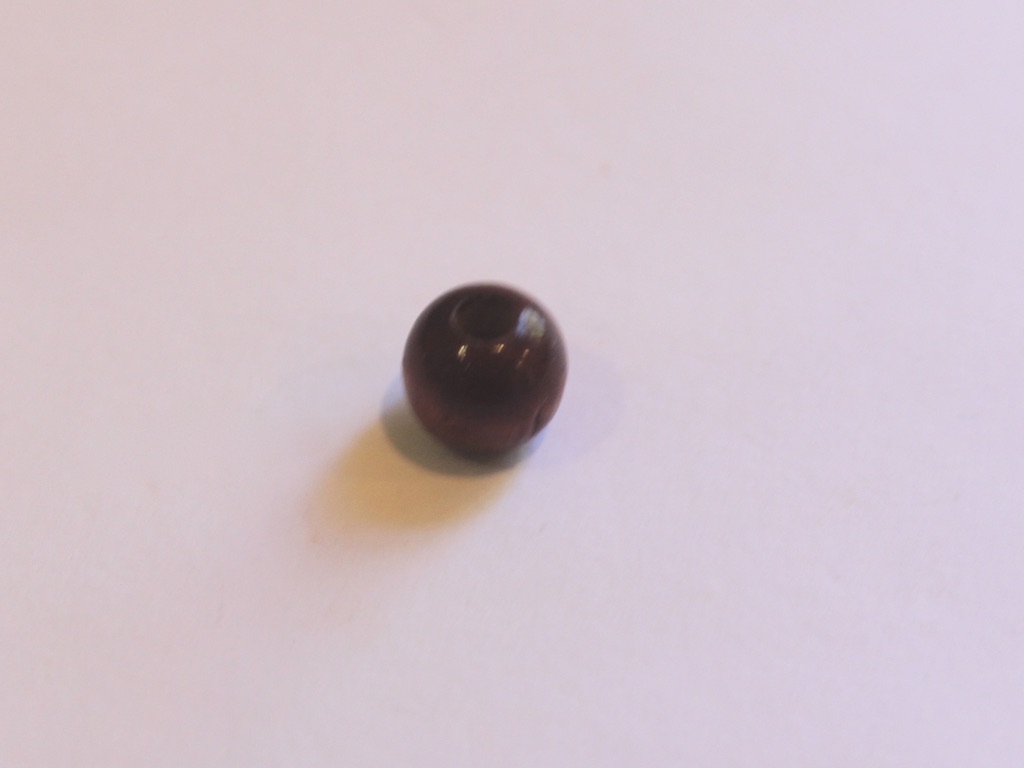
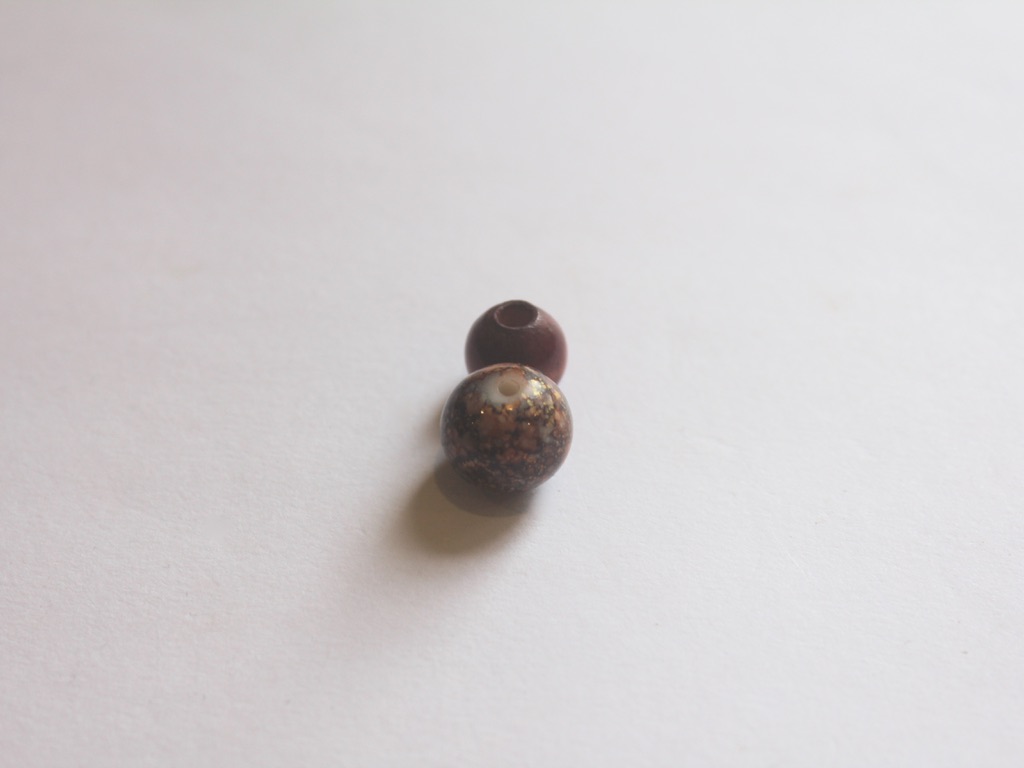
1: A bead with two holes. I used this hematite bead recycled from a bracelet I had as a kid.

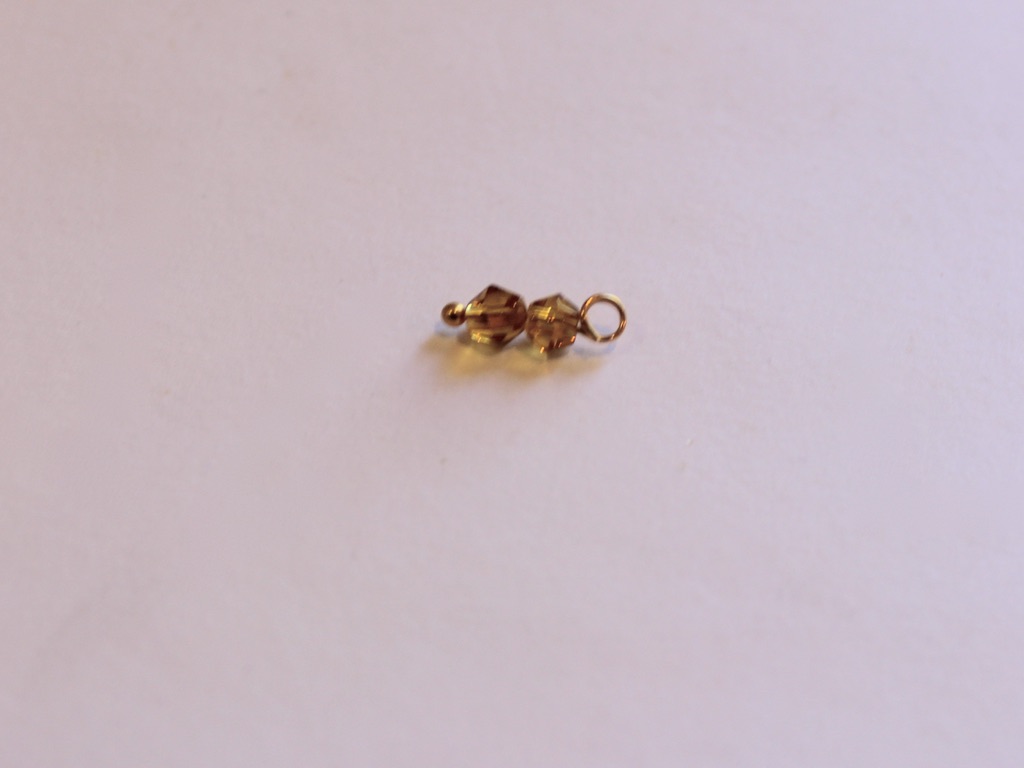
2: Two accent beads. I used these round hematite beads.

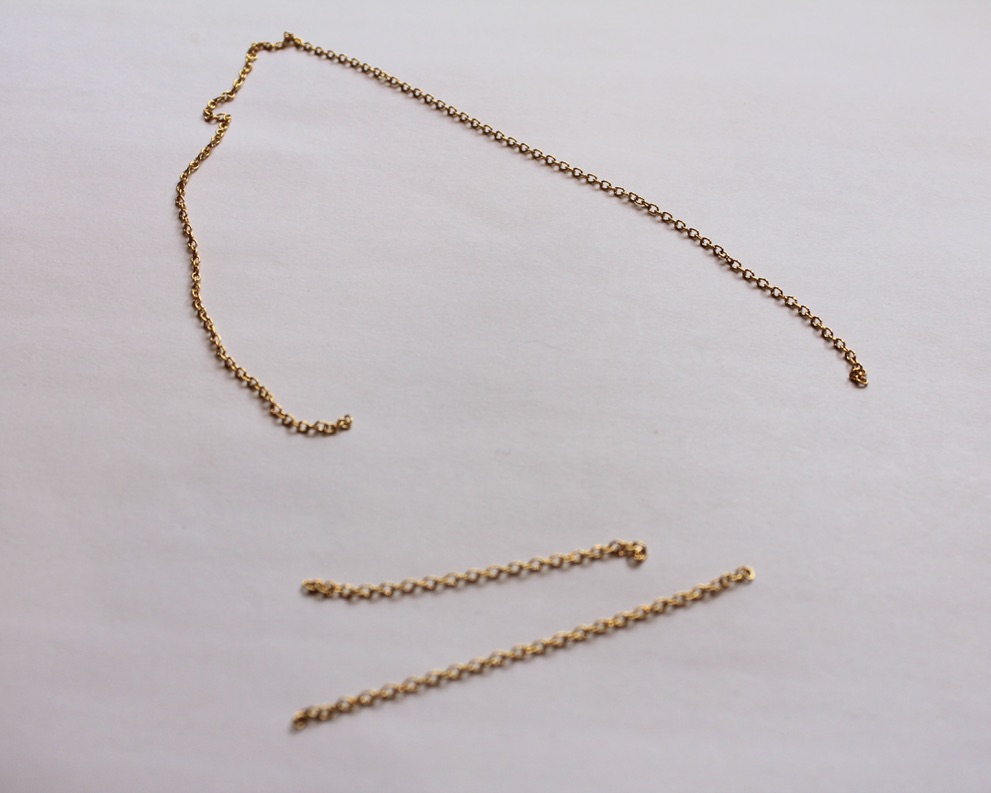
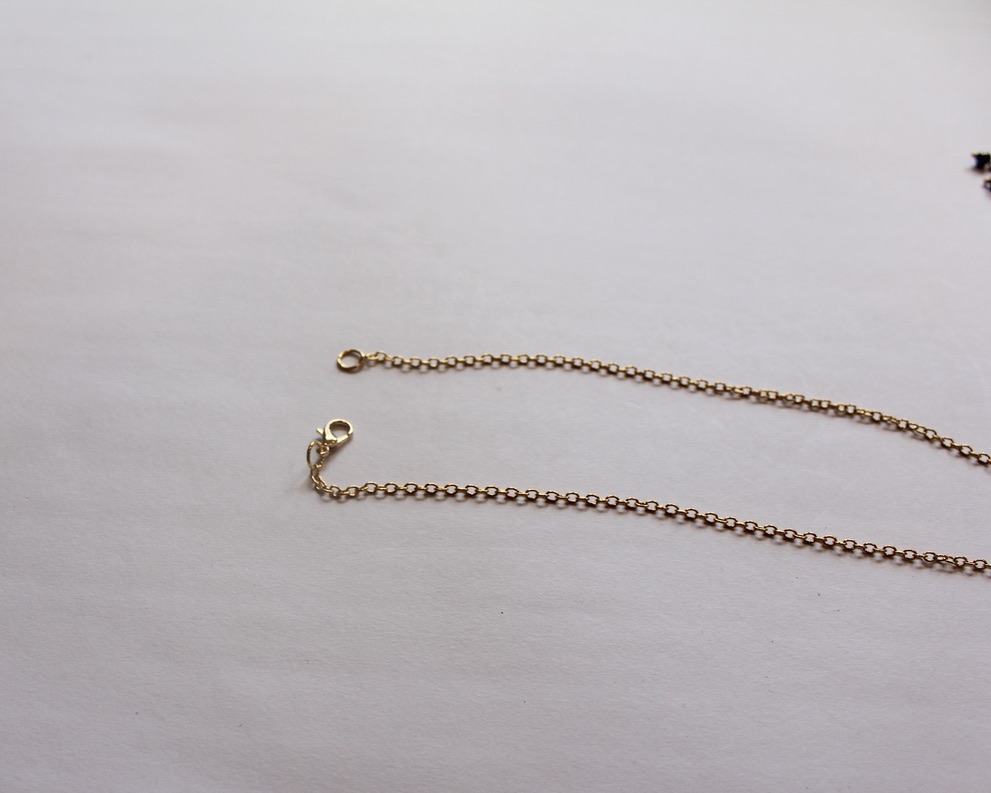
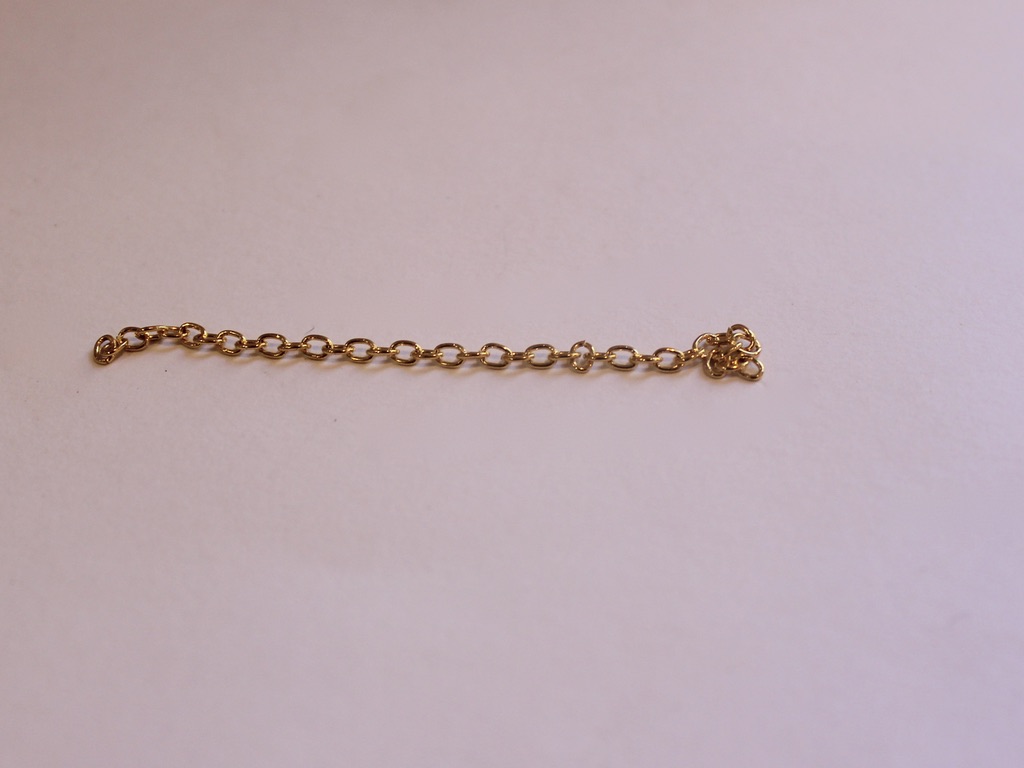
3: Chain. I used some gold-tone rolo chain.

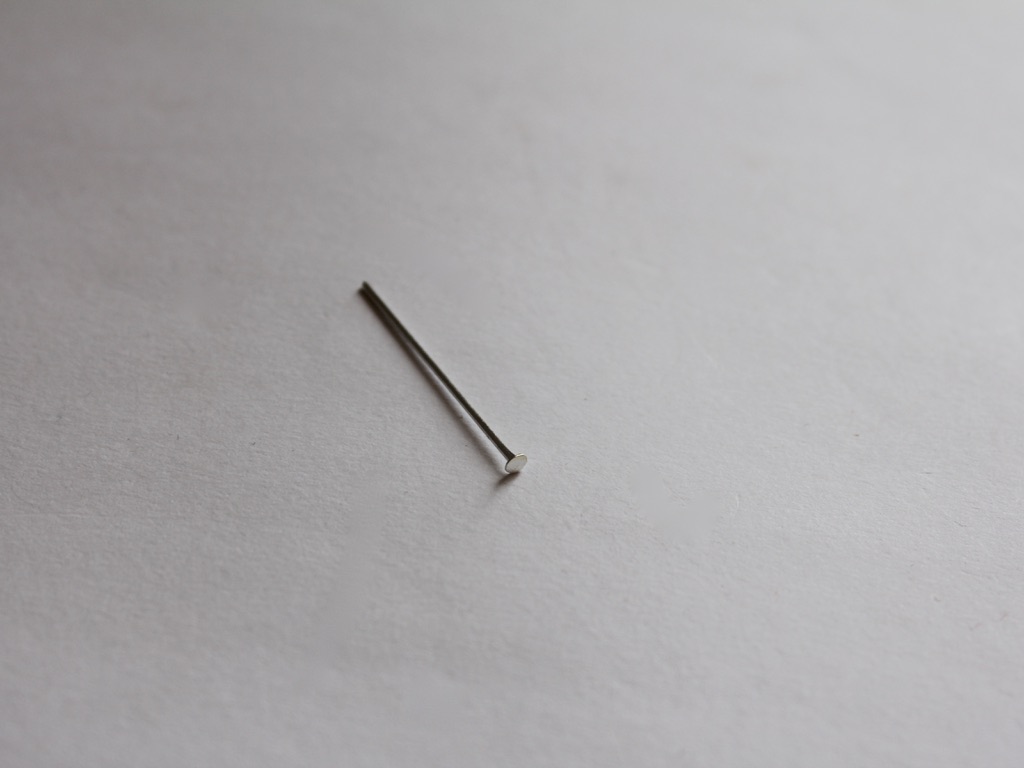
4: Two head pins.

5: Two short eye pins.

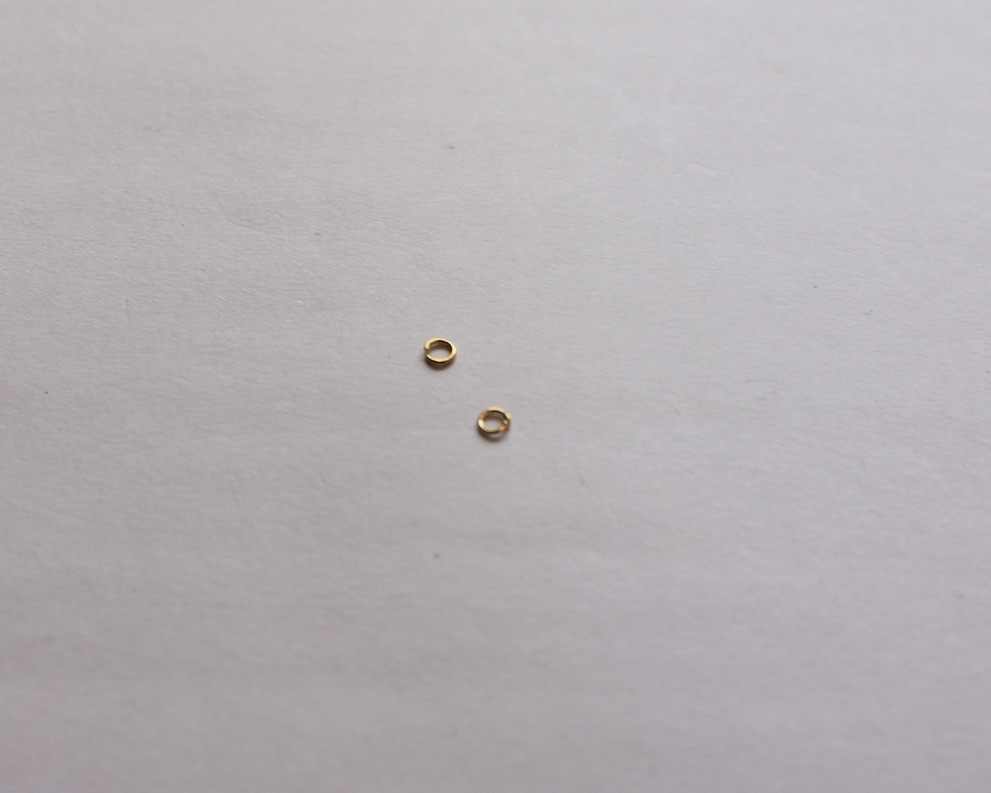
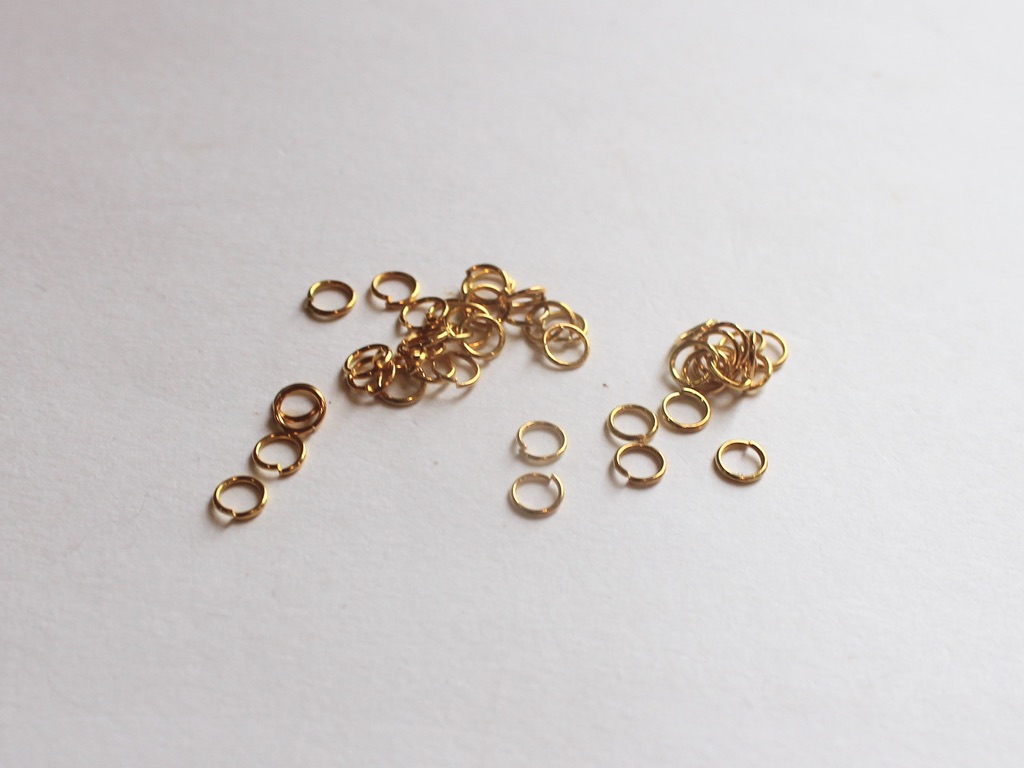
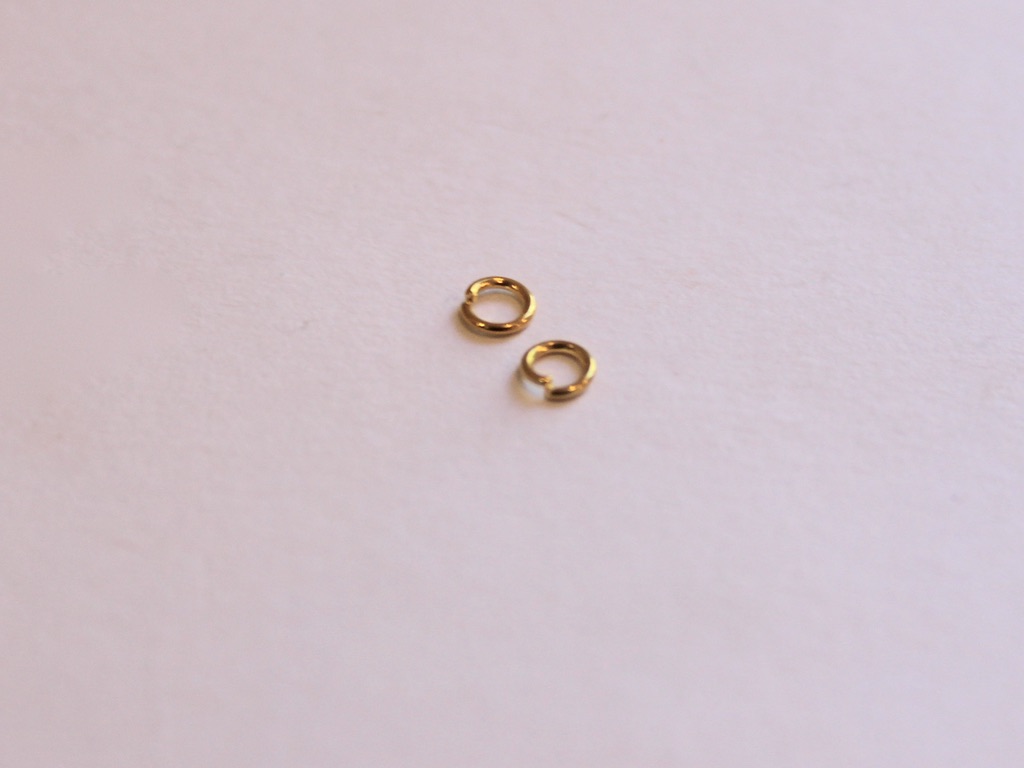
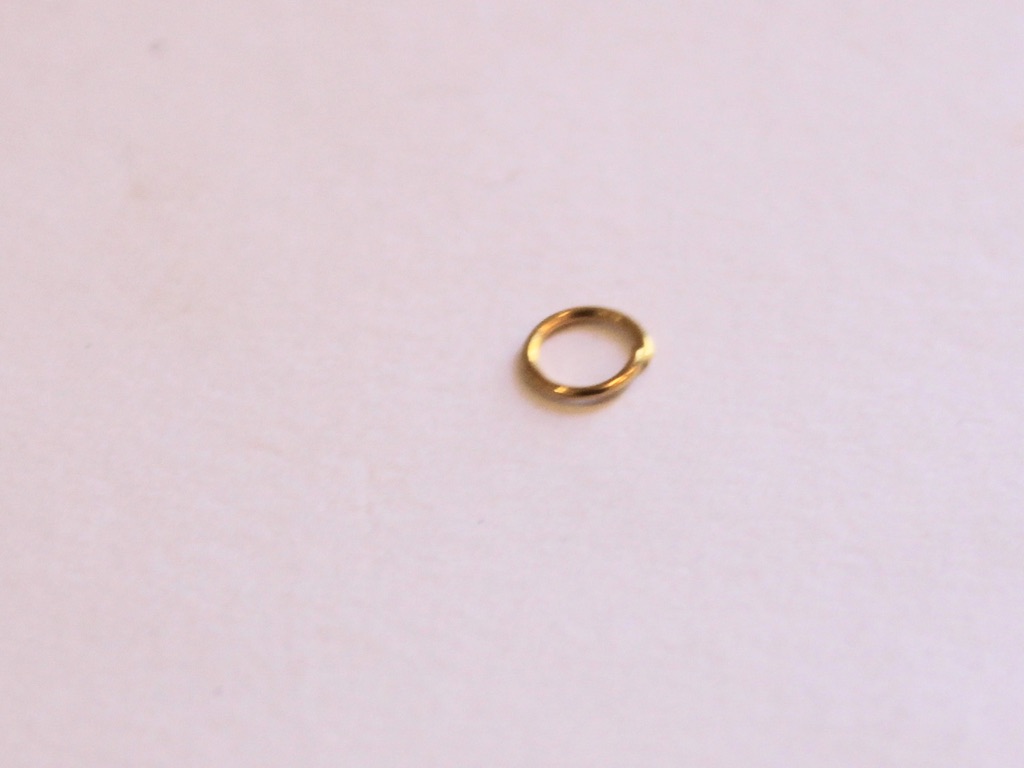
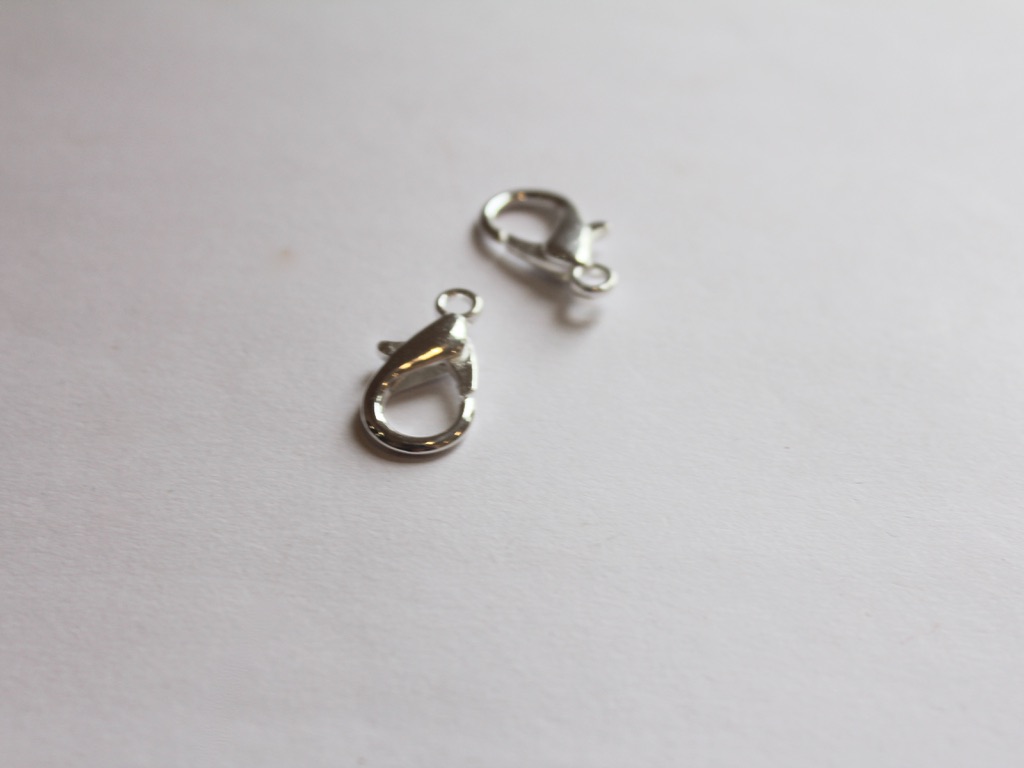
6: Two large jump rings.

7: Two small jump rings.
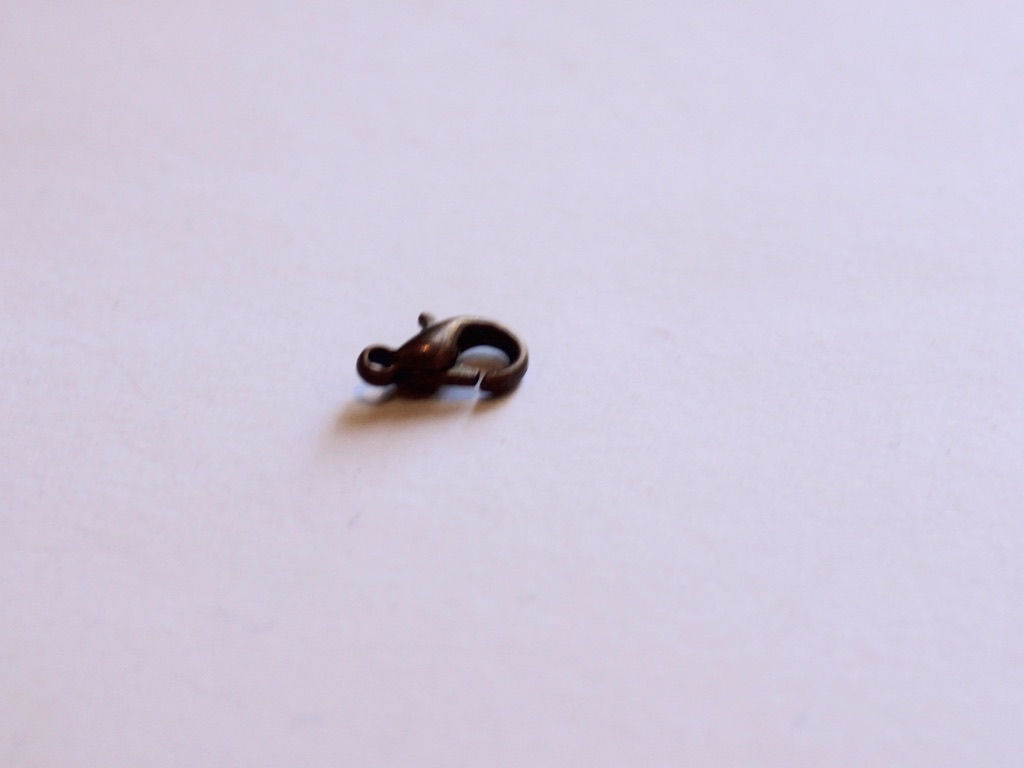
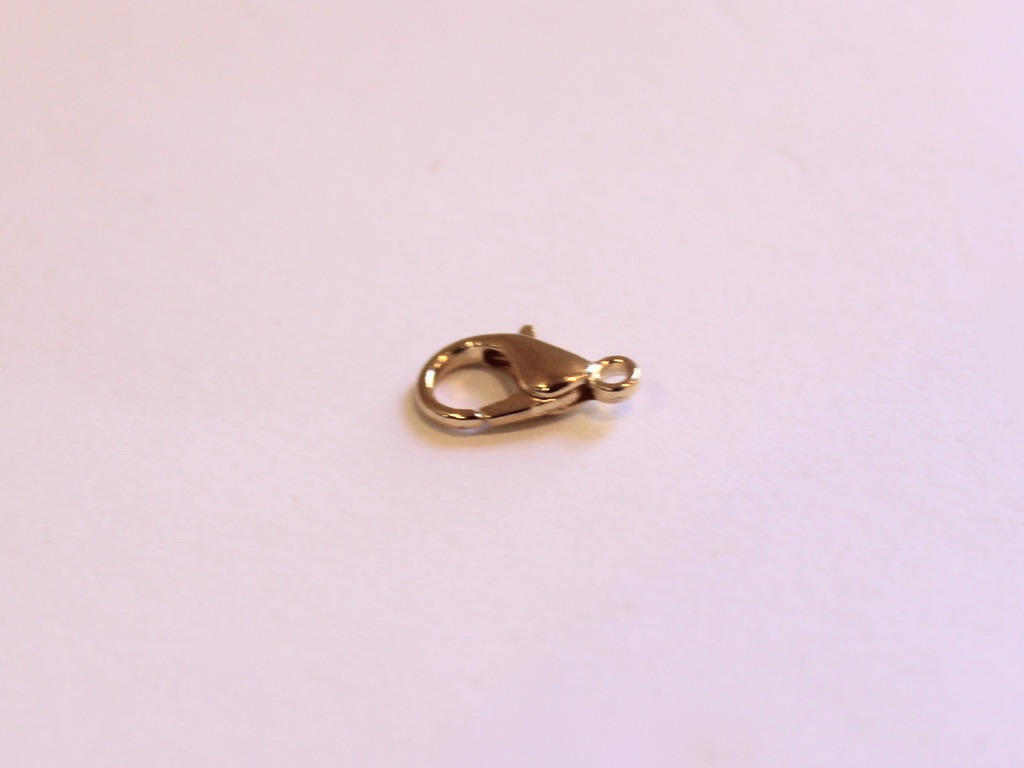
8: A lobster clasp.

9: Pliers. I used my flat nose and round nose pliers to make this lariat necklace.


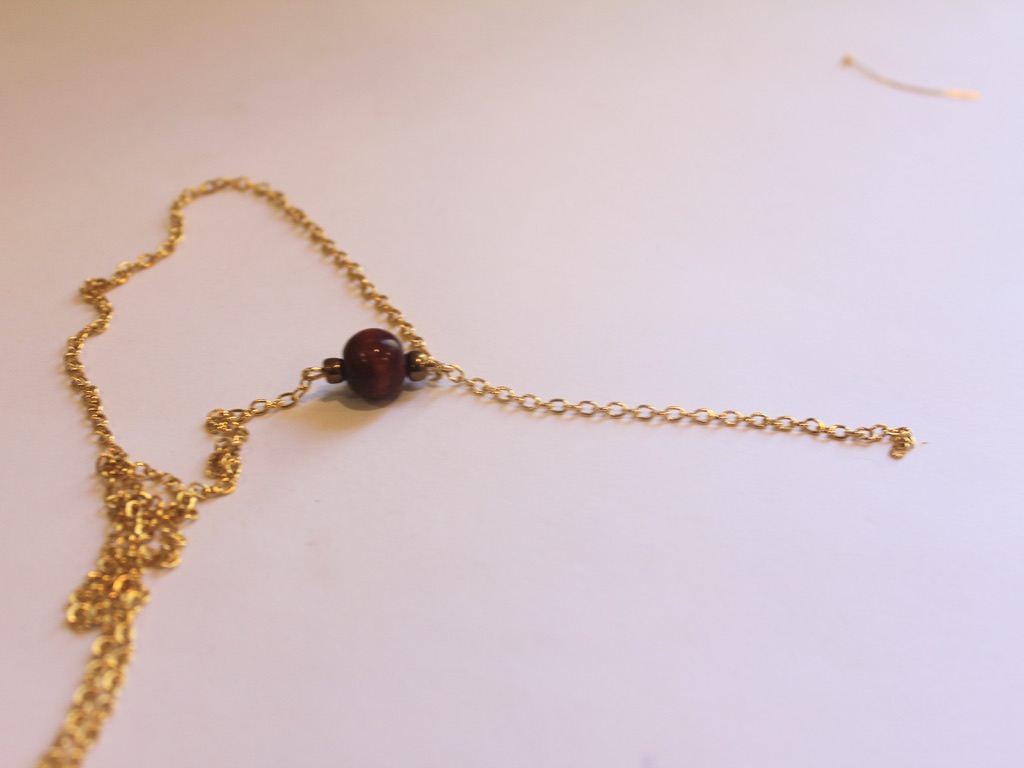
Now here are all the steps you can follow to make your new lariat necklace:
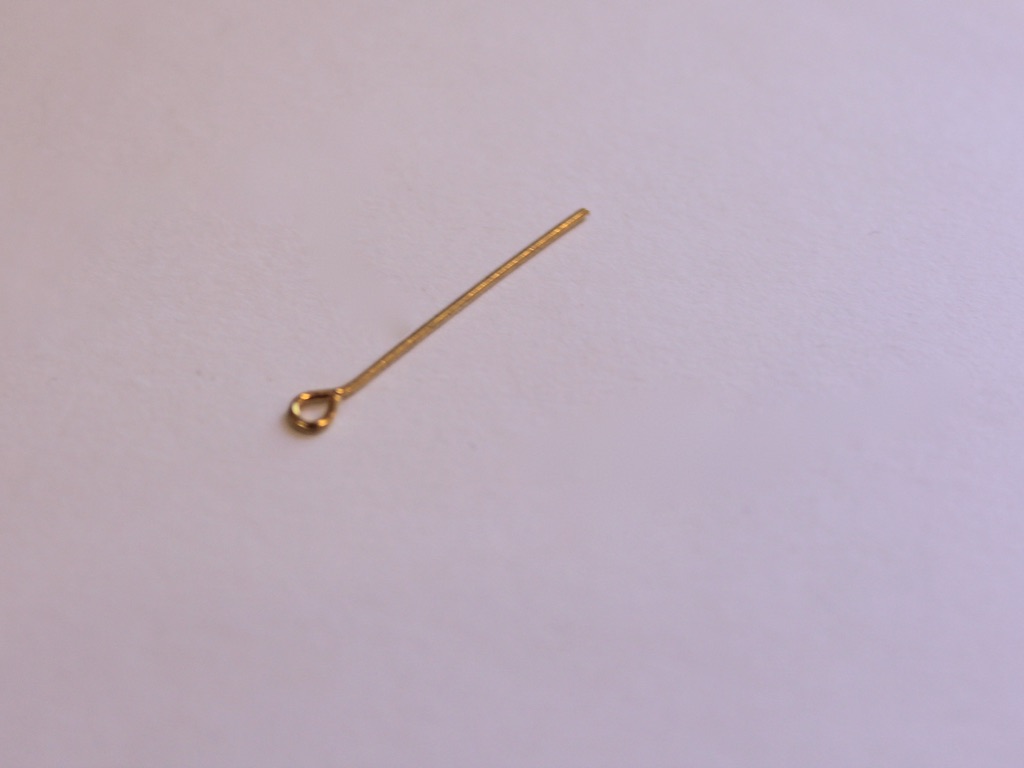
1: Add one of the eye pins to one of the holes in the two-hole bead.

2: Bend the bead to form an angle.

3: Create a loop on the pin using the round nose pliers to secure the bead on the pin.

4: Repeat steps 1-3 for the second eye pin in the second bead hole.


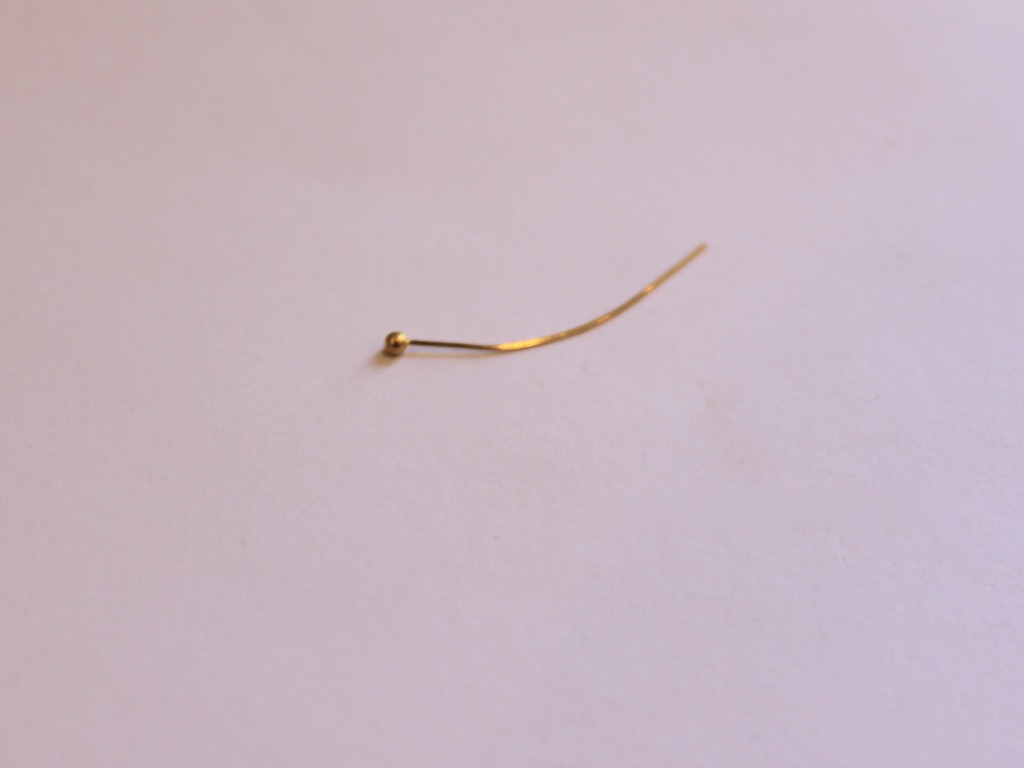
5: Add each of the accent beads to the head pins.

6: Use the round nose pliers to loop the tops of the head pins.


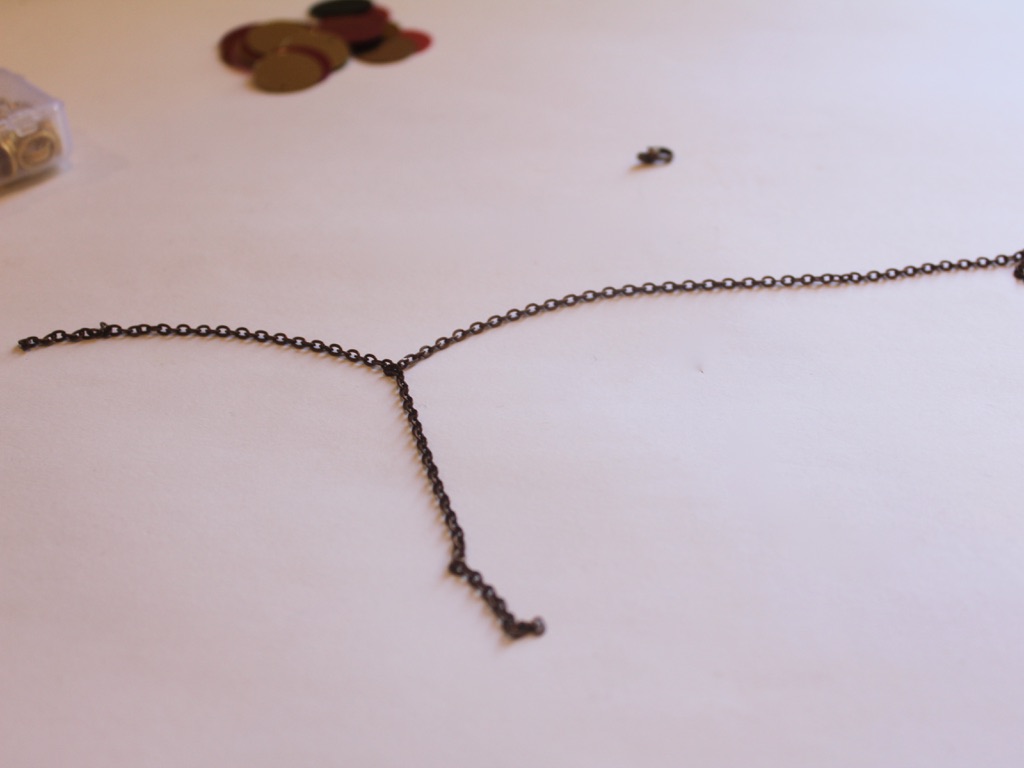
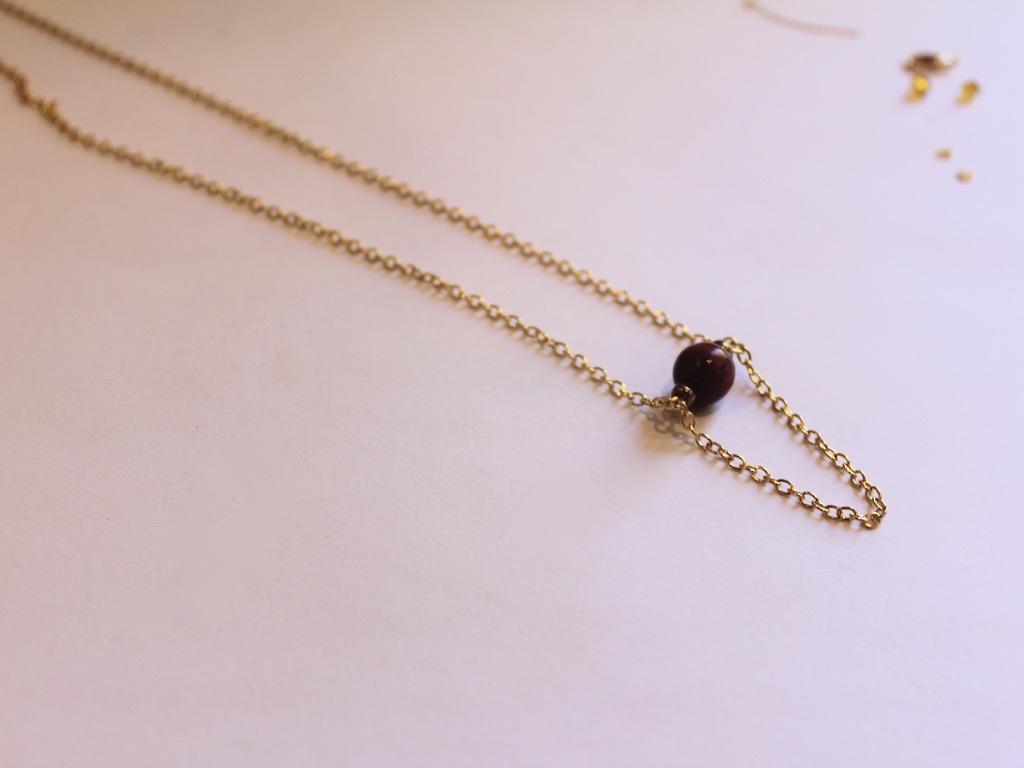
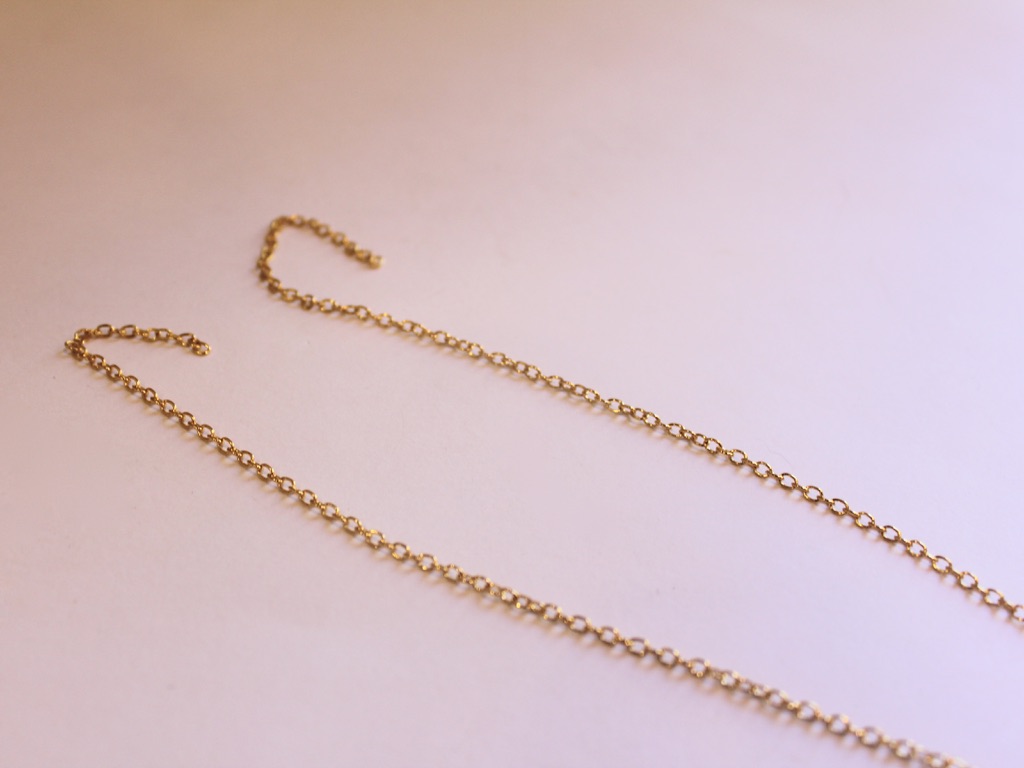
7: Section out three pieces of chain, one long enough to fit around your neck and two shorter pieces, the shorter pieces will form the centre part of the lariat. I made one longer than the other.
8: Attach one of the short chains to one side of the two hole bead charm.

9: Attach the other chain to the other side of the charm.

10: Attach the long chain to the top of the two hole bead charm.


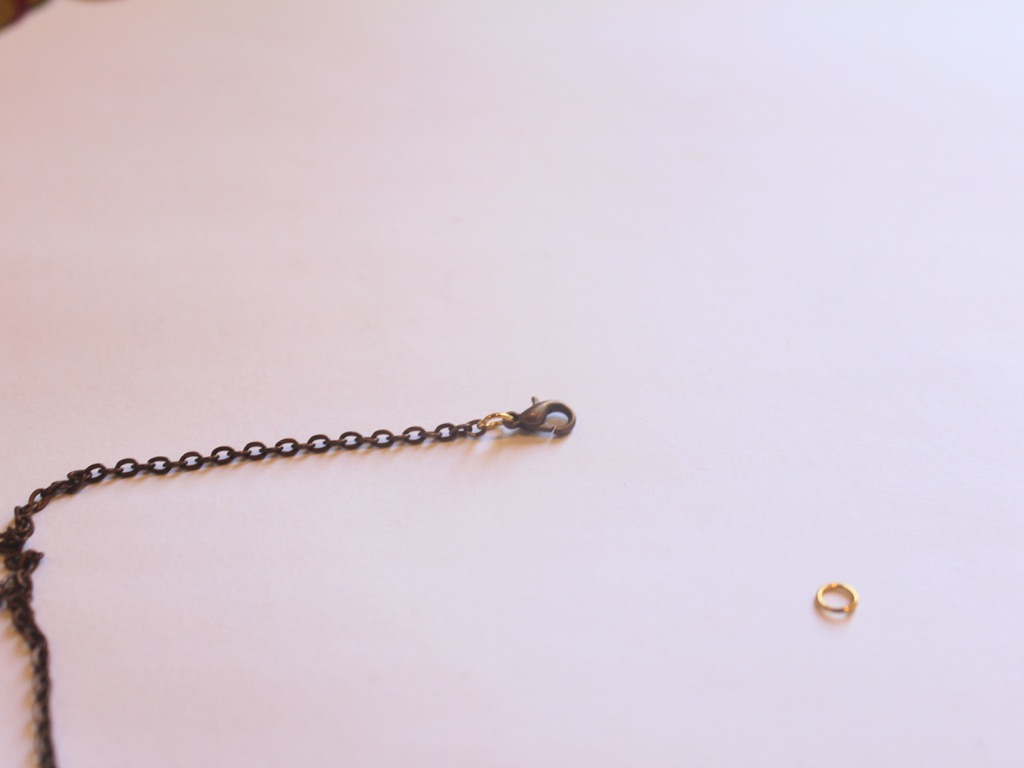
11: Split the necklace chain in half.

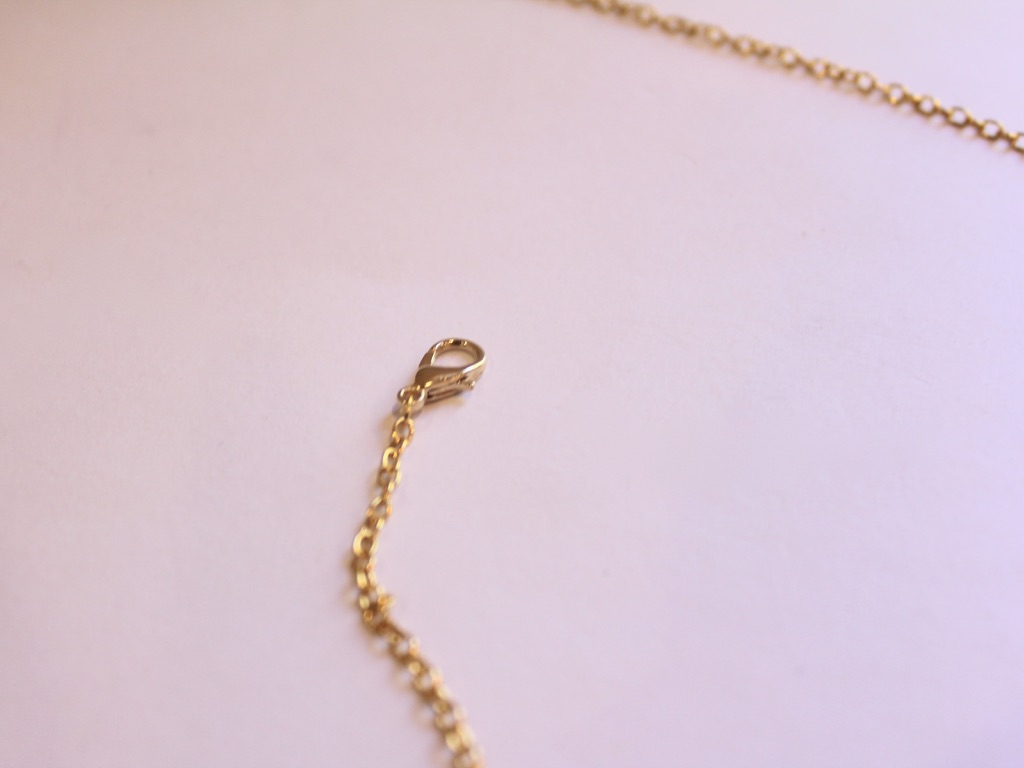
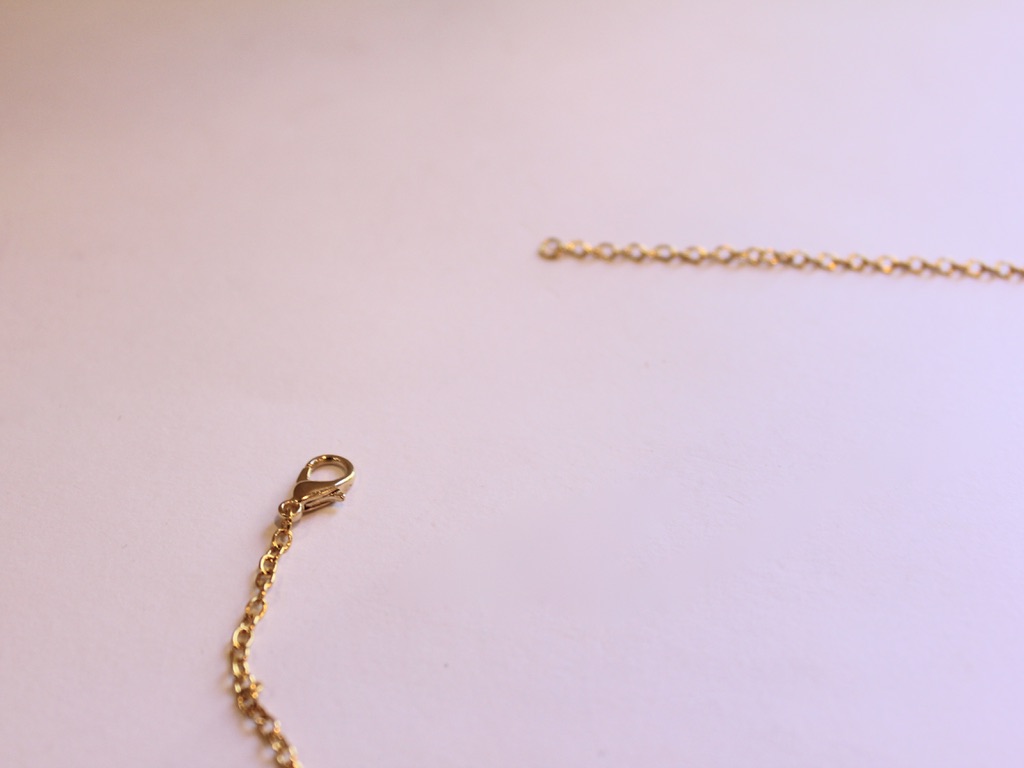
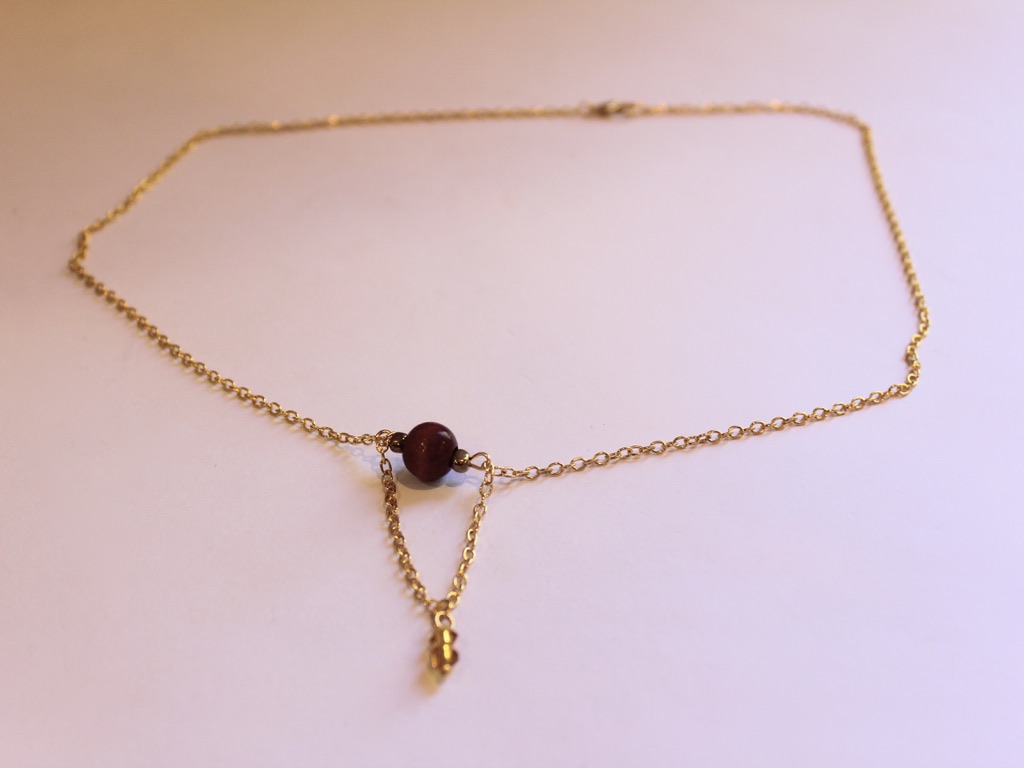
12: Attach the larger jump rings and the lobster clasp to the middle of the split necklace chain.


13: Add the accent bead charms to the end of each short chain using the small jump rings to finish the lariat off.


Now your cool new lariat is ready to wear!
I suggest trying to make this necklace using materials you already have. If you don’t have the right pieces lying around this tutorial contains affiliate links so that you can buy them.
If you love a lariat too, here are some other ways you can make them:
- A bead and chain lariat
- This lariat is made with chunky gold-tone chain
- A lariat with two beaded circle charms
- Triangle charm lariat
- This chain charm that lets you transform any necklace into a lariat
- Make this chain belt that can also be worn as a lariat necklace
- How cool, this long leather strand can be worn as a lariat
- Our original lariat tutorial, a cute pearl lariat
-
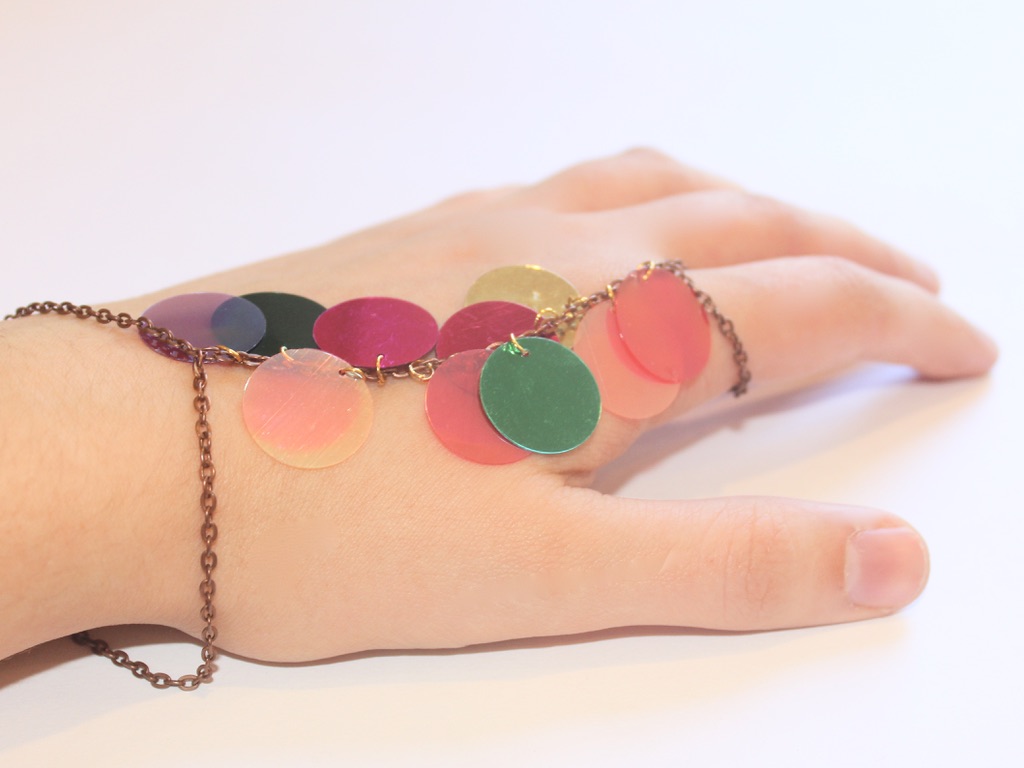
Sequins are giving me life lately! Here’s how to make a sequin hand harness.
Hand harnesses are so fun! Add some even more fun to this design with some shiny sequins. This design is perfect for at home parties and showing off some sparkle during Zoom cocktail hours!
You’ll need the following tools and materials to make your sequinned hand harness:
1: Pliers. I used my round nose and flat nose pliers.
2: Chain.

3: A bunch of small jump rings.
4: Two larger jump rings.

5: A lobster clasp.
6: Sequins. I used these large disc sequins that have holes at the top.

Follow these steps to make your sequinned hand harness:
1: Measure your wrist and section off enough chain to fit around it.

2: Attach a longer piece of chain to the centre of the bracelet chain. Depending on the type of chain you are doing you can attach them together by opening one of the links on the longer chain and sliding it onto a link in the centre of the bracelet. If your links don’t open I suggest using a jump ring to join your chains together.

3: Drape the longer chain across your hand and around one of your fingers, make sure it is loose enough.

4: Trim the chain to the length you just measured out and attach the end of the chain to form a finger-sized loop.


5: Attach the two larger jump rings to either end of the bracelet section and attach the lobster clasp too.


6: Now add the sequins. I added mine using the smaller jump rings, attaching them to the centre part of the hand harness.


7: Continue adding the sequins until you have the look you want.

Now your sequinned hand harness is finished and ready to wear! Perfect for virtual cocktail hour.

Here’s another hand harness design you can make.
And here are some other sequin jewelry tutorials:
This tutorial contains affiliate links.
-
This necklace is kind of cute. It features a looped chain charm for something a little different.
I really like this necklace, it uses chains and pins to create a fun layered charm look. I used lots of different bead materials in this design, what kind of beads will you use? This tutorial contains affiliate links.
You’ll need these tools and materials to make this necklace:
1: Pliers. I used my round nose and flat nose pliers.
2: A necklace length chain and a shorter chain to make the bottom loop.
3: A lobster clasp that matches the metal tone of the chain.
4: Three jump rings, two small and one large.
5: One medium length eye pin.
6: One head pin.
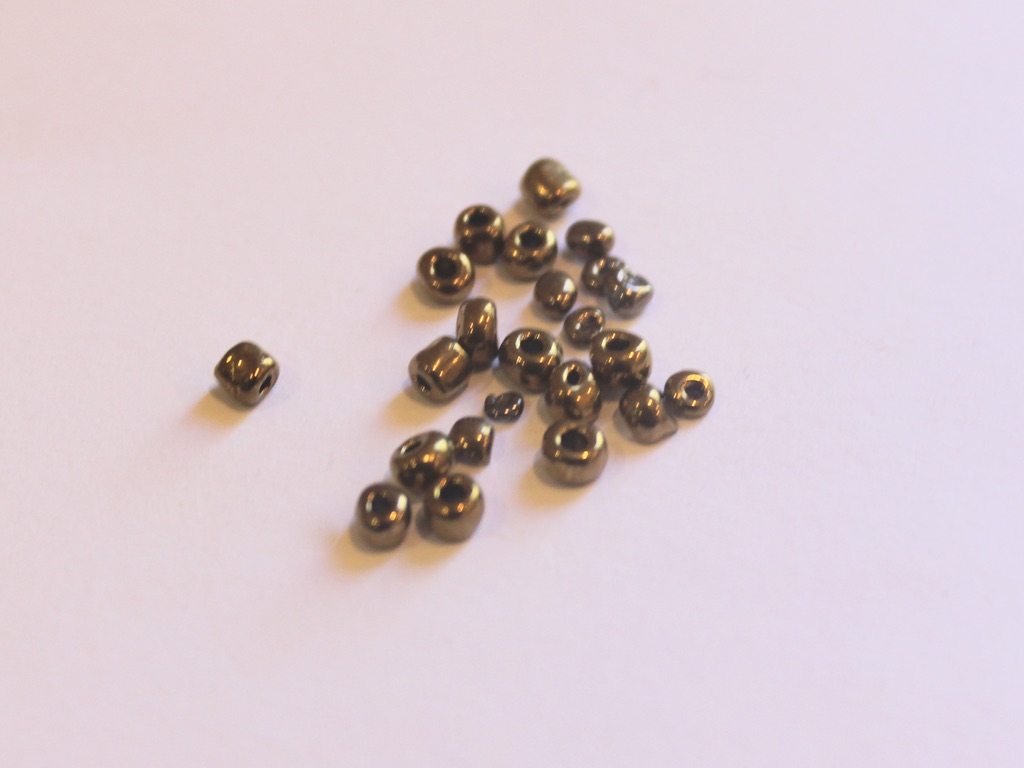
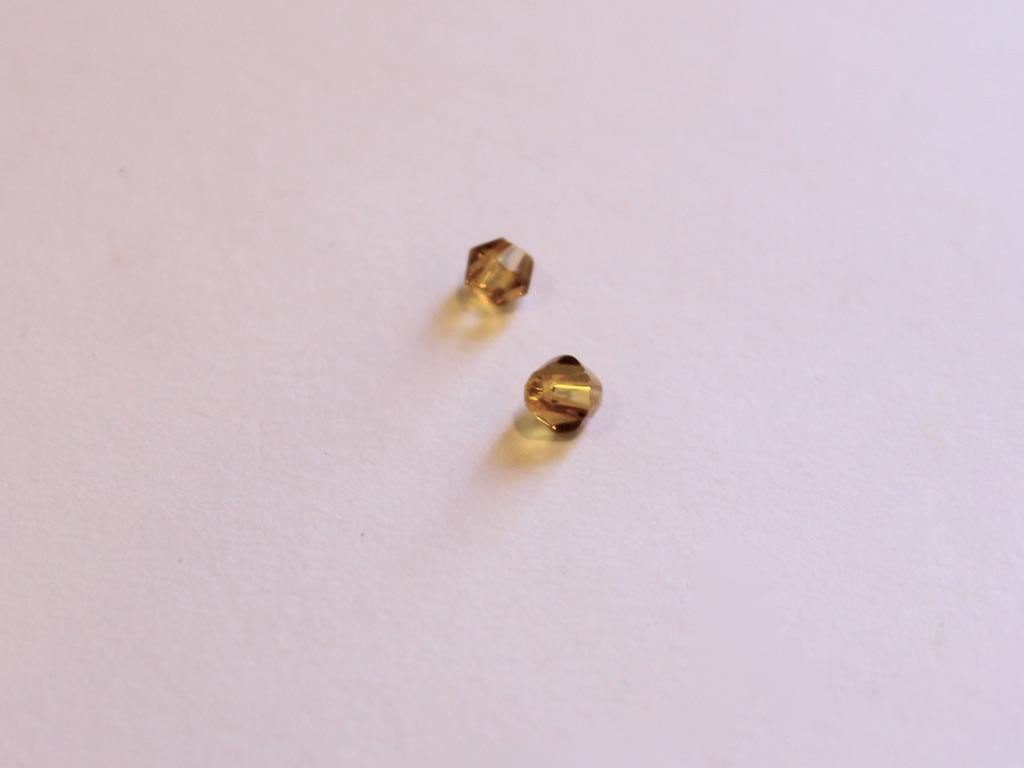
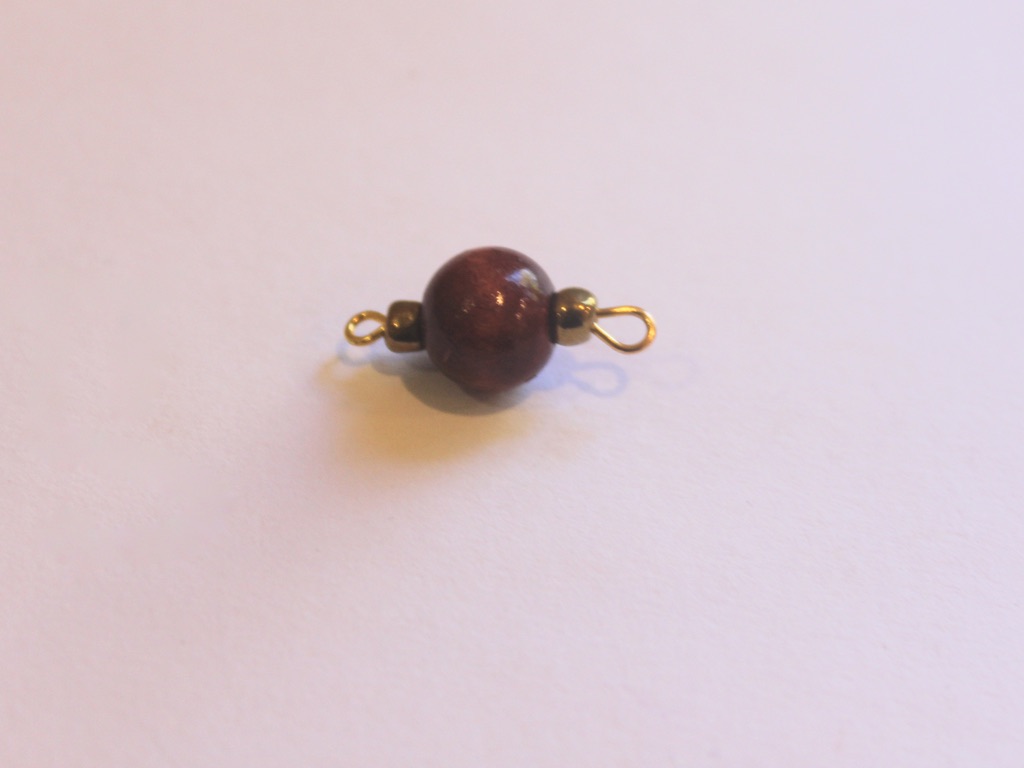
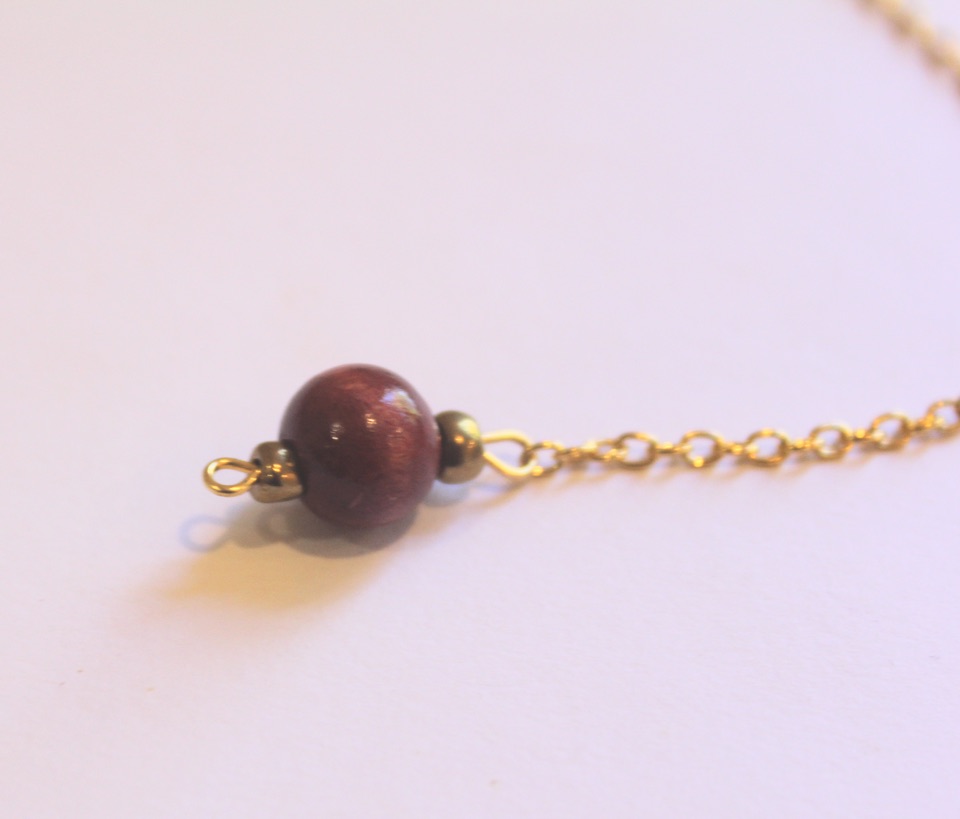
7: Beads. I used one red wooden bead, bronze tone e-beads and two yellow plastic faceted beads.
Follow these steps to make your new cute necklace:
1: Add the beads to the eye pin in your pattern of choice.

2: Bend the end of the pin into a loop using the round nose pliers.
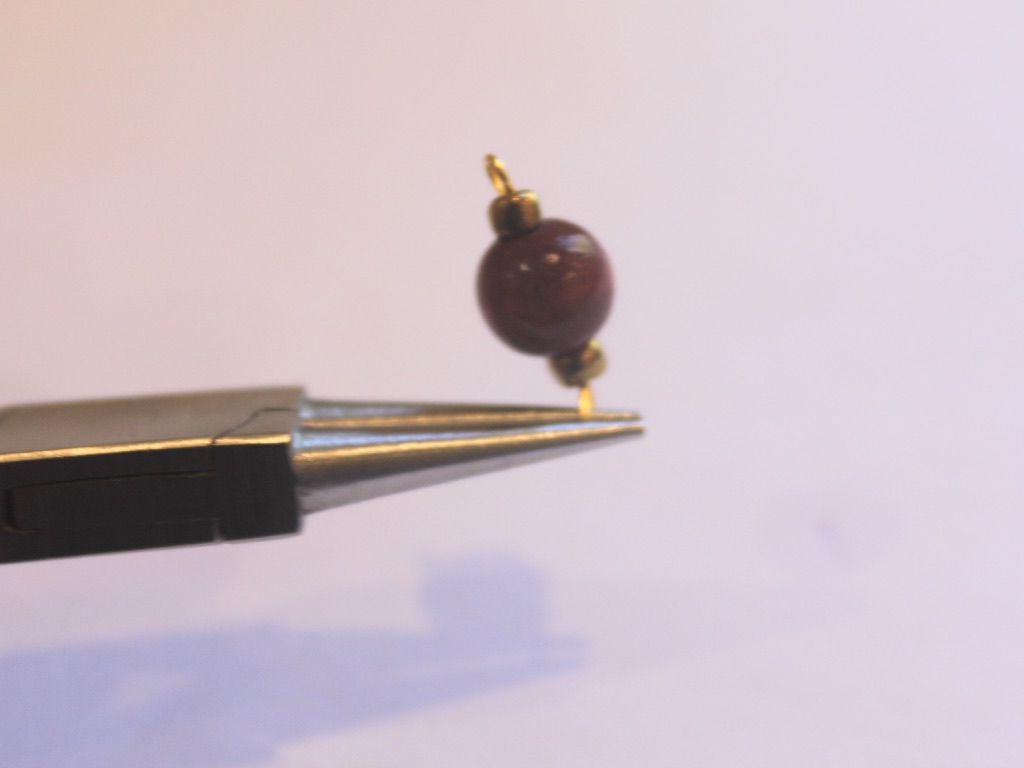
3: Attach the long and short chains to the charm so that they fall either side of it.
4: Add the other beads to the head pin and curl the top of it to secure the beads in place.

5: Attach the charm to the middle of the short chain with the larger jump ring.
6: Split the necklace chain in the middle and use the small jump rings to secure the lobster clasp and a ring to close it on.
Now your new necklace is finished! I think this is a great design to showcase unique beads and charms.

This tutorial contains affiliate links.
-
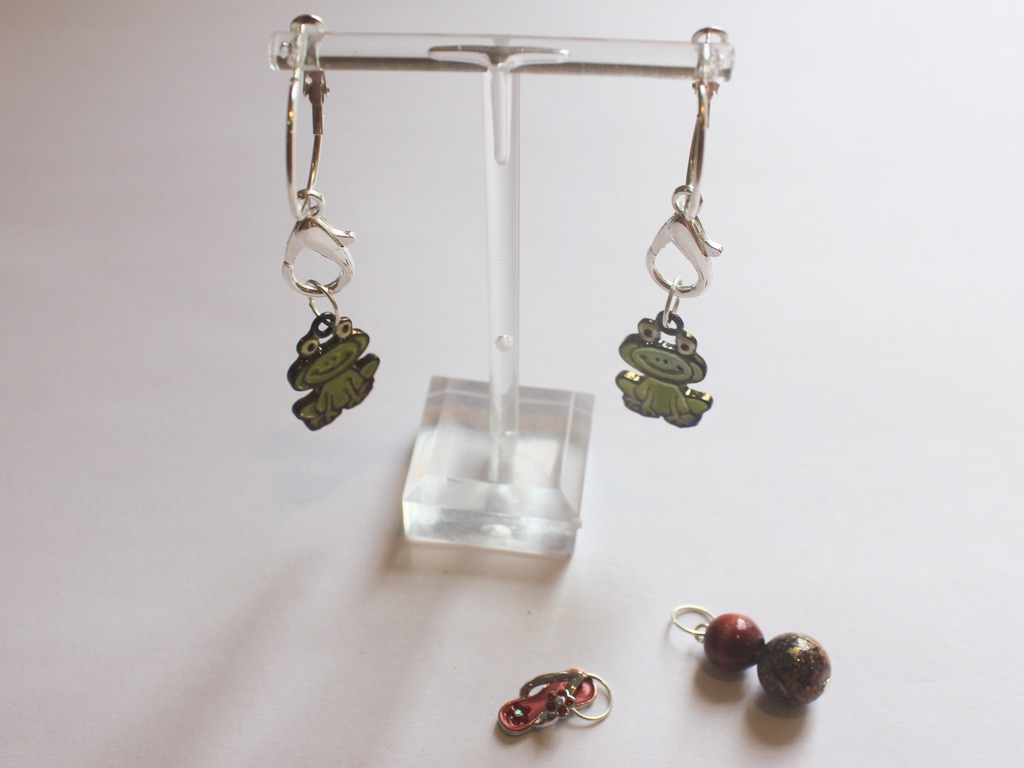
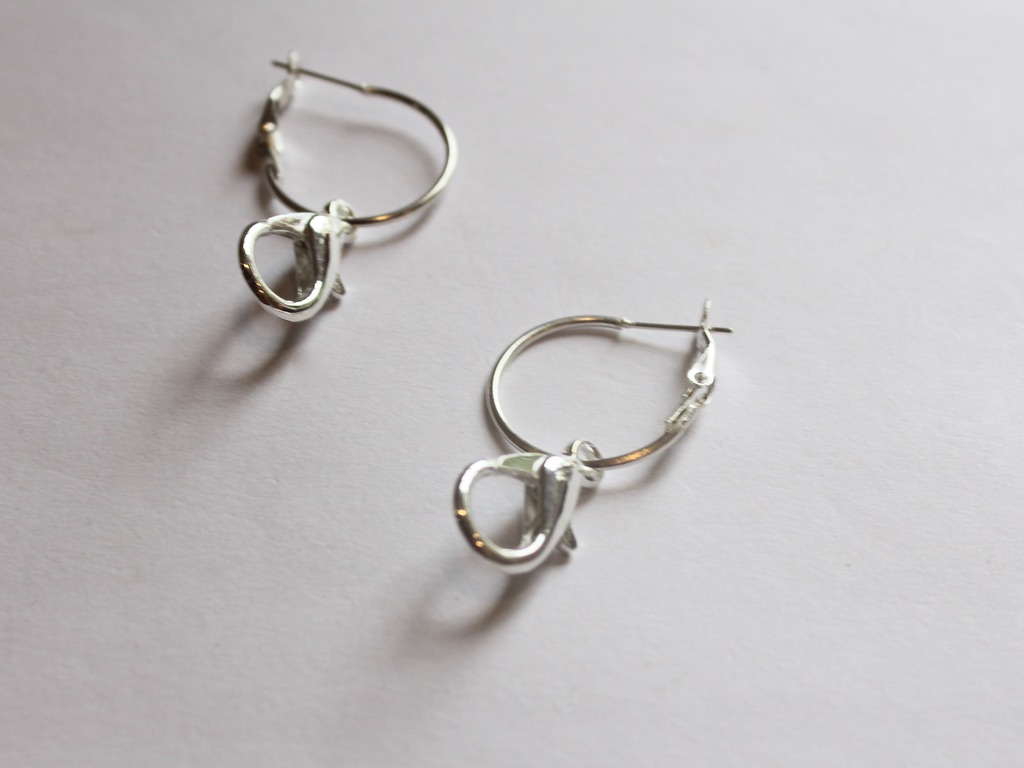
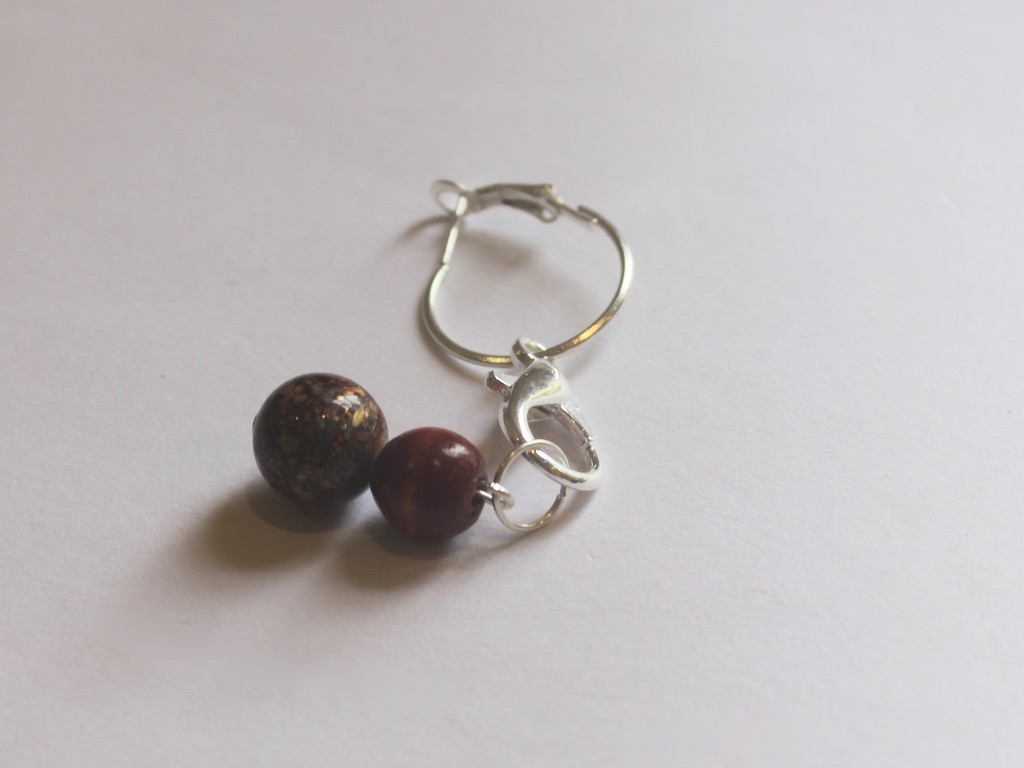
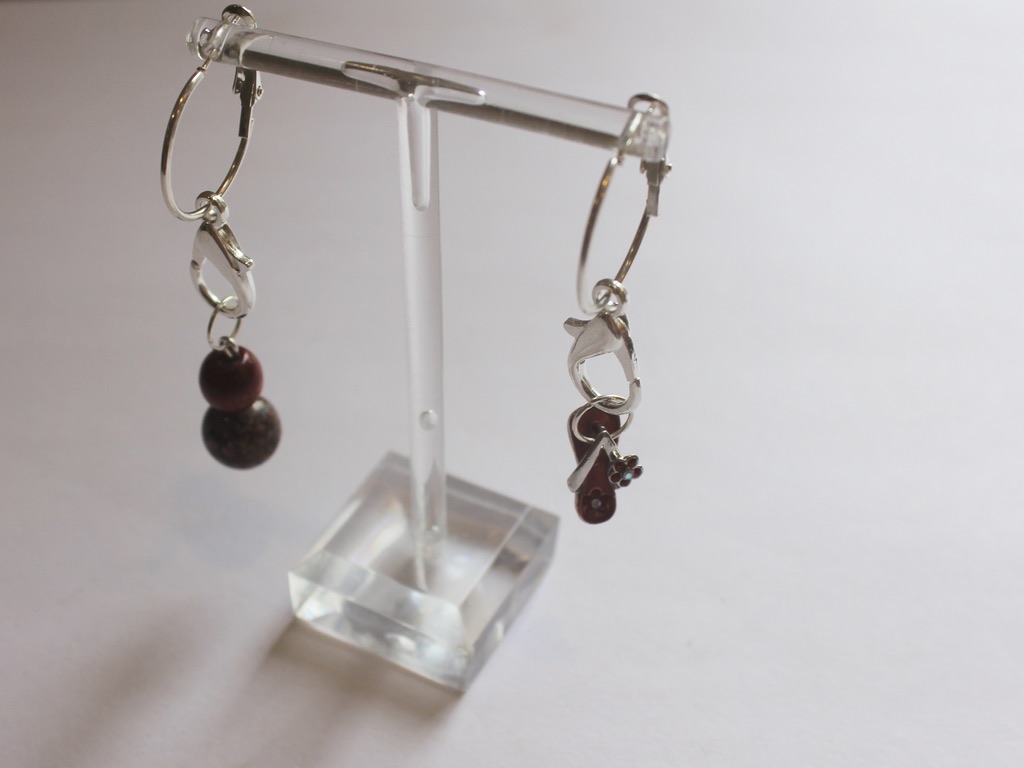
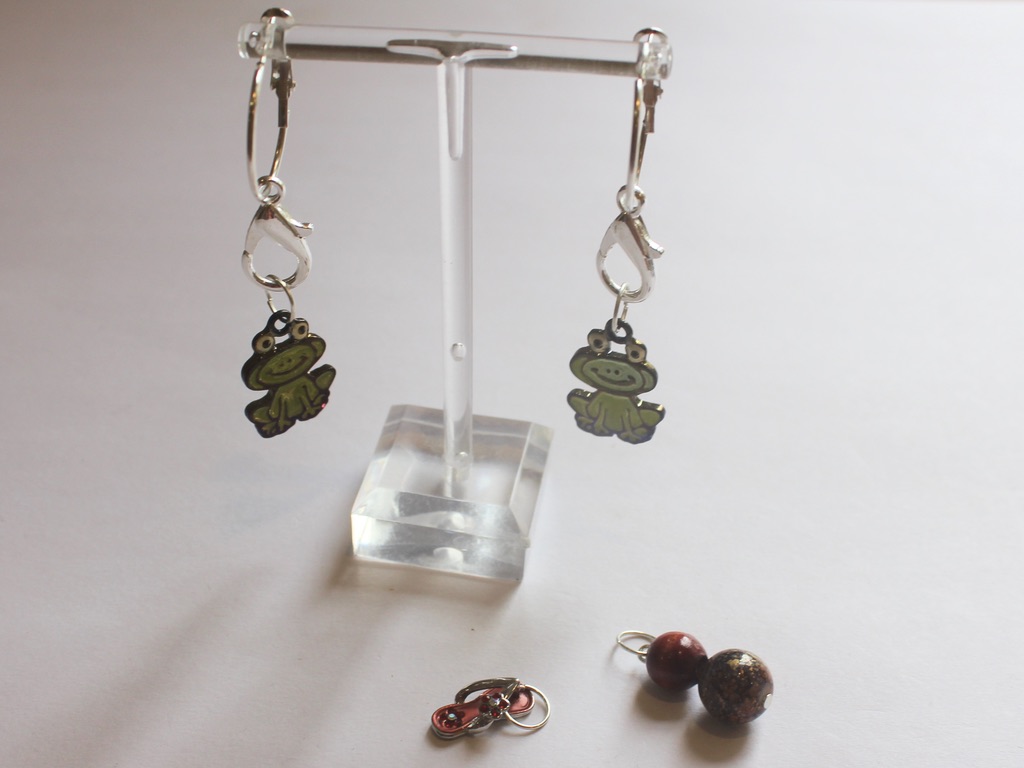
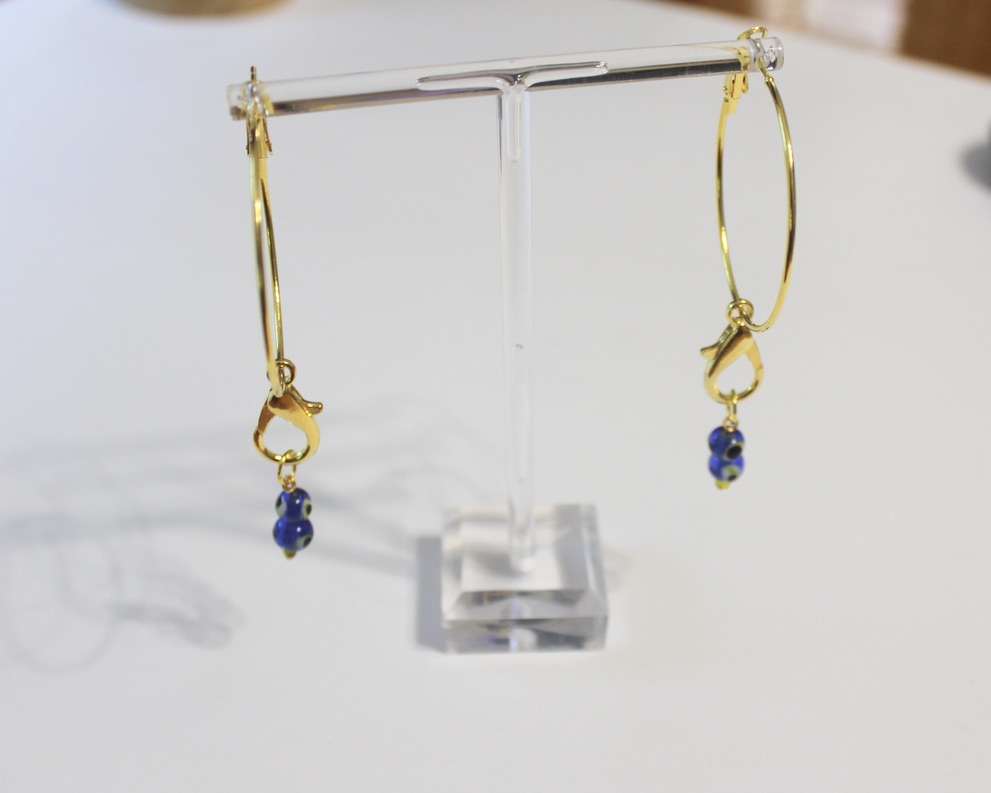
This is a bit of fun, how to make clip charms for your hoop earrings.
This DIY is a little bit silly, but hopefully a bit of fun as well. It is a way to make the most of your face hoop earrings and show off your favorite charms. This design uses large lobster clasps that you can use to clip different charms onto your hoops. This tutorial contains affiliate links.
You’ll need these tools and materials to make your customizable charm hoop earrings:
1: Pliers. I used my round nose and flat nose pliers.
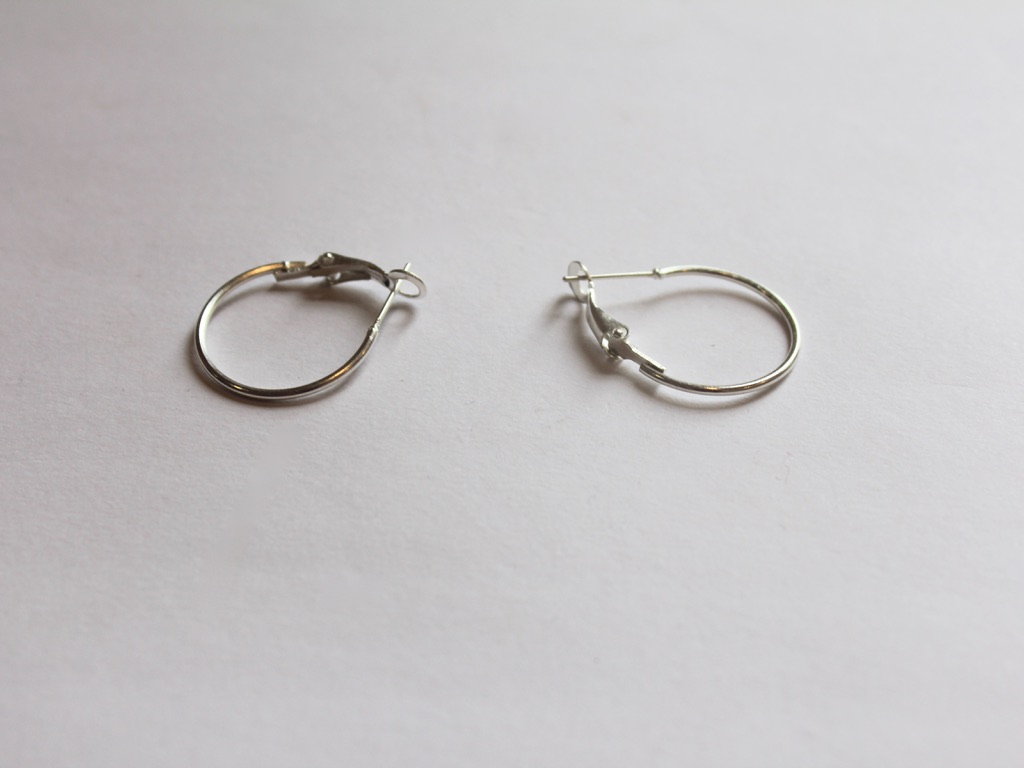
2: Hoop earrings. I used these silver hoop earrings with a lever back.
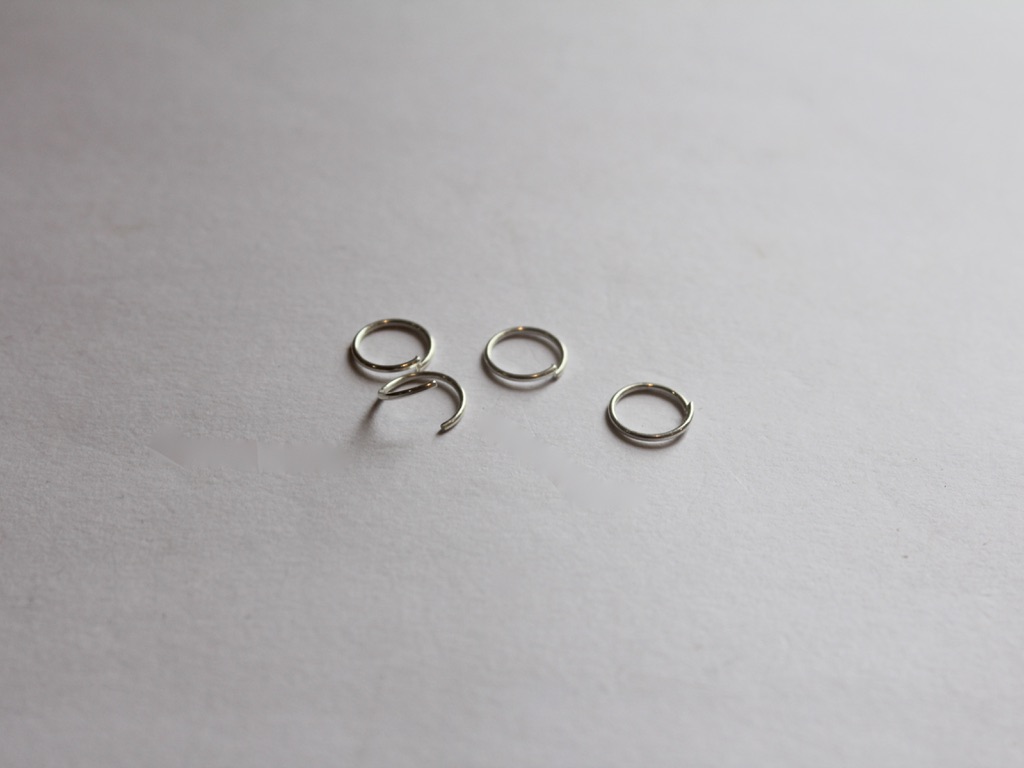
3: Jump rings to attach to your charms.
4: Two large lobster clasps the same color as your hoops.
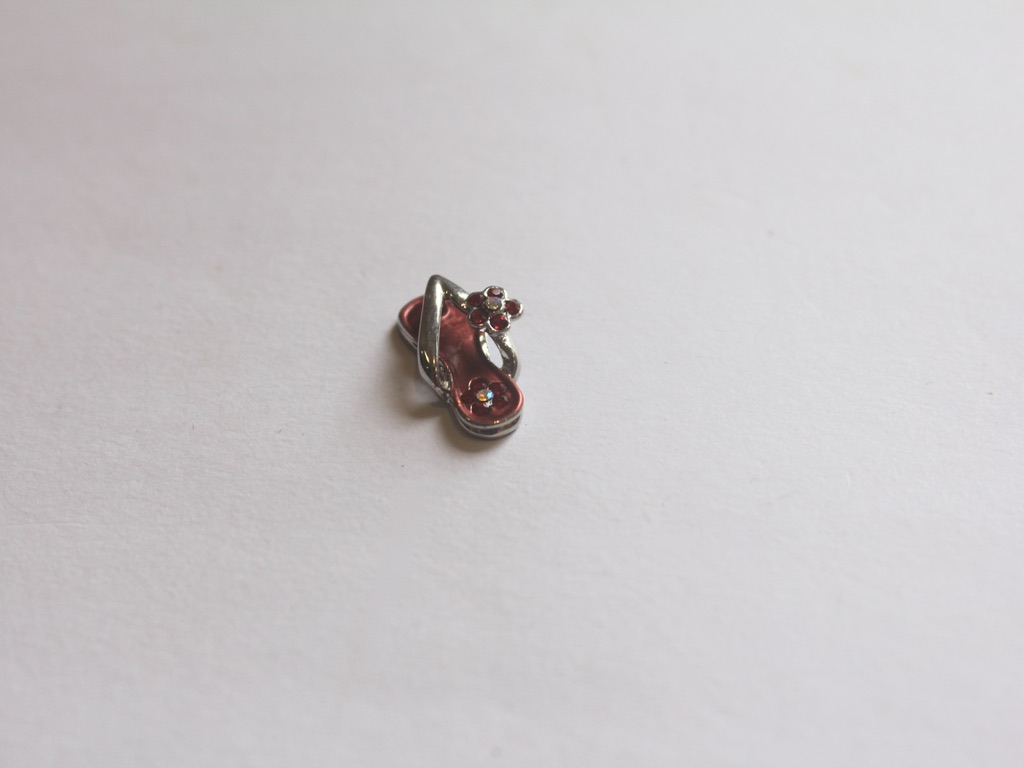
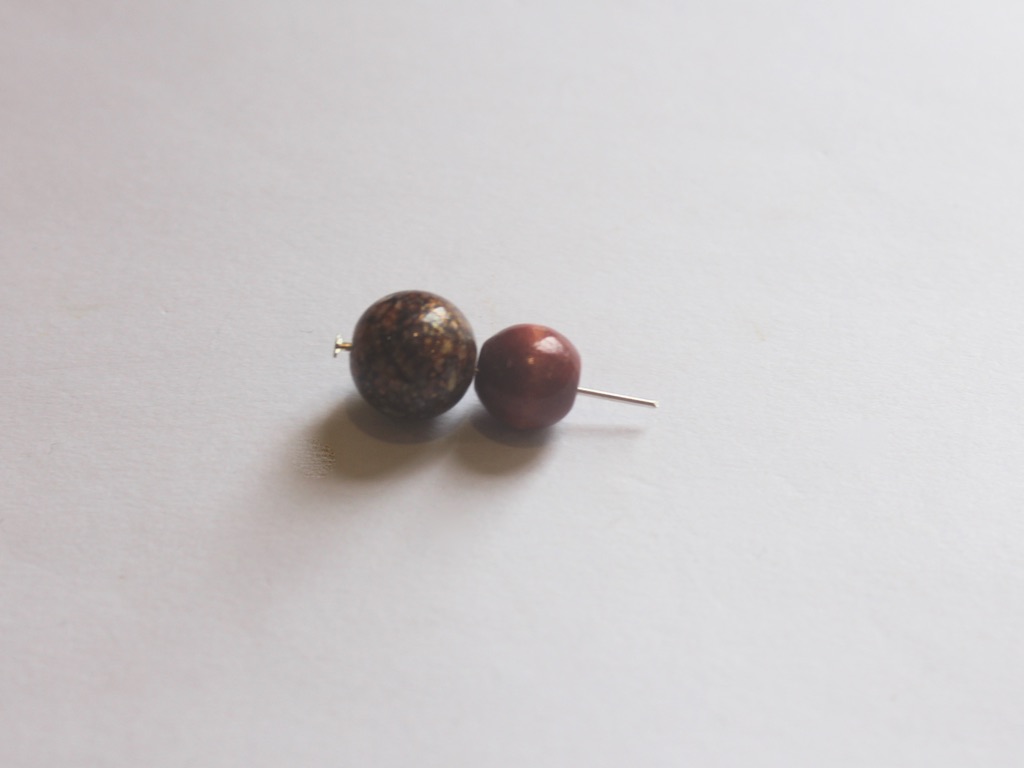
5: Charms or beads and head pins. I used both to make some mismatched charms.
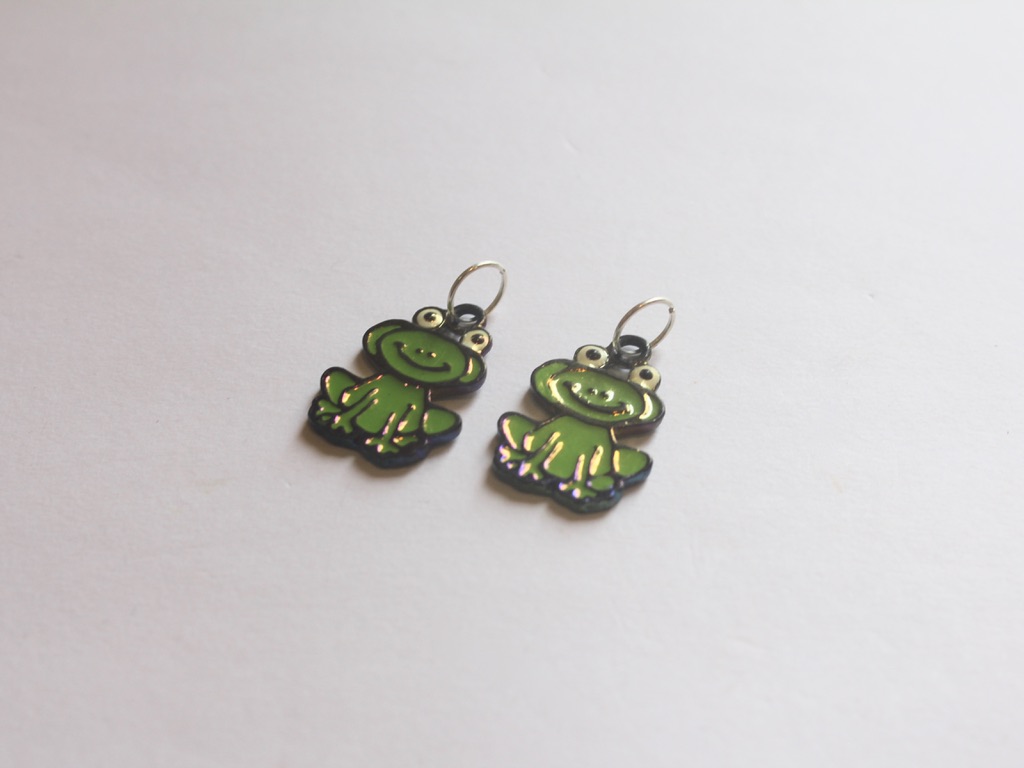
I used these cartoon frog charms.

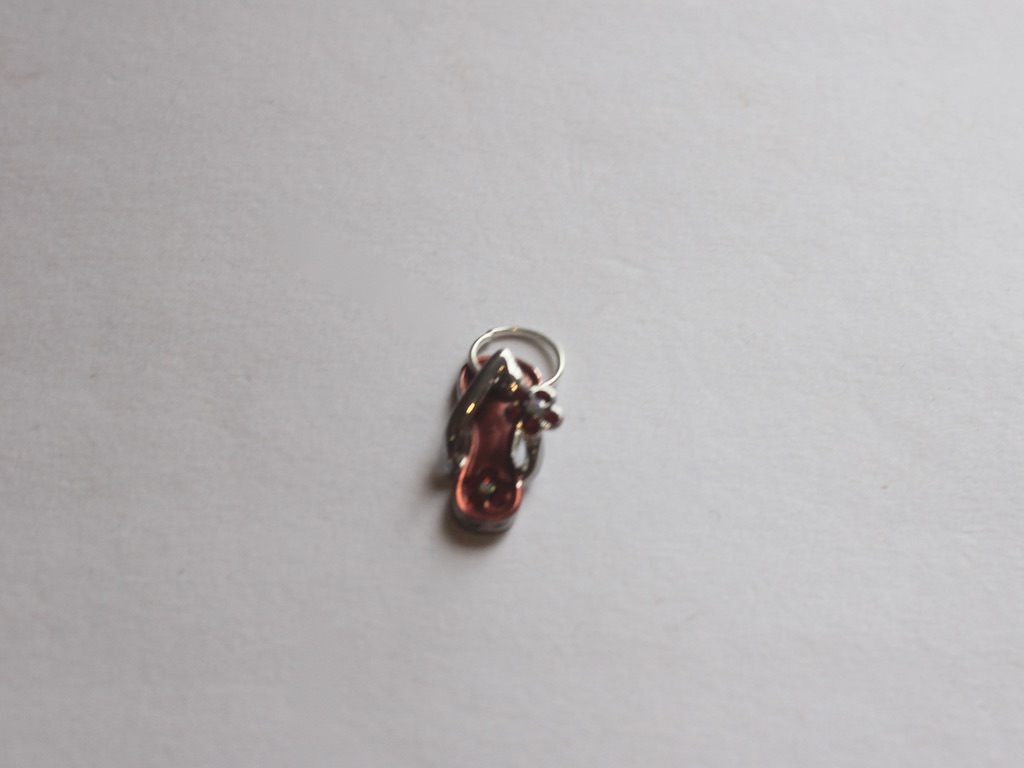
And some beads and a head pin with a flip flop charm.
Follow these steps to make your customisable hoop earrings:
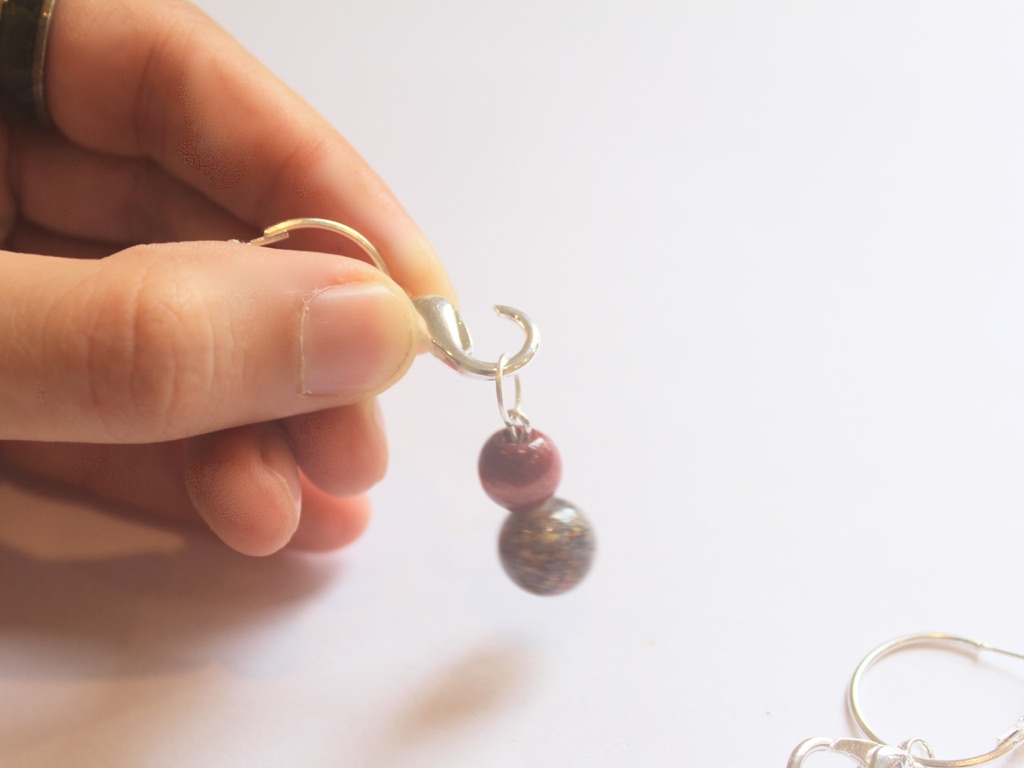
1: Add each of the lobster clasps to the hoops.
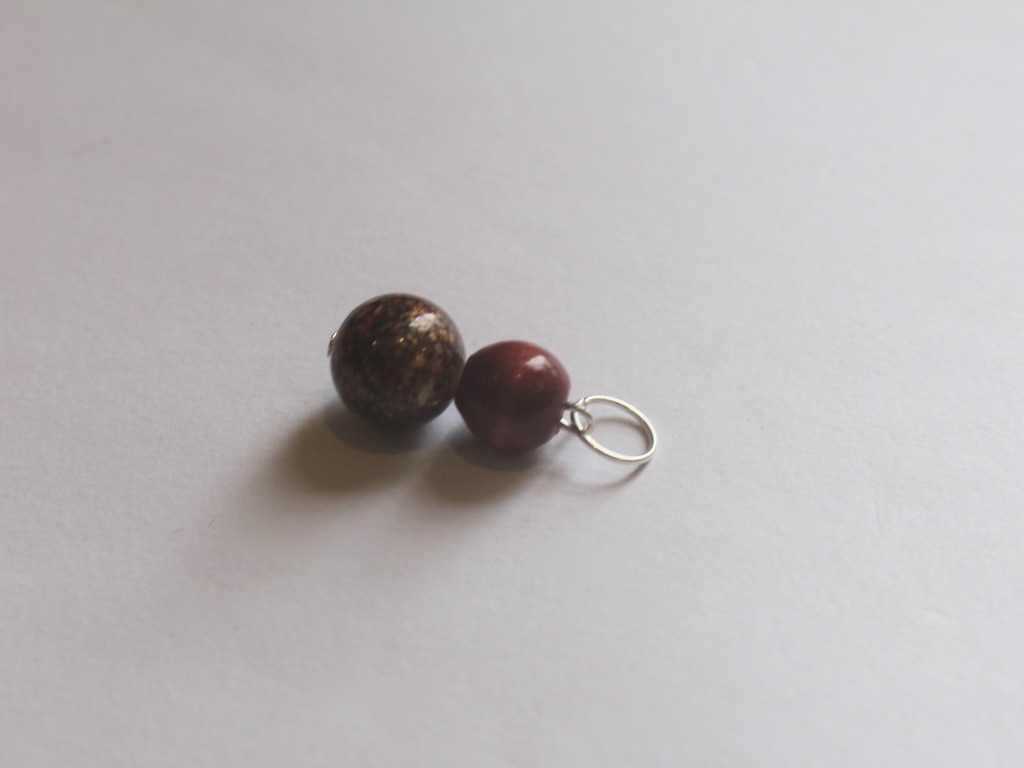
2: Add jump rings to the top of each charm you want to feature on your earrings.
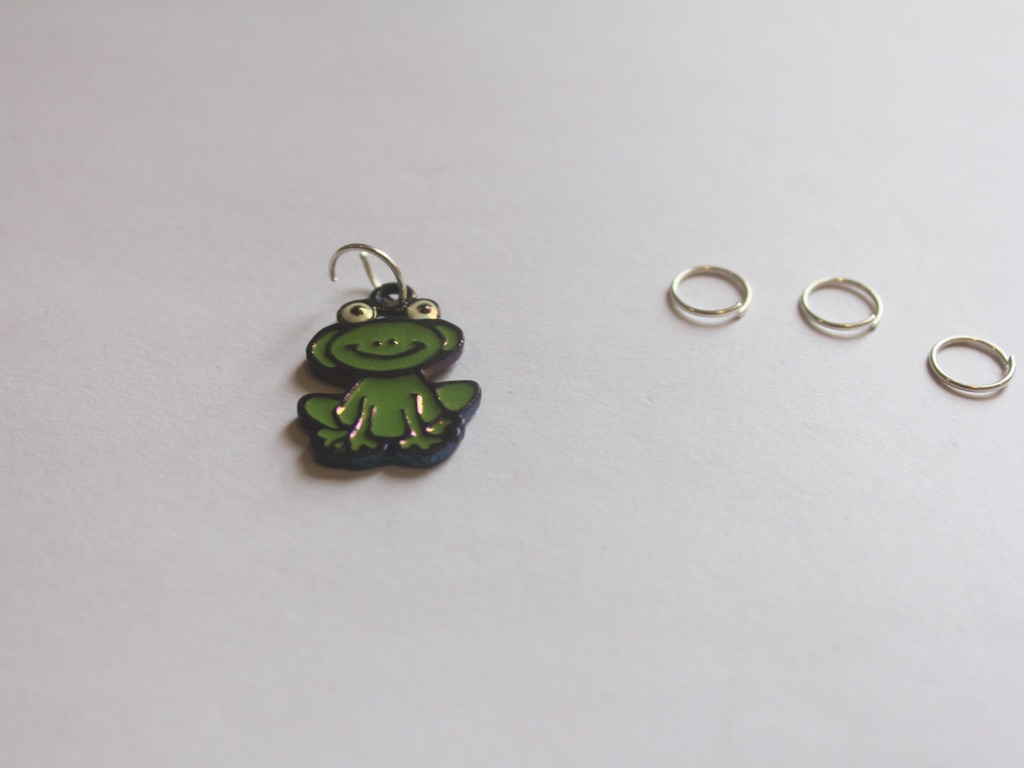
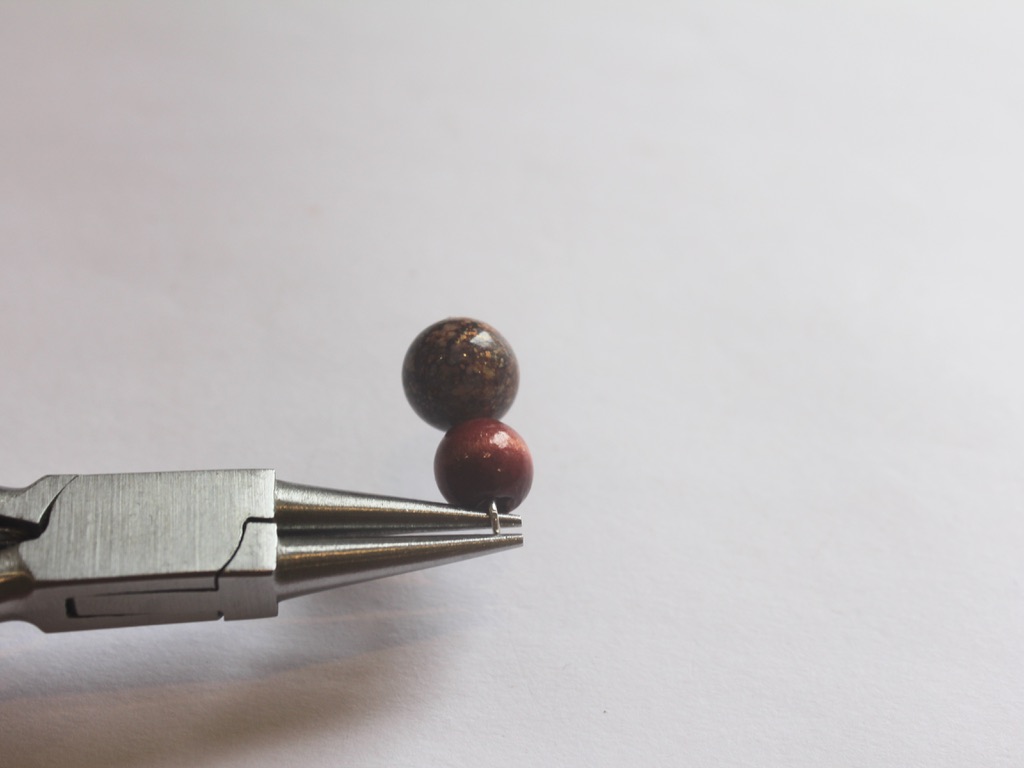
3: Create your bead charms, do this by adding beads to your head pin and curl the tops into a loop using the round nose pliers. Add a jump ring to the top if you need it.
Now you can clip on the charms you like, mix and match for a unique look!
I think this tutorial is great for showcasing the charms you already have at home, but this post also contains affiliate links if you want to buy some new charms and materials.
Here’s another pair I made using gold-tone materials and glass beads.
-
Need some home-made Mother’s Day gift ideas? Here are some you can create
Mother’s Day is coming up here in Australia and it’s the perfect time to exercise your creative skills to make your mother something special! Here’s some inspiration.
If you are only seeing your Mom virtually, why not make her some statement earrings that will up her video call style game?
How about some beaded triangle dangles with tassel charms?

Or some lightweight and colorful ribbon earrings

Upcycle some fabric into beautiful fluttering silk earrings for Mom

If your Mother isn’t into earrings, try making her a statement necklace like I did!
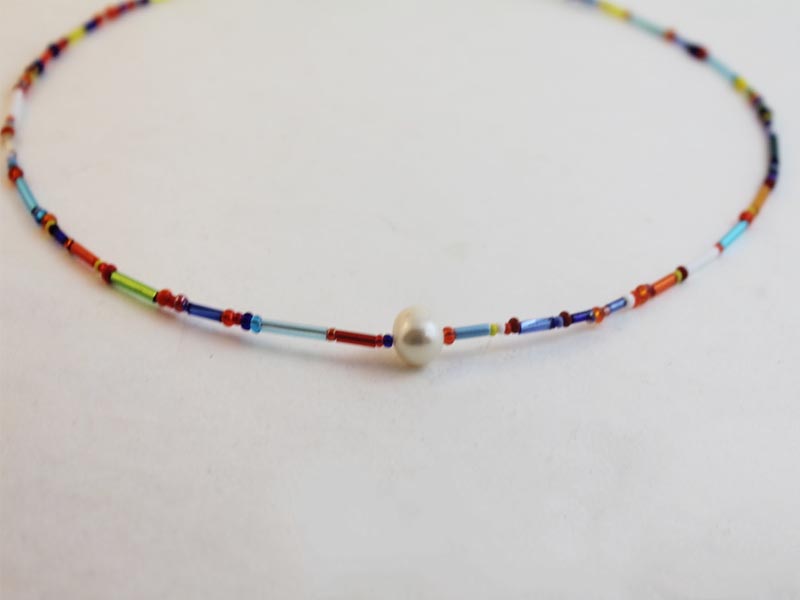
Maybe she’d like a colorful beaded necklace with a beautiful feature pearl
Or how about you show your love more literally with a beaded heart necklace?

Make your Mother’s jewelry work extra hard by making something convertible like this scarf brooch pendant necklace. You can take the chain off to wear it as a pin.

Here are some other pieces you could create to celebrate your Mom this Mother’s Day.

A simple knotted bracelet

A handy glasses chain

A cute embellished hair comb

I hope this post gives you some inspiration for some handmade Mother’s Day gifts!