Step-By-Step Tutorials
-
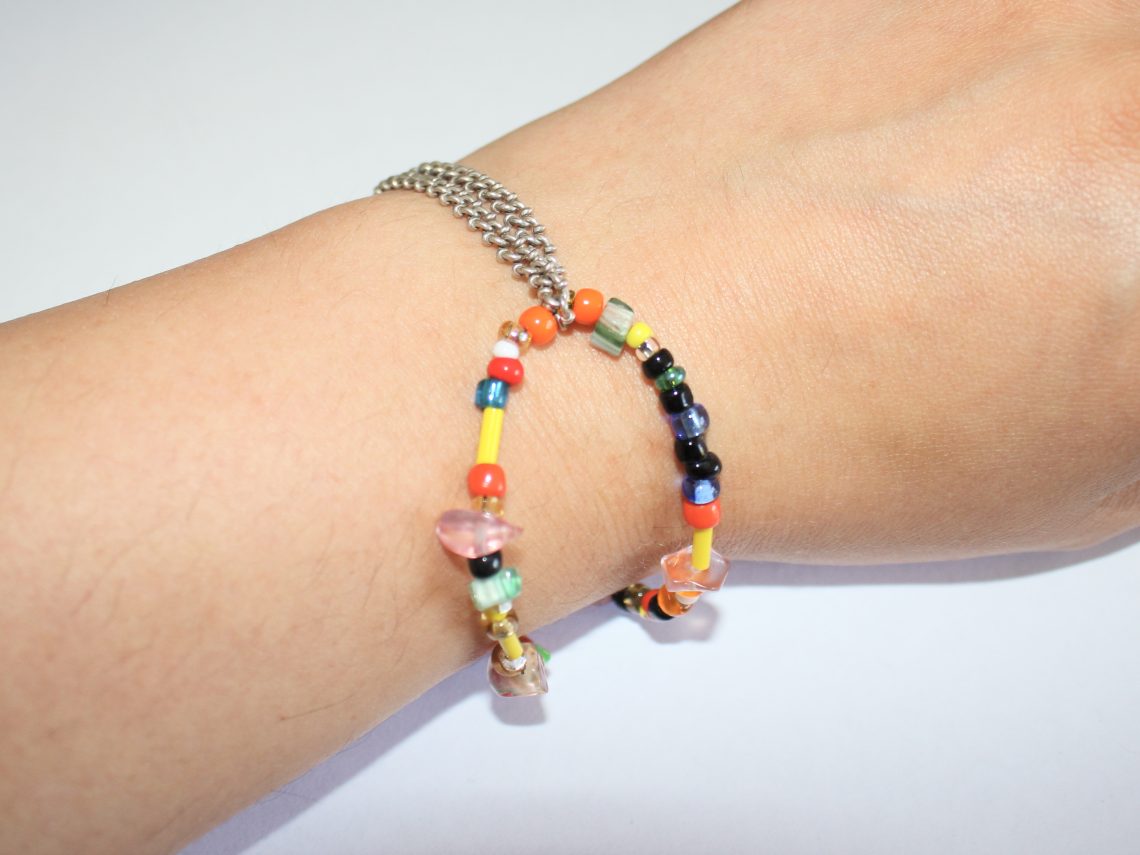
This tutorial shows you how to turn two bracelets into one interlocked statement bracelet!
Do you like it when you’re jewellery shows off different textures and colours? Me too! Sometimes it can be fun to hack you’re existing jewellery collection to make something look cute and new. This tutorial shows you how you can turn two of your favourite bracelets into a new statement bracelet! This tutorial is extra great because you don’t need any tools to make it! Please note that this tutorial contains affiliate links for which this website might receive a commission.
You’ll need the following tools and materials to make your interlocked bracelets:
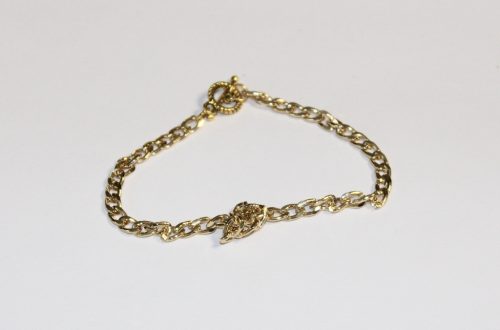
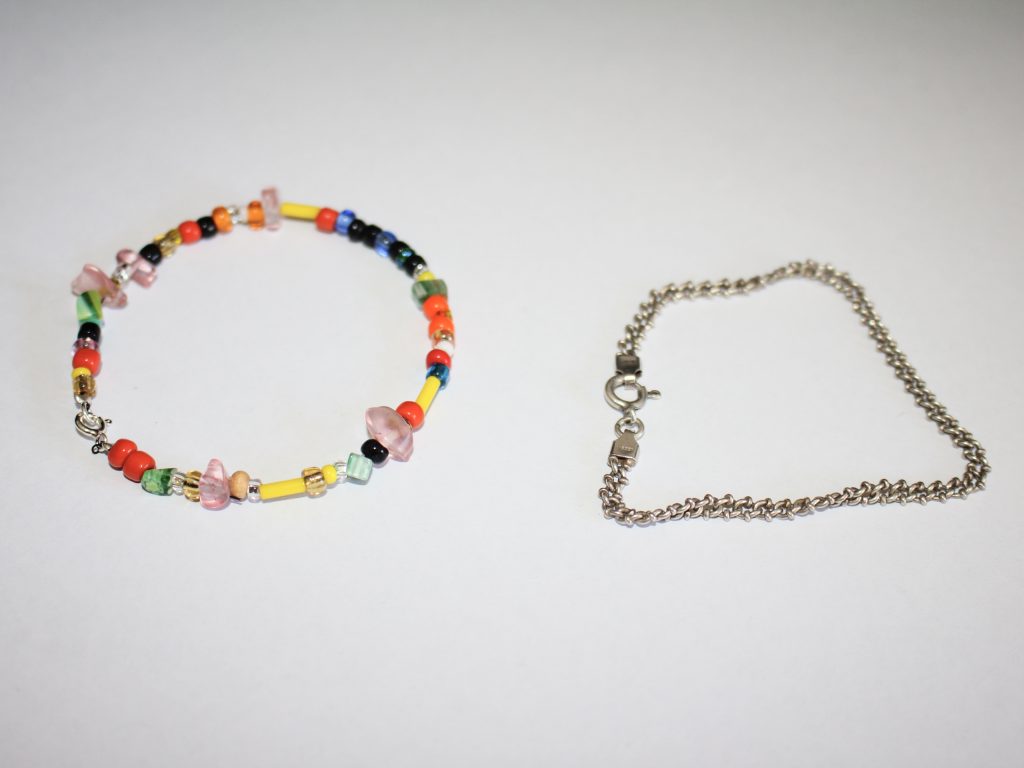
1: All you need for this tutorial is two bracelets. I used a sterling silver chain bracelet and a rainbow beaded bracelet. It is ideal if they are about the same length and each fit your wrist comfortably.
I made this rainbow beaded bracelet but here are some places you can get something similar:
Here are some sterling silver chain bracelets you can purchase:
Follow these steps to make your interlocked statement bracelet:
1: Undo the clasps on each bracelet.

2: Loop the bracelets around each other, folding them in the middle and clasping them together so they are attached.


3: Put it on your wrist, opening one of the clasps and closing it around its closure and the closure on the other bracelet. It can help to add an extender chain to one of the bracelets to make it easier to put on. You can get one here:

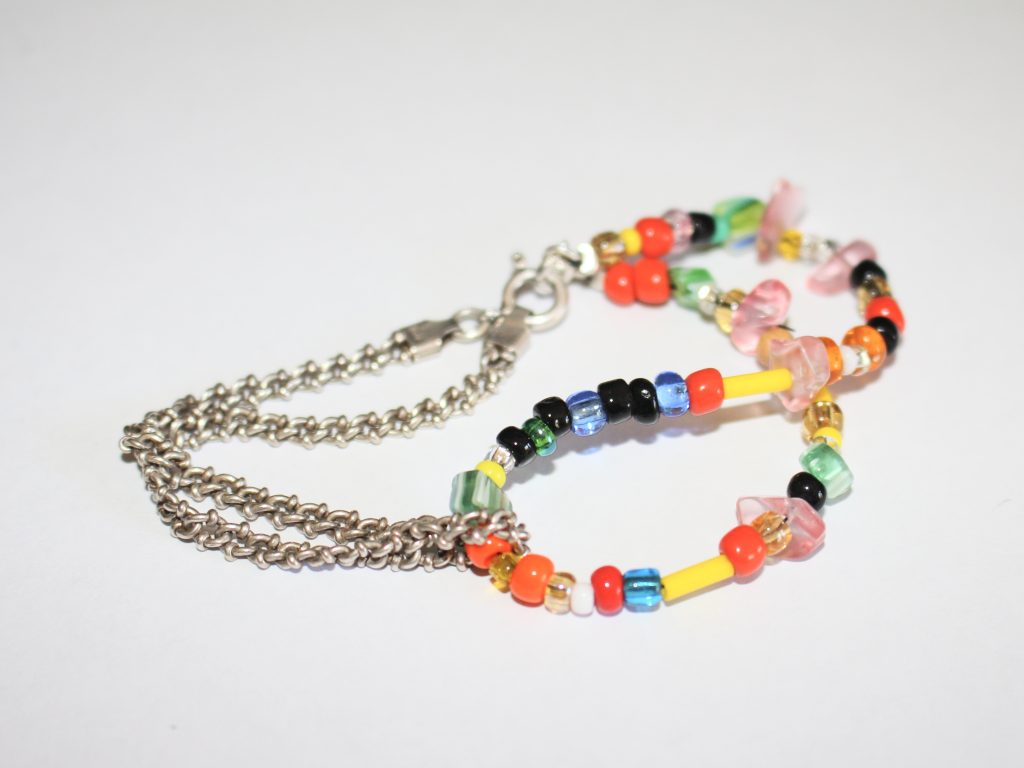
And that’s it! This tutorial is great for adding some spice to your existing jewellery collection. What bracelets will you use to make your own interlocked statement piece?
If you want this look but don’t want to use bracelets you already own, you can follow this tutorial that shows you how to make one from scratch: https://www.diyjewelryhub.com/how-to-make-a-beaded-double-loop-bracelet/
-
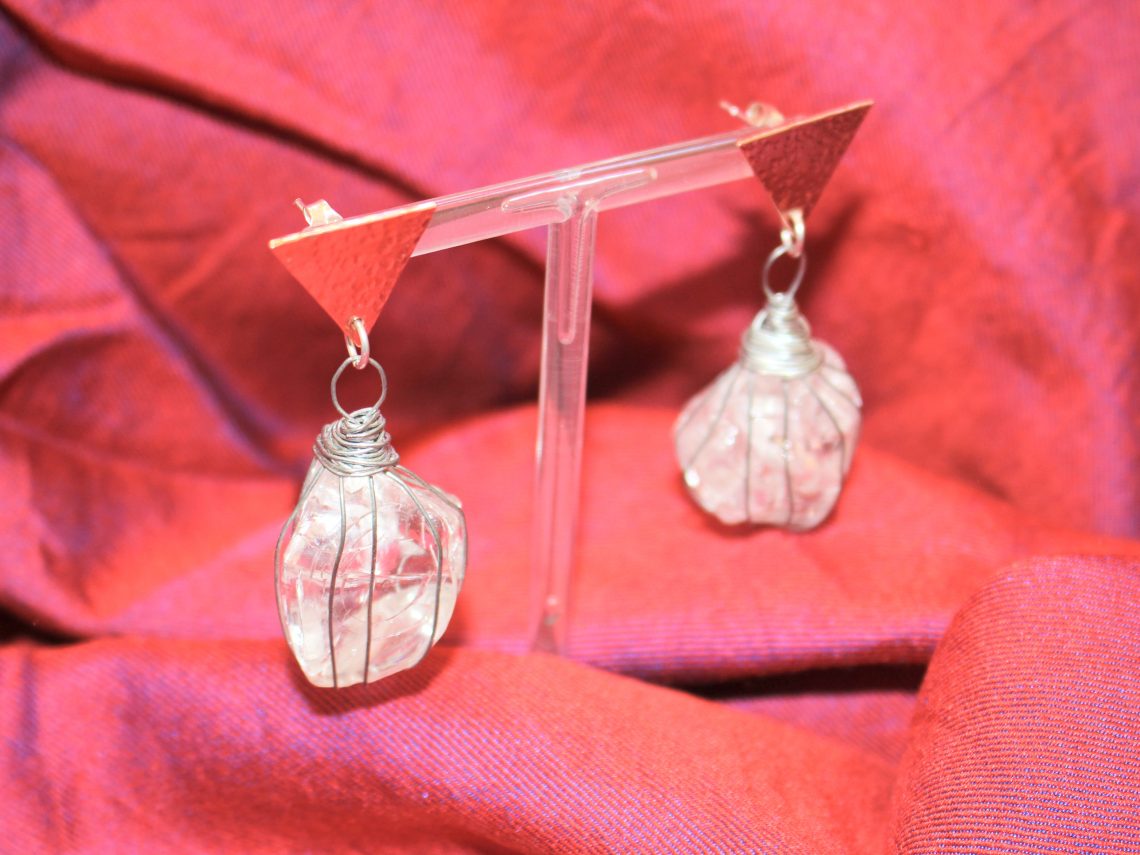
Got a pair of dangly earrings you aren’t quite in love with? This tutorial shows you how you can swap earring hooks for studs.
I like dramatic earrings, but I don’t love the look of hook earrings, so I prefer my dangly earrings to have stud tops. If you’re like me, the following tutorial will show you how you can swap hooks for studs in a few easy steps. Please note that this tutorial contains affiliate links that may earn this website a commission.
You will need the following tools and materials to transform your hook earrings into dangly studs:
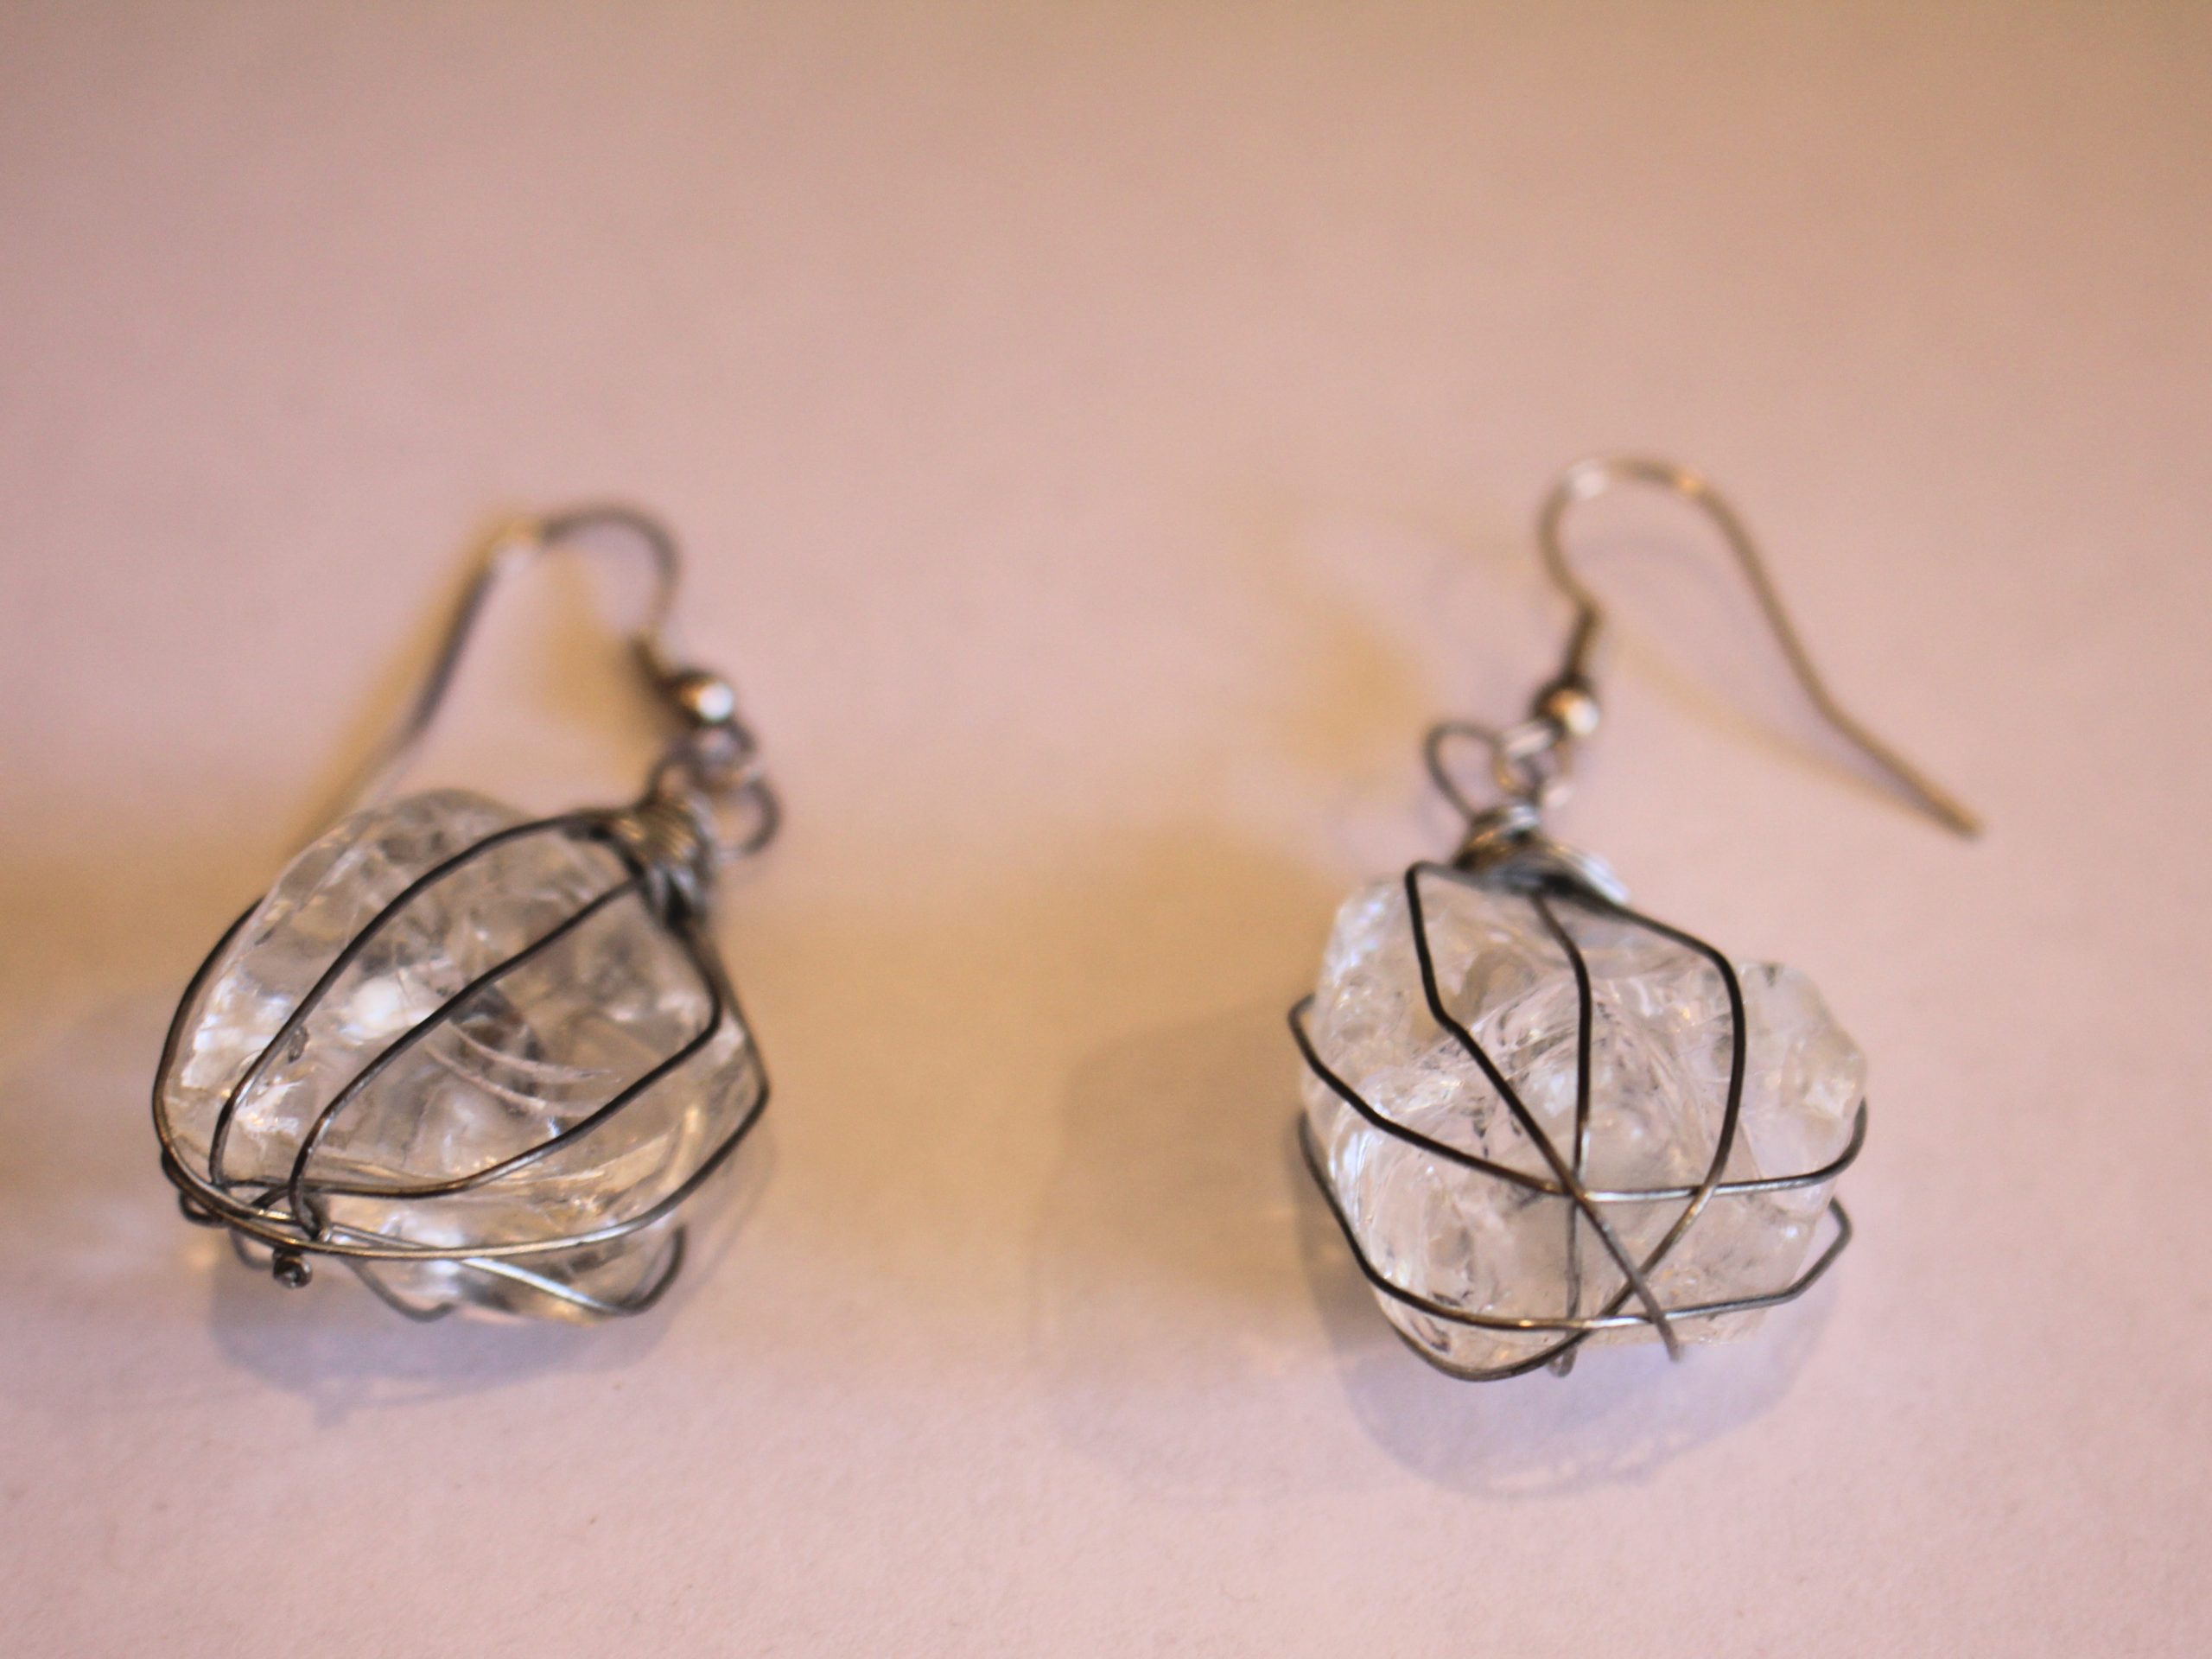
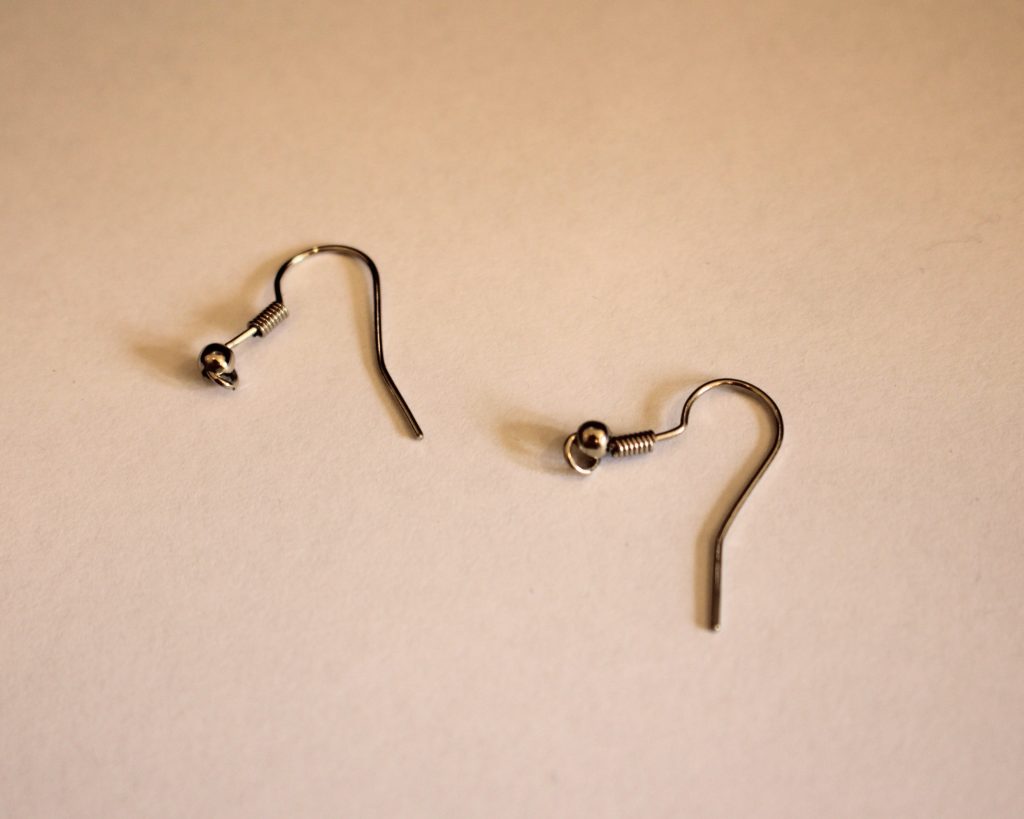
1: A pair of dangly earrings that have hooks. I used these earrings that were given to me as a gift.

You can use any earrings you like that have earring hooks, but here are some similar to the pair pictured:
2: A pair of stud earrings with a hole or jump ring attached to them. Make sure you have earring backs as well.

These are handmade studs, but you can get something similar here:

3: A pair of jump rings.

4: Pliers. I used my flat nose and needle nose pliers.

Follow these steps to transform your dangly earrings:
1: Take a pair of pliers and open up the ring at the bottom of the earring hook on one of your earrings.

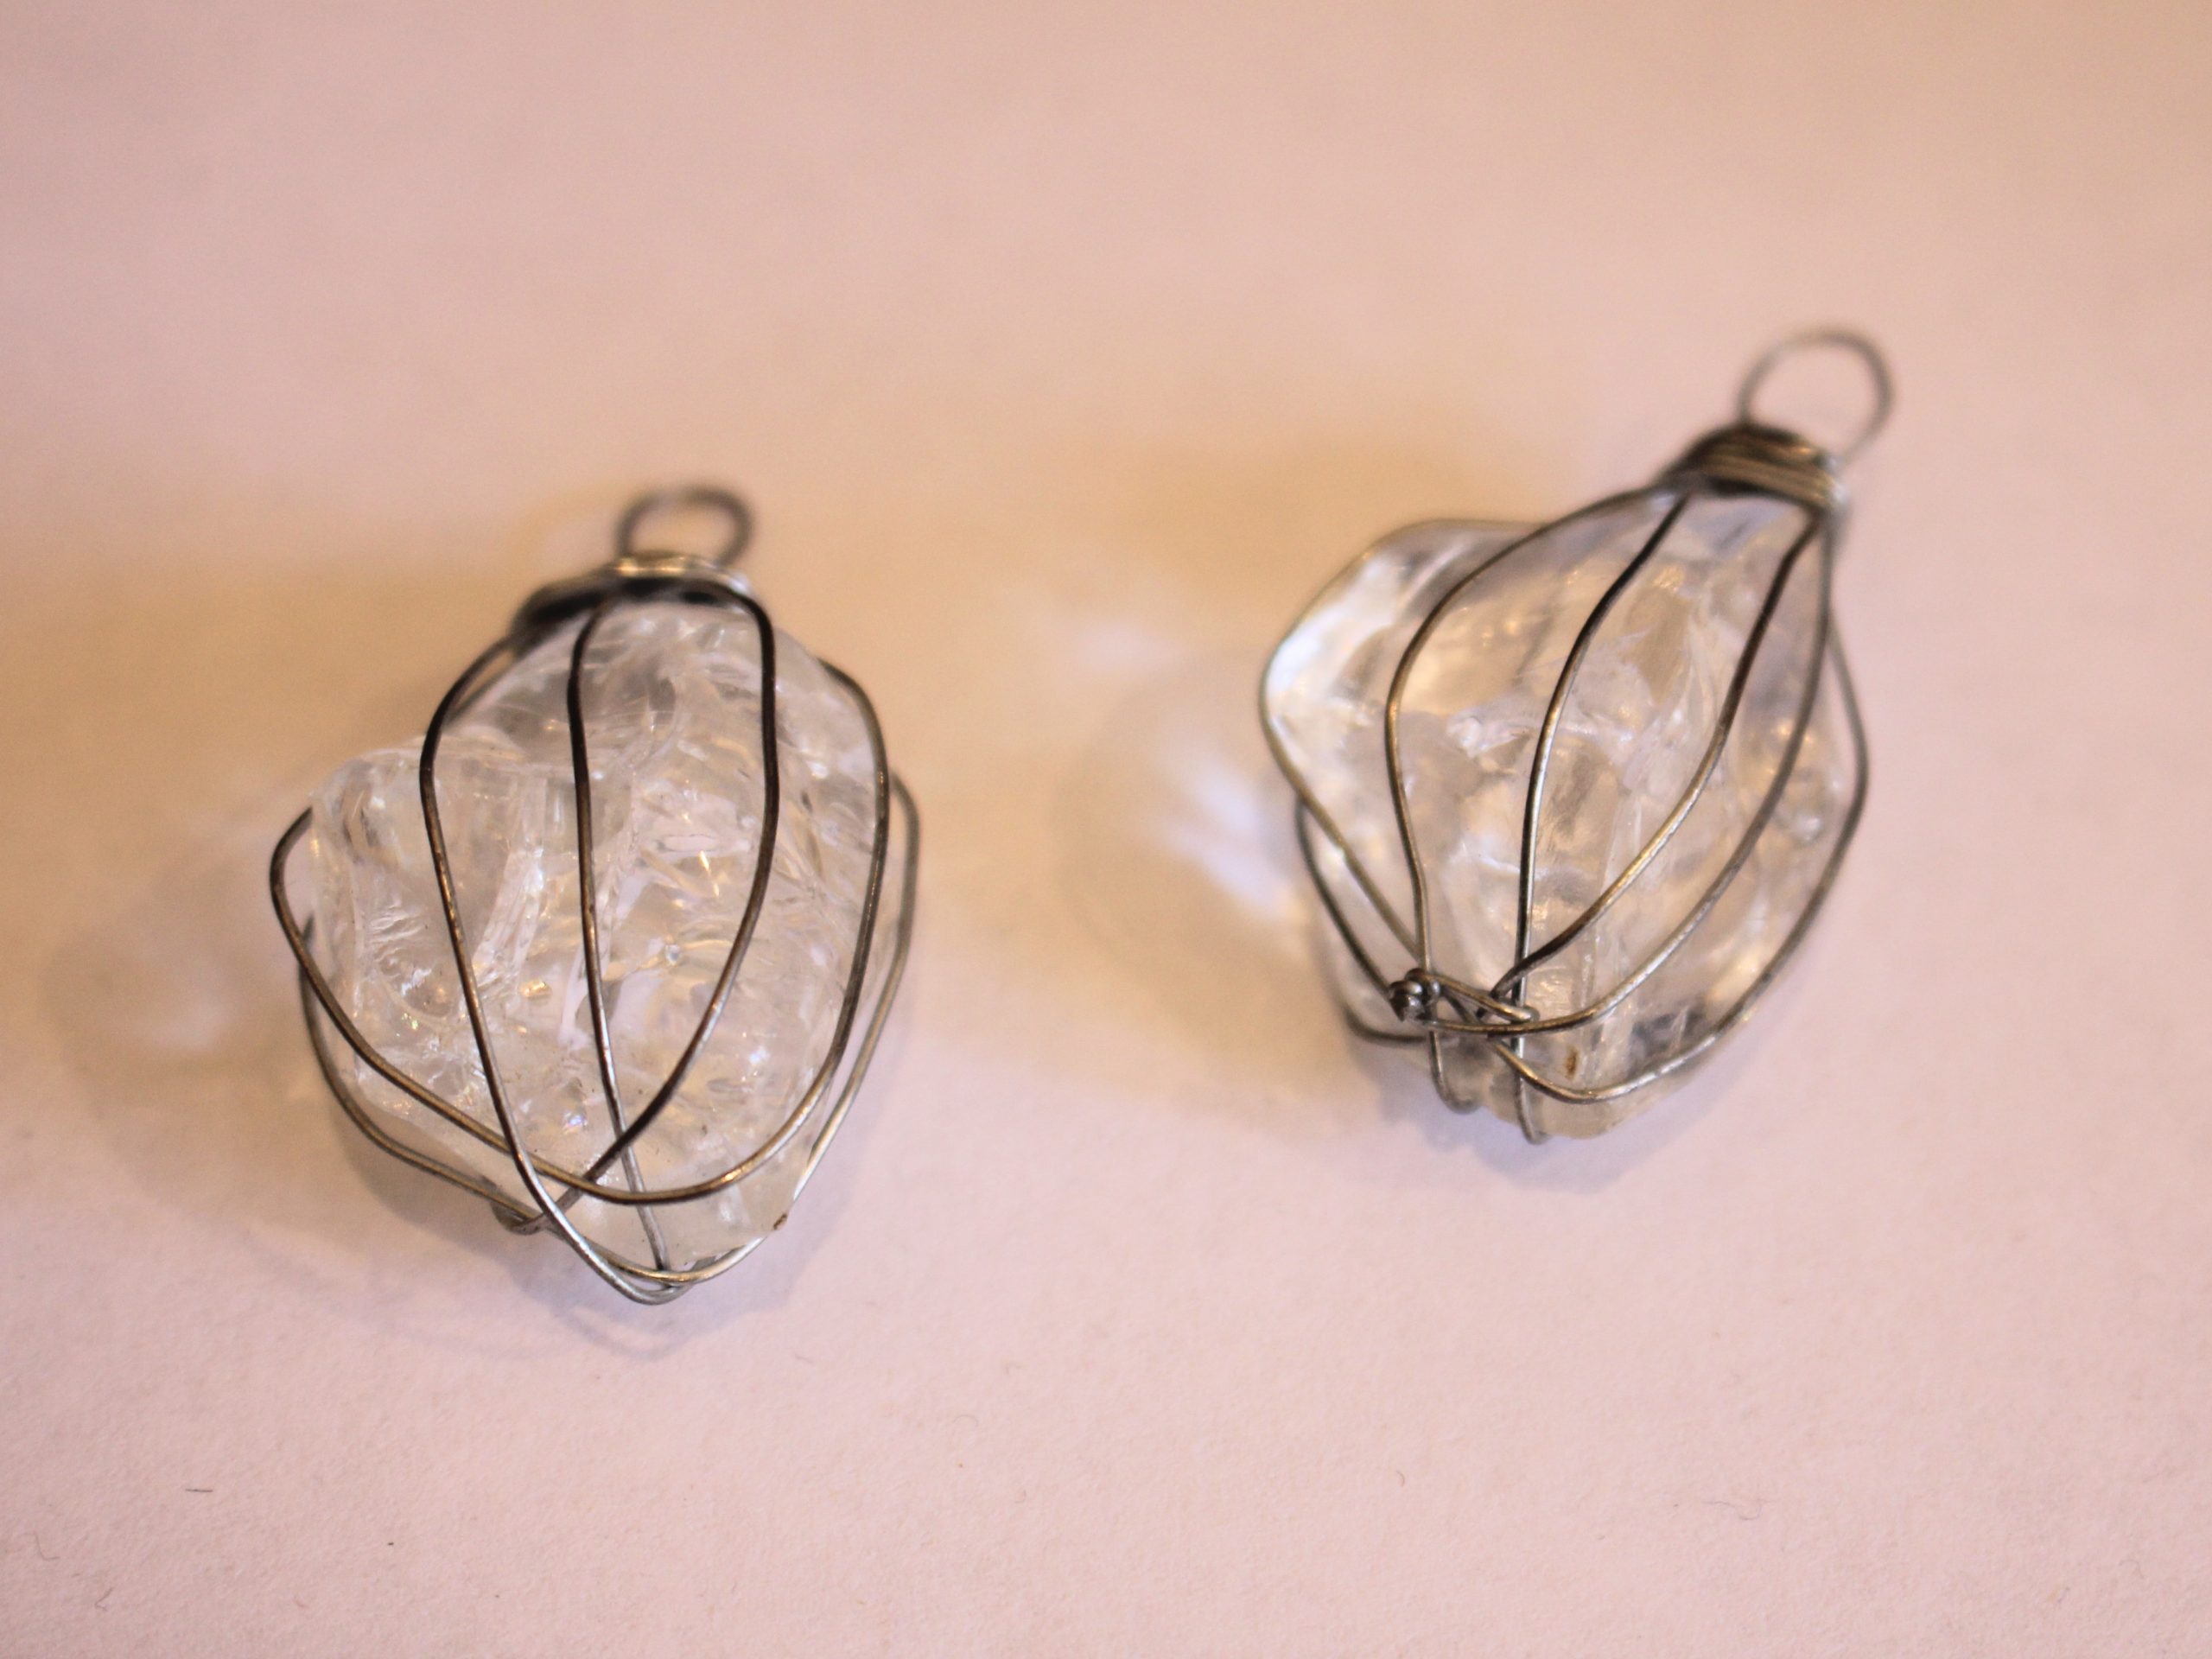
2: Remove the hook.

3: Repeat this for the second earring.

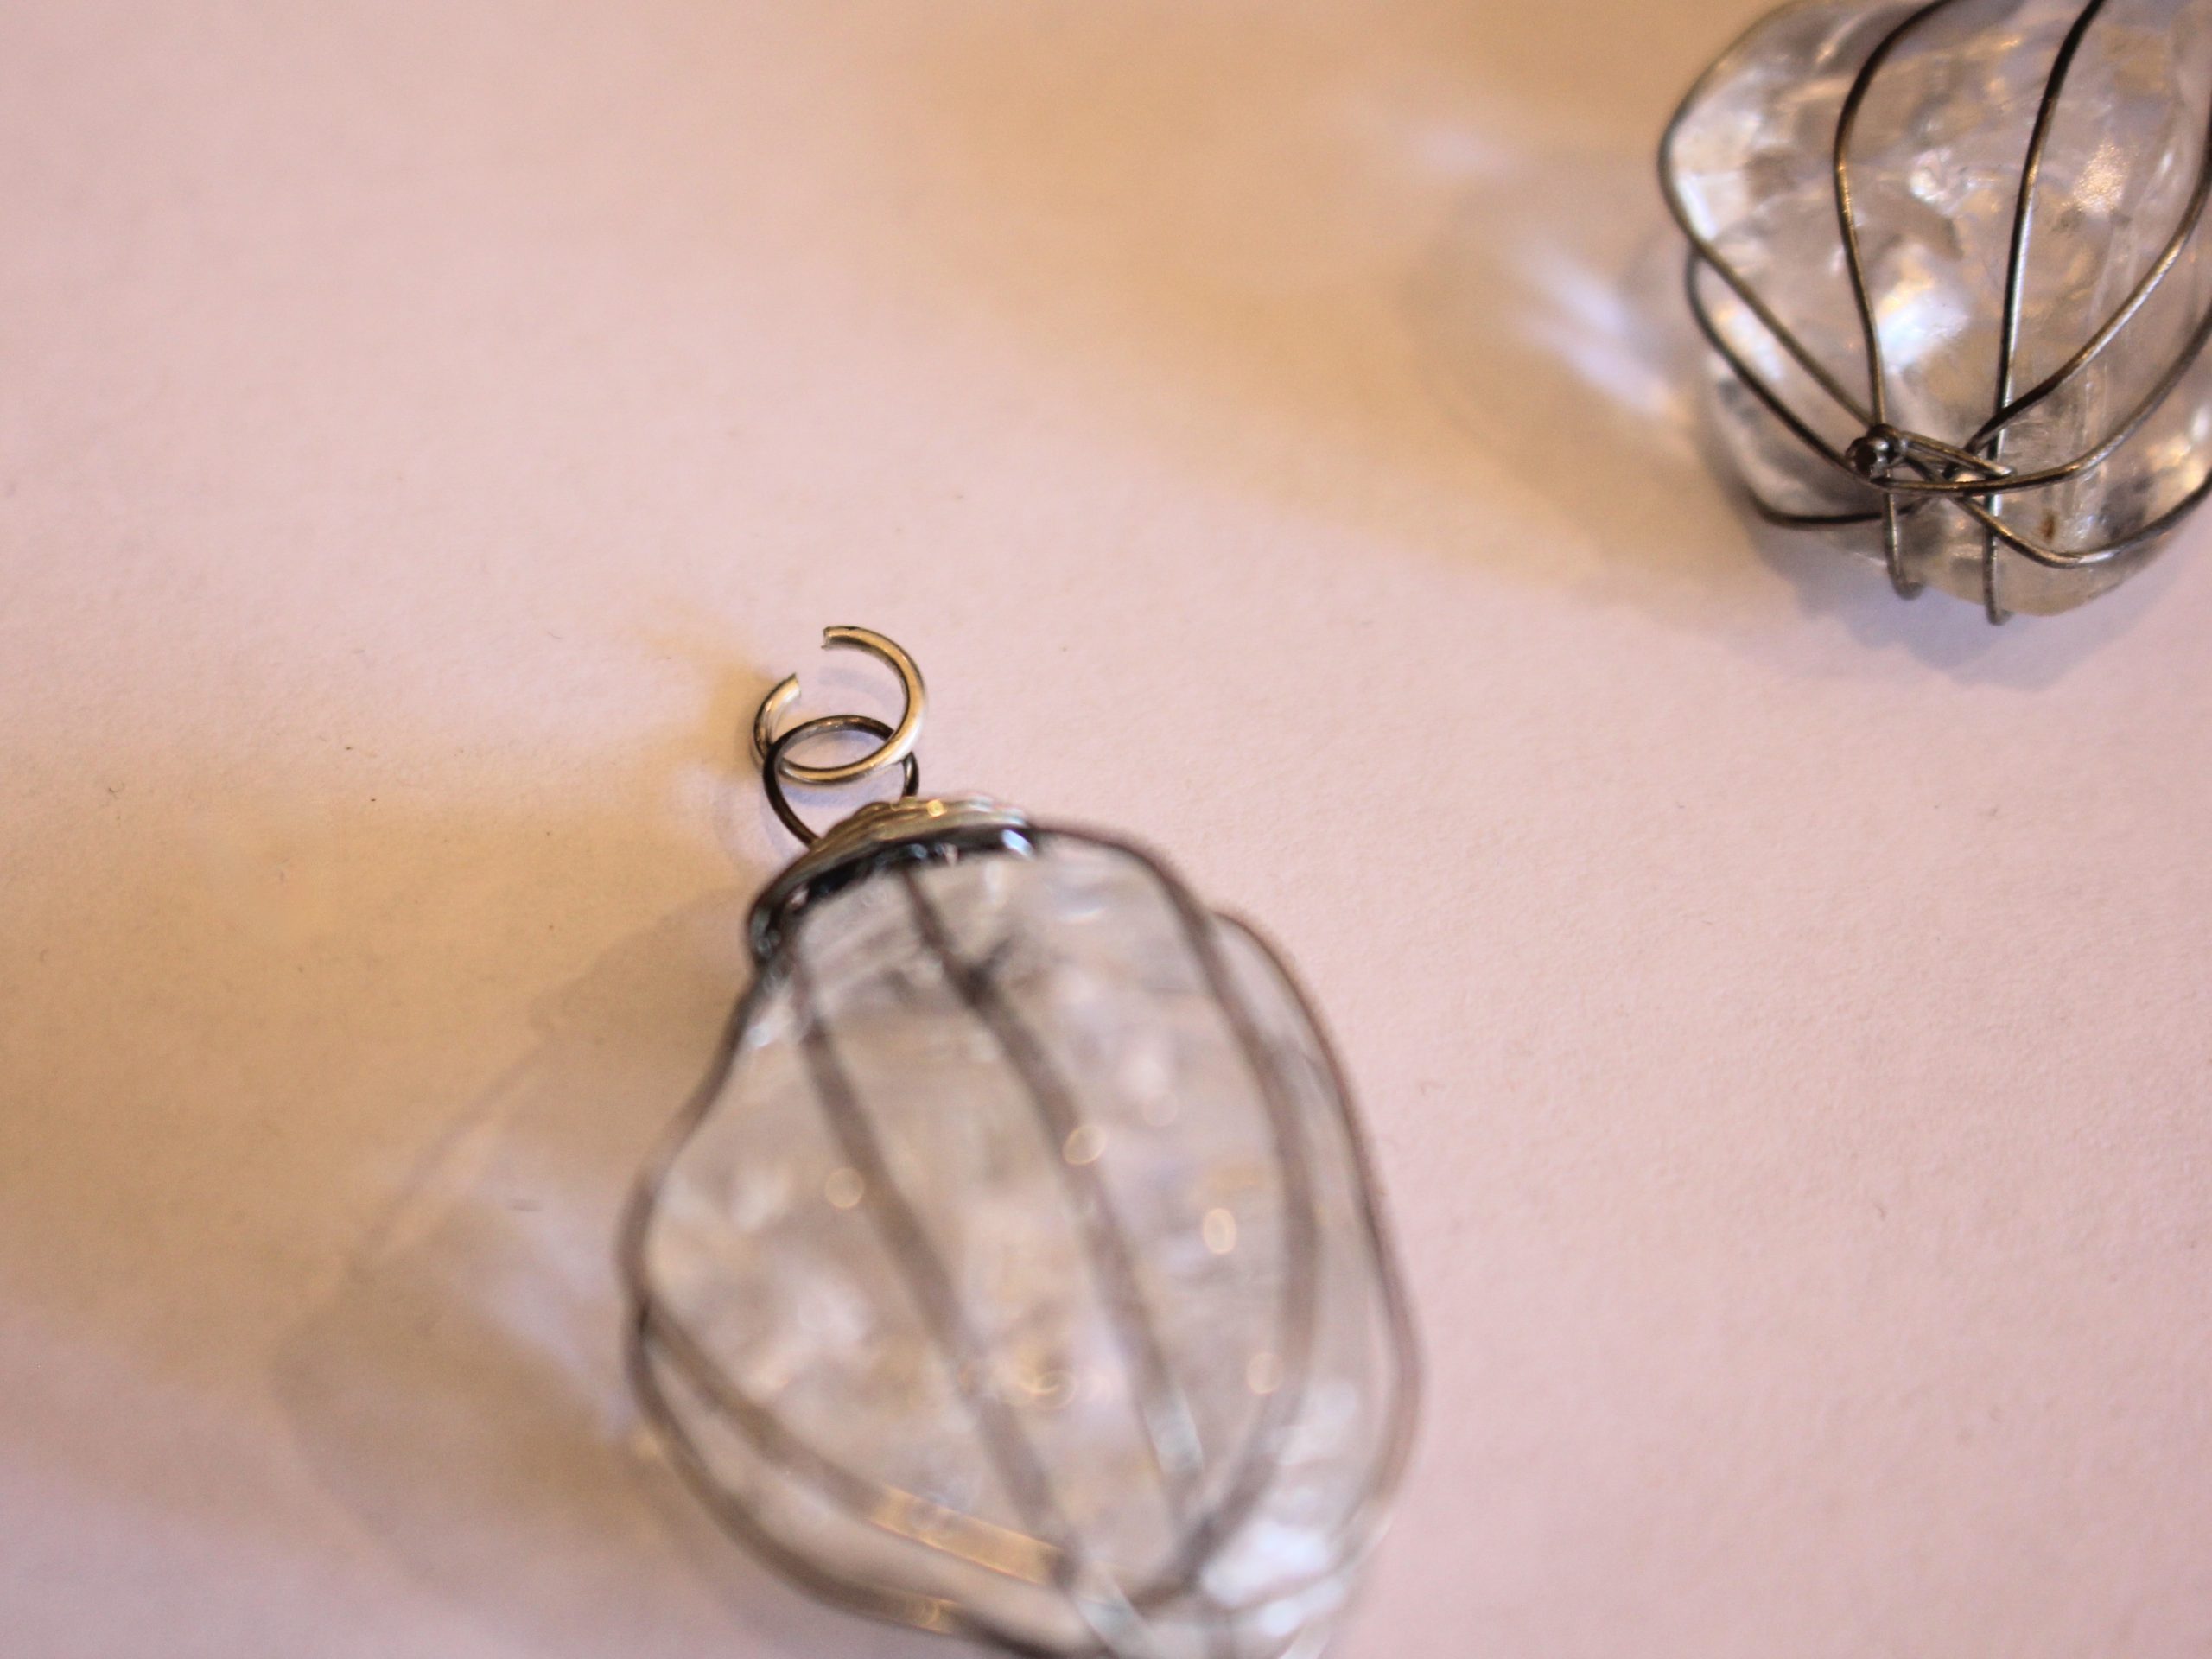
4: Take one of the jump rings and add it to the loop at the top of one of the earring charms.

4: Slide the jump ring through the hole at the bottom of the stud earring finding.

5: Close the jump ring using the pliers. Now you will have transformed one of your earrings.

6: Repeat steps four to five for the second earring.

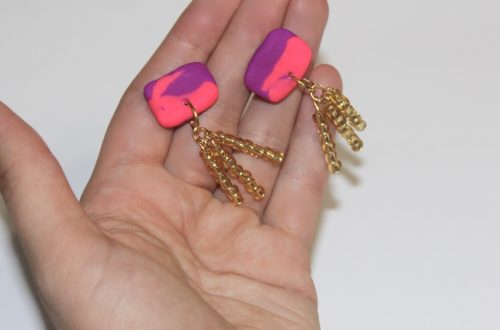
Now you can use your old earring hooks for a new design and you have transformed your drab earrings into something more your style!


-
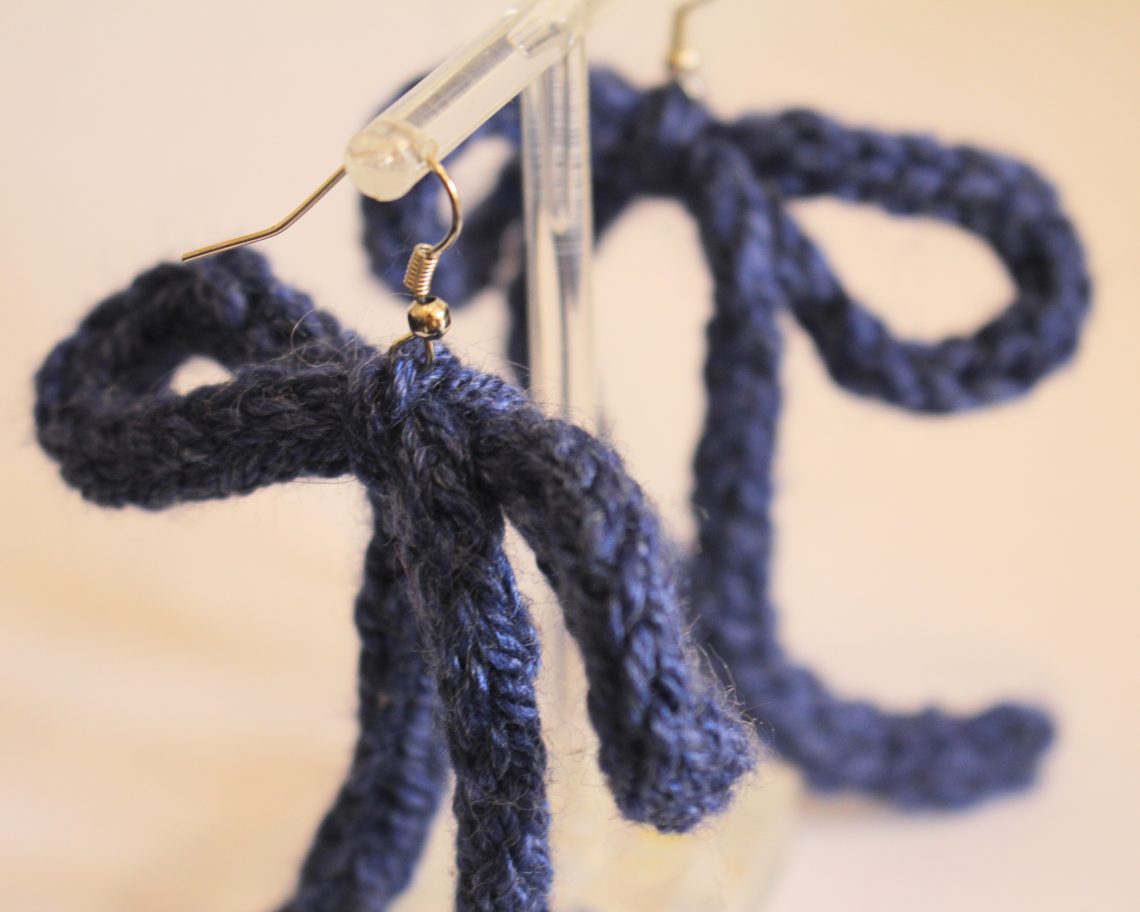
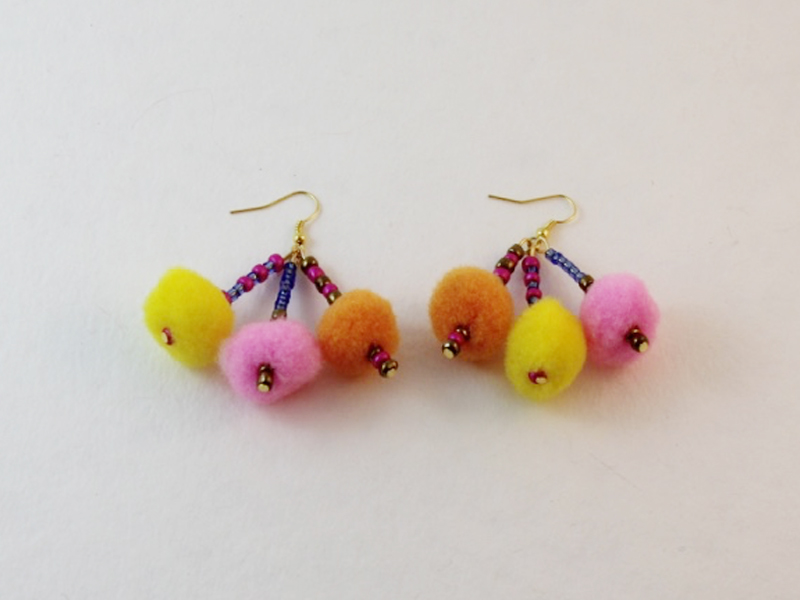
Knitted Style: Craft Chic Bow Earrings with Our Easy Tutorial!
Do you love bows? This tutorial shows you how to make some gorgeous bow earrings using two pieces of knitted i-cord and some earring hooks! Simple but adorable and sweet. Is this the perfect winter earring?
Please note that this tutorial contains affiliate links.
You will need the following tools and materials to make these earrings:
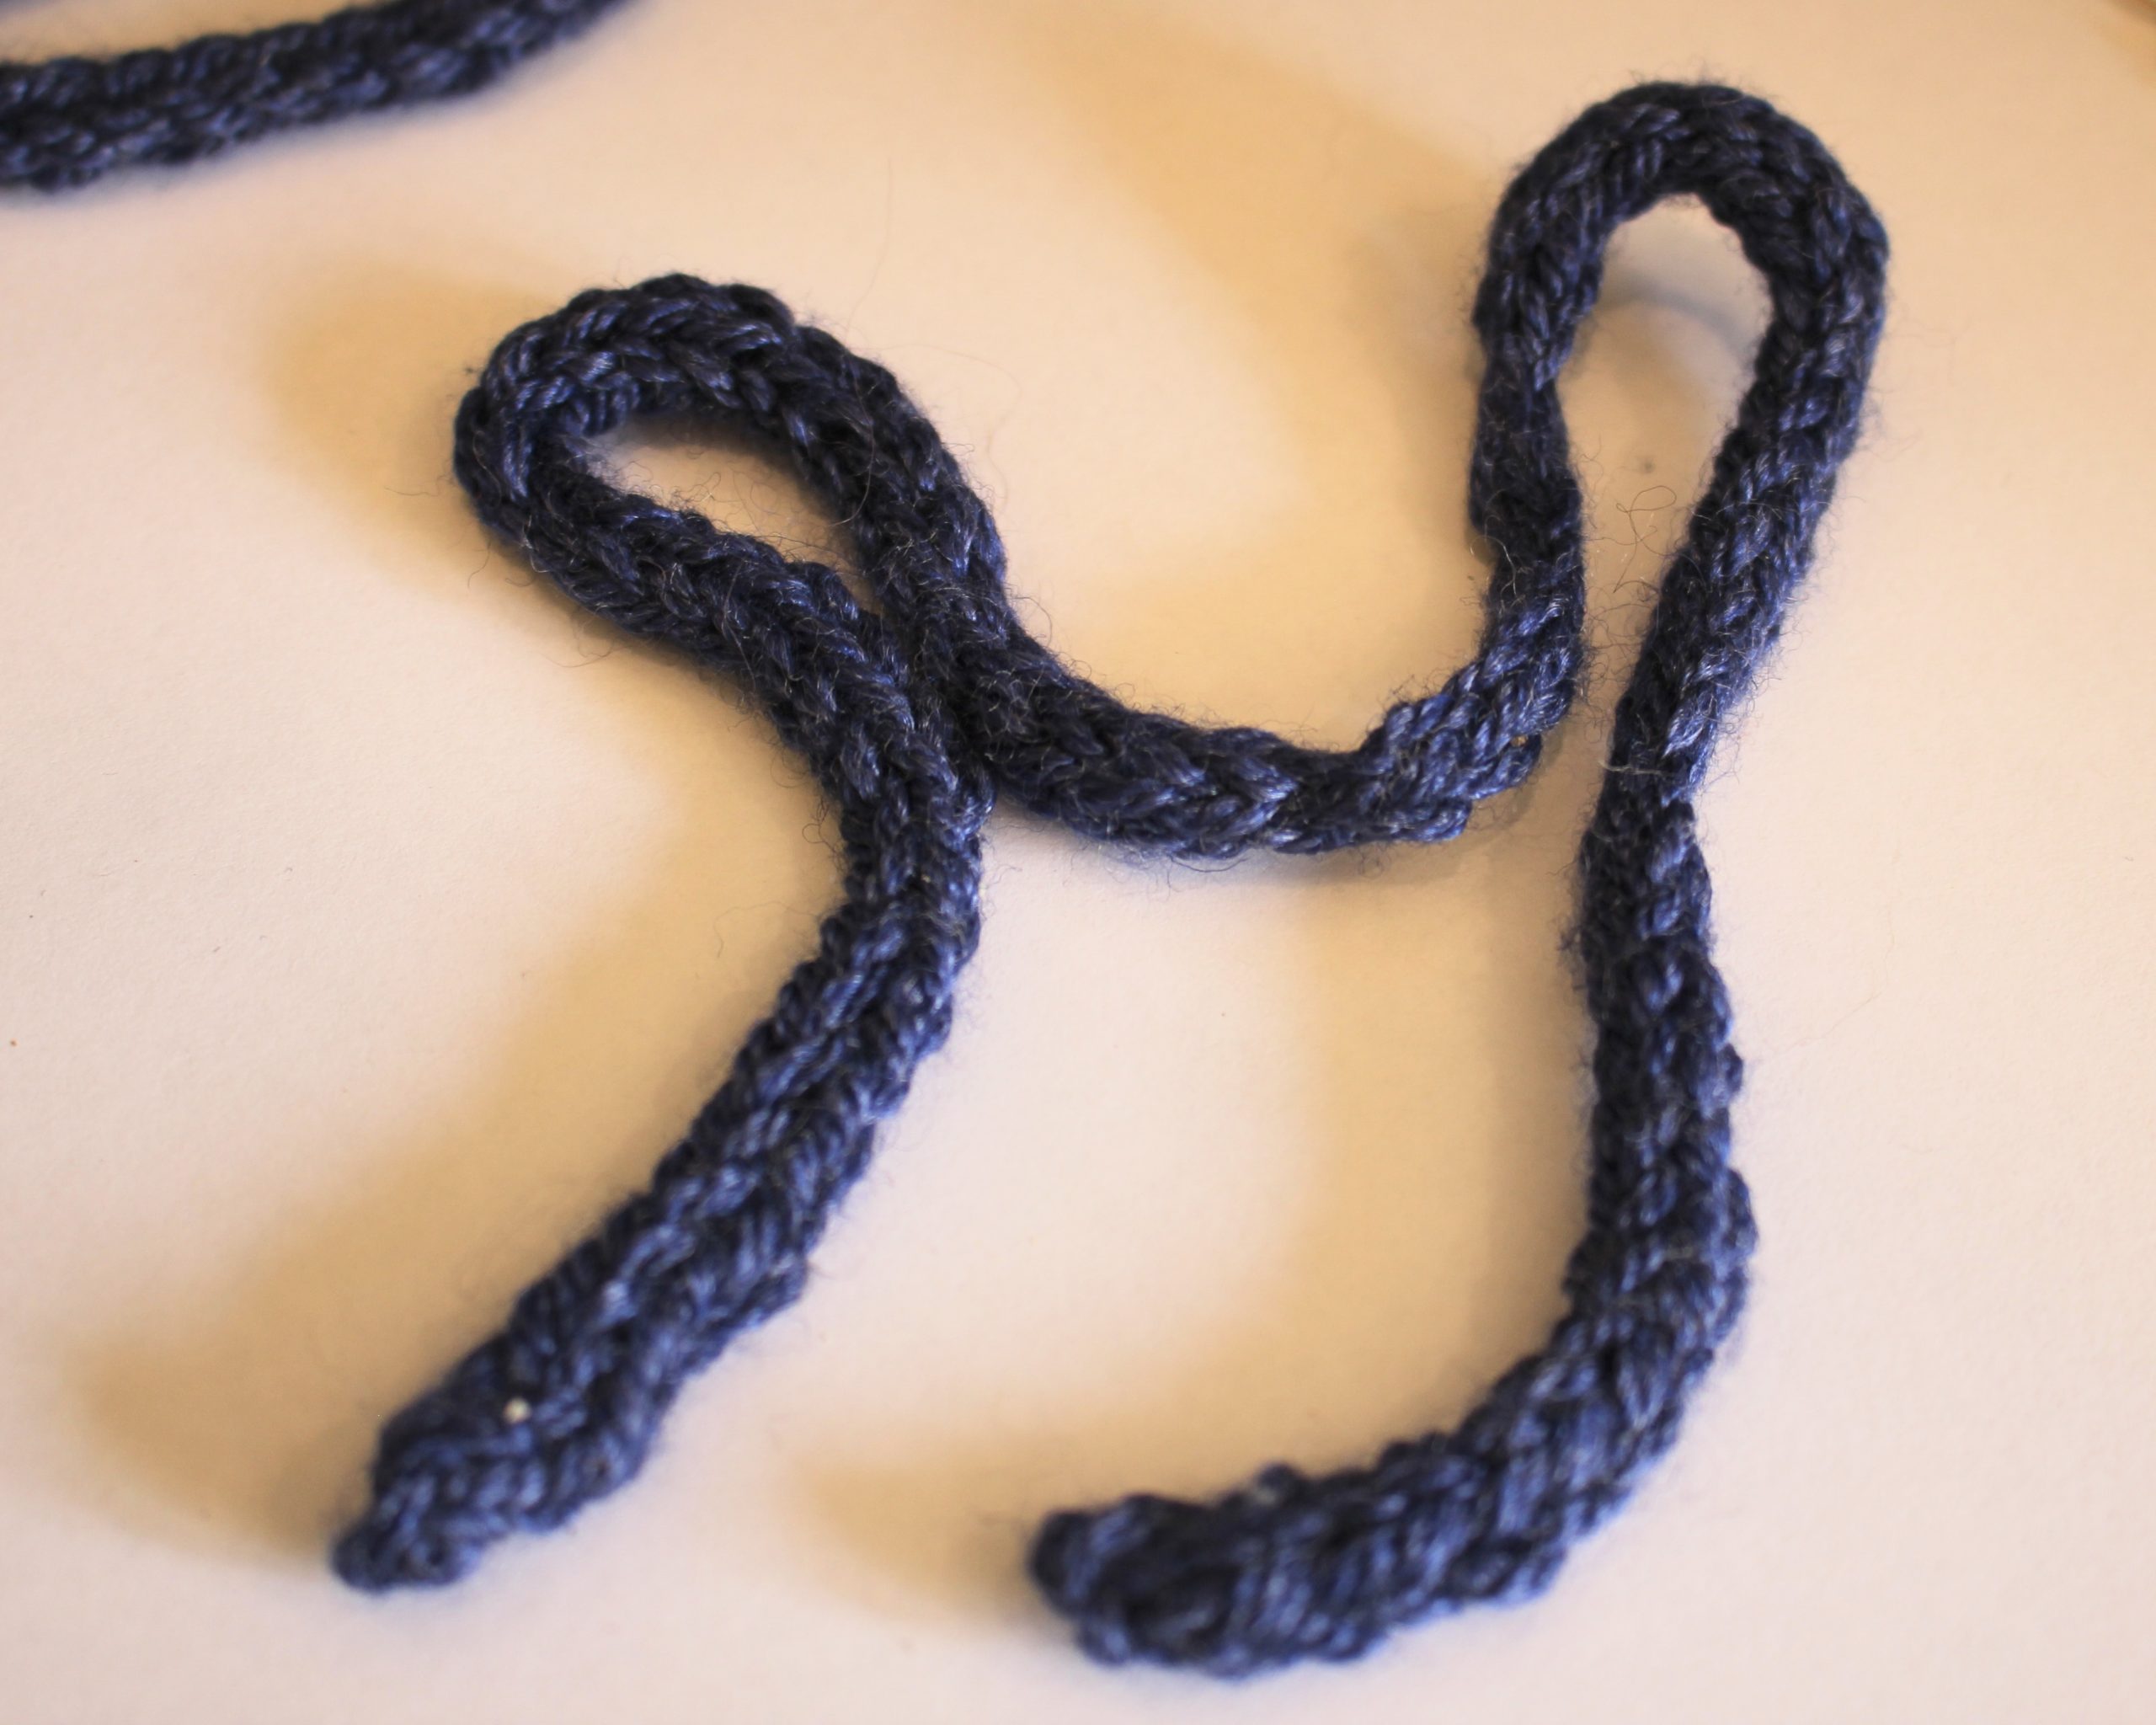
1: Two knitted i-cords about 30cm long. I used blue cords.

If you don’t want to make your own, you can get pre-made i-cord here:
If you want to make your own, you can get some similar blue yarn here:
This video shows you how to make them.
2: A pair of earring hooks.
You can get some sterling silver earring hooks here:
3: A pair of pliers for opening and closing the loops at the bottom of each earring hook.
You can get some pliers here:
Follow these steps to make your earrings:
1: Form one of the cords into an M shape.

2: Take the two loops of the M and tie them around each other to form a bow.

3: Adjust the bow to the size you like.
4: Repeat for the second i-cord.

5: Take one of the earrings and push the open ring into the top of the bow so that some of the fibre strands are looped into it.

6: Close the loop using the pliers.

7: Repeat steps 5 and 6 for the second bow.

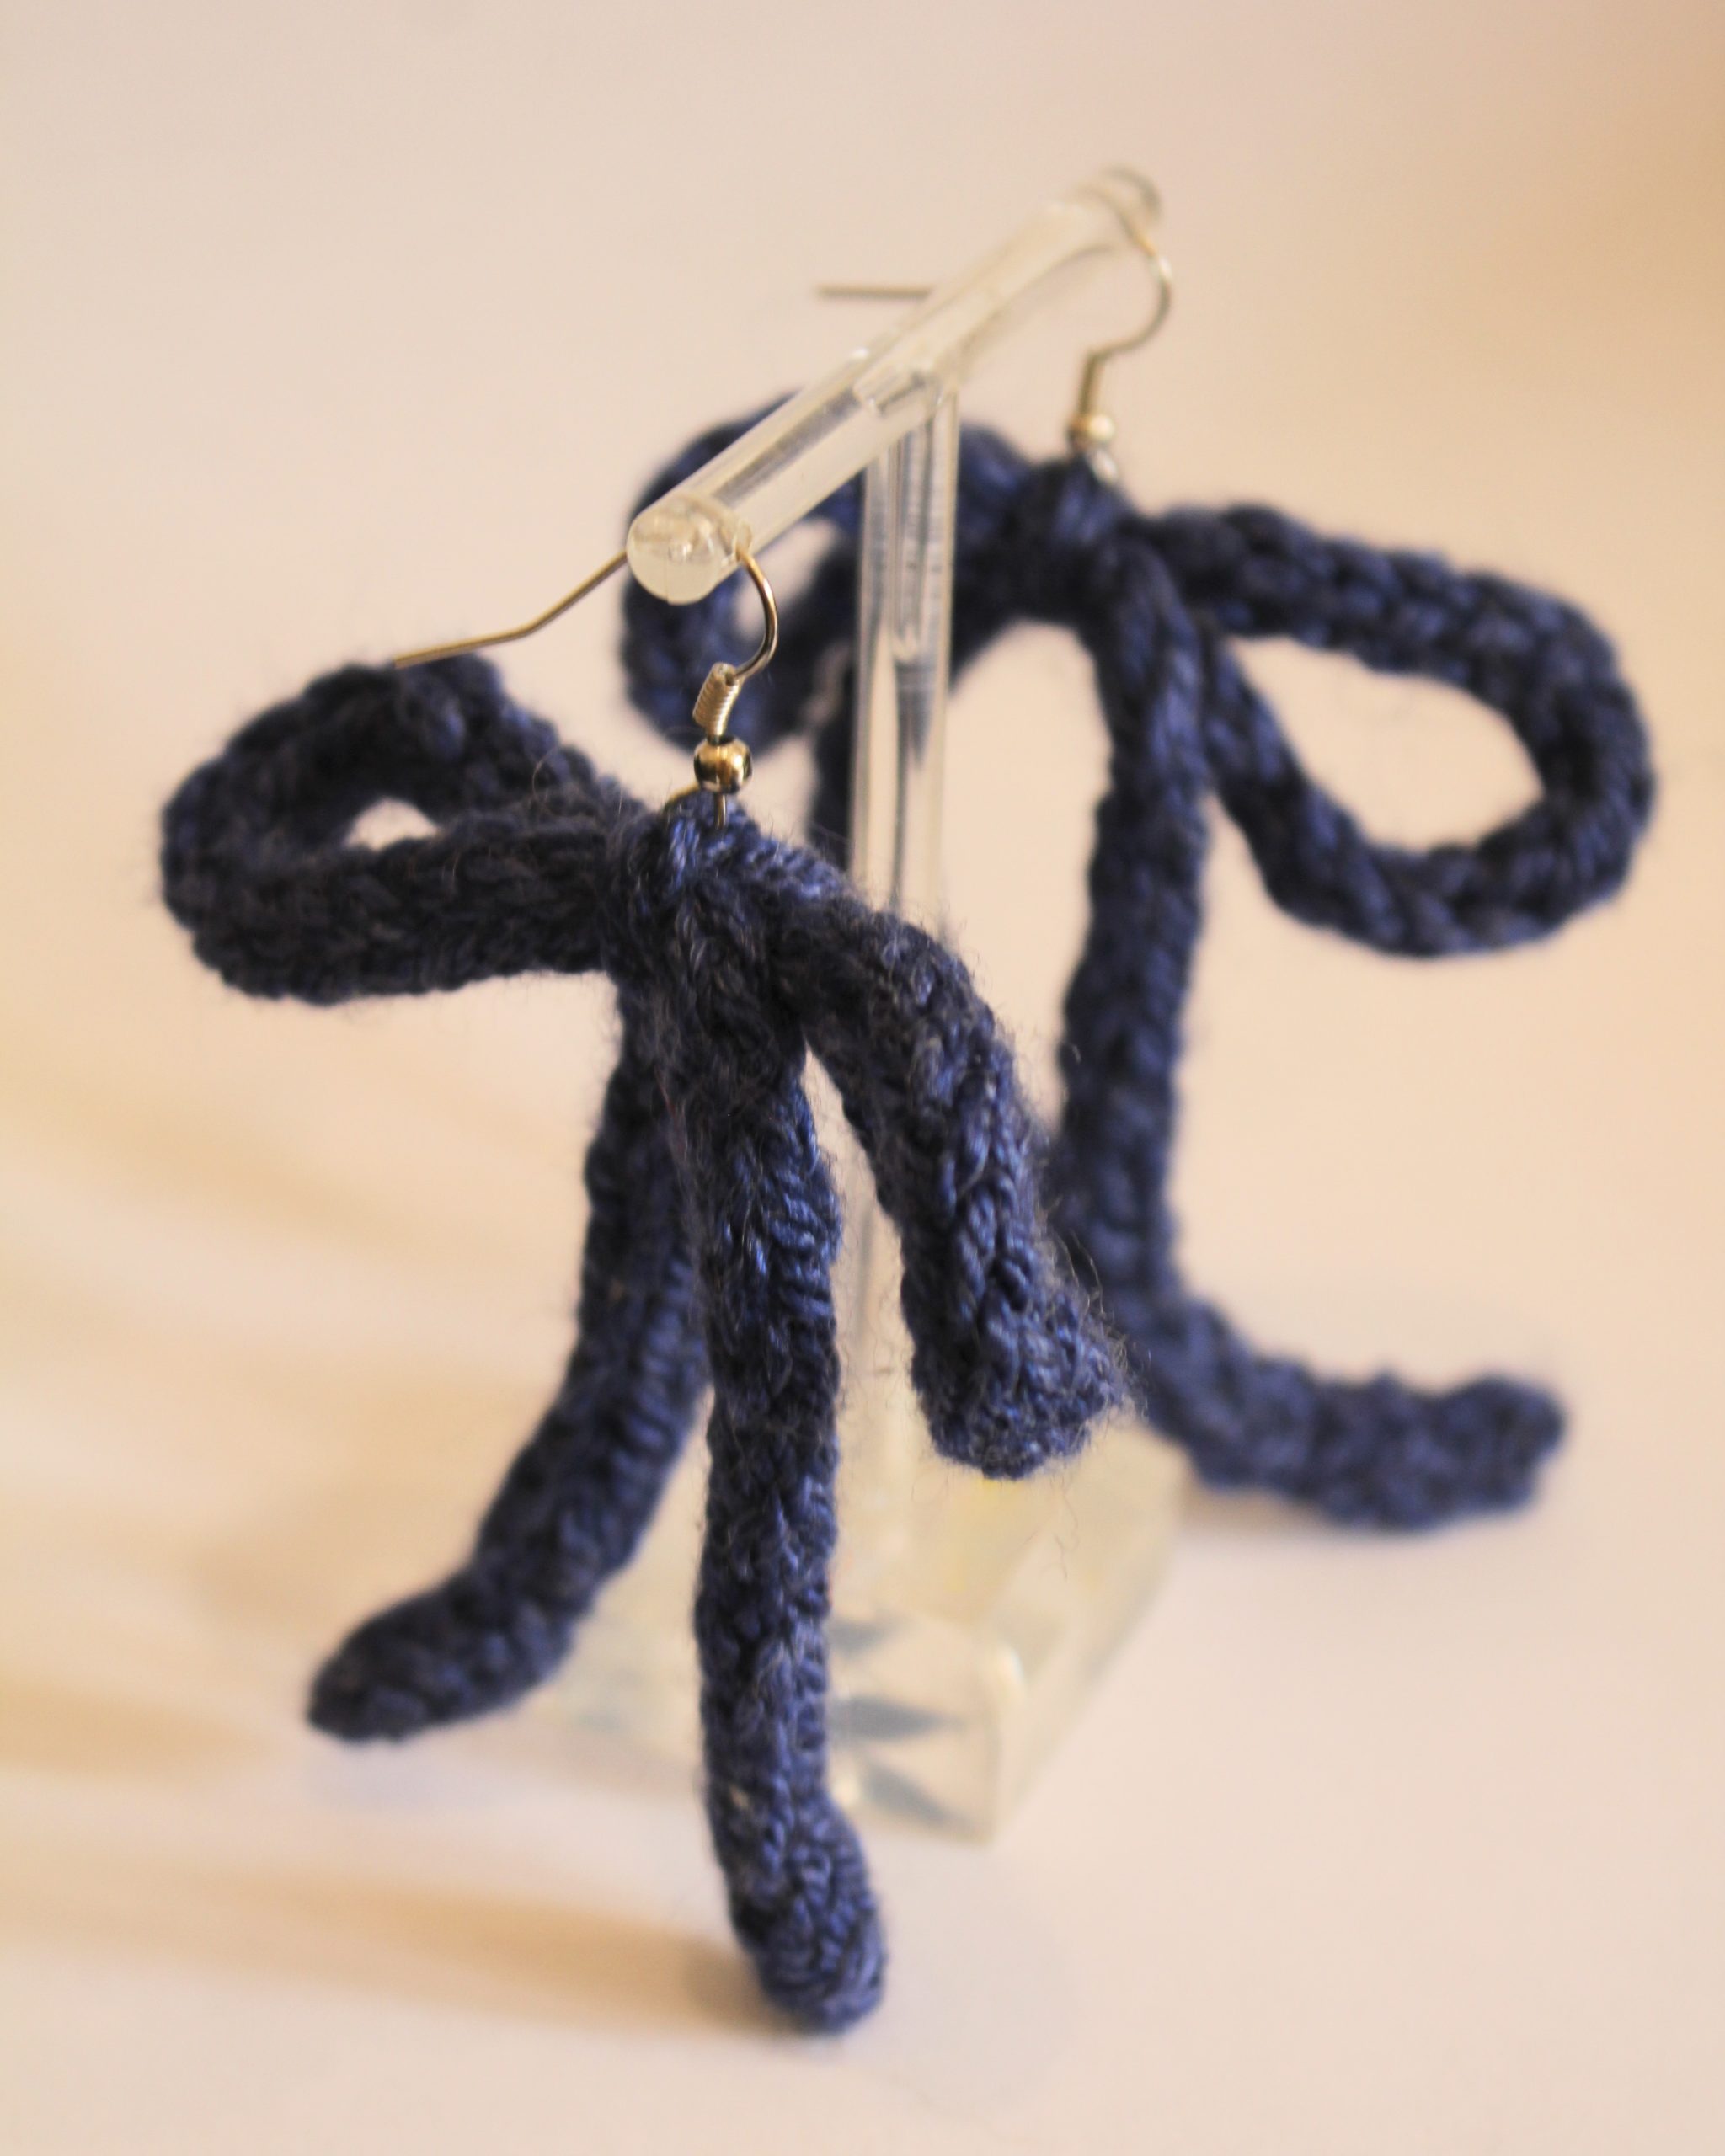
Now your have a pair of adorable dangly bow earrings! So sweet!


-
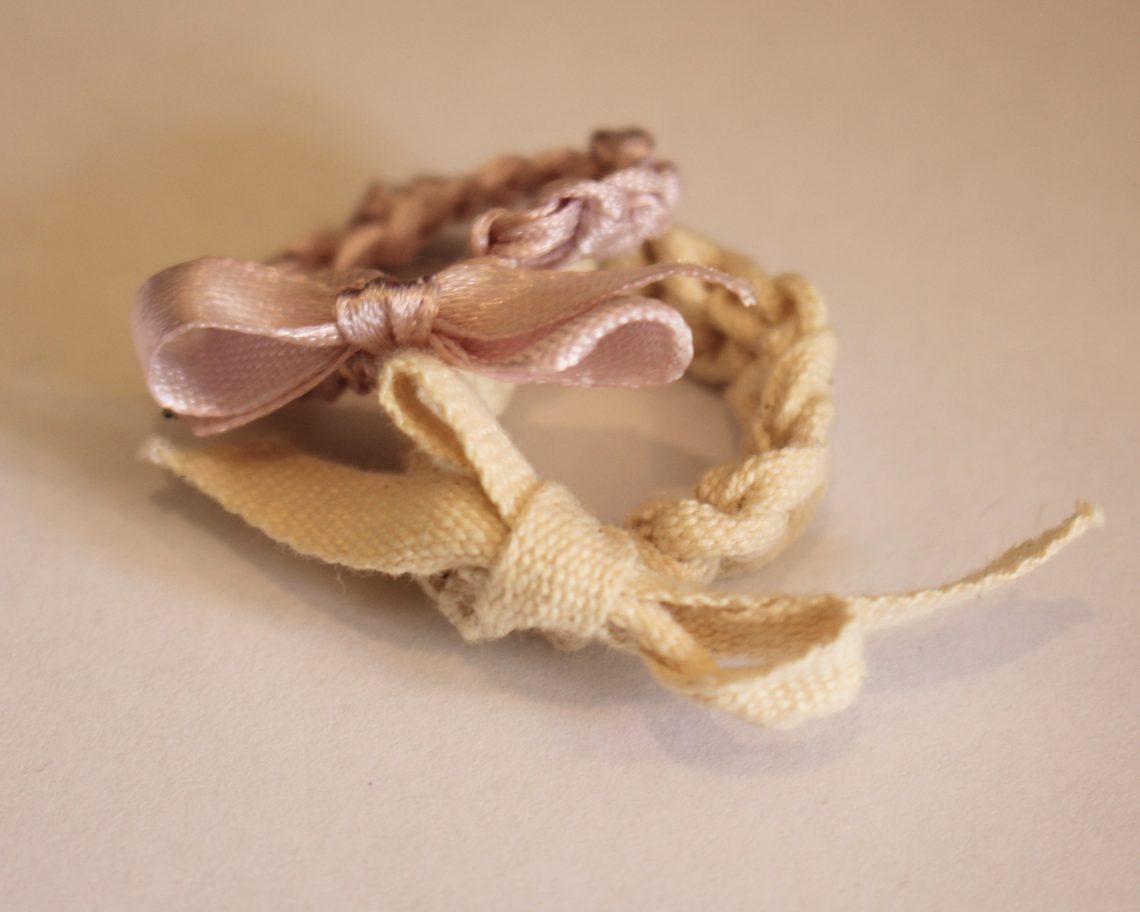
Crochet Couture: Create Your Own Stylish Rings with Our Simple Tutorial!
This ring is so so sweet and simple to make! All you need is some ribbon and a crochet hook and then you can make all the little bow-tied crochet rings your heart desires. Please note that this tutorial contains affiliate links for which we may receive a commission.
You’ll need the following tools and materials to make your crochet ring:
1: A piece of ribbon. I used this thin pink ribbon that I recycled from a previous project.

You can get similar ribbon here:
2: A crochet hook that matches the size of your ribbon, you will need a thicker hook for a thicker ribbon.

You can get crochet hooks here:
3: Scissors for trimming the ends of your ribbon.

You can get some scissors here:
Follow these steps to make your crochet ring:
1: Create a slip knot at one end of the ribbon, leaving a short tail that you will use to make your bow.

2: Tighten the knot around the crochet hook.

3: Take the long end of the ribbon and create a loop around the crochet hook in front of the knot loop.

4: Take the first loop and pull it over the second loop you just made and off the crochet hook. This is your first stitch.


You can see an example of what to do in this video.
5: Repeat steps 3 and 4 to continue your crochet chain. Keep going until you have a piece long enough to fit your finger.


6: When your chain is long enough, take it off the crochet hook.

7: Put the long end of the ribbon through the loop at the end of the crochet chain and then pull it tight to secure the chain.


8: Trim the long end of the ribbon so that it is the same length as the end you left at the start of the ring.


9: Tie the ends of the ribbon into a bow to form the ring shape.


10: Trim the ends of the ribbon if required.

Now you’re adorable crochet bow ring is finished and ready to wear!


Here’s another version I made with a thicker ribbon in a neutral tone.


Love it!


-
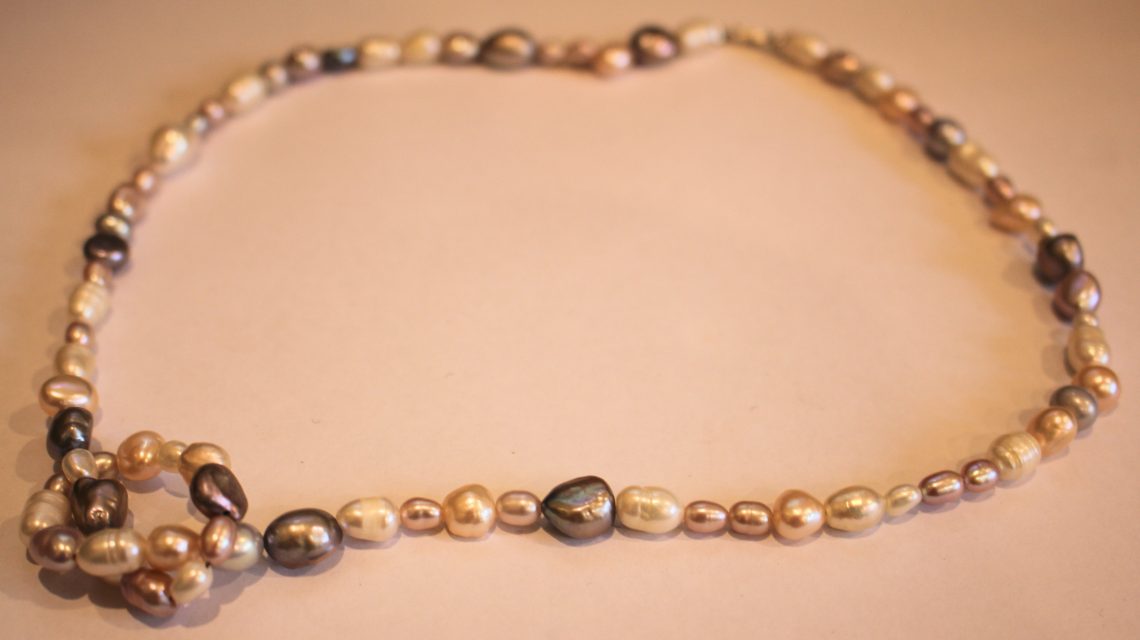
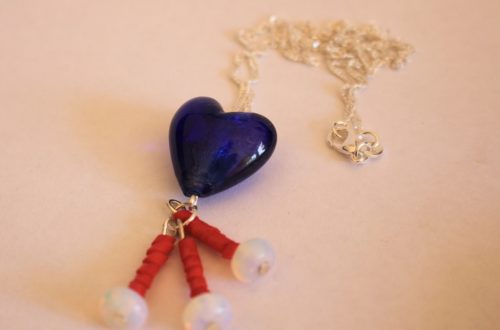
Gorgeous DIY Pearl Necklace: Unleash Your Crafty Charm with this Unique knotted pearl necklace
I love pearl jewellery, but the classic pearl necklace can often look a bit dated, so I decided to try and create a pearl necklace that is a bit more modern! This tutorial shows you how to make a lovely mixed pearl necklace with a knot in the middle for some added visual interest and cool vibes. Please note that this tutorial contains affiliate links.
You’ll need the following tools and materials to make your knotted pearl necklace:
1: Pearls. I used a variety of freshwater pearls in different colours and sizes.

You can purchase some here:
2: Some tiger tail wire. I used some thin black tiger tail.

You can get some here:
3: Your pliers. I used my cutting pliers and flat nose pliers.

You can get a set of jewellery pliers here:
4: A sterling silver clasp and jump ring.
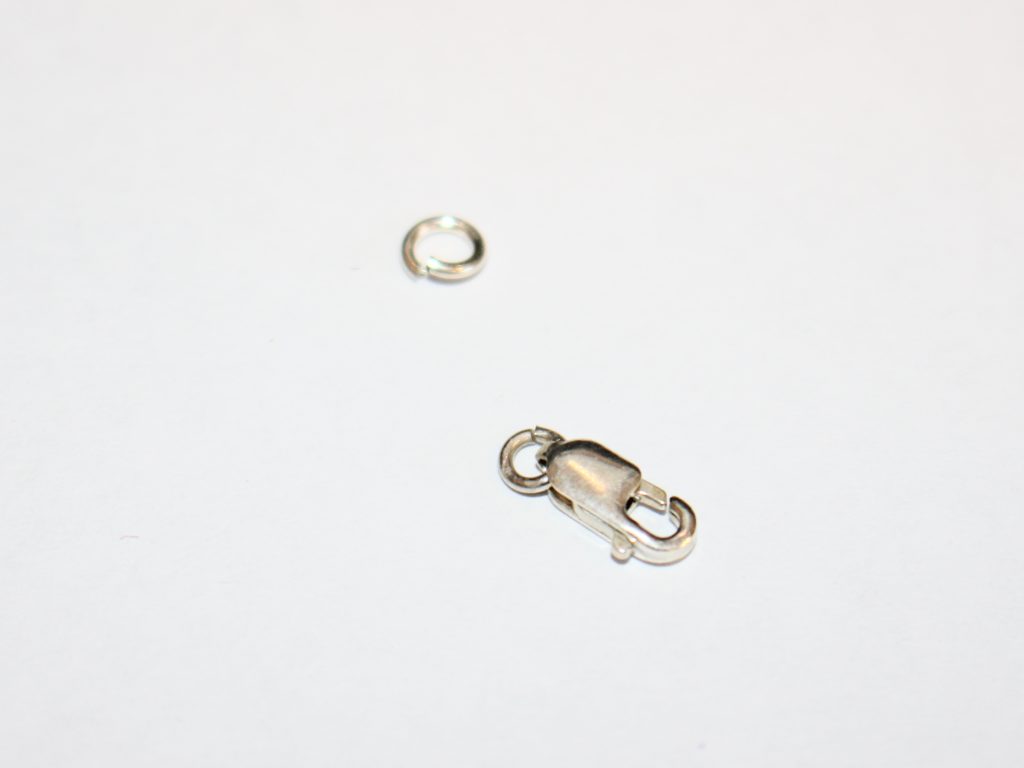
You can get clasps here:
and you can get pre-made jump rings here:
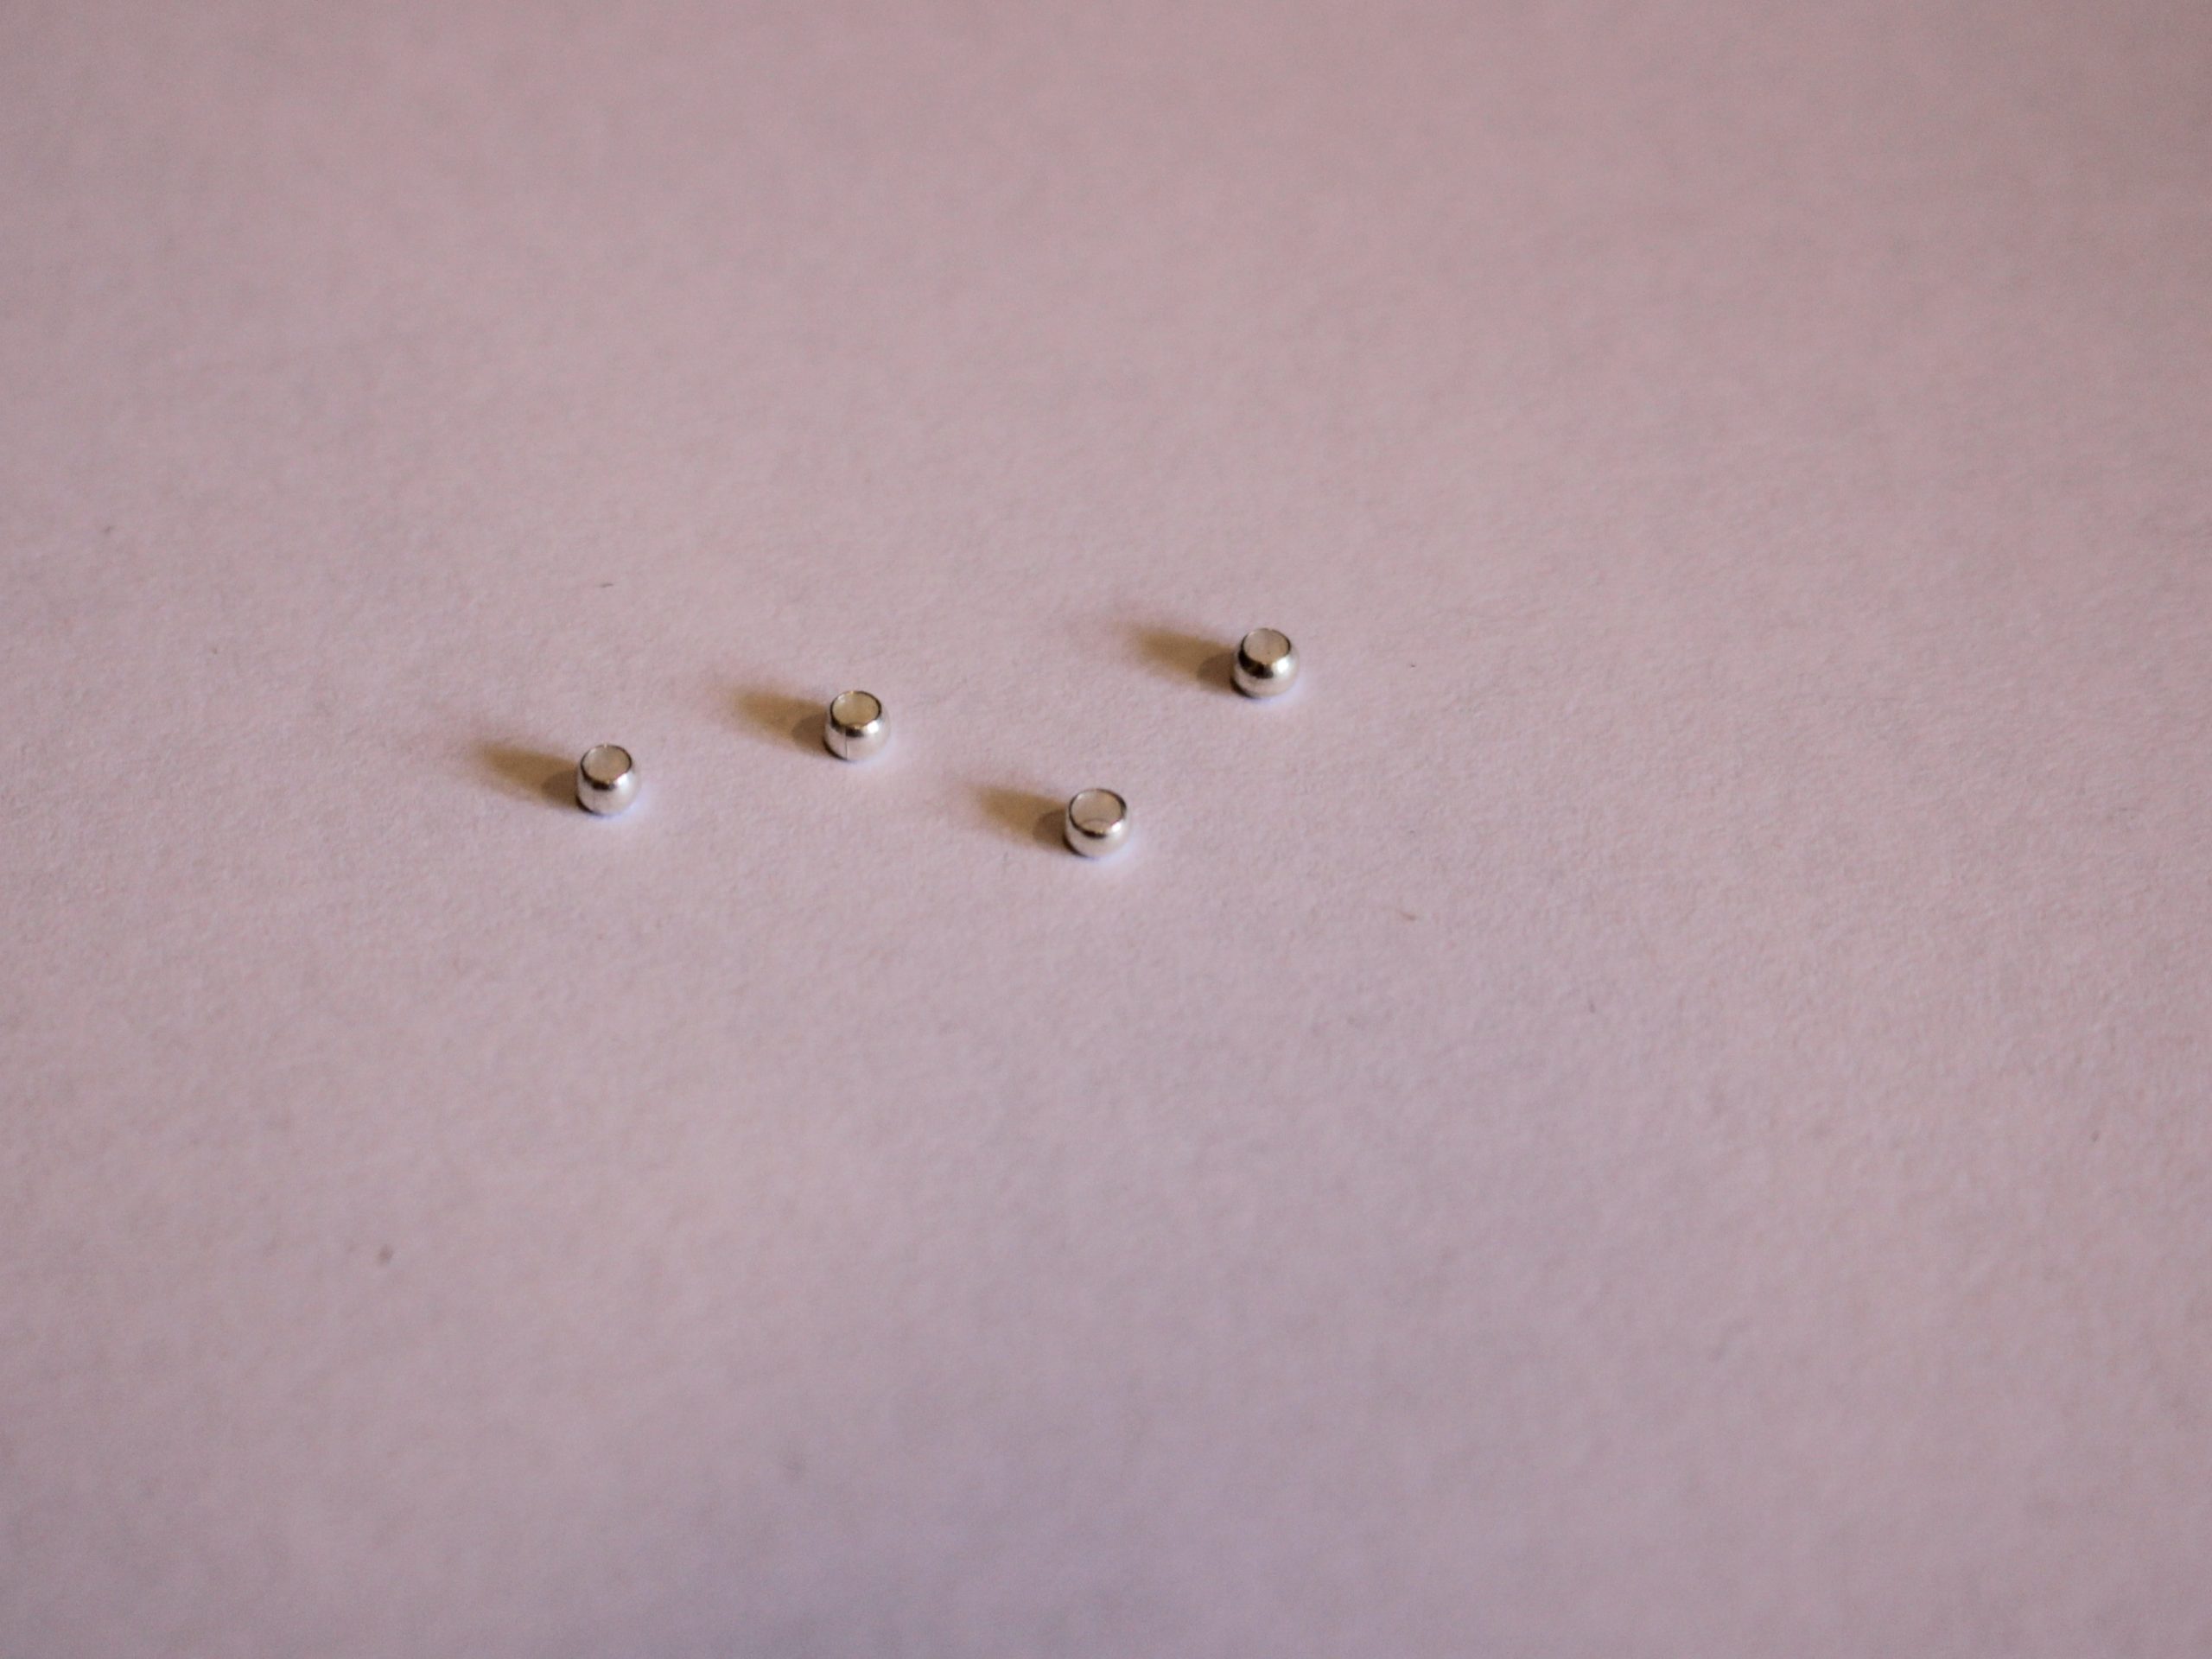
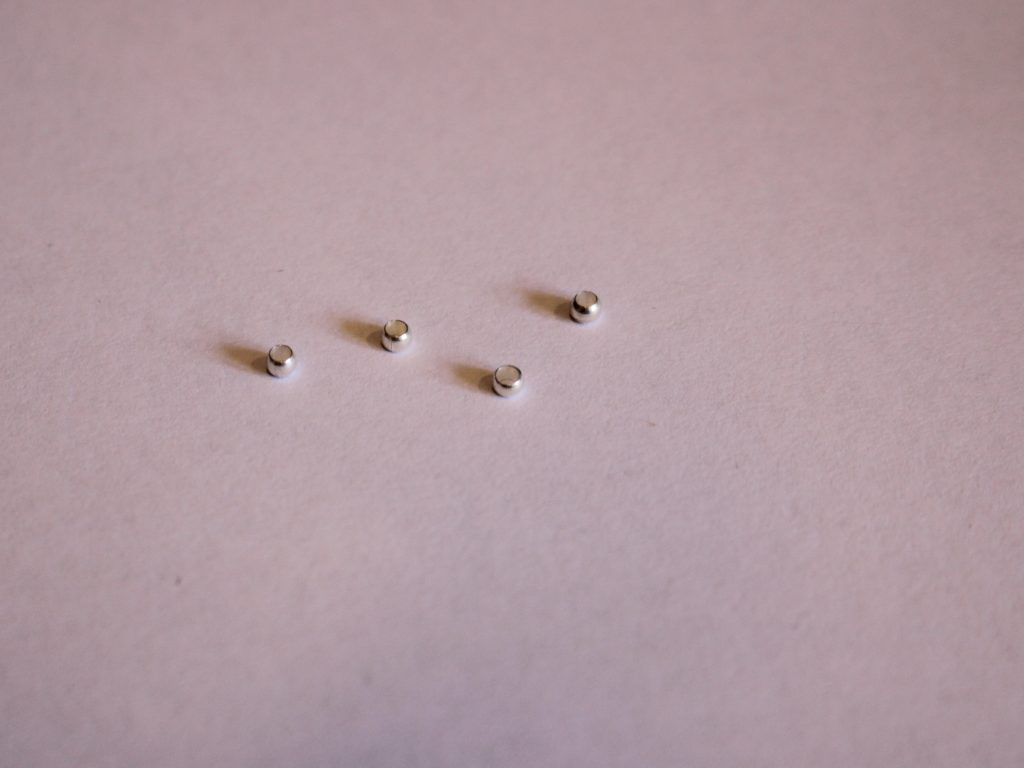
5: Two sterling silver crimp ends.

you can get some sterling silver crimp beads here:
Follow these steps to make your own gorgeous twist on a timeless classic, a knotted pearl necklace:
1: Add a crimp bead to the tiger tail wire.
2: Take the clasp and place it on your tiger tail.
3: Loop the tiger tail around the clasp once and pull it tight (You don’t need to do this if you are using thicker tiger tail wire).

3: Put the short end of the wire through the crimp.

4: Squash the crimp using the flat nose pliers.

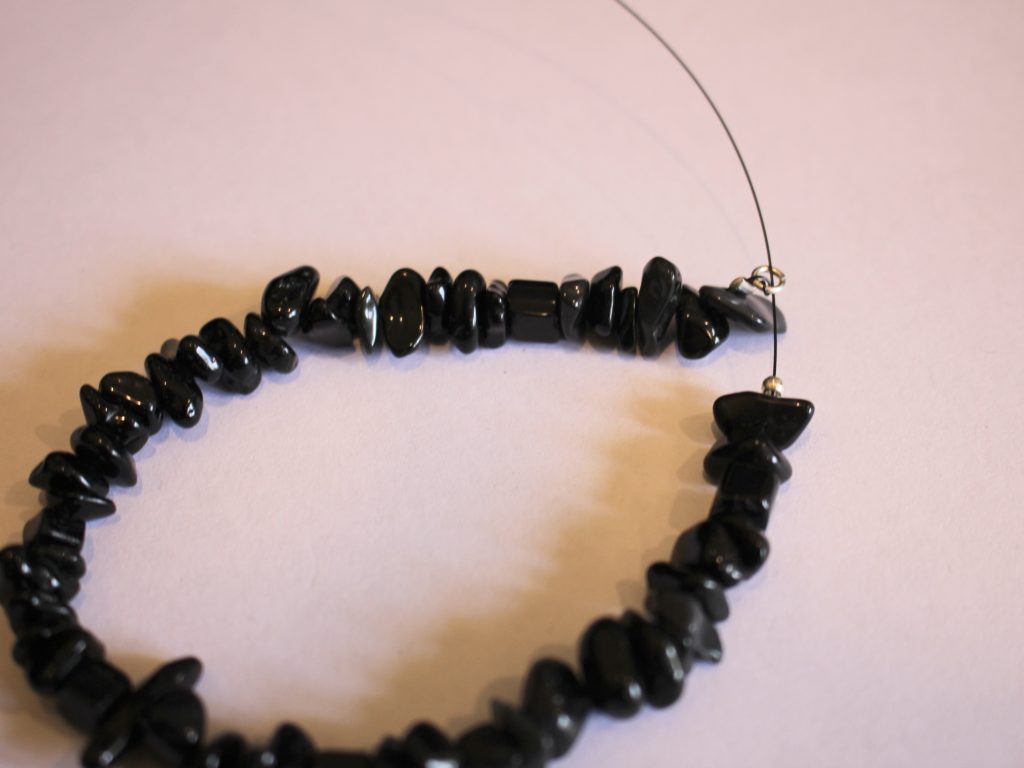
5: Add pearls until you have a necklace that is about 7cm longer than the length that you want your necklace to fall.

6: Add the second crimp to the other end of the wire.

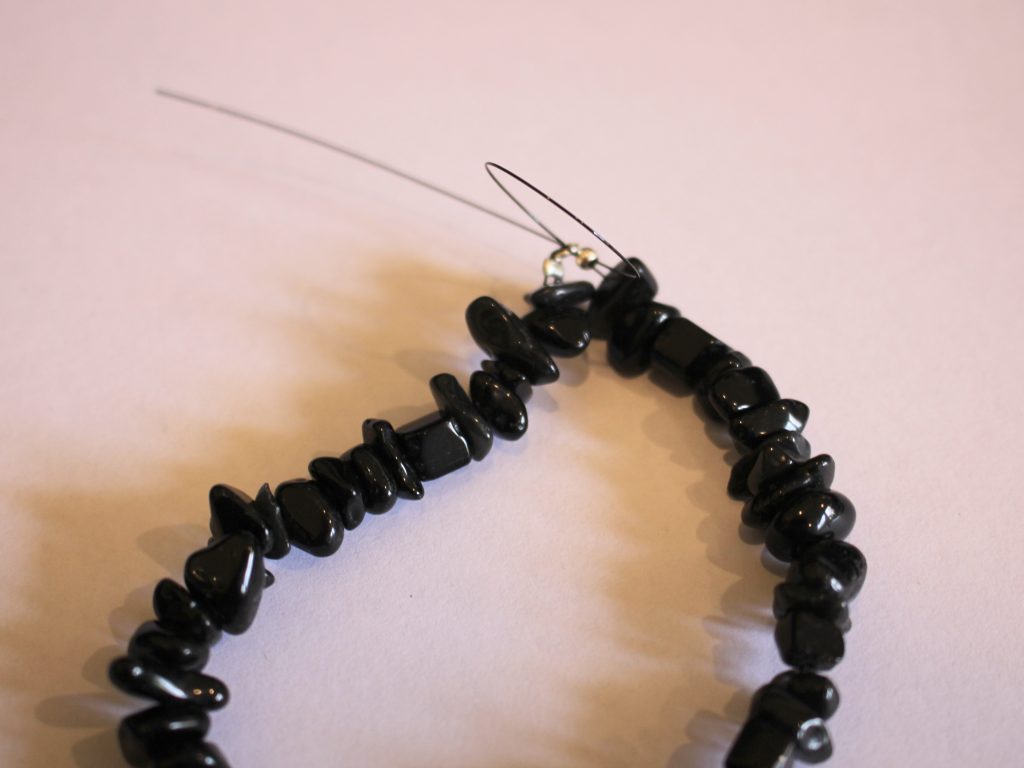
7: Thread the wire through the jump ring like you did in steps 1 and 2, pulling it tight and then threading it through the crimp and the first few pearls on the strand. (Remember that if you are using thicker wire, you don’t have to do the extra wire looping around the jump ring).


8: Squash the crimp using flat nose pliers.

9: Trim excess wire using cutting pliers.

10: Take the ends of the wire and knot them as though you are making a basic square or reef knot, but omitting the second step. Adjust the knot to your preferences, moving it to the centre and trying not to make it too tight.


Once your knot is in place, your knotted pearl necklace is ready to wear! How cute!

What colour pearls will you use when you make yours?

If you’re looking for some more pearl jewellery tutorials to follow, you can find some here:
Pearl Earrings
- Mixed bead pearl drop earrings
- A single pearl earring with a chilli charm on the end.
- Pearl and love heart earrings
- Colourful pearl statement earrings
- Rainbow pearl drop earrings
- Pearl tassel hoop earrings
- Pearl hoop earrings
- Pearl charm huggies
- Cresent moon pearl charm earrings
- Shell and pearl earrings
- Simple pearl threader earrings
Pearl Necklaces
- Pearl charm lariat
- Floating pearl necklace
- Colourful beaded pearl necklace
- Single floating pearl necklace
- Mixed bead necklace with pearls
Other pearl accessories
-
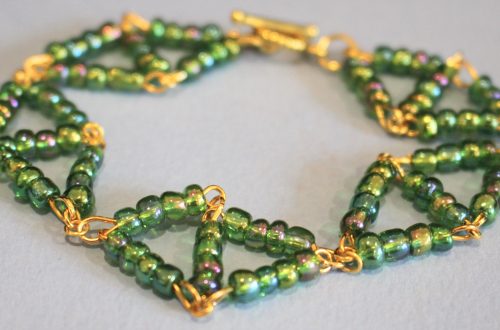
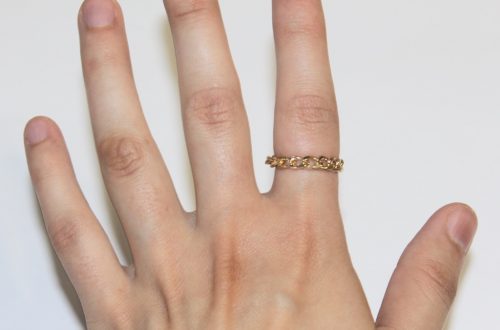
DIY Double Loop Bracelet Tutorial: Create Your Own Stylish bracelet stack
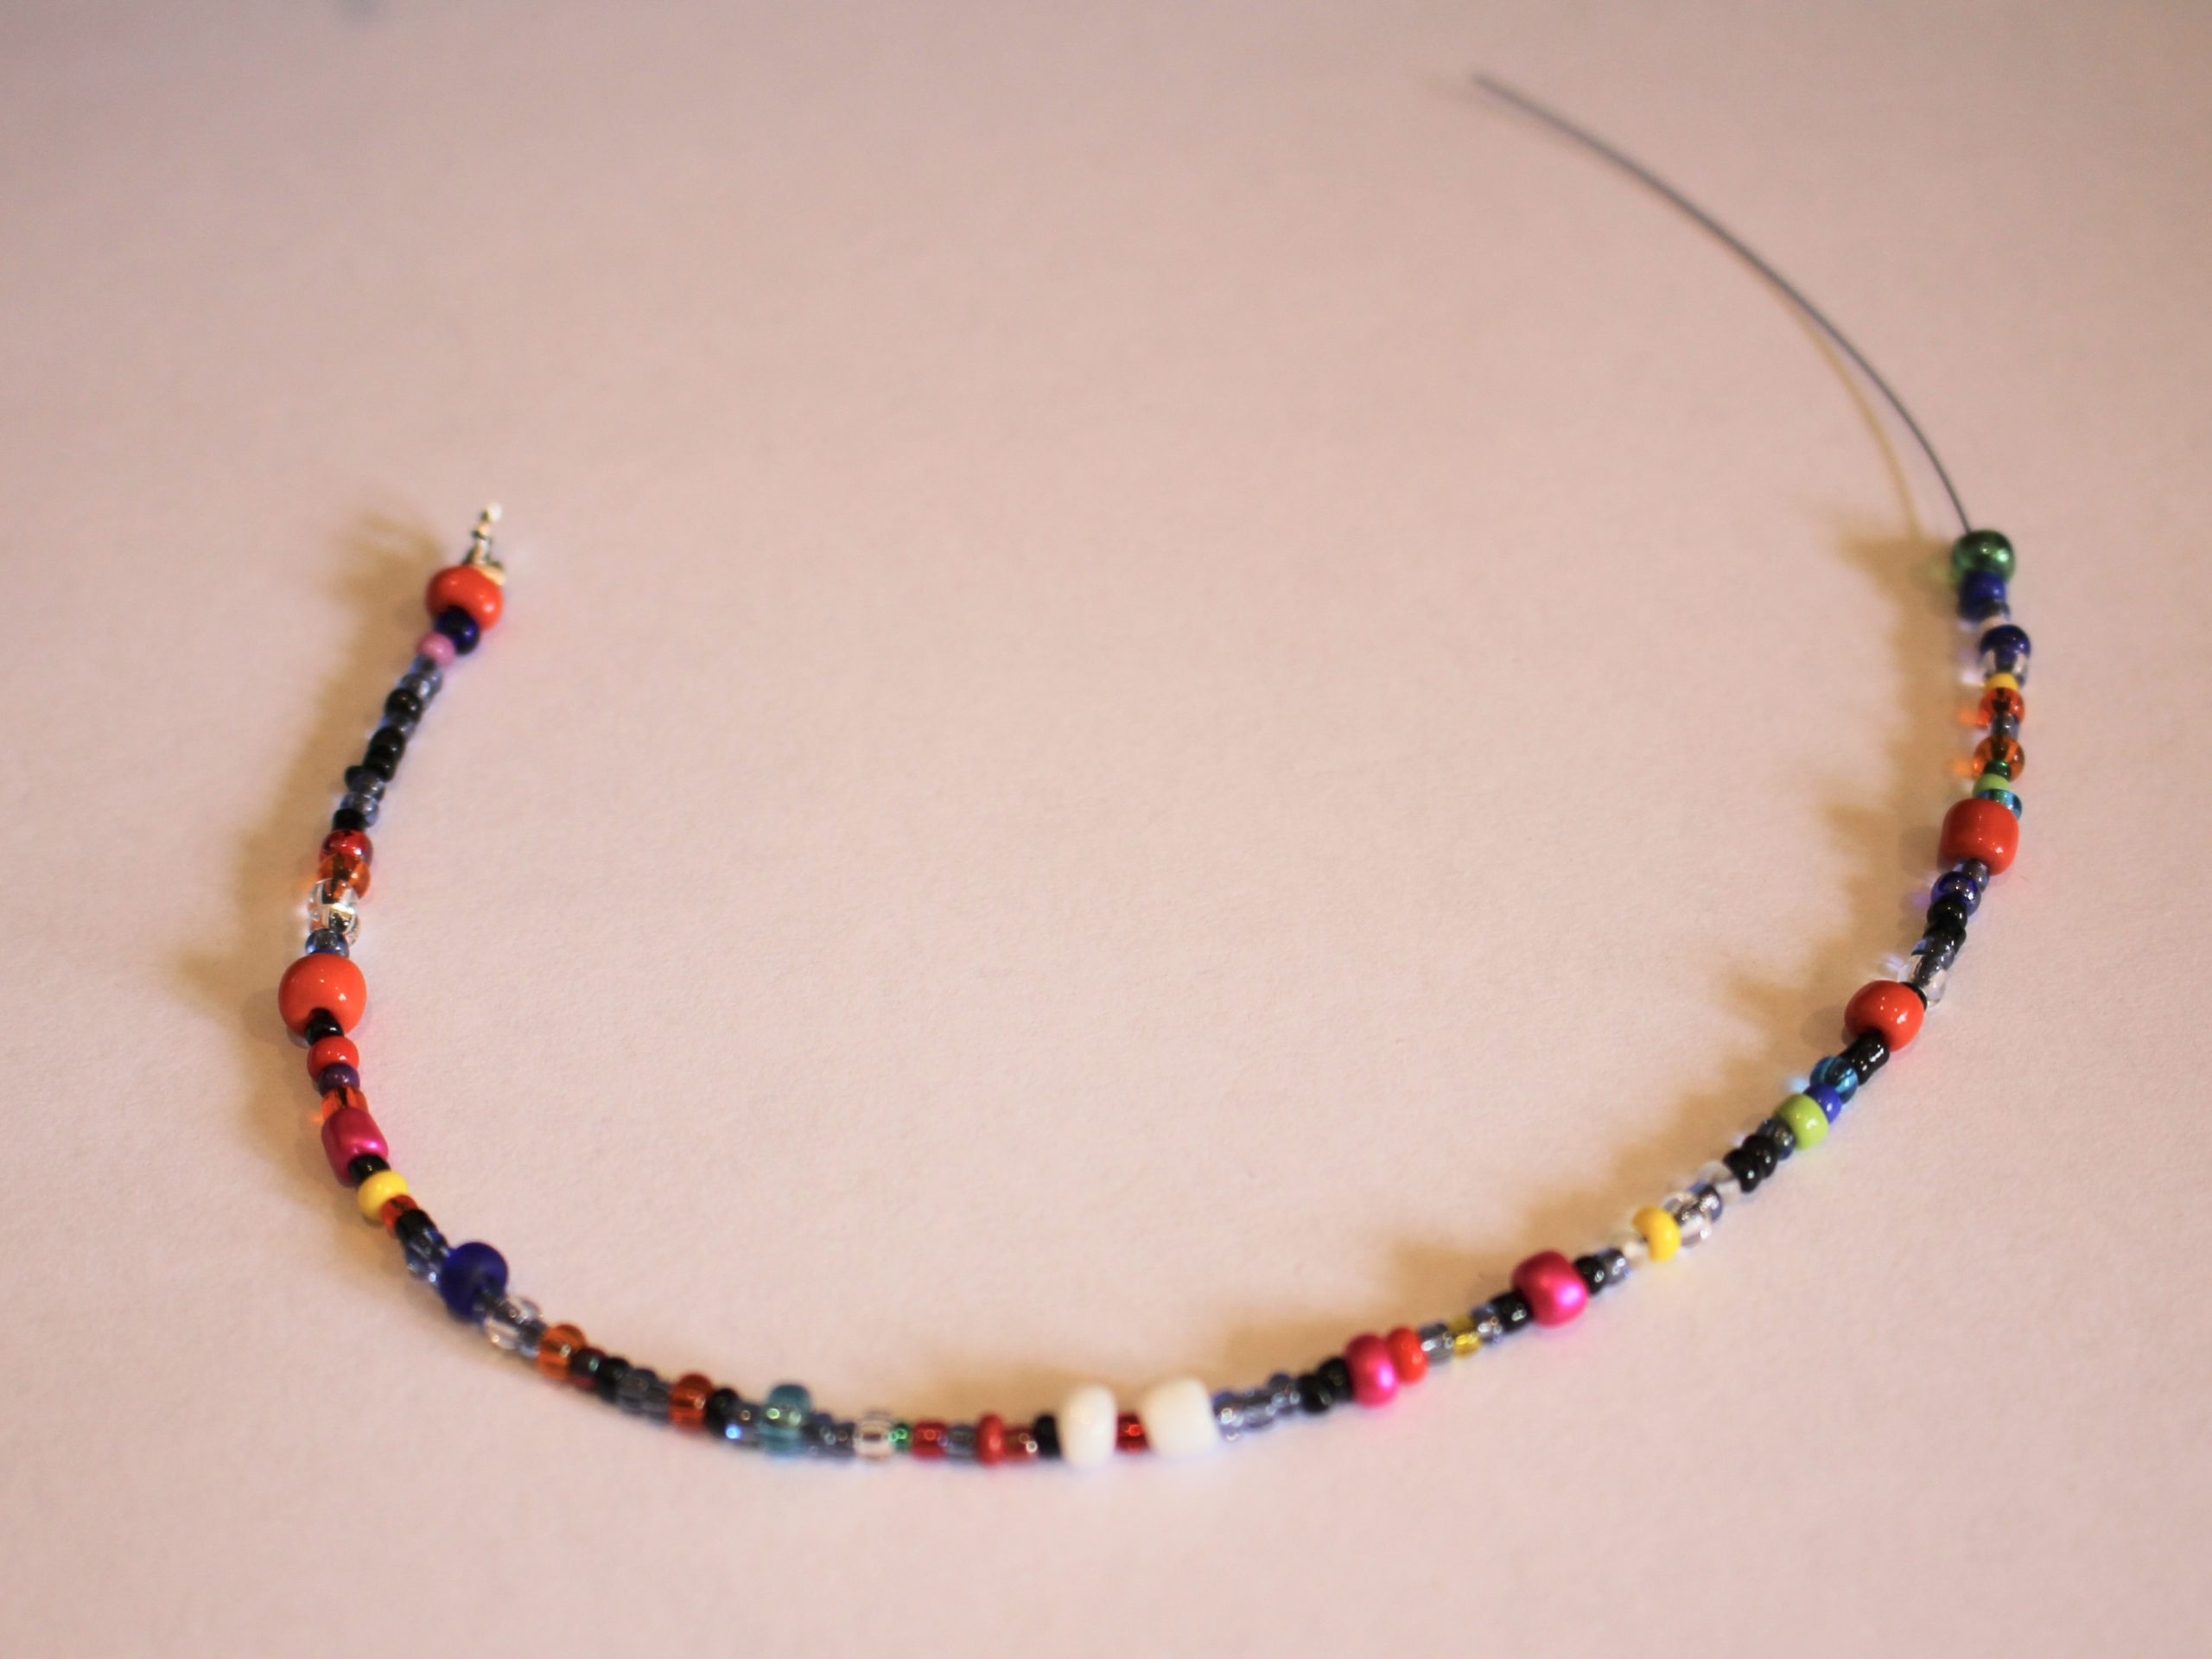
This bracelet gives the illusion that it is two bracelets looped together, but it’s actually an intentional look formed by one bracelet! Use some contrasting beads to create a unique bracelet style that makes a strong statement. Please note that this tutorial contains affiliate links.
You’ll need the following tools and materials to make your double loop bracelet:
1: Some beads. I used some tourmaline chip beads for one side of the bracelet and a mix of glass beads for the other side.

You can get some here:

You can purchased some mixed seed beads here:
2: Two pieces of tiger tail wire long enough to fit your wrist plus about 8cm extra.

You can purchase some here if you don’t already have some:
3: Two jump rings.

You can get some sterling silver jump rings here:
4: Four crimp beads.
You can get some here:
5: A clasp. I used a lobster clasp, but a toggle clasp is also suitable. I prefer toggle clasps for bracelets as they are easier to use by yourself.

Find lobster clasps here:
and toggle clasps here:
6: Pliers. Use your flat nose pliers, round nose or needle nose pliers and cutting pliers.

You can get a set of jewelry pliers here:
Follow these steps to make your double loop bracelet.
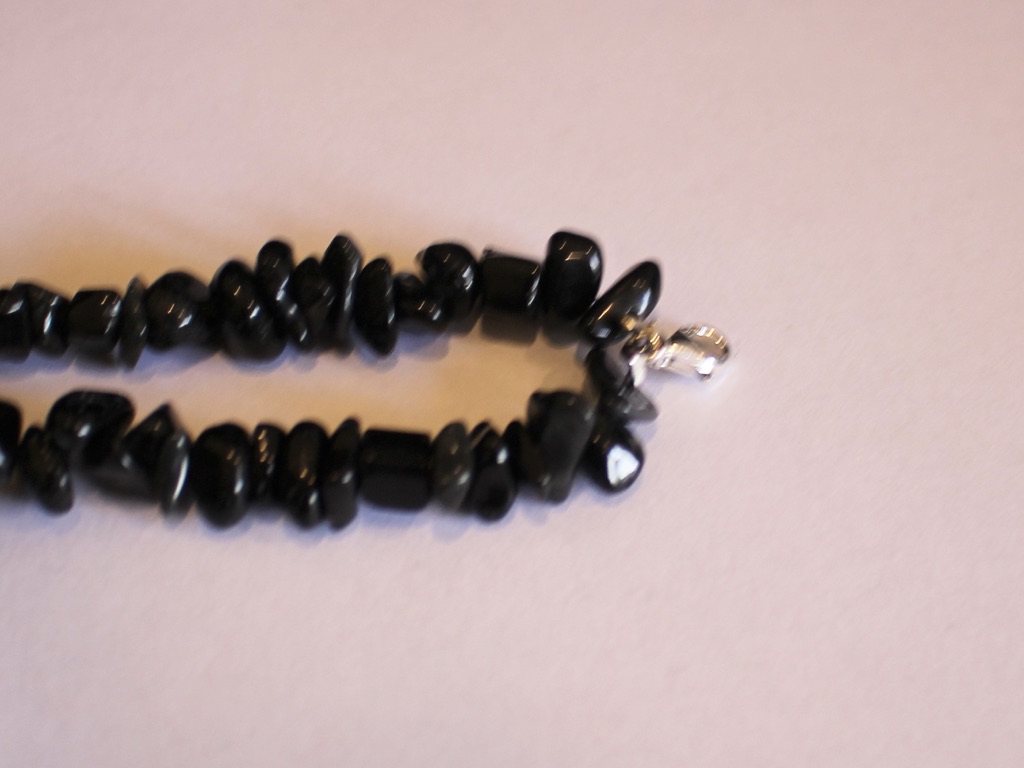
1: Take one of the strands of wire and add a crimp bead and jump ring to one end.

2: Loop the end of the wire through the jump ring, depending on the thickness of your wire, you might want to loop your wire through twice like I have here.

3: Thread the end of the wire through the crimp bead and squash it in place using the flat nose pliers.


4: Begin adding beads.

5: Continue beading until the strand is long enough to wear as a bracelet.

6: Add another crimp bead to the end of the wire.

7: Loop the end of the wire around the jump ring attached to the other side. Thread the end of the wire through the crimp bead and last few beads and pull it tight.


8: Squash the crimp bead using the flat nose pliers again.


9: Trim the excess wire. Now you will have a beaded circle.


10: Attach the clasp to the jump ring on the beaded circle you just made. It will attach to the jump ring on the second half of the bracelet you are about to make.
10: Repeat steps One to Six for the second half of the bracelet, using your contrasting beads.

11: Once the second half is fully beaded, loop it through the first beaded half you made.
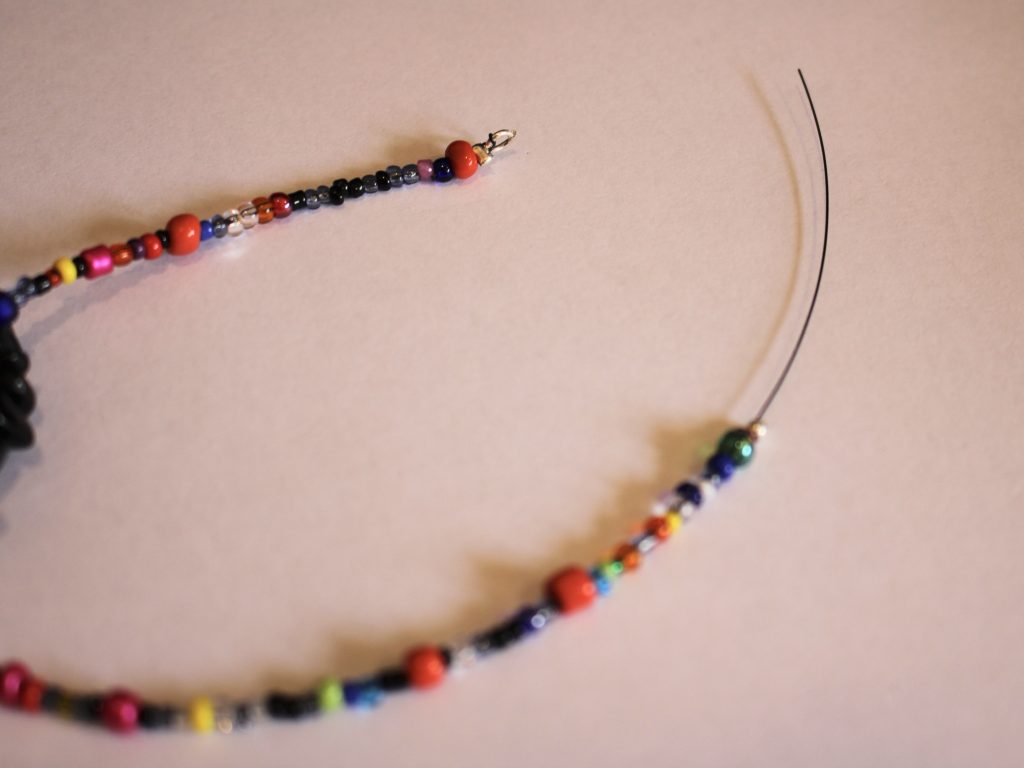
12: Loop the end of the tiger tail wire through the jump ring at the other end like you did for the first half of the bracelet in step seven.

13: Squash the last crimp bead using flat nose pliers and trim the excess wire using cutting pliers.


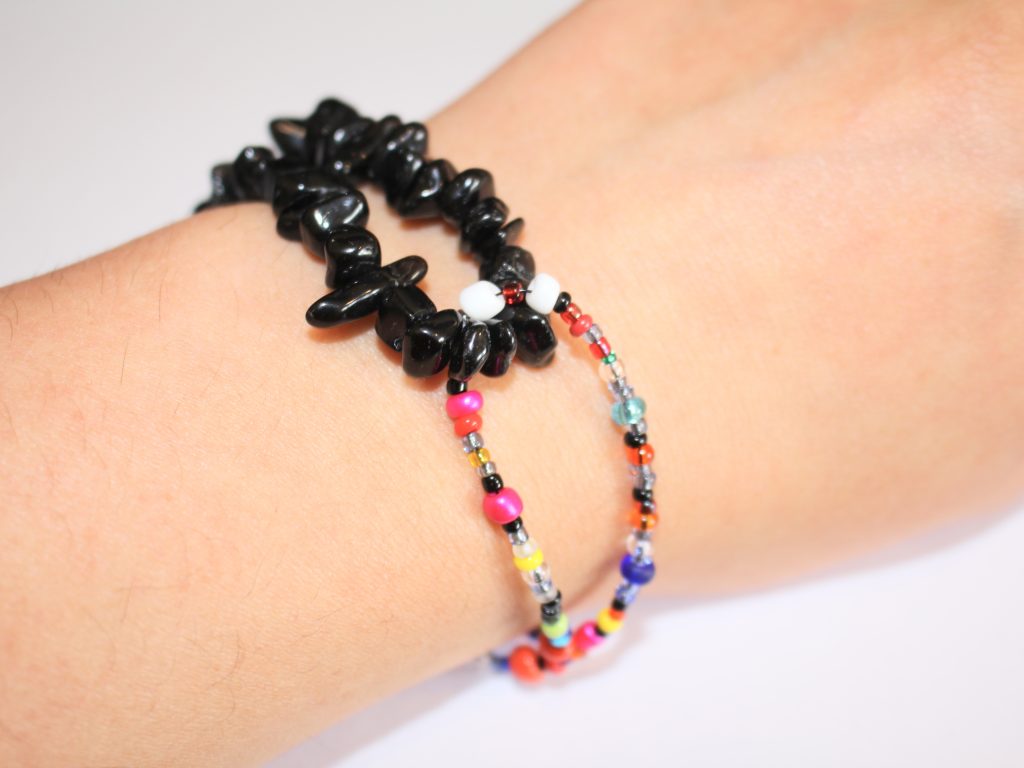
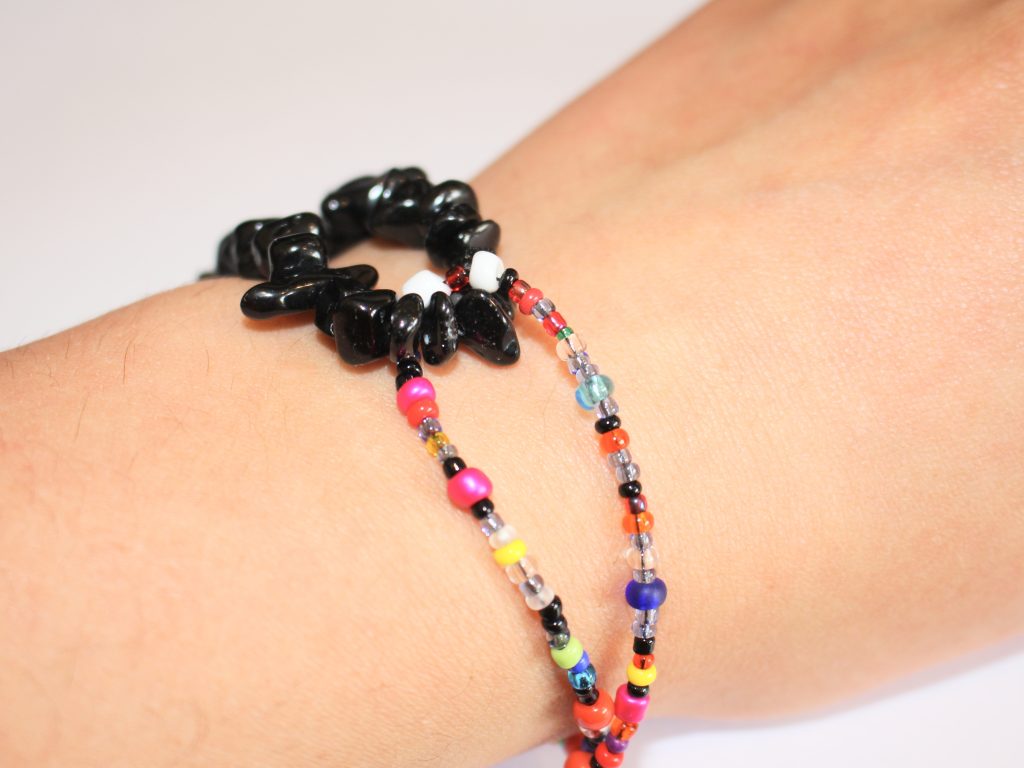
14: Here’s where you can fold your bracelet in half and close it, attach the ends of the bracelet by clipping the lobster clasp to the jump ring on the other side.


Now your bracelet is ready to wear!
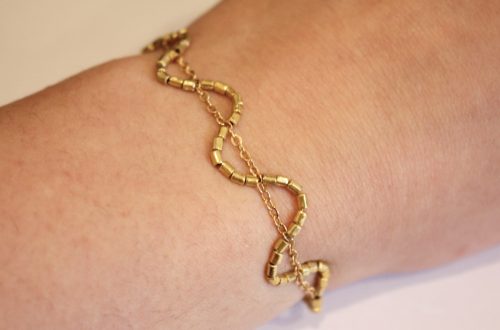
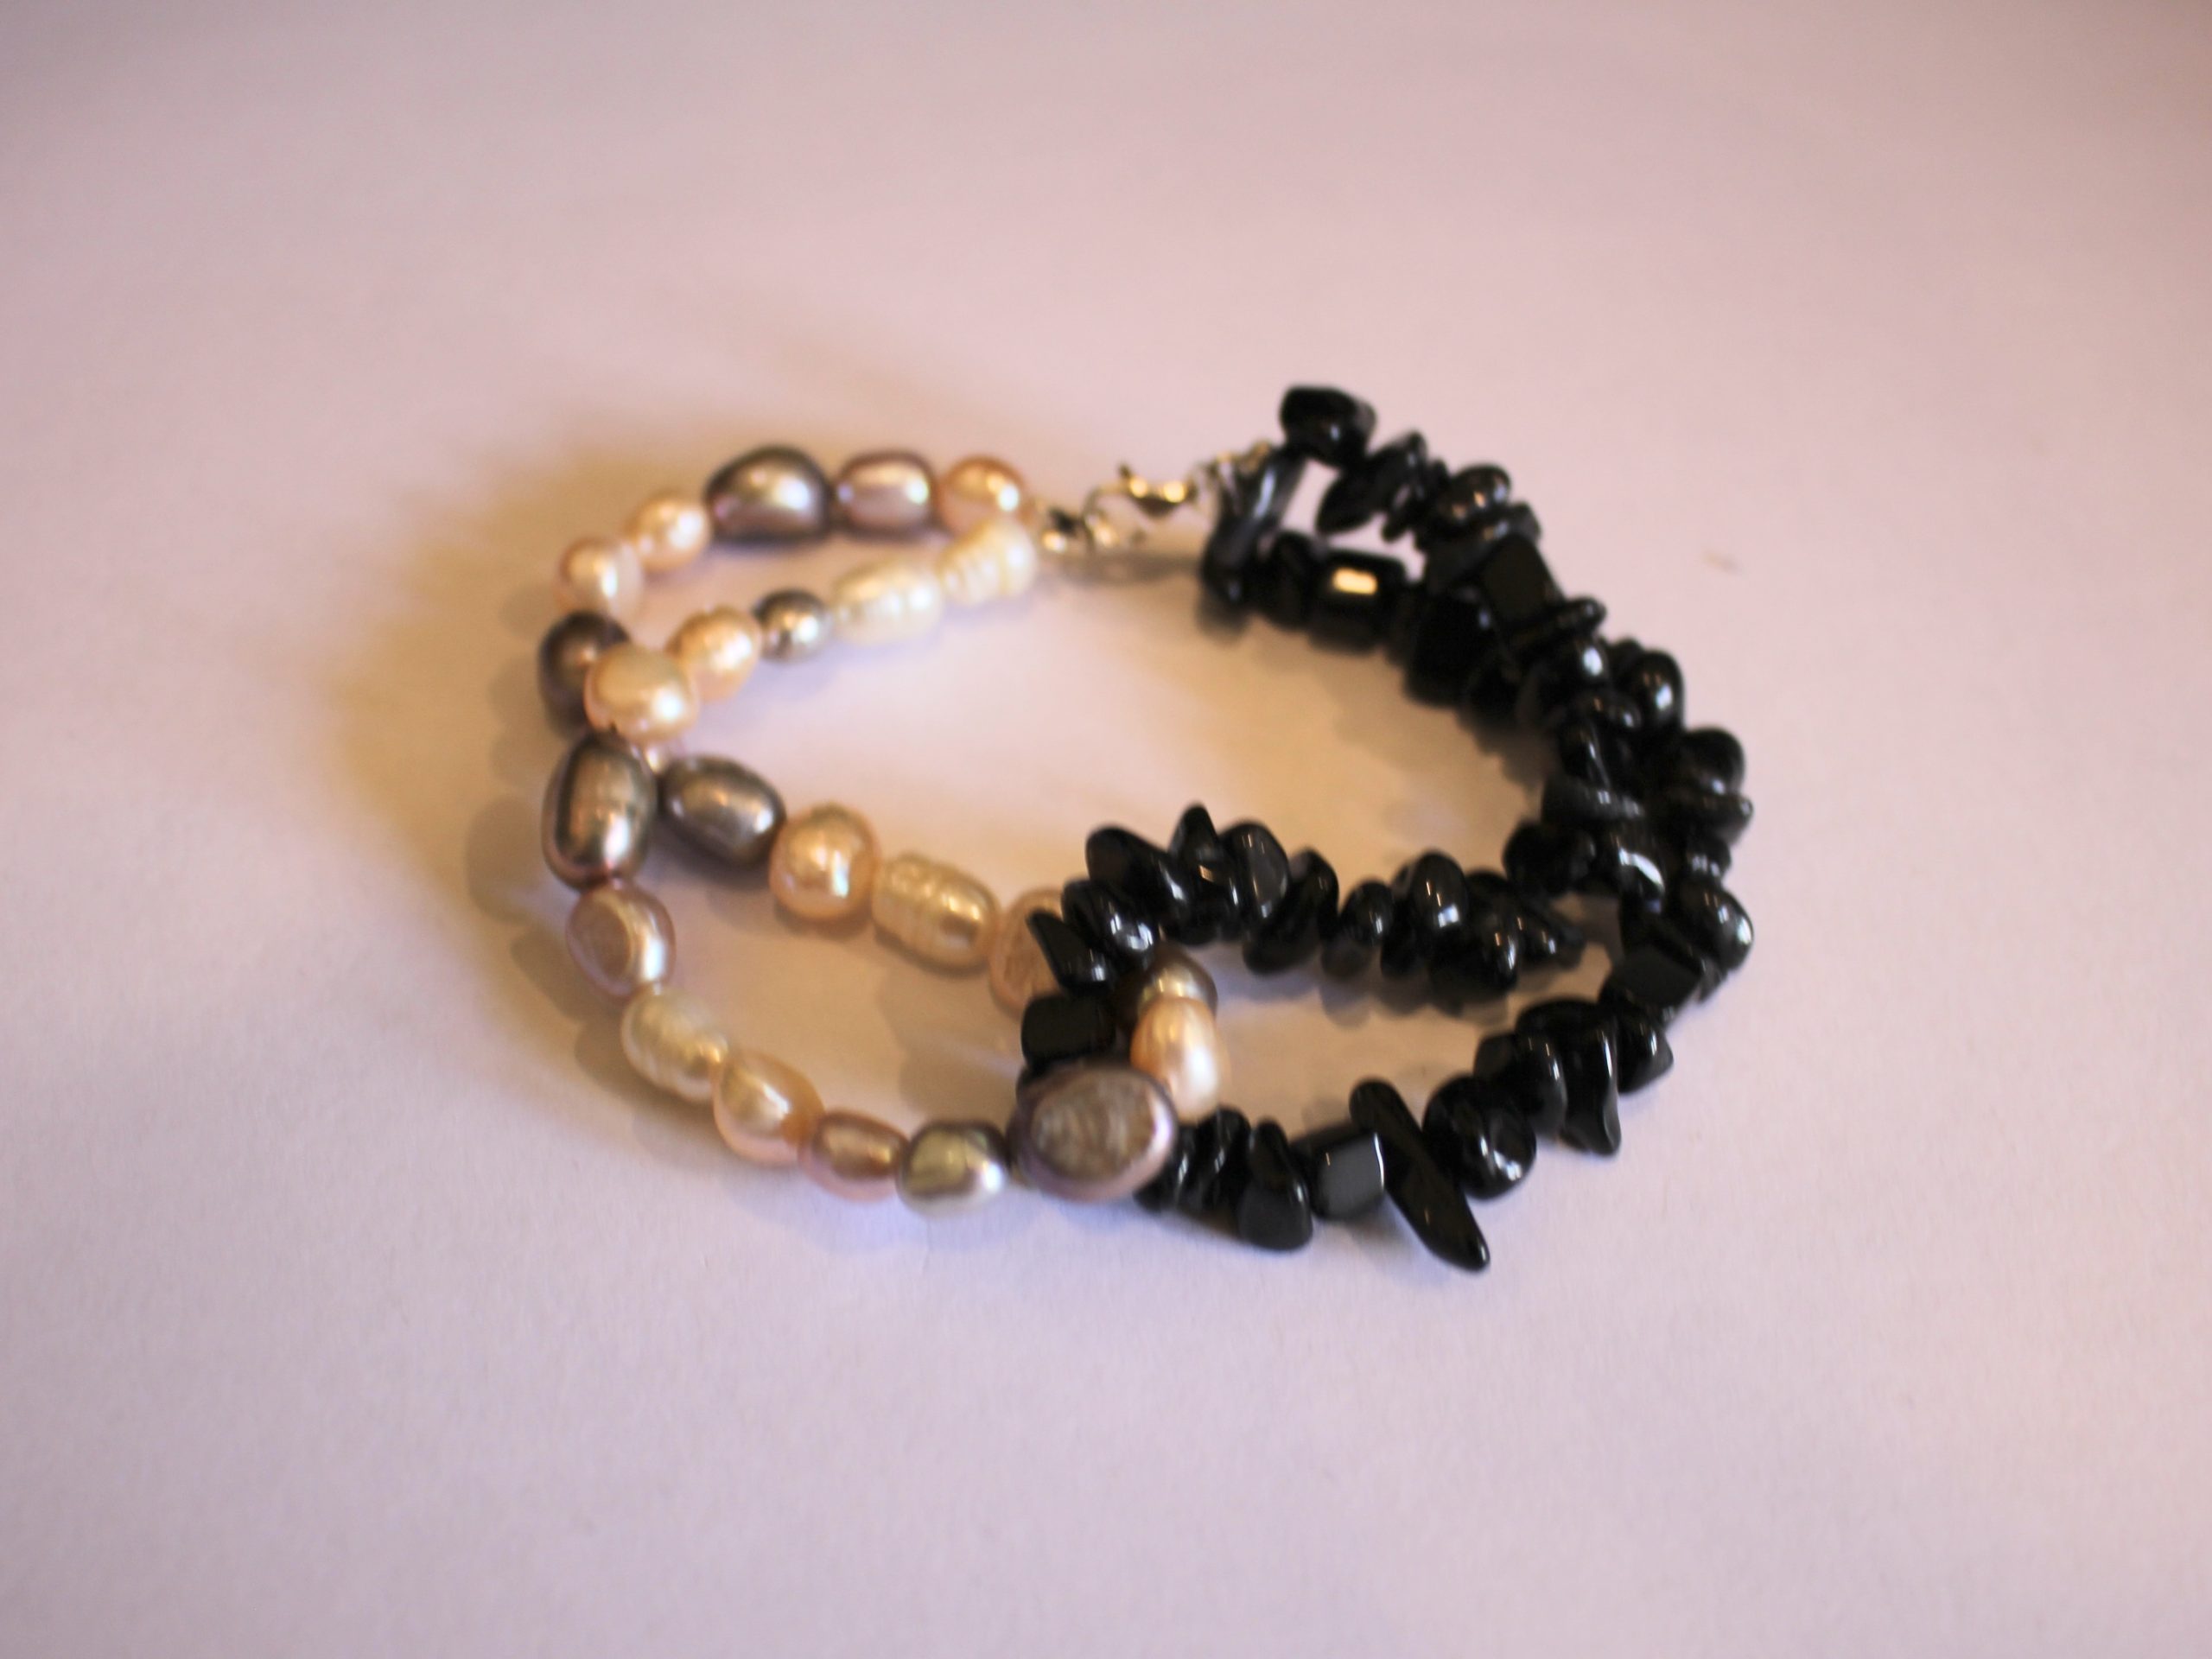
Here’s another version I made using pearl beads.


-
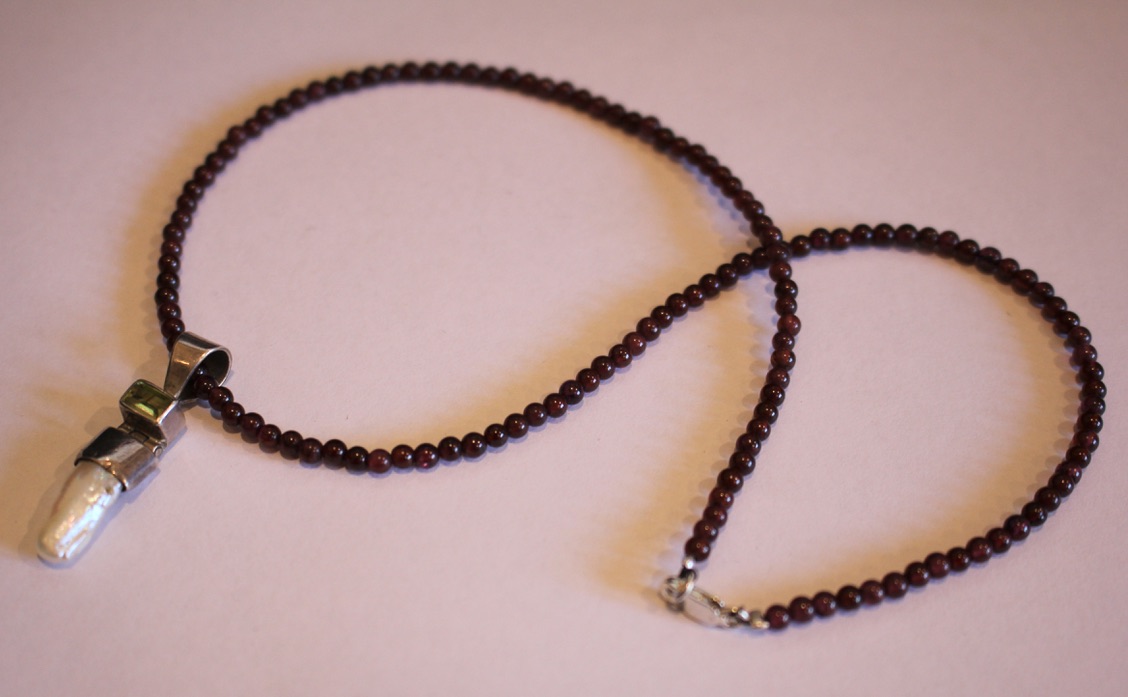
DIY Beaded Necklace Tutorial: Creating a Stunning Strand for Silver Pendants
I love necklaces, but I don’t always need my pendants to sit on a matching chain, sometimes I love the look of metal pendants on a beaded necklace strand. If you love this look too, here’s a fun tutorial that shows you how to make your own so that you can wear your favourite pendants on bead embellished necklaces! Please note that this tutorial contains affiliate links.
You’ll need the following tools and materials to make your beaded necklace strand for your pendant:
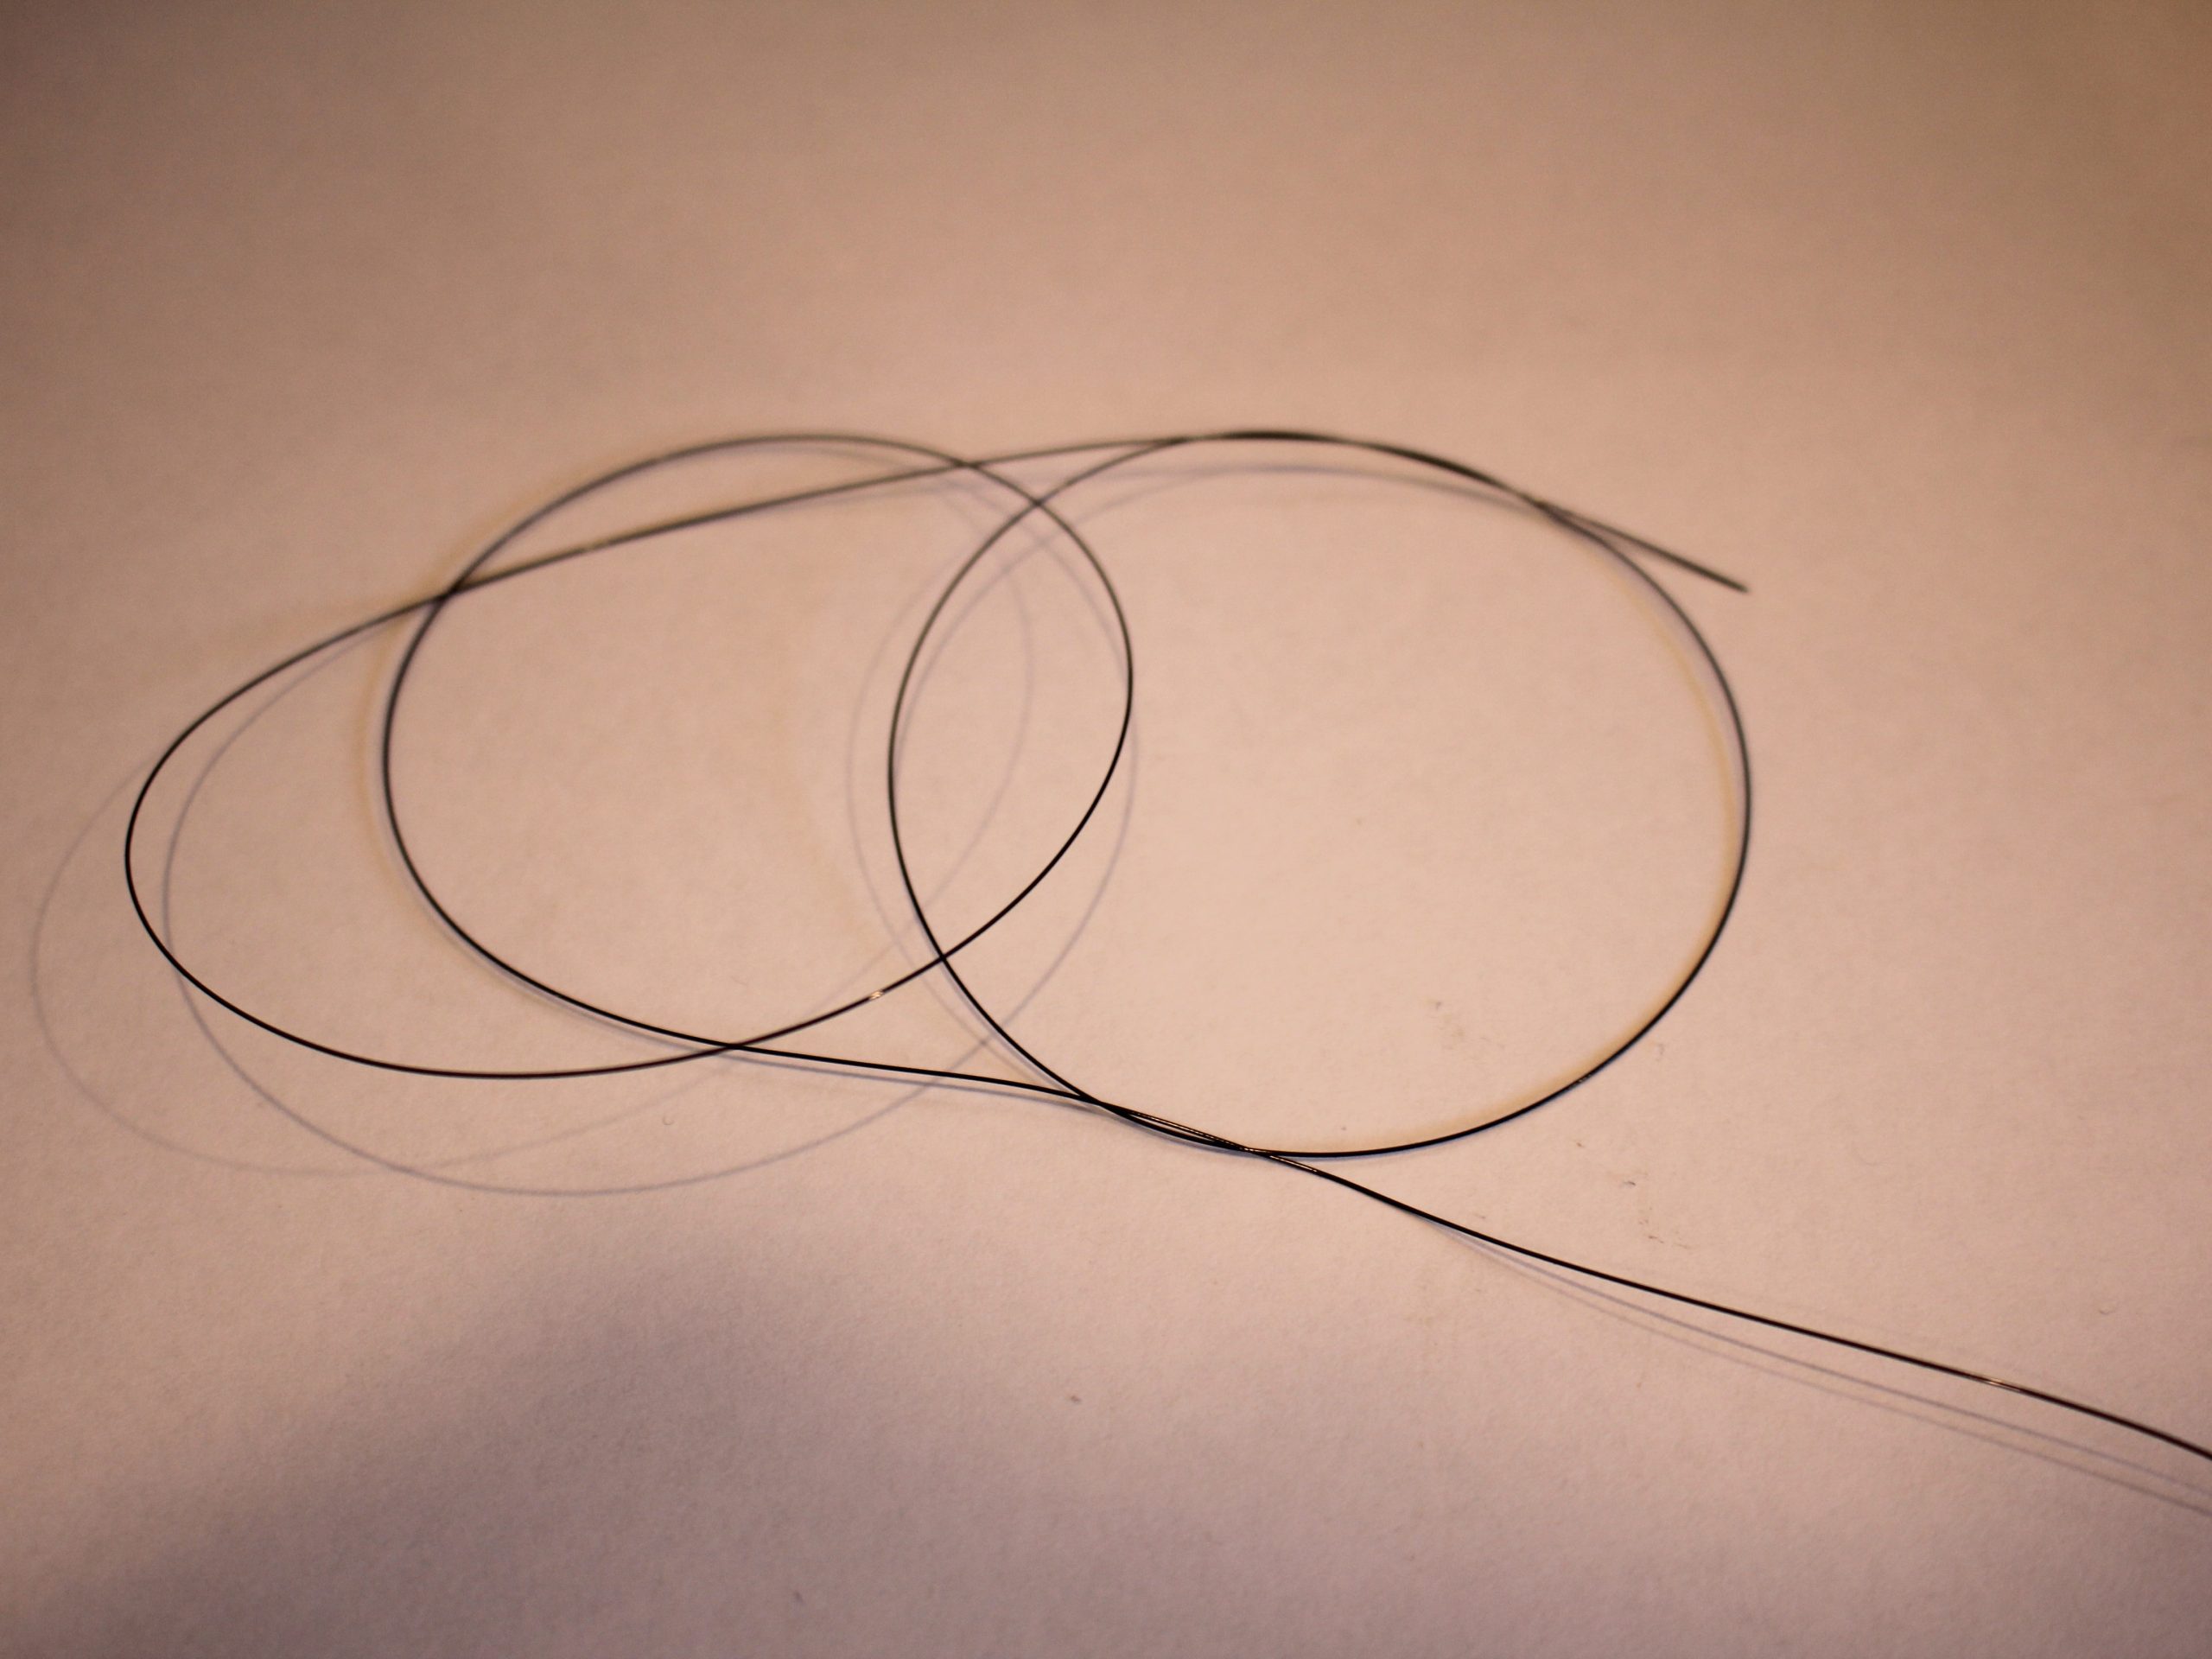
1: Some tiger tail wire. I used some thin tiger tail wire. Cut it to length by measuring out the length you would like your necklace to be, and add around additional 15 centimetres.
You can get wire here:
2: Pliers. I used my cutting pliers and flat nose pliers. I kept my round nose pliers on hand in case I needed them.
You can get plier sets here:
3: Some beads. I used these small round garnet beads. (Choose smaller beads to ensure that your pendant will slide over them easily).

You can get round gemstone beads here:
4: A pendant. I used this silver gemstone pendant. Make sure it has a bail (the loop at the top) that is large enough to fit over the beads you choose. I purchased this one at a local flea market, which can be a place to buy interesting jewellery.
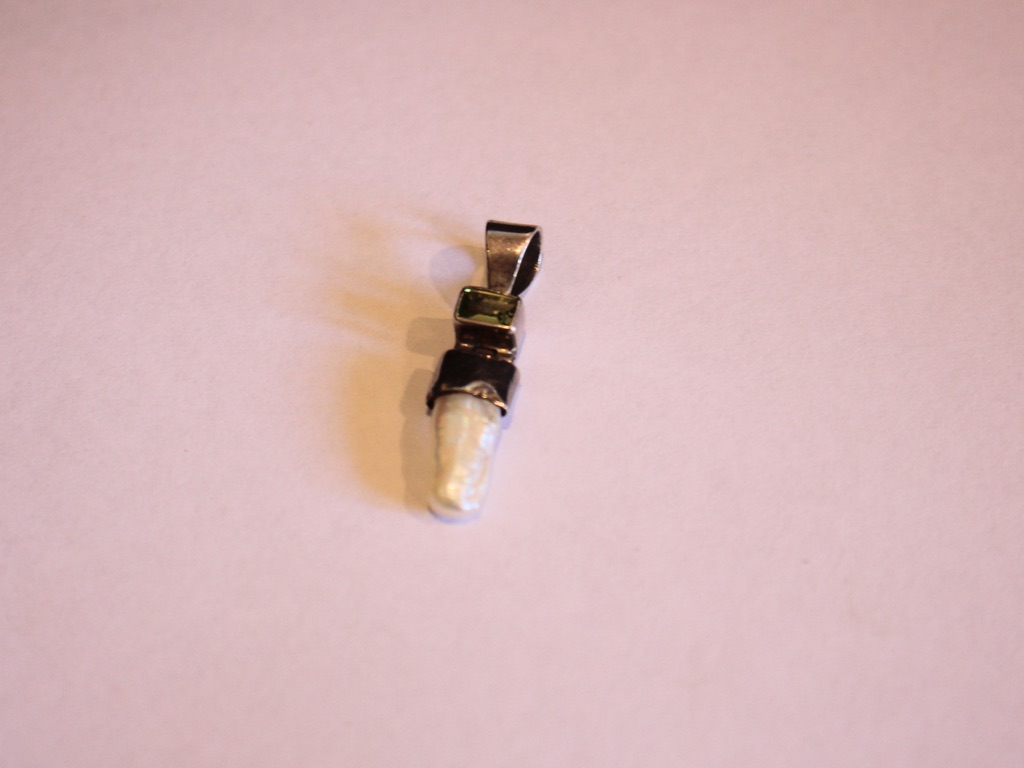
You can get silver and gemstone pendants here:
5: Two sterling silver crimp beads.
You can get sterling silver crimp beads here:
6: A sterling silver clasp and additional jump ring.

You can get silver clasps and jump rings here:
Here are the steps to follow to make your beaded necklace strand to wear your pendant on:
1: Add the crimp bead and clasp to the end of the tiger tail wire.

2: Loop the end of the wire around the jump ring on the clasp twice so that it is secure, then thread it through the crimp bead.
3: Squash the crimp bead using the flat nose pliers.

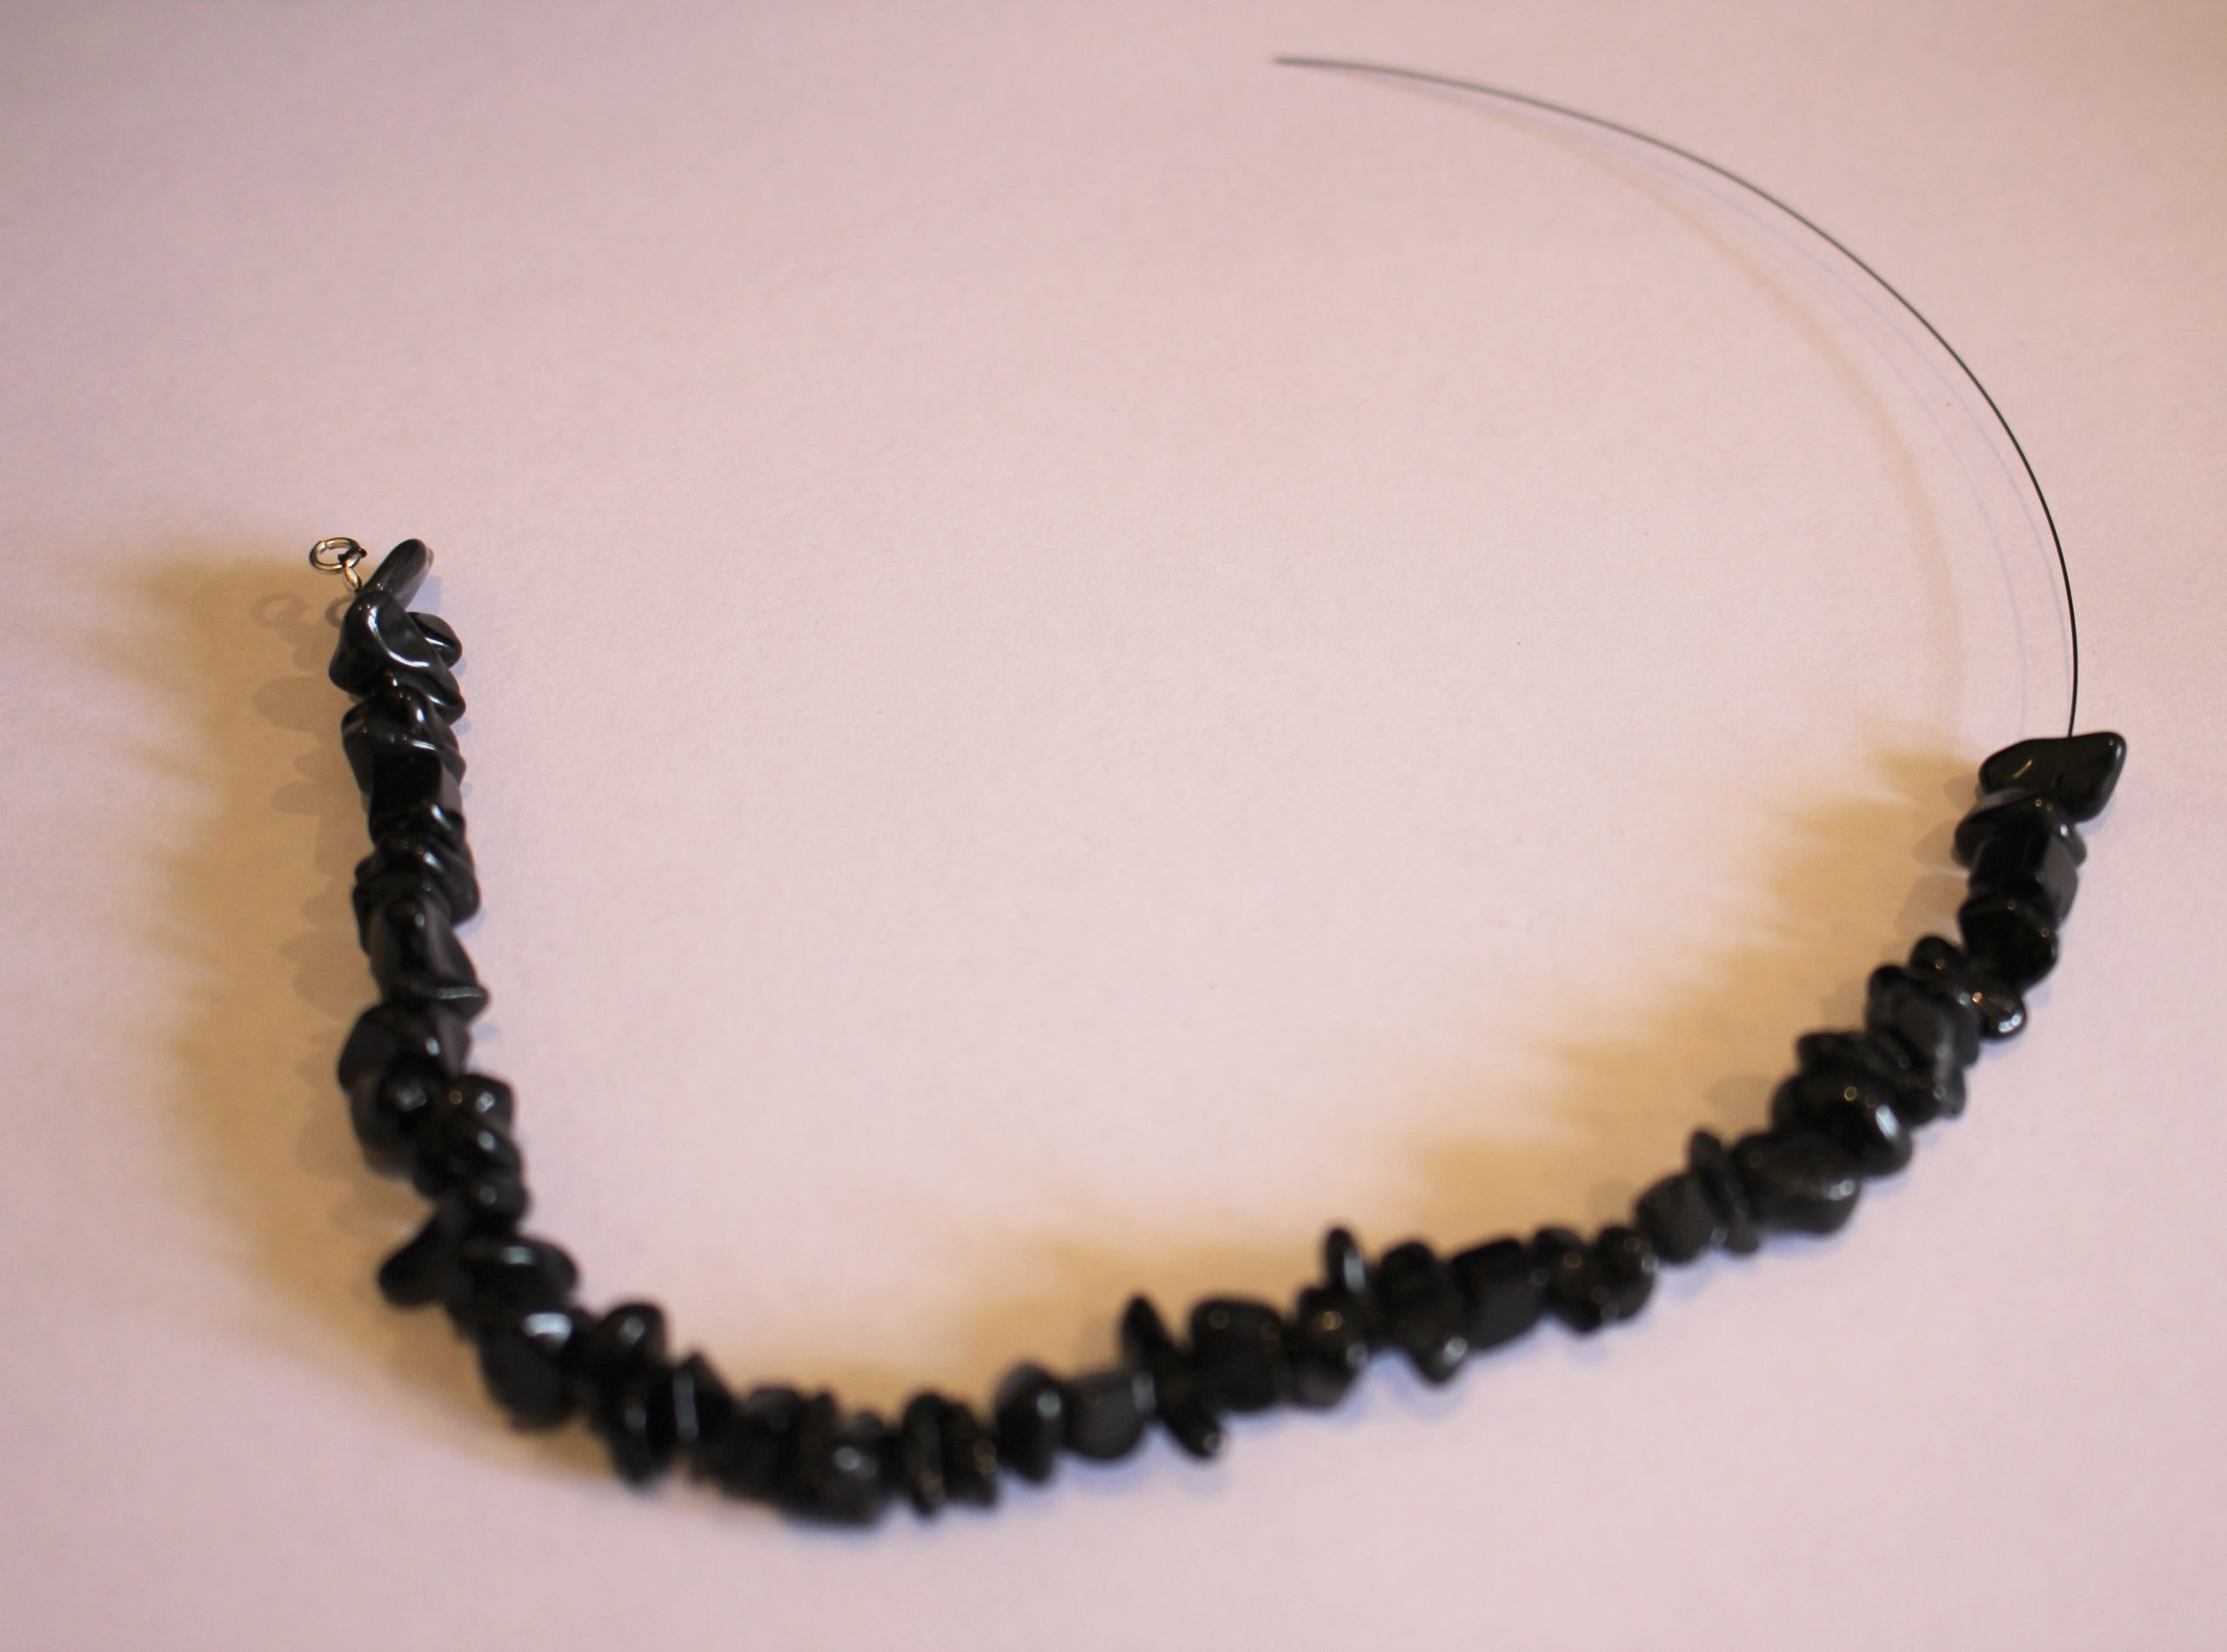
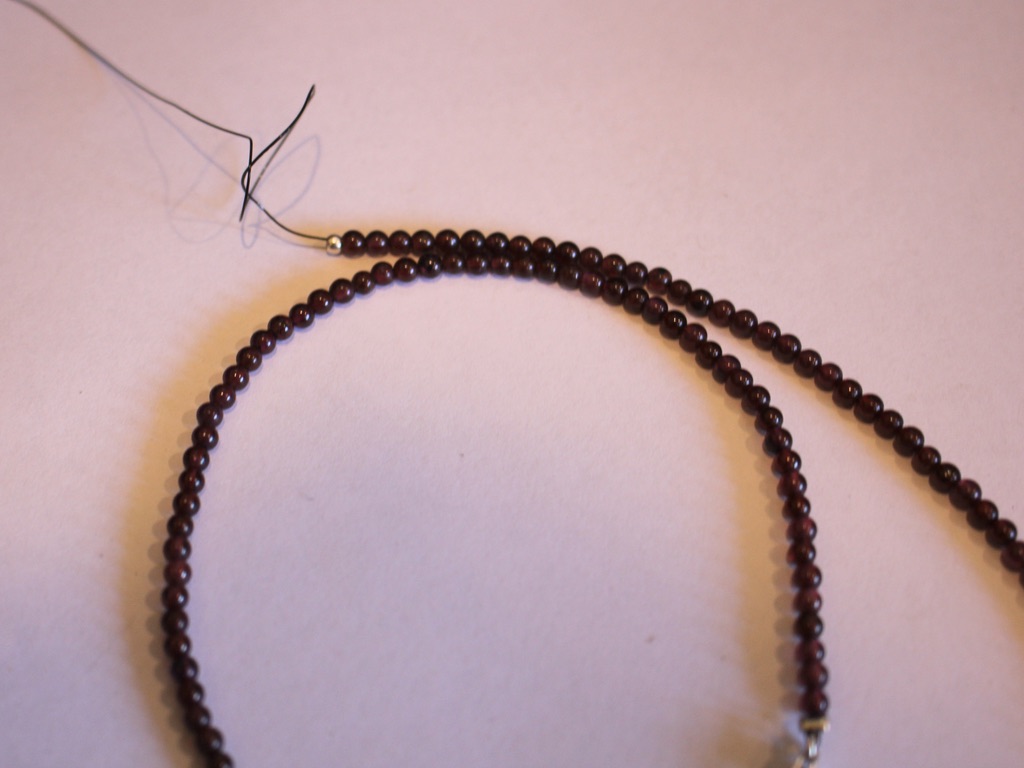
4: Begin adding beads, continue beading until you have a length you like.


5: Add the second crimp bead to the necklace (excuse my bent wire, it got a little tangled, if this happens to you, continue adding beads and it will smooth out, or try to avoid having kinks in the working section of your necklace).
6: Add the second jump ring to the end of the wire.
7: Loop the wire around the jump ring twice like you did in step two.

8: Thread the wire back through the crimp and the first few beads on the wire. Make sure to pull it tight, extra pliers can be useful for getting a tight fit.

9: Squash the crimp using the flat nose pliers again.

10: Trim the excess wire using the cutting pliers.

11: Now you can add your pendant!

12: Once your pendant has been added, your necklace is complete!


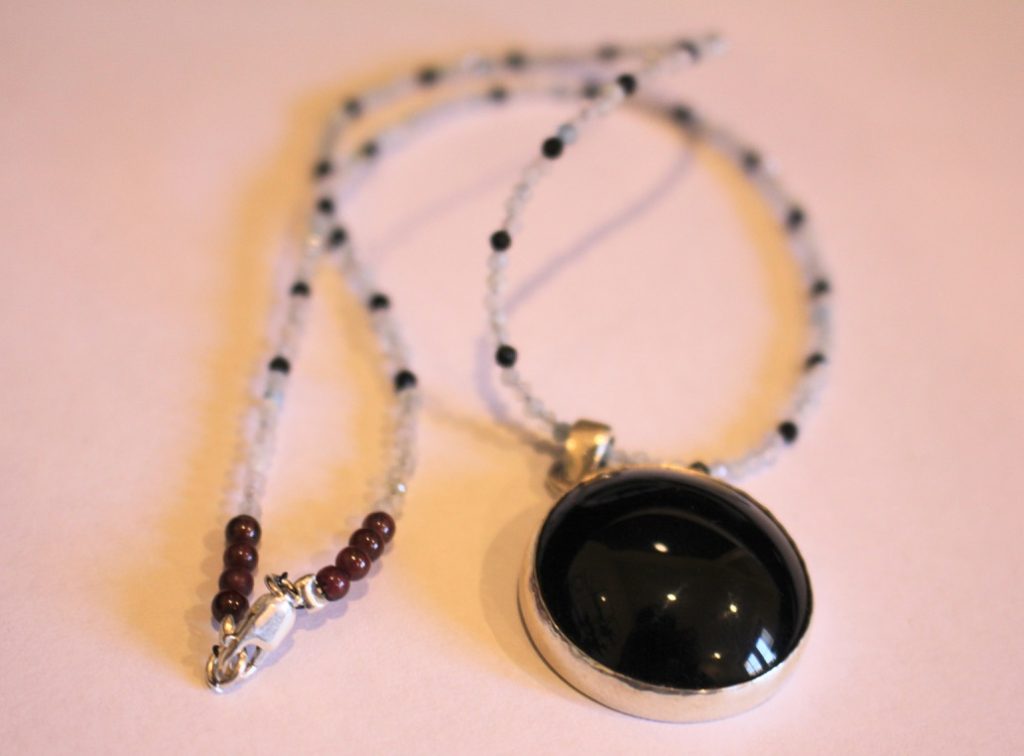
Here’s another one I made using a black cabochon pendant on a necklace made with faceted gemstone beads. So pretty! There are so many options using this technique! What combination will you make?
Here are some other pendant necklace tutorials to follow:
-
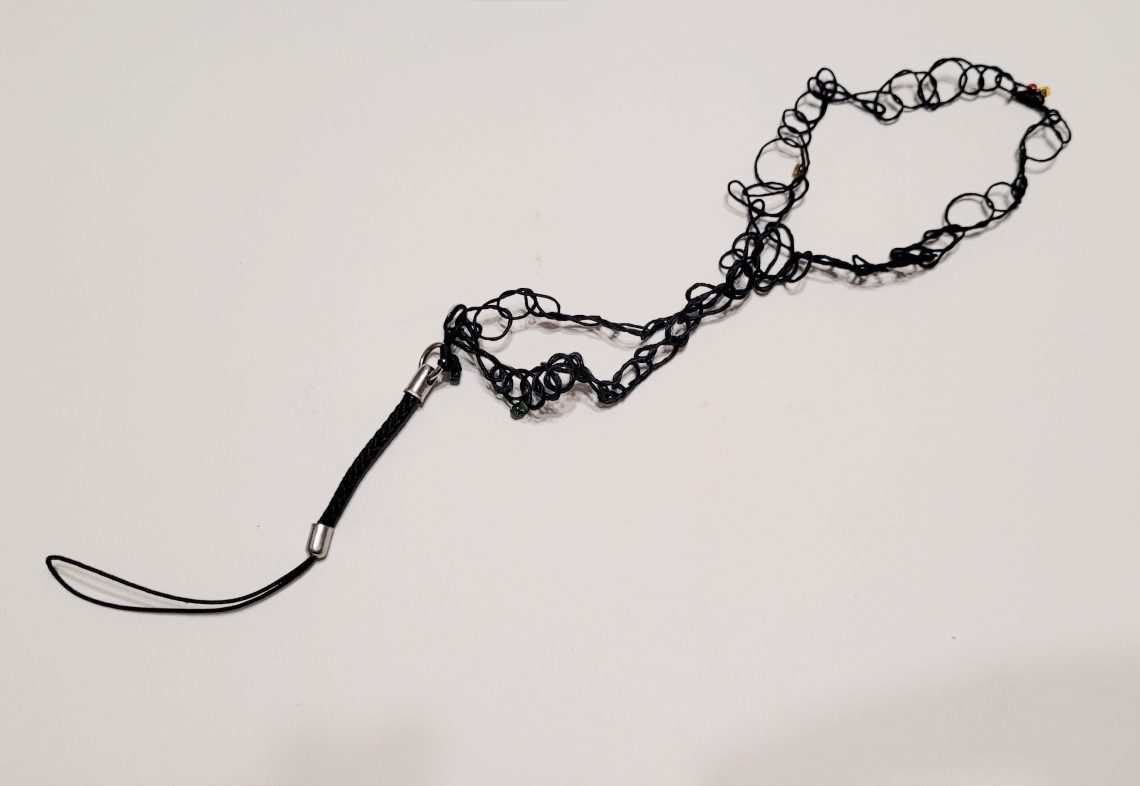
Get Hands-Free and Stylish with a DIY Crochet Phone Wrist Strap: Follow our Step-by-Step Tutorial Now!
It’s great to keep track of your phone without having to old it in your hands all the time, strap on this crochet wrist strap to ensure you don’t lose yours! This tutorial is a beginners crochet tutorial, and the results are pretty cool! Please note that it contains affiliate links.
You’ll need these tools and materials to make your crochet phone strap:
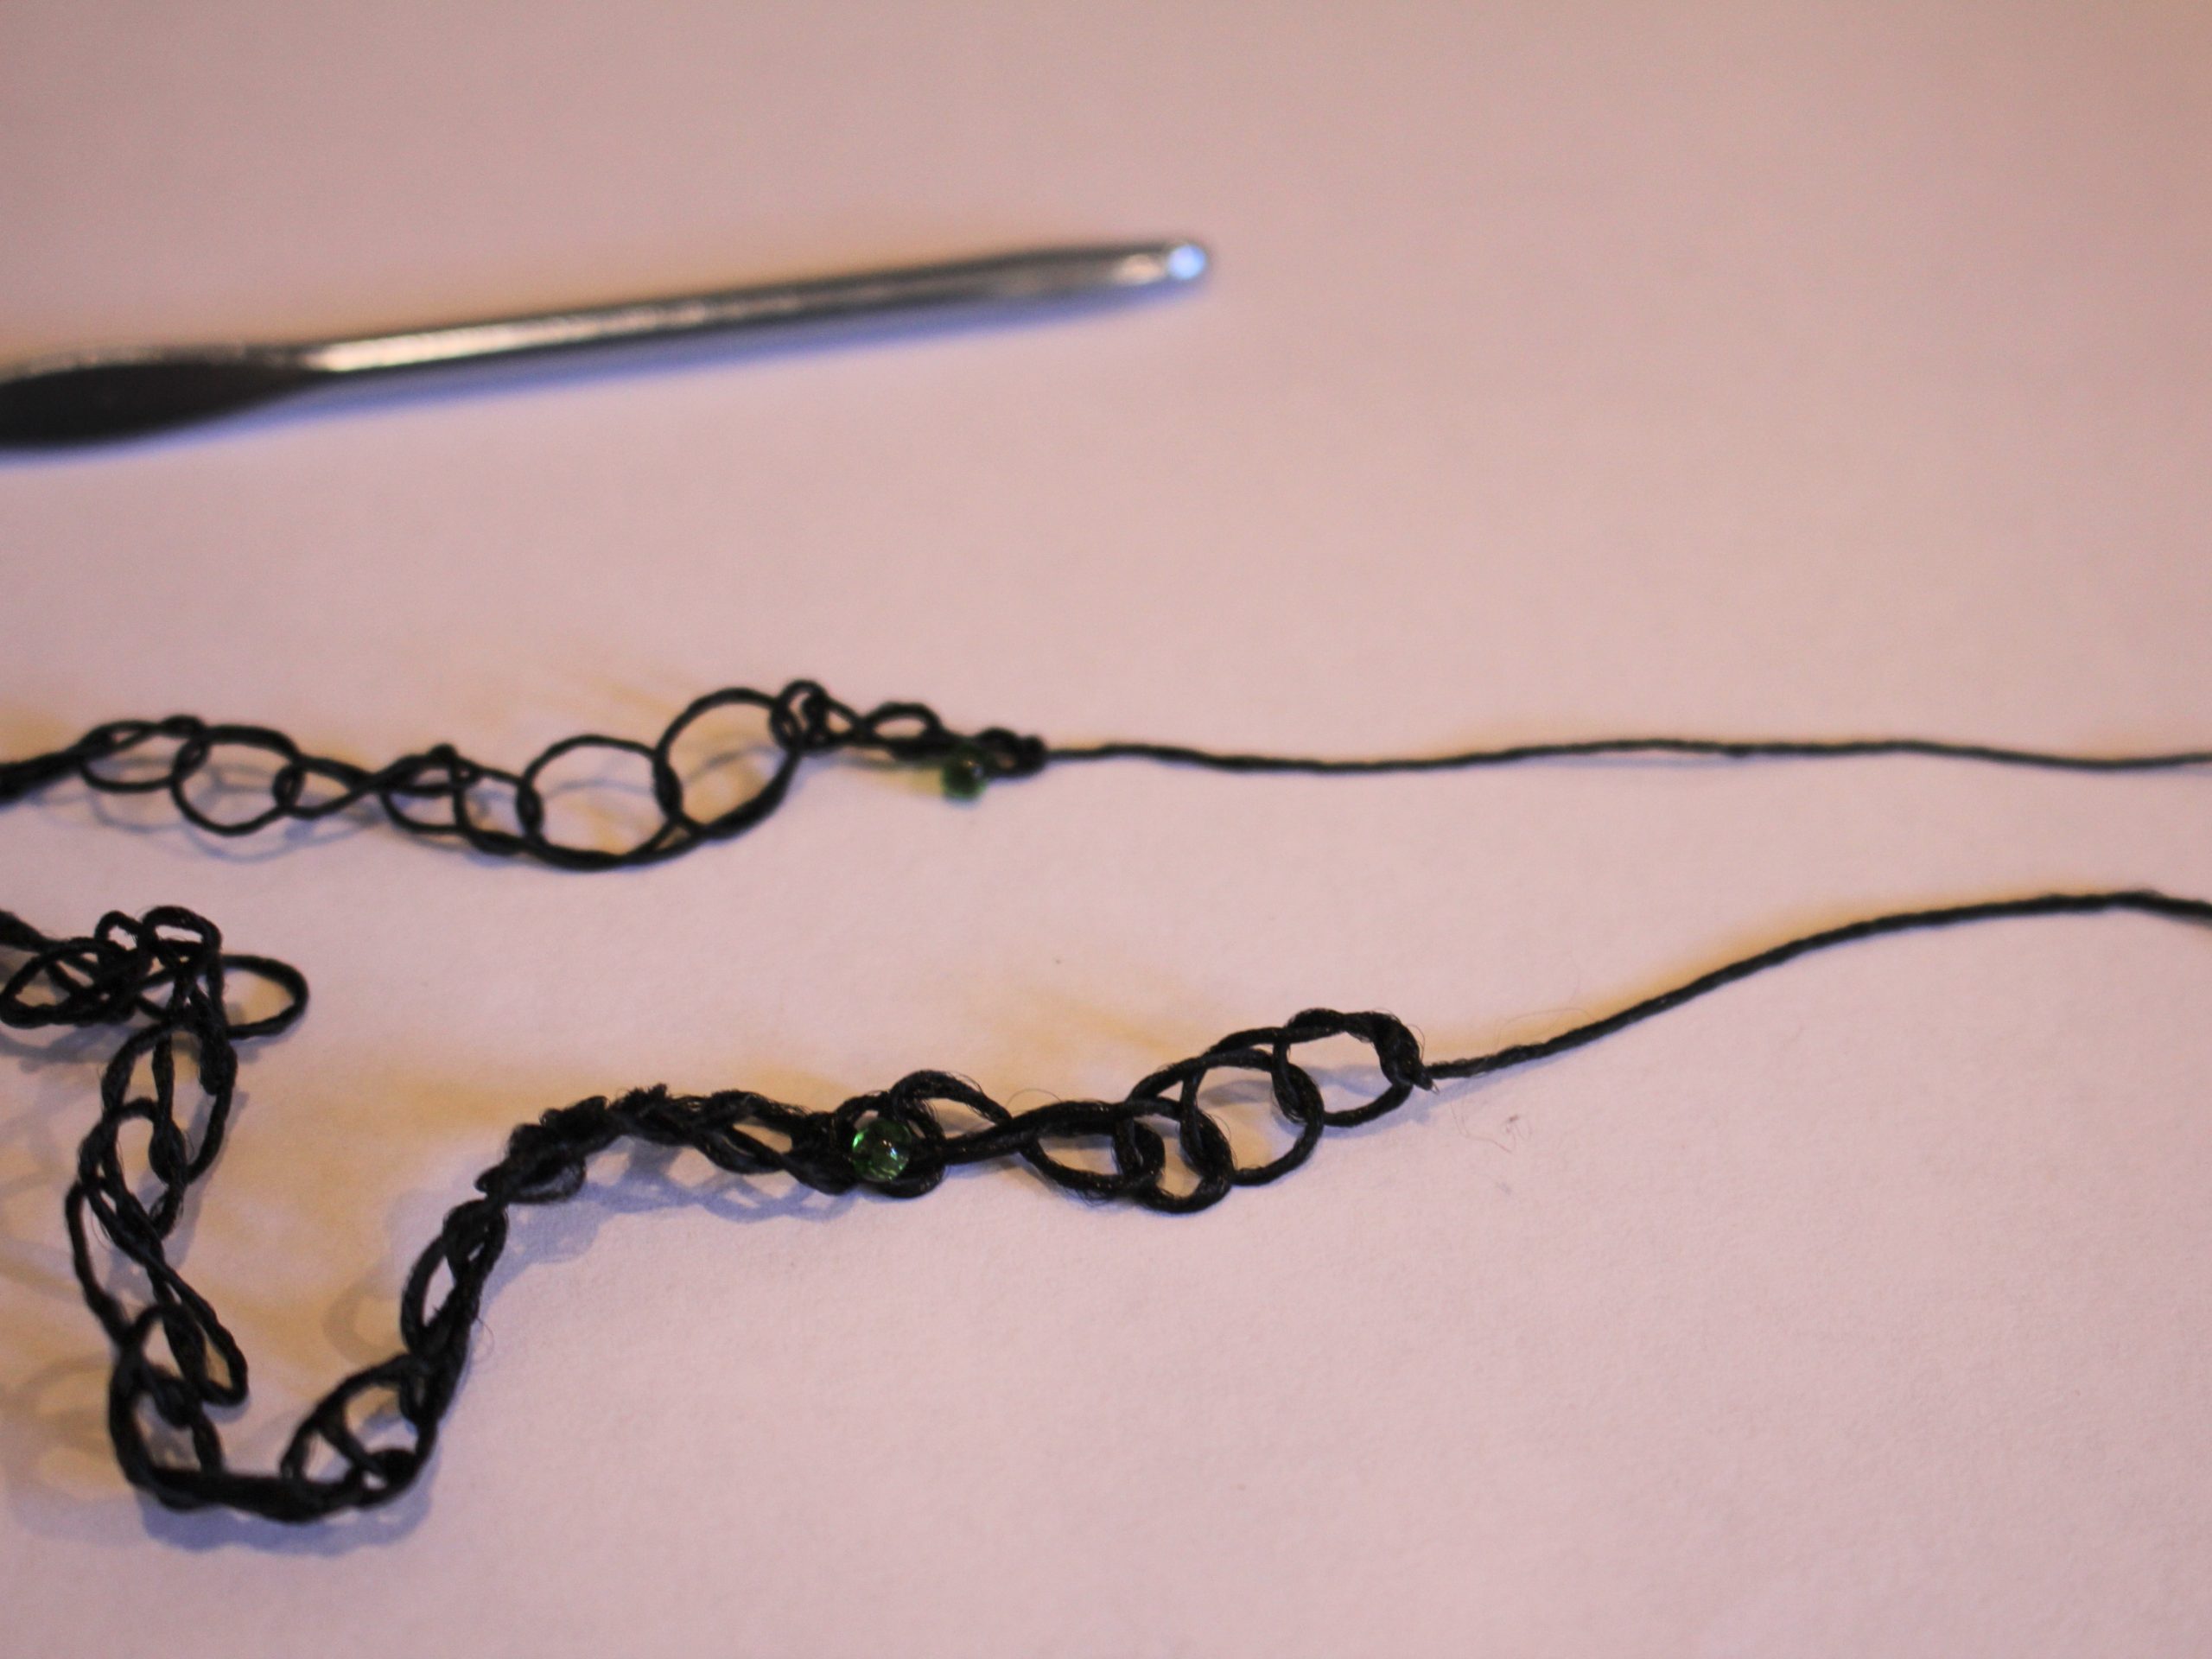
1: Some yarn or thread. I used this beaded thread.

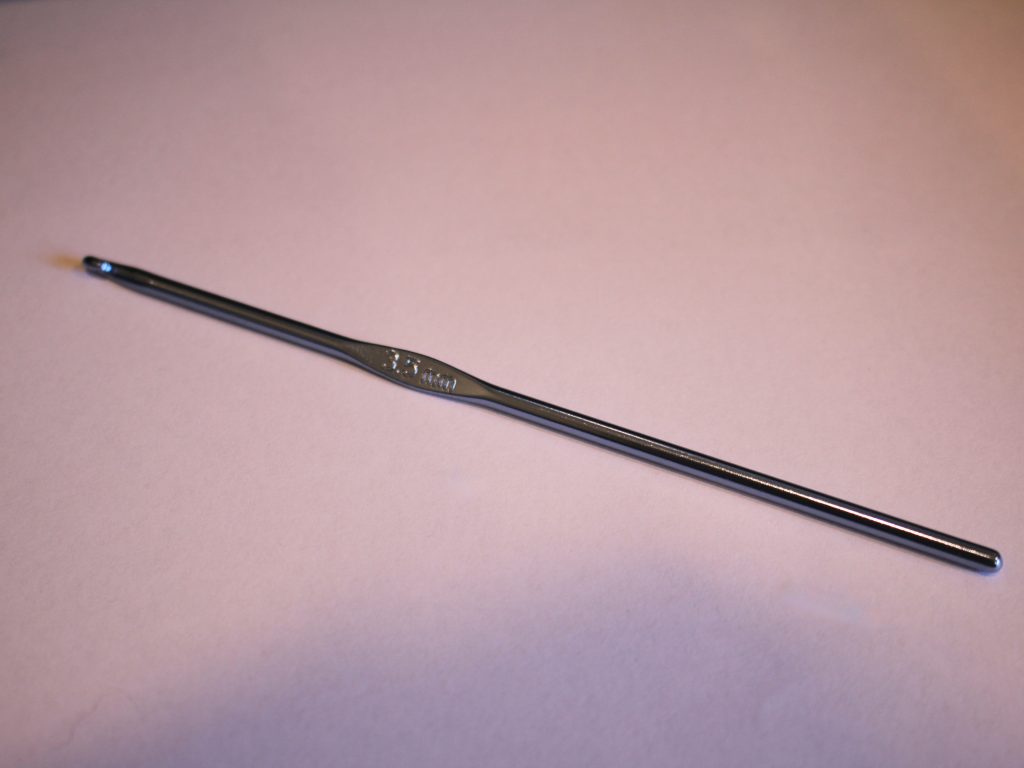
2: A crochet hook. I used this 3.5mm hook, If you like the loose look you can see in this tutorial, this size is fine for the thickness of thread I used, but if you want it to be tighter, try using a smaller crochet hook.
3: Scissors.
4: Super Glue.

5: A phone strap keychain.

Follow these steps to make your cute crochet wrist strap:
1: Take your chosen yarn and create a slip knot.


2: Slide the knot over the crochet hook and then pull it tight.

3: Take the long end of the yarn and loop it over the crochet hook in front of the first loop you added.

4: Take the first loop and pull it over the second loop and off the crochet hook. You can find a video demonstration here.

5: Repeat steps 3 and 4 until you have a length of crochet chain you like. I made mine about 30cm long but you might want to make yours longer or shorter depending on your wrist size.


6: Once you have a length you like, cut the end of the yarn so that you have a 12cm tail.
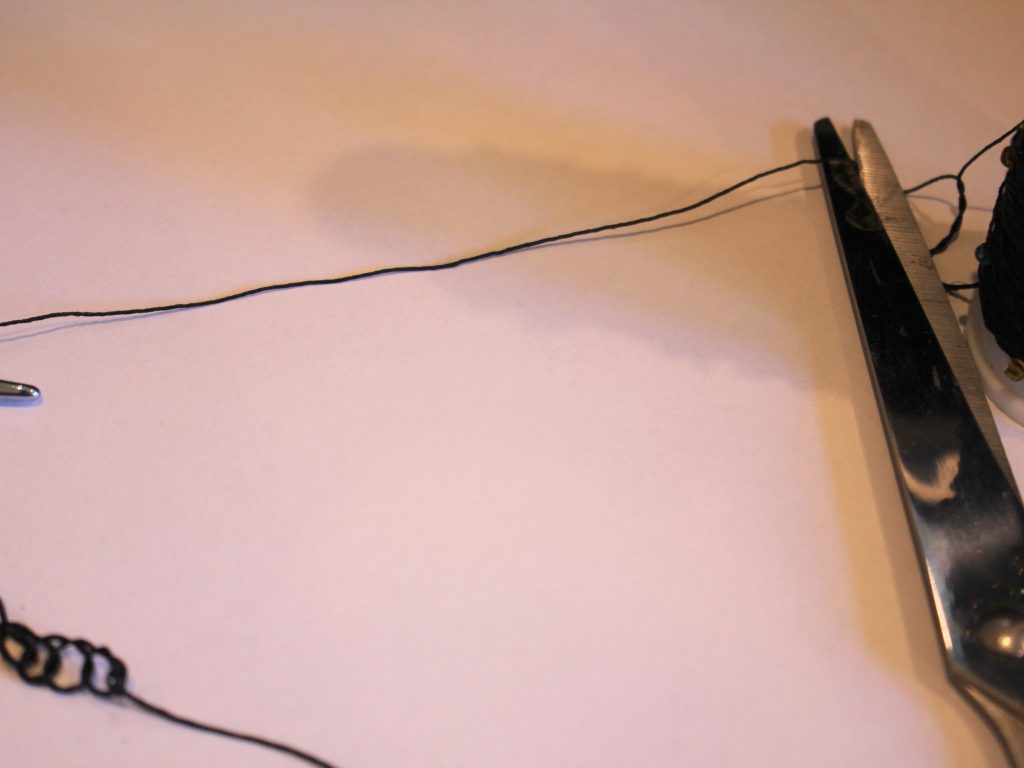
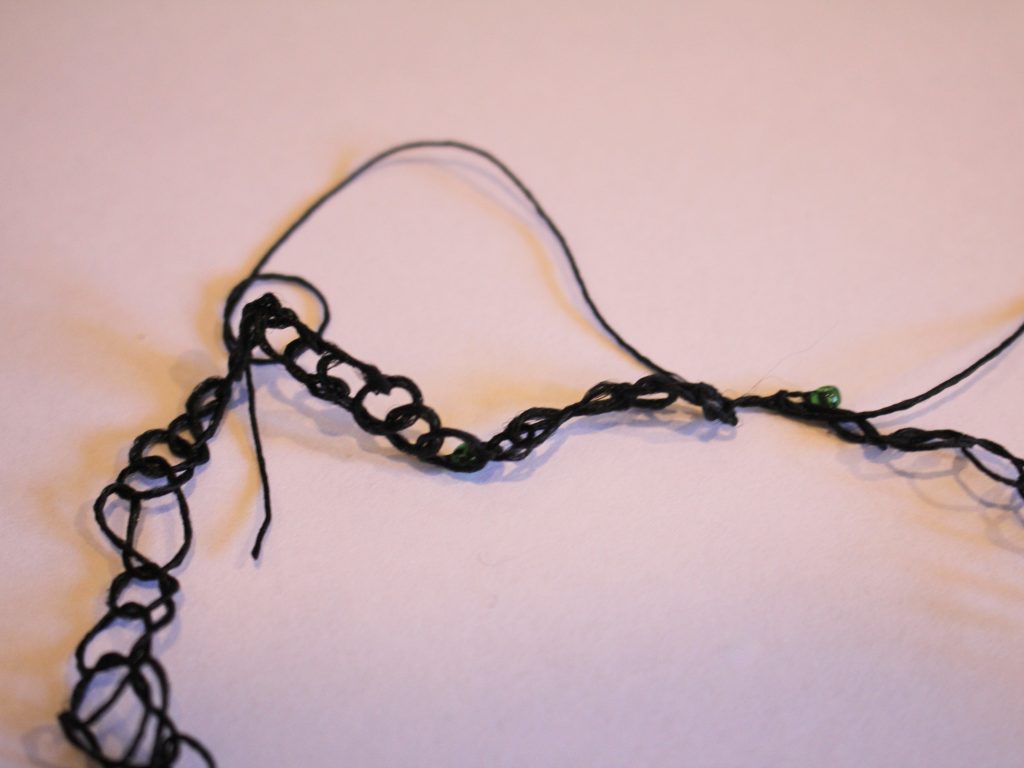
7: Take the final loop off of the crochet hook and thread the tail through the loop pulling it tight to secure it.


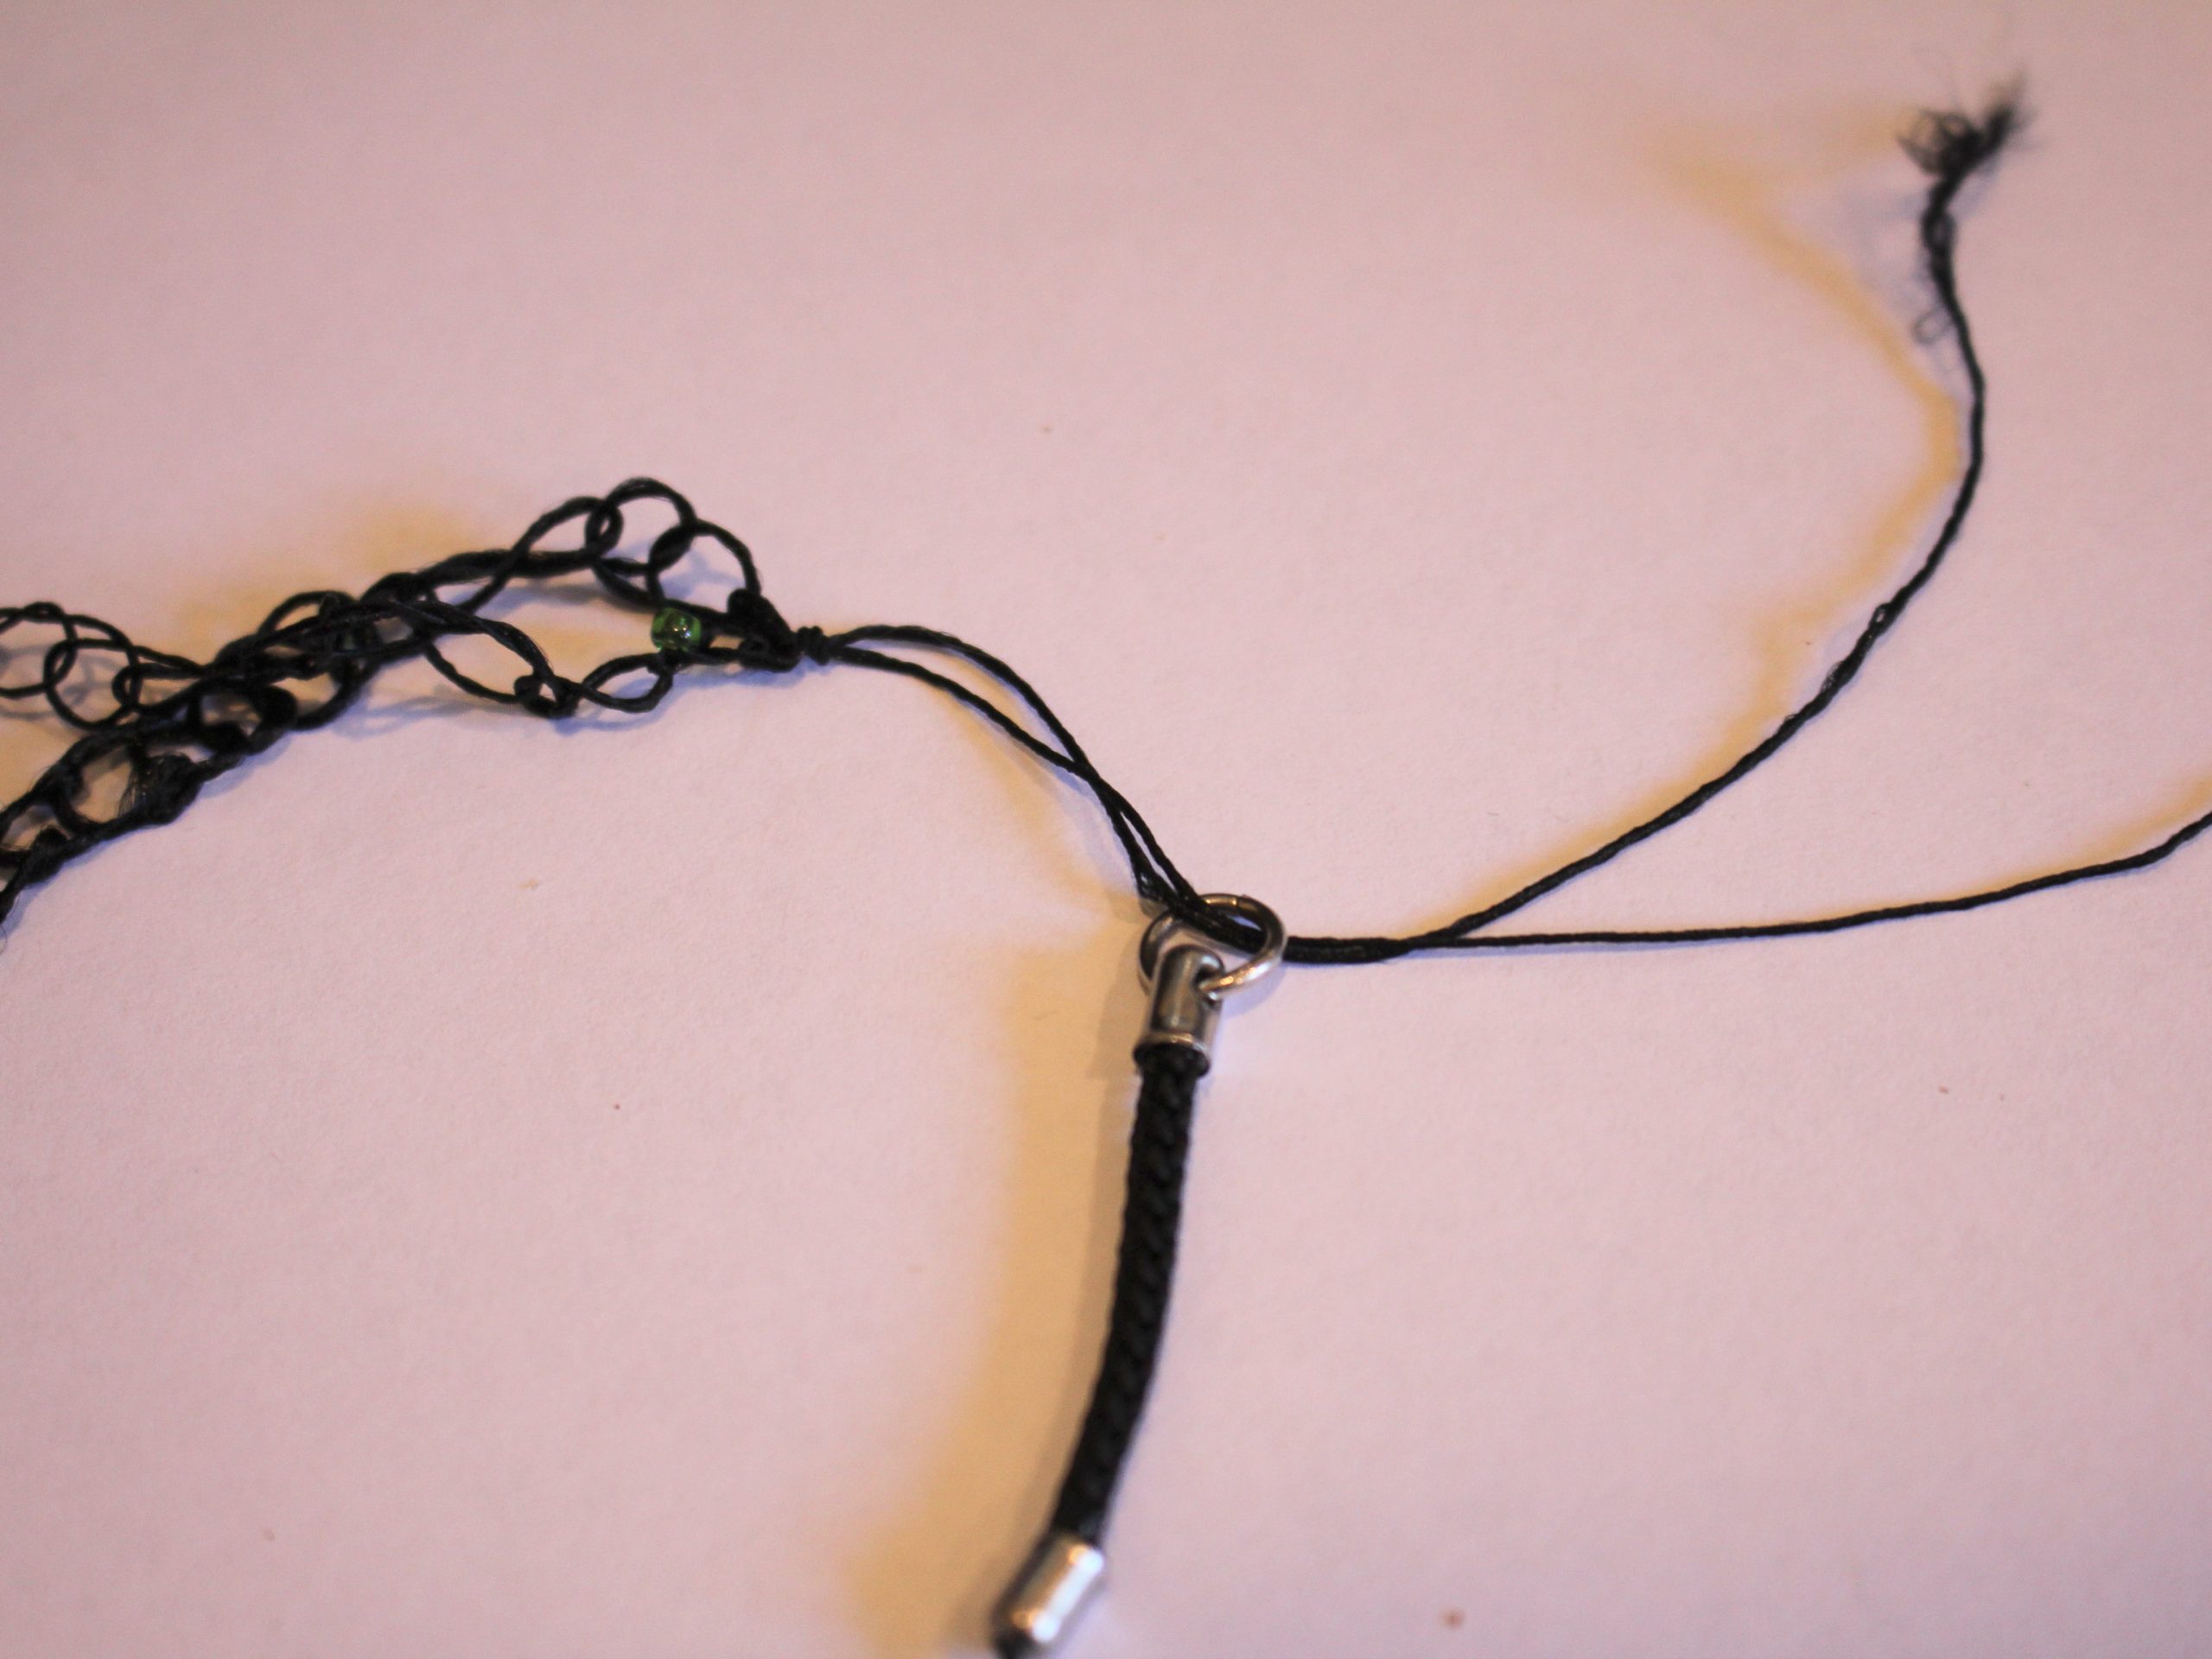
8: Knot the ends of the crochet chain together.

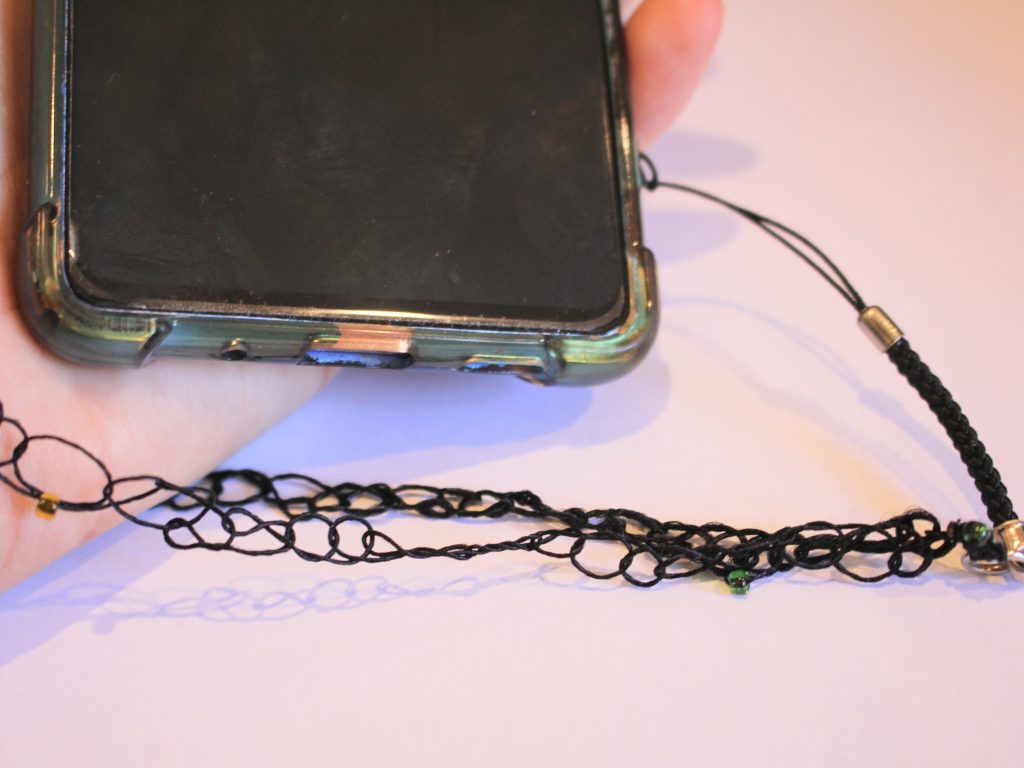
9: Thread the yarn through the jump ring on the keychain and create a few knots to secure it.


10: Trim the ends of the yarn and add a dab of superglue to secure it.


Now your crochet phone wrist strap is finished and ready to use! How fun?!

Here are some other wrist strap tutorials to follow:
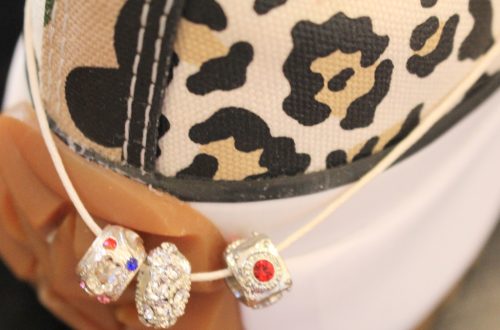
1: A chain and rhinestone phone strap
3: This simple chain phone strap
4: A tutorial that shows you how to transform a necklace into a phone strap.
-
Want to upcycle an old container to store your jewels? Here’s a tutorial to show you how.
Do you ever finish a good moisturiser or yummy snack and look at the packaging and think, I could use this for something? Well I do! If you want to upcycle an old jar into a cool container to store your jewelry, follow along. Please note that this tutorial contains affiliate links.
You’ll need the following tools and materials to make your upcycled jar:
1: An empty jar. I used this glass and plastic jar that was leftover from an old moisturiser.


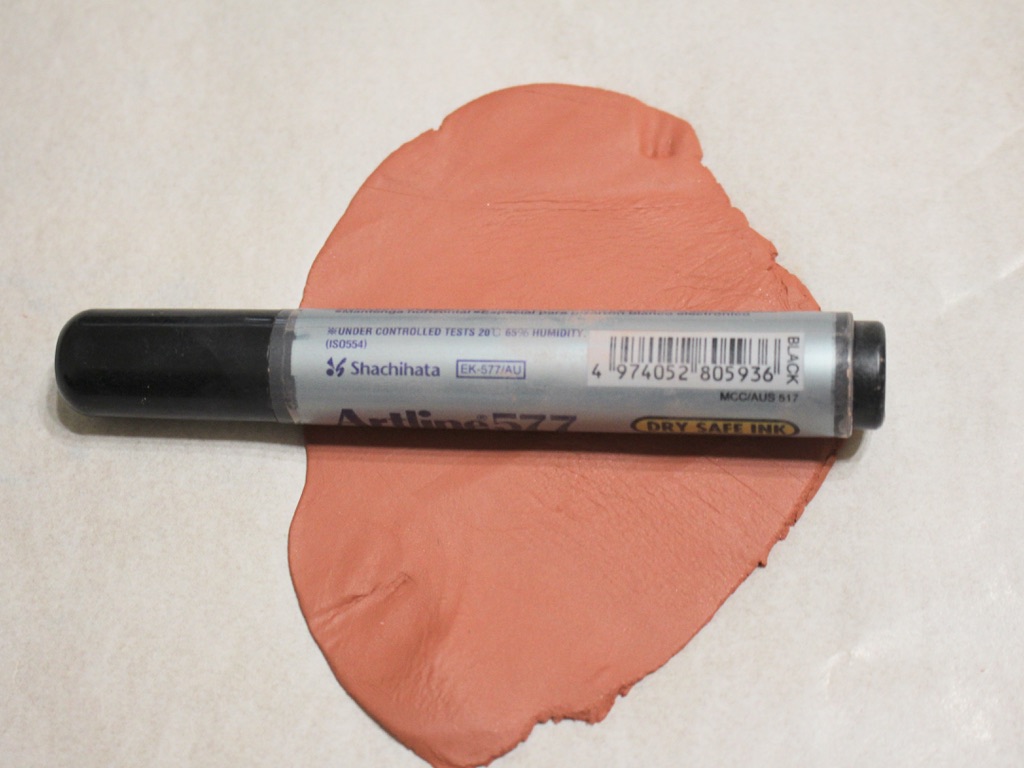
2: Air dry clay. I used terracotta colour clay but you can also use white.

3: A pen, rolling pin, jar or something else that is round that you can use as a rolling pin.

4: A cookie cutter shape. I used this fan shape.

5: A tub filled with water.

6: Paint brushes.

7: Acrylic paint. I used brown and red paint.

8: Paint pens.

9: PVA glue.
Follow these steps to upcycle your old jar into a trinket container:
1: Take a lump of clay and roll it out flat using the marker pen or rolling pin.


2: Drape the flattened clay over the lid of the jar.

3: Press the clay around the sides of the lid.

4: Pinch off the excess clay using your fingers and fill in any gaps.

5: Smooth out the clay using wet fingers.

6: Flatten the excess clay again and cut out a shape using your cookie cutter.


7: Add some texture to the clay on the top of the jar and one side of the shape.

8: Press the two pieces of clay together.

9: Smooth out the clay again using wet fingers.
10: Set the lid aside to dry.
11: As the lid dries, some cracks might occur. Fill in any cracks using some extra air dry clay. Wait for it to dry before adding the paint.

12: Once the clay is fully dry, add some acrylic paint to the surface, do a couple of layers for good coverage.


13: Add extra decoration using paint pens if you like. I used a pastel red paint pen.

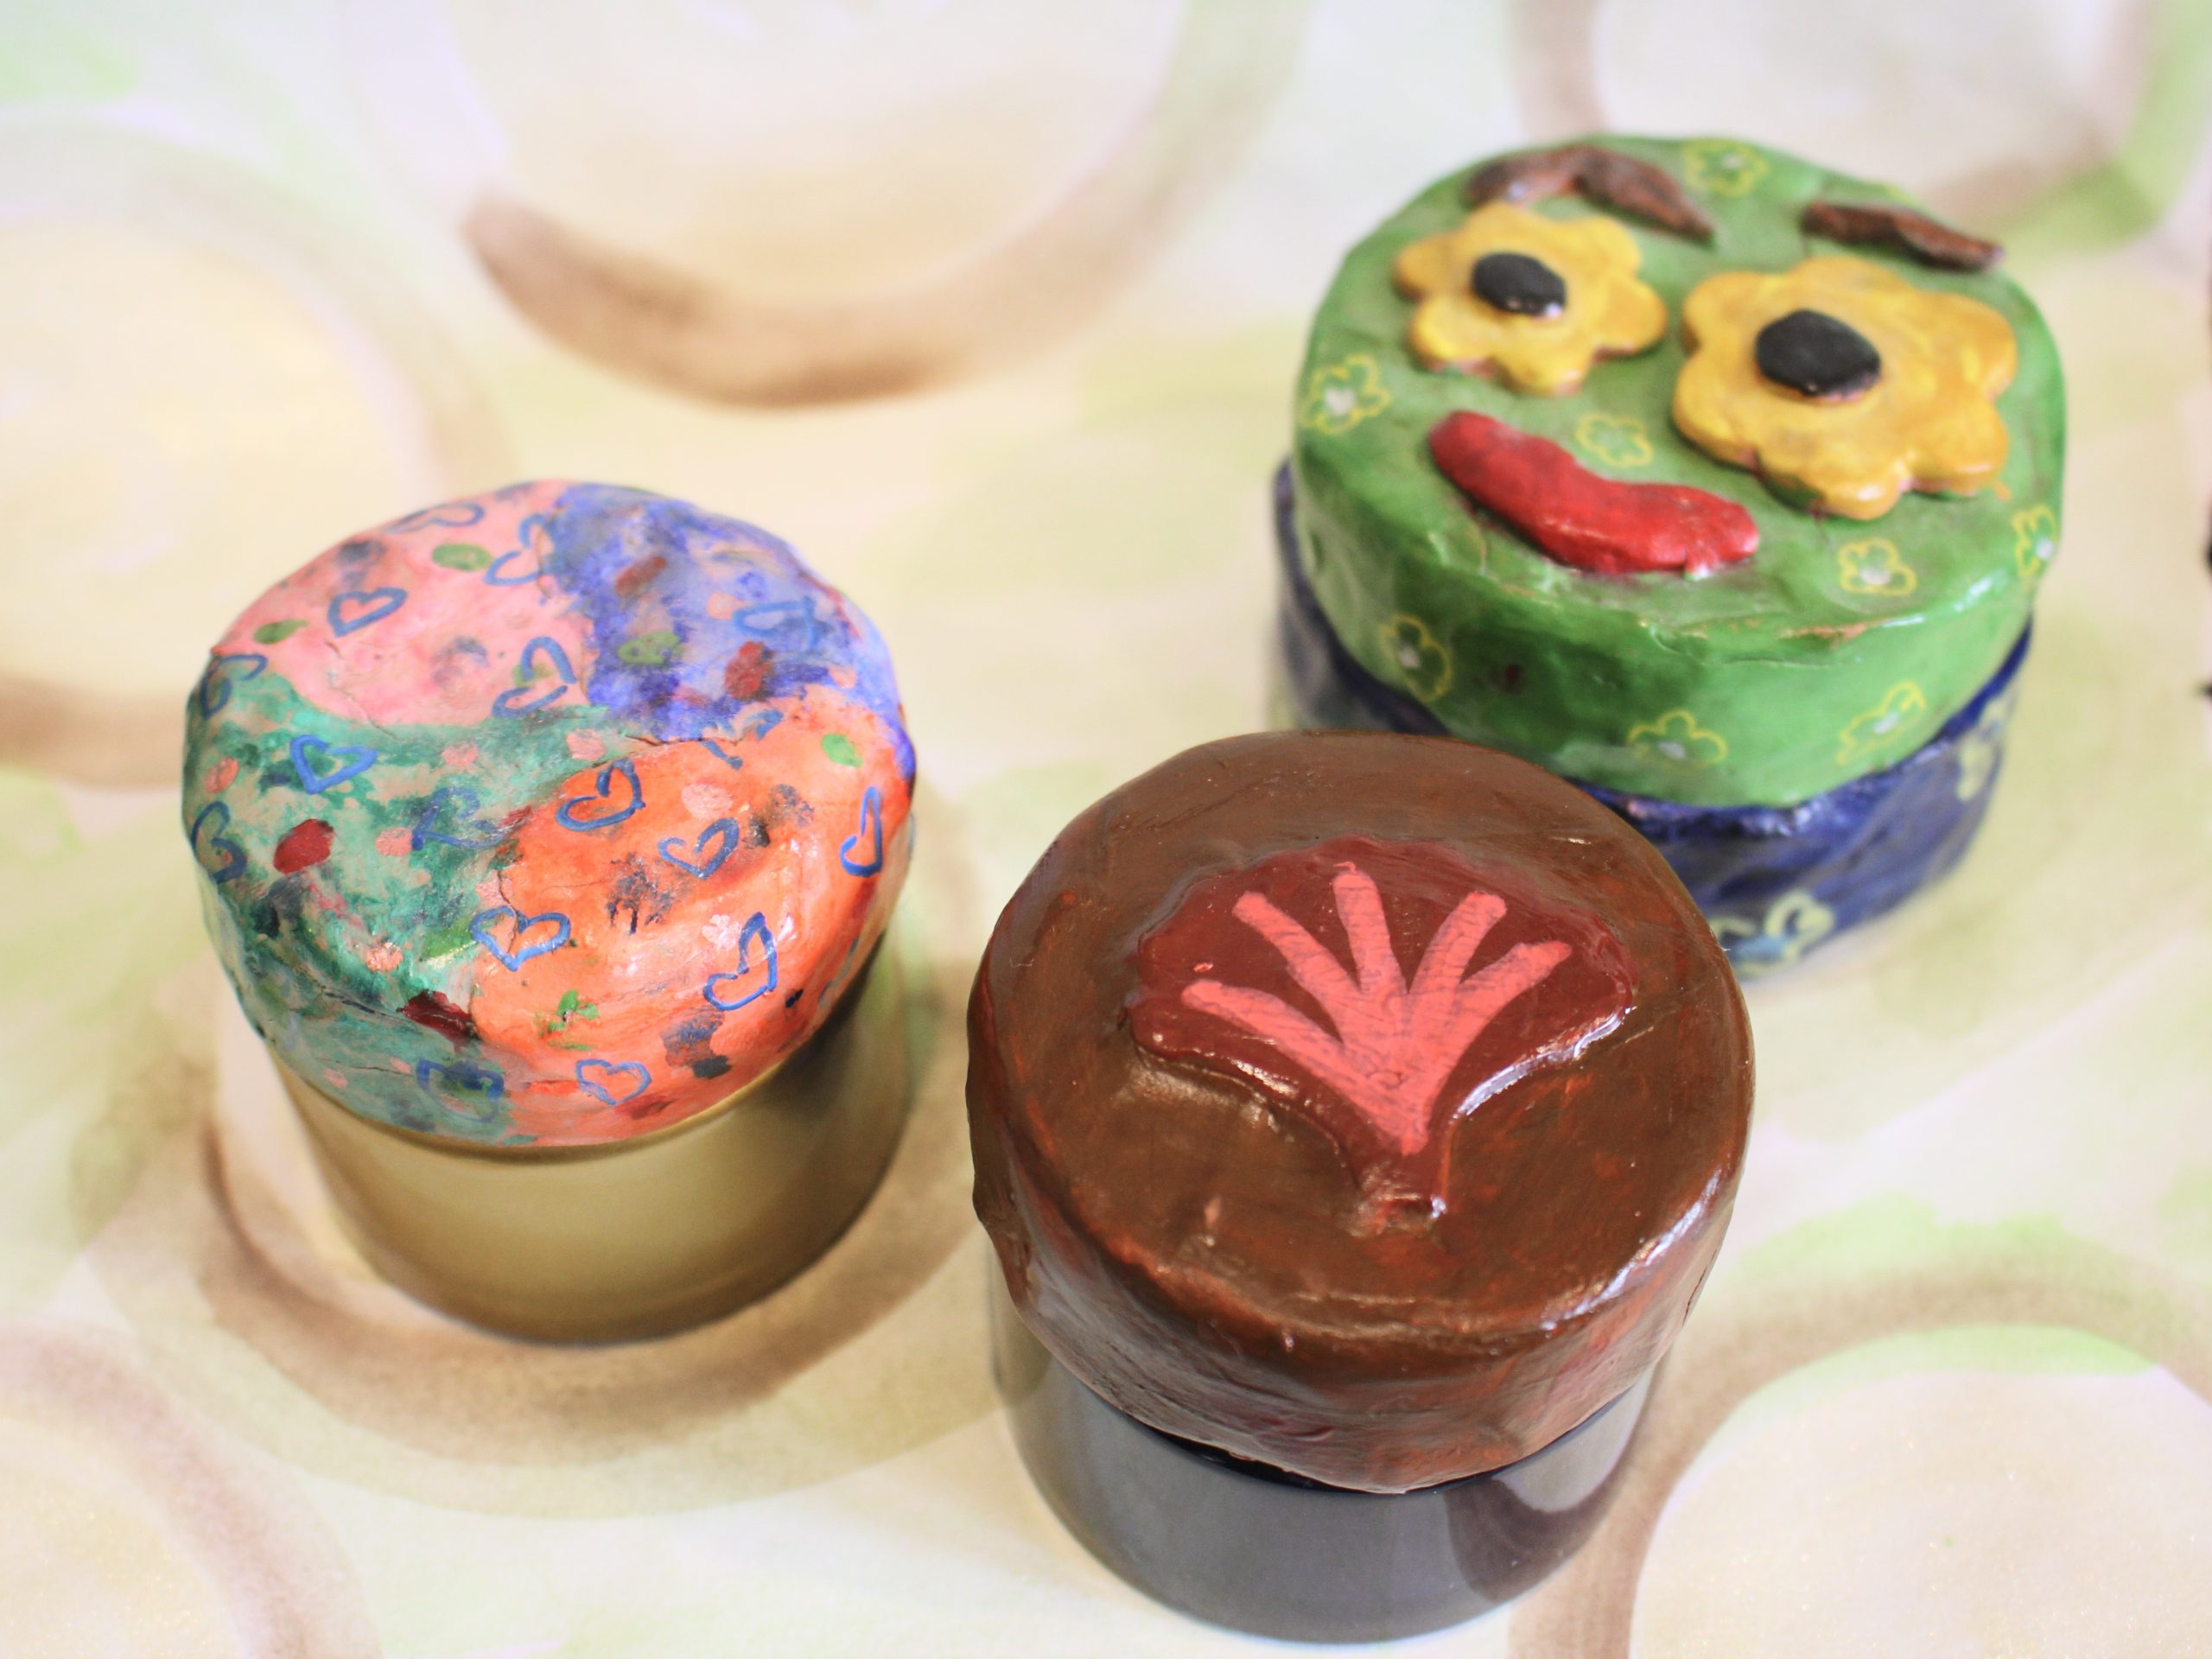
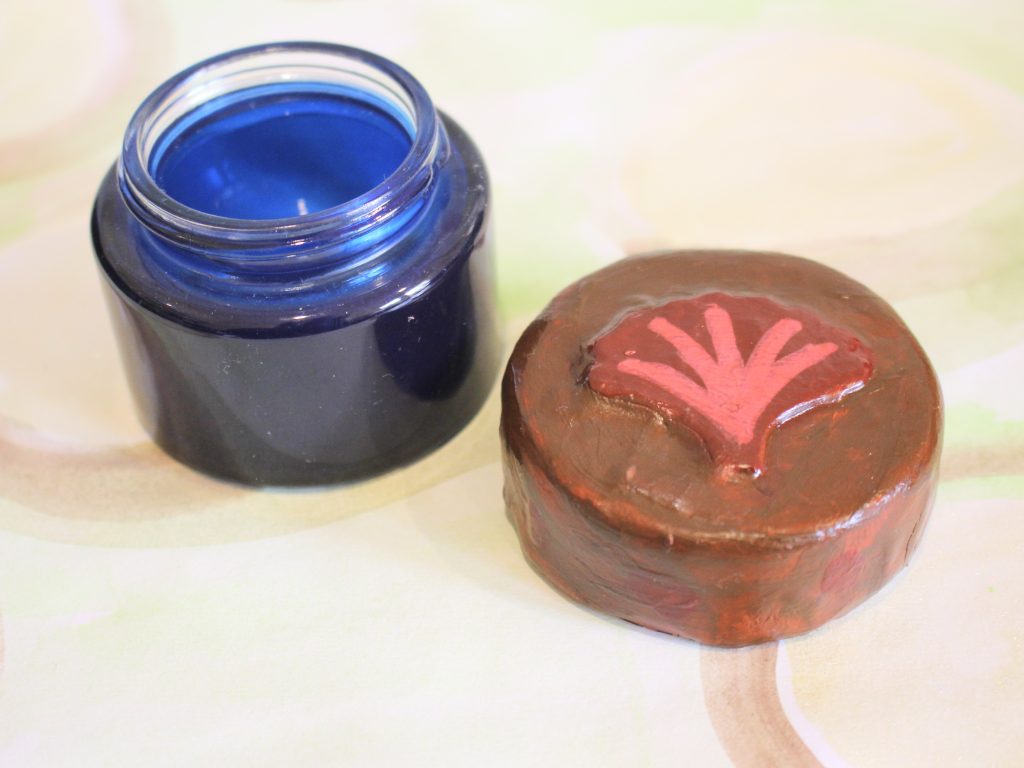
14: Add a layer of PVA glue over the painted surface to seal it. Once the glue is dry, the lid is finished and your upcycled jar is ready to be used.


Here is the finished jar with some other upcycled jar designs I made previously. How cute! These jars are great for storing silver jewelry to protect it from oxidisation.


If you’re looking for more DIY jewelry storage options, check out these tutorials:
-
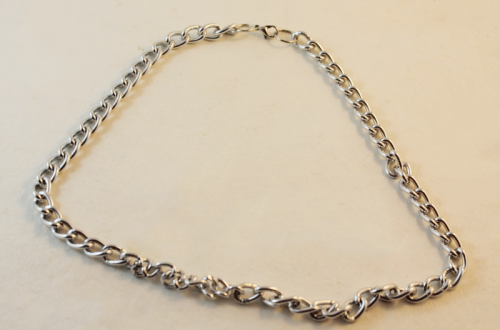
Here’s how to make a glasses chain using an old necklace and some hair elastics!
Sometimes I like to MacGyver some things together to make something far more useful, this is one of those times. I needed a sunglasses chain for an upcoming trip where I definitely didn’t want to lose my glasses. In the past I’ve made glasses chains using specialised findings, but I found that the rubber would wear out and break very quickly, so I wanted a more durable option… cue hair elastics! By tying some hair elastics cleverly, I’ve now got a stylish glasses chain that is far more long lasting than my old rubber pieces. How cool!?!
Please note that this tutorial contains affiliate links.
You will need the following tools and materials to make your glasses chain:
1: Two thin hair elastics.

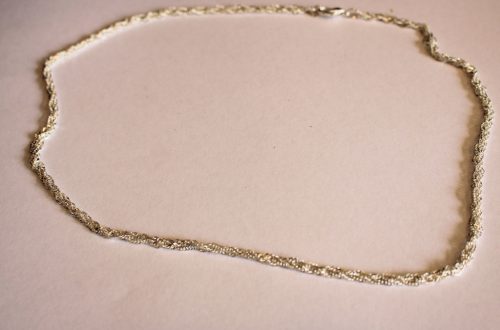
2: A long chain that you don’t use anymore. I used this snake chain costume jewelry necklace.

3: Some flat nose pliers for opening and closing jump rings.
Here are the steps to make your own handy glasses chain using hair elastics:
1: Using your pliers. Remove the clasp and any additional hardware from the jump rings on either end of the chain.

2: Close the jump rings.

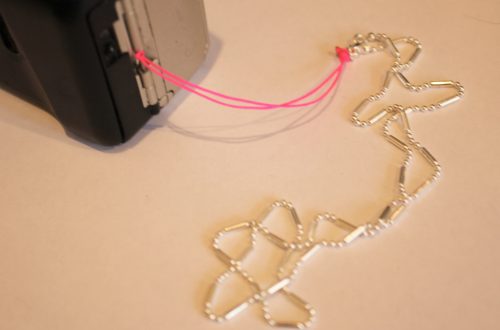
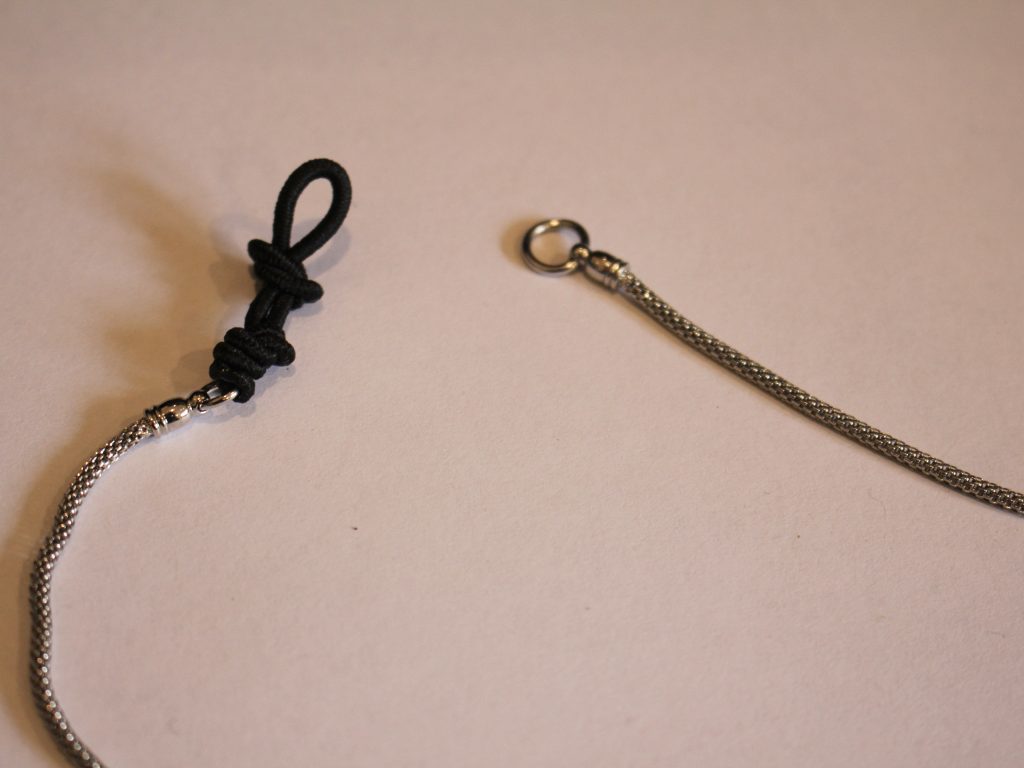
3: Take one of the hair elastics, fold it in half and thread it though one of the jump rings at the end of the chain.

4: Loop the other end of the elastic through the loop that you just threaded through the jump ring and pull it tight.


5: Create a knot above the loop you just made to secure the elastic on the jump ring.

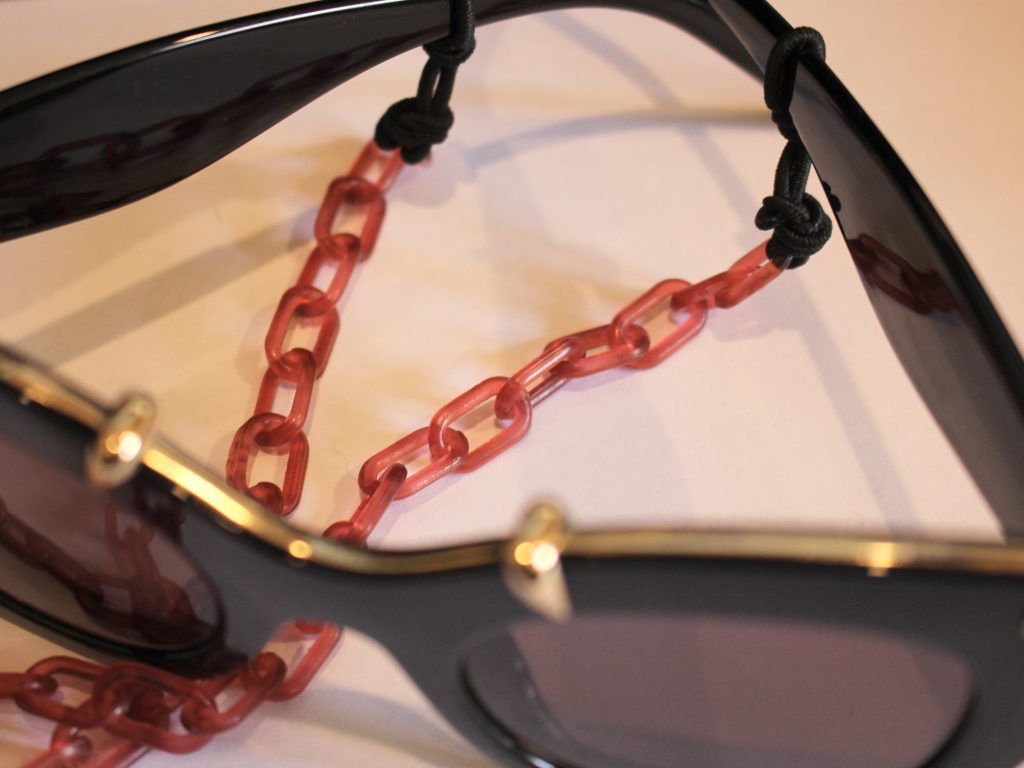
6: Now find a spot near the middle of the elastic, but closer to the open end of it, and create a knot. You might need to make it closer to the end of the elastic or further away depending on the width of your glasses arms.
7: Repeat steps 3 to 6 for the second elastic to complete the glasses chain.
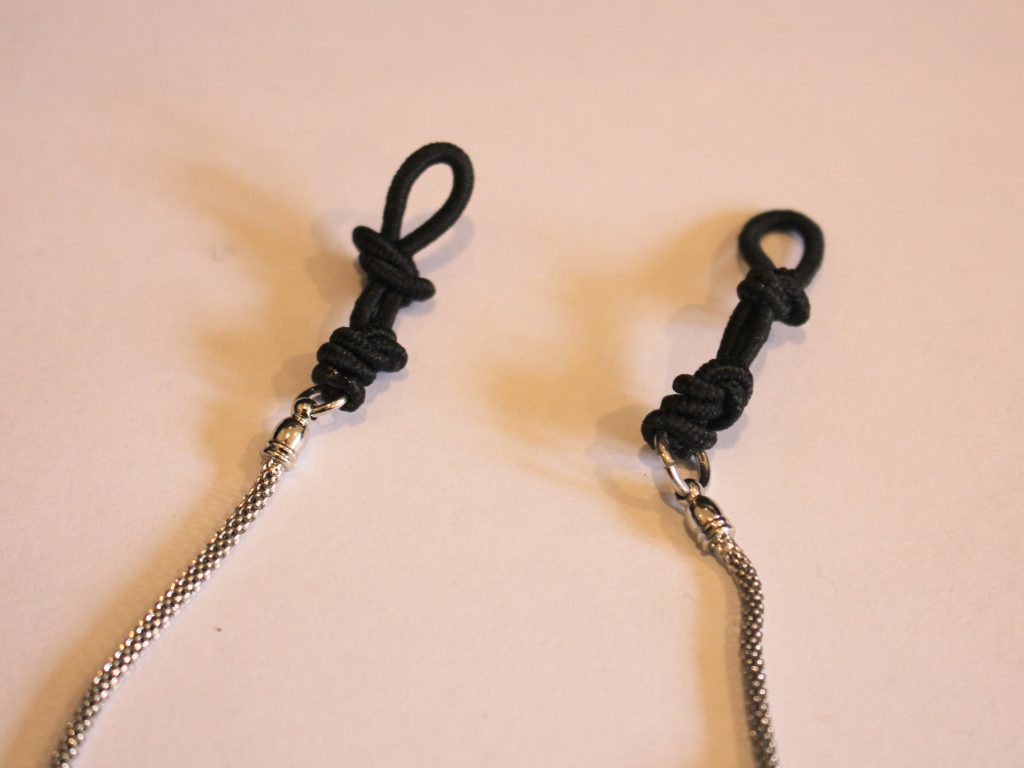
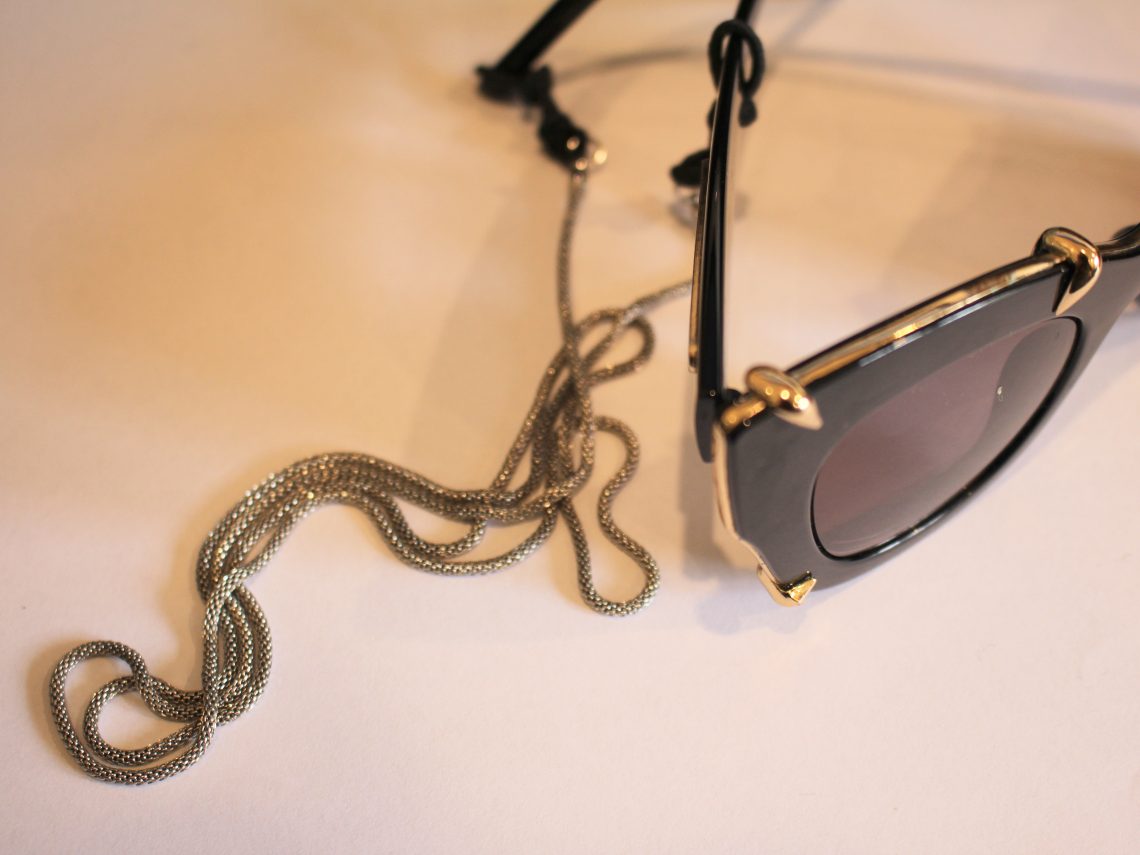
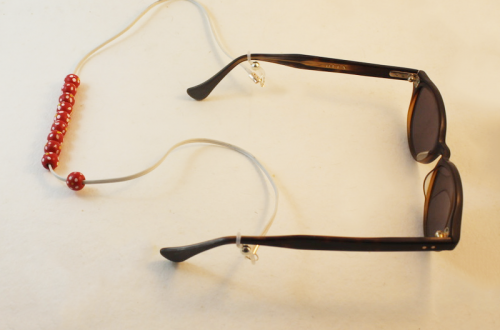
Once you have both elastics in place your glasses chain is ready to use! Here’s my finished chain.

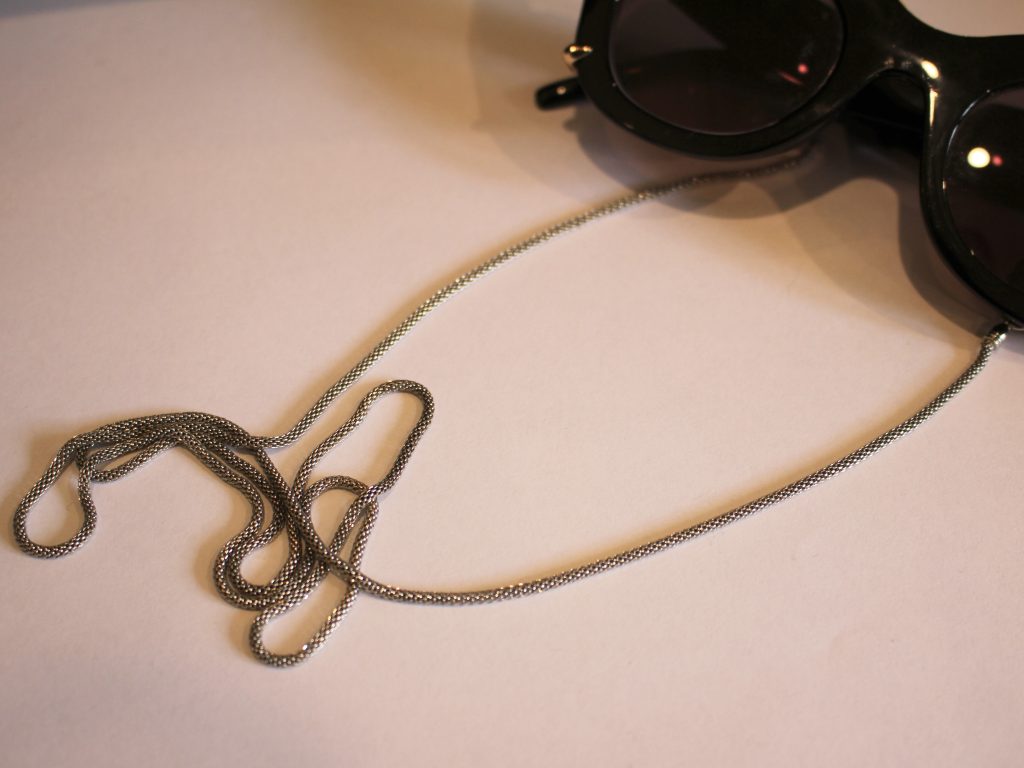
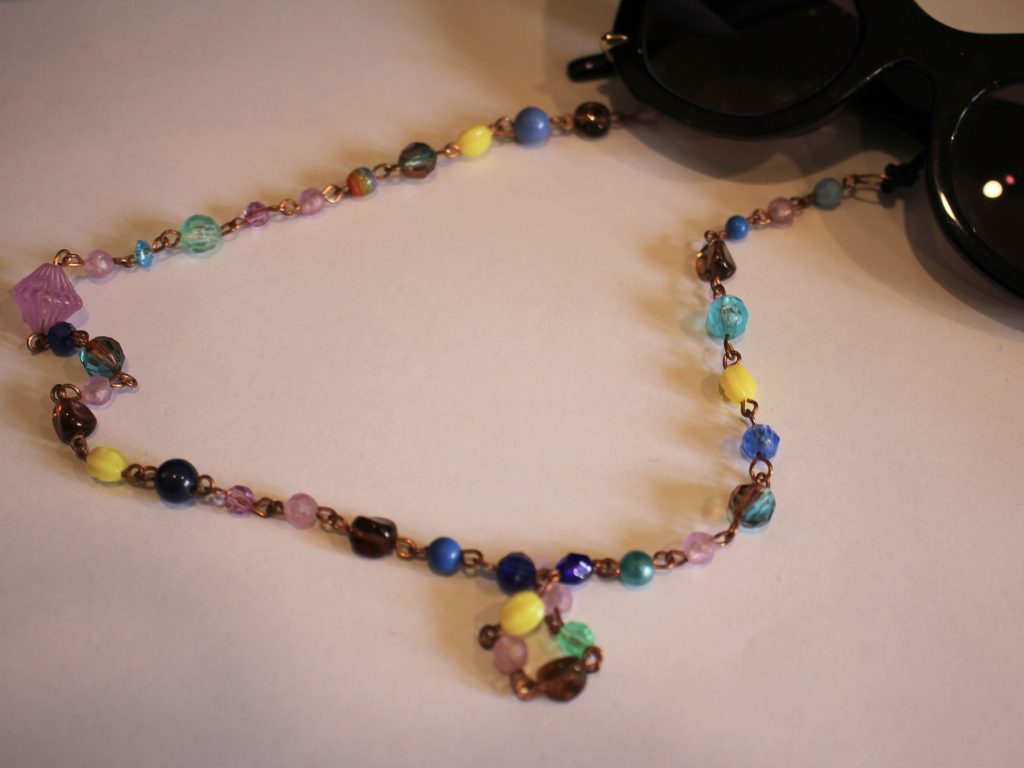
And here are some more I made:
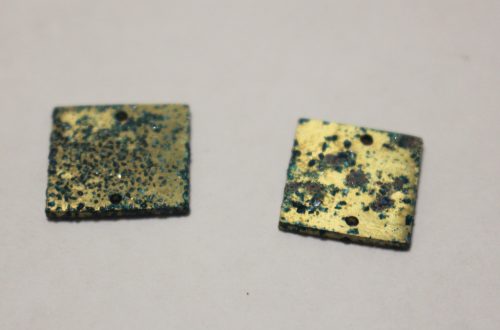
This one was made with a handmade beaded copper chain.
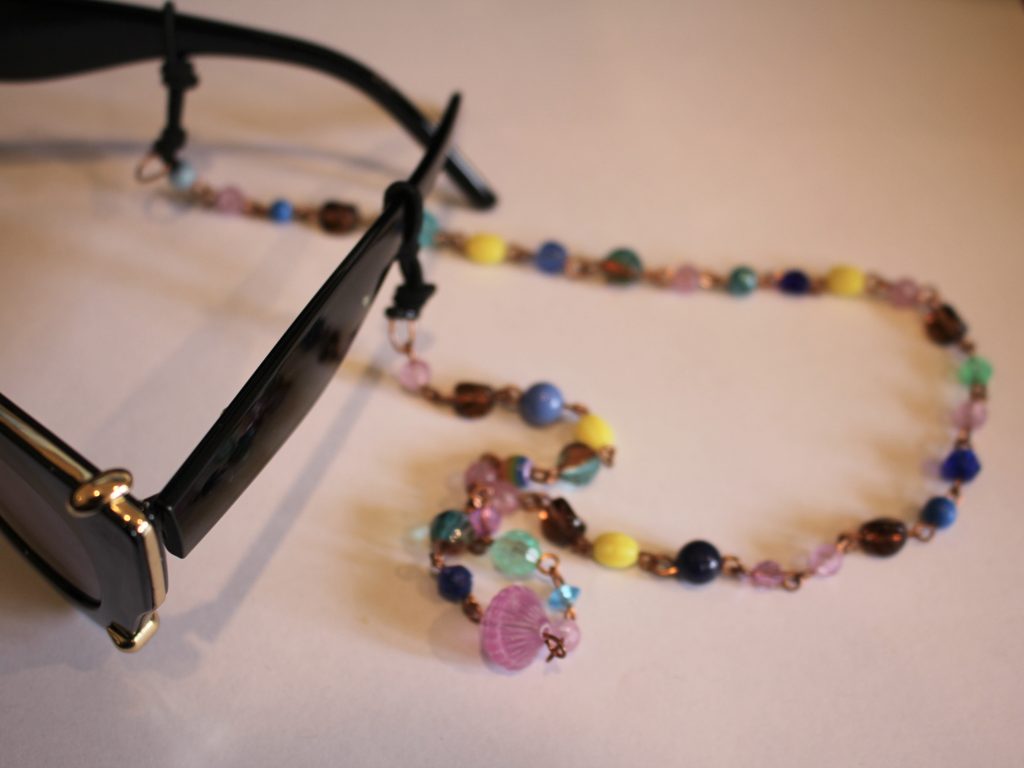
Here’s some pre-made beaded chain you can use if you don’t want to make your own:
And this one was made using a vintage plastic chain.
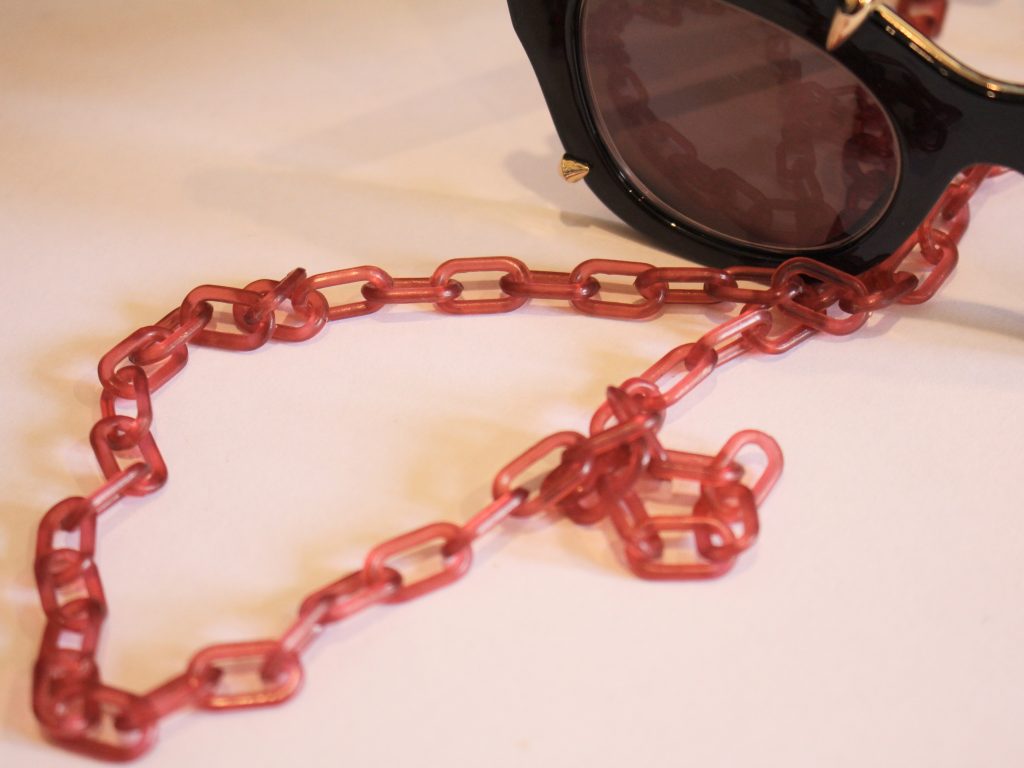
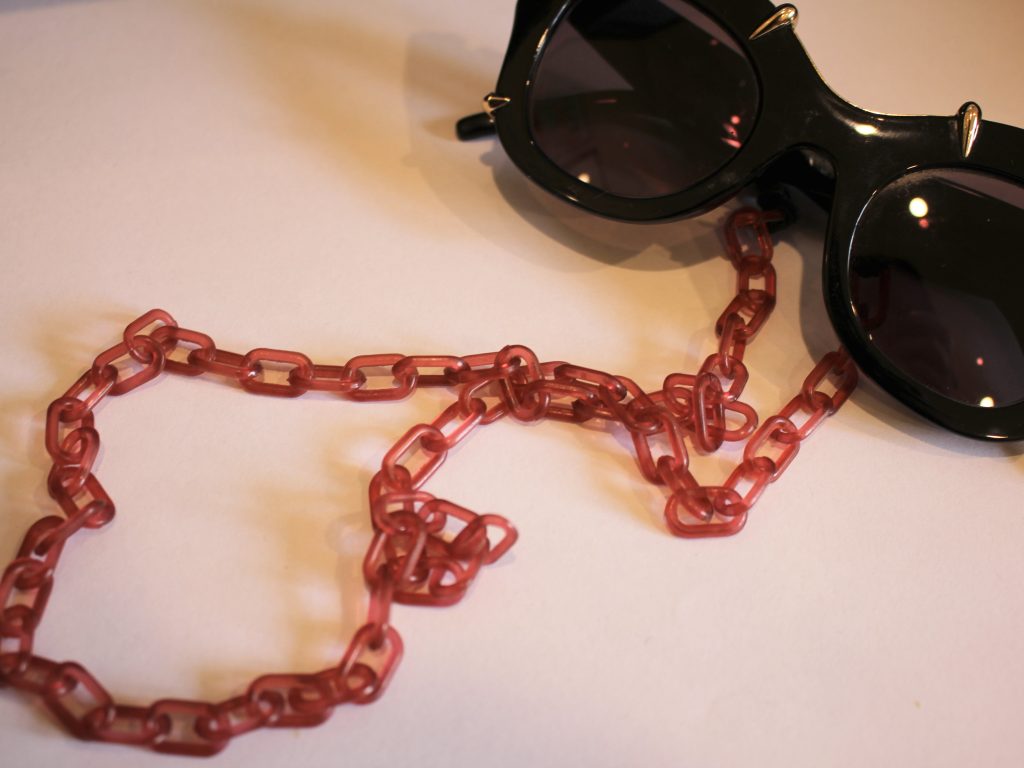
Here are some plastic chain options you can use:
Here are some more glasses chain tutorials you can follow using traditional findings, if you want to use elastics instead, just follow the steps in this tutorial to knot them in place 😉
- Here’s how to make a glasses chain using a ball chain. This one also has clips so you can use it to keep track of a face mask or other accessory.
- Here’s a simple glasses chain with bead accents.
- This is a fully beaded glasses chain.
- This one shows you how to make a chain using head pins and beads.
- This glasses chain is made from recycled materials.
- Here’s a tutorial that shows you how to make a rhinestone glasses chain.
- This glasses chain has dangling charms on it.
- And finally, this tutorial shows you how you can use a glasses chain as a holder for your wireless headphones!