-
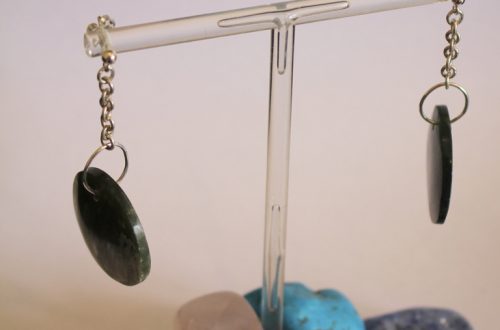
Bright and Adorable, Here’s How to Make Some Beaded Triangle Earrings
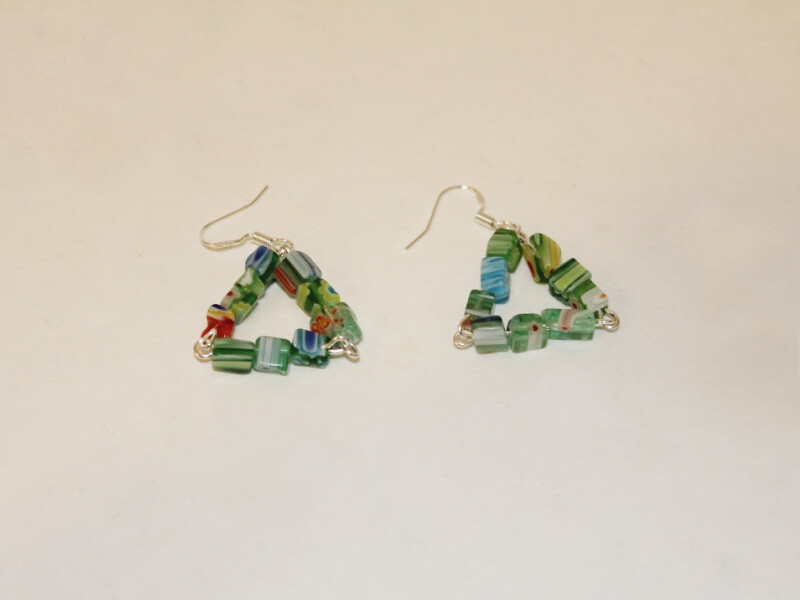
Do you need some new earrings in your life? These little triangle cuties are perfect for livening up your jewelry collection.
You will need the following tools and materials to make your earrings:
1: Pliers. You will need your round nose pliers and flat nose pliers to make these earrings.


2: Six eye pins.

3: Two earring hooks.

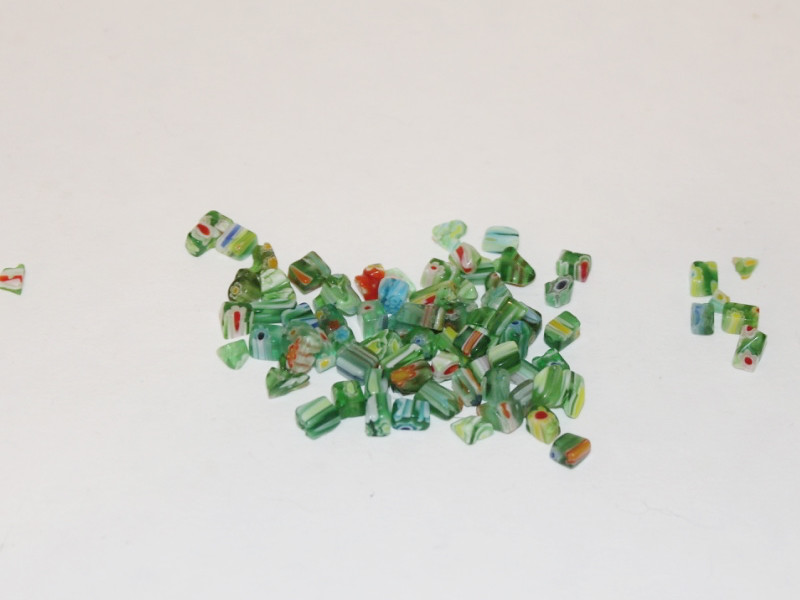
4: beads of your choice. I used these green glass beads.
Follow these steps to make your own special beaded triangle earrings:
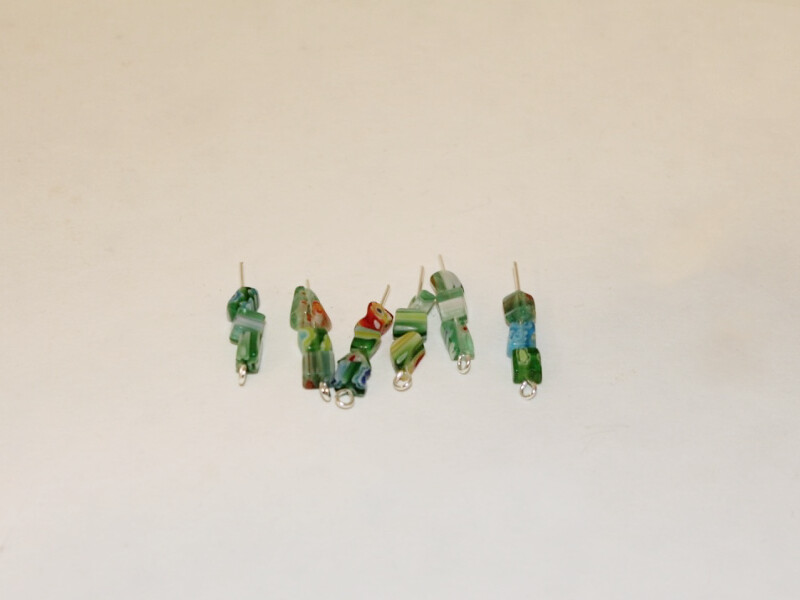
1: Add beads to each of the eye pins.
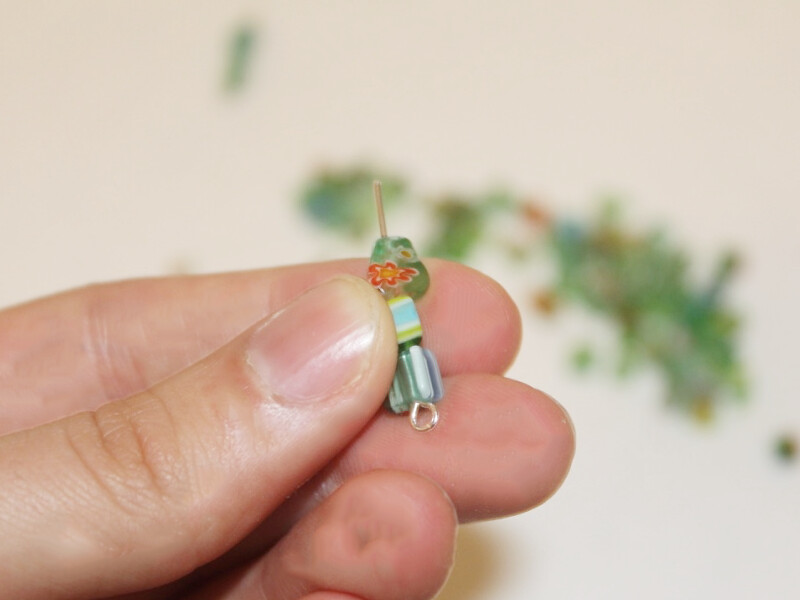
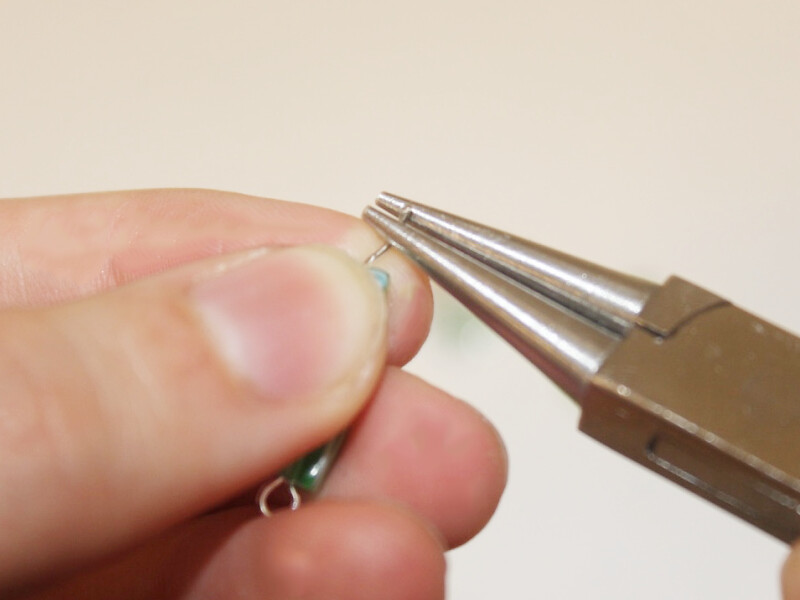
2: Bend the end of each pin to form a right angle using the round nose pliers.
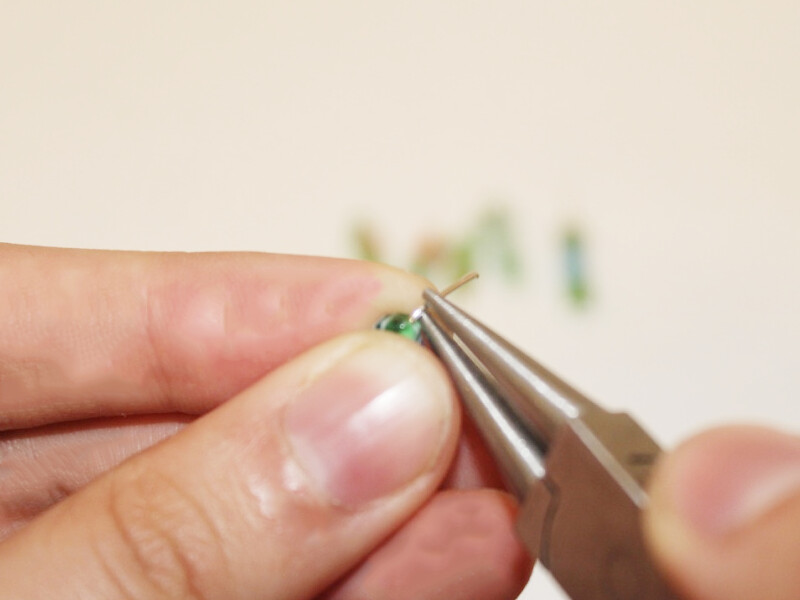
3: Create a loop at the end of each pin to secure the beads in place.
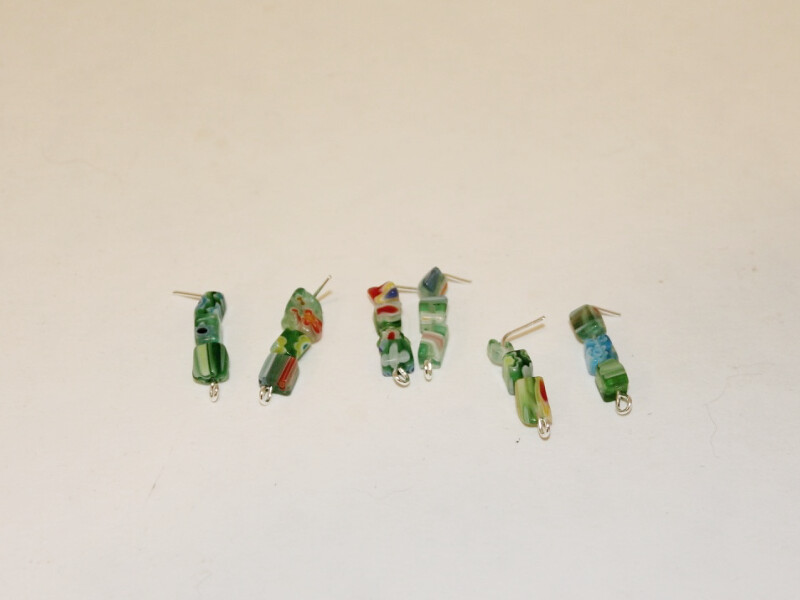
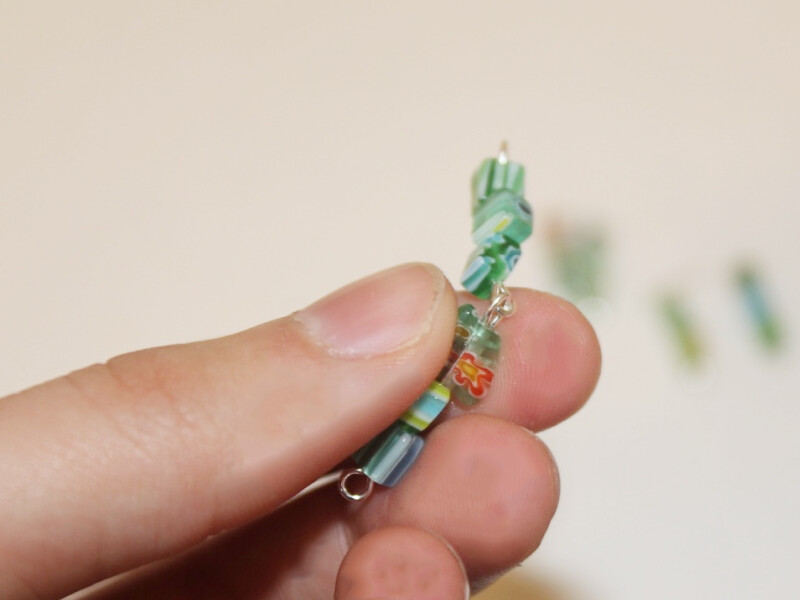
4: Link three of the pins together, opening the loops slightly to link them together. Repeat this for the remaining three pins.

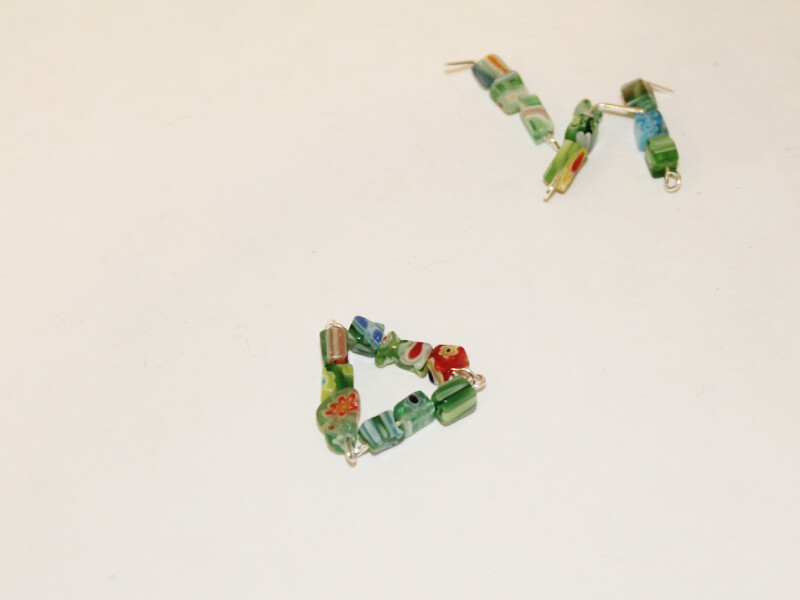
5: Attach the two end pins together to form a triangle shape. Repeat this step on the other set of pins so that you have two triangles.
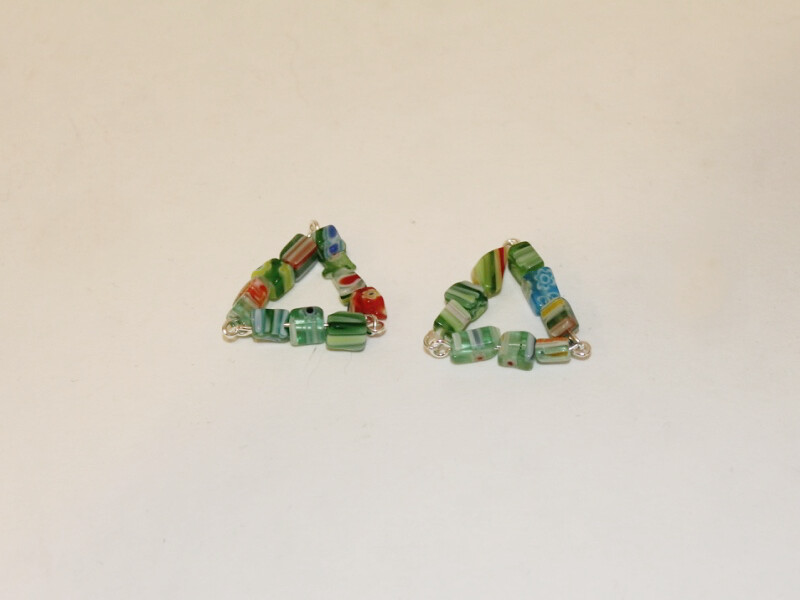
6: Open the loop at the bottom of each earring hook at attach it to one corner of each triangle. Close the earring loop to secure the pieces together.
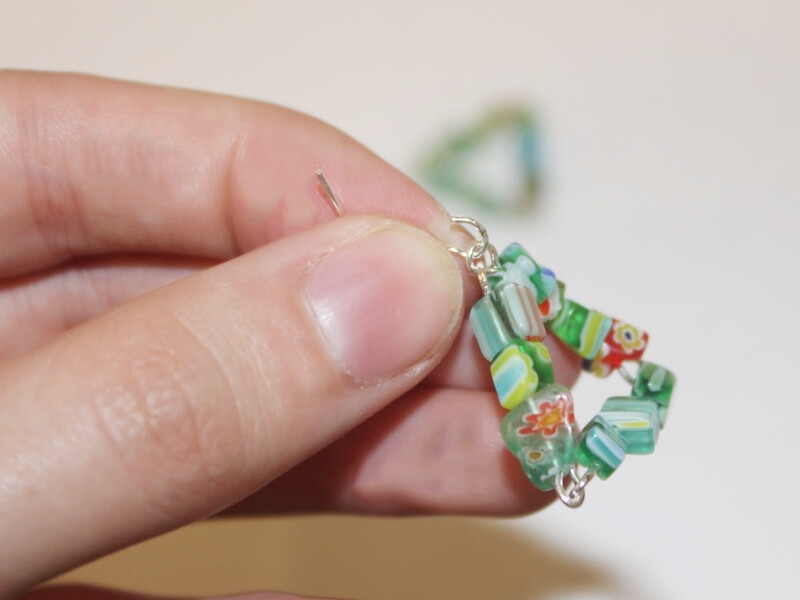
Once your earring hooks are attached to each triangle charm your earrings are complete and ready to wear!
-
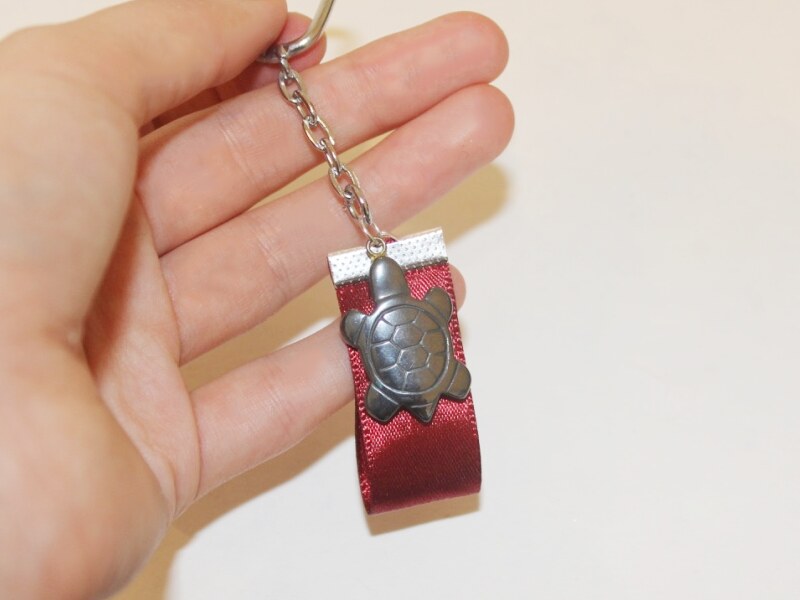
Need a new decoration for your handbag or keys? Here’s how to make a custom key chain!
This custom key chain is super easy to make and will make a great addition to your handbag! If you’ve got a favorite charm or trinket this is a great way to use it.
You will need the following tools and materials to make your key chain:
1: Pliers. You will need your flat nose pliers and round nose pliers.
2: Scissors. To cut your ribbon.

3: A piece of ribbon, approximately 10cm (approx 3.9 inches) long.

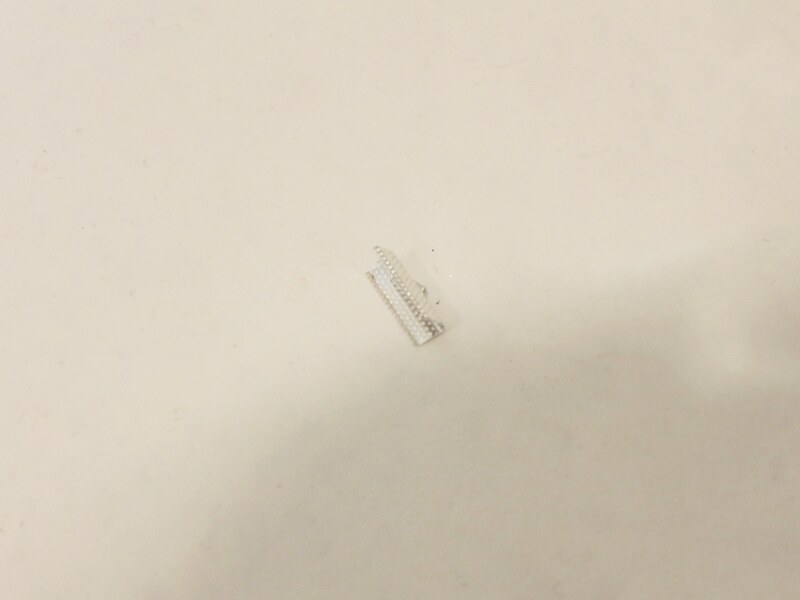
4: A flat ribbon crimp end.
5: A large jump ring.

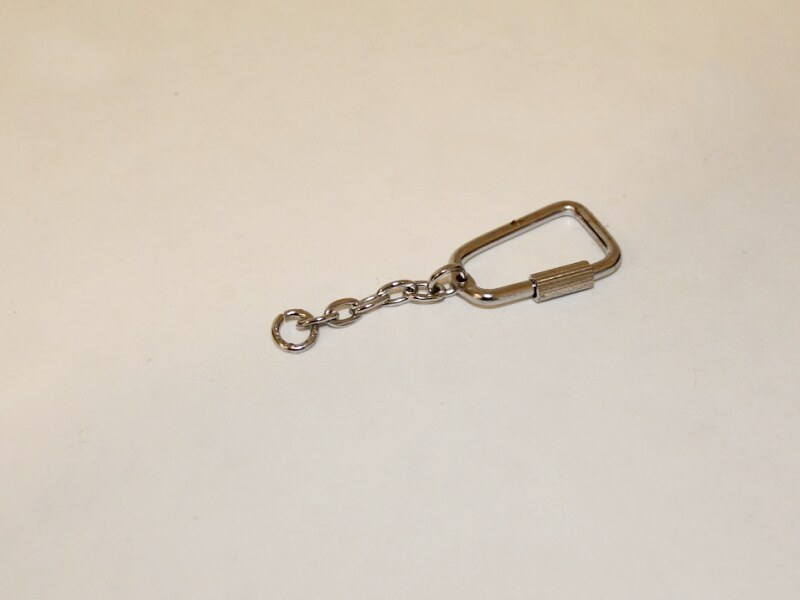
6: A key chain.
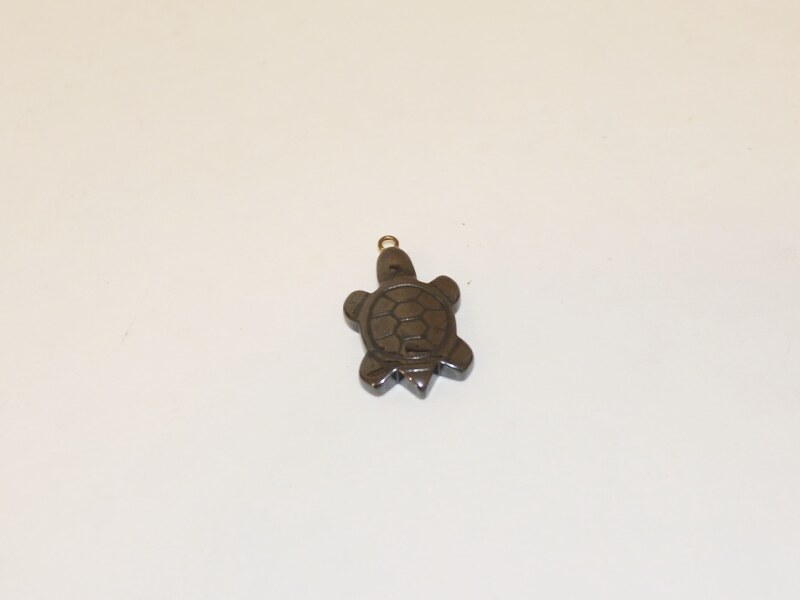
7: A charm of your choice. I used this hematite turtle charm.
Follow these steps to make your key chain:
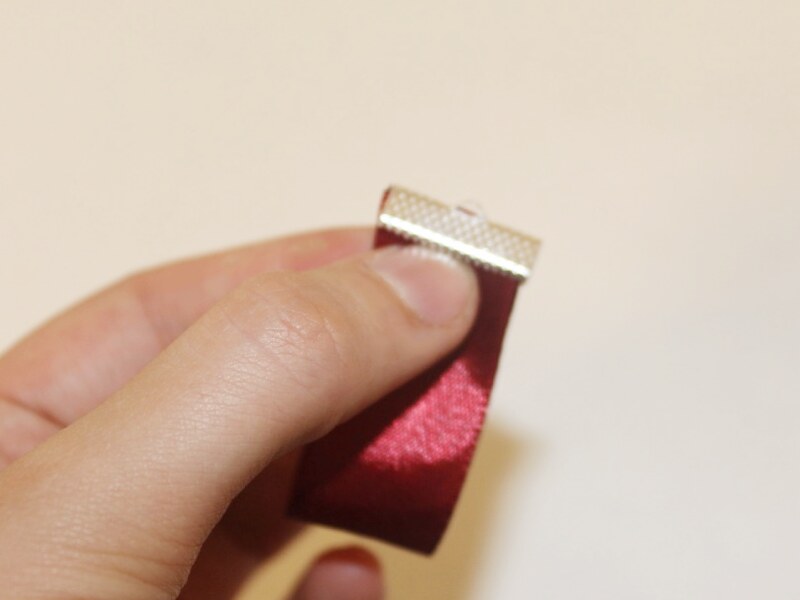
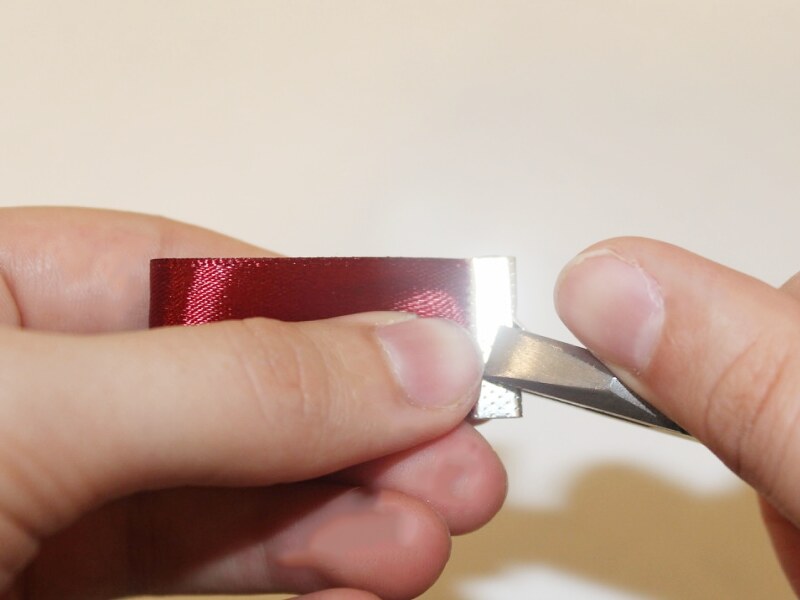
1: After cutting your ribbon, fold it in half and use the flat nose pliers to squash the crimp end around the ends of the ribbon.
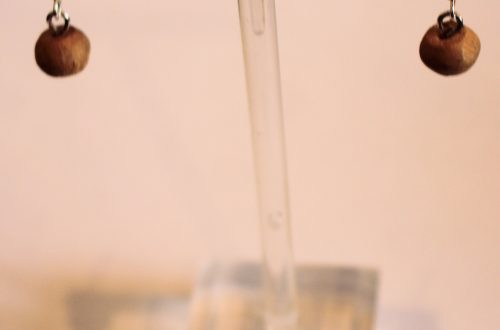
2: Add a jump ring to the top of the ribbon charm and add the charm to the open jump ring.
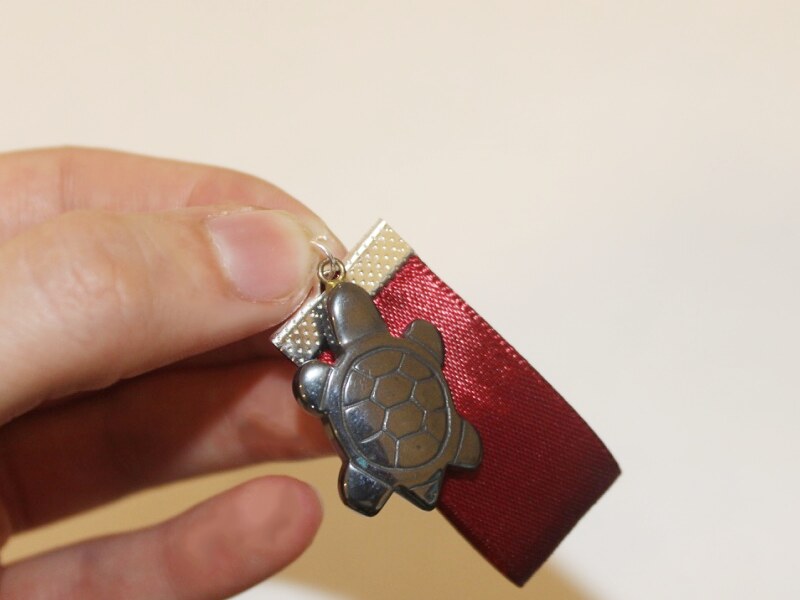
3: Attach the key chain to the jump ring.
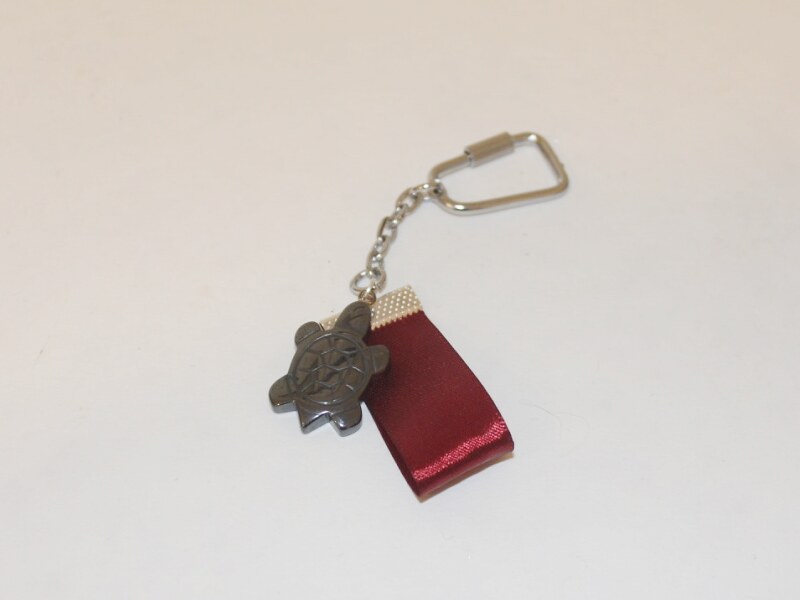
4: Now your key chain is finished and ready to use! Where will you attach it?!
-
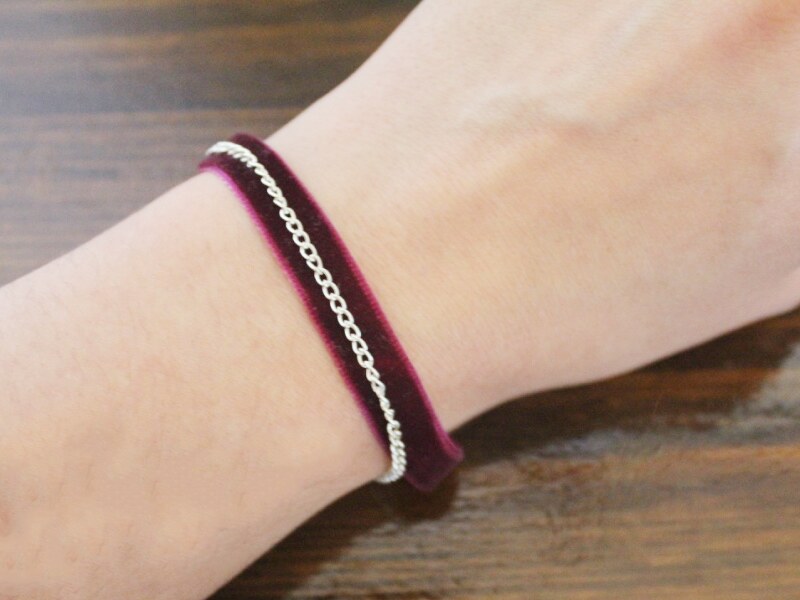
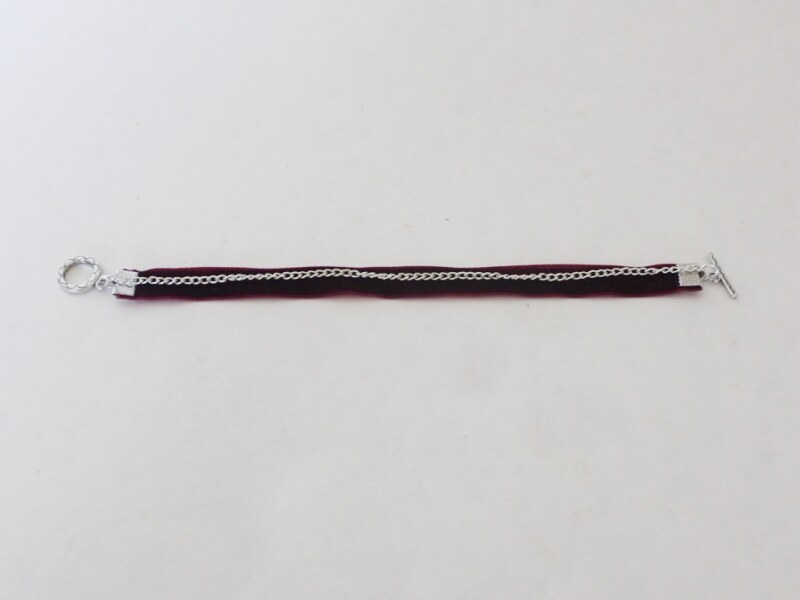
Velvet and chains, could it get more luxe? This bracelet is Amazing!
Are you in need of some luxurious new accessories? This chain and velvet ribbon bracelet could be the one for you! Contains affiliate links.
You will need the following tools and materials to make your bracelet:
1: Pliers. You will need your flat nose pliers, round nose pliers and cutting pliers to make this bracelet.

2: Two flat crimp ends.

3: Two jump rings.

4: One toggle clasp.

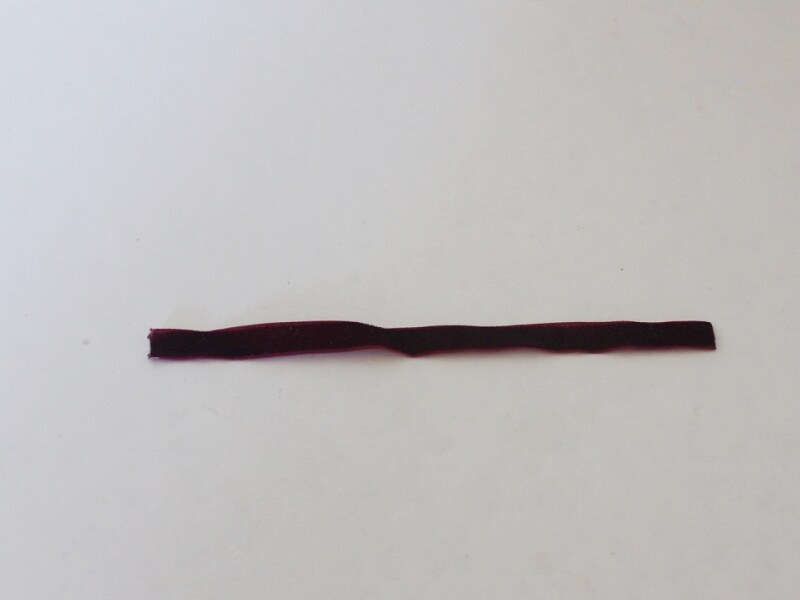
5: A piece of velvet ribbon cut to length to fit your wrist.
https://amzn.to/3TtDaAQ
6: A piece of chain that is around the same length of the ribbon.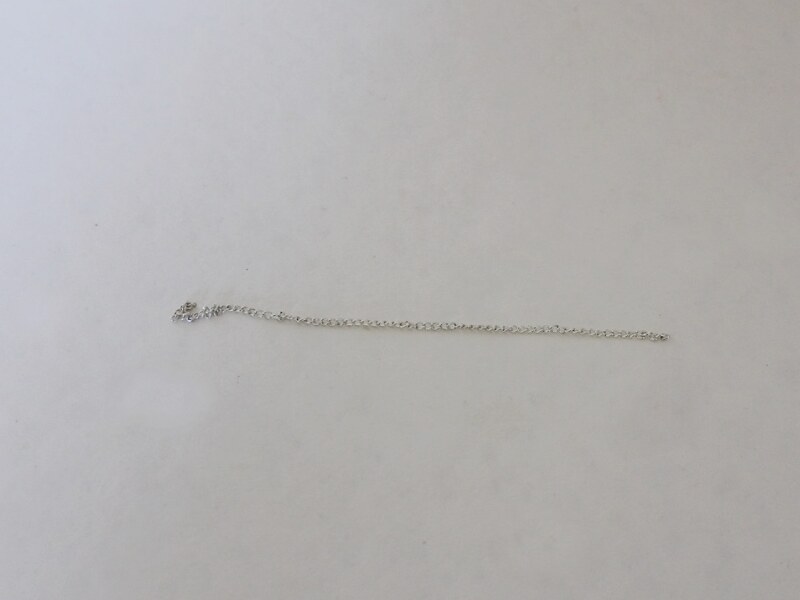
Follow these instructions to make your ribbon and chain bracelet:
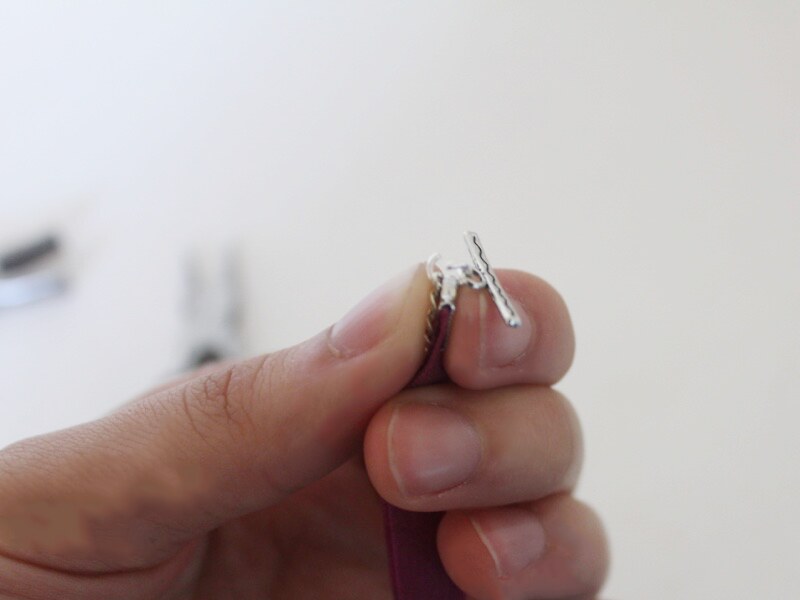
1: Add a crimp end to one end of the ribbon.
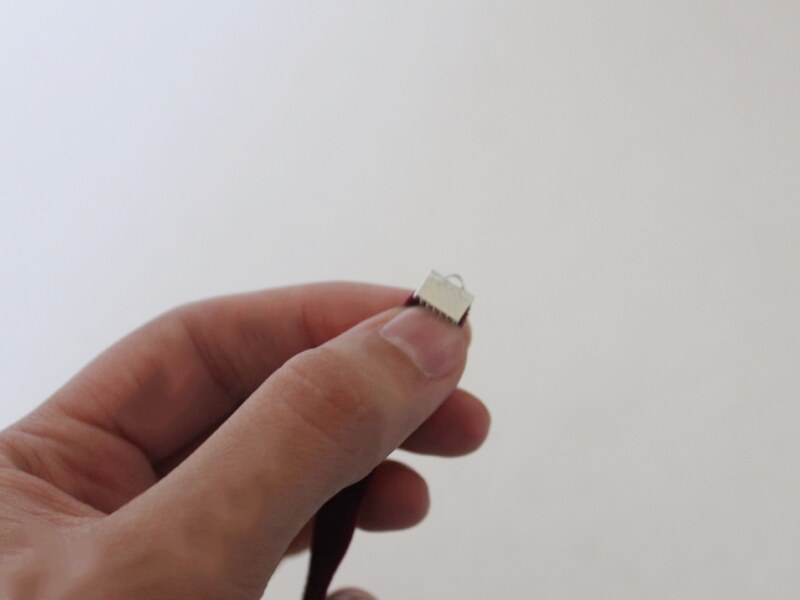
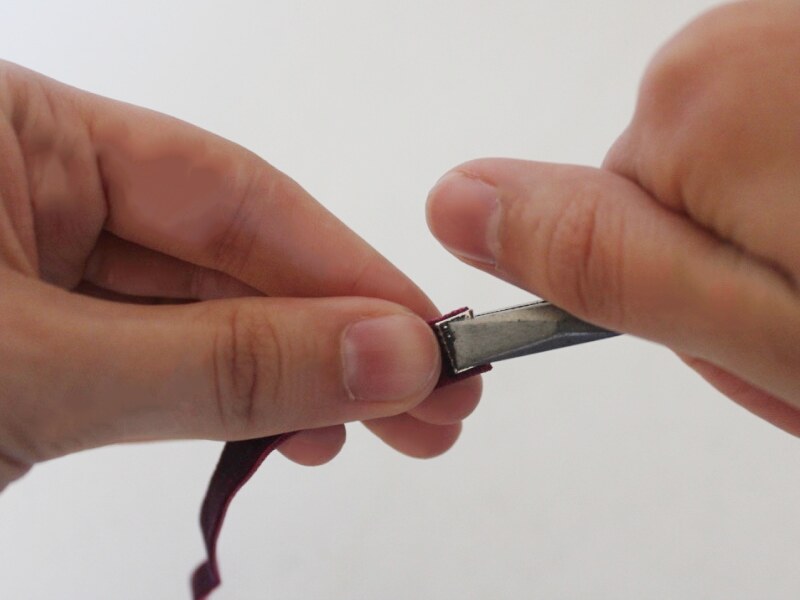
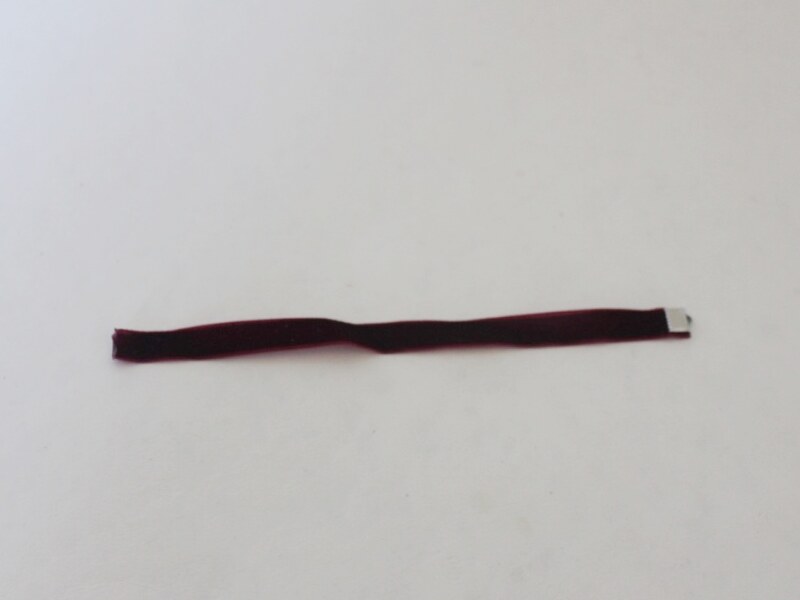
2: Repeat this step for the other side of the ribbon.
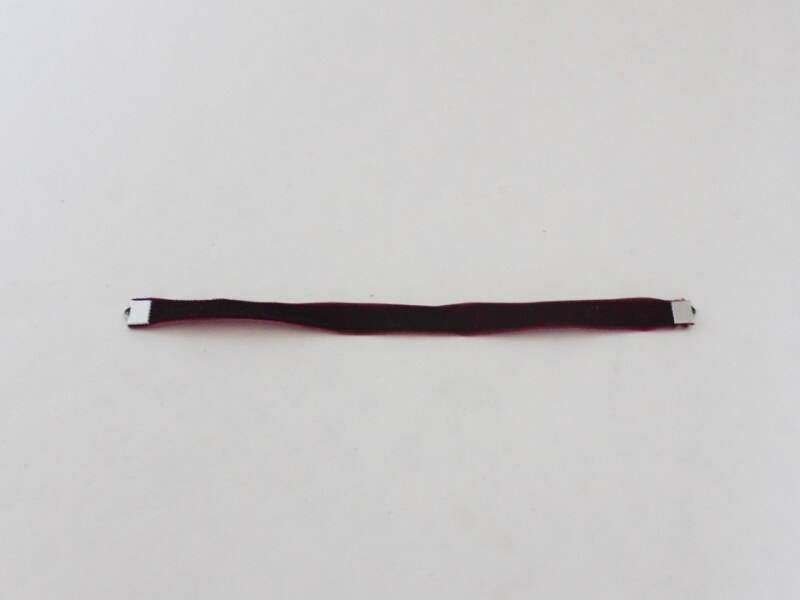
3: Add an open jump ring to the crimp end and slide one end of the chain onto the open ring.
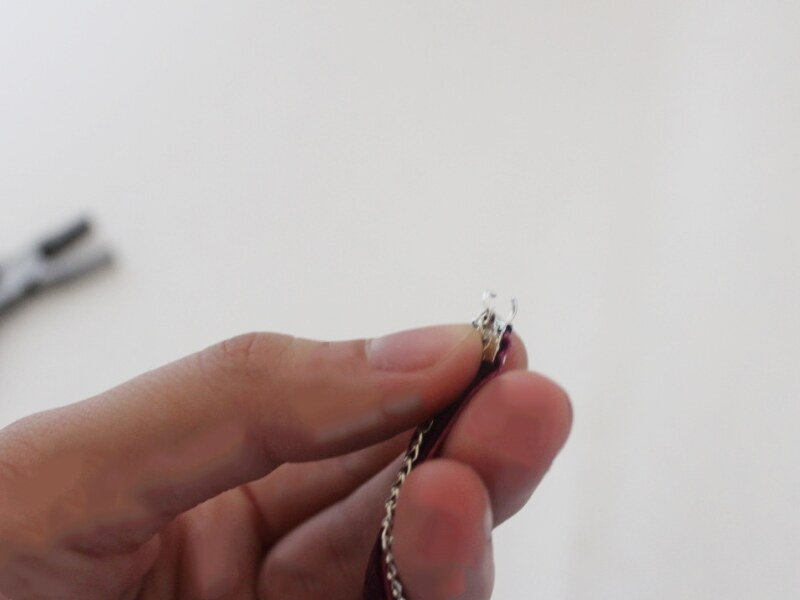
4: Add one side of the toggle clasp to the open jump ring. Close the jump ring to secure the pieces in place.
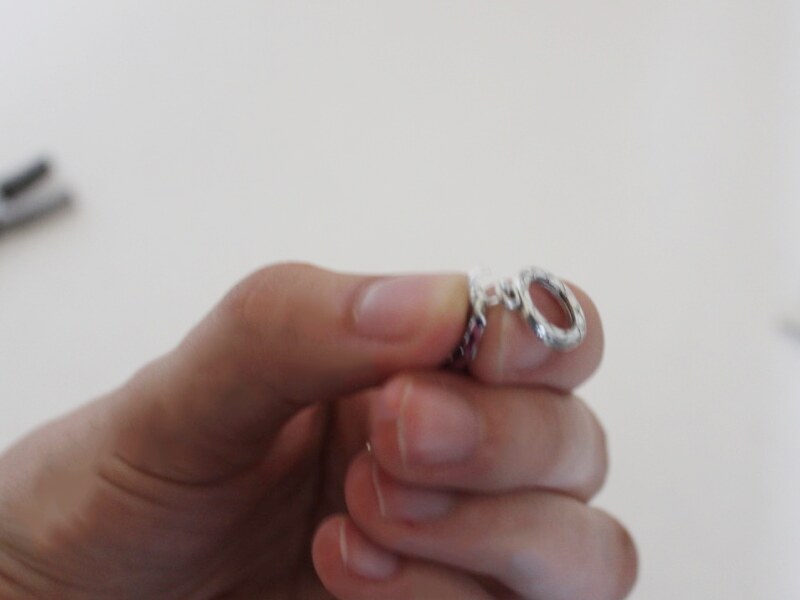
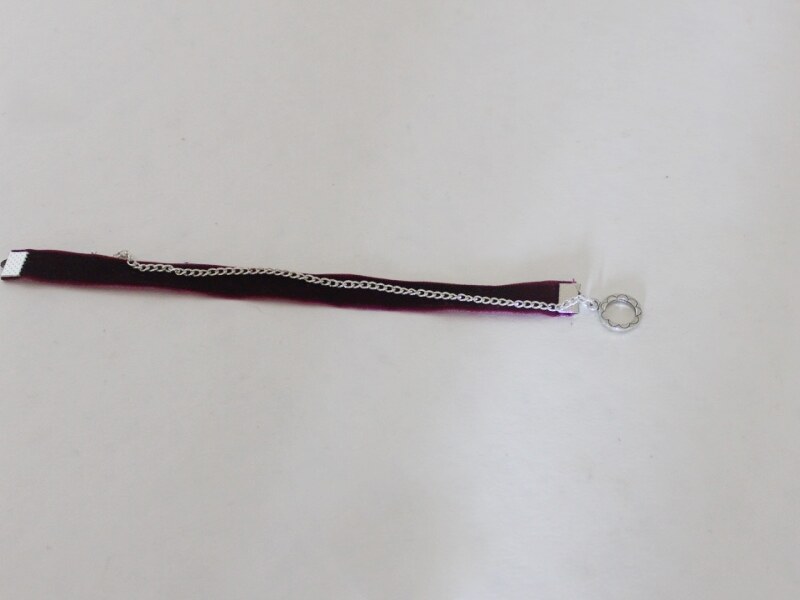
4: Repeat steps 2 to 4 for the other side of the bracelet… and now you’re done!