-
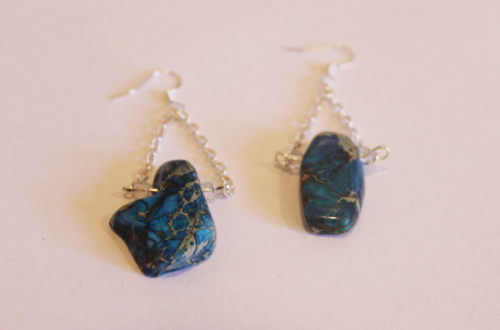
Here’s how to make some cool chandelier earrings!

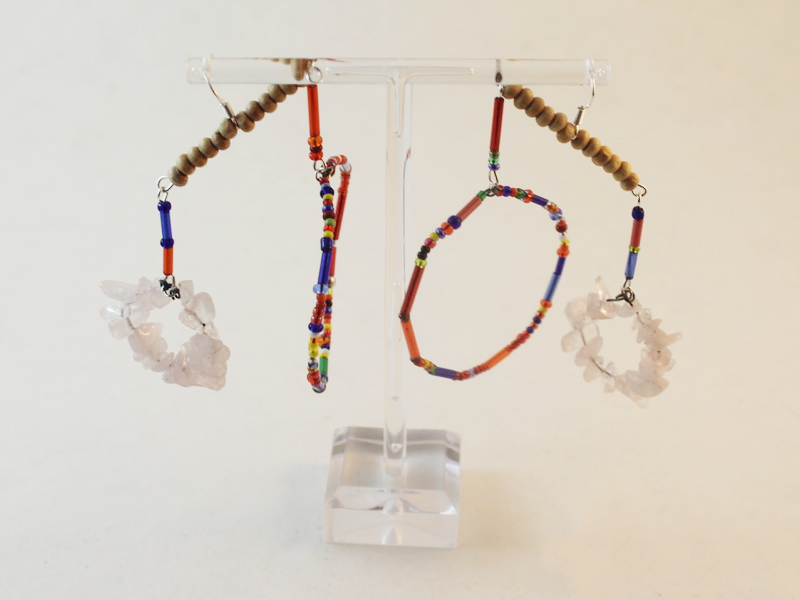
These earrings are pretty cool! They feature some differently sized hoops that hang from a beaded bar for a stunning statement.
You will need the following tools and materials to make your earrings:
1: Pliers. You’ll need flat nose pliers and round nose pliers. Keep your cutting pliers around just in case.

2: Some thin wire. I used some wire recycled from an old design and cut it into four pieces, two long and two short.

3: Two long eye pins.
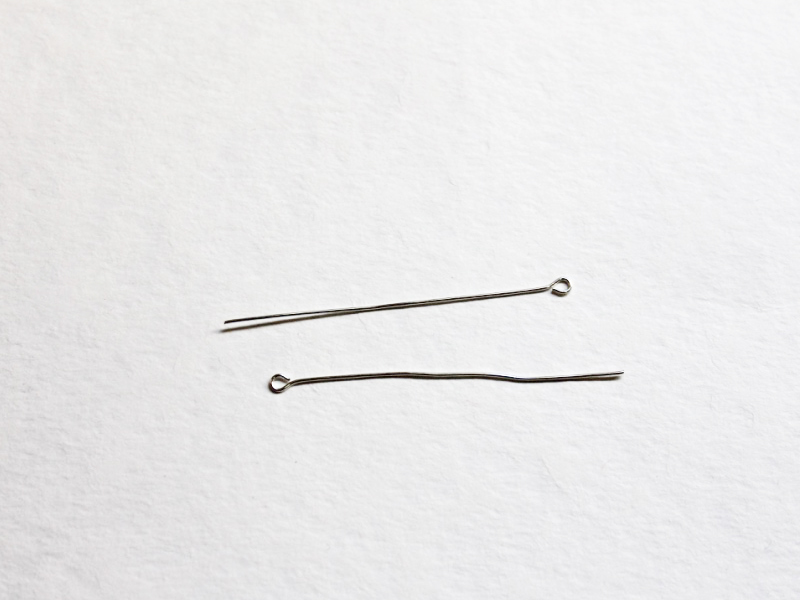
4: Four smaller eye pins.

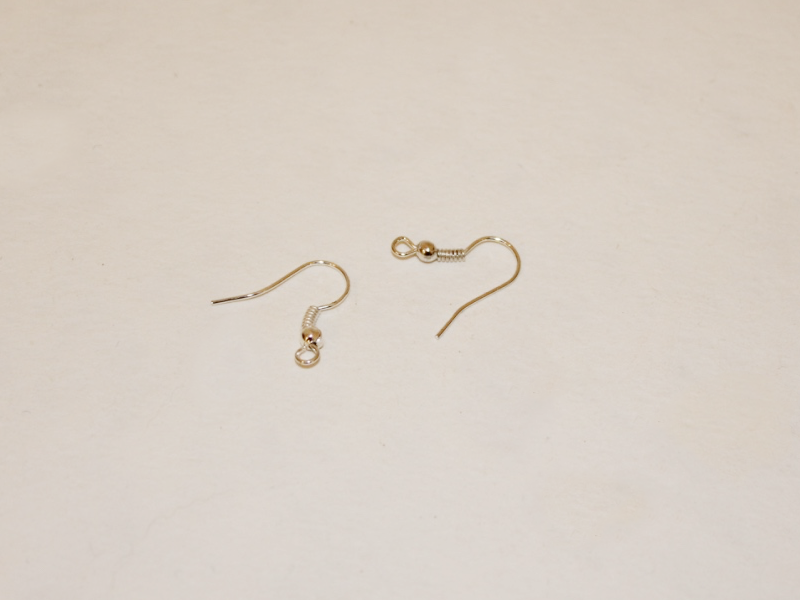
5: Earring hooks.
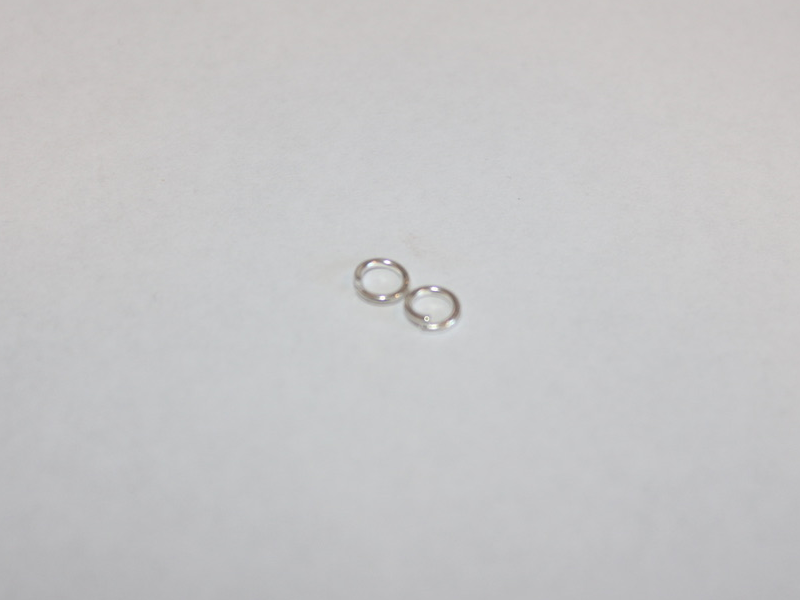
6: Four small jump rings.

7: Beads. I used some timber beads, rose quartz beads and mixed glass beads.


Follow these steps to make your chandelier earrings:
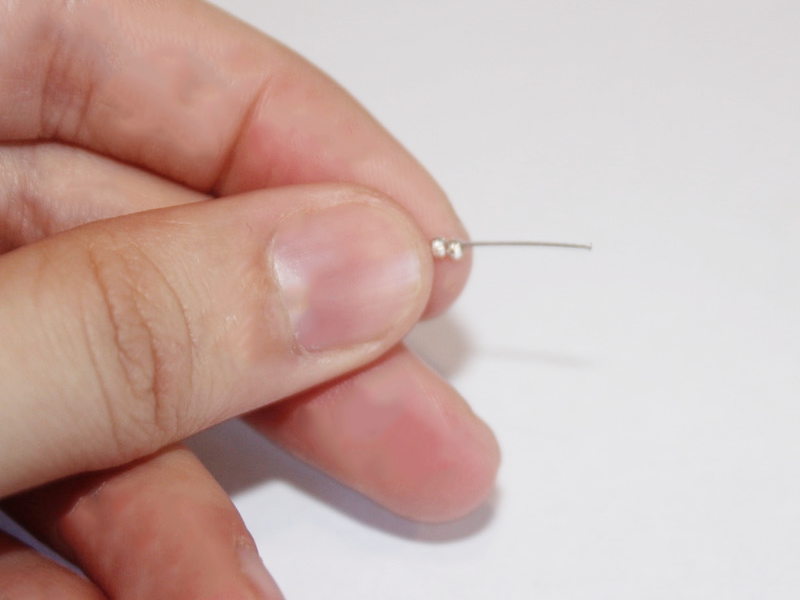
1: Curl the end of one of the long thin wires using the round nose pliers.

2: Bead the wire using the mixed glass beads.

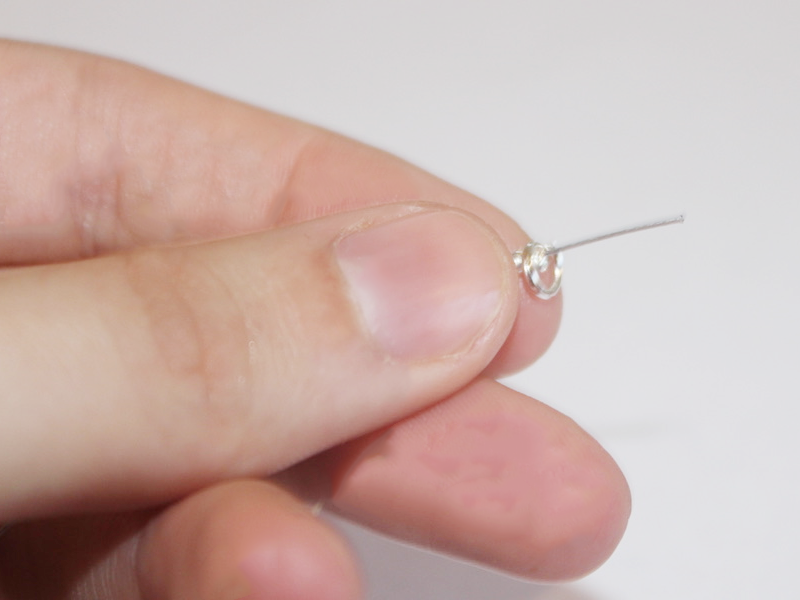
3: Curl the other end of the wire to secure the beads in place. Then form the wire into a circle shape.

4: Repeat steps 1 to 3 for the other thin wires. I used the rose quartz beads on the shorter pieces of wire.


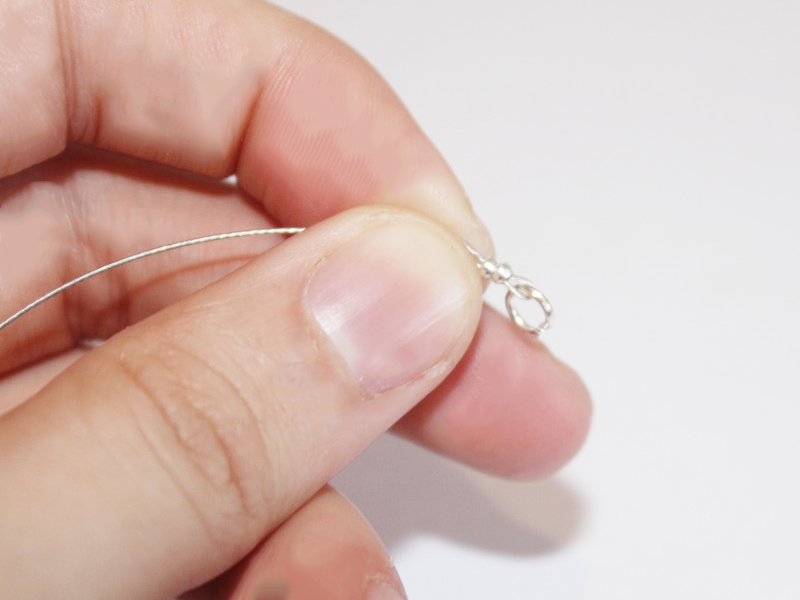
5: Link the ends of each circle using the jump rings.
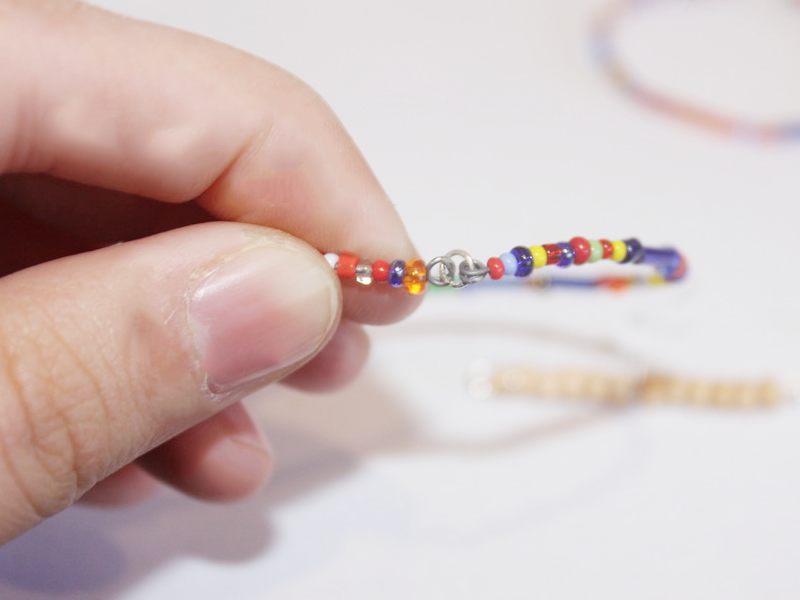
6: Add more of the coloured beads to the four small eye pins.

7: Loop the end of each eye pin and set them aside.


8: Add some of the wooden beads to one of the longer eye pins. I added six to meet the middle of the pin (but leaving room for the end to be looped later). The add one of the earring hooks to the pin.

9: Add another set of beads so that there is an even amount either side of the earring hooks. Repeat this for the second pin.

10: Loop the ends of the pins to secure the beads and earring hook in place.

12: Attach each of the smaller eye pins to the top of each of the circle charms.

13: Attach the charms to either side of the long pins with the earring hooks, make sure that each earring has one large and one small circle charm.


Now your earrings are finished and ready to wear! How special are these?
-
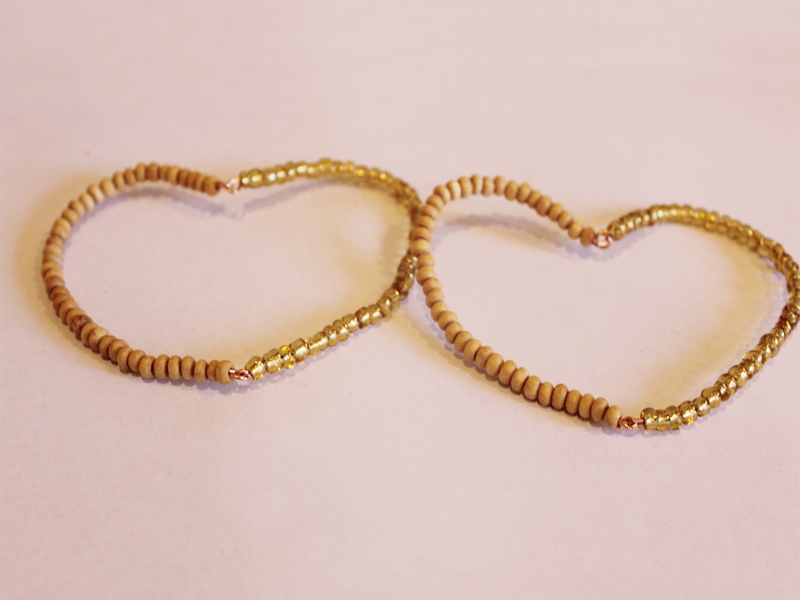
How to make beaded love heart earrings.

Do you remember the love heart necklace tutorial? Here’s how to make love heart earrings too! Contains affiliate links.
You will need the following tools and materials to make your beaded love heart earrings:
1: Pliers. You’ll need flat nose pliers, cutting pliers and round nose pliers.
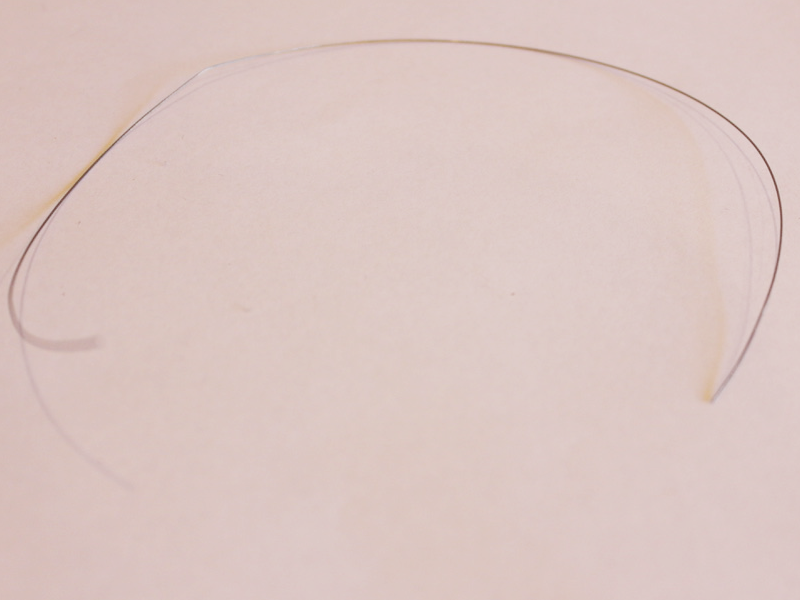
2: Four pieces of wire cut to approximately 12cm long.

3: Earring hooks.
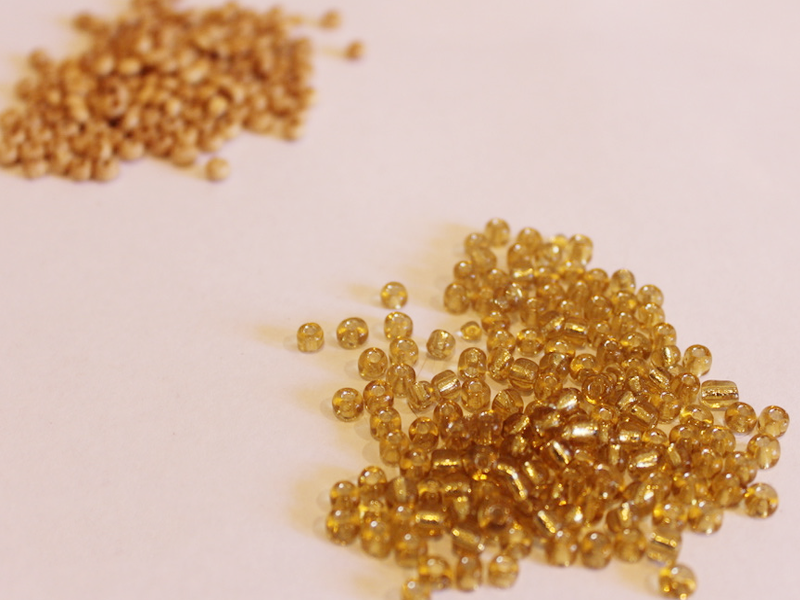
4: Beads. I used timber beads and some yellow glass beads.
Follow these steps to make your love heart earrings:
1: Create a loop at one end of the wire using the round nose pliers.

2: Add beads to the wire leaving 1cm unbeaded.

3: Create a loop at the other end of the wire using the round nose pliers.
4: Repeat steps 1-3 for the remaining pieces of wire, make 2 wires with the timber beads and 2 with the glass beads.

5: Link one of the timber bead wires to the glass bead wires and one end.

6: Form the wires into a heart shape and link the wires at the bottom of the heart.


7: Repeat these steps for the second heart.
8: Squash the bottom loops of each earring so that it doesn’t fold in half when it hangs from your ears.


9: Add an earring hook to the top of each heart earring.

Now your love heart earrings are ready to wear!
-
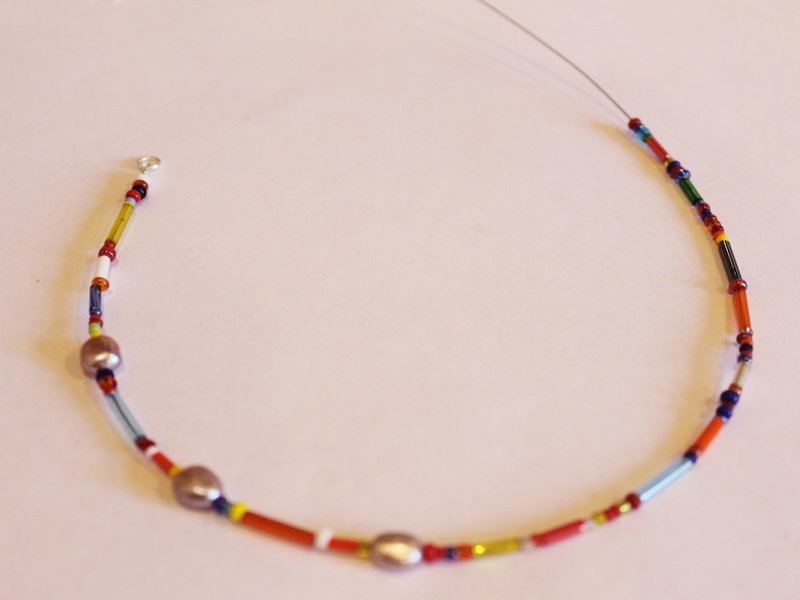
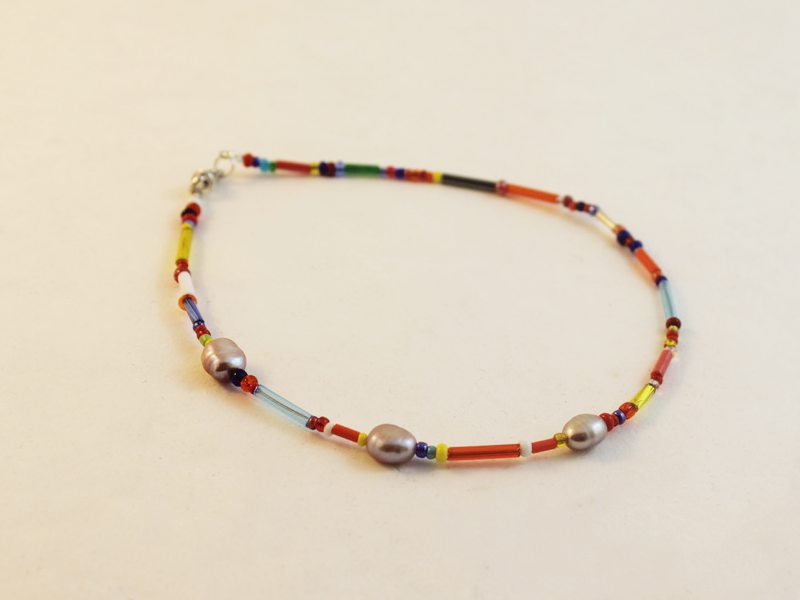
Combine the latest trends in one awesome design with this pearl anklet!

Pearls and anklets are having a moment right now. Hop in on the trend with this rainbow pearl beaded anklet. Contains affiliate links.
You’ll need the following tools and materials to make your pearl anklet:
1: Pliers. You’ll need cutting pliers, flat nose pliers and round nose pliers to make your anklet.
2: Tiger tail wire. Cut it a little longer than the length you want to make your anklet.
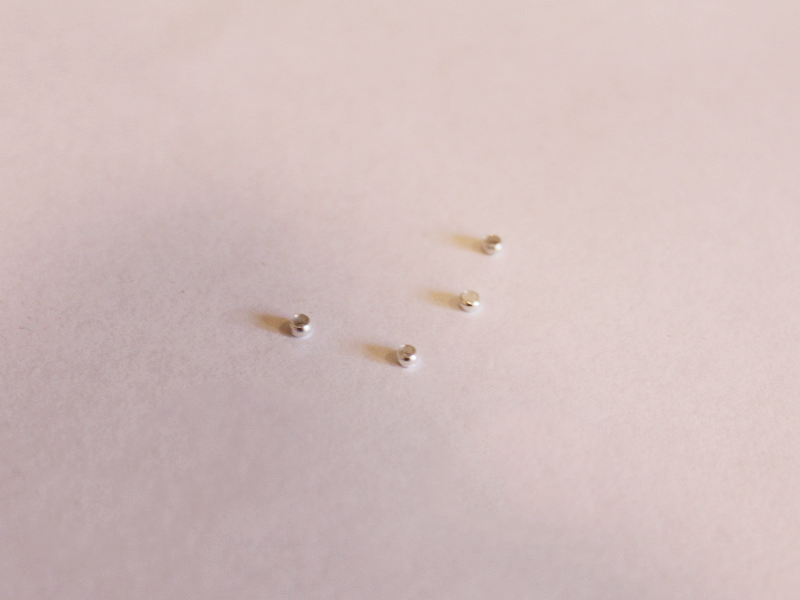
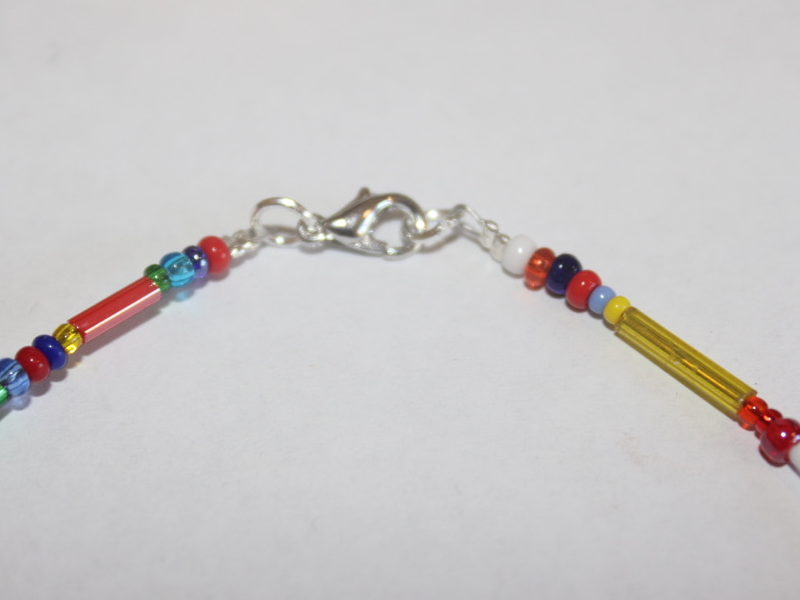
3: Four crimp beads.
4: Two jump rings.
5: A lobster clasp.

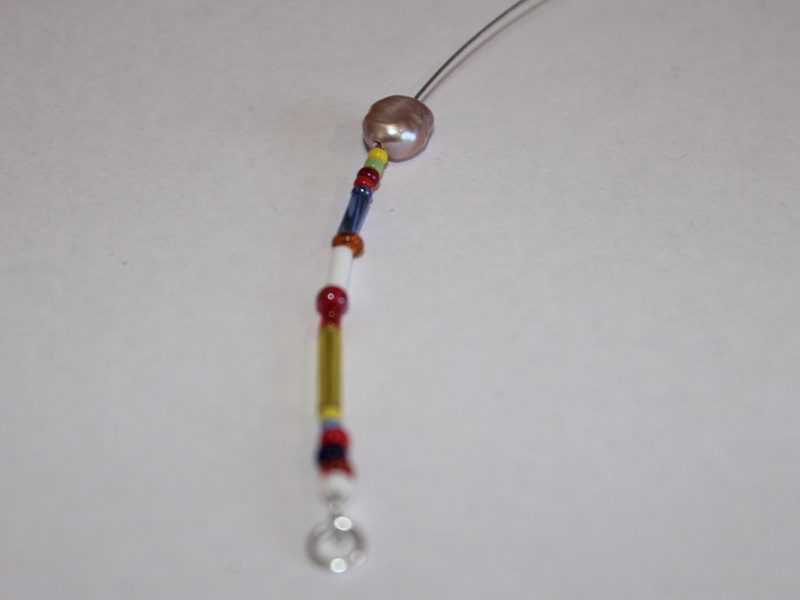
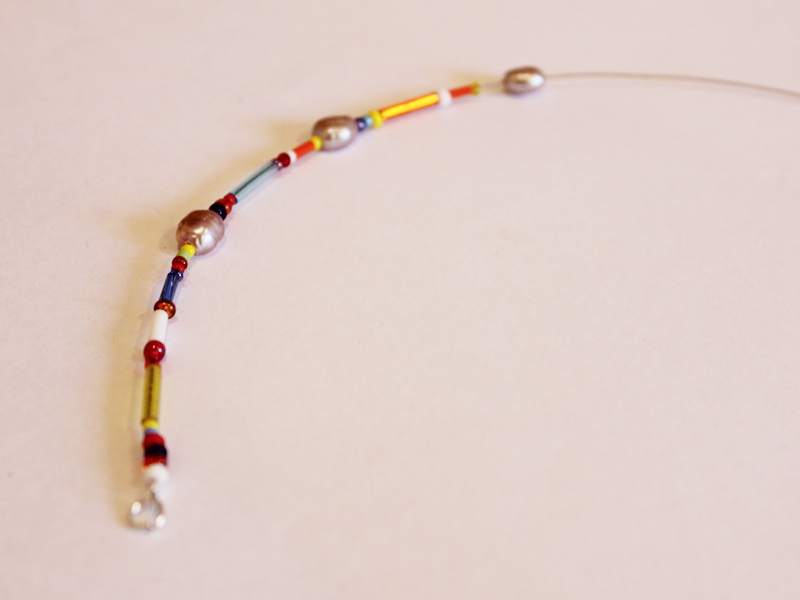
6: Pearl beads. I used three pink freshwater pearls.

7: Mixed beads. I used a mix of bugle and seed beads.
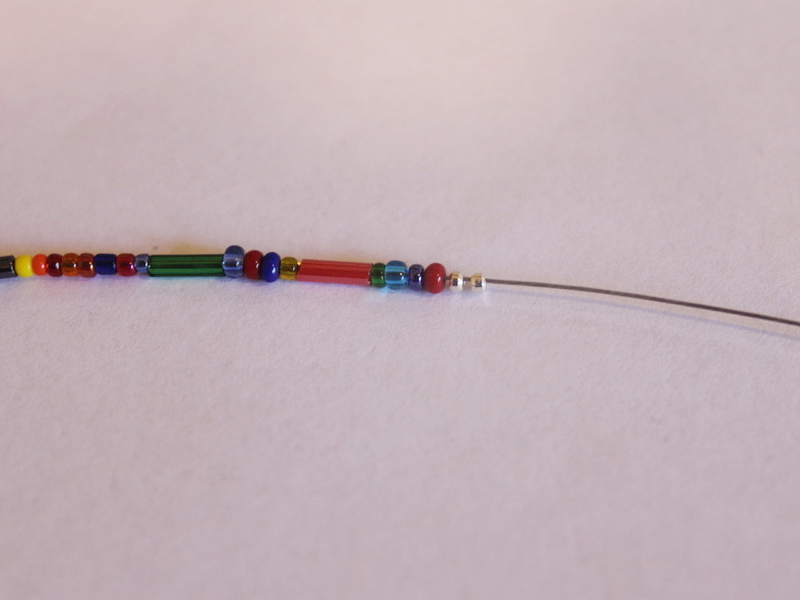
Follow these steps to make your pearl anklet:
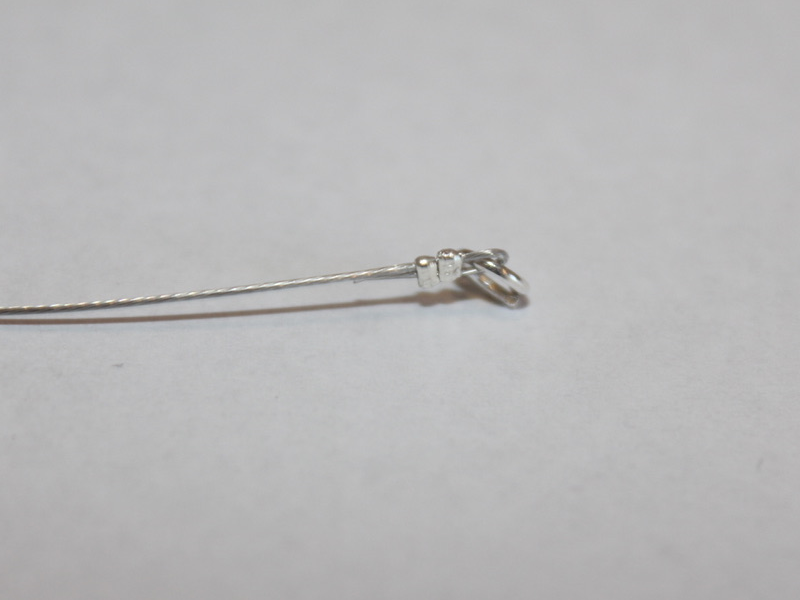
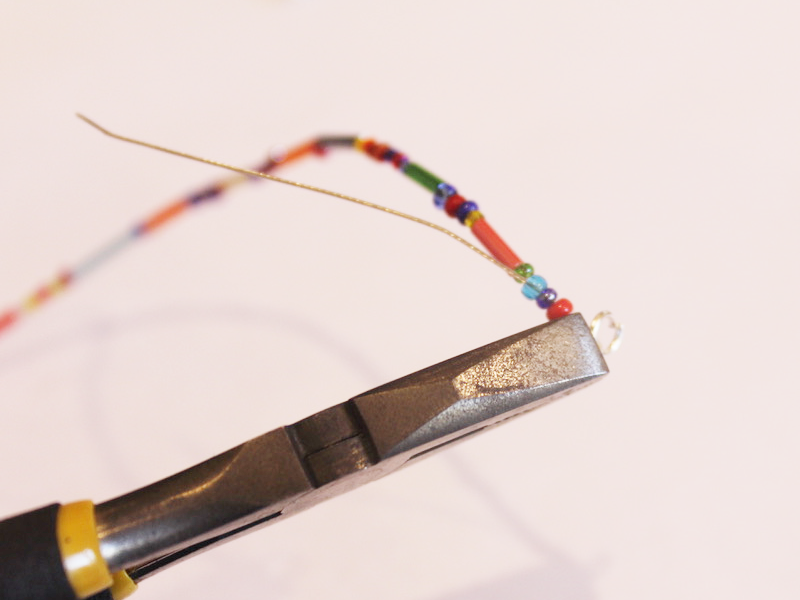
1: Add two crimp beads to one end of the wire.
2: Add a jump ring.
3: Loop the wire around the jump ring and through the crimp beads.
4: Squash the jump rings using the flat nose pliers.

5: Add your beads. I added mine in a pattern with the pearls situated close to one side of the anklet.
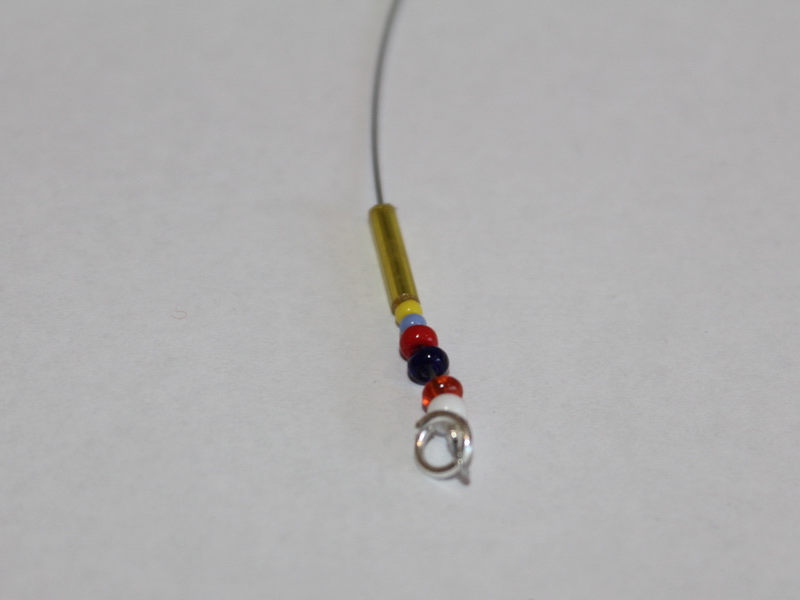

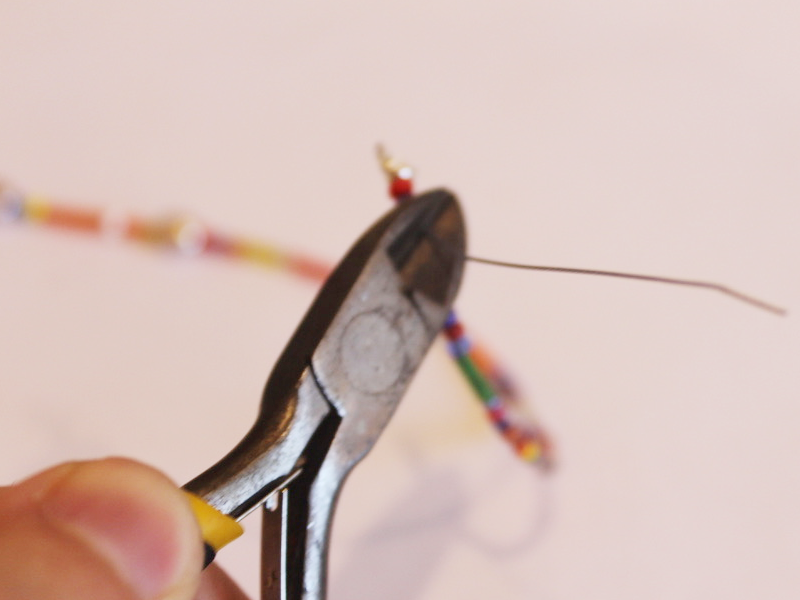
6: Once your anklet is fully beaded add the remaining crimp beads.
7: Add the second jump ring.
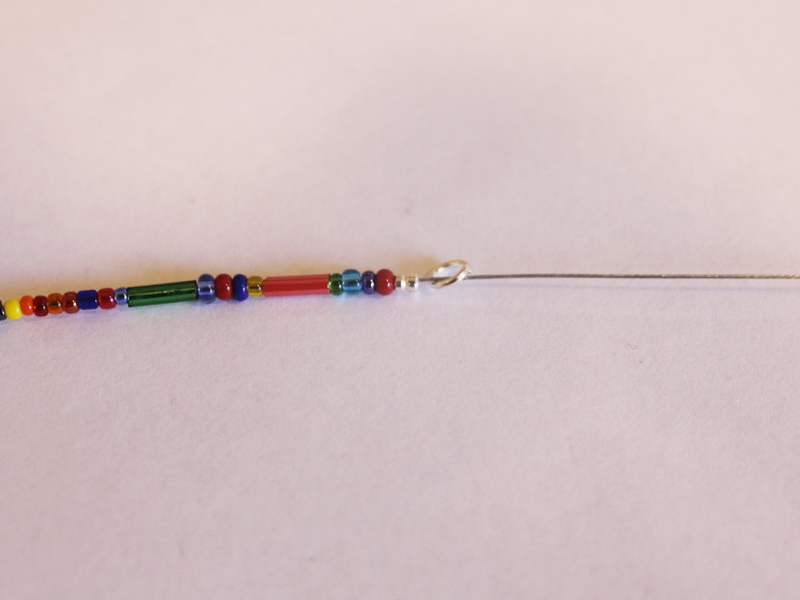
8: Loop the end of the wire around the jump ring and through the crimp beads and the end few glass beads.
9: Pull the wire tight.

10: Squash the crimps using the flat nose pliers.
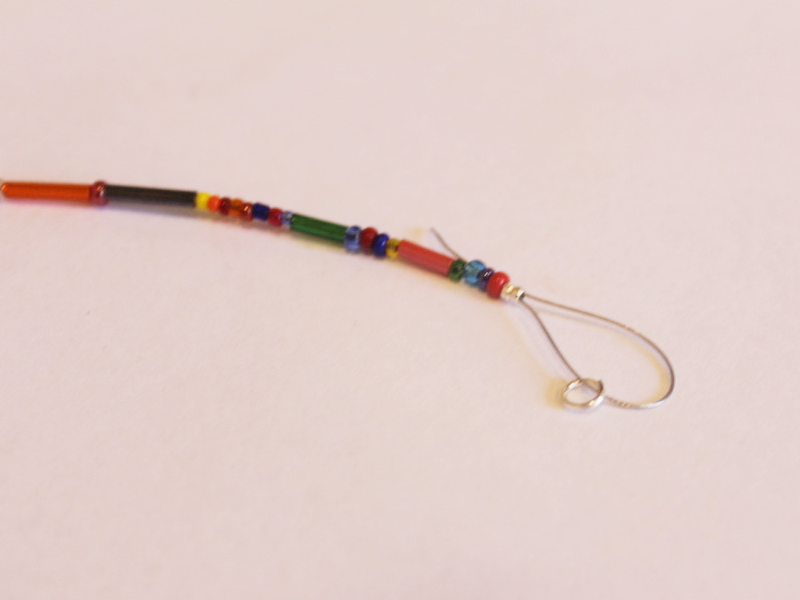
11: Trim the excess tiger tail wire.
12: Add the clasp to one side of the anklet. Close the jump ring to secure it in place.
Now your pearl anklet is finished and ready for a summer #ankleparty.
-
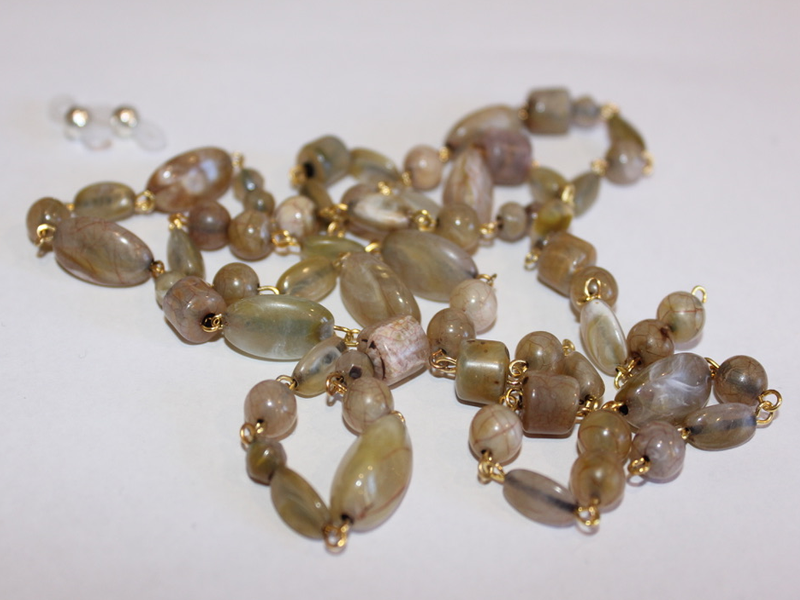
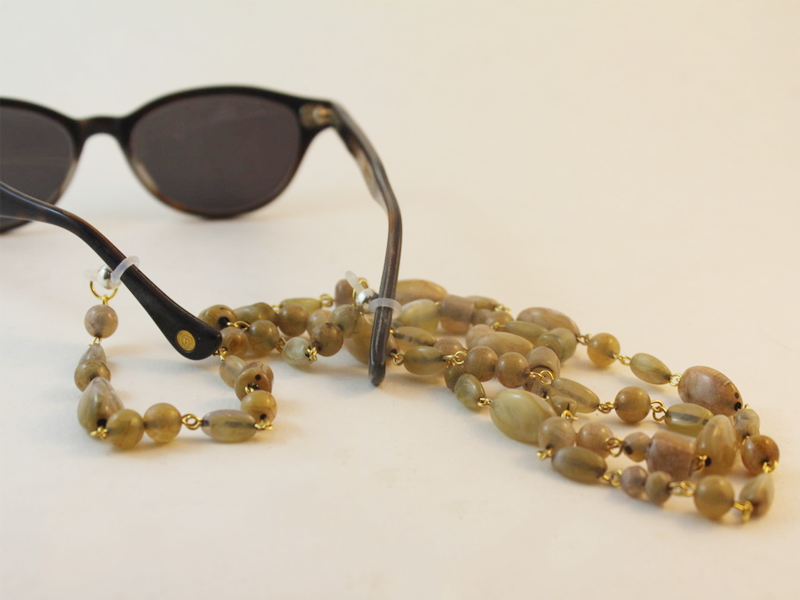
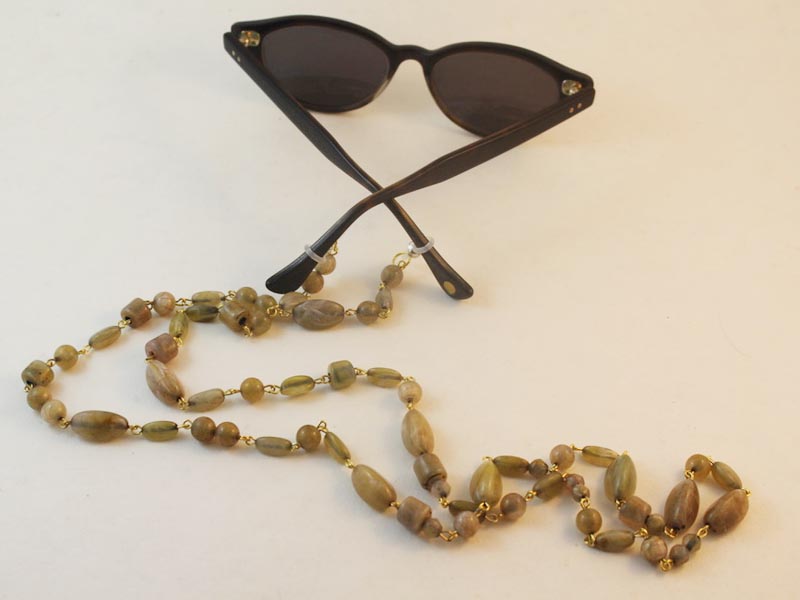
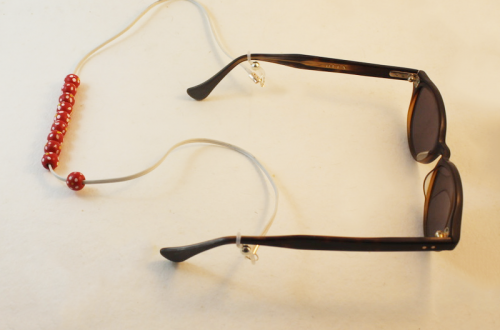
Glasses chains are HOT! Make your own cool sunglass chain holder for summer.

Glasses chains are really hot right now! If our other glasses chain tutorials aren’t for you why not try this one out? Contains affiliate links.
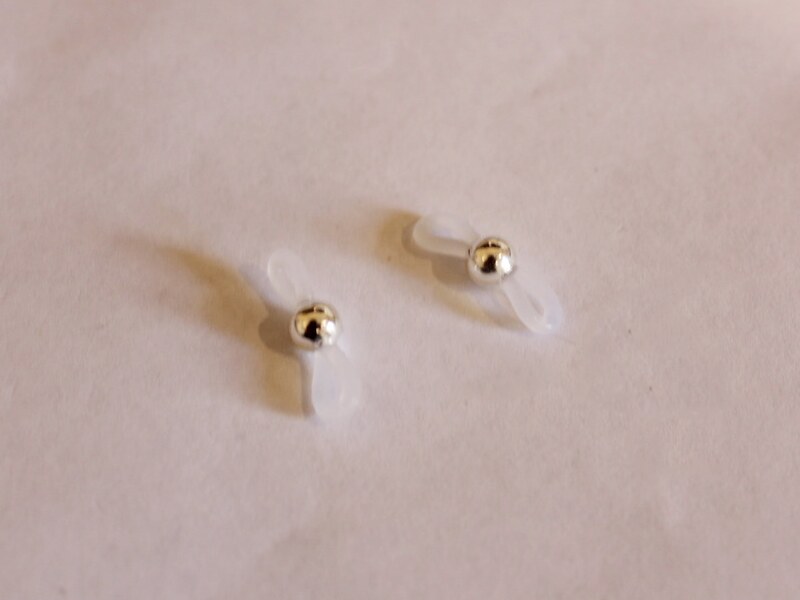
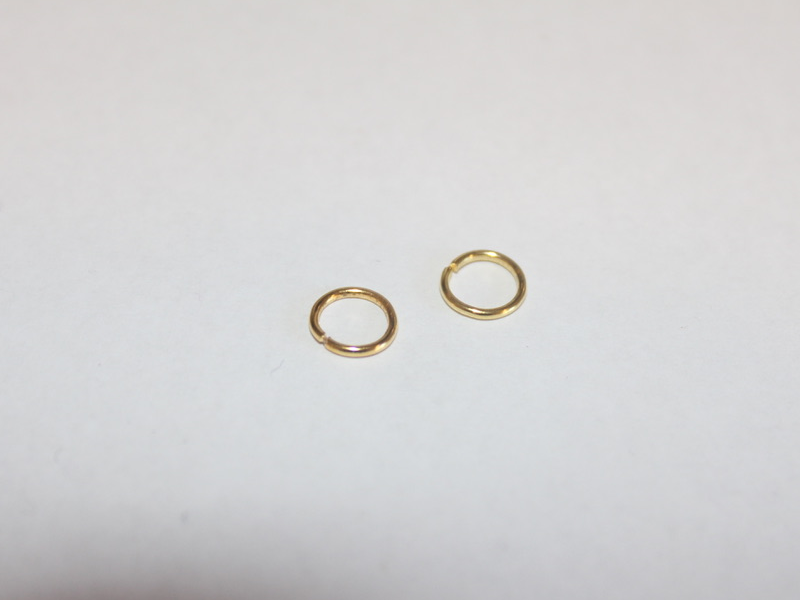
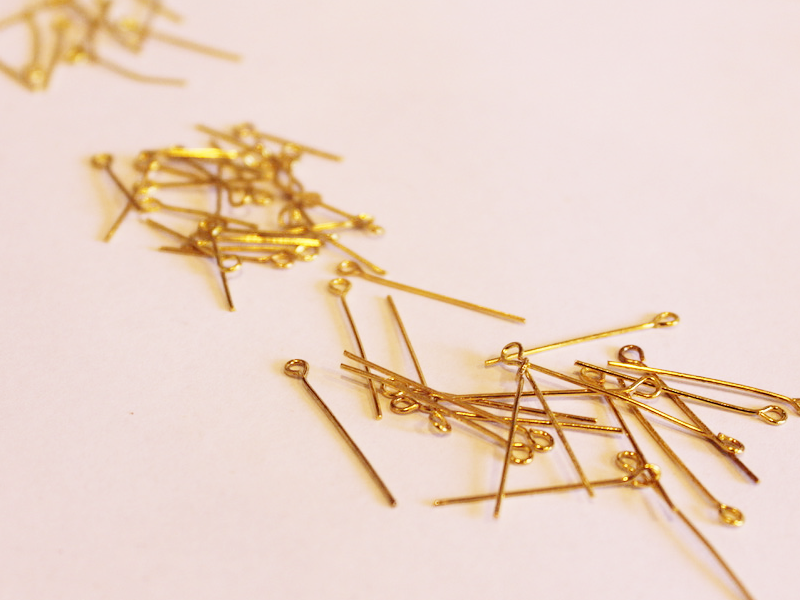
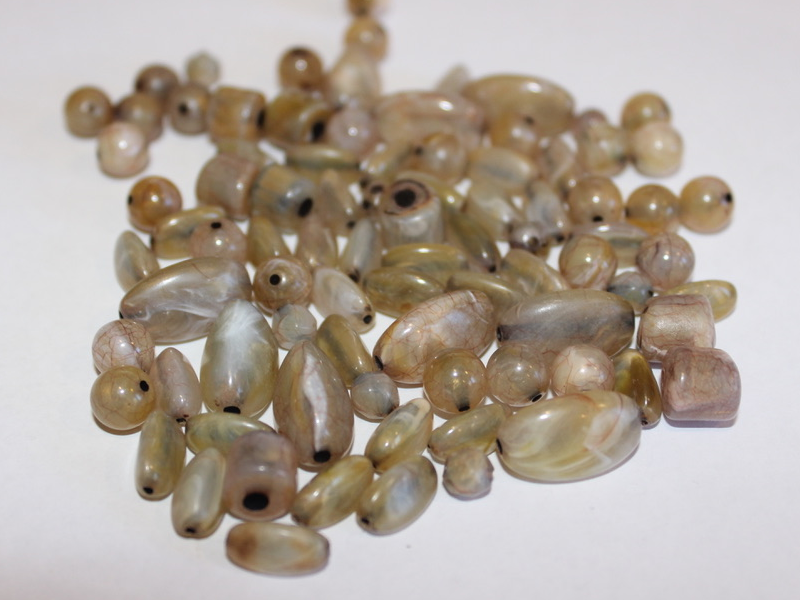
You’ll need the following tools and materials to make your glasses chain:
1: Pliers. You’ll need your flat nose and round nose pliers to make this glasses chain.


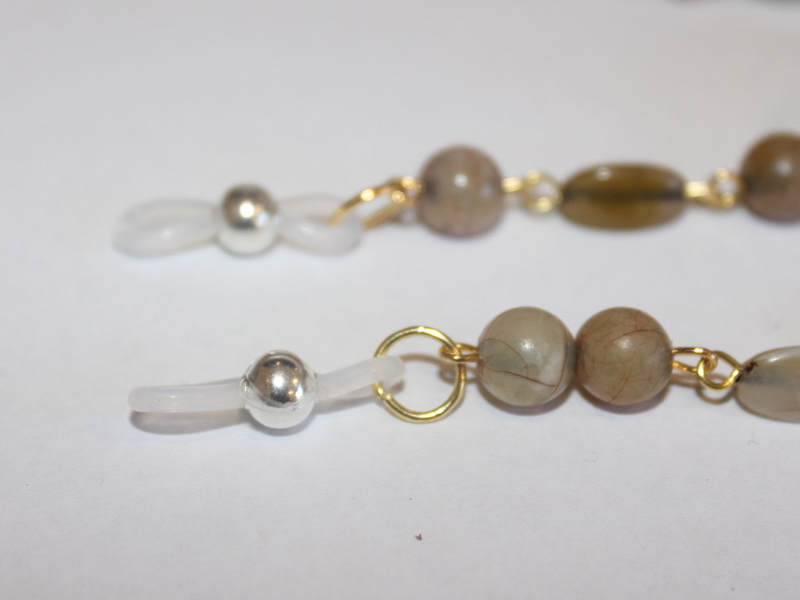
2: Two glasses holder findings.
3: Two large jump rings.
4: Eye pins.
5: Beads. I used these vintage plastic beads recycled from a necklace I inherited.
Follow these steps to make your beaded glasses chain:
1: Add beads to the pins and loops the ends to secure them in place.
2: Start linking the beaded pins to form a chain.
3: Continue making the beaded chain links until your chain is at your desired length.
4: Attach a glasses holder to each end of the chain using the jump rings.
Now your glasses chain is finished and ready to use! Wonderful for keeping your glasses safe during summer activities.