-
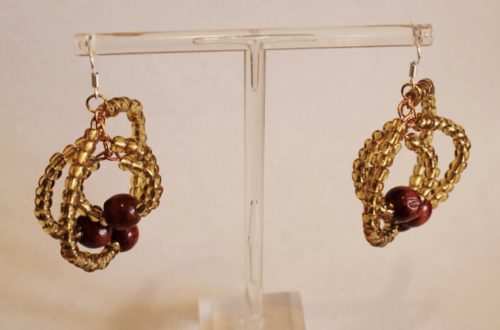
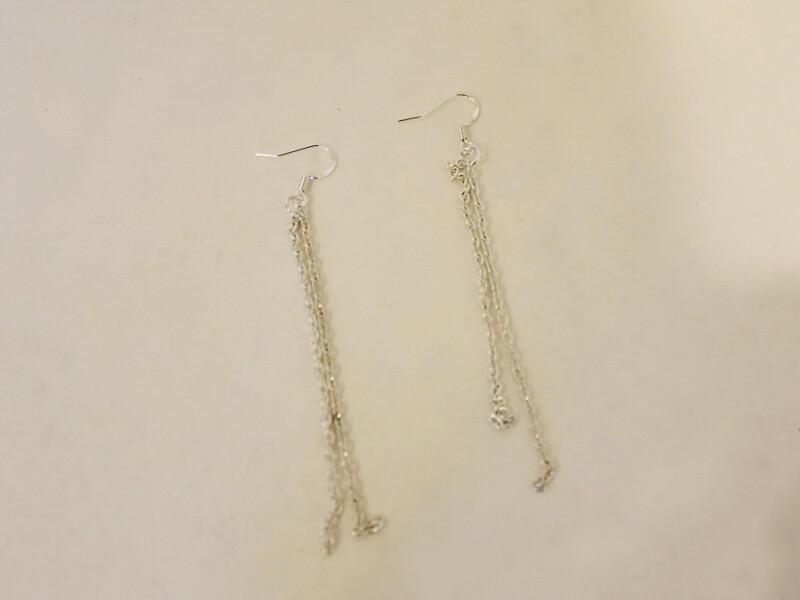
Got Some Special Beads You Want to Show Off? Try Making These Triangle-Shaped Ladder Earrings
These earrings are a bit of a hybrid between our triangle chain earrings and our beaded ladder necklace. Make them using some beautiful beads to make a stunning statement.
You will need the following tools and materials to make these earrings:
1: Pliers. You will need your flat nose pliers, cutting pliers and round nose pliers to make these earrings.

2: Two earring hooks.

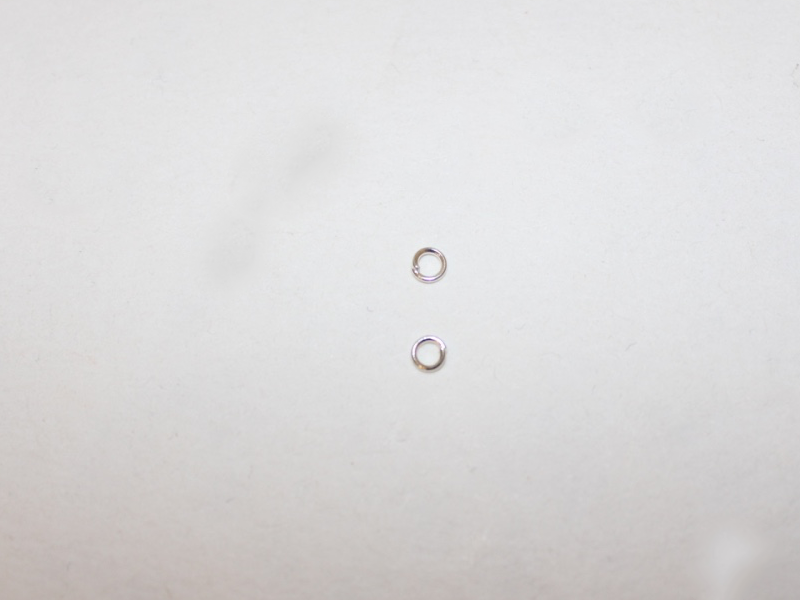
3: Two jump rings.

4: Four pieces of chain that are all the same length.

5: Six eye pins.

6: Six beads in three different sizes, this will help give you the triangle shape.

Follow these steps to make your own triangle ladder earrings:
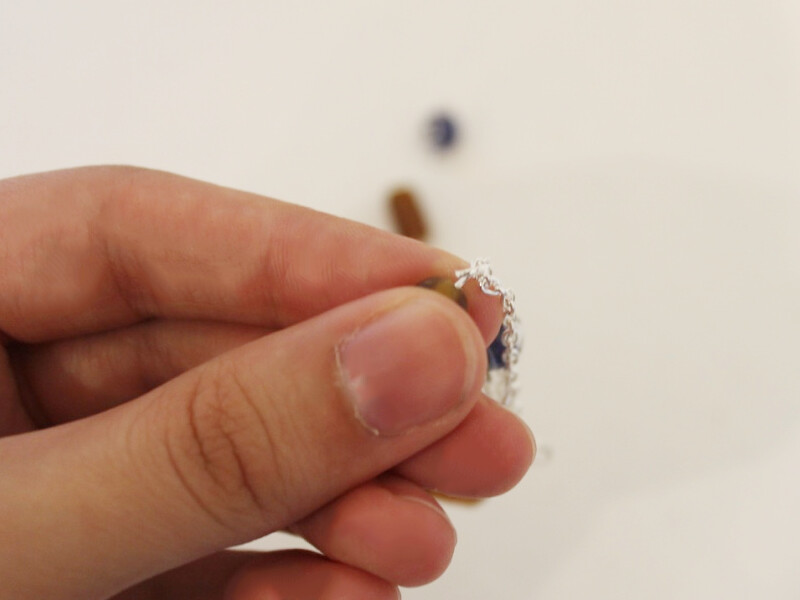
1: Attach two chains to each of the jump rings.

2: Add an earring hook to each of the open jump rings and then close the rings to secure the chains to the earring hooks.

3: Add each of the beads to the eye pins. You may need to trim your pins depending on how long they are. I used some that were already cut to size.

4: Bend each pin so that it is at a right angle to the bead using the round nose pliers.


5: Create a loop on the end of each pin to secure each of the beads in place.


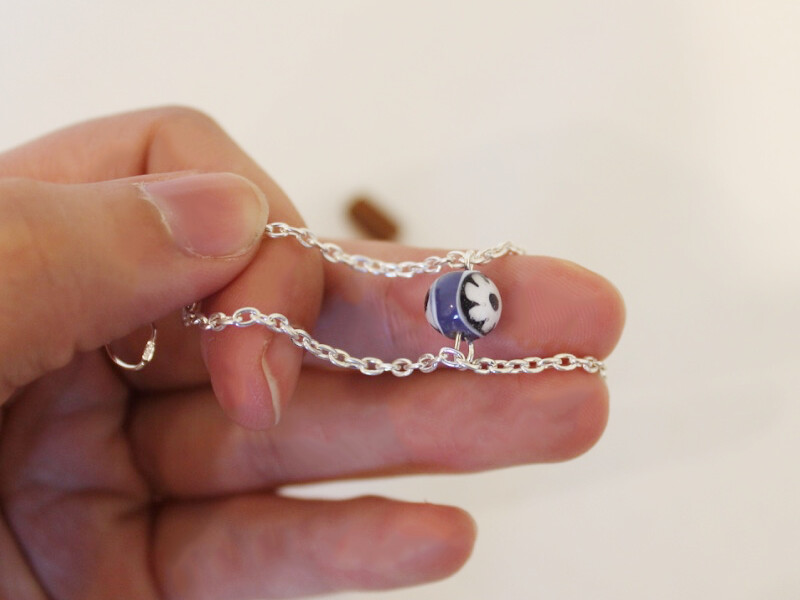
6: Take the largest bead and attach it to the end links of the chains on one earring.


7: Repeat step 6 for the second largest bead, attaching it further up the chain and making sure it is level.

8: Repeat this once again for the third and smallest bead, attaching it a few links up from the second bead. You will now have one earring completed.


9: Repeat steps 6 to 8 for the second earring.

Now your earrings are done! What funky beads will you use on yours?

These triangle earrings are made with shell and gemstone beads and delicate chains for a different look.

-
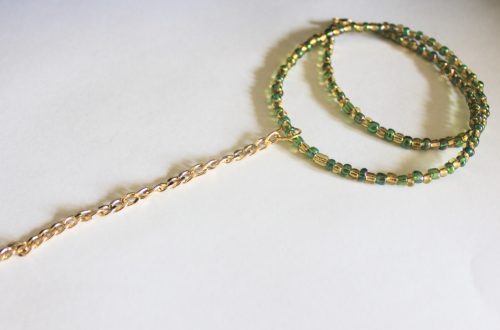
You can never have enough chokers! Make this cool lace charm choker.

Do you find yourself reaching for a choker every time you leave the house? Why not add this stunner to your collection? This choker is made using some elegant black lace and a beautiful charm of your choice. This tutorial features affiliate links.
You will need the following tools and materials to make this choker:
1: Pliers. You will need your flat nose pliers and round nose pliers to make this choker.


2: Scissors (for cutting your lace).

3: Two flat ribbon crimp ends.

4: Two jump rings.
5: One larger jump ring.
6: A lobster clasp.

7: Some lace ribbon cut to a length that fits closely around your neck.

8: A pendant or charm of your choice. I used this resin charm that has carnelian stones embedded in it.

Follow these steps to make your lace charm choker:
1: Add a jump ring to the charm (if it doesn’t already have one).

2: Fold the piece of lace in half and add the pendant to the center of the lace. Secure it in place by closing the jump ring.


3: Once the pendant is in place take one of the crimp ends and add it to one end of the lace. Use the flat nose pliers to squash and secure it in place.


4: Repeat step 4 for the other side of the choker using the remaining crimp end.

5: Add a jump ring to one end of the choker and slide on the lobster clasp. Secure the clasp in place by closing the jump ring using your pliers.


6: Add the remaining jump ring to the other end of the choker.


Now your choker is finished and ready to wear!!

-
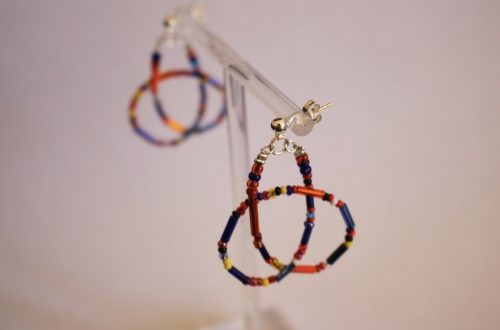
These Ribbon Earrings Are a Fun Way to Add Some More Color To Your Life!
These ribbon earrings make a big, bright impact! Made using colorful ribbons and a couple of flat end crimps they are bold and easy to make. Perfect for summer evenings for adding some color to cold winter days. This tutorial contains affiliate links.
You will need the following tools and materials to make your ribbon earrings:
1: Pliers. You will need your round nose pliers and flat nose pliers to make these earrings.

2: Scissors for cutting your ribbon to length.
3: Two flat end crimps, these ones are 2cm (0.8 inches) wide.

4: Two earring hooks.

5: Four pieces of ribbon, two wide and two narrow. Each of my pieces of ribbon were approximately 9cm (3.5 inches) long.

Follow these steps to make your ribbon earrings:
1: Cut your ribbons to length and then place a narrow and wide ribbon together so that their ends line up and the narrow ribbon is in the center.

2: Fold the ribbons in half to create a loop and place the crimp end over the folded ends.


3: Squash the crimp around the ends of the ribbons using the flat nose pliers.


4: Repeat steps 1-3 for the remaining ribbons.

5: Once the crimp is squashed in place, add an earring hook to the loop at the top of the crimp for each earring.

6: Close the loop on the earring hook to secure the pieces together and finish your earring.

6: Repeat steps 1-5 with the remaining ribbons to complete the second earring.

How simple was that?!
-
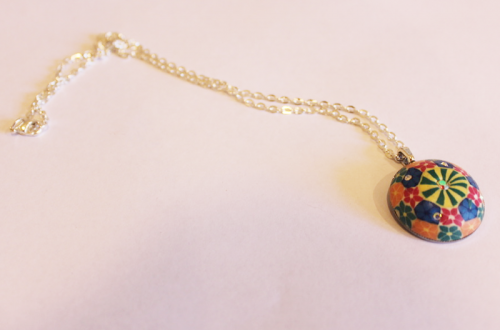
Got some seed beads lying around? Make this amazing diamond shaped pendant!
This diamond-shaped pendant looks great on a necklace, it is a little fiddly to make but well worth it at the end! You’ll be able to use up all your colorful seed beads to make this special pendant.
You will need the following tools and materials to make this pendant:
1: Pliers. You will need your round nose pliers and flat nose pliers.
2: Twelve eye pins.

3: Two small jump rings.

4: Small seed beads. I used these pink and blue seed beads. You can use as many colors as you like.


Follow these steps to make your beaded diamond pendant:
1: Add the seed beads to each of the pins in any pattern you like. I decided to only bead four pins in blue and the rest in pink.


2: Bend each pin at a right angle to the beaded section using your round nose pliers.

3: Create a loop at the end of each pin to secure the beads in place using your round nose pliers.


4: Connect four pins together to make a square.


5: Connect four pins to each corner of the square.


6: Use one of the jump rings to connect the four corner pins in the center forming a pyramid shape.


7: Repeat step five and six for the other side of the pendant.


Once all your pins are connected your charm is complete. Connect it to some chain or some earring hooks and wear it with pride!


Here’s another beaded diamond pendant made with multiple colors attached to a necklace chain.