-
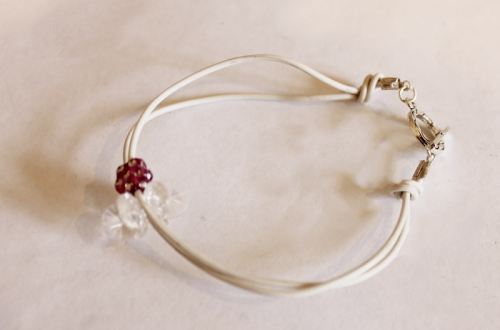
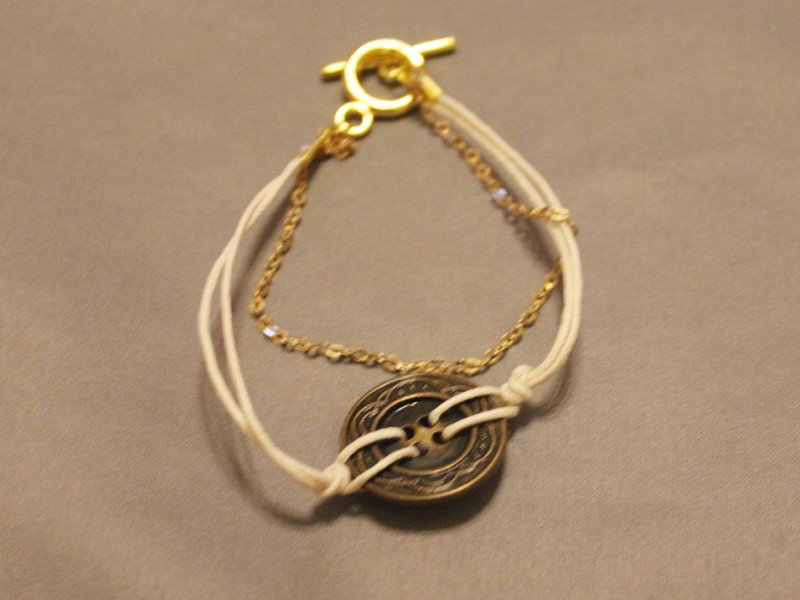
Do You Have Some Mismatched Buttons Lying Around? Why Not Make These Button Bracelets?

These button bracelets are really easy to make and they look great! Use some vintage buttons to give your bracelets an extra unique edge.
You will need the following tools and materials to make this bracelet:
1: Pliers. You will need your round nose pliers and flat nose pliers to make this bracelet.


2: scissors for trimming your string.

3: Two pieces of string.

4: A button with four holes.

5: Two leather crimp ends.

6: Two jump rings.

7: A toggle clasp.

Follow these steps to make your bracelet:
1: Fold one piece of string in half. Feed both ends of the string into two separate holes.

2: Feed the ends of the string through the loop you have formed and pull it tight.


3: Repeat this for the other side of the bracelet using the other piece of string, make sure you loop it the same way so that your knots match.

4: Add an extra knot to each piece of the string so it sits closely on either side of the button.


5: Measure the string around your wrist and trim the excess if required.


6: Add a crimp end to either side of the bracelet using the flat nose pliers.


7: Add a jump ring to either side of the bracelet and attach each end of the toggle clasp to finish your bracelet.


Here are some other button bracelets I put together using different colored buttons, string and chain.


-
These loopy earrings are great!
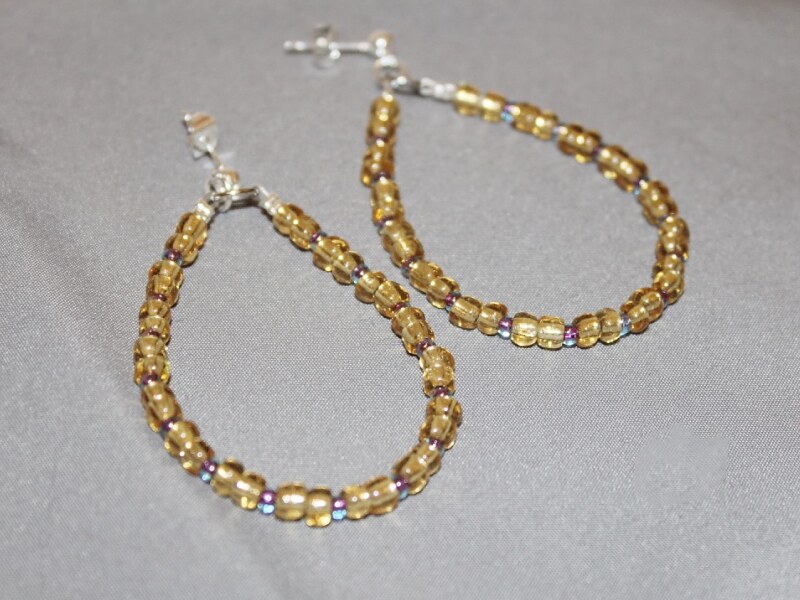
These loopy beaded earrings look so lovely! Make some using your favorite colors today! contains affiliate links.
You will need the following tools and materials to make these loop earrings:
1: Pliers. You will need your cutting pliers, flat nose pliers and round nose pliers to make these earrings.

2: Two pieces of tiger tail wire.

3: Eight crimp beads.
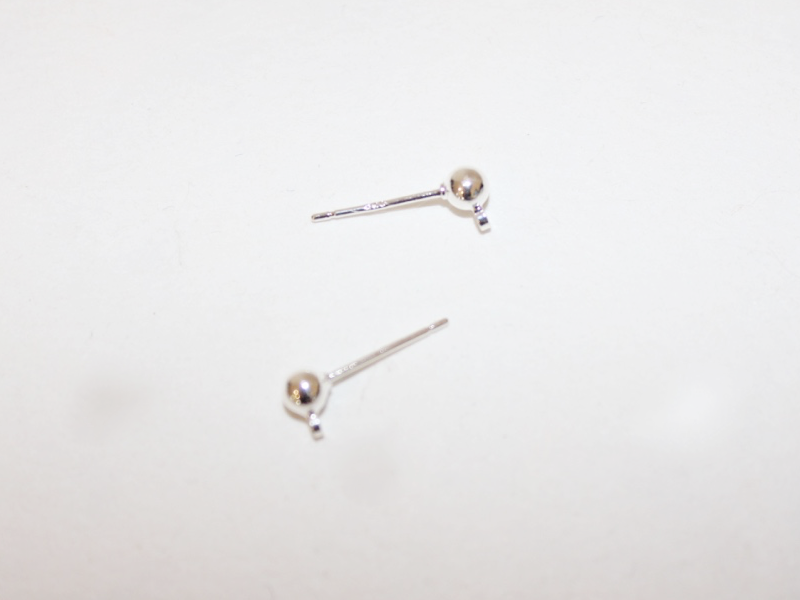
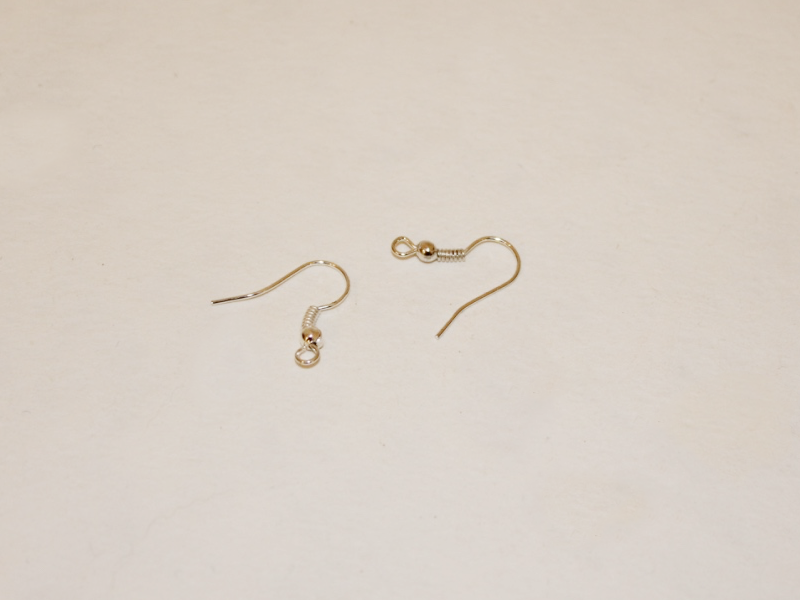
4: Two charm connector earrings.
5: Two large jump rings.
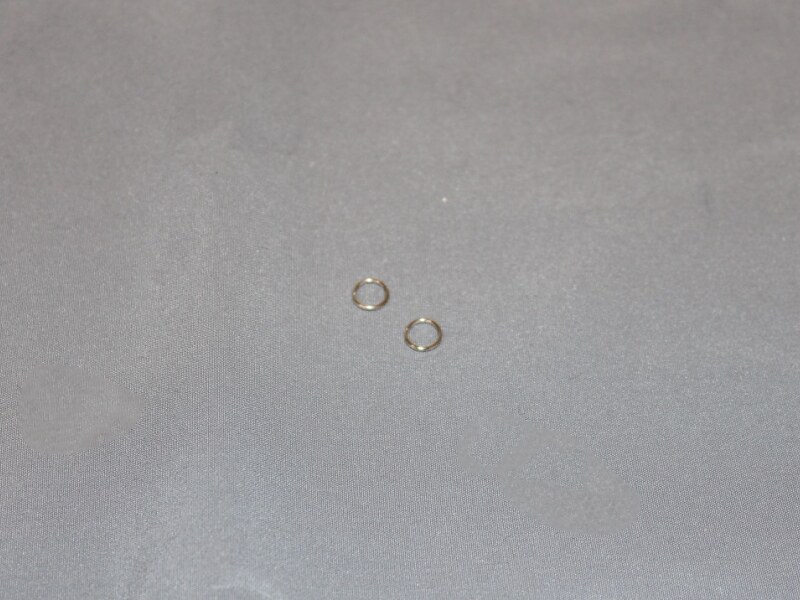
6: Two small jump rings.

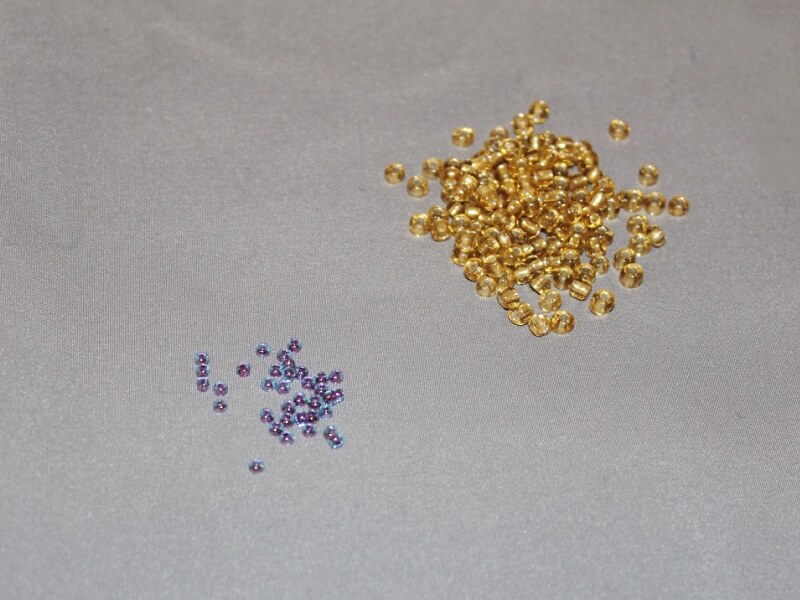
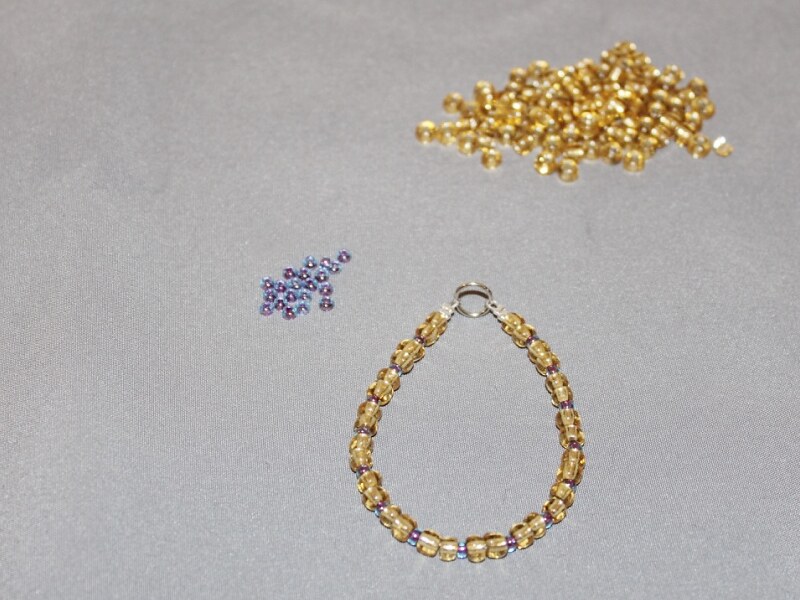
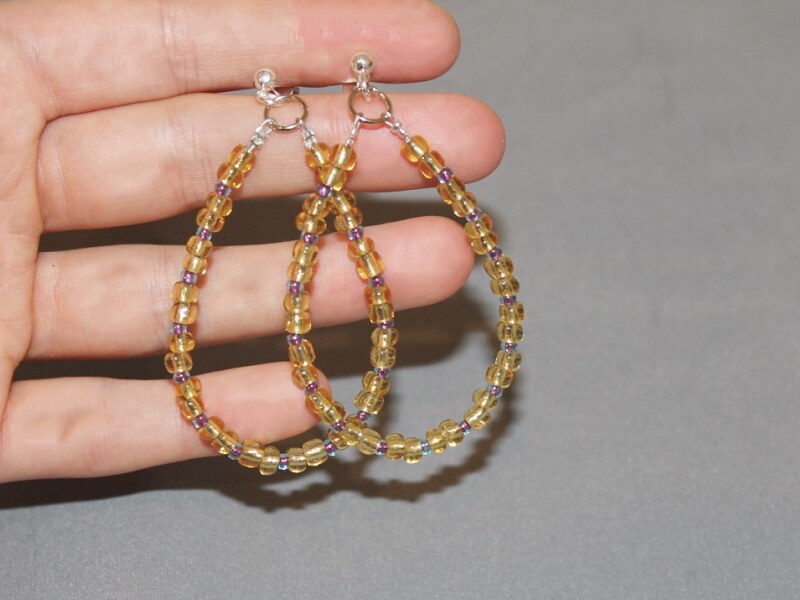
7: Beads of your choice. I used these yellow glass e-beads and purple glass seed beads.
Follow these steps to make your loop earrings:
1: Add two crimp beads to the end of one of the pieces of tiger tail wire.
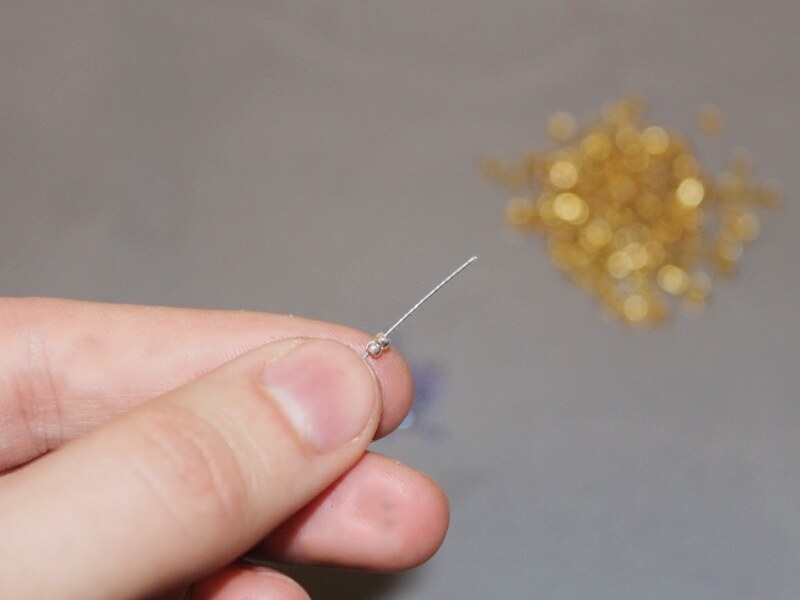
2: loop the end of the wire around one of the large jump rings and back through the crimp beads.
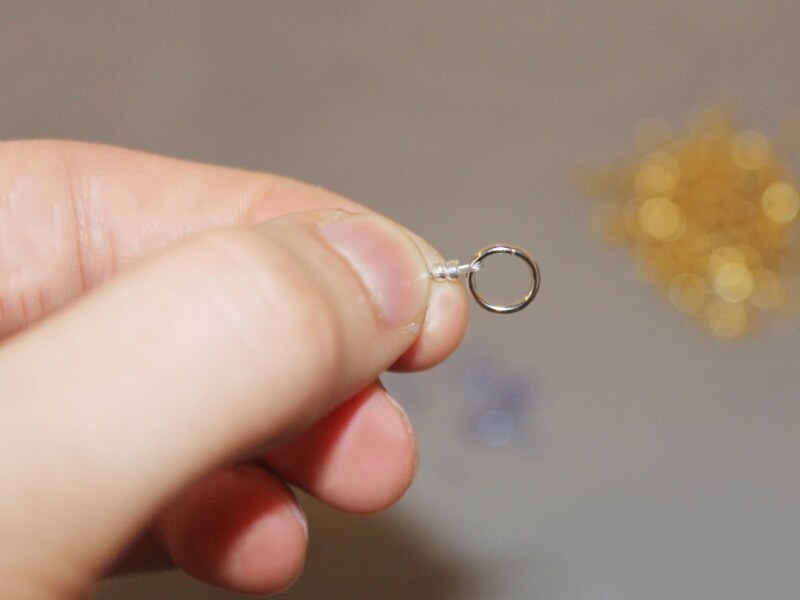
3: Squash the crimp beads using the flat nose pliers.


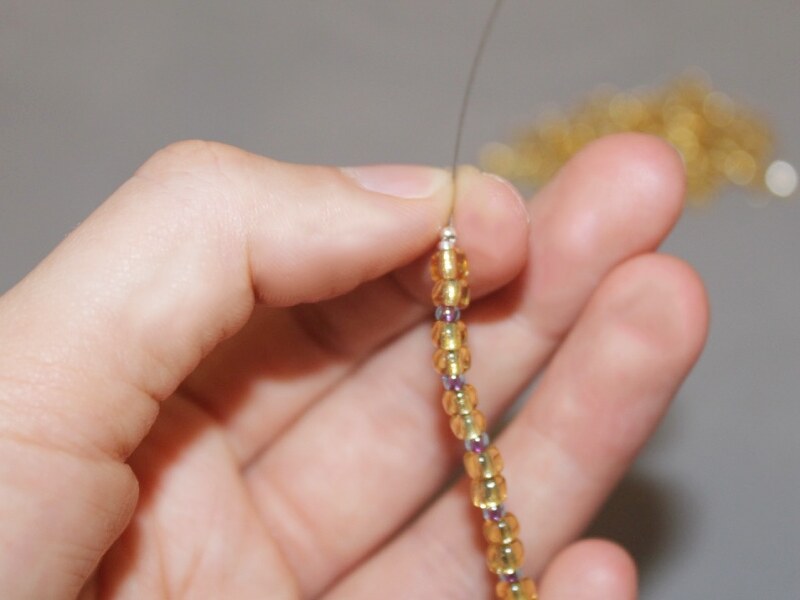
4: Begin adding beads in your pattern of choice.

5: Continue beading until you’ve reached your desired length, leaving approximately 5cm of wire exposed.

6: Add another two crimp beads and loop the end of the wire around the other side of the jump ring and back through the crimps.
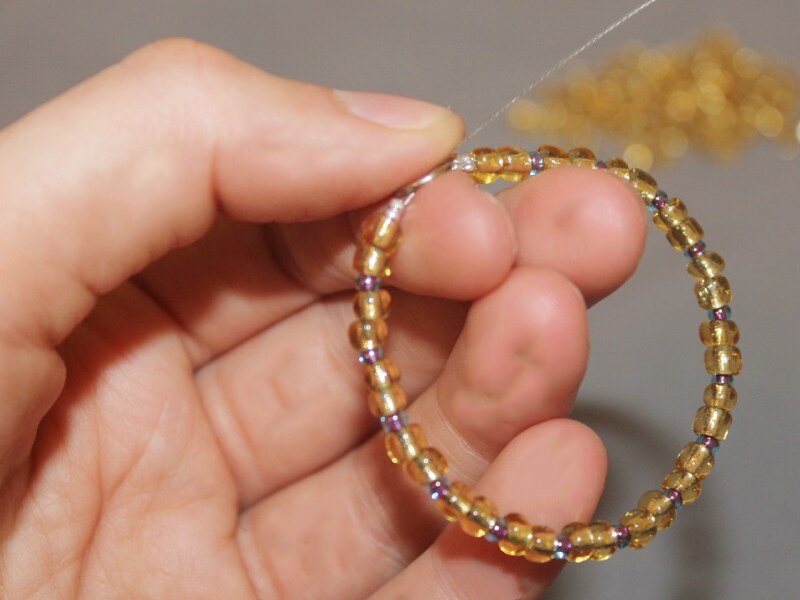

7: Squash the crimp beads using the flat nose pliers.

8: Trim the remaining wire using the cutting pliers.

9: Repeat steps 1 to 8 for the second earring making sure that the beaded sections follow the same pattern and are the same length.

10: Add a smaller jump ring to the top of each beaded loop.

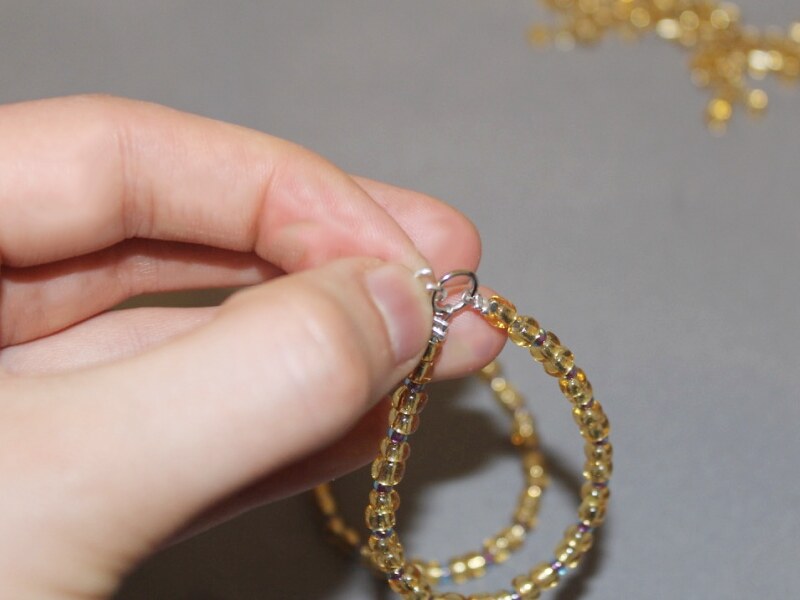
11: Attach each beaded loop to each of the charm connector earrings and close the small jump rings to secure the earrings to the loops.
Once both earrings are secured to your beaded loops they are ready to wear!
-
Here’s How to Make a Funky Rhinestone Brooch For Shining up Your Fave Old Outfit!

Do you need a little brooch to brighten up your favorite outfit or trusty winter scarf? This piece is super easy to make and looks great.
You will need the following tools and materials to make this brooch:
1: A glue-on brooch pin.

2: Araldite 2-part glue.

3: A skewer.

4: A scrap piece of paper.

5: A flat piece of plastic to make the base of your brooch. I used this green piece of laser-cut acrylic.

6: Some assorted rhinestones with flat-back settings. I also used a small round mirror to decorate my brooch.

Follow these steps to make your brooch:
1: Mix up the glue on some scrap paper. To do this you will need to squeeze out equal parts from the tube and mix them well using the skewer.


2: Add glue to the backs of the rhinestones and apply them to the piece of acrylic in any pattern you choose. I made the mirror the center of my brooch and added an extra rhinestone on top.


3: Wait for the glue on the rhinestones to dry. You might need to mix some extra glue to use to attach the brooch pin.
4: Add the glue to the brooch pin and place it carefully on the back side of your plastic base. If your base is translucent like mine you might want to ‘hide’ your pin behind the decorations on the front.


Once the glue on the pin is dry your brooch is finished and ready to wear! How easy was that?
Here are some other brooch DIY’s that you can try:
-
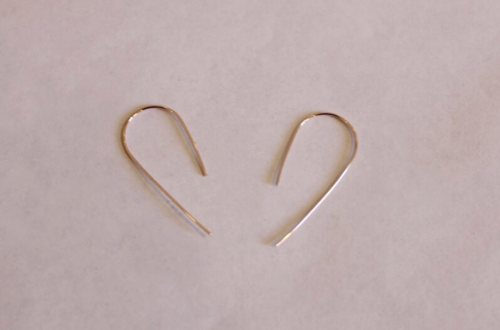
Mismatched chain and lace earrings for a vampy evening look!

Got some spare pieces of chain? Why not make some chain and lace mismatched earrings?
You will need the following tools and materials to make these earrings:
1: Pliers. You will need your flat nose pliers and round nose pliers to make these earrings.
2: Two flat crimp ends.

3: Two pieces of lace ribbon.

4: Two pieces of mismatched length chain.

5: Two jump rings.

6: Two earring hooks.
Follow these steps to make your mismatched chain and lace earrings:
1: Fold one of the pieces of ribbon in half at squash a flat crimp around the ends to secure them together. You will have formed a loop with your ribbon.


2: Repeat step one for the other piece of ribbon using the other flat crimp.

3: Attach a jump ring to the top of one of the ribbon charms and add the shorter chain to the open ring.


4: Add one of the earring hooks to the open jump ring and secure all the pieces together by closing the jump ring using your pliers.


5: Add the second jump ring to the other lace charm and attach the longer chain, looping it around the lace charms and attaching both ends of the chain either side of the lace charm.


6: Add the remaining earring hook to the open jump ring. Secure all the pieces together by closing the jump ring.


Once the final earring hook is in place your earrings are finished!

-
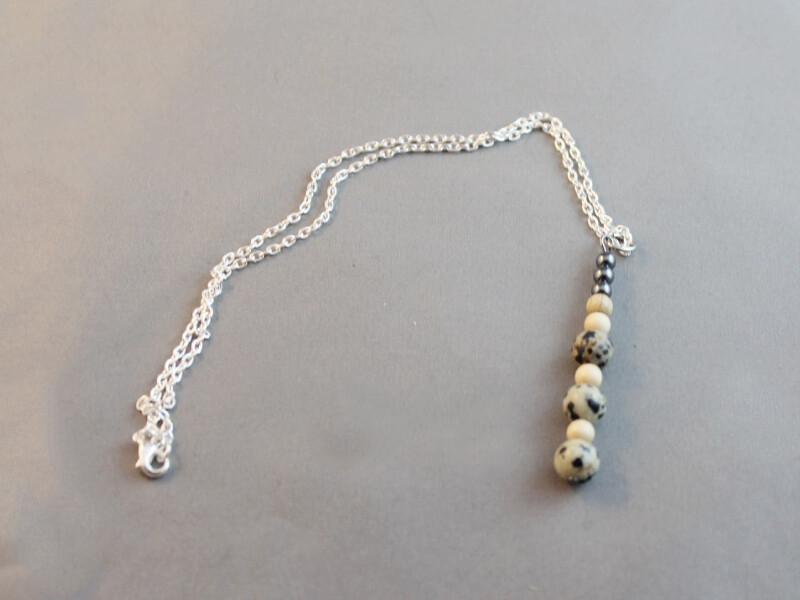
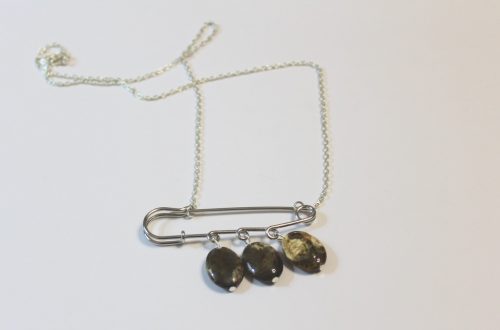
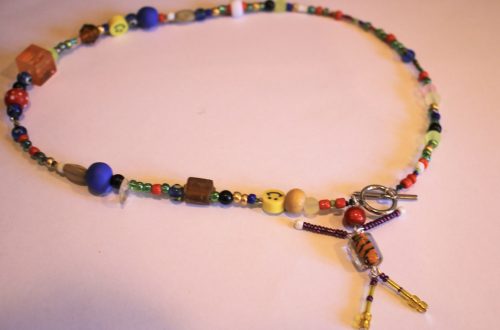
Here’s how to make a simple pendant necklace!
This necklace is a simple but beautiful way to use your favorite beads.
You will need the following tools and materials to make your necklace:
1: Pliers. You will need your flat nose pliers and round nose pliers to make this necklace.
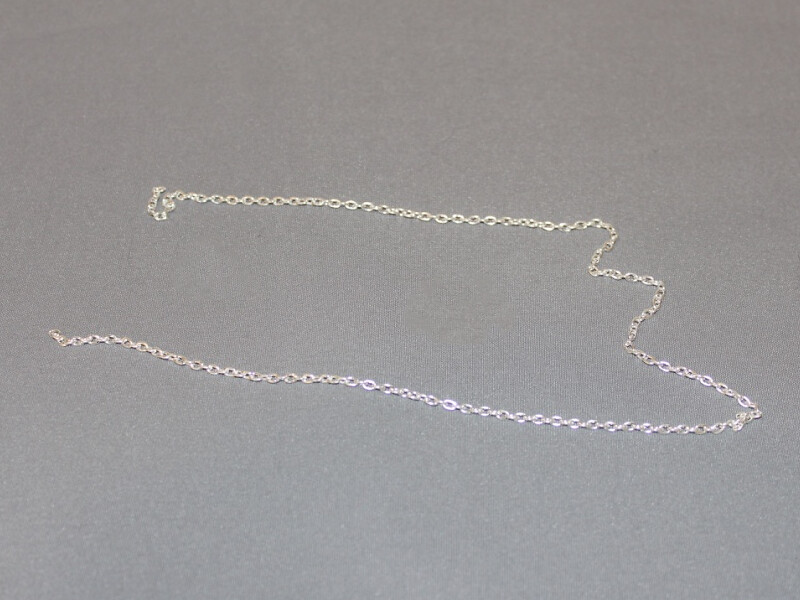
2: A piece of chain at the length you would like your necklace to fall.
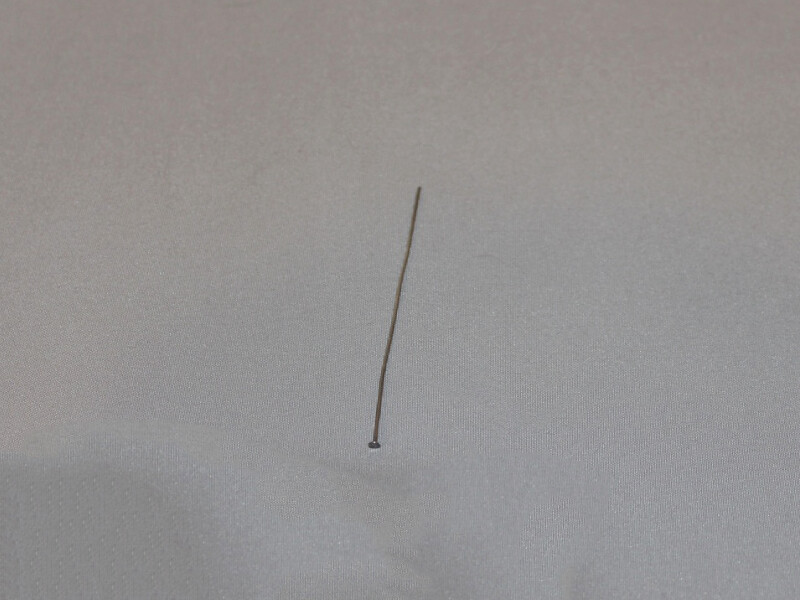
3: A long head pin.
4: A lobster clasp.

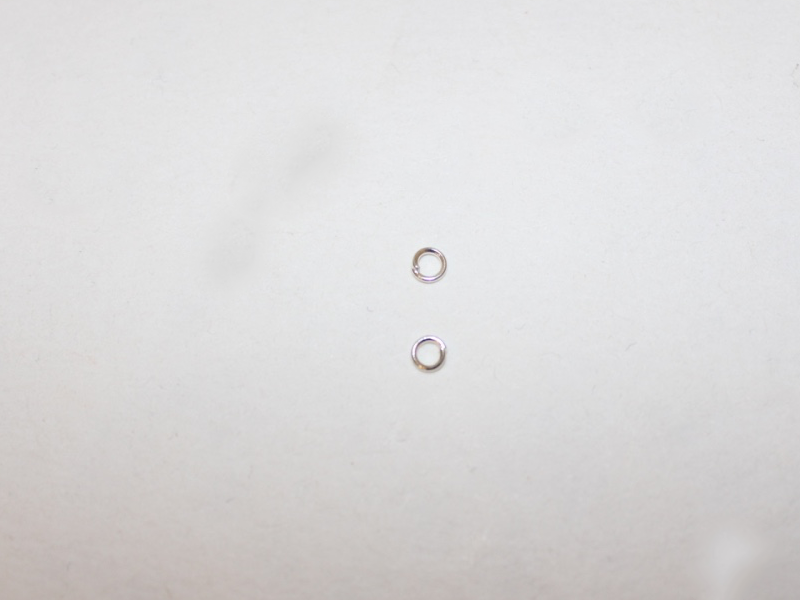
5: Two jump rings.
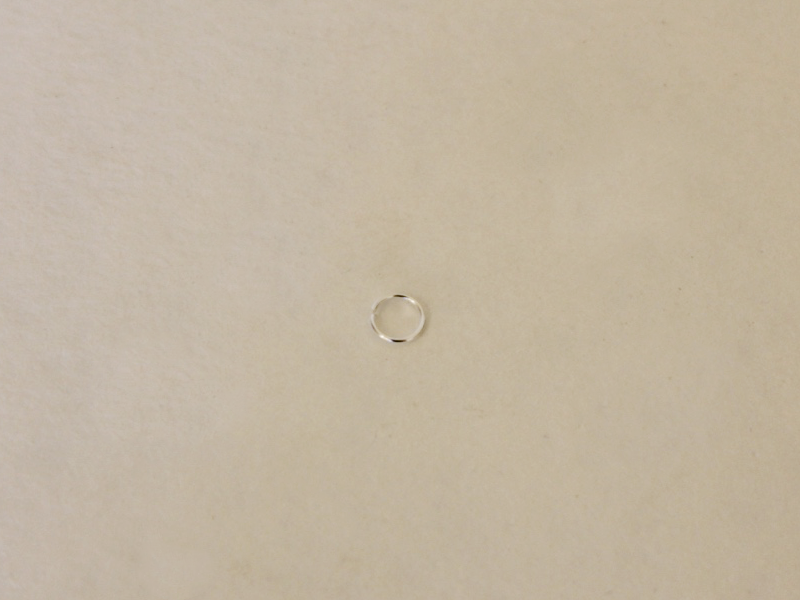
6: One large jump ring.
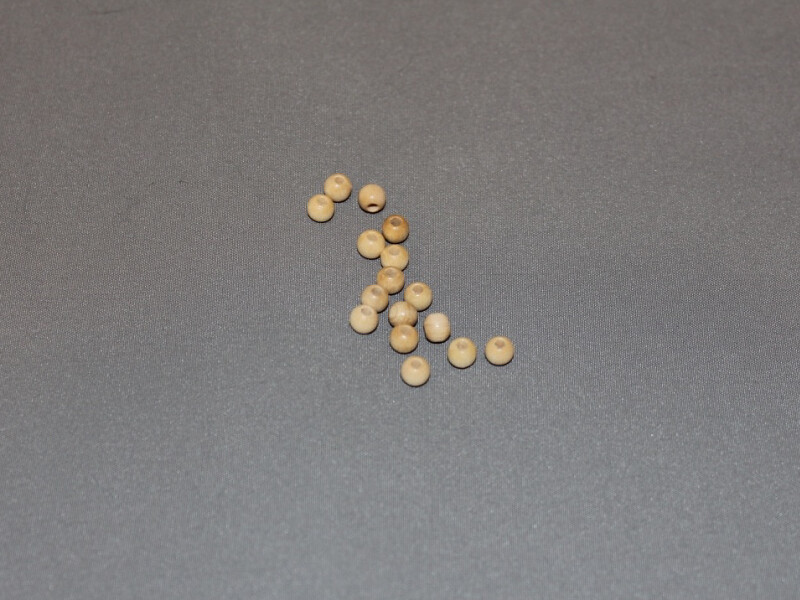
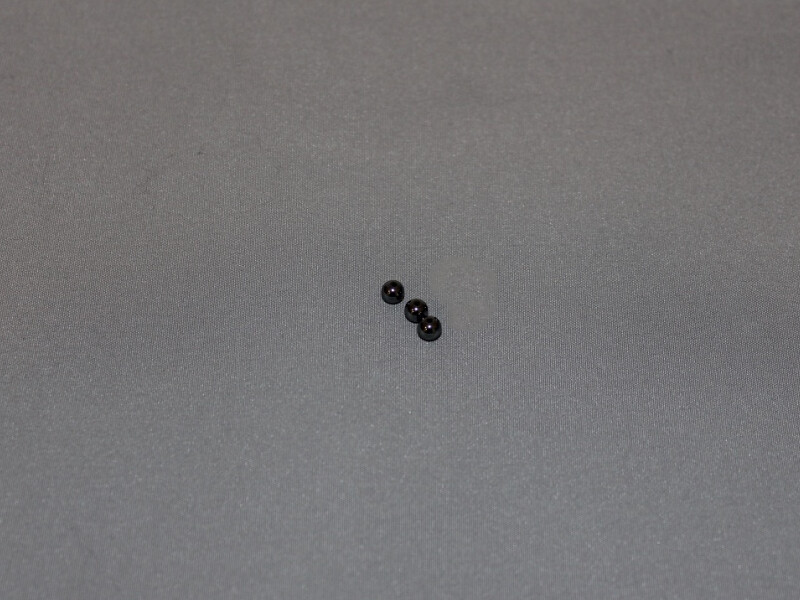
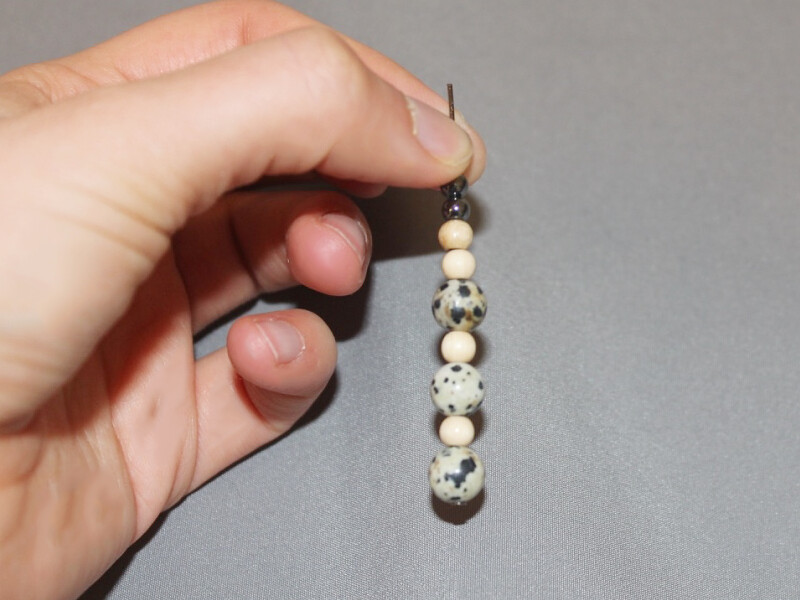
7: Beads of your choice. I used these dalmatian jasper beads, wooden beads and hematite beads.

Follow these steps to make your necklace:
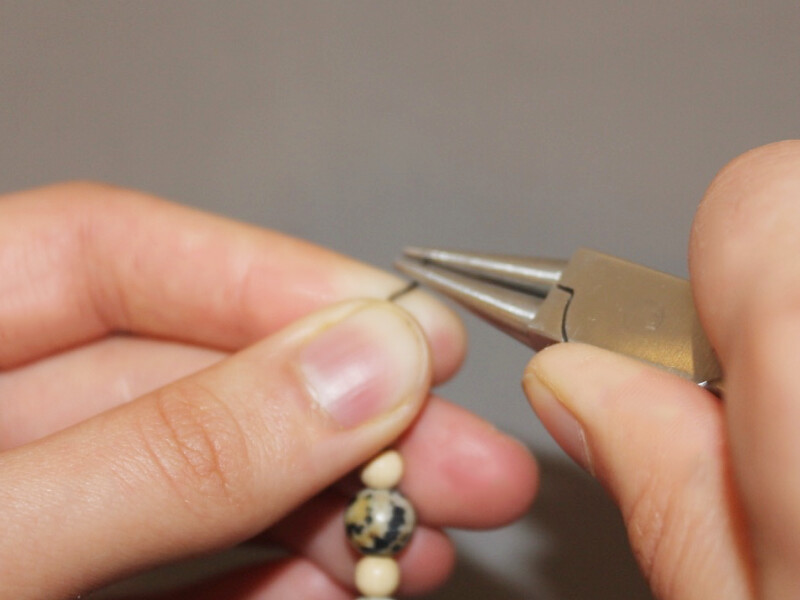
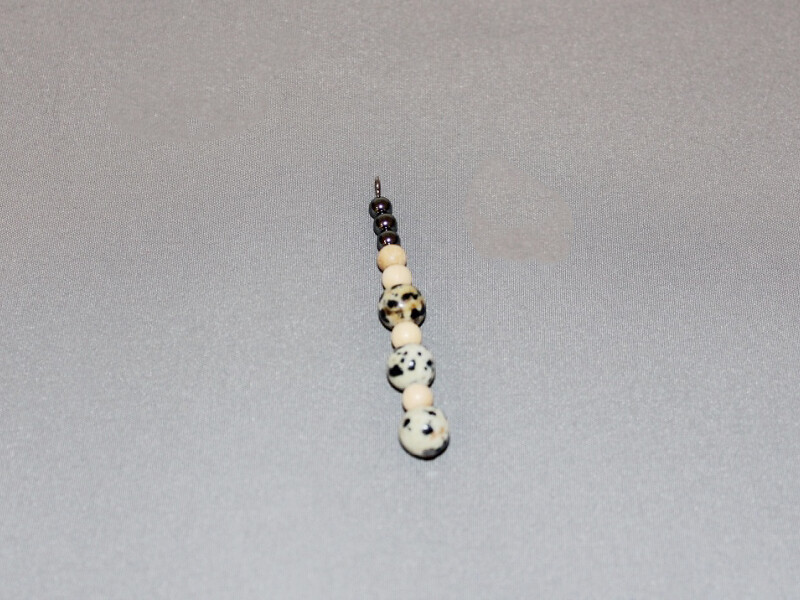
1: Add the beads to the head pin in your chosen pattern.
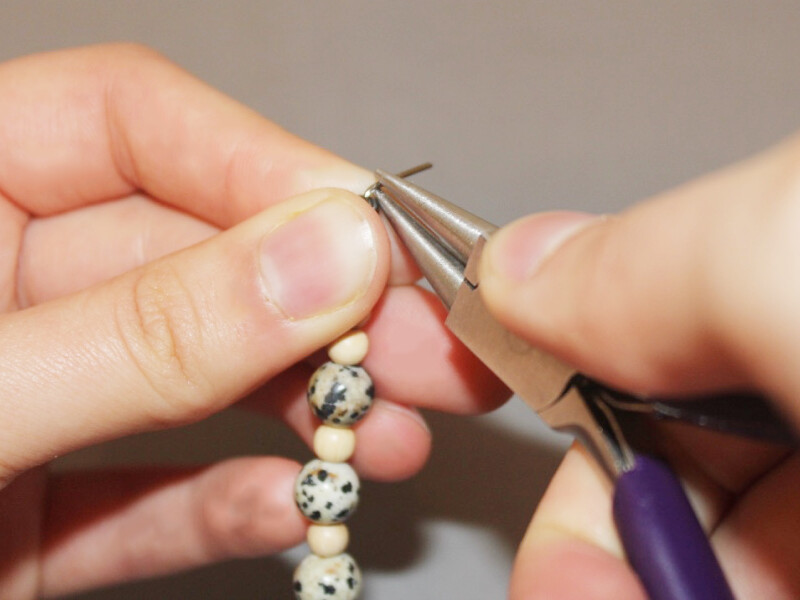
2: Create a loop at the top of the pin using the round nose pliers to secure the beads in place.
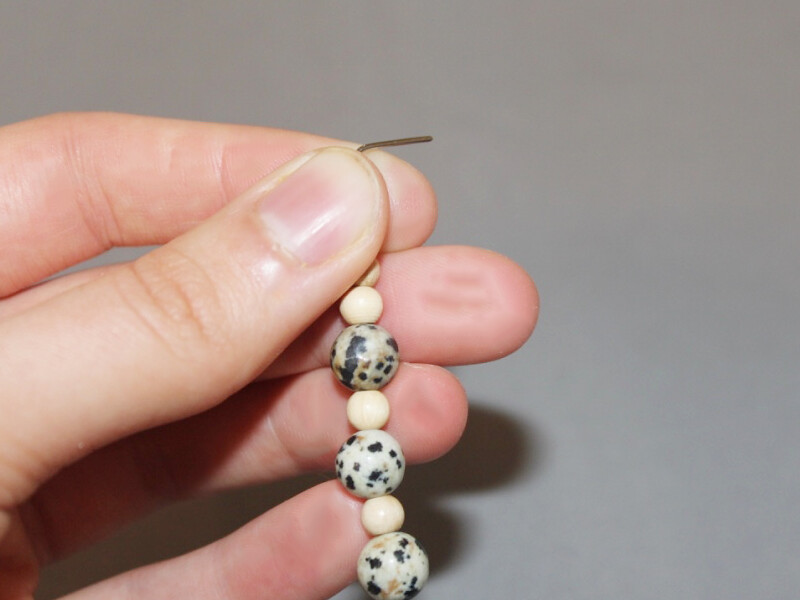
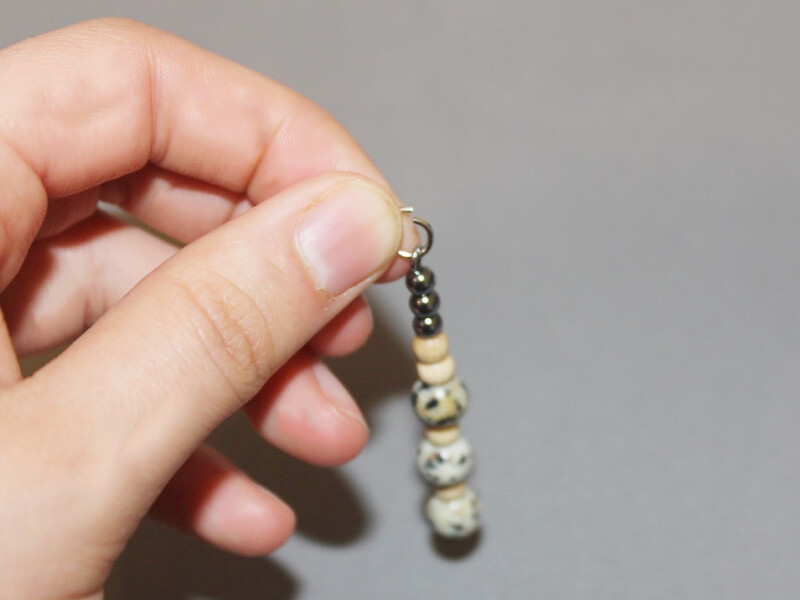
3: Add the large jump ring to the top of the beaded charm and add it to the chain.
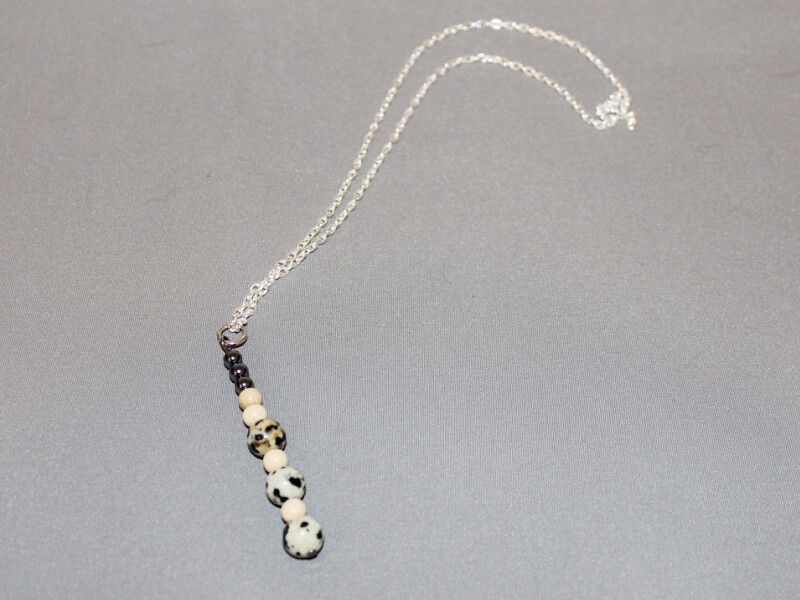
4: Add a jump ring to one side of the necklace chain, slide the lobster clasp onto the open jump ring and close it to secure the clasp in place.
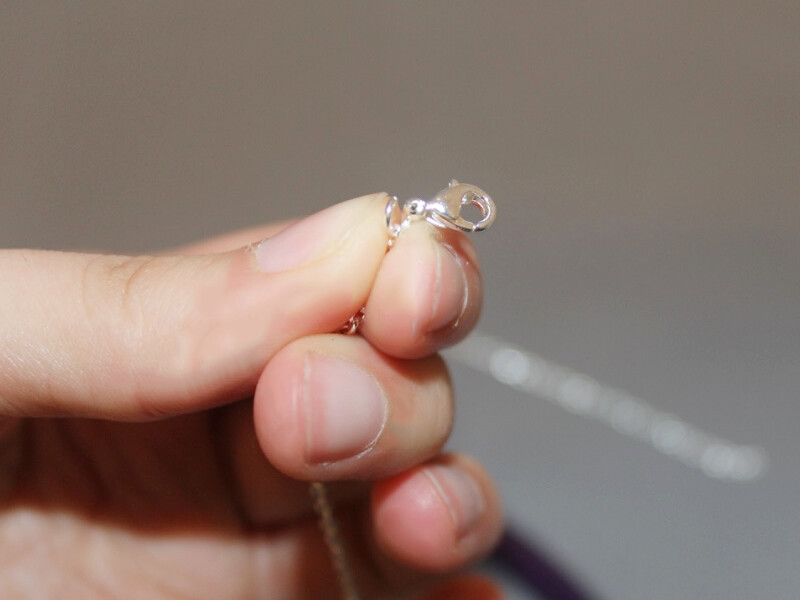
4: Add the other small jump ring to the other end of the chain. And now your necklace is finished!