-
How to make cute knotted earrings! These are adorable.
These beaded knot earrings are really pretty! Use any beads you like to form a delightful beaded knot that dangles from each ear. This tutorial is really cool.
You’ll need these tools and materials to make your beaded knot earrings:
1: Pliers. You’ll need your cutting pliers, round nose pliers and flat nose pliers.

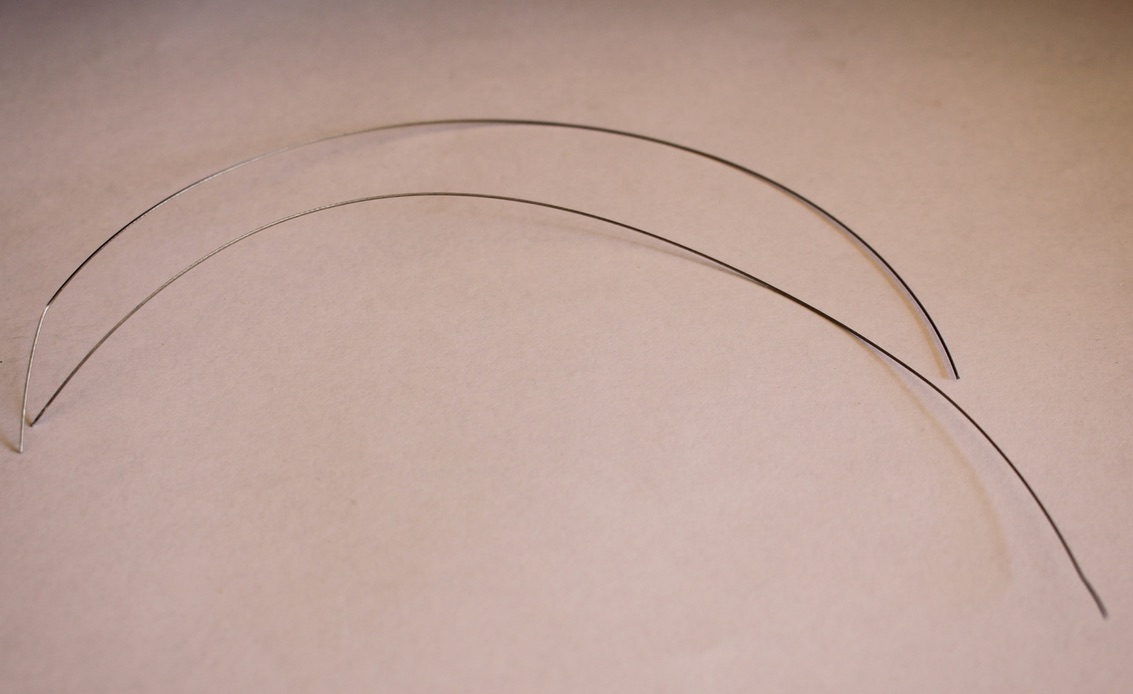
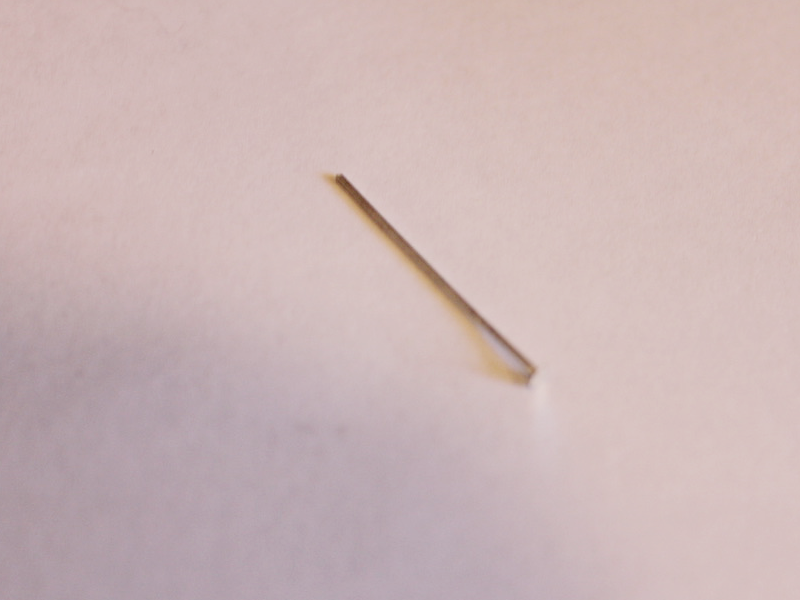
2: Two pieces of tigertail wire, a longer wire will give you a tighter knot. I made my pieces approximately 13cm long.

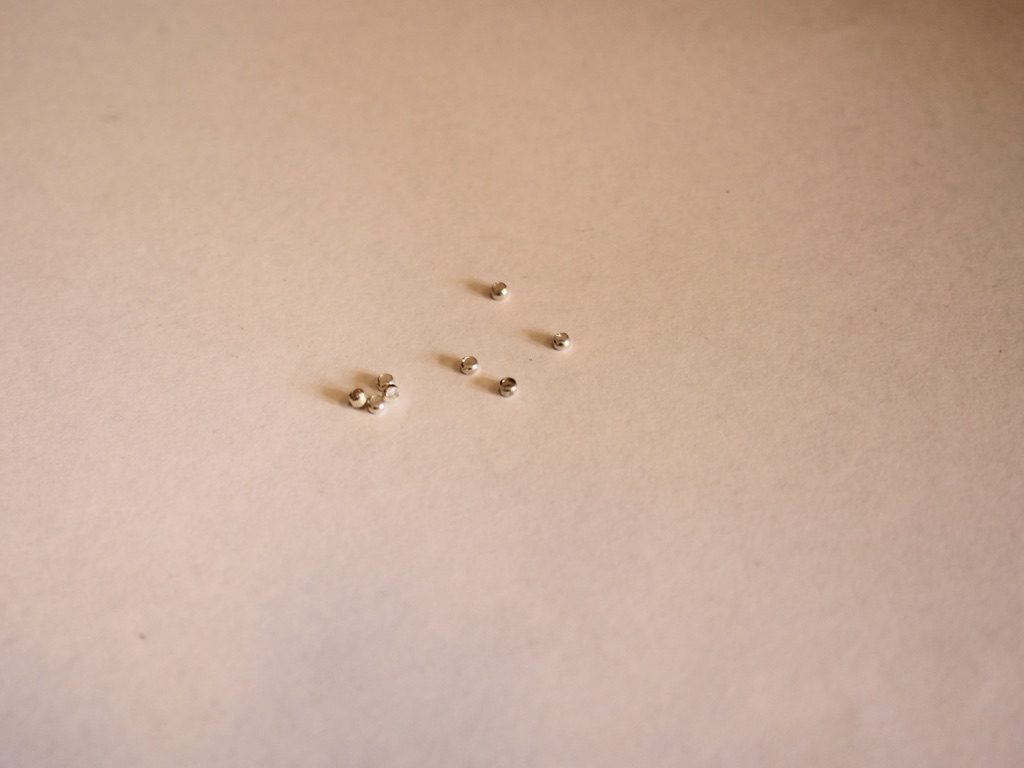
3: Eight crimp beads.

4: Four smaller jump rings.

5: Two larger jump rings.

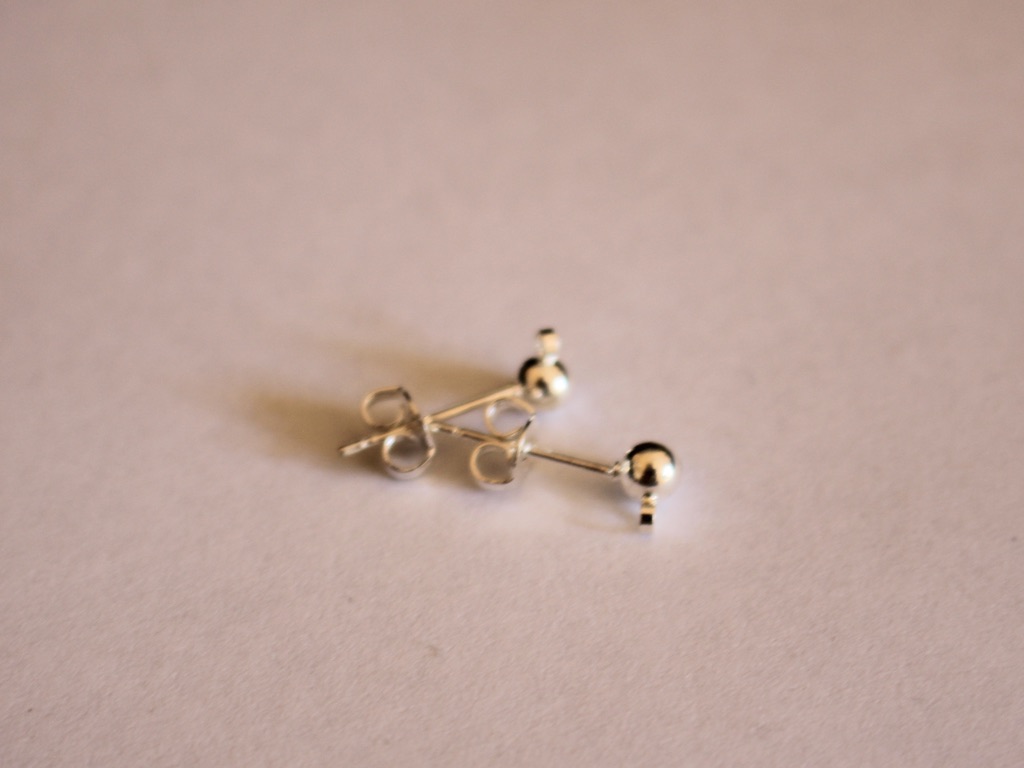
6: Two earring posts with charm connectors on the bottom.
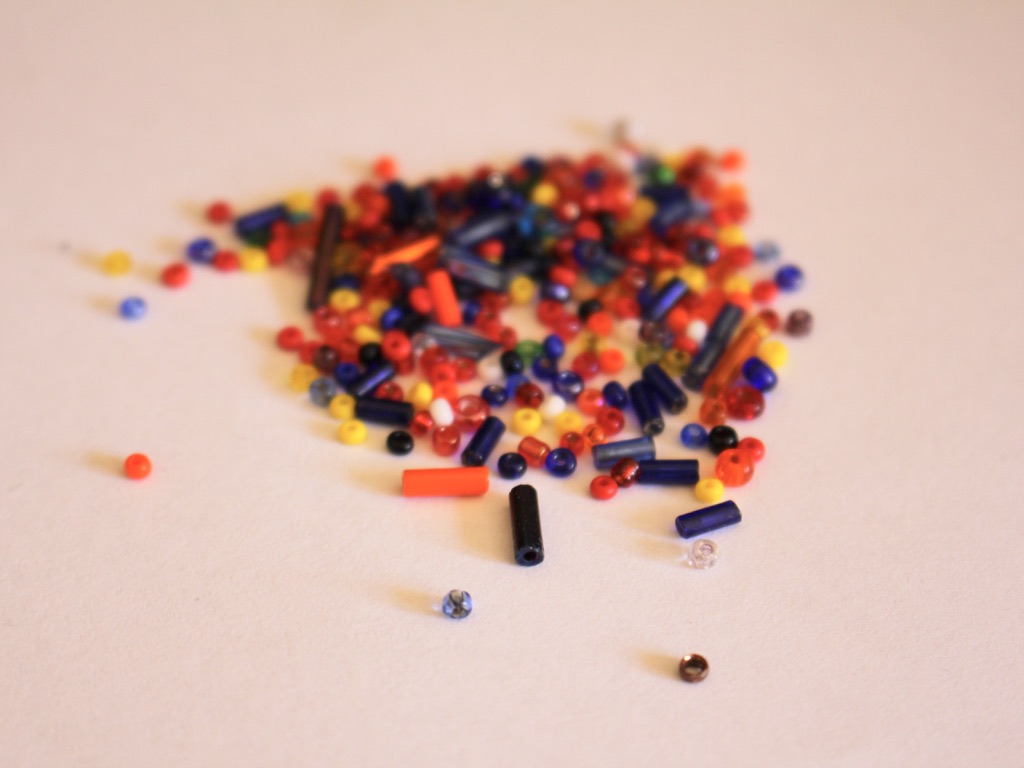
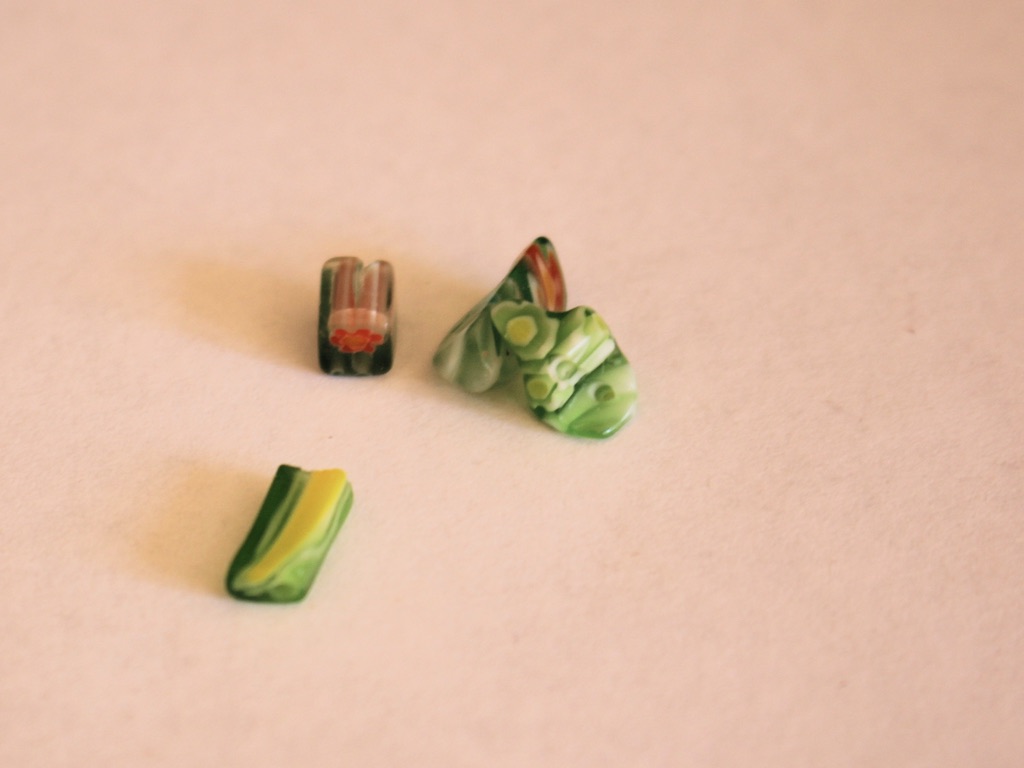
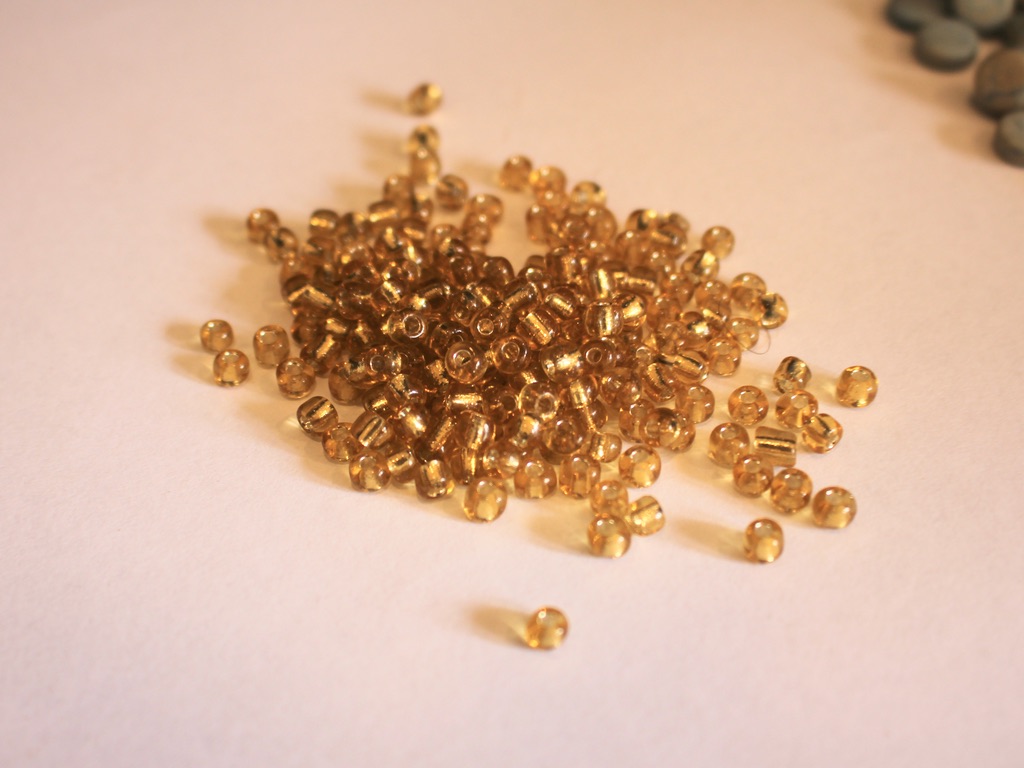
7: Beads. I used these mixed glass beads.
Follow these steps to make your knot earrings:
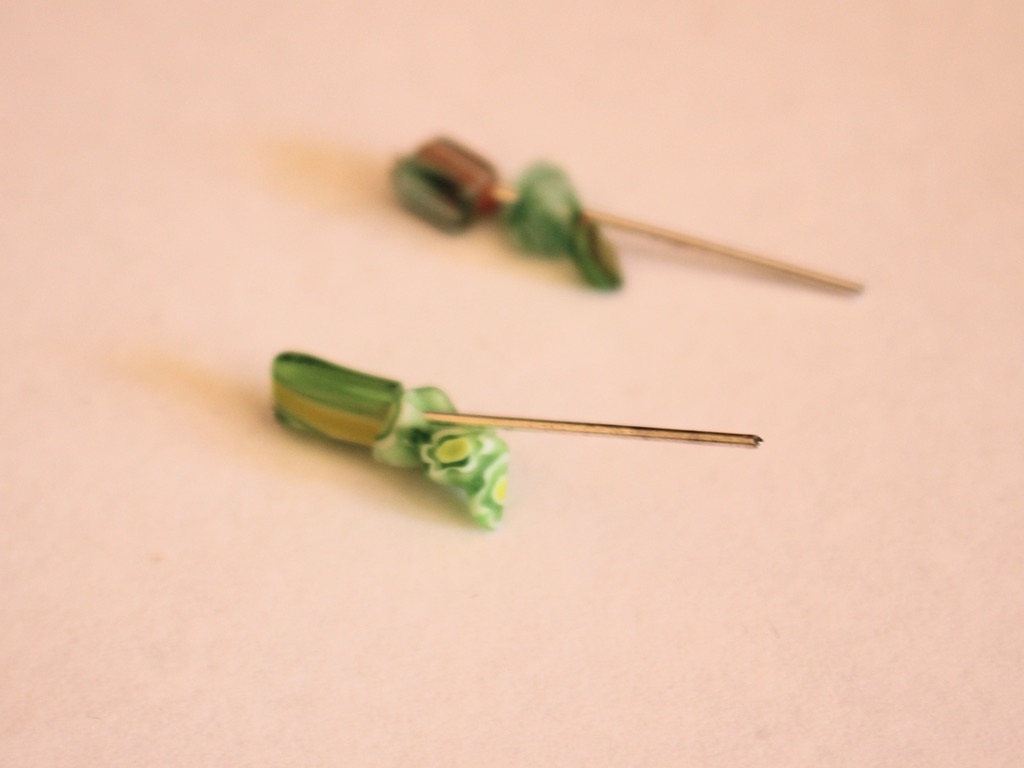
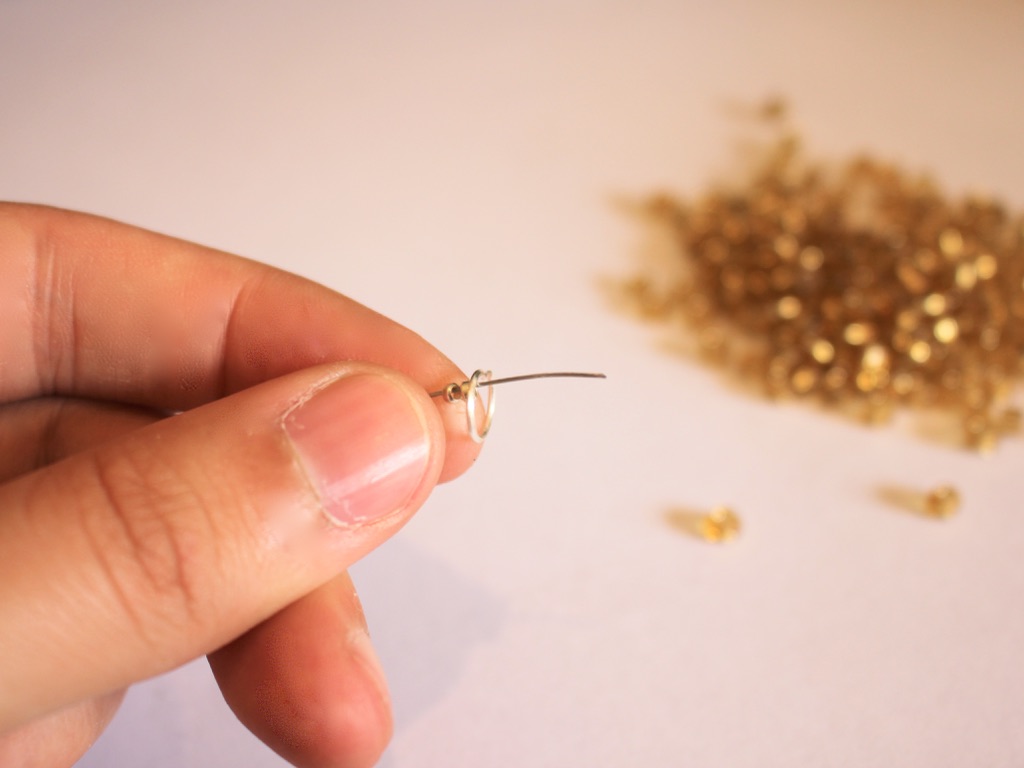
1: Add two crimp beads to one end of one of the pieces of tiger tail wire.
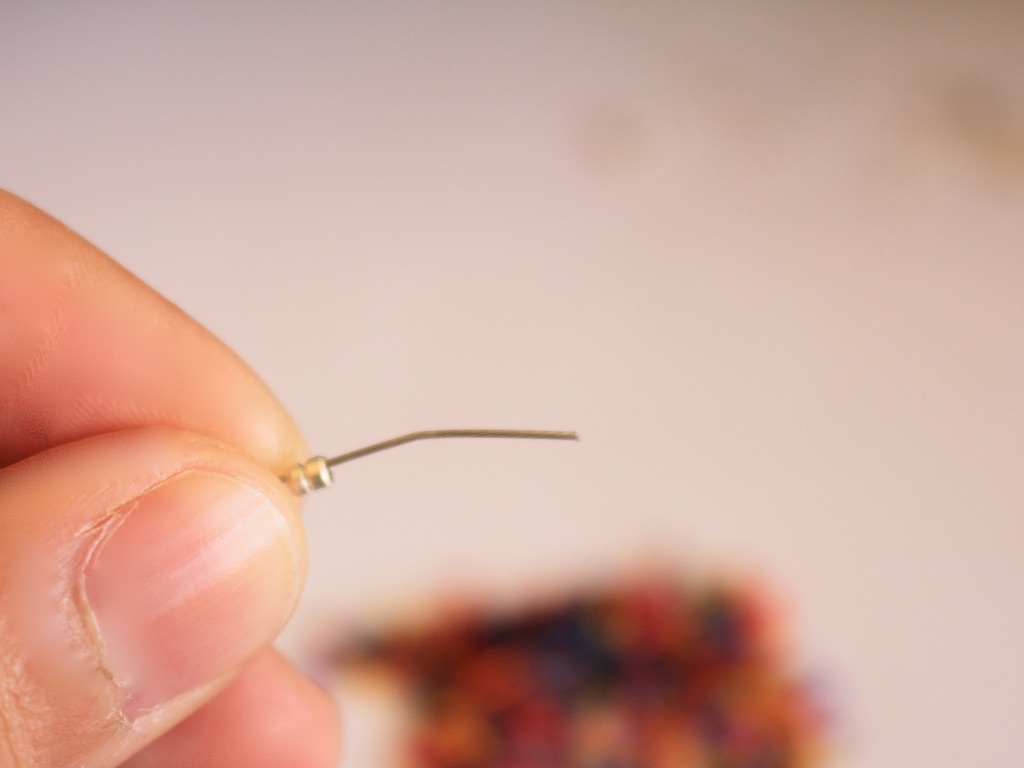
2: Add a jump ring to the end of the wire.
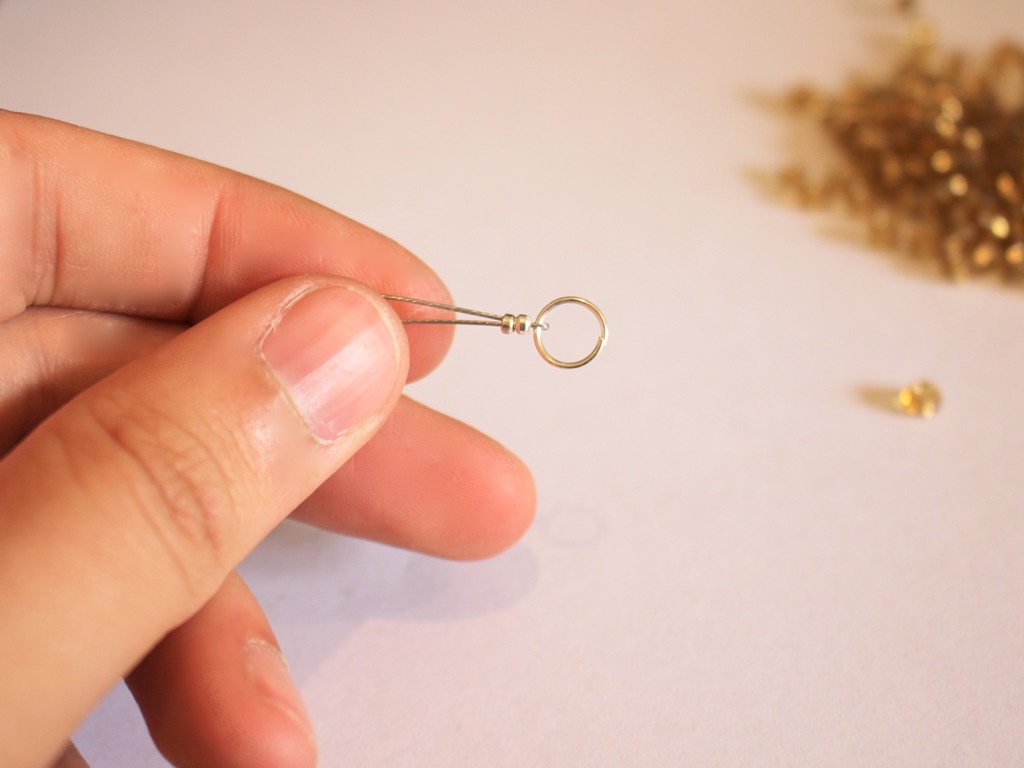
3: Fold the end of the wire around the jump ring and through the crimp beads.

4: Squash the crimp beads using the flat nose pliers to secure the end.

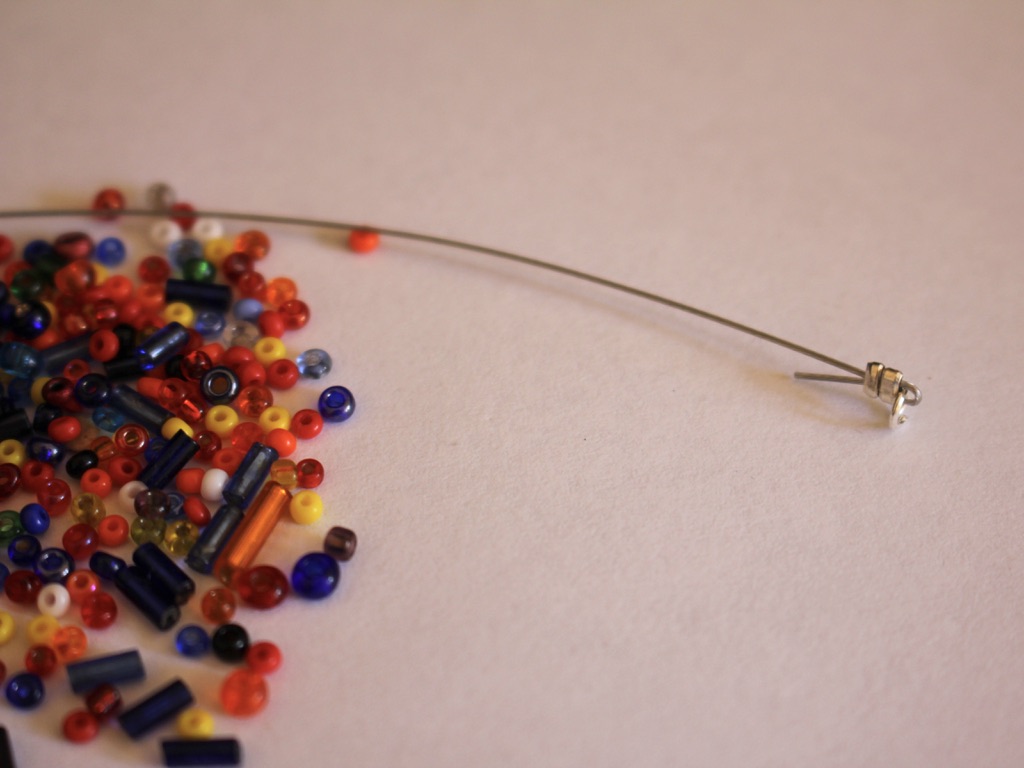
5: Add the beads to the wire.

6: Once you have reached the length you like, add another pair of crimp beads and another jump ring to the end of the wire.
7: Loop the end of the wire around the jump ring and back through the crimps and first couple of beads on the end of the wire.
8: Pull the wire tight and squash the crimps to secure the beads.
9: Trim the excess wire.
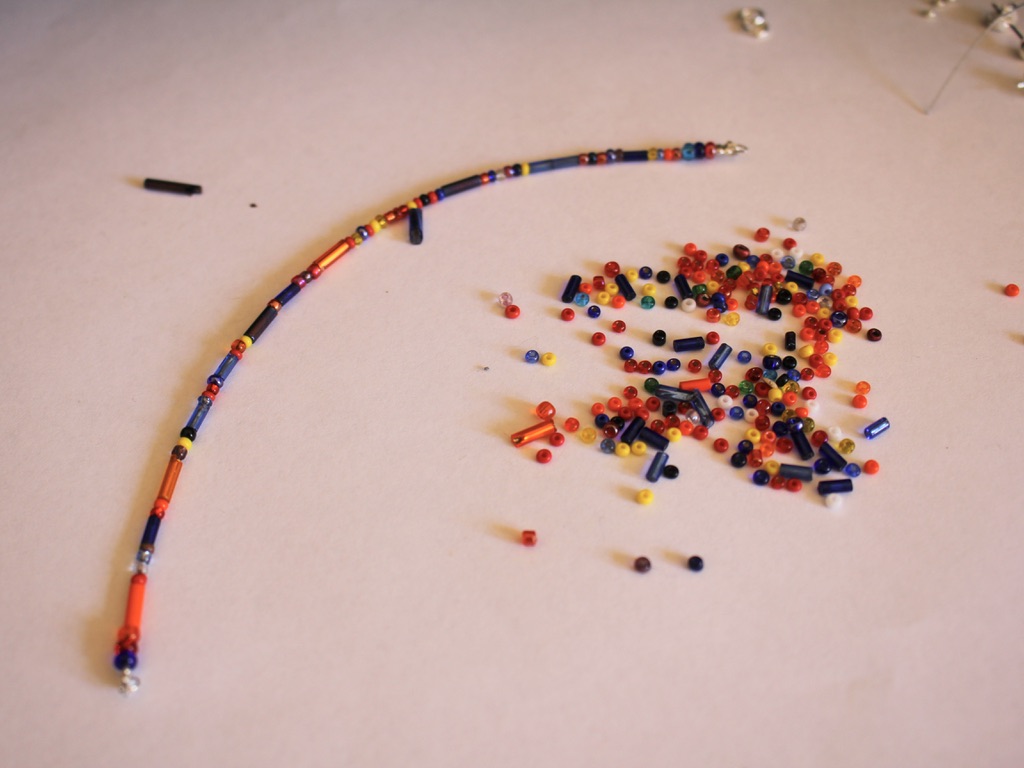
10: Repeat steps 1-10 for the second wire.

11: Loosely knot both the wires. Don’t try to pull it really tight, you’ll bend the wire out of shape.


12: Attach the ends of the wires together using the two larger jump rings.


13: Attach each of the knots to the earring posts using the same jump rings you used to secure the ends of the knots together.


Now your earrings are finished and ready to wear. Lightweight and beautiful.


Here’s another pair I made using citrine chip beads and yellow glass beads.


-
Here’s how to make a double strand bracelet out of memory wire!
This memory wire bracelet is pretty straight forward to make and is a fun way to create a layered look without having to keep track of multiple bracelets! Please note that this tutorial contains affiliate links.
You’ll need the following tools and materials to make this layered memory wire bracelet:
1: Two pieces of bracelet length memory wire cut to the same length. Make sure there’s some overlap at the ends of the wire as this is how it stays on your wrist.

2: Pliers. I used my cutting pliers, round nose pliers and flat nose pliers for this design.
3: Two jump rings.

4: Beads. I used yellow and green glass beads and four green glass decorative beads.

5: Two head pins.

Follow these steps to make your double strand wire bracelet:
1: Take one of the pieces of memory wire and create a loop at one end using the round nose pliers. Do this by curling the wire around the pliers towards the main body of the wire coil.


2: Add beads to the wire in the pattern of your choice.

3: Continue adding beads until there is approximately 1cm of the wire left without beads.

4: Curl the other end of the wire as you did in step 1, this will keep the beads secured on the wire.
5: Repeat steps 1-4 for the second piece of wire. I changed bead colours for this one.

6: Attach the two beaded wires together at each end by threading a jump ring through the loops you made. Once your beaded wires are attached you should be able to open them at the same time and put them on your wrist!


7: As a finishing touch, add two of the decorative beads to each of the head pins.
8: Bend each pin to form a right angle and trim off the excess wire so you only have approximately 1cm left unbeaded.

9: Create a loop at the top of each beaded pin using the round nose pliers to secure the beads onto the pin.


10: Attach each bead charm to each of the jump rings that are attaching the two bracelet wires together.

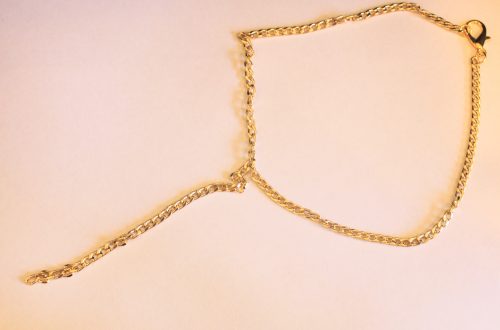
Now your double strand memory wire bracelet is finished! Make one in Christmas colours to feel a bit more festive!


Here are some other multi-strand bracelet tutorials you can follow:
- Make a triple strand bracelet using tiger tail wire.
- or a beaded double strand bracelet.
- Upcycle some broken headphones into a double strand bracelet
-
How to make a stunning beaded heart pendant with a tassel detail <3
This necklace is so so cute. Transform beads into a pretty heart pendant with beaded tassels. Layer this with some beaded necklaces or wear it on its own. Please note that this tutorial contains affiliate links.
Here are the tools and materials you’ll need to make your beaded heart charm necklace:
1: Pliers. I used my round nose pliers and flat nose pliers.


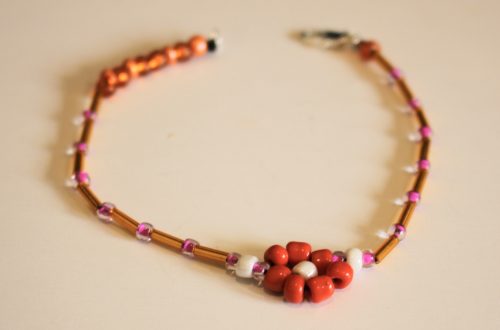
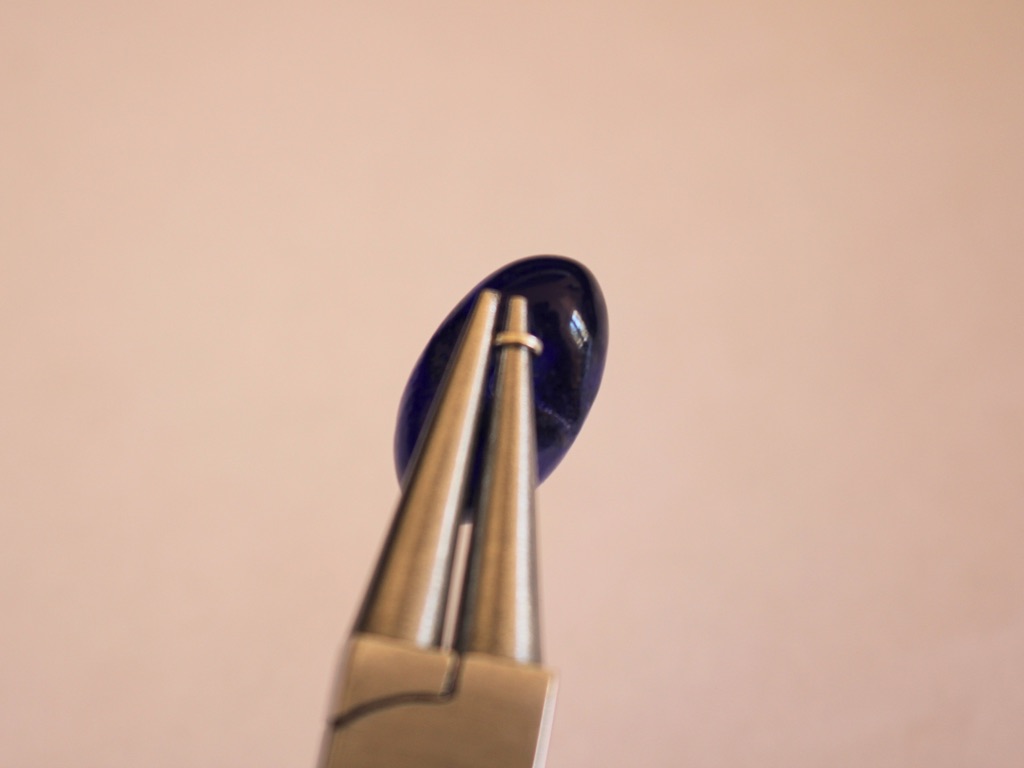
2: Beads. I used a glass heart shaped bead (approximately 2cm long), three opalite disk beads and some vintage red beads.


3: Three head pins.

4: One eye pin long enough to fit your bead on.

5: A jump ring.

6: A necklace chain.

Follow these steps to make your cute little heart charm:
1: Add the heart bead to the eye pin.

2: Bend the top of the eye pin to form a right angle.

3: Curl the top of the pin to form a loop and secure the bead onto the pin and set the heart aside.

4: Place an opalite bead on each of the head pins.

5: Add the smaller beads to each of the pins until each has approximately 1cm left bare.
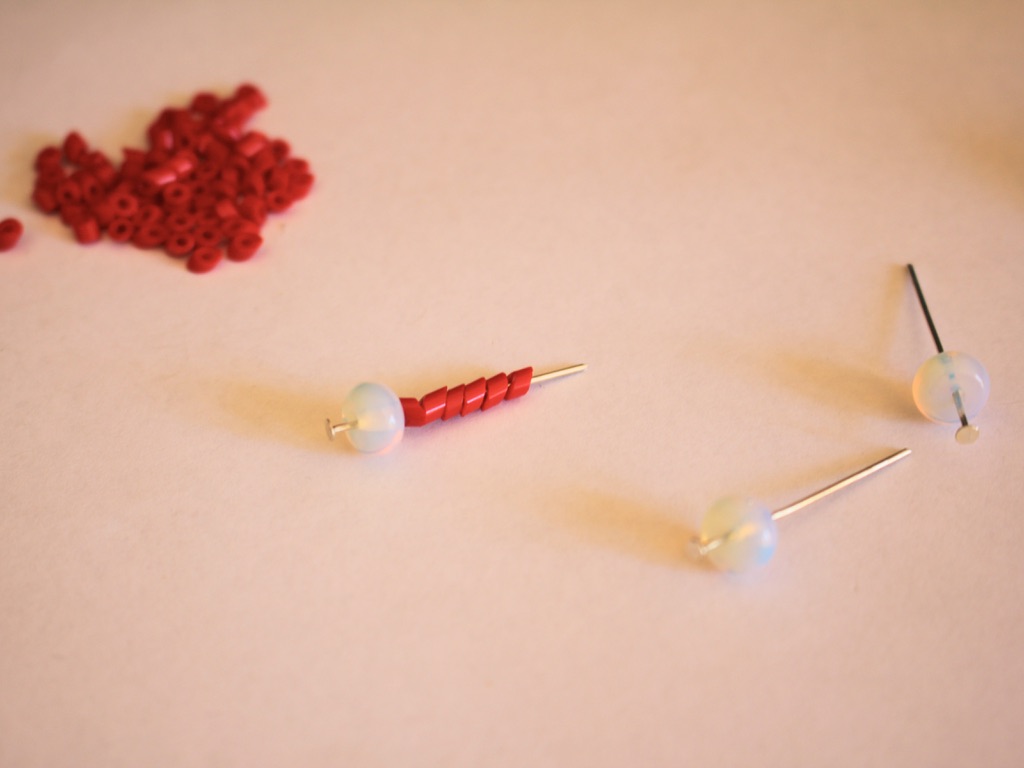

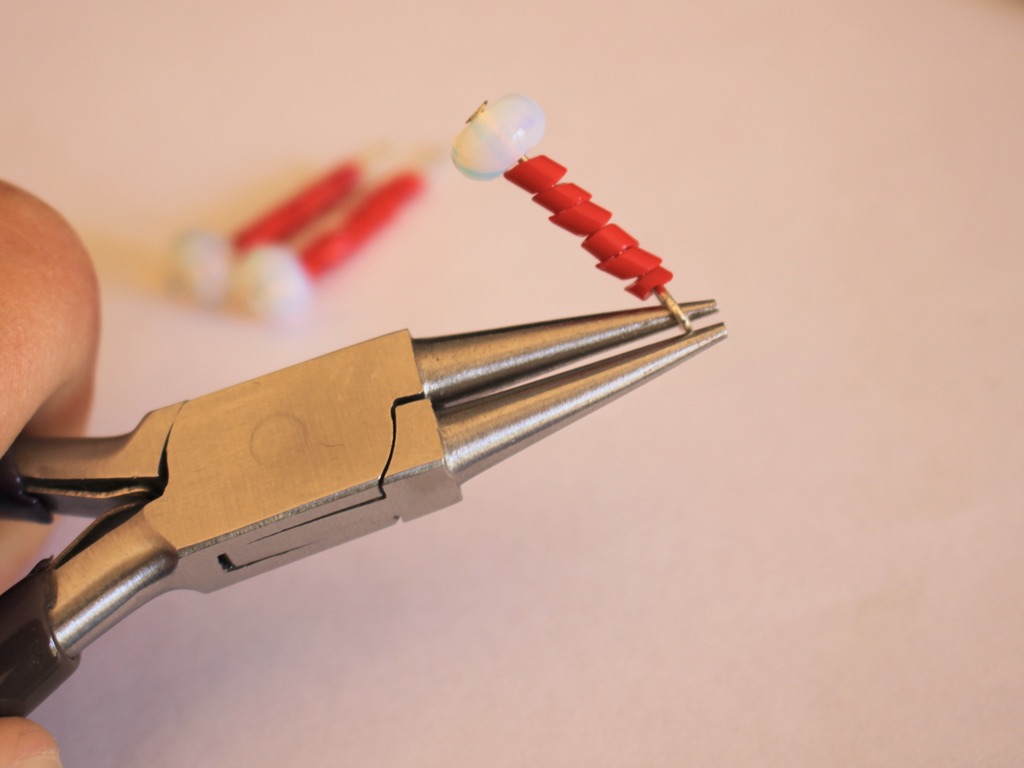
6: Loop the top of each head pin using the round nose pliers to secure the beads in place.


7: Add each of the opalite pins to the jump ring, followed by the heart bead.


8: Close the jump ring to secure the pins together.

9: Add the finished charm to the chain to finish it off.

Now your amazing heart pendant necklace is finished and ready to wear. Super beautiful and sentimental… make one for someone special in your life (maybe that someone special is you!)


If you like this design, here are some other beaded tassel tutorials:
-
Here’s how to make a 2-tone necklace that clips together for a customisable look.
This necklace makes use of clasps to create a customiseable design that you can mix and match. Make as many of these strands as you like, and clip them together for a custom look each time. please note that this tutorial contains affiliate links.
You’ll need the following tools and materials to make this necklace:
1: Pliers. I used my round nose (middle), cutting (left) and flat nose pliers (right).
2: Two lengths of tiger tail wire. Make sure they add up to be long enough to fit around your neck. You can measure this by wrapping the wire loosely around your neck, choosing the necklace length you like, then cut the wire in half.

3: Eight crimp beads.
4: Four jump rings.

5: Four large lobster clasps.

6: A head pin.
7: Beads of your choice. I used some recycled timber beads (the blue disks and natural tone beads) and some yellow glass beads. I also used a floral glass bead to make an extra charm.


Follow these steps to make your customisable necklace that clips together:
1: Take one of the pieces of tiger tail wire and add two crimps and one of the jump rings.

2: Loop the end of the wire around the jump ring and through the crimp beads.
3: Squash the crimp beads to secure the jump ring to the end of the wire.


4: Begin beading in your choice of pattern.

5: Once you have reached the length you like, add another pair of crimps and a jump ring to the end of the wire as you did in steps 1-3. This will secure the beads on the strand. Trim the excess wire with cutting pliers once the end has been secured.


6: Repeat steps 1-5 for the other strand.


7: Attach a lobster clasp to each end of the pair of strands by opening the jump rings slightly, sliding the clasps on and then closing the rings using your pliers.
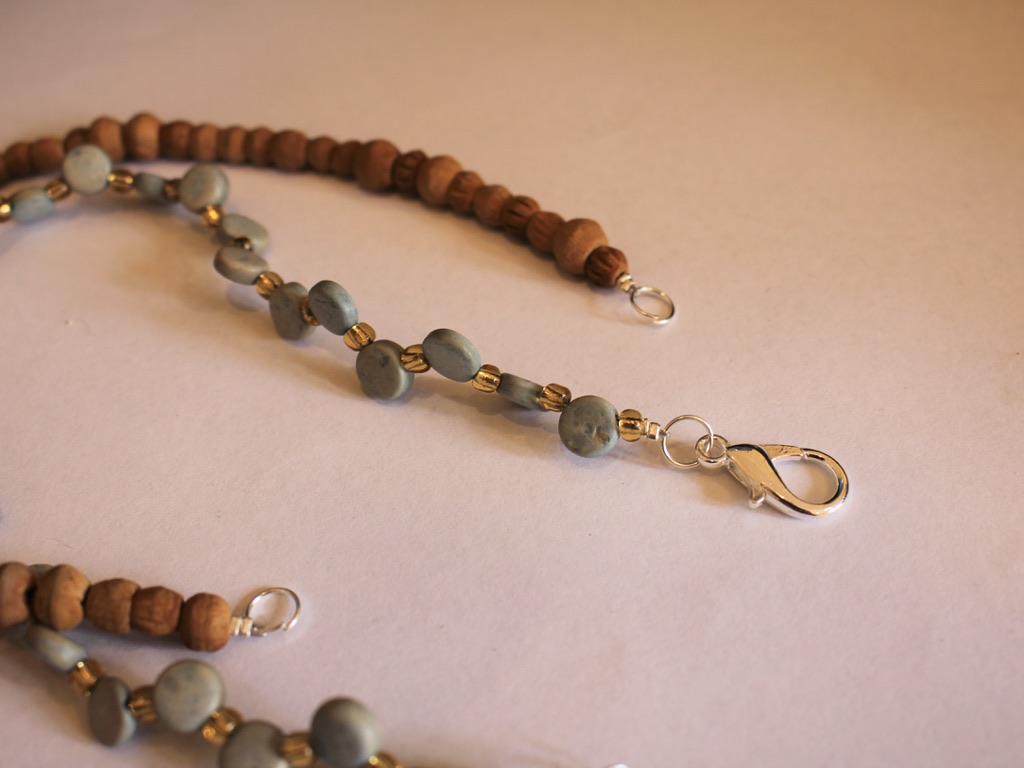

You can clip the strands together at this point.

8: Take the head pin and add your accent beads.

9: Bend the top of the pin over and then curl it into a loop using your round nose pliers.

10. Attach the charm to one of the strands.

Now your necklace is finished and ready to wear, open up one side and put it on as you would an ordinary necklace. Make as many clip end strands as you like so you can mix and match them depending on your outfit or mood!