-
Get Hands-Free and Stylish with a DIY Crochet Phone Wrist Strap: Follow our Step-by-Step Tutorial Now!
It’s great to keep track of your phone without having to old it in your hands all the time, strap on this crochet wrist strap to ensure you don’t lose yours! This tutorial is a beginners crochet tutorial, and the results are pretty cool! Please note that it contains affiliate links.
You’ll need these tools and materials to make your crochet phone strap:
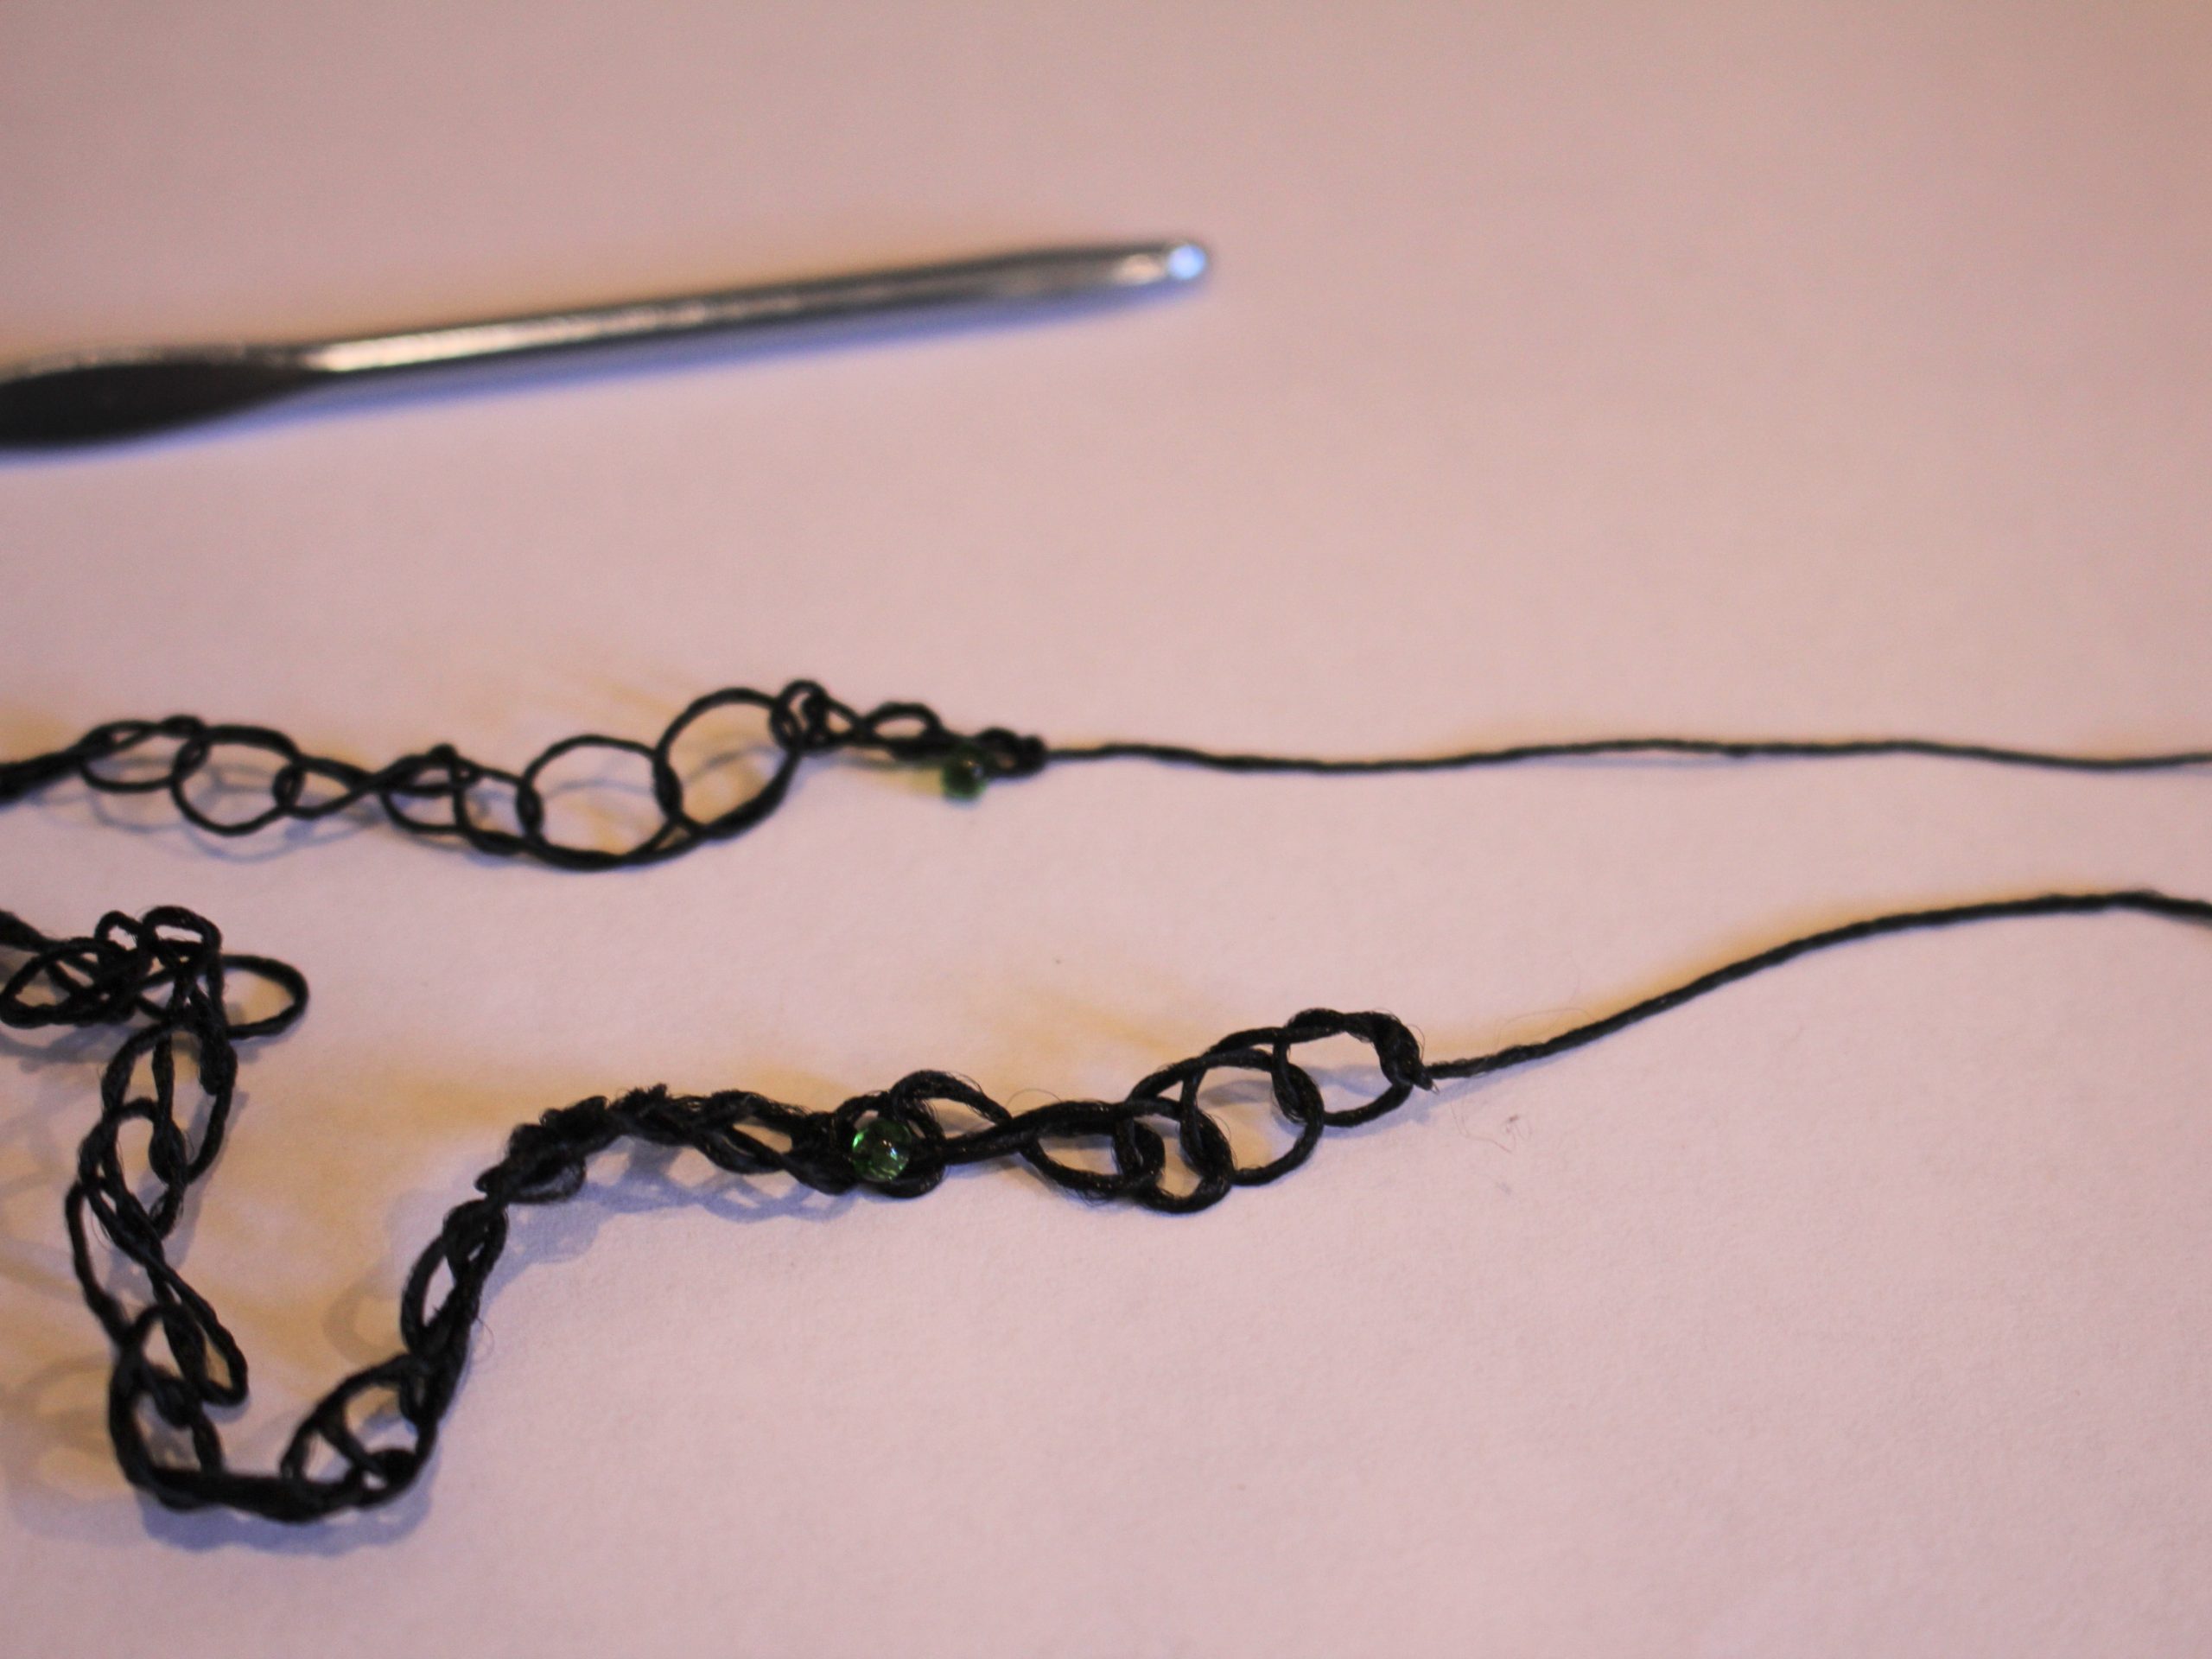
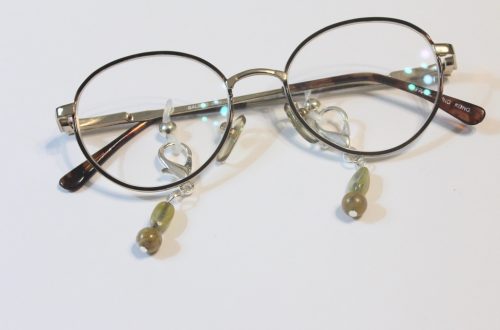
1: Some yarn or thread. I used this beaded thread.

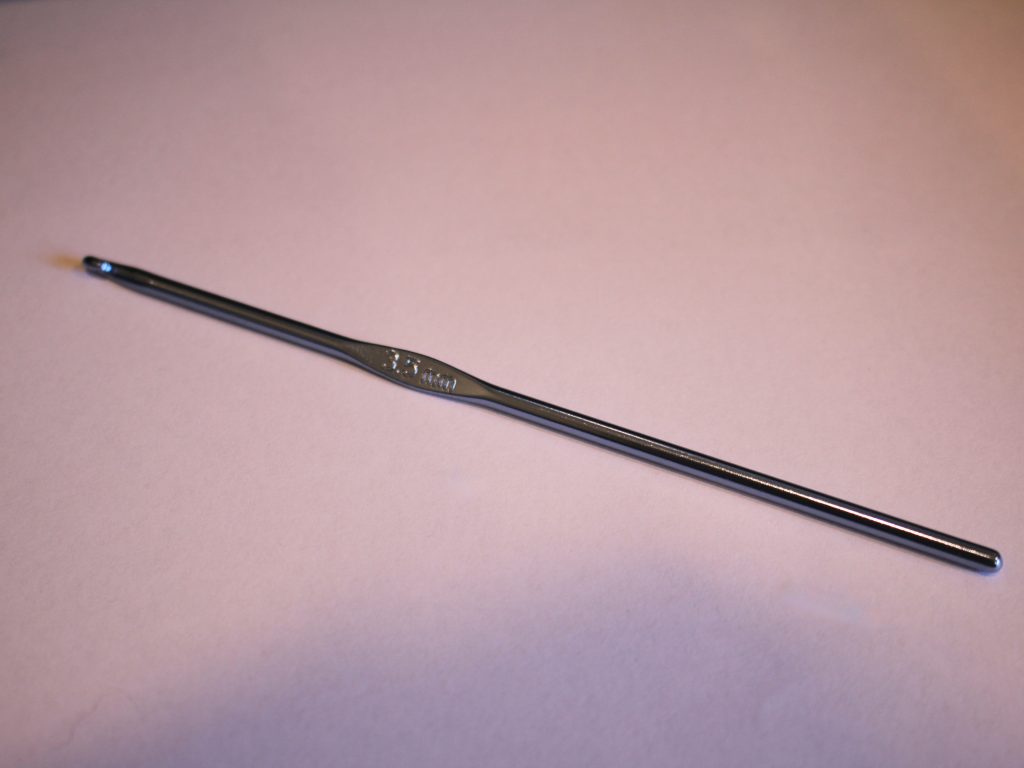
2: A crochet hook. I used this 3.5mm hook, If you like the loose look you can see in this tutorial, this size is fine for the thickness of thread I used, but if you want it to be tighter, try using a smaller crochet hook.
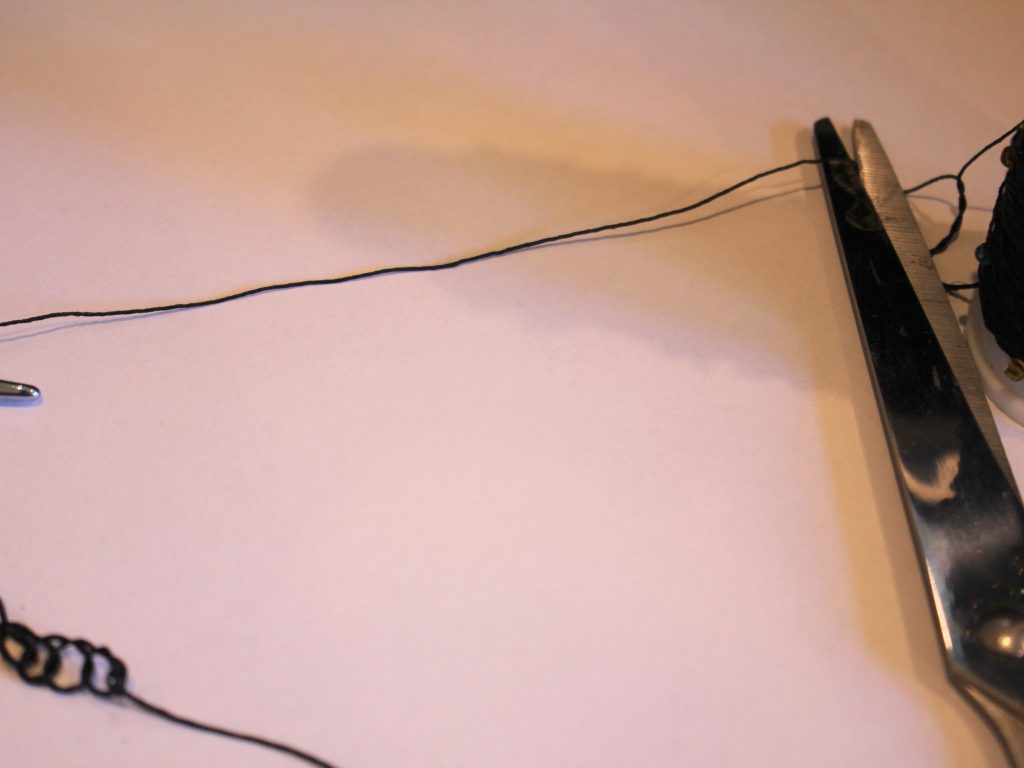
3: Scissors.

4: Super Glue.

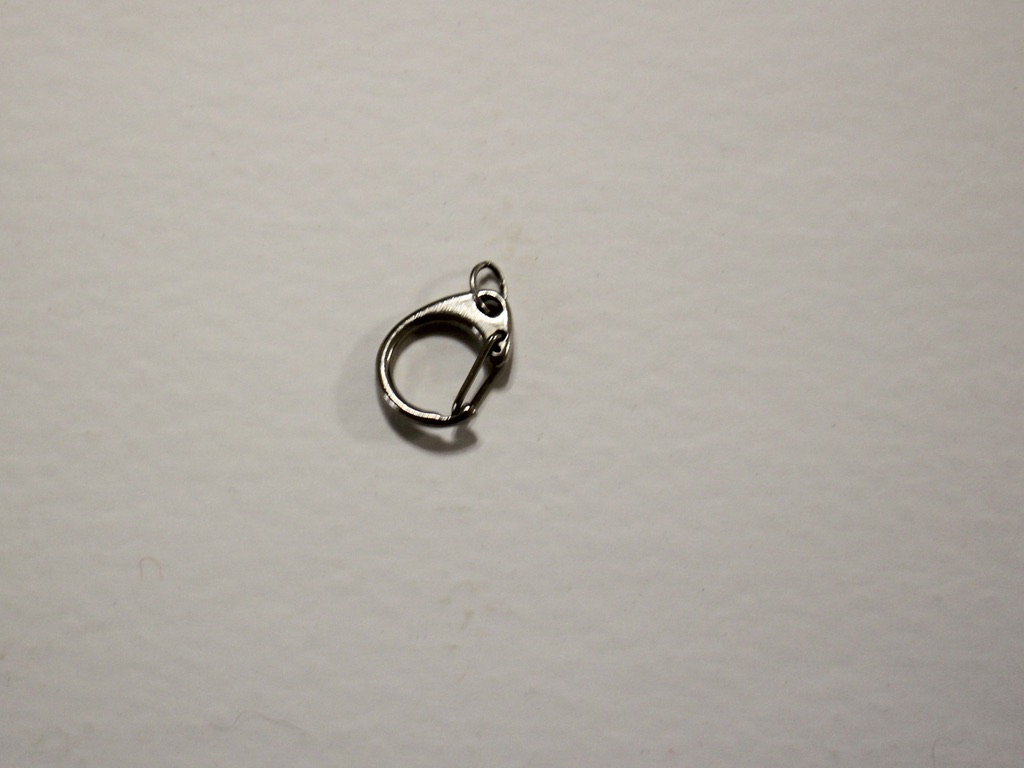
5: A phone strap keychain.

Follow these steps to make your cute crochet wrist strap:
1: Take your chosen yarn and create a slip knot.


2: Slide the knot over the crochet hook and then pull it tight.

3: Take the long end of the yarn and loop it over the crochet hook in front of the first loop you added.

4: Take the first loop and pull it over the second loop and off the crochet hook. You can find a video demonstration here.

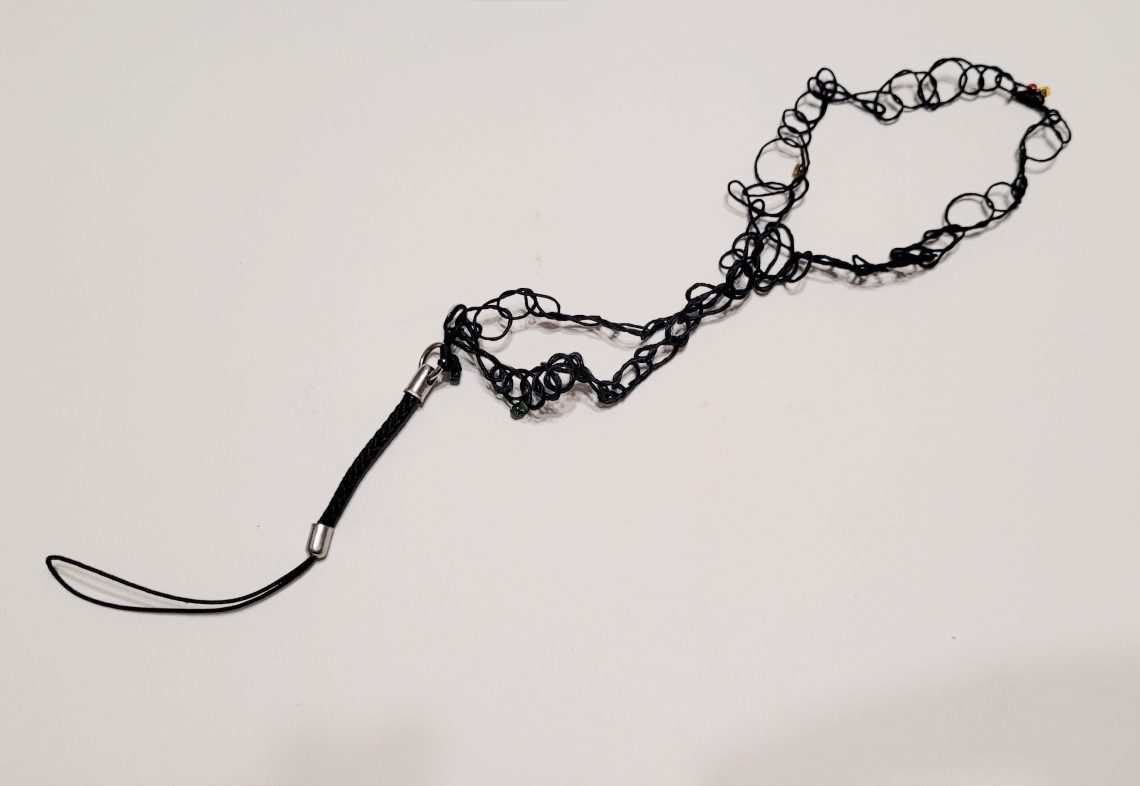
5: Repeat steps 3 and 4 until you have a length of crochet chain you like. I made mine about 30cm long but you might want to make yours longer or shorter depending on your wrist size.


6: Once you have a length you like, cut the end of the yarn so that you have a 12cm tail.
7: Take the final loop off of the crochet hook and thread the tail through the loop pulling it tight to secure it.


8: Knot the ends of the crochet chain together.
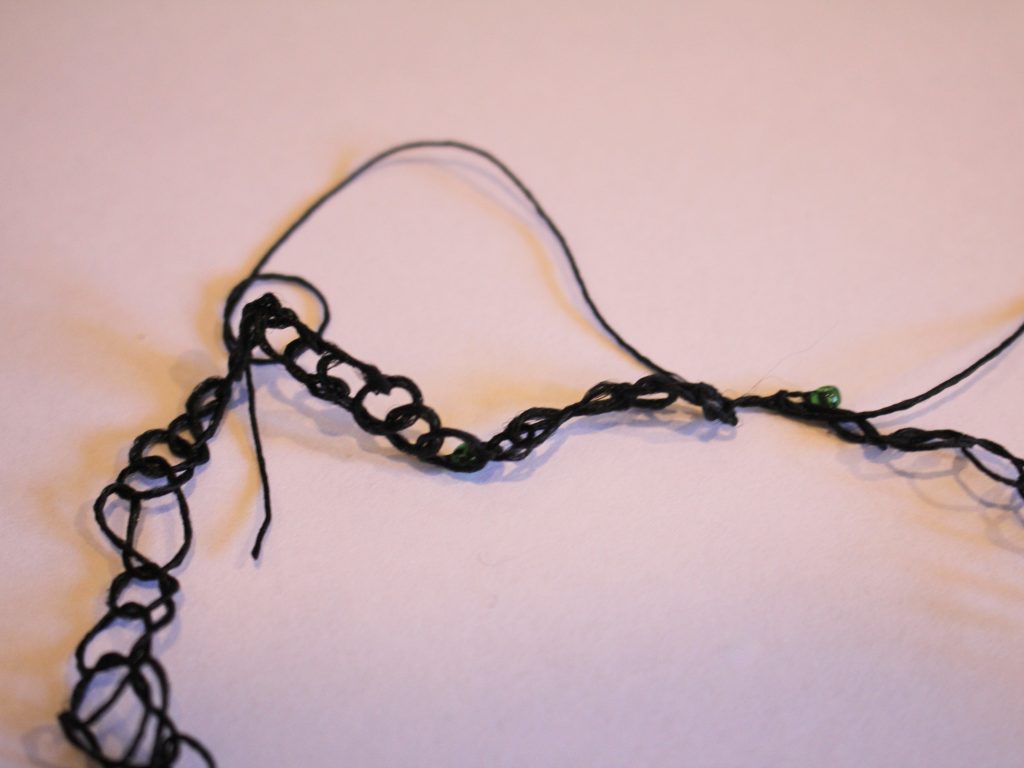

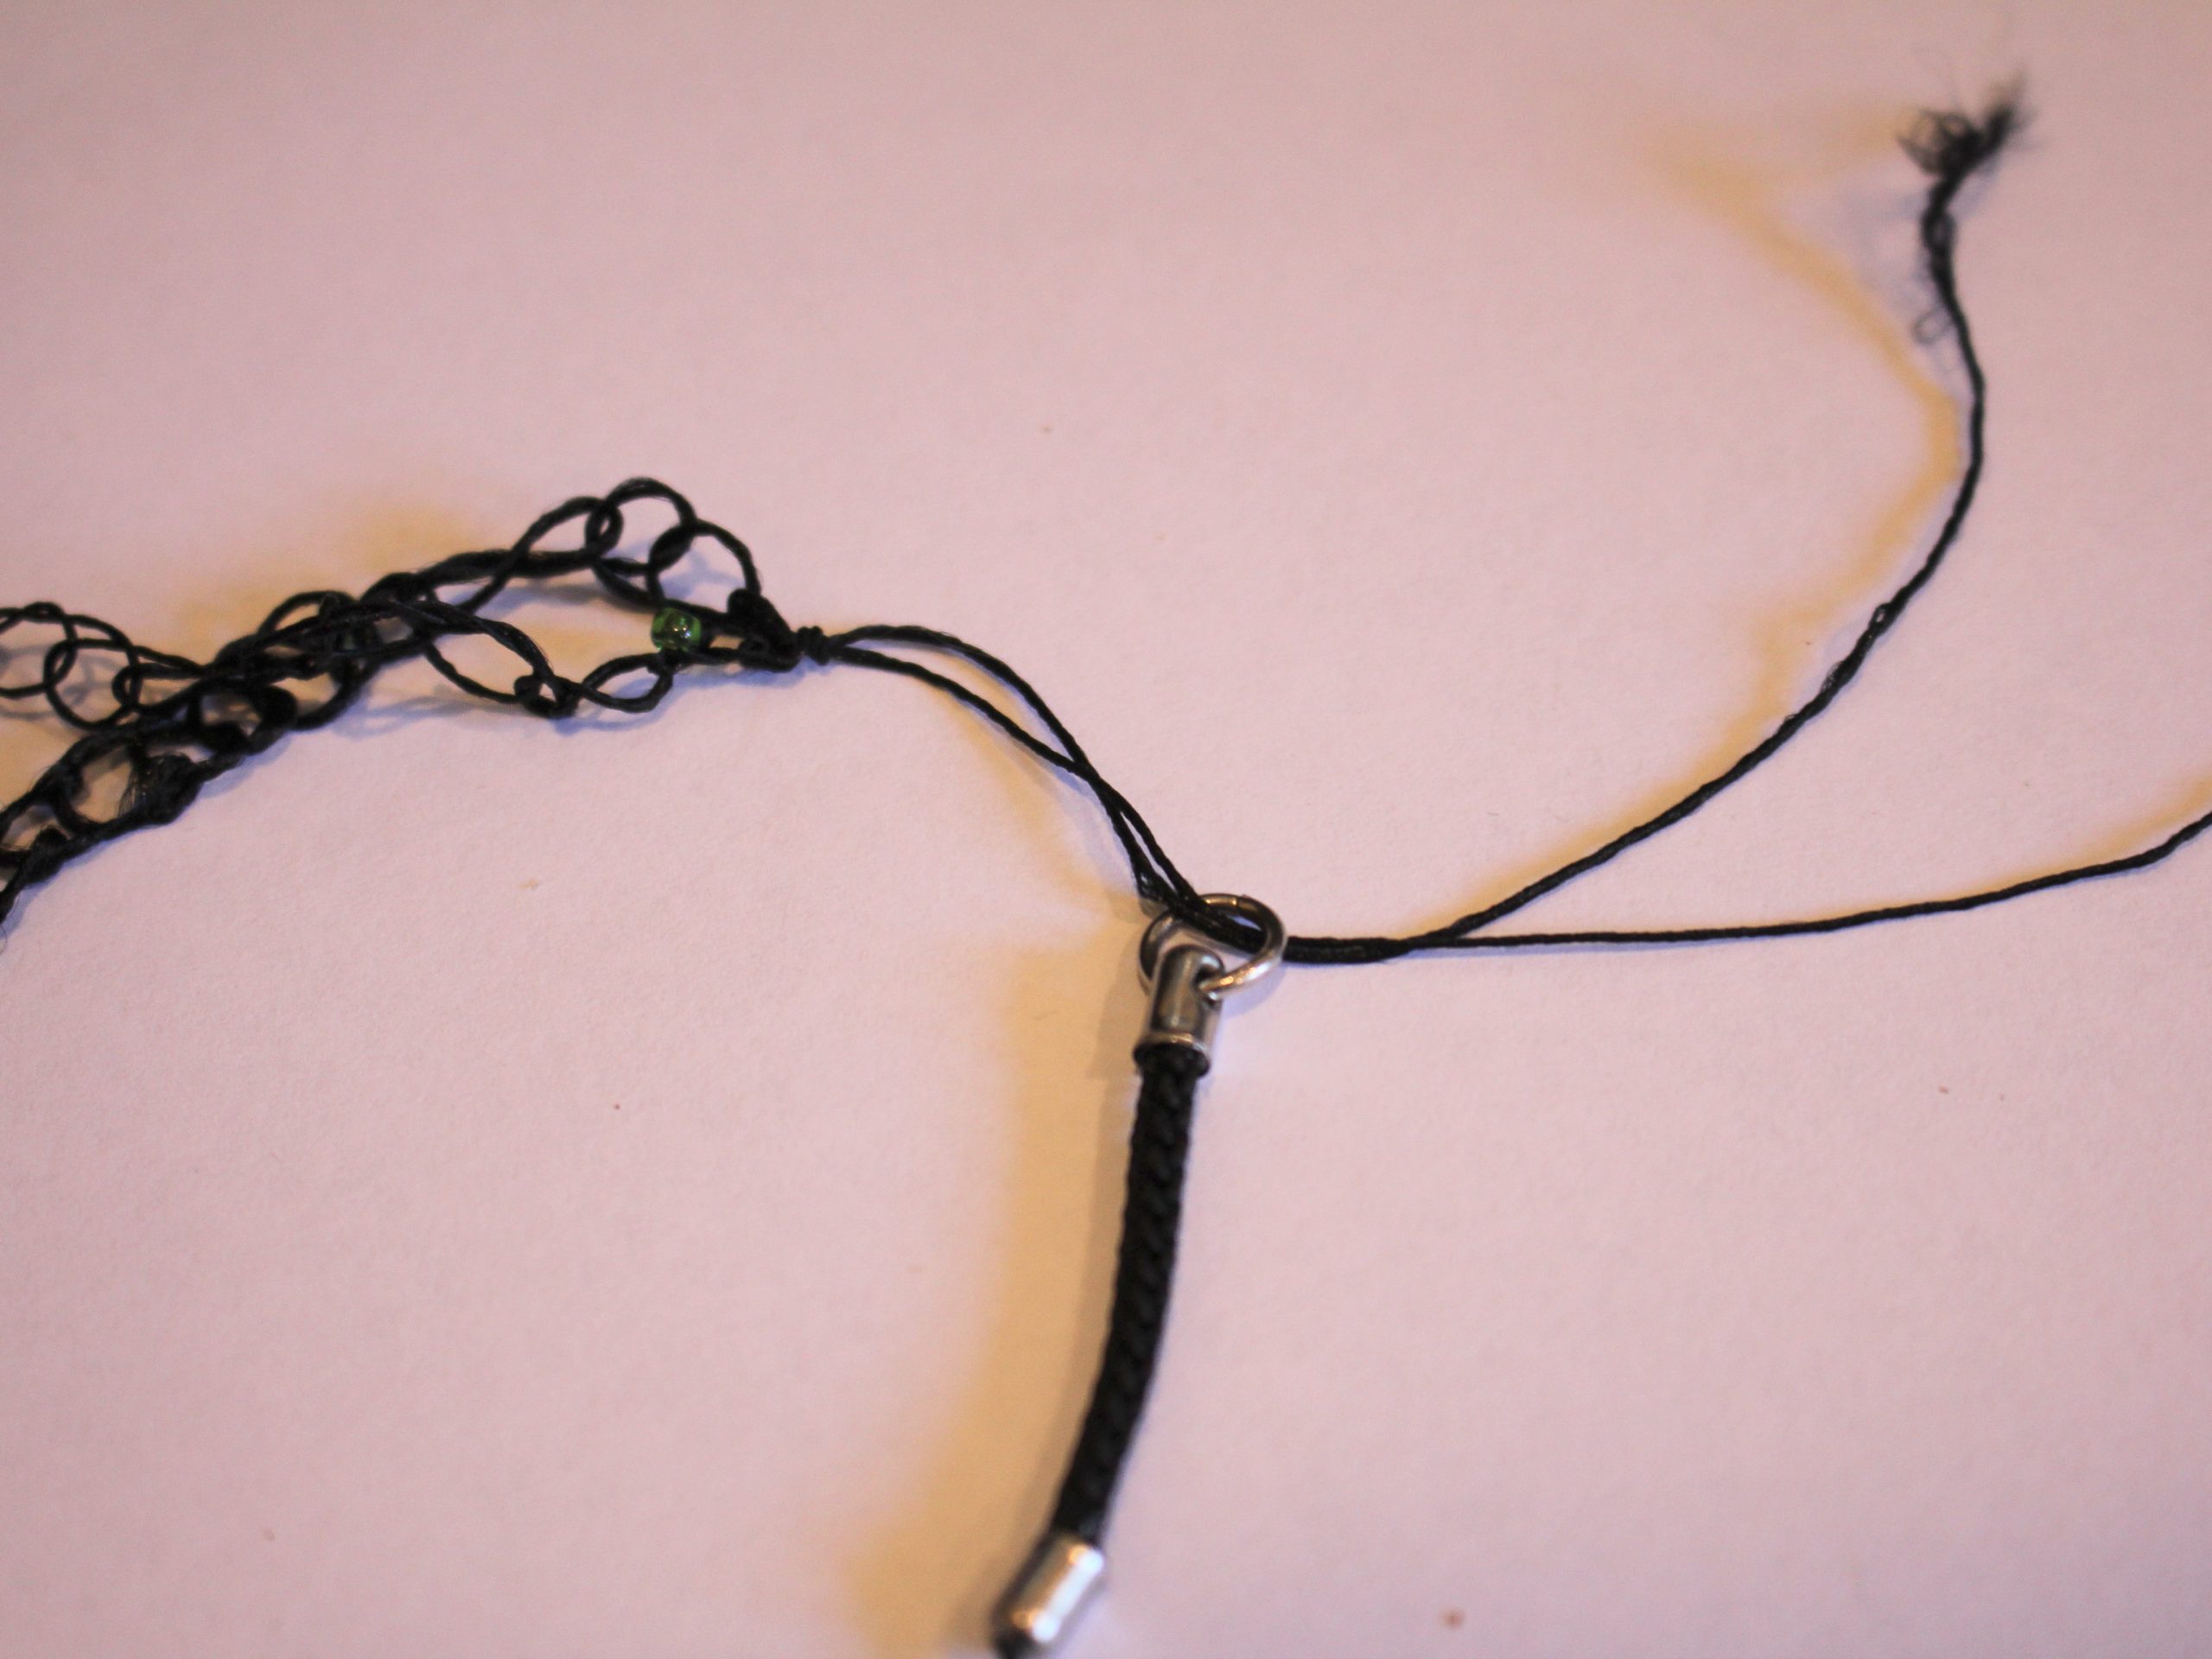
9: Thread the yarn through the jump ring on the keychain and create a few knots to secure it.


10: Trim the ends of the yarn and add a dab of superglue to secure it.


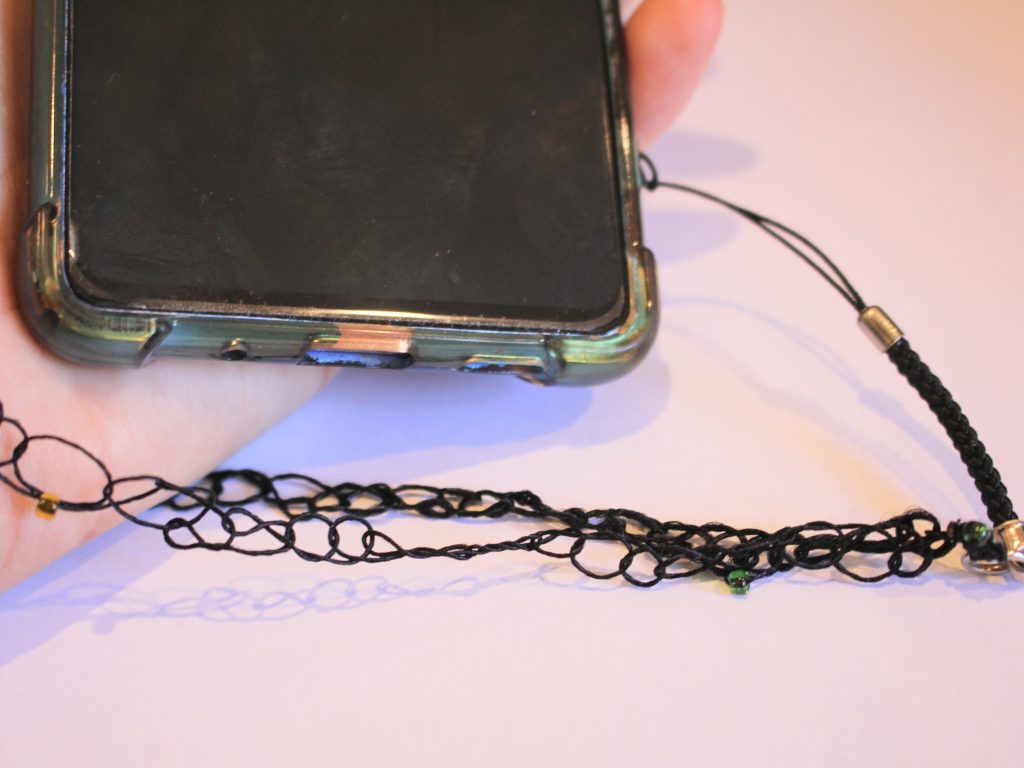
Now your crochet phone wrist strap is finished and ready to use! How fun?!

Here are some other wrist strap tutorials to follow:
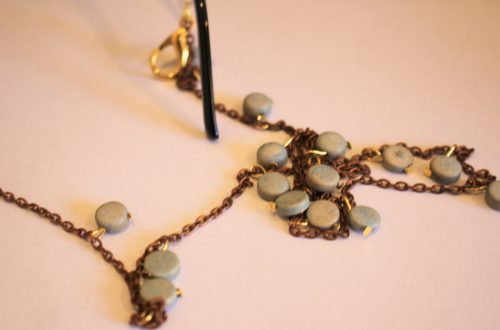
1: A chain and rhinestone phone strap
3: This simple chain phone strap
4: A tutorial that shows you how to transform a necklace into a phone strap.
-
Here’s how to make a colorful crochet lanyard!
I have a teacher friend who loves a colourful lanyard, so this tutorial is inspired by her! This lanyard uses basic crochet combined with a large claw clasp to create a fun and practical accessory. I think this tutorial is a great way to use up scrap yarn and turn it into something useful. Please note that this tutorial contains affiliate links.
You’ll need these tools and materials to make this lanyard:
1: A crochet hook, large enough for chunky yarn. I used a 7mm hook.

2: Some yarn. I used three strands held together, two green strands and one pink strand.

Green yarn
Pink yarn
3: Scissors.
4: A darning needle.

5: A large lobster claw or similar. I used this chunky one that was recycled from an old keychain.
Here are the steps to make your own crochet lanyard.
1: Gather the three strands together.

3: Create a slip knot.

4: Place the loop around the crochet hook and pull the short end of the yarn to tighten it around the loop.

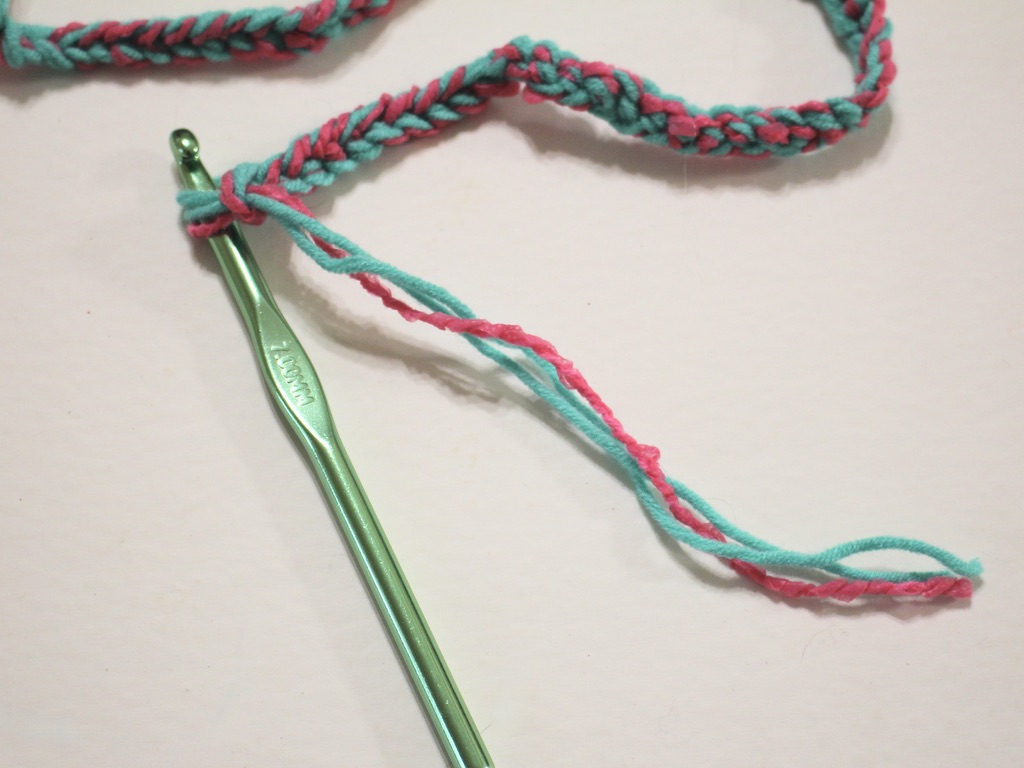
5: Take the long end of the yarn and wrap it around the hook before the first loop you made.

6: Grab the first loop and pull it over the top of the yarn you just wrapped around the crochet hook. This will leave you with just one loop on the hook again.

7: Repeat steps 5 and 6 to start creating a single row of crochet. Here’s a video that shows you what that looks like.

8: Continue crocheting until you have a length you like.


9: Cut the yarn leaving a reasonably long tail, about 15cm.

10: Remove the crochet hook and then loop the end of the yarn through the loop at the top.
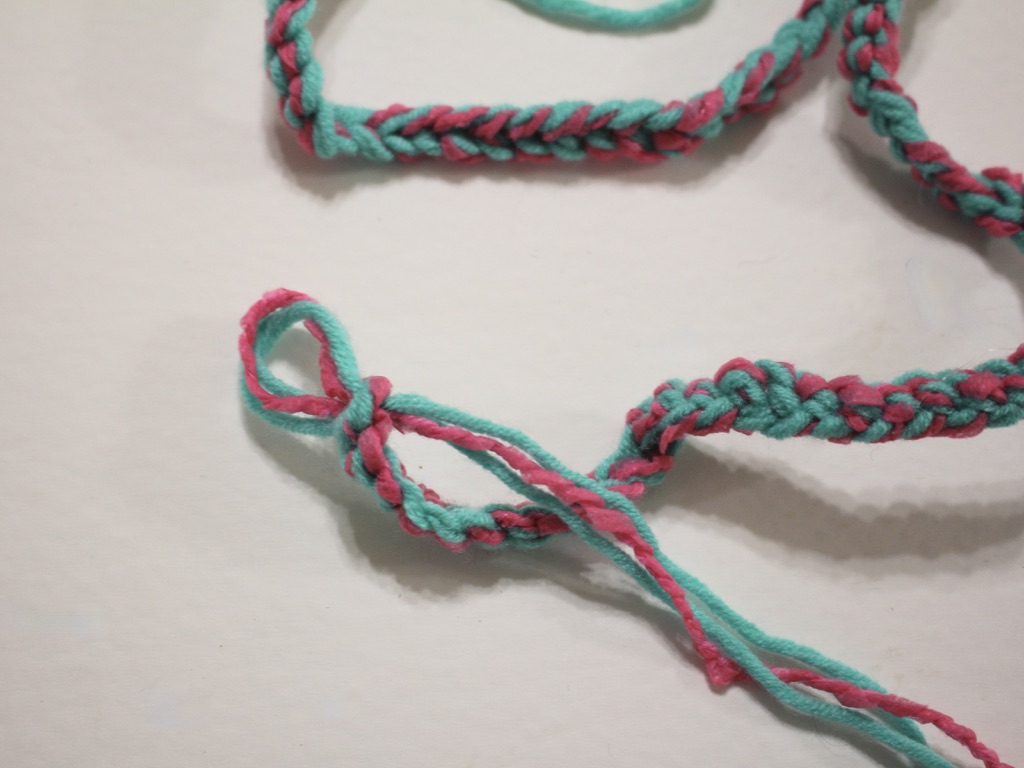
11: Pull the yarn tight to secure the end of the crochet cord closed.

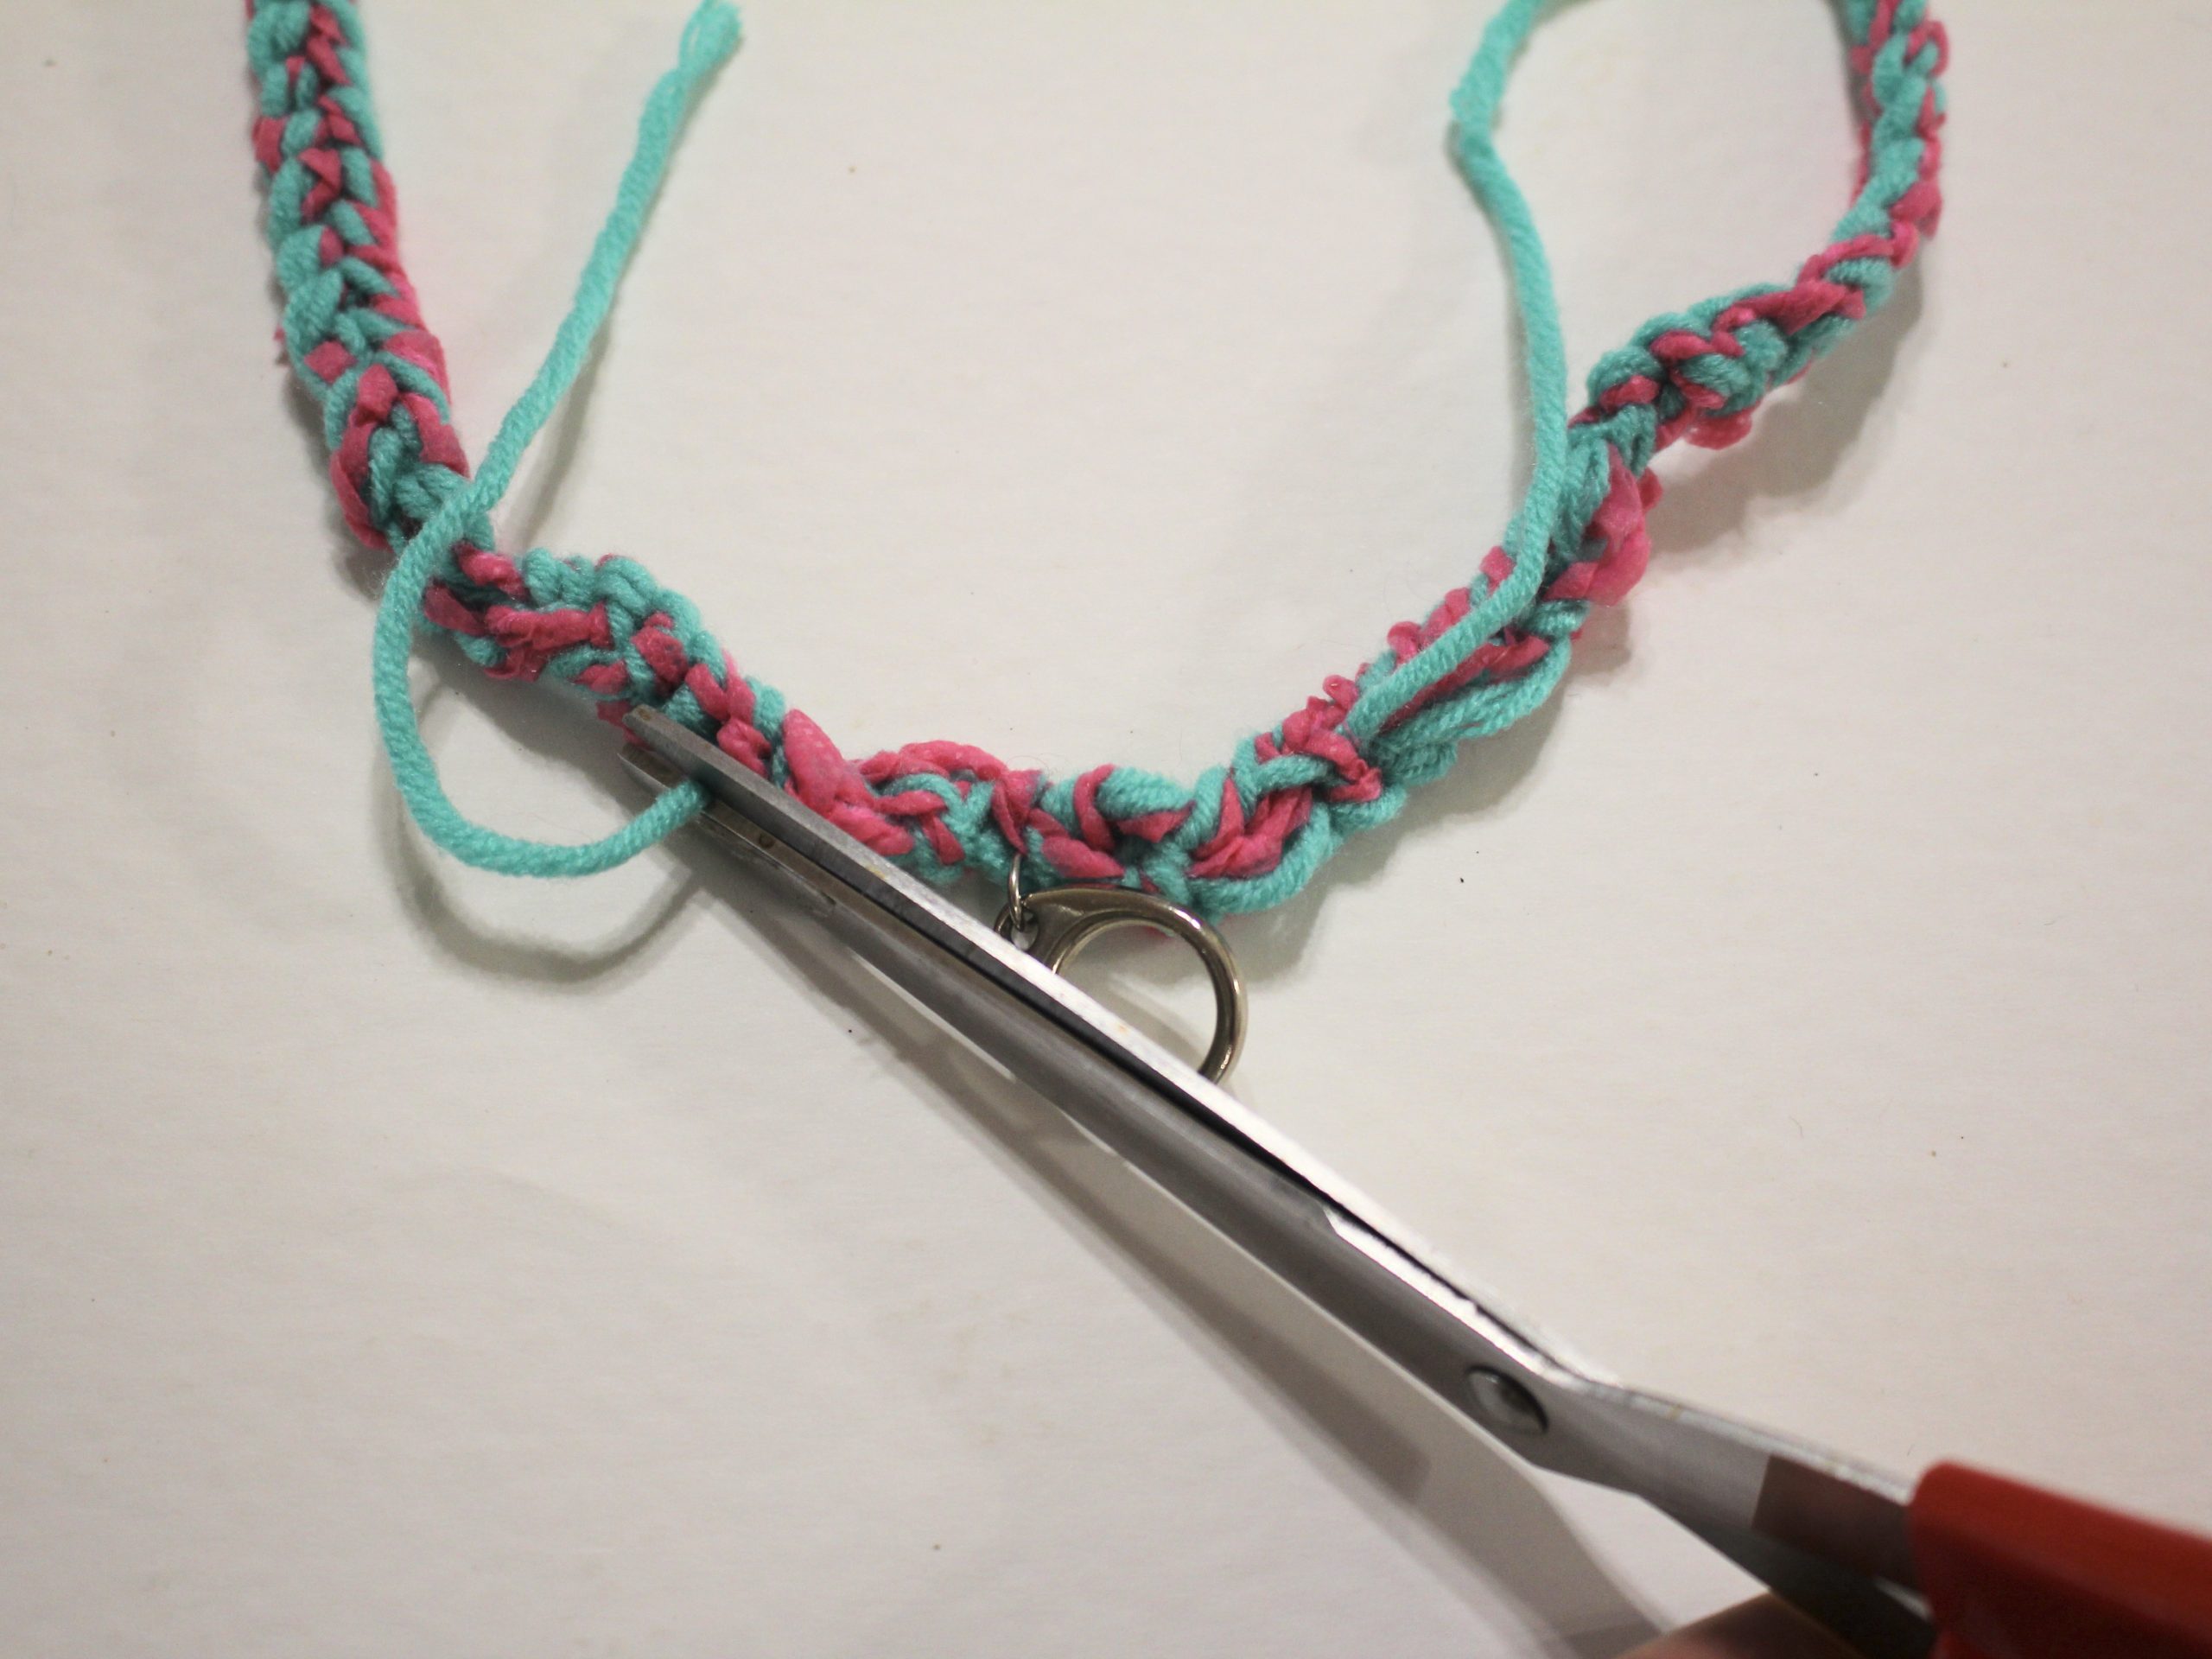
12: Once you’ve got your preferred lanyard length and have the ends secured, take two of the strands (out of three) on each side and tie them together.


13: Use the needle to weave the paired threads through the crocheted part of the lanyard, trim the ends when you’re done. Do this for both sides of the lanyard.


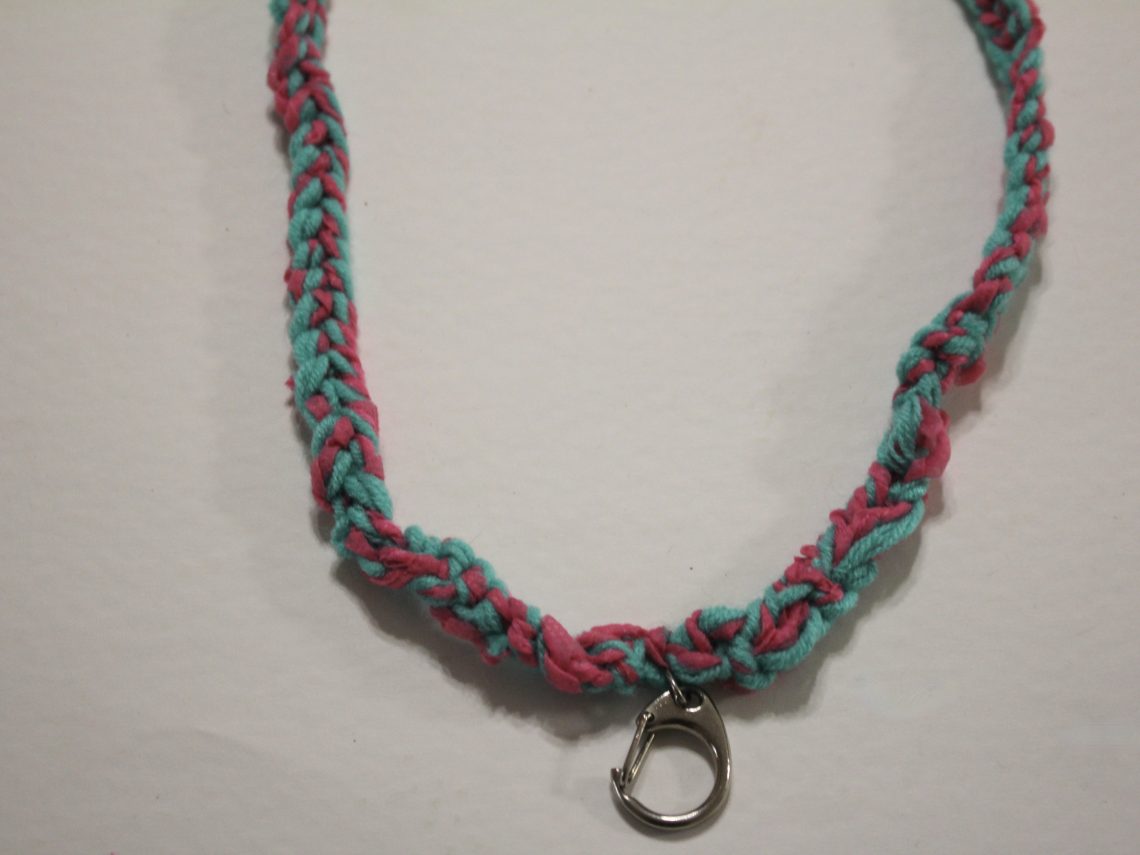
14: Use the remaining strands to tie the claw clasp to the lanyard. Do a couple of knots to secure it, and then use the needle again to weave in the ends. Trim any excess yarn.


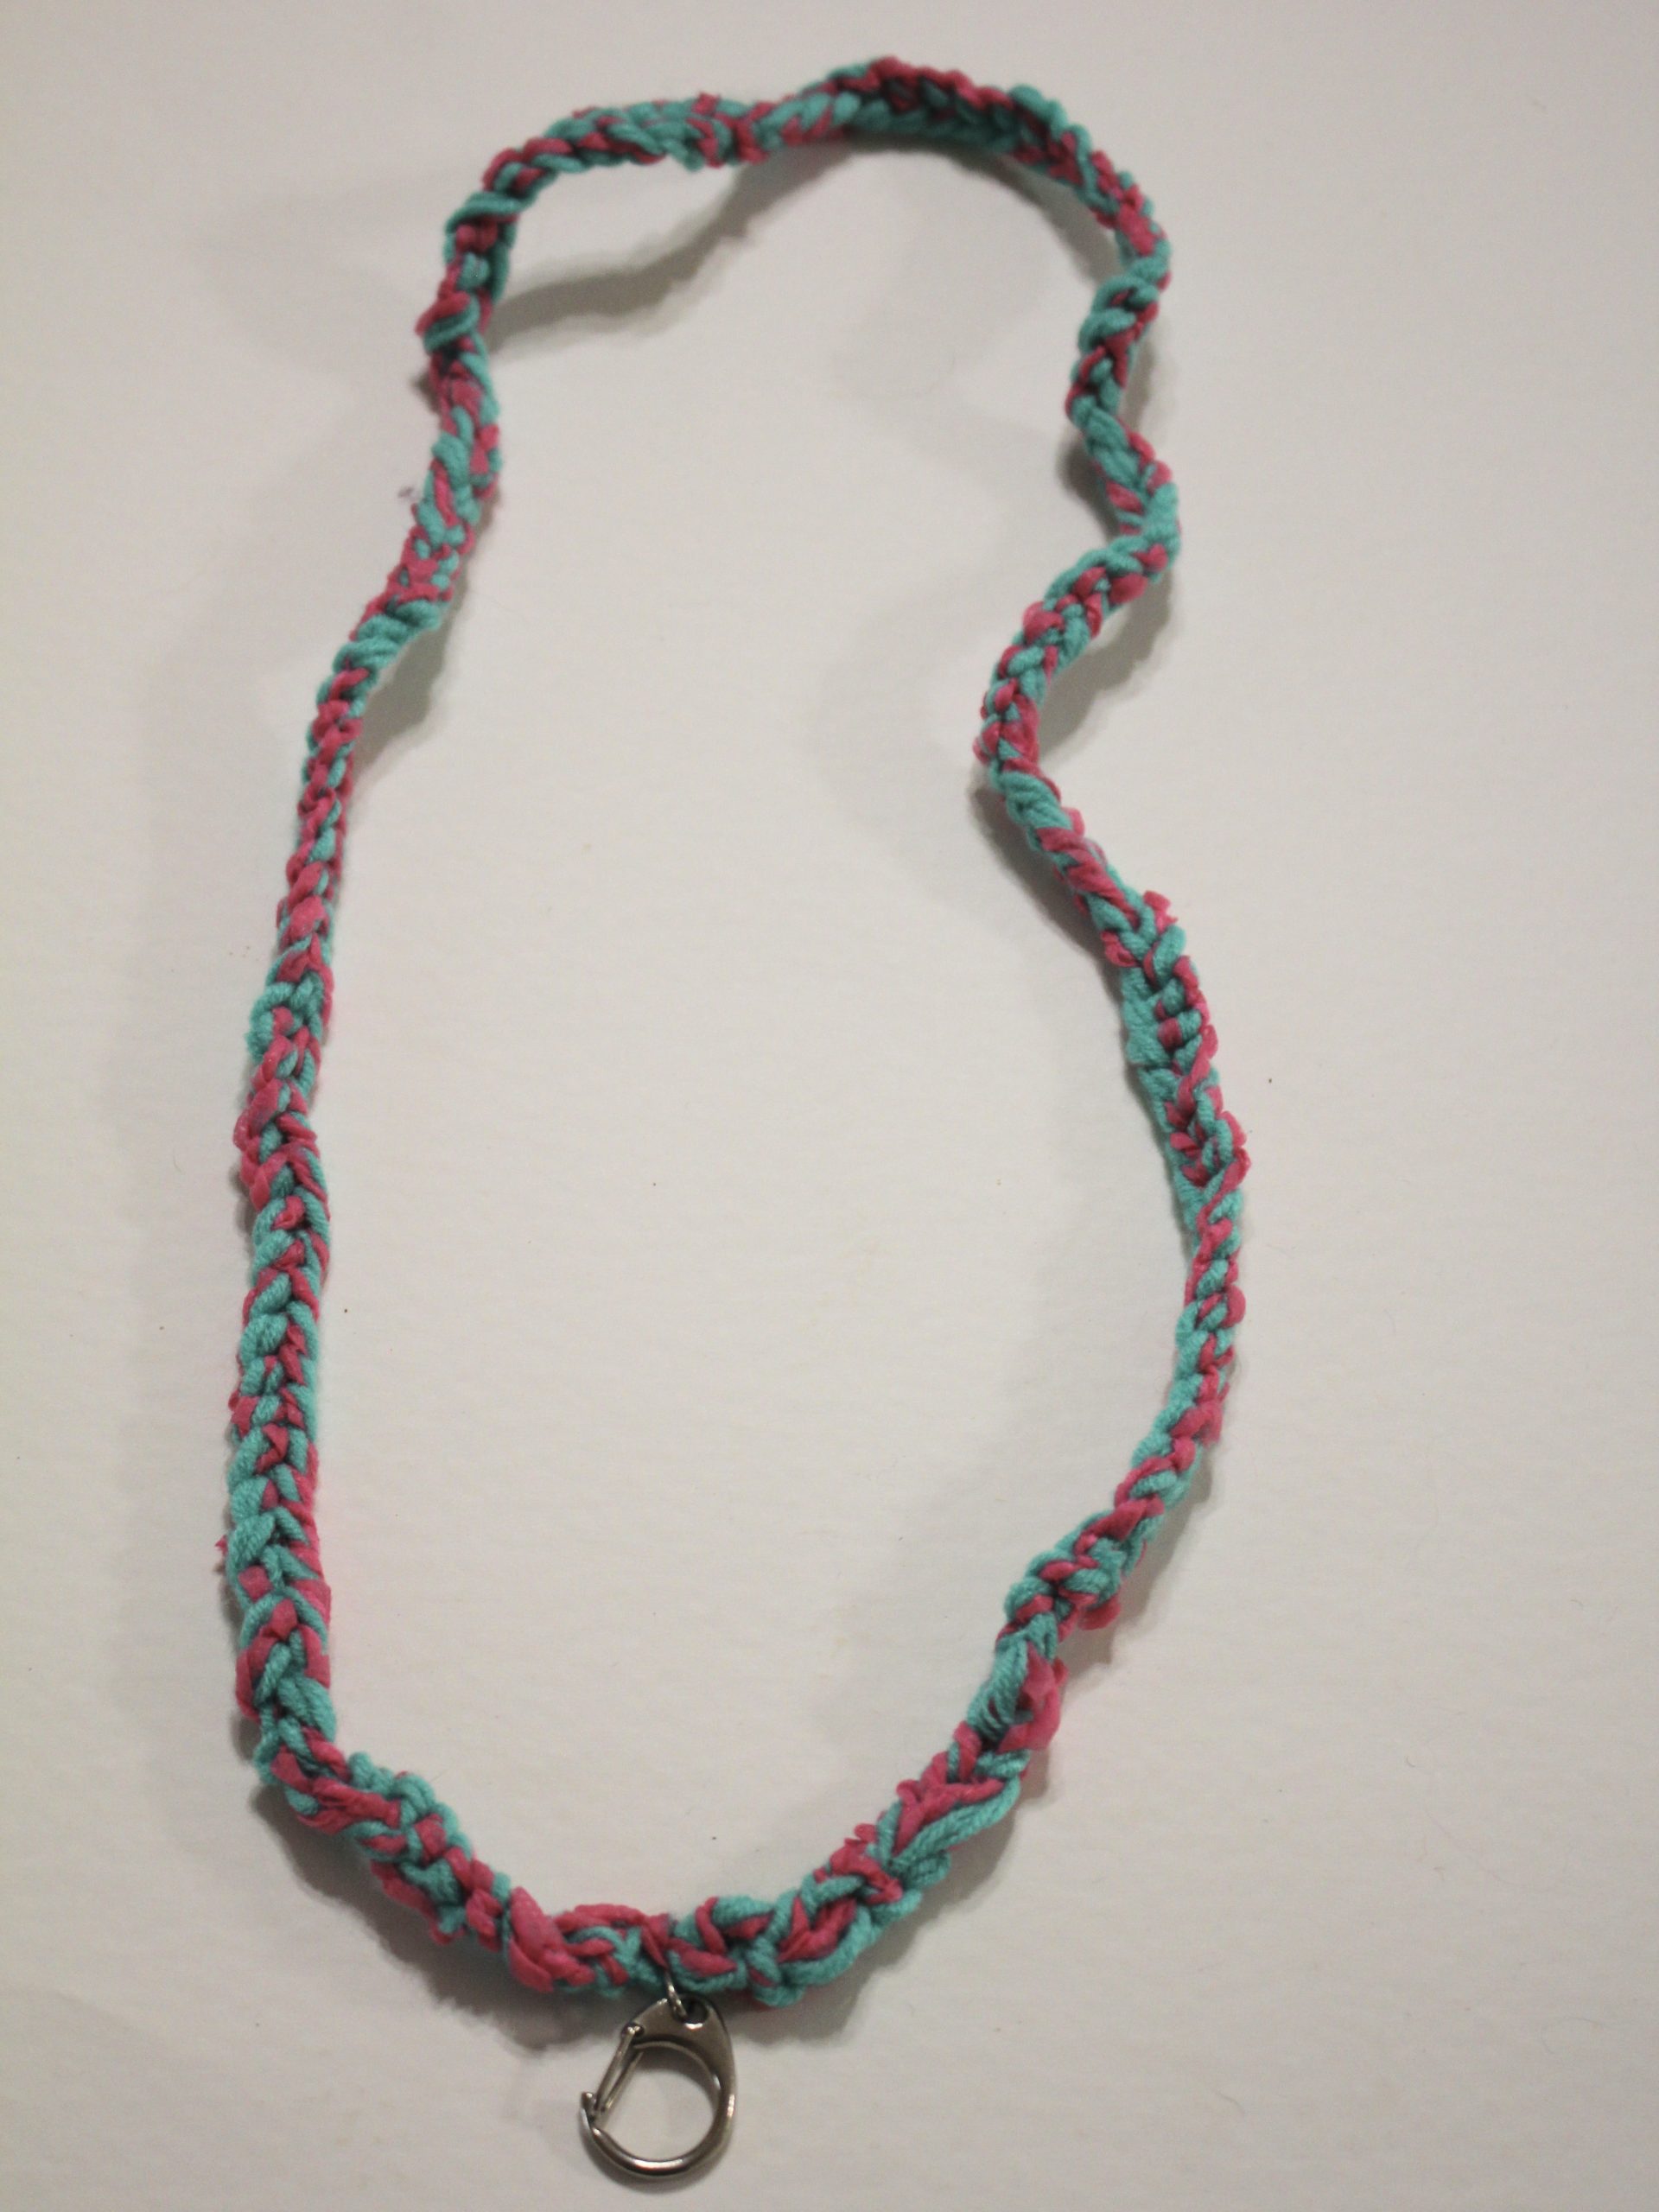
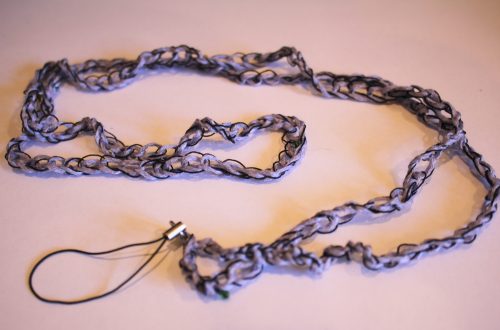
Once you’ve completed this step, your lanyard is ready to wear! Here’s what it looks like on using my needle sleeve as a sample ID 😉


What colours will your crochet your lanyard in? This is such a versatile technique, once you have your crochet base, you can add decorations by sewing in beads or buttons! You can even use a beaded yarn to add beads right from the start!
If you want to develop a lanyard collection, you can find out how to make a beaded lanyard here.
Here are some other yarn-based tutorials you can follow: