-
How to make a waist chain using leather cord and chains!
This is a really cool design! It combines delicate chains and leather to create a cool and edgy twist on the waist chain trend. This piece is pretty easy to put together and makes for a really cute look! Please note that this tutorial contains affiliate links.
You’ll need these tools and materials to make your chain and leather body chain:
1: A piece of leather. Mine was about 54.5cm long.

2: Two pieces of chain. These should add up with the length of the leather up to make the whole thing around your waist. My chains were approximately 20cm each.

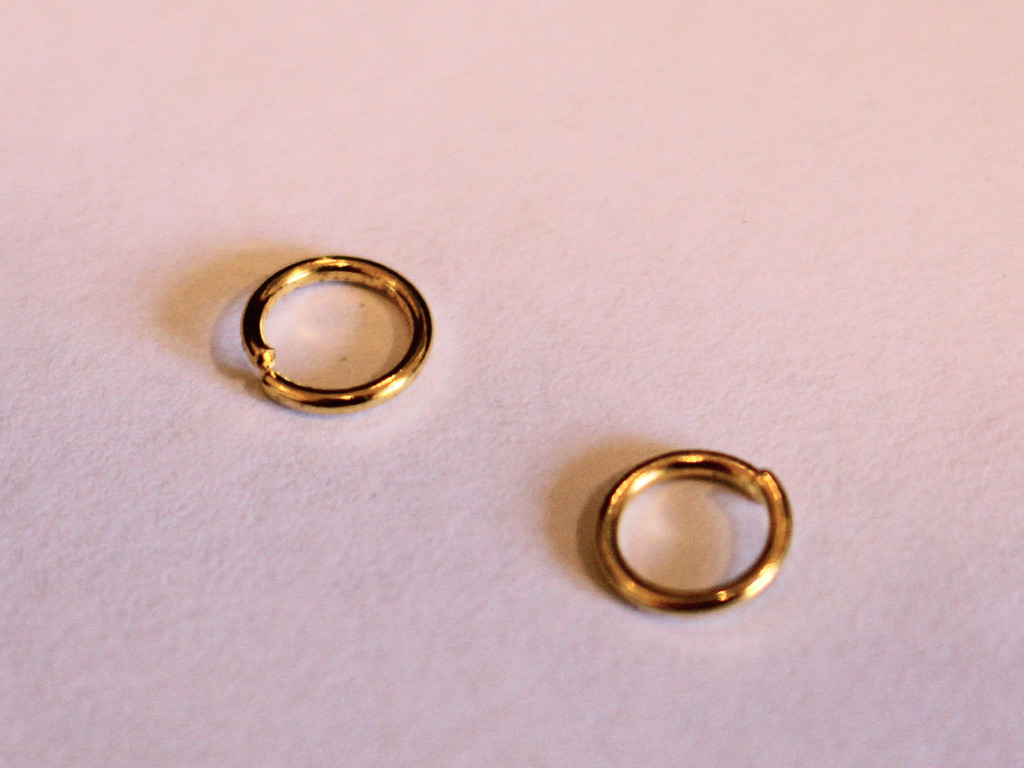
3: Four jump rings.

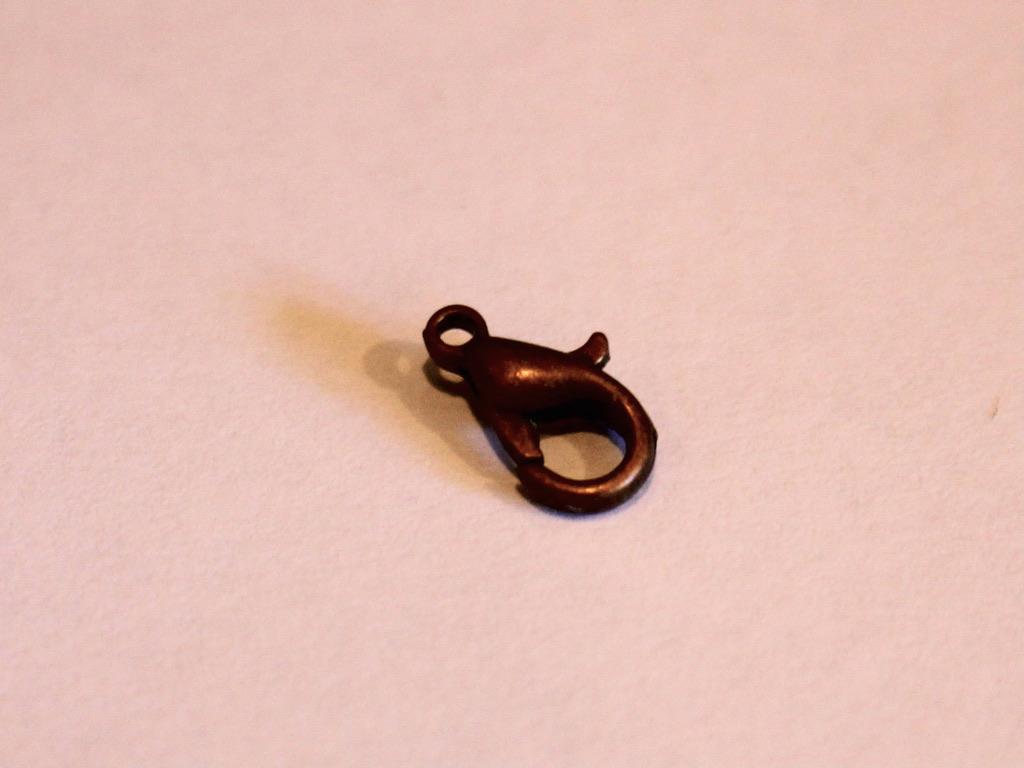
4: A lobster clasp.

5: Pliers. I used my round nose and flat nose pliers.


6: Two leather crimp ends.

Follow these steps to make your leather and chain waist chain:
1: Add a crimp end to one of the ends of the leather cord. Do this by placing it around the leather and squashing one side down using the flat nose pliers.


2: Squash the other side of the crimp using the flat nose pliers to secure the crimp in place.

3: Repeat steps 1 and 2 for the other side of the piece of leather, attaching the other crimp.

4: Add a jump ring to one end of the piece of leather cord.

5: Slide on one of the pieces of chain to the open jump ring.

6: Close the jump ring to secure the chain to the leather.

7: Repeat steps 4 to 6 to attach the second piece of chain to the other end of the leather.

8: Add a jump ring to one end of the chains you just attached. Slide on the lobster clasp and close the ring to secure it in place. (Sorry about the blurry pic!)


9: Add another jump ring to the other side of the waist chain to finish it off!


Now your leather and chain waist chain is finished and ready to put on! How cute?!

-
How to turn a broken necklace into a waist chain!
This is a fun upcycling DIY! This DIY makes use of long broken necklaces and shows you how to transform them into cute waist chains! Unfortunately not all your broken necklaces are long enough to turn into body chains, but if you’ve got some long chains or bead strands that aren’t working as necklaces anymore, here’s a way to upcycle them and wear them in a new way! Please note that this tutorial contains affiliate links.
You’ll need these tools and materials to make your waist chain:
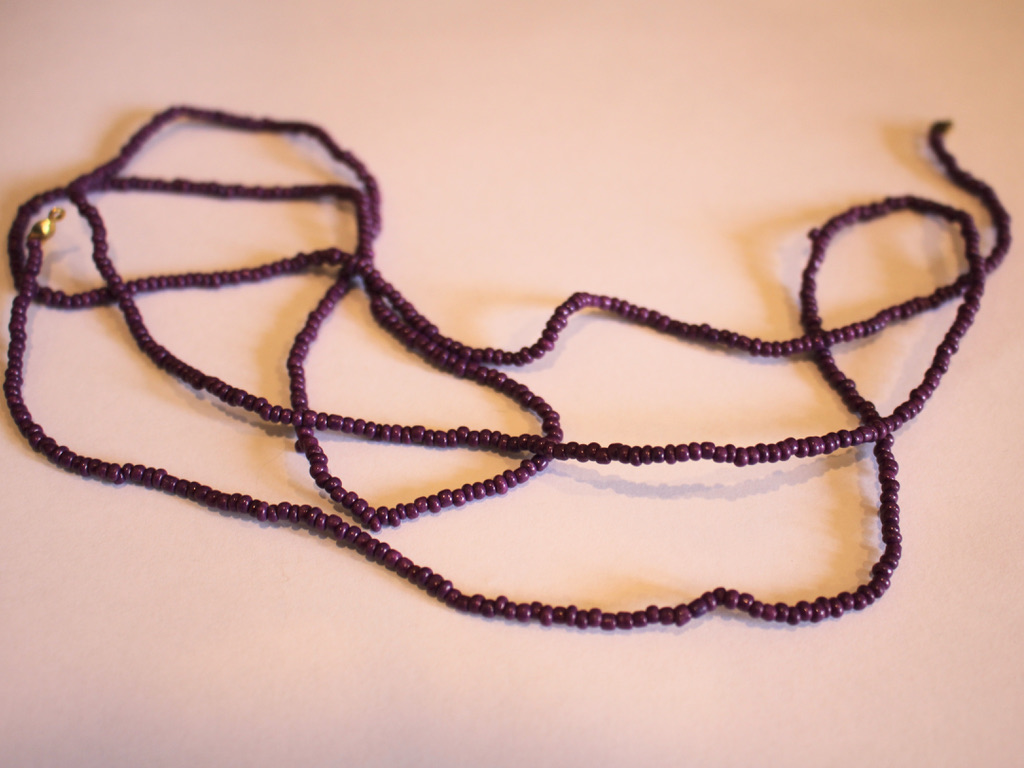
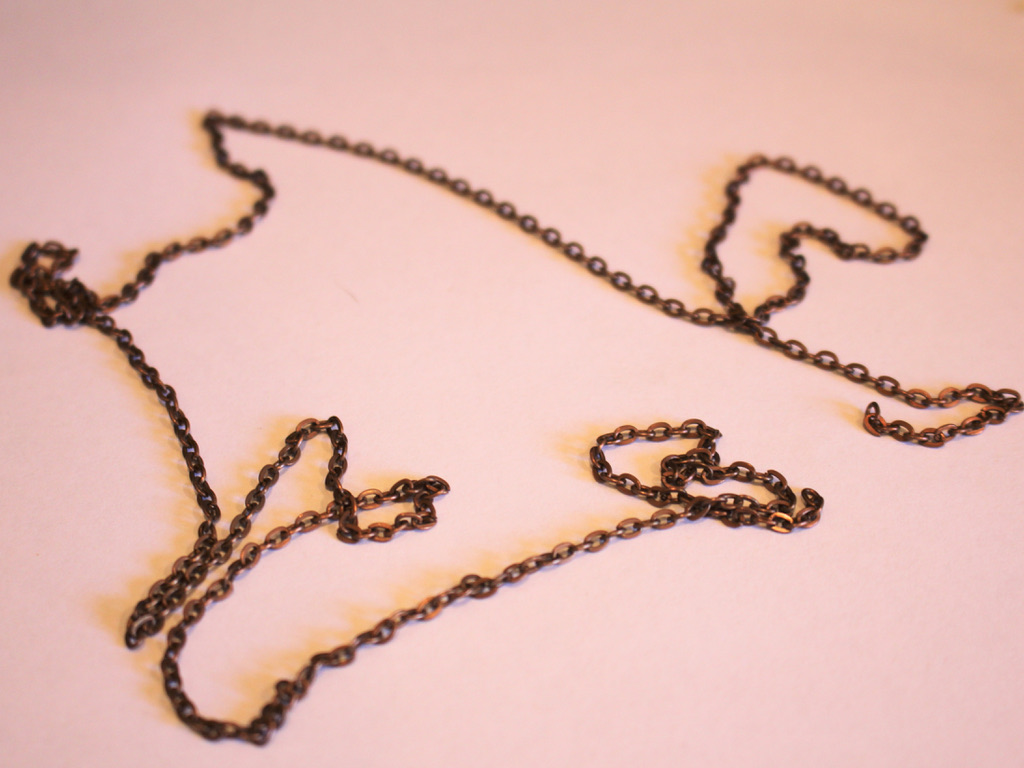
1: A long broken necklace. I used this beaded strand from a broken necklace. If you don’t have a strand like this, you could use a long chain or connect multiple broken necklaces together to get the length you like.
2: Some pliers. I used my round nose and flat nose pliers for this design.
3: A couple of jump rings.

4: A large lobster clasp.
Follow these steps to transform your broken necklace into a waist chain:
1: Add a jump ring to one end of the chain. Slightly open the ring using your pliers and slide it onto the loop at the end of the broken necklace.

2: Add the lobster clasp to the open jump ring that you just placed on the end of the strand.

3: Close the jump ring using your pliers to secure the clasp to the strand.

4: Add the other jump ring to the other end of the strand, close it with your pliers to secure it in place.


Now your upcycled waist chain is ready to wear! You can also wear this piece as a long length necklace or a wrap necklace. But I bet you’d prefer to wear it as a sexy cute waist chain?!

You can find some more body chain tutorials here.
-
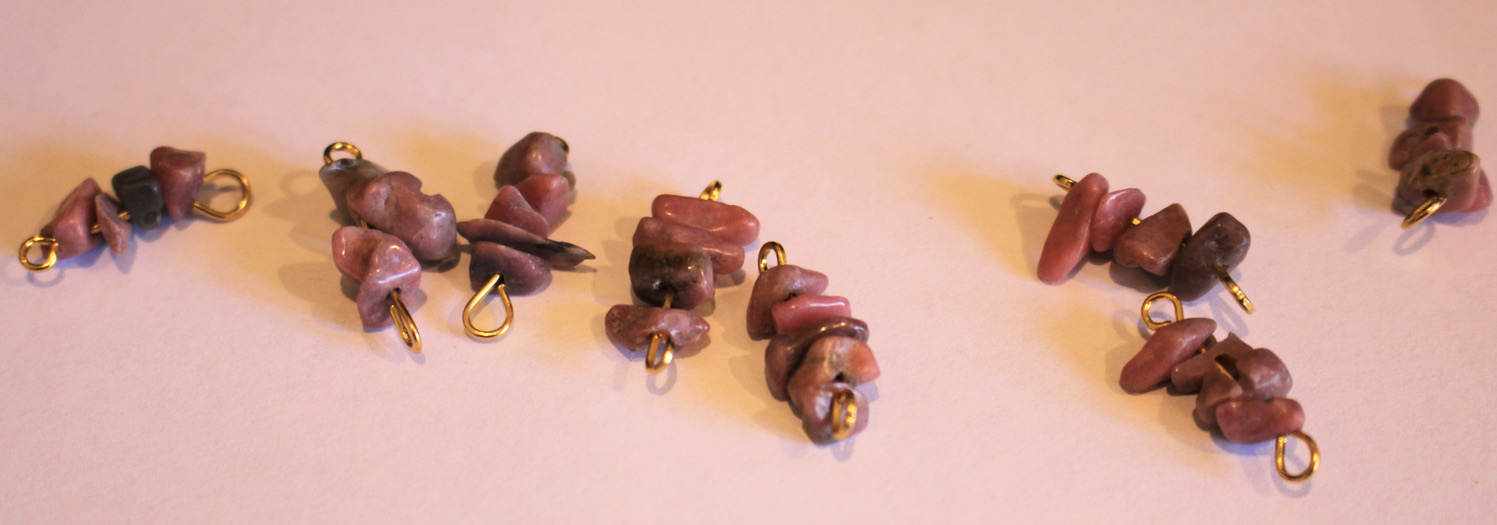
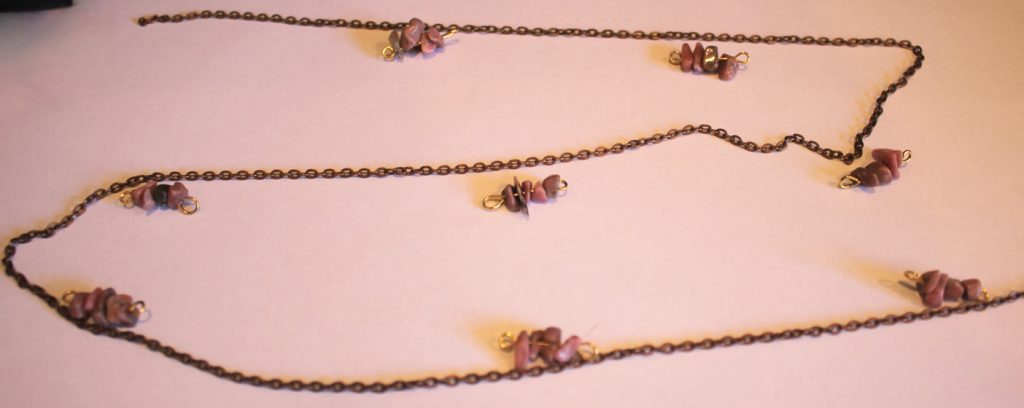
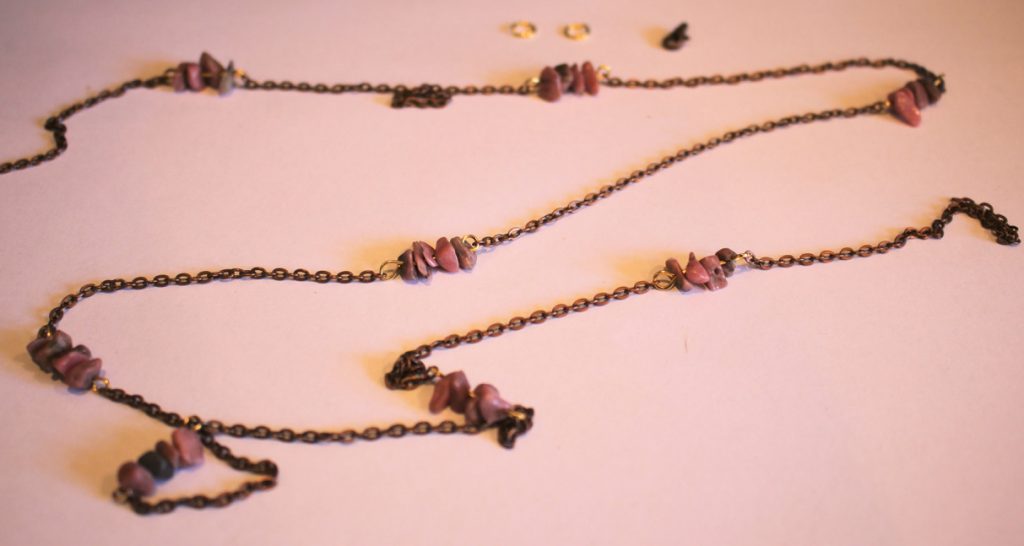
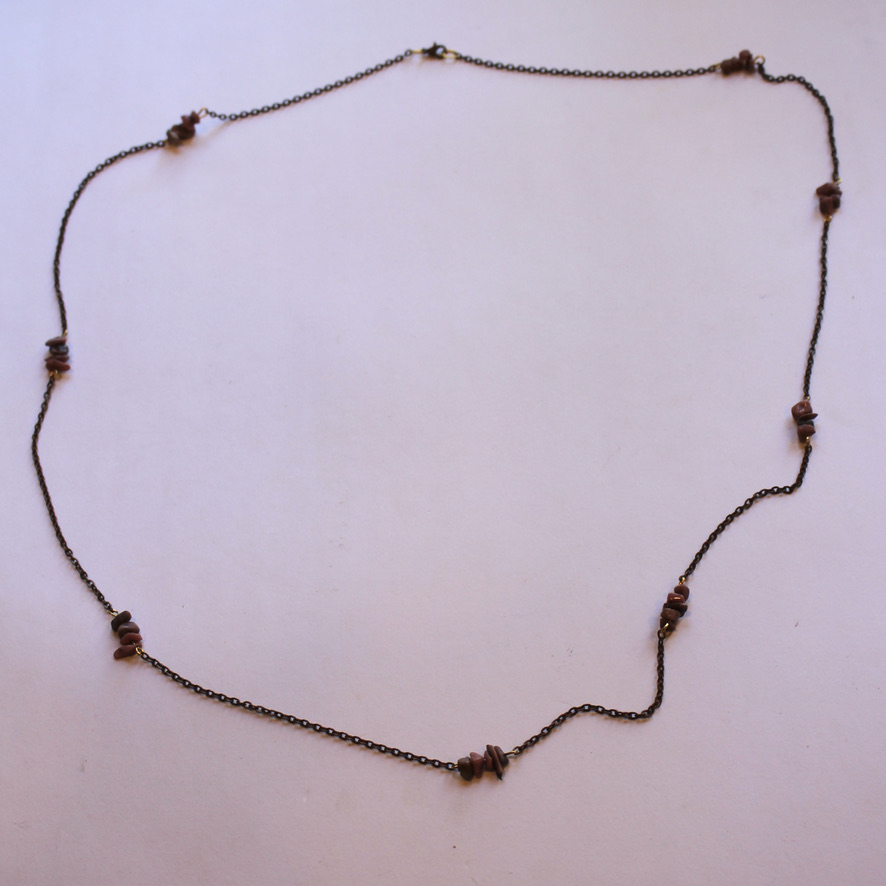
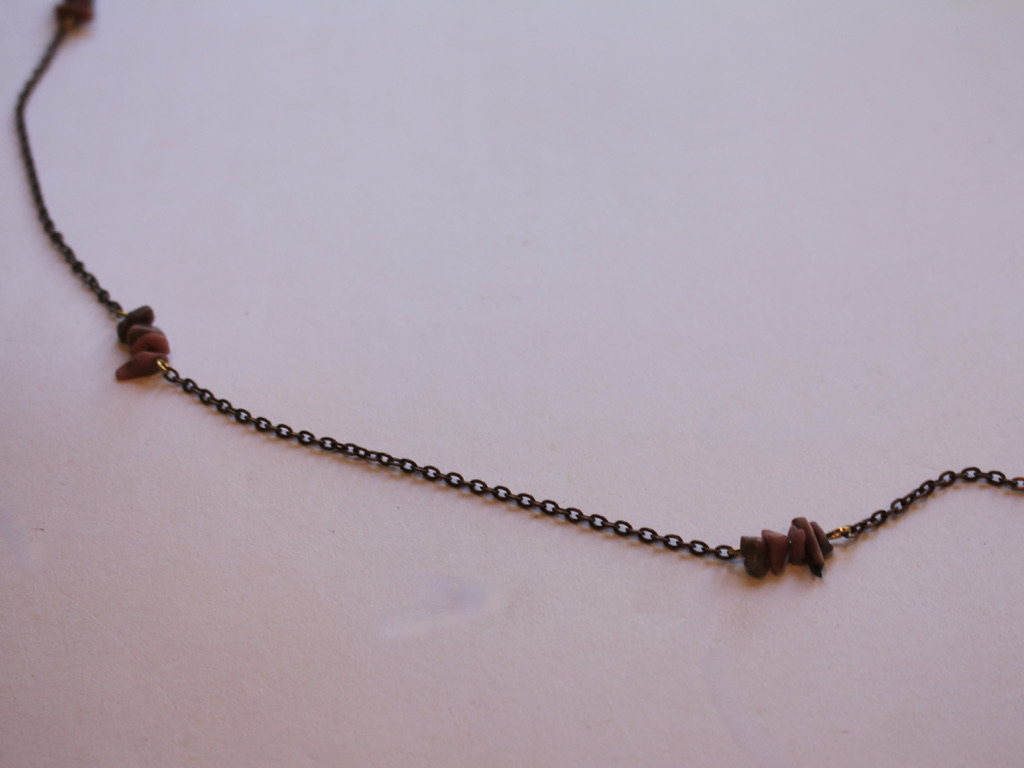
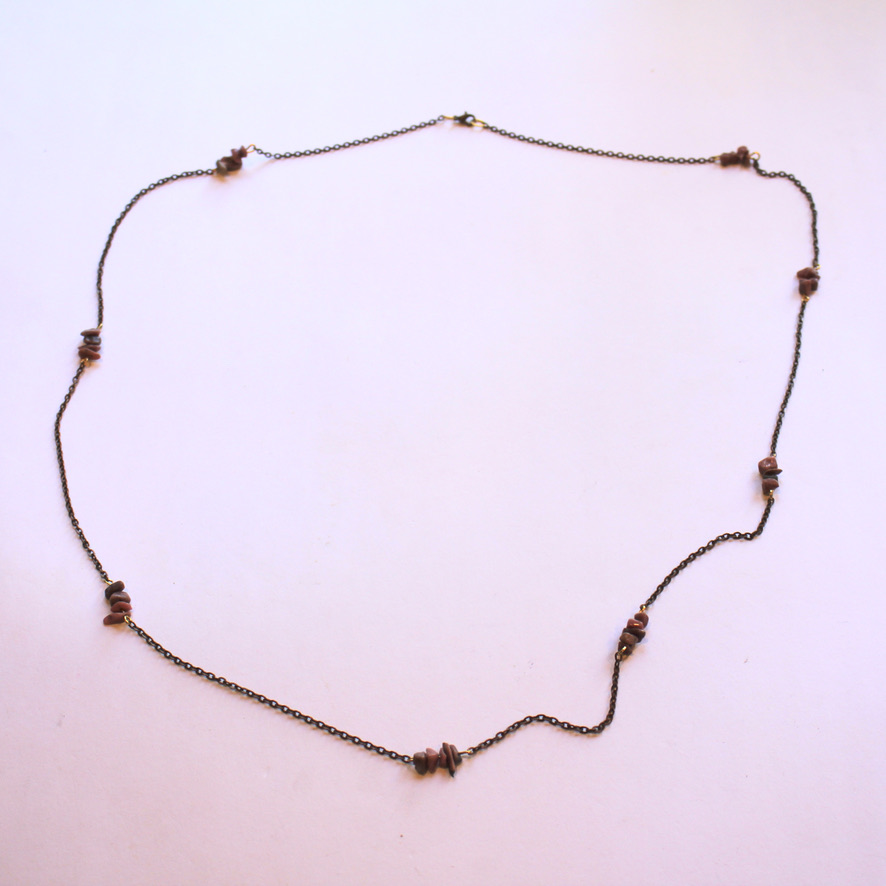
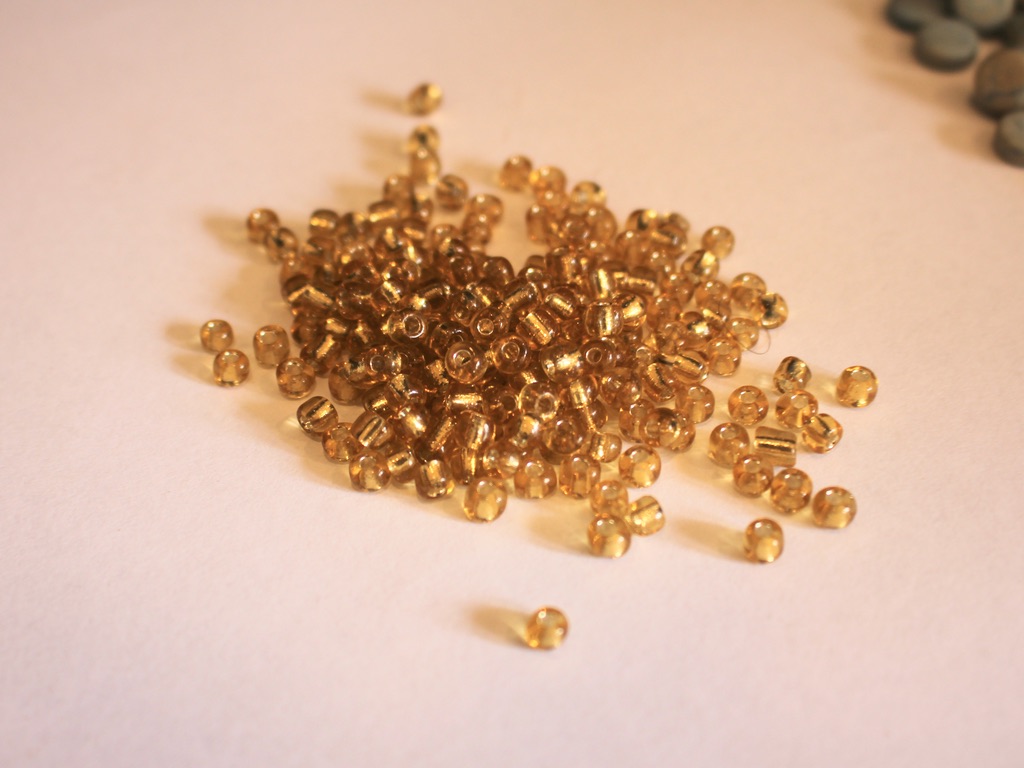
Here’s how to add beaded sections to your boho body chain!
Nothing screams warm weather like a bohemian body chain! This waist chain design is embellished with gemstones for a luxe bohemian look. As an added bonus, it can also be worn as a necklace during the colder months. Please note that this tutorial contains affiliate links.
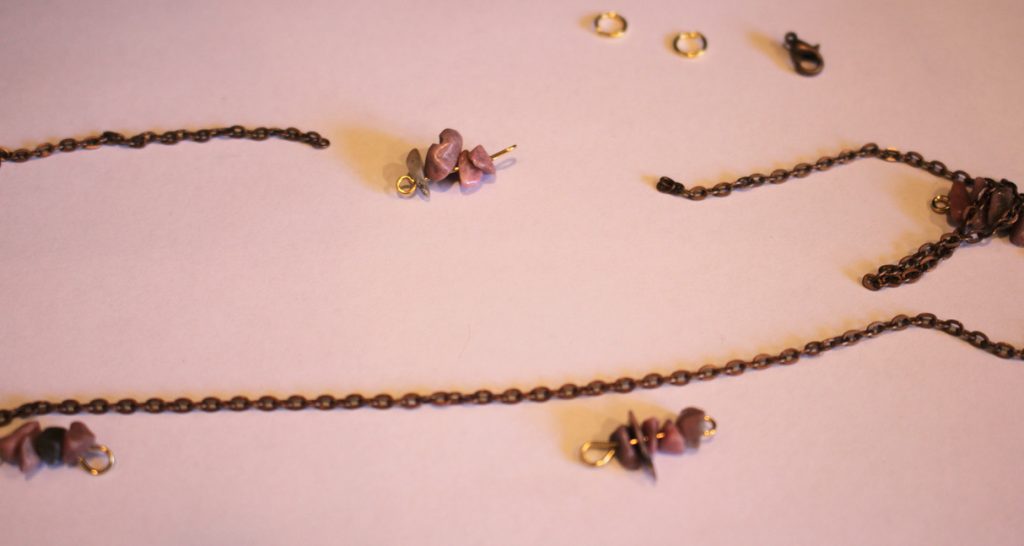
You’ll need the following tools and materials to make your beaded body chain:
1: A piece of chain that fits closely around your waist (It will get longer when you add the beads).
2: Pliers. I used my flat nose and round nose pliers.
3: Some eye pins. I used 8.
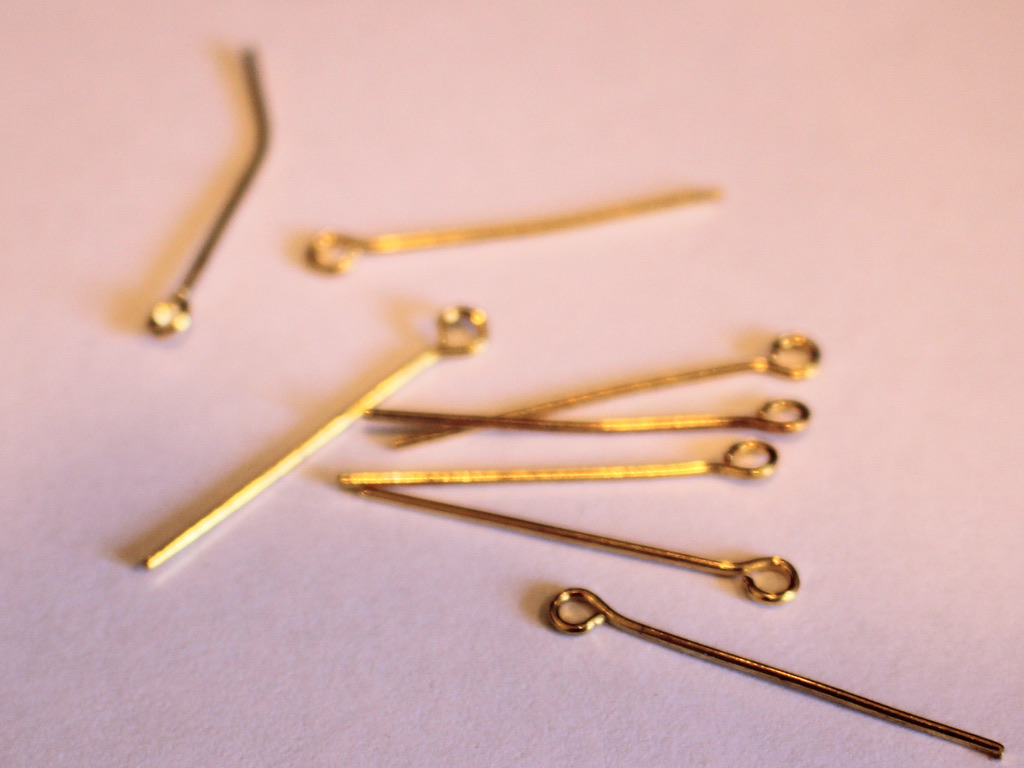
4: Two jump rings.
5: A lobster clasp.
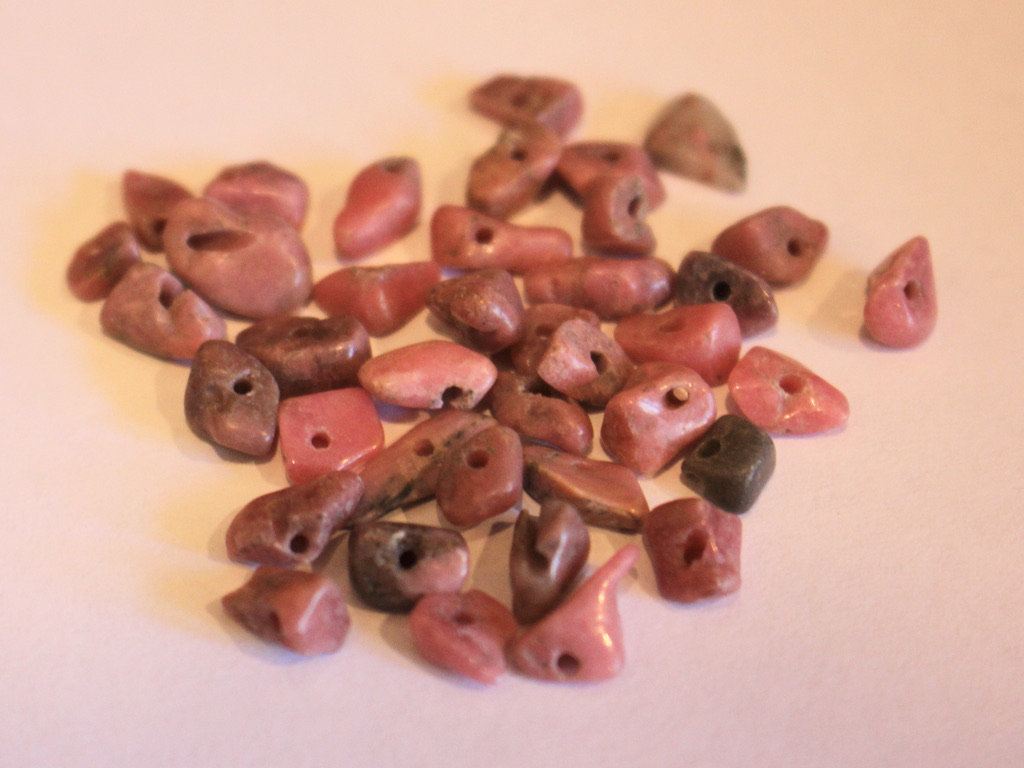
6: Some beads. I used these pink gemstone chip beads.
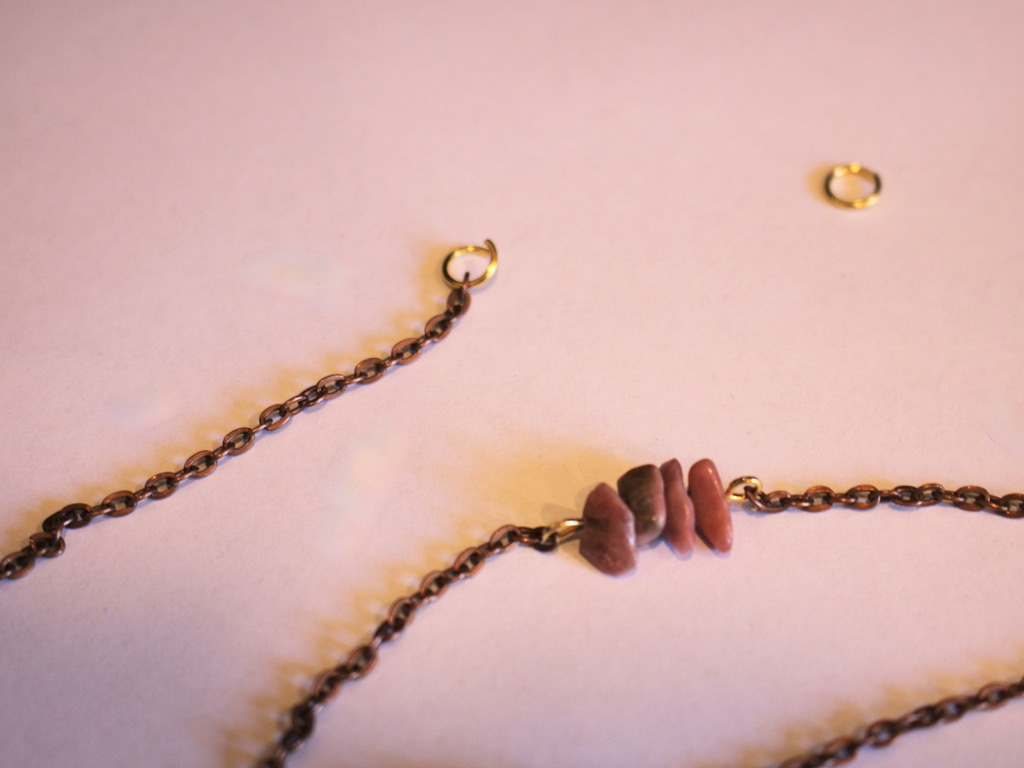
Follow these steps to make your cute boho waist chain:
1: Add beads to a pin. I added four to each pin.

2: Bend the pin to form an angle with the beaded section.
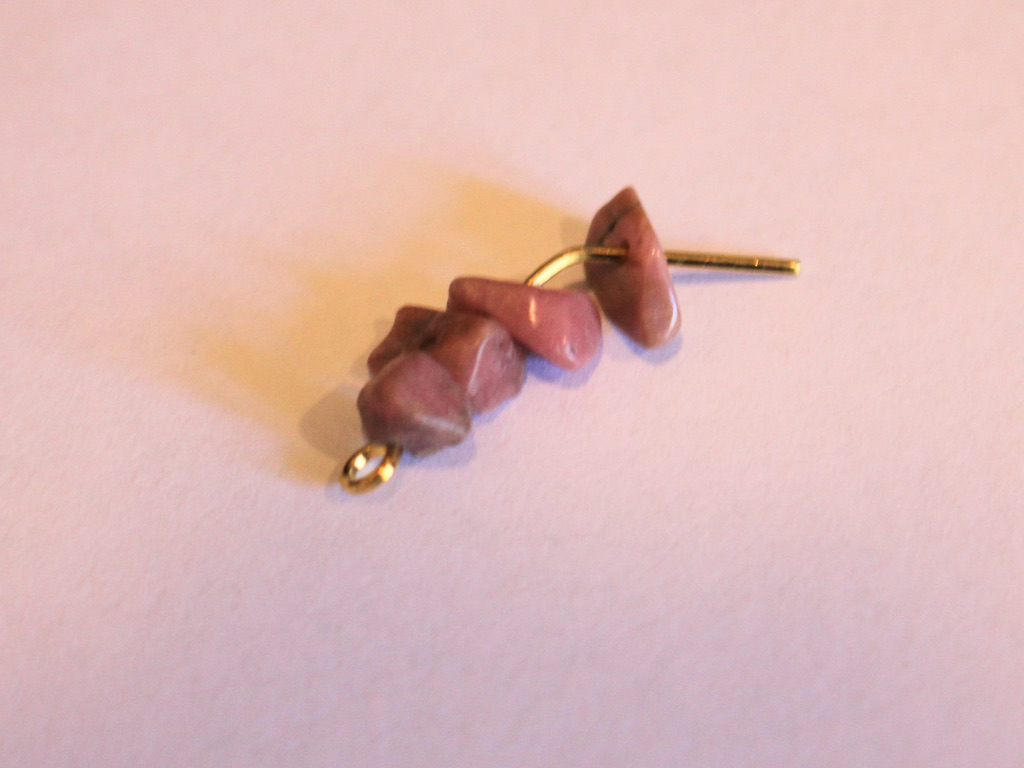
3: Wrap the end of the pin around the round nose pliers to form a loop that secures the beads onto the pin.
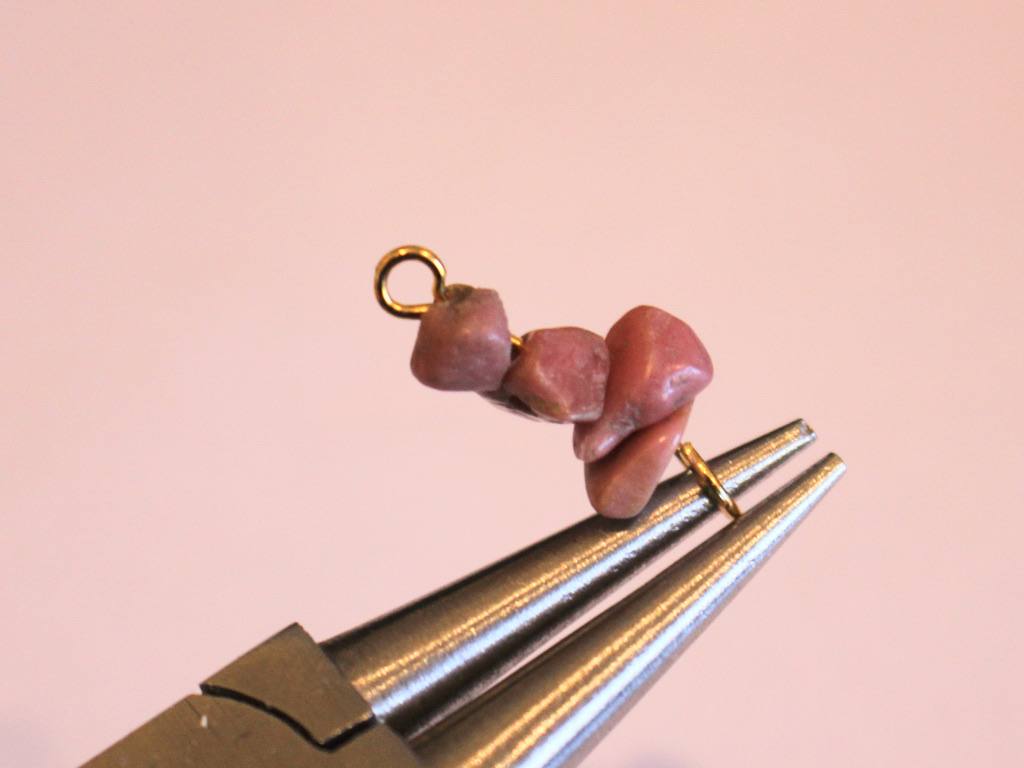
4: Repeat steps 1 – 3 for the rest of the pins.
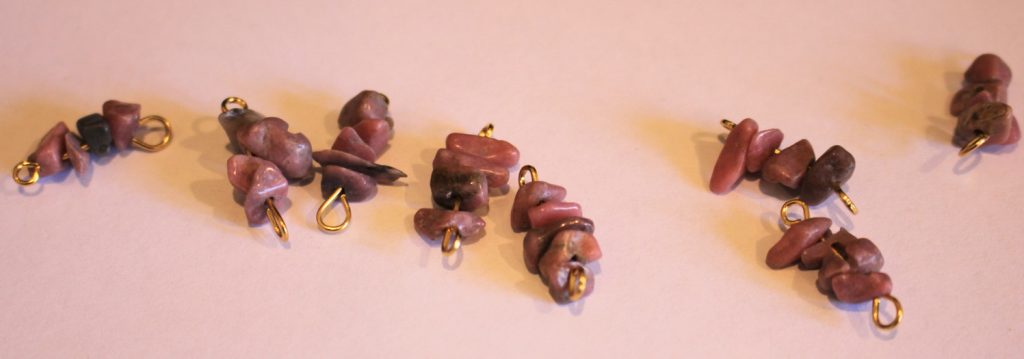
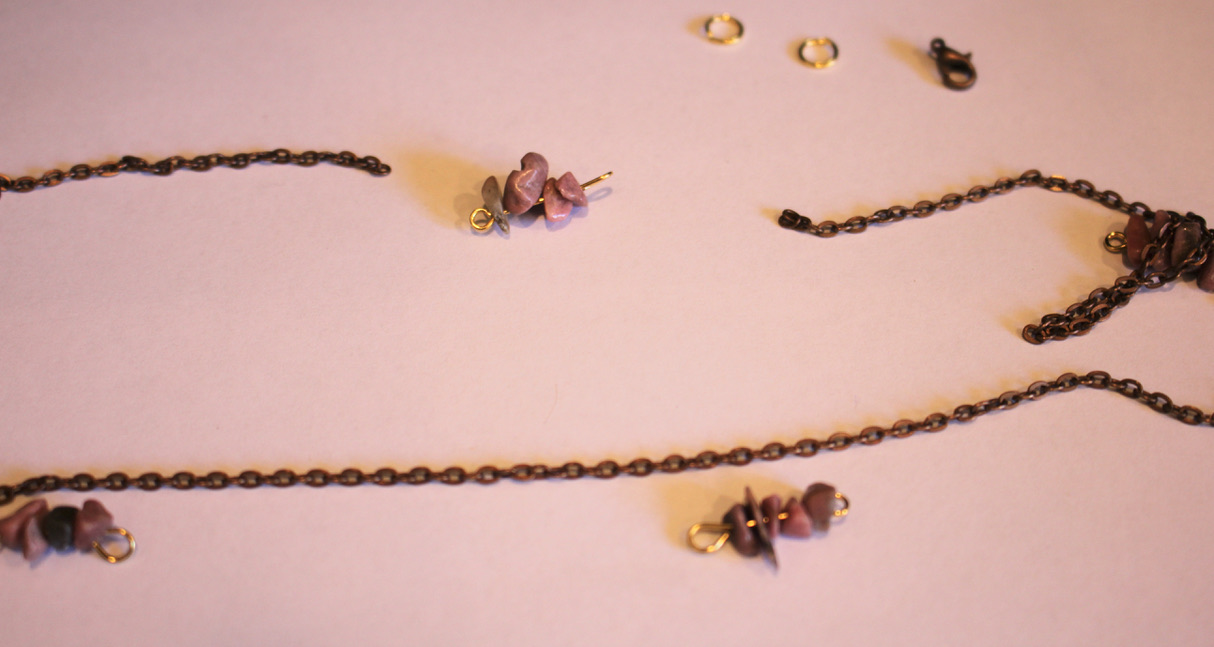
5: Line up the beaded pins along the chain so you can place them in a roughly even pattern.
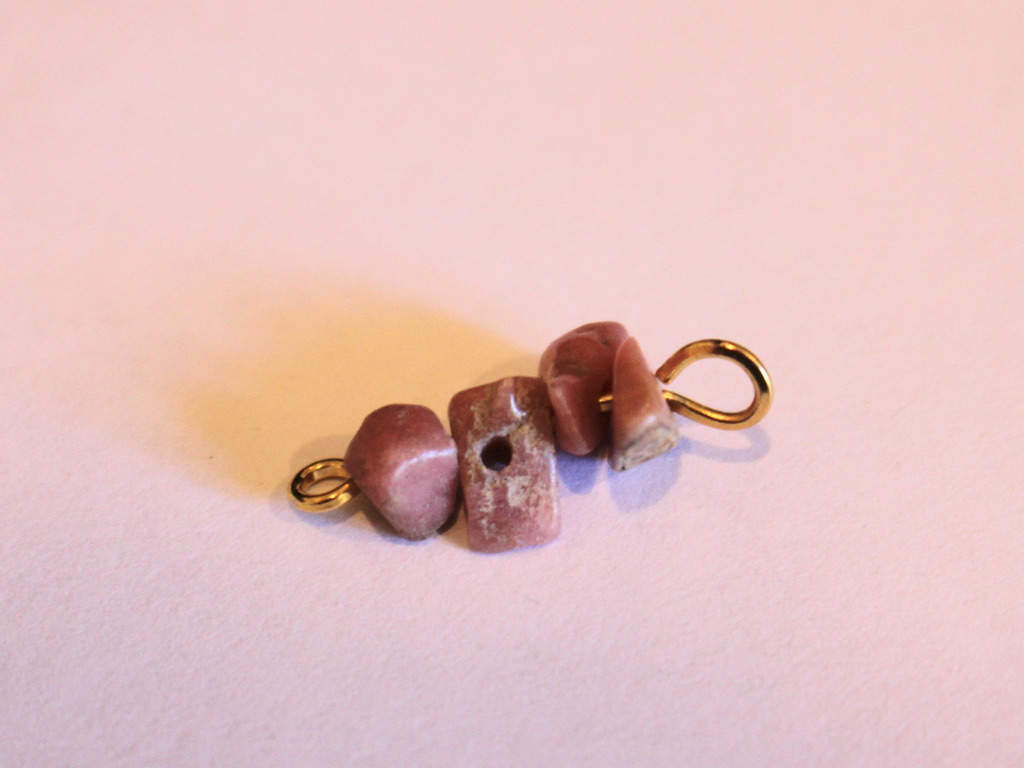
6: Split the chain for the first beaded pin.
7: Attach one side of the pin to the first piece of chain, secure the pieces together by closing the loop on the beaded pin.
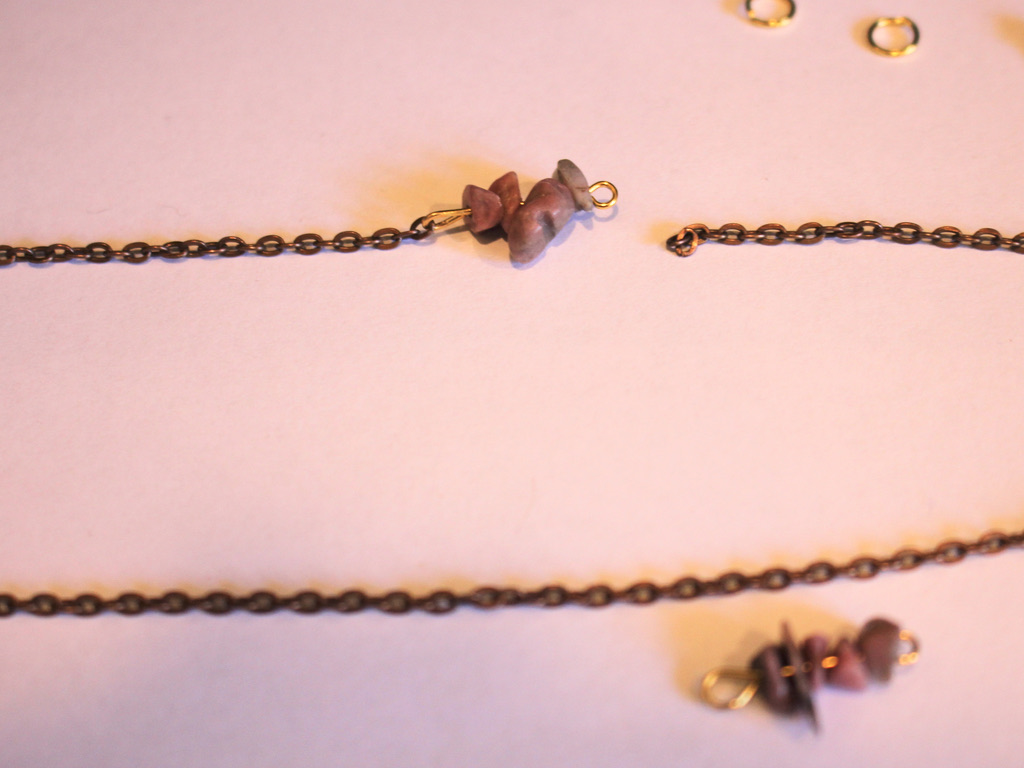
8: Attach the other side of the pin to the other piece of chain. Now you have a chain with one charm attached.
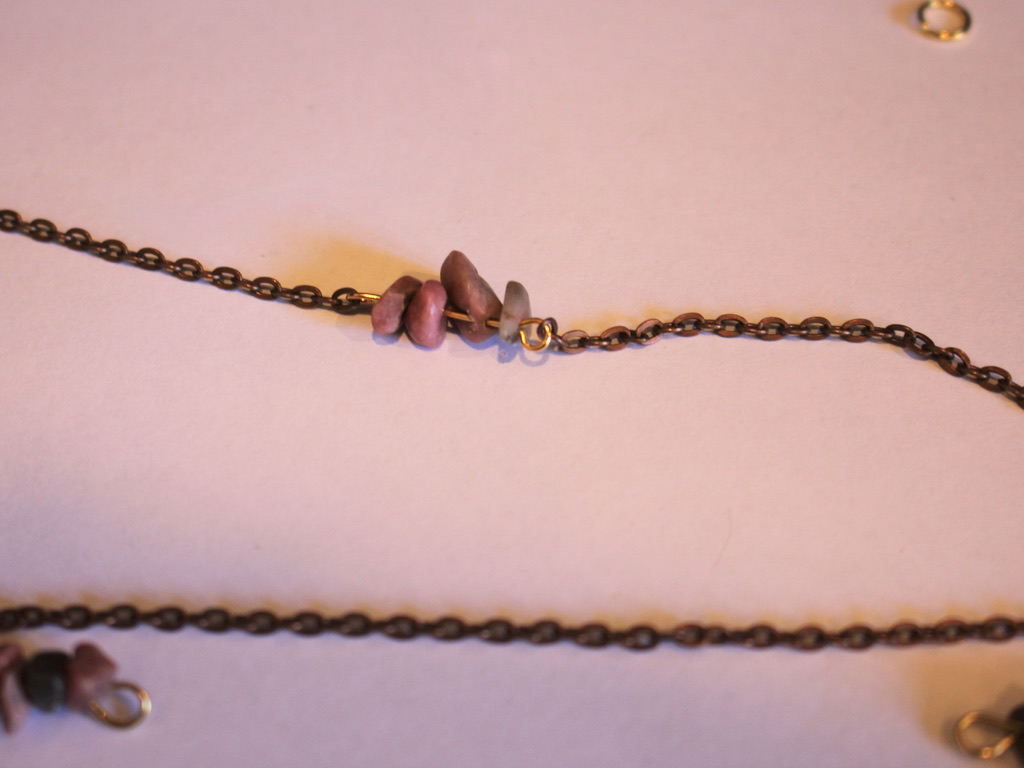
9: Repeat steps 6 to 8 for the rest of the beaded pins until they are all attached.
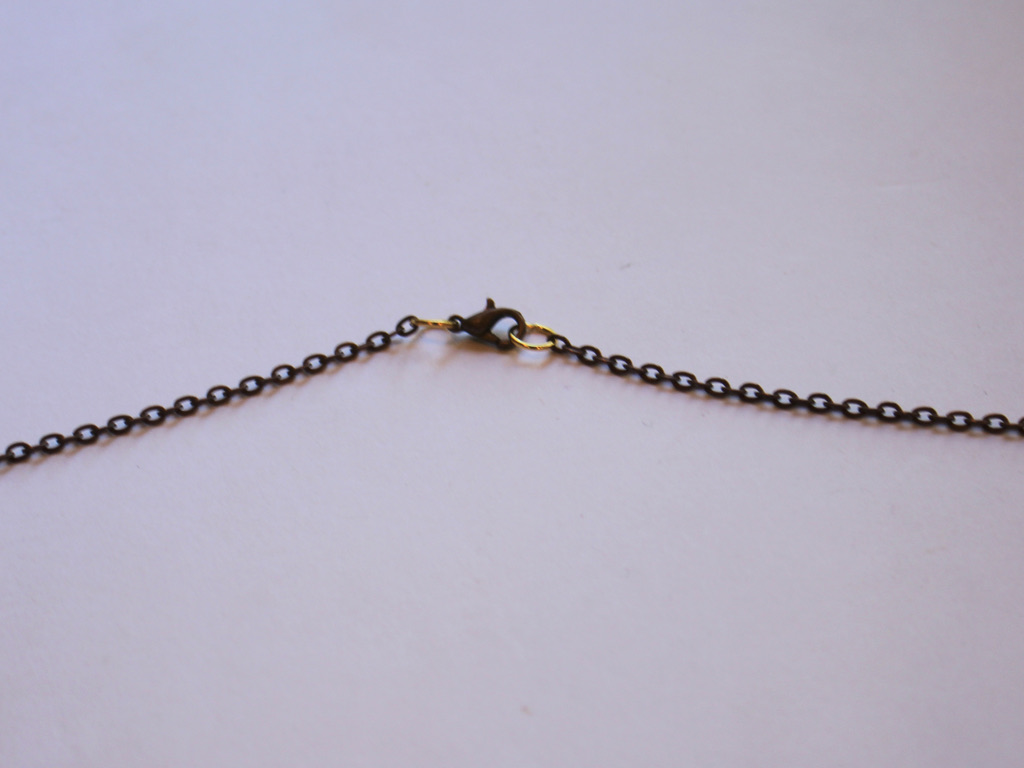
10: Add a jump ring to one end of the chain and slide on the clasp before closing it.
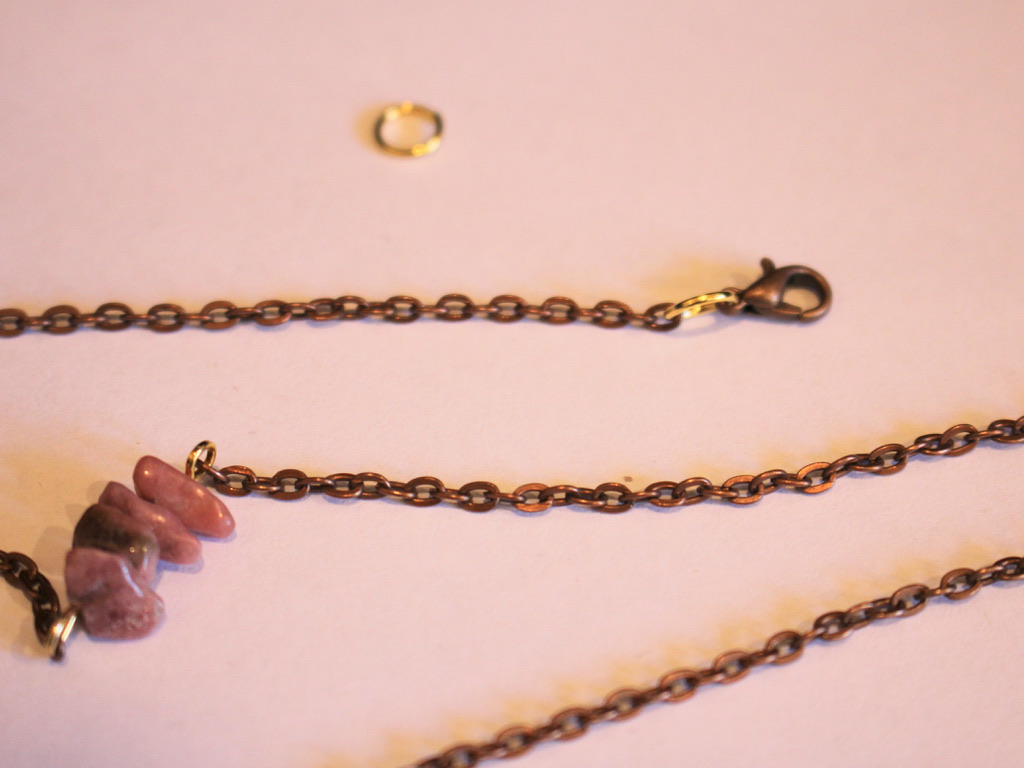
11: Add the other jump ring to the other end of the chain to finish it off.
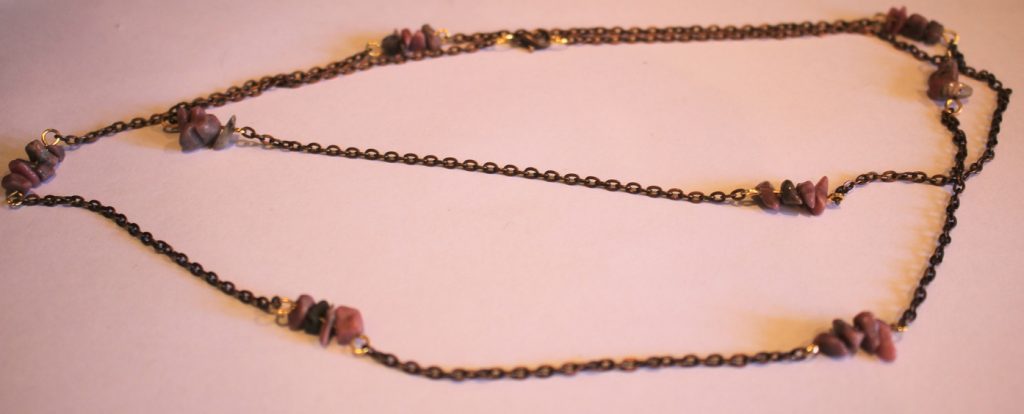
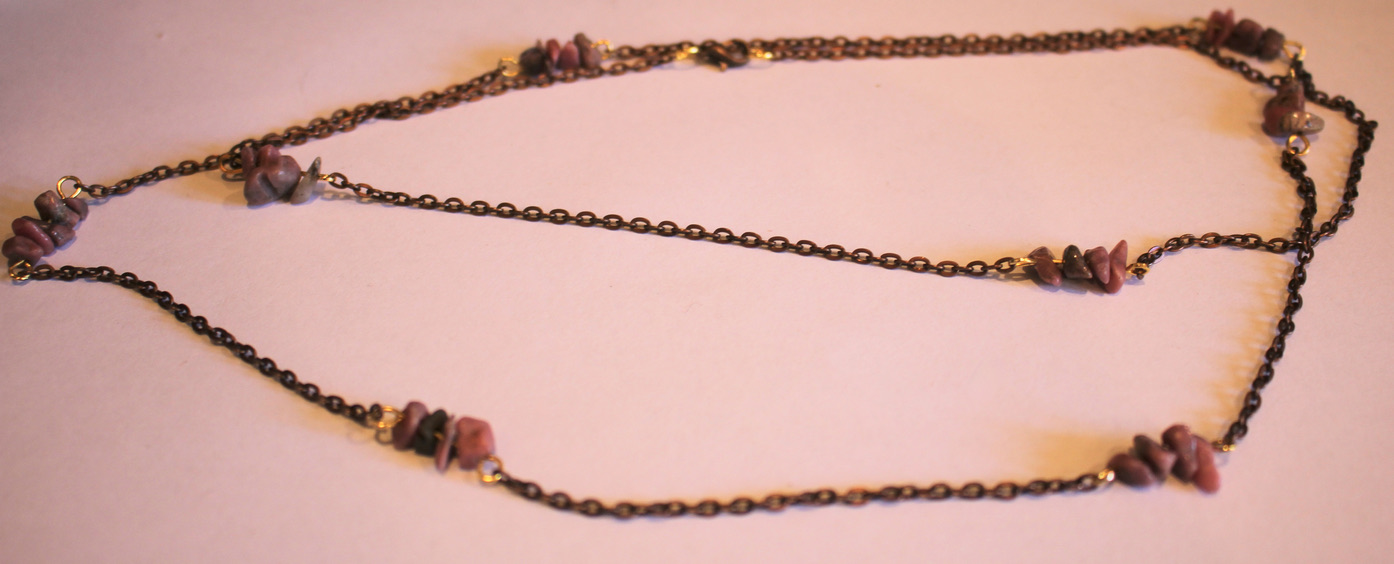
Now your beaded waist chain is finished and ready to wear! What gemstones will you use on your cute body chain design?
Find some more waist and body chain tutorials here
-
Here’s how to make a fruity waist chain!
This waist chain can be adjustable and is embellished with fun polymer clay fruit beads to make you feel like a tropical human fruit salad! This tutorial shows you a way to put beads on a chain for a fun effect! Please note that this tutorial contains affiliate links.
You’ll need the following tools and materials to make your fruit salad waist chain:
1: Pliers. I used my round nose and flat nose pliers.
2: Chunky chain long enough to fit your waist. Make it a little longer to make your belt adjustable.

3: Two large lobster clasps.

4: Two large jump rings.

5: Some head pins.

6: Beads. I used polymer clay beads in the shape of different fruits and some yellow glass beads.

Follow these steps to make your fruity waist chain:
1: Attach a clasp to either end of your chain using each of the jump rings. Open the jump ring and slide it through the end of the chain and the clasp. Close the ring to secure the clasp to the chain.


2: Set the chain aside.
3: Add beads to a head pin. I used a few glass beads and a fruit bead on mine.

4: Bend the top of the pin to form a right angle.

5: Create a loop at the top of the pin using the round nose pliers. This will secure the beads on the pin.


6: Open the loop slightly and attach it to one of the chain loops. Close the loop to secure the charm to the chain.


7: Make another charm that features only glass beads and place it on the chain next to the first charm.


8: Continue making fruit and bead charms and attach them to the chain in your chosen pattern until you have a fully beaded chain.

Now your waist chain is finished and ready to wear! You can also wear this design as a necklace.


Here are some other waist chain designs you can make:
-
How to make a fun sequinned waist chain! It can also be a sparkly necklace.
This waist chain is so much fun! Attach a rainbow of sequins to your waist length chain for a fun and festive accessory you can add to all your fave outfits! Please note that this tutorial contains affiliate links.
You’ll need the following tools and materials:
1: Pliers. I used my flat nose and round nose pliers for this DIY.
2: A piece of chain long enough to fit around your waist. I used some copper tone rolo chain.

3: A bunch of small jump rings.

4: A bunch of sequins with holes at the top.

5: Two larger jump rings.

6: A lobster clasp.

Here are the steps for making your sequin waist chain:
1: Add one of the larger jump rings to one end of the chain and attach the lobster clasp. Close the ring to secure the clasp in place.


2: Add the other larger jump ring to the other end of the chain.

3: Take a sequin and slide it onto one of the smaller jump rings.

4: Attach the sequin to the chain by sliding the open jump ring onto one of the chain links. Close the jump ring to secure it in place.


5: Continue adding sequins in your chosen pattern as you did in step 4 until the whole chain is sequinned up.

Now your rainbow sequin waist chain is ready to wear! So fun!


Here are some other sequin jewellery tutorials:
-
Do you love a waist chain? Here’s how to make one with an extra loop feature.
This design is really cool! I think chain belts or waist chains are a really fun way to add some 80s glam to your favorite dresses or skirts. Please note that this tutorial contains affiliate links.
You’ll need the following tools and materials to make your looped chain:
1: A length of chain long enough to fit around your waist with a little extra (approximately 20cm) to spare.

2: Three large jump rings.

3: A large lobster clasp.

4: Pliers. I used my round nose and flat nose pliers to make my chain belt.
Follow these steps to make your chunky waist chain:
1: Add a large jump ring and lobster clasp to one end of the chain.


2: Wrap the chain around your waist and find the point where it fits.

3: Add another jump ring to the point where the chain fits your waist, you should have some extra chain that dangles beyond this point.


4: Take the extra bit of chain and fold it back towards the long waist part of the chain.
5: Take the last jump ring and use it to attach the end of the chain to the main waist part of the chain to form a loop. Once this extra part of the chain is secured your looped waist chain is ready to wear! So so cute!


Here are some of our other body chain tutorials:
-
Here’s how to make a bohemian waist chain with cute charms!
Summer in the Northern Hemisphere might be held mainly at home, but that doesn’t mean that you can’t dress for the occasion. Make this charm embellished waist chain to add some summer fun to your wardrobe! This tutorial contains affiliate links.
You’ll need these tools and materials to make this waist chain with charm embellishments.
The Materials
1: Pliers. I used my round nose pliers (centre), flat nose pliers (right) and cutting pliers (left).

2: A piece of chain that fits comfortably around your waist. I used copper tone chain.

3: Jump rings. I used two.

4: Some head pins. I ended up using a couple more because I added some charms I had made previously (see the second picture below).


5: Beads. I used a mixture of glass beads and a metal butterfly-shaped bead.

6: A lobster clasp. This is a bad picture but I used one that matched the tone of my chain.

The Steps
Follow these steps to make your charm embellished waist chain:
1: Add the jump rings to either end of the chain and attach the lobster clasp. Secure the clasp by closing the jump ring using pliers.


2: Find the middle of the chain and set it aside for a minute.
3: Add each of the beads to the head pins.

4: Bend the head pins to form right angles.

5: Trim the pins so that there is only approximately 1cm left. Use your cutting pliers.


6: Loop the top of the pins using the round nose pliers. This will secure the beads on the pins.


7: Attach the beads to the chain by looping the top of each charm through the chain links. I added my first charm to the centre and then worked outwards.


Now the waist chain is finished and ready to wear in the sun! Don’t forget your sunscreen though, this cool piece of jewelry could leave a weird tan line 😉


Here are some other waist chain tutorials:
This tutorial contains affiliate links.
-
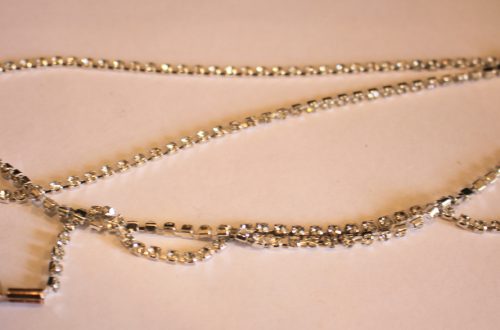
Add Some Sparkle for the Summer. Make This Waist Chain You can Also Wear as a Necklace
This waist chain is SUPER easy to make, and the perfect addition to your summer wardrobe. Pop it over your swimsuit, or add it when you’re wearing your favorite crop top for some extra cool.
You will need the following tools and materials to make this waist chain:
1: Pliers. You will need your round nose and flat nose pliers to make this waist chain.
2: A piece of chain long enough to fit around your waist. I used this chunky chain.

3: Two large jump rings.
4: A lobster clasp.

Follow these steps to make your waist chain:
1: Add a jump ring to one end of the chain and slide on the lobster clasp. Close the jump ring to secure the clasp in place.

2: Add the other jump ring to the other side of the chain and close it to secure it in place.

Once the jump rings are added the waist chain is finished and ready to wear!! How easy was that? And you can also wear it as a simple necklace too!