
What do I do with these things? Here’s How to Make Earrings Using Charm Connectors
I’ve already showed you how you can use charm connectors to make a multi-strand bracelet, but I thought I would show you how to use them to make some pretty earrings as well! I like using charm connectors because they make simple pieces appear more intricate and complicated. So here we go… check out these steps to make your own cute earrings using charm connectors.
You will need the following tools and materials to make these earrings:
1: Pliers.
To make these earrings you will need to use round nose pliers, flat nose pliers and cutting pliers.

2: Two charm connectors.

3: Two head pins.

4: Two pieces of chain.
These pieces are each 9cm (3.5 inches) long.

5: Four jump rings.

6: Two earring hooks.

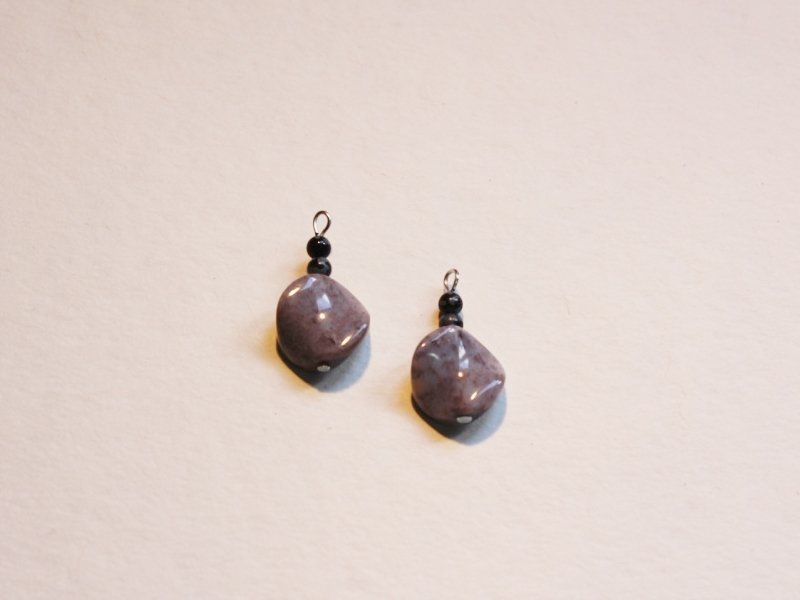
7: Beads of your choice.
For this design I used two purple jasper beads and four round snowflake obsidian beads (unfortunately the spots don’t show up very well in this image but they are very pretty).


The Steps:
1: Start by threading the beads onto each of the head pins.

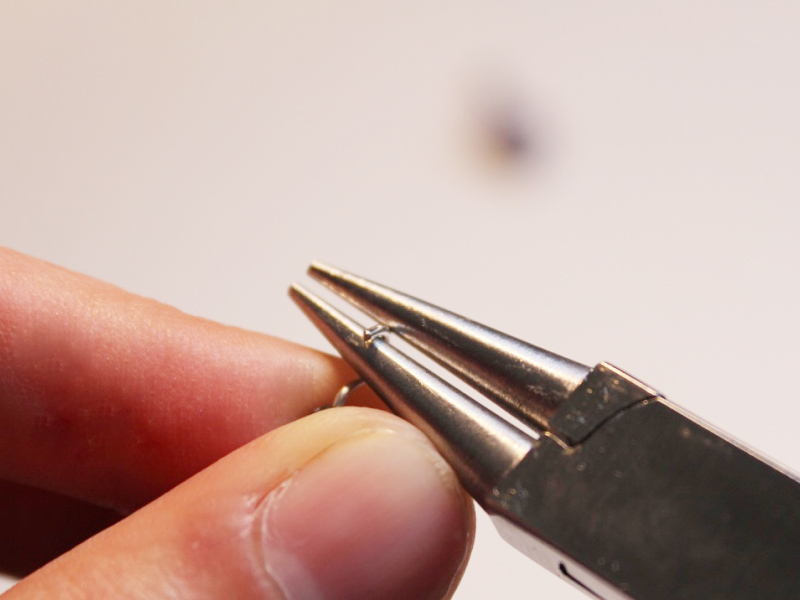
2: Once the beads have been threaded, use the round nose pliers to bend the remaining pin at a right angle to the beads.


3. Trim the pins to approximately 1cm (0.4 inches) from the top of the beads using the cutting pliers. Be careful and try to hold the pin on either side of the pliers to prevent the trimmed end from flying away!


4. Use the round nose pliers to create a loop at the end of the head pins and secure the beads in place. Repeat this step for both of your beaded head pins.

5. Open each loop slightly and slide one head pin onto the center loop of each charm connector.


6. Use the round nose pliers again to close the loop and secure the pin onto the charm connector.

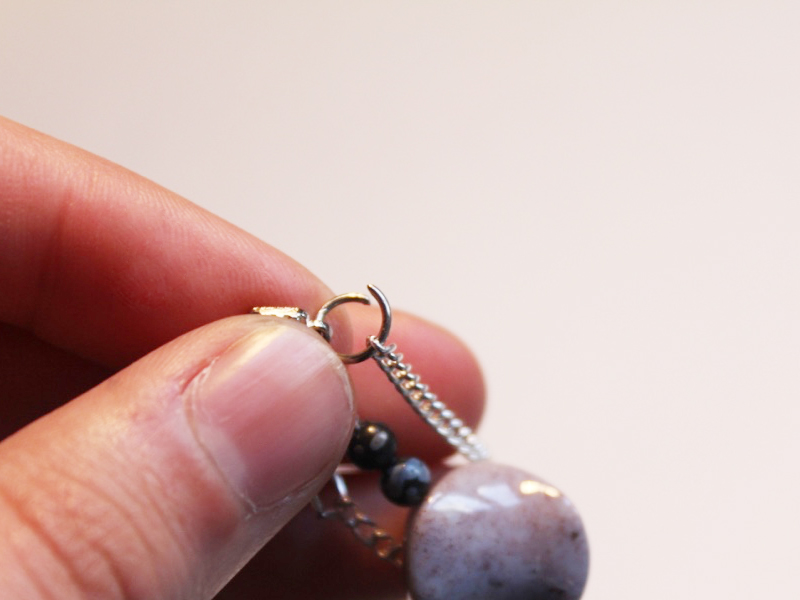
7. Open a jump ring using the round nose pliers (and the flat nose pliers if it is a strong one) and slide it onto one of the loops on the charm connector.

8. Leaving the jump ring open, slide one end of a piece of chain onto the ring. Once the chain has been attached, close the jump ring again using the pliers.


9. Repeat steps 7 and 8 to secure the opposite end of the chain to the last loop on the charm connector.

10. Repeat steps 7 to 9 for the other earring charm.

11. Use the round nose pliers to open the loop on one earring hook.

12. Slide the completed charm onto the earring hook loop and then close again using the round nose pliers. Repeat steps 11 and 12 for the remaining earring.

13. Now your charm connector earrings are complete and ready to wear with flair!
Here are some more charm connector tutorials that you can try:
- A delicate charm connector anklet
- a beaded bangle featuring a charm connector
- a charm connector toggle bracelet
- a braided charm connector stack bracelet
- Using charm connectors to make a multi-strand bracelet
- A multi-strand charm connector choker
This article contains affiliate links
DIY Jewelry Hub
Welcome to DIY Jewelry Hub. If you’ve ever wanted to learn how to make your own jewelry this is the place to start! Jewelry is a great way to show off your individuality and style. You’ll be surprised at how easy it is to create your own unique pieces! DIY Jewelry Hub will equip you with all the knowledge and inspiration you need to make your own jewelry.
You May Also Like

These minimalist earrings are a hit! Make your own right now!
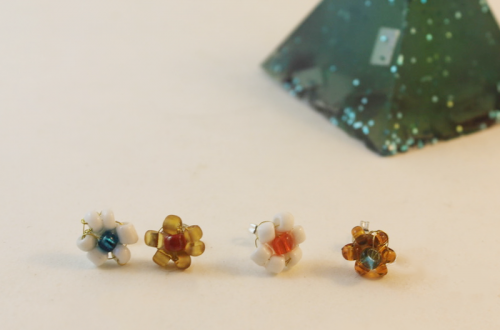
Do you love florals? Why not make these cute beaded flower stud earrings?!
