
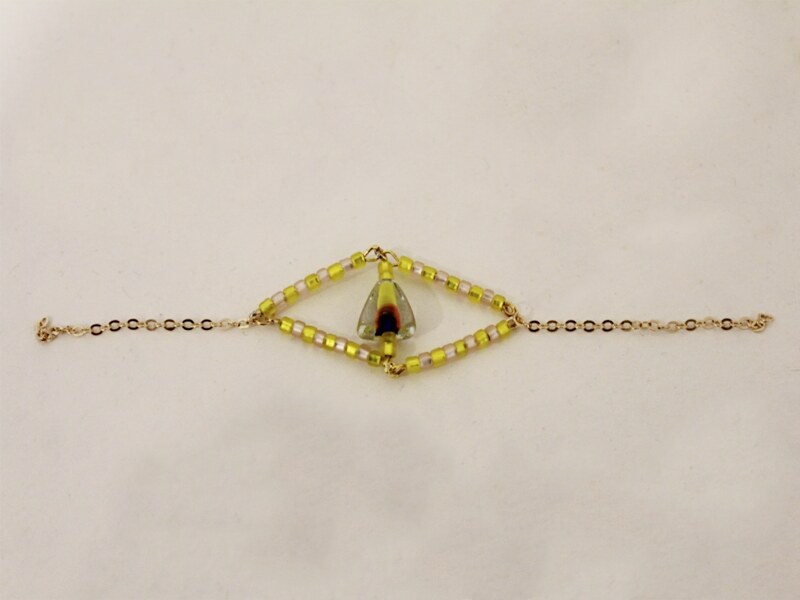
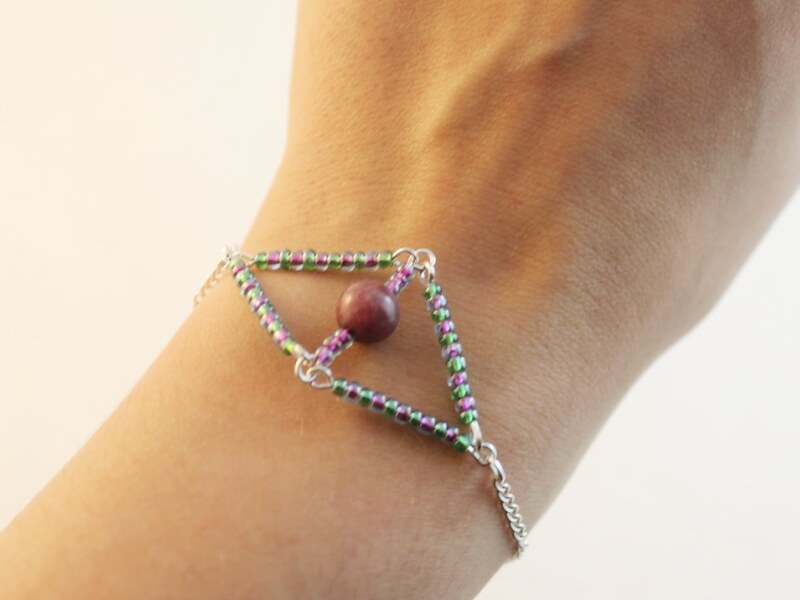
Need to see more? Why not make this cool diamond eye charm?

This charm is made using multiple eye pins, connected together to form a diamond ‘eye’ shape. This style of charm looks great as a bracelet, or you could use it to make a charming and unique choker necklace. I even made a pair of earrings using this technique!
You will need the following tools and materials to make this eye charm bracelet:
1: Pliers. You will need your flat nose pliers, round nose pliers and flat nose pliers to make this bracelet.

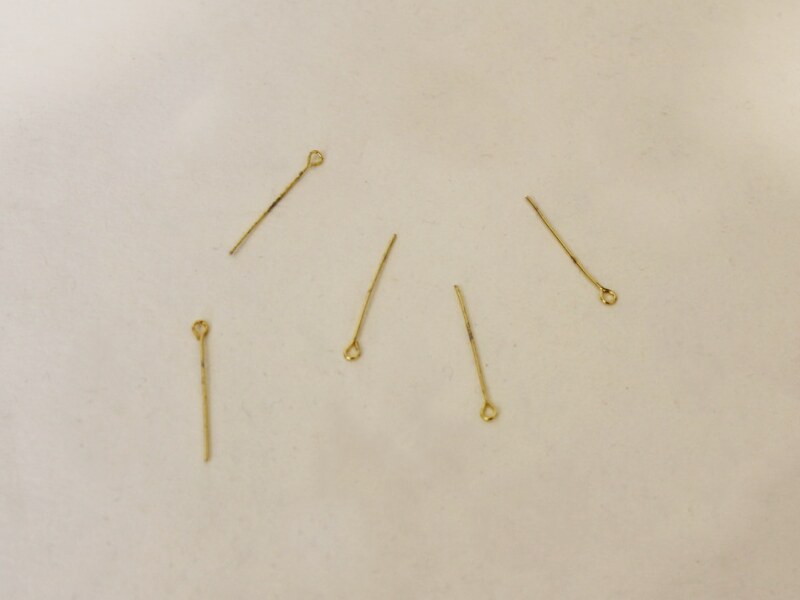
2: Five eye pins.
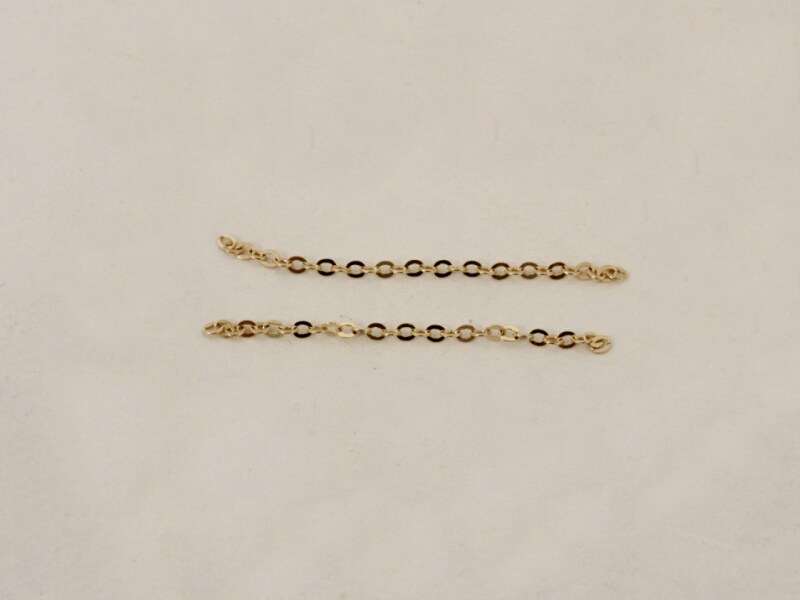
3: Two pieces of chain to fit around your wrist. Remember not to make them too long, the eye charm will add some length to your bracelet.
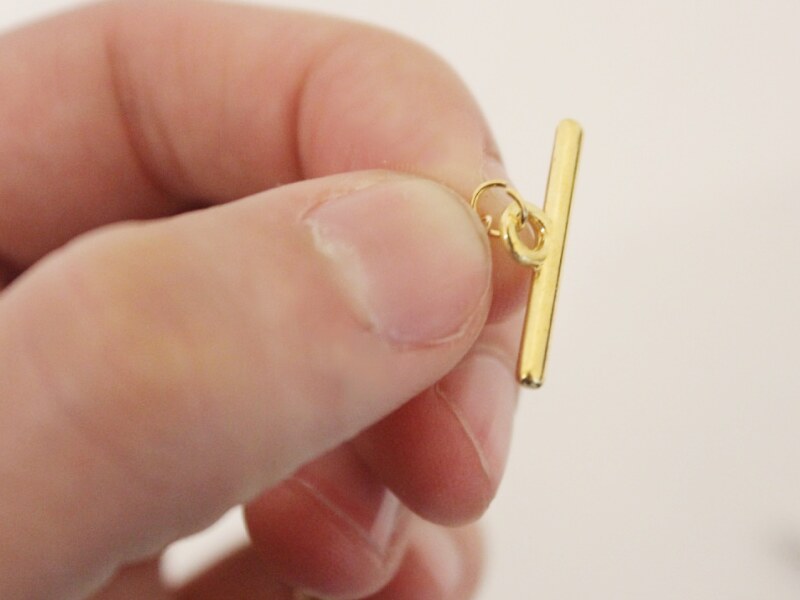
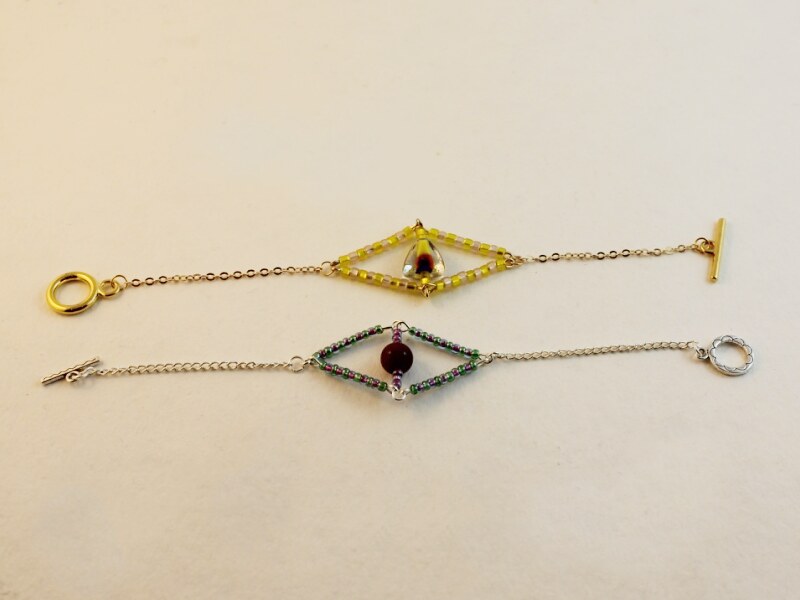
4: One toggle clasp.

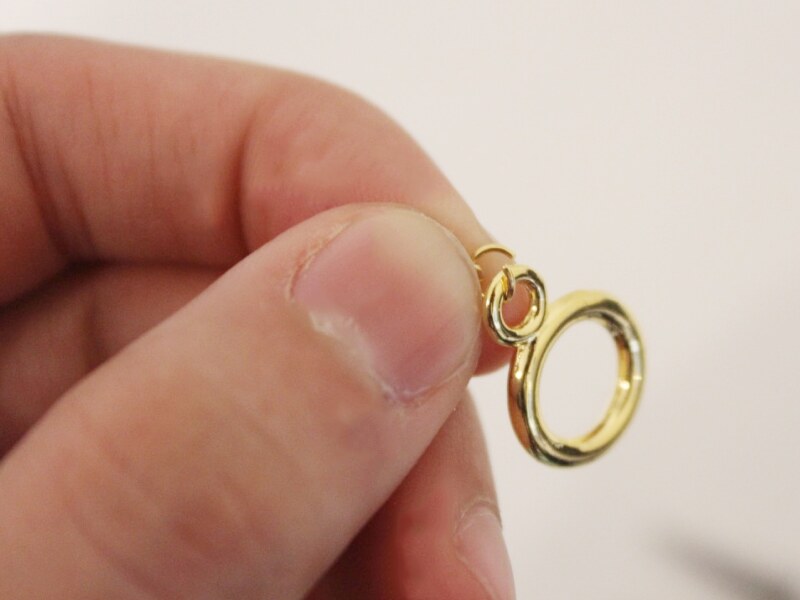
5: Four jump rings.

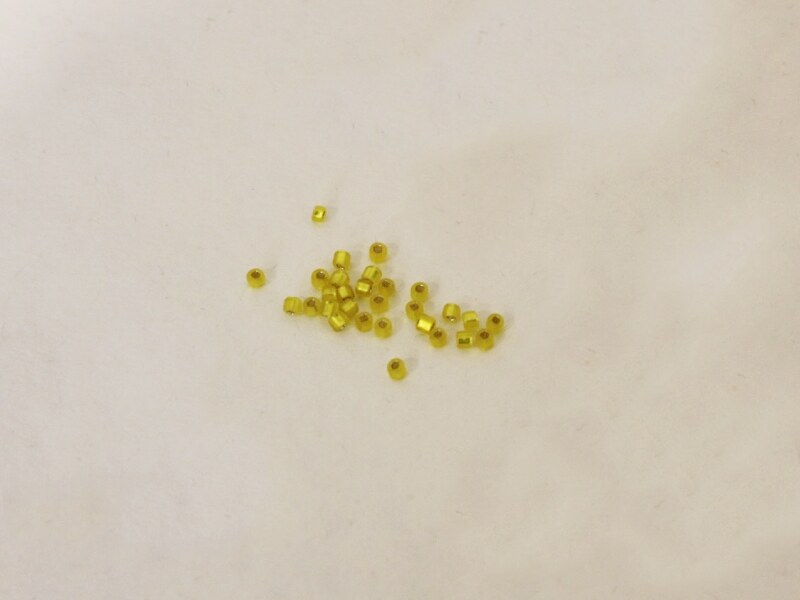
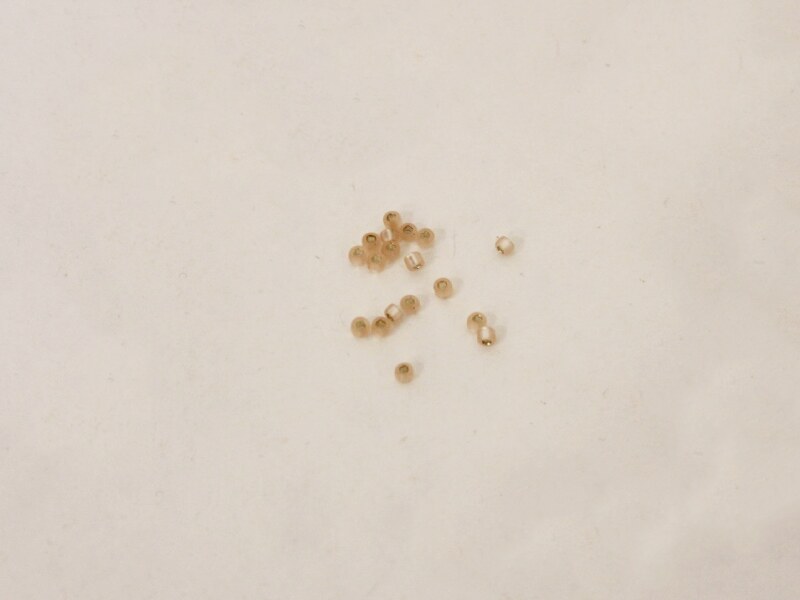
6: Seed beads. I used these pink and yellow beads.
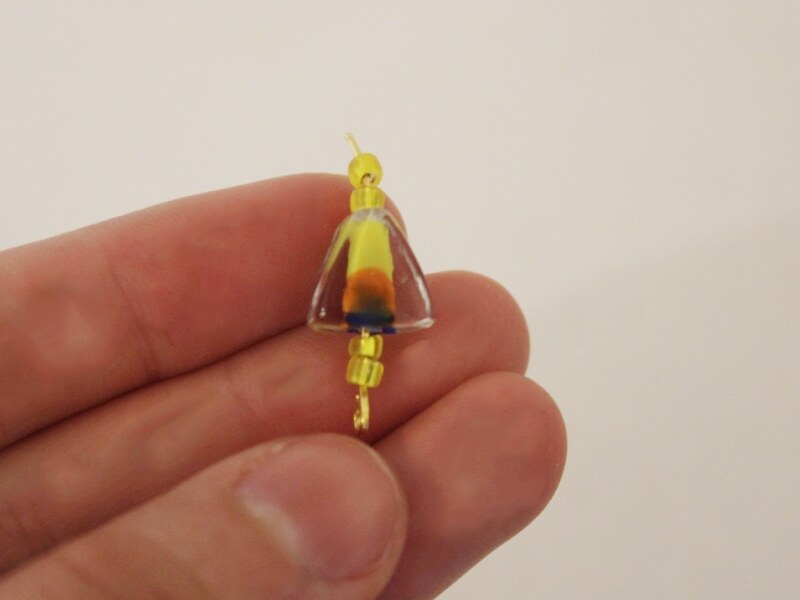
7: One feature bead. I used this triangular glass bead.

Follow these instructions to make your own eye charm bracelet:
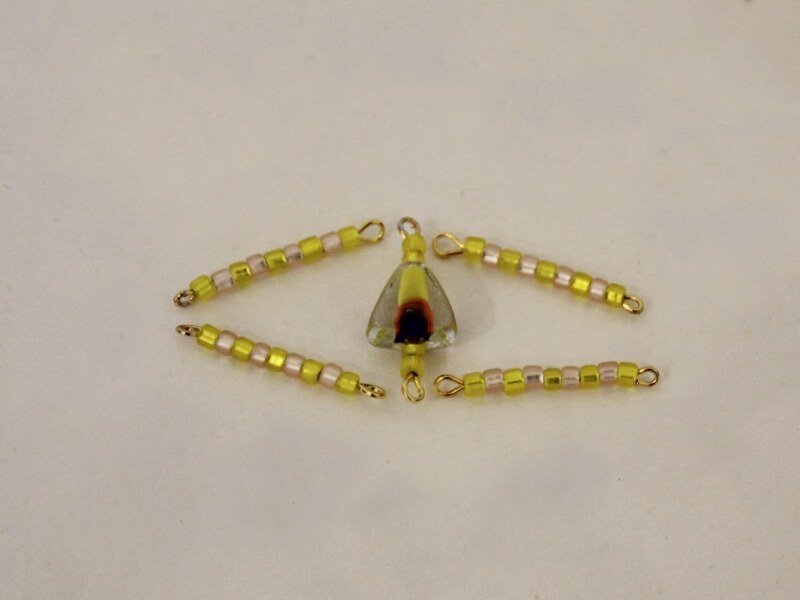
1: Begin adding seed beads to four of the eye pins. I added mine in a pattern alternating between yellow and pink.
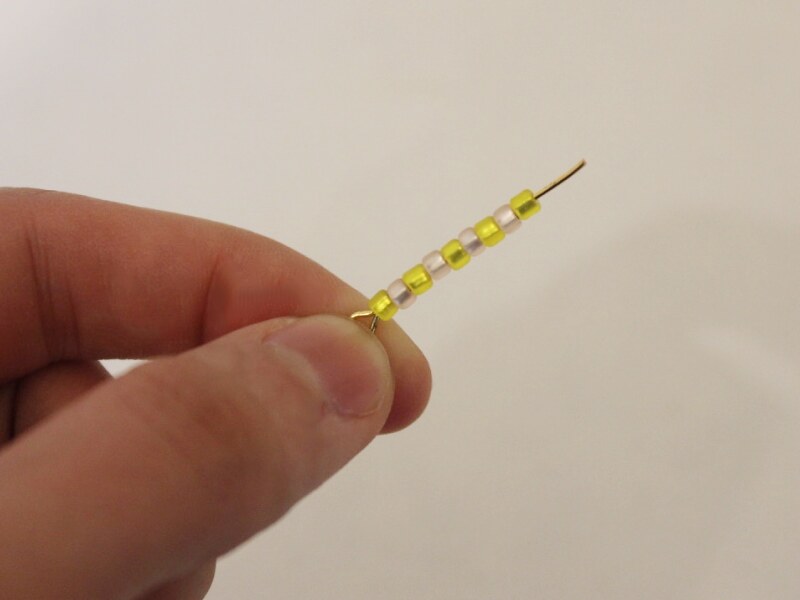
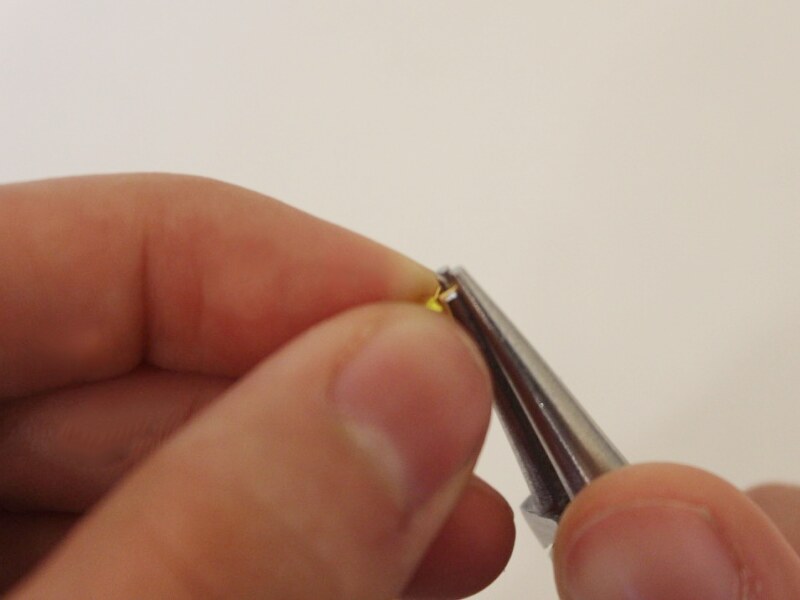
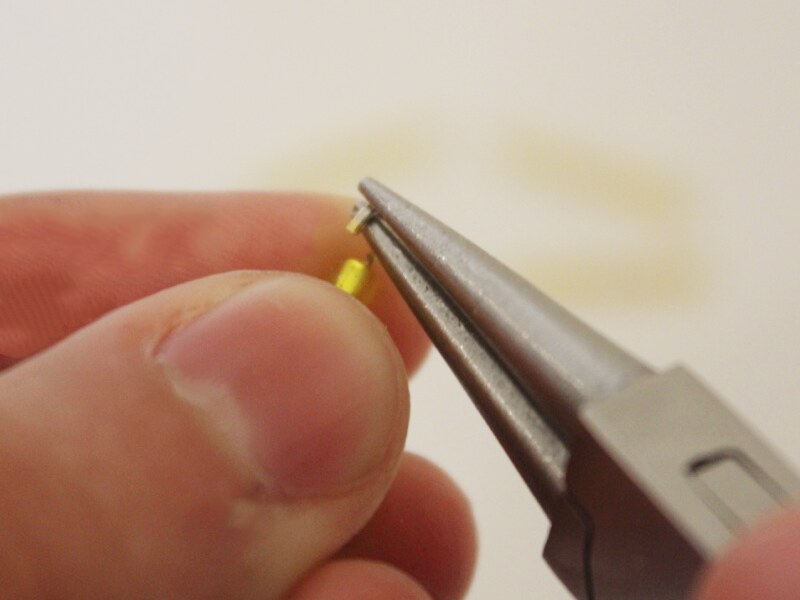
2: Bend each pin at a right angle using the round nose pliers. Make sure you do this for all of the pins.
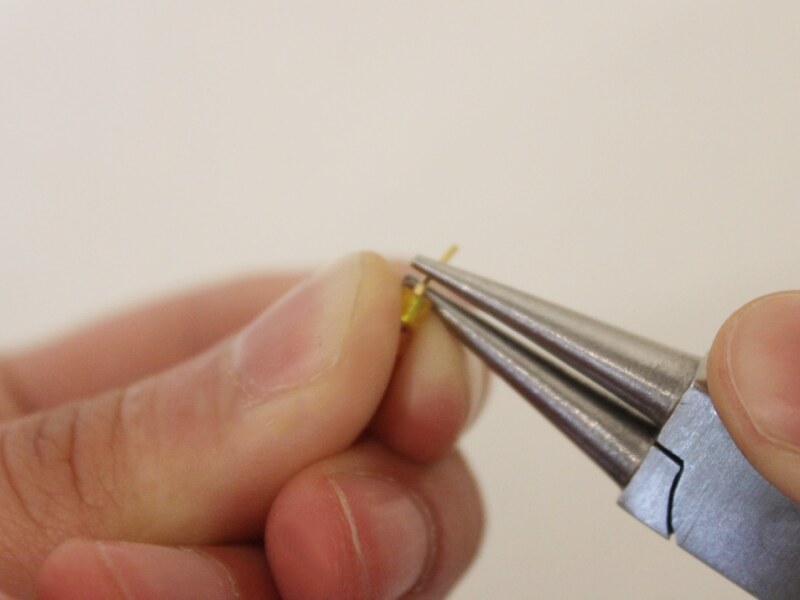
3: Curl the end of the pins into a loop to secure the beads in place. Make sure you do this for all the pins.

4: Add beads to the fifth pin, add the large feature bead to the middle of this pin.
5: Repeat steps 2 and 3 to secure the beads on the 5th pin.

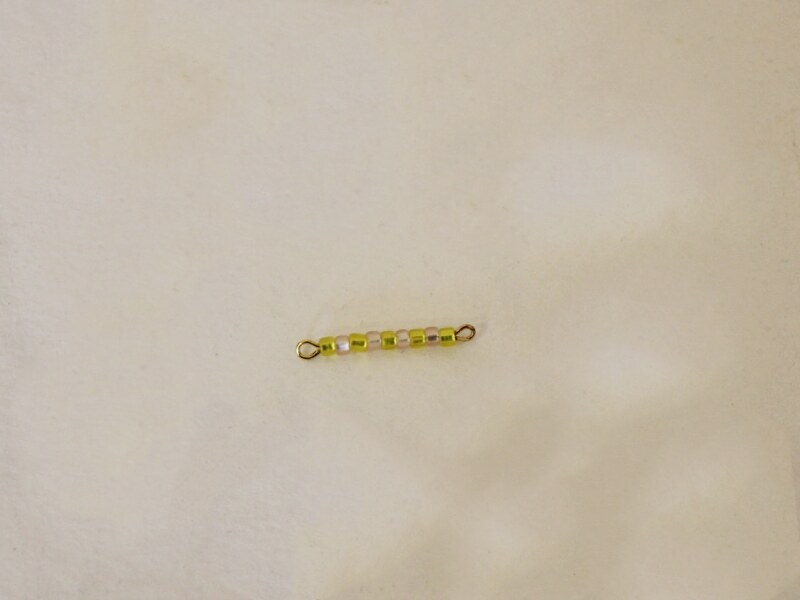
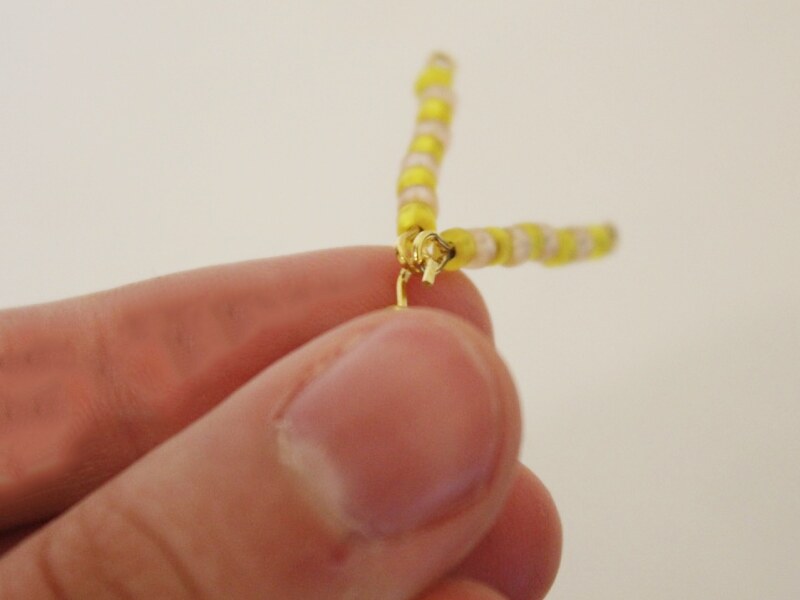
6: Once all the pins are completed, open a loop on one end of the center pin and attach two of the seed bead pins.

7: Secure the pins in place by closing the loop.
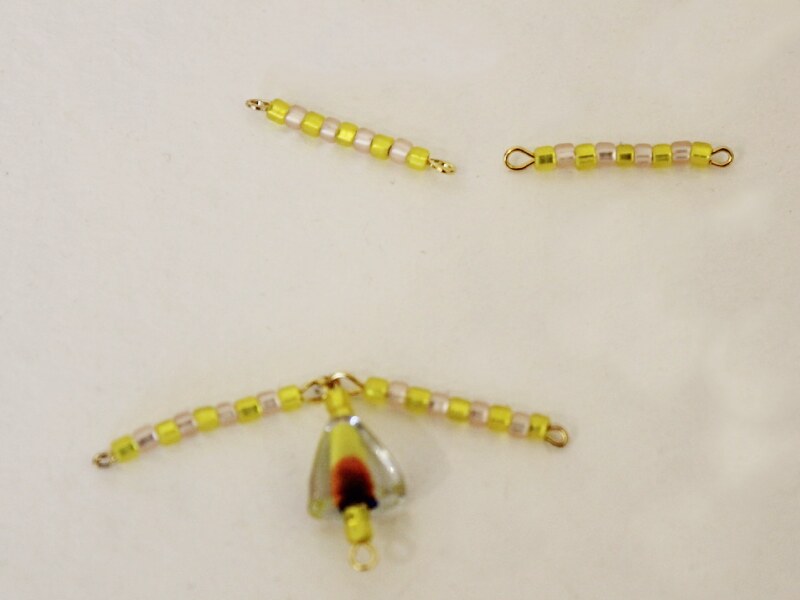
8: Repeat steps 6 and 7 for the other side of the center pin.

9: Open one of the jump rings and slide the ends of the pins on one side of the charm onto it.
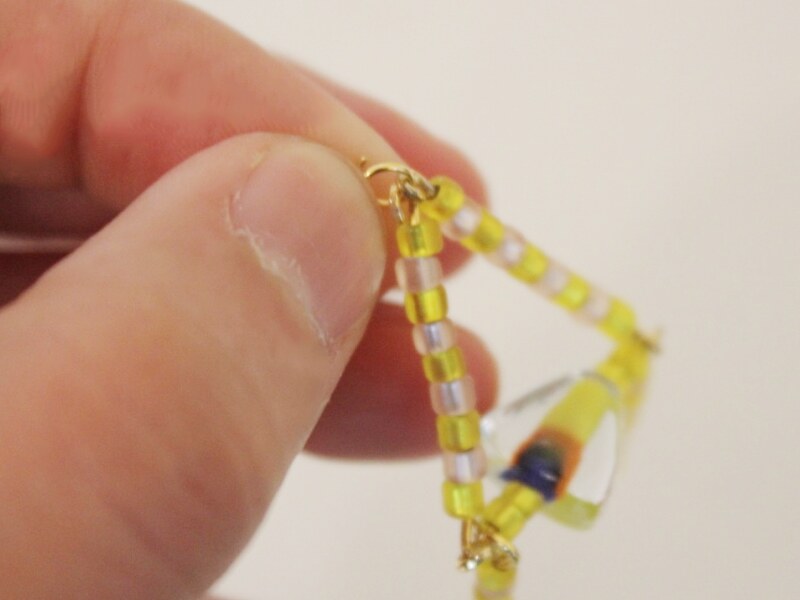
10: Repeat this step for the other side.
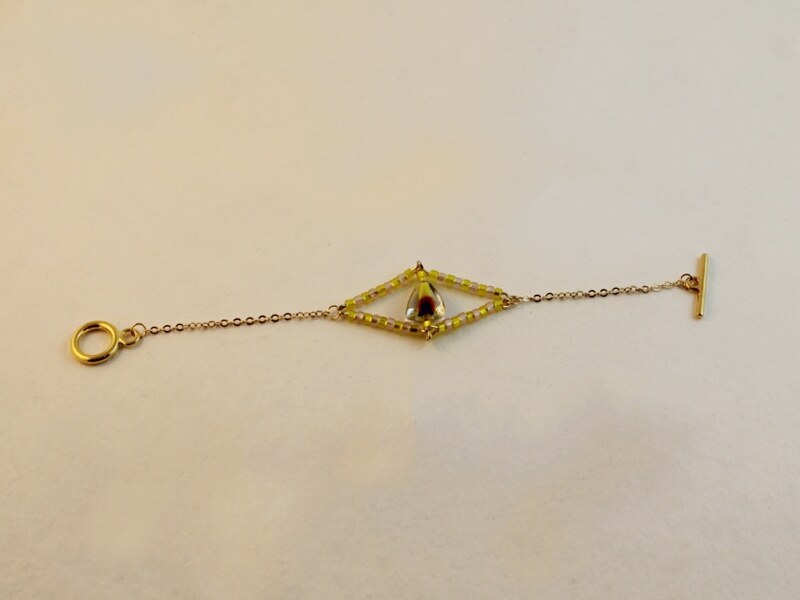
11: Add a piece of chain to each side of the charm.
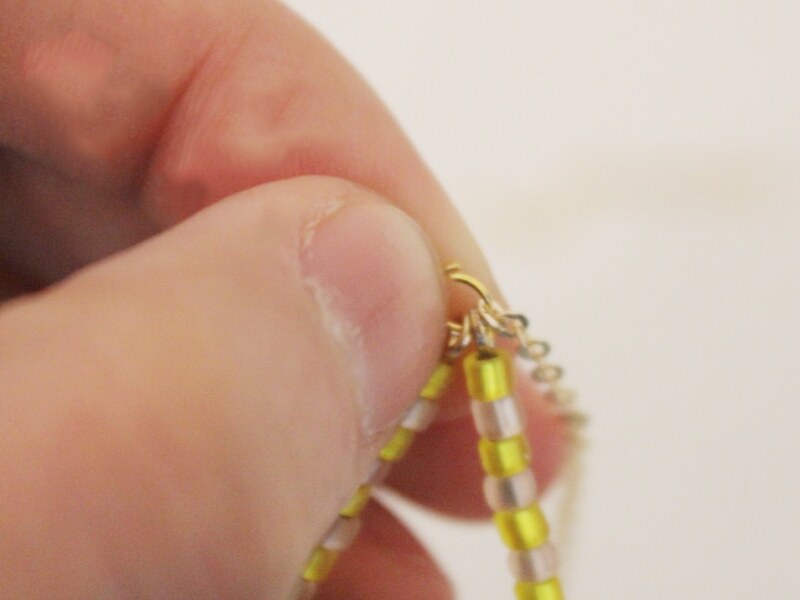
12: Add another jump ring to either end of the chain and attach the toggle clasp.
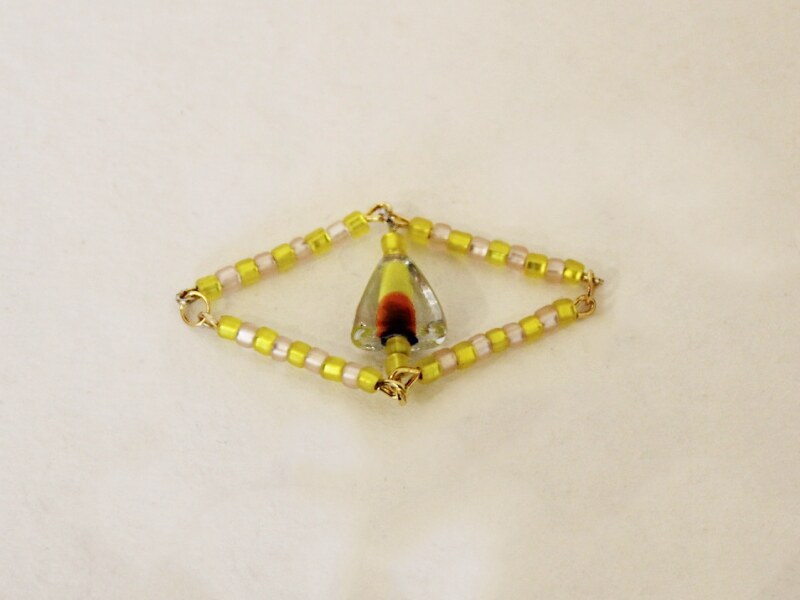
Once your toggle clasp is in place your bracelet is ready to wear! Here are some different designs made using this technique.

DIY Jewelry Hub
Welcome to DIY Jewelry Hub. If you’ve ever wanted to learn how to make your own jewelry this is the place to start! Jewelry is a great way to show off your individuality and style. You’ll be surprised at how easy it is to create your own unique pieces! DIY Jewelry Hub will equip you with all the knowledge and inspiration you need to make your own jewelry.
You May Also Like

Here’s how to make a bracelet using beading thread and a needle!

A Double Chain Bracelet, Because Two is Better Than One!
