Crochet Couture: Create Your Own Stylish Rings with Our Simple Tutorial!
This ring is so so sweet and simple to make! All you need is some ribbon and a crochet hook and then you can make all the little bow-tied crochet rings your heart desires. Please note that this tutorial contains affiliate links for which we may receive a commission.
You’ll need the following tools and materials to make your crochet ring:
1: A piece of ribbon. I used this thin pink ribbon that I recycled from a previous project.

You can get similar ribbon here:
2: A crochet hook that matches the size of your ribbon, you will need a thicker hook for a thicker ribbon.

You can get crochet hooks here:
3: Scissors for trimming the ends of your ribbon.

You can get some scissors here:
Follow these steps to make your crochet ring:
1: Create a slip knot at one end of the ribbon, leaving a short tail that you will use to make your bow.

2: Tighten the knot around the crochet hook.

3: Take the long end of the ribbon and create a loop around the crochet hook in front of the knot loop.

4: Take the first loop and pull it over the second loop you just made and off the crochet hook. This is your first stitch.


You can see an example of what to do in this video.
5: Repeat steps 3 and 4 to continue your crochet chain. Keep going until you have a piece long enough to fit your finger.


6: When your chain is long enough, take it off the crochet hook.

7: Put the long end of the ribbon through the loop at the end of the crochet chain and then pull it tight to secure the chain.


8: Trim the long end of the ribbon so that it is the same length as the end you left at the start of the ring.


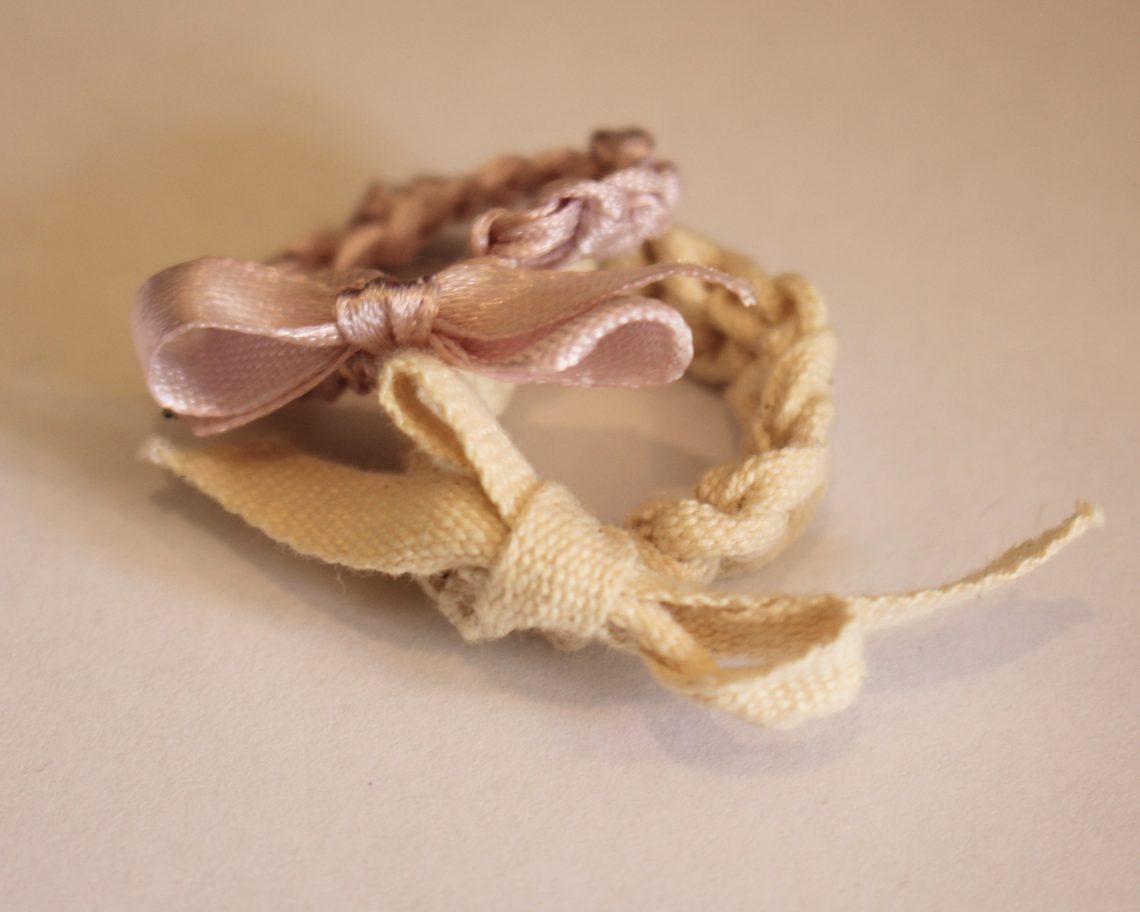
9: Tie the ends of the ribbon into a bow to form the ring shape.


10: Trim the ends of the ribbon if required.

Now you’re adorable crochet bow ring is finished and ready to wear!


Here’s another version I made with a thicker ribbon in a neutral tone.


Love it!


DIY Jewelry Hub
Welcome to DIY Jewelry Hub. If you’ve ever wanted to learn how to make your own jewelry this is the place to start! Jewelry is a great way to show off your individuality and style. You’ll be surprised at how easy it is to create your own unique pieces! DIY Jewelry Hub will equip you with all the knowledge and inspiration you need to make your own jewelry.


You May Also Like
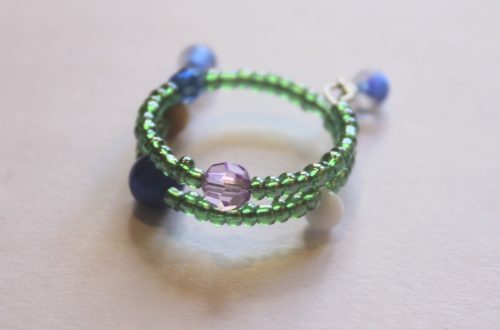
Do you need a new ring to cheer up your fingers? This one is fun!

You’ll wanna Make so many of these beaded rings. Here’s how to make them…
