-
Crochet Couture: Create Your Own Stylish Rings with Our Simple Tutorial!
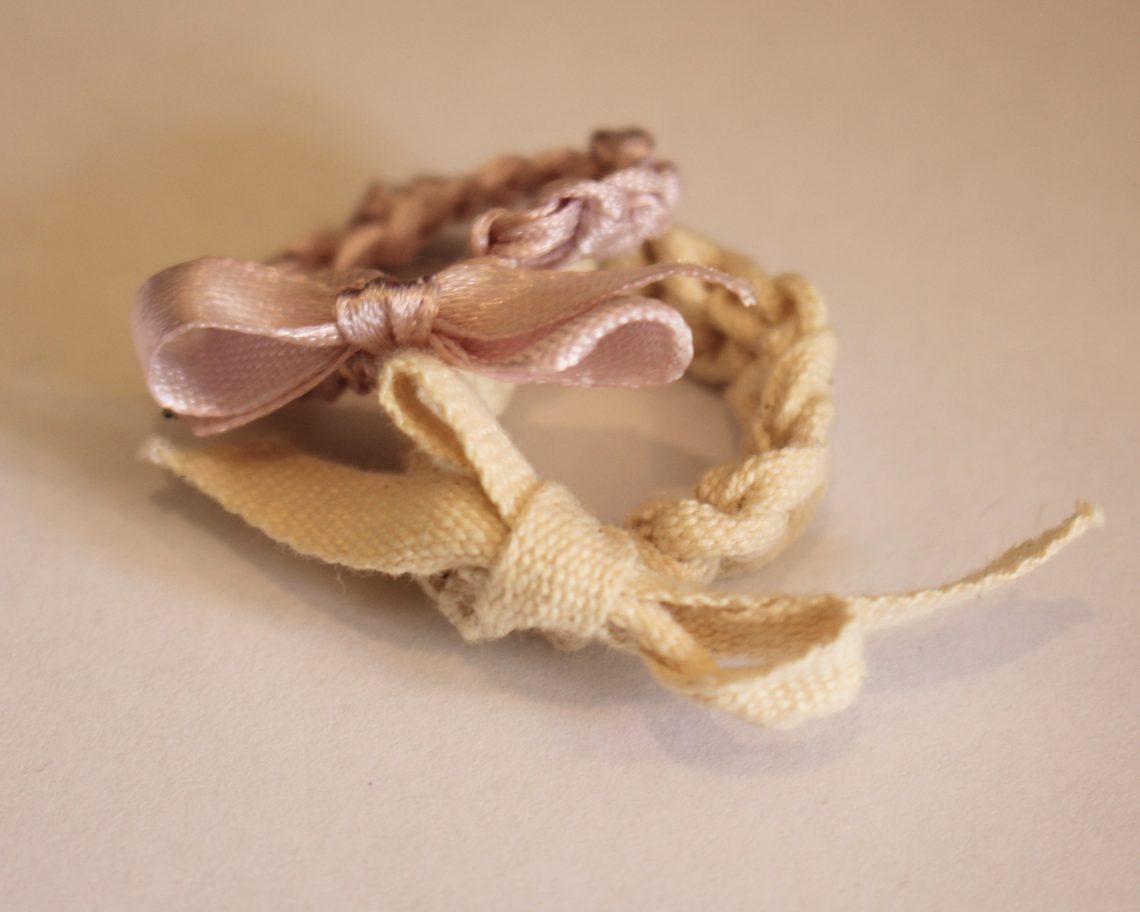
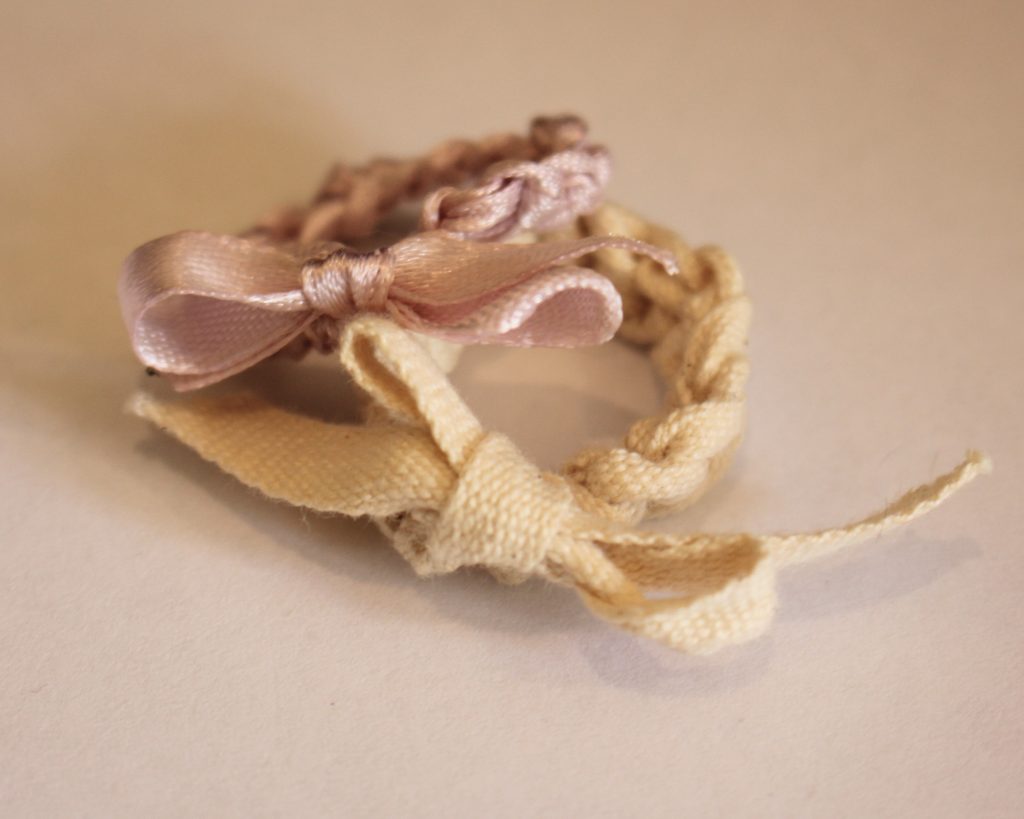
This ring is so so sweet and simple to make! All you need is some ribbon and a crochet hook and then you can make all the little bow-tied crochet rings your heart desires. Please note that this tutorial contains affiliate links for which we may receive a commission.
You’ll need the following tools and materials to make your crochet ring:
1: A piece of ribbon. I used this thin pink ribbon that I recycled from a previous project.

You can get similar ribbon here:
2: A crochet hook that matches the size of your ribbon, you will need a thicker hook for a thicker ribbon.

You can get crochet hooks here:
3: Scissors for trimming the ends of your ribbon.

You can get some scissors here:
Follow these steps to make your crochet ring:
1: Create a slip knot at one end of the ribbon, leaving a short tail that you will use to make your bow.

2: Tighten the knot around the crochet hook.

3: Take the long end of the ribbon and create a loop around the crochet hook in front of the knot loop.

4: Take the first loop and pull it over the second loop you just made and off the crochet hook. This is your first stitch.


You can see an example of what to do in this video.
5: Repeat steps 3 and 4 to continue your crochet chain. Keep going until you have a piece long enough to fit your finger.


6: When your chain is long enough, take it off the crochet hook.

7: Put the long end of the ribbon through the loop at the end of the crochet chain and then pull it tight to secure the chain.


8: Trim the long end of the ribbon so that it is the same length as the end you left at the start of the ring.


9: Tie the ends of the ribbon into a bow to form the ring shape.


10: Trim the ends of the ribbon if required.

Now you’re adorable crochet bow ring is finished and ready to wear!


Here’s another version I made with a thicker ribbon in a neutral tone.


Love it!

-
How to make a delicate wire charm ring!
This is a cute ring that is my take on the dainty jewelry trend.
Use some wire, a head pin, a jump ring and a special bead to make your own delicate and dainty wire ring without the need for fire!
I think this ring looks great on its own, and stacked with other pieces you have in your jewelry box.
Please note that this tutorial contains affiliate links.
You’ll need these tools and materials to make this ring:
1: Pliers. I used my cutting and round nose pliers, but its always good to have your flat nose pliers on hand too.

2: Some wire. I used this 0.8mm thick gold-filled wire.

3: A jump ring that matches the colour of your wire.

4: A head pin that matches the colour of your wire.

5: A bead of your choice. I used this squashed round opalite bead.

6: A ring mandrel or something else round that is the size of the ring you want to make.

Follow these steps to make your own special dainty ring:
1: Bend one end of your wire to form a right angle.

2: Bend the right angle into a loop using the barrel of the round nose pliers.


3: Bend the wire around the ring mandrel.

4: Trim off any excess wire.

5: Bend the other side of the wire the same way you did in steps 1 and 2.


6: Link the ends of the wire together to form the ring loop.


7: Set the ring aside so you can work on the charm.
8: Add the bead to the head pin.

9: Loop the top of the head pin using the round nose pliers. This will secure the bead in place.

10: Attach the charm to the ring using the jump ring then close the jump ring to secure the charm in place.

Now your ring is finished and ready to wear! Will you make loads and stack them high on your finger or just wear one?


-
Do you need a new ring to cheer up your fingers? This one is fun!
This ring is pretty fun, made with a mixture of different beads threaded onto some ring sized memory wire, this ring is cute, versatile and cheerful. I enjoyed making this one while I was chilling at home. This tutorial
You’ll need these tools and materials to make your own fun memory wire ring:
1: Pliers. I used my round nose pliers, cutting pliers (to cut the memory wire) and flat nose pliers.
2: Ring-sized memory wire. I cut mine to have two full coils.

3: Beads. I used a mixture of feature beads in different materials, two matching beads for the charms and some green glass seed beads.


4: Two small head pins.

5: Two small jump rings.

Here’s the steps to make your cool beaded memory wire coil ring.
1: After cutting your ring wire to your desired length, create a circle at one end using your round nose pliers.


2: Begin adding beads. I added mine in a random pattern alternating between feature beads and green glass beads.


3: Bead the ring until you have approximately 1cm left unbeaded.

4: Coil the end of the wire like you did at the start to form a loop and secure the beads on the wire.


5: Set the ring aside.
6: Add the two matching beads to each of the head pins.

7: Coil the tops of the headpins around the barrel of the round nose pliers to secure the beads in place.


8: Attach each of the bead charms to the end loops of the ring using the small jump rings.


Now your ring is finished! It will stretch to fit larger fingers too which is pretty cool. Will you wear your charms backwards or forwards?


It is great if you can make this design with materials you already have at home, but if you need supplies, this tutorial contains affiliate links.
Here’s another memory wire ring tutorial that uses polymer clay.
-
Want a cute new ring? Here’s a super easy way to make one out of chunky chain.
Are you ready for a super simple DIY? Make this chunky chain ring! I keep reading over and over that chunky chains are trendy right now. This ring tutorial is a fun way to dip your toe into this fun new jewelry trend.
You’ll need just a few tools and materials to make this cool chain ring:Pliers. I used my round nose and flat nose pliers.
1: Pliers. I used my round nose and flat nose pliers.


2: Some chunky chain
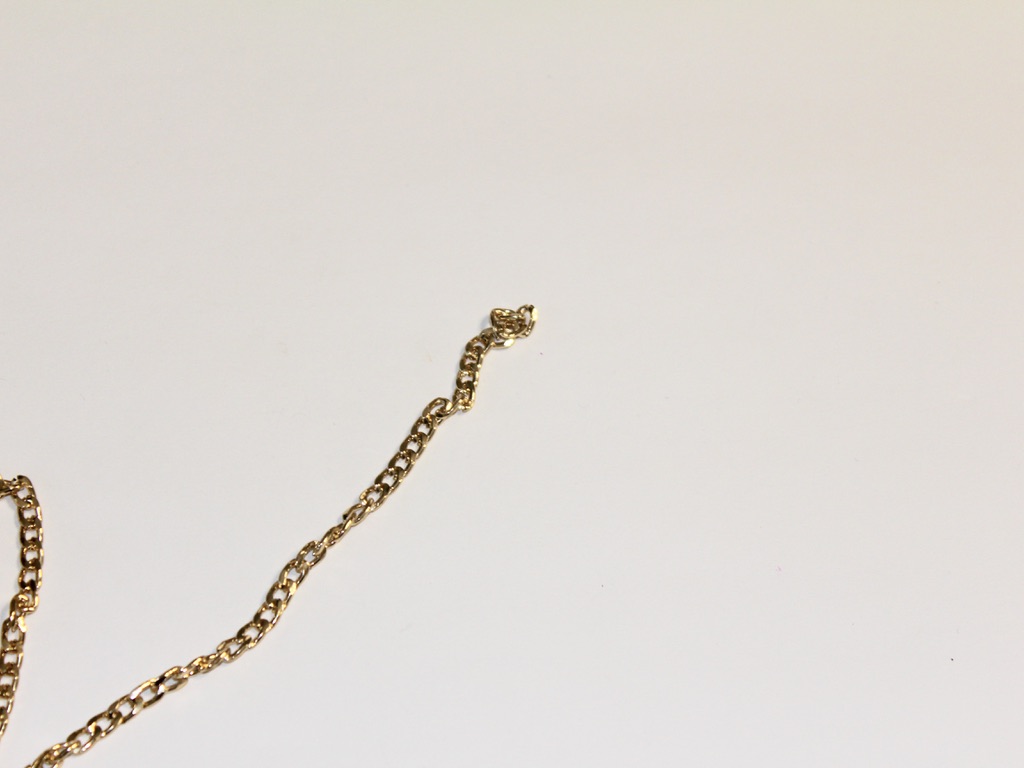
Now you can make your ring:
1: Wrap the chain around your finger to get the right size.
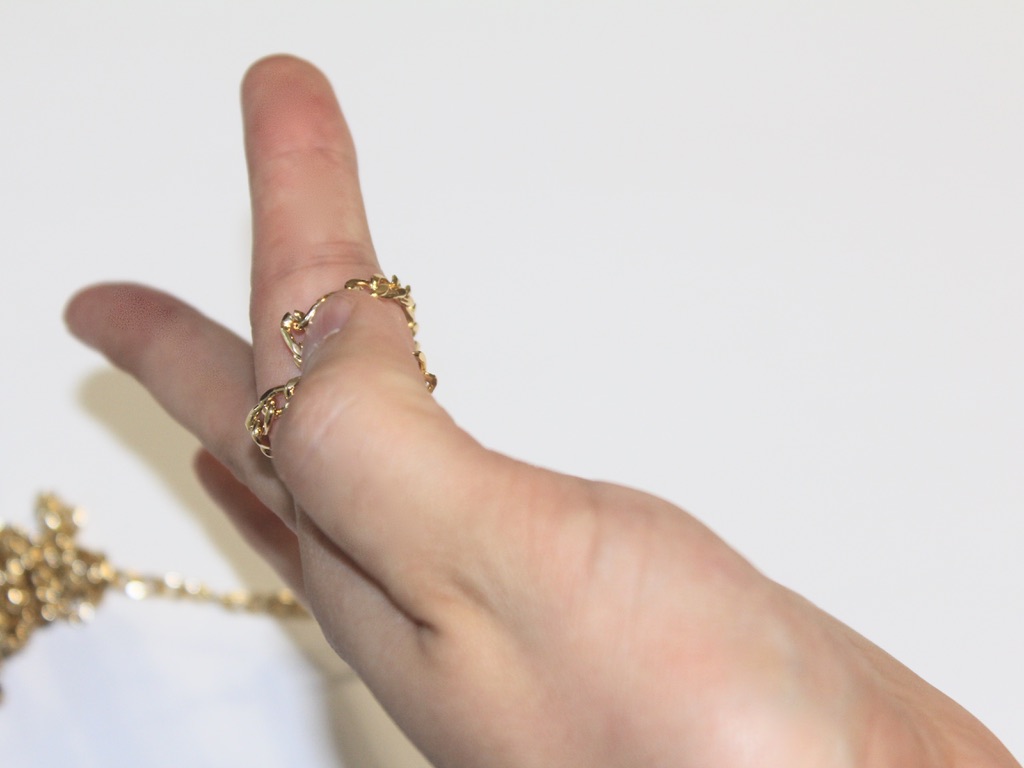
2: Open a link and detatch the short amount of chain that you measured out.
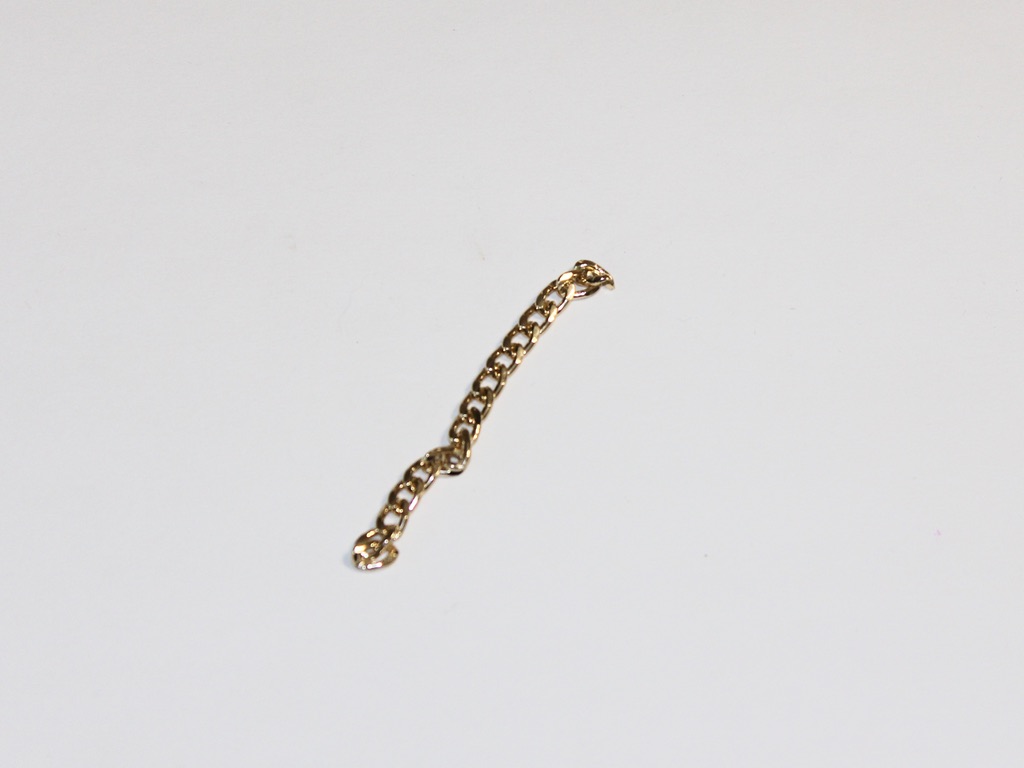
3: Form a loop and put the end link into the open one.
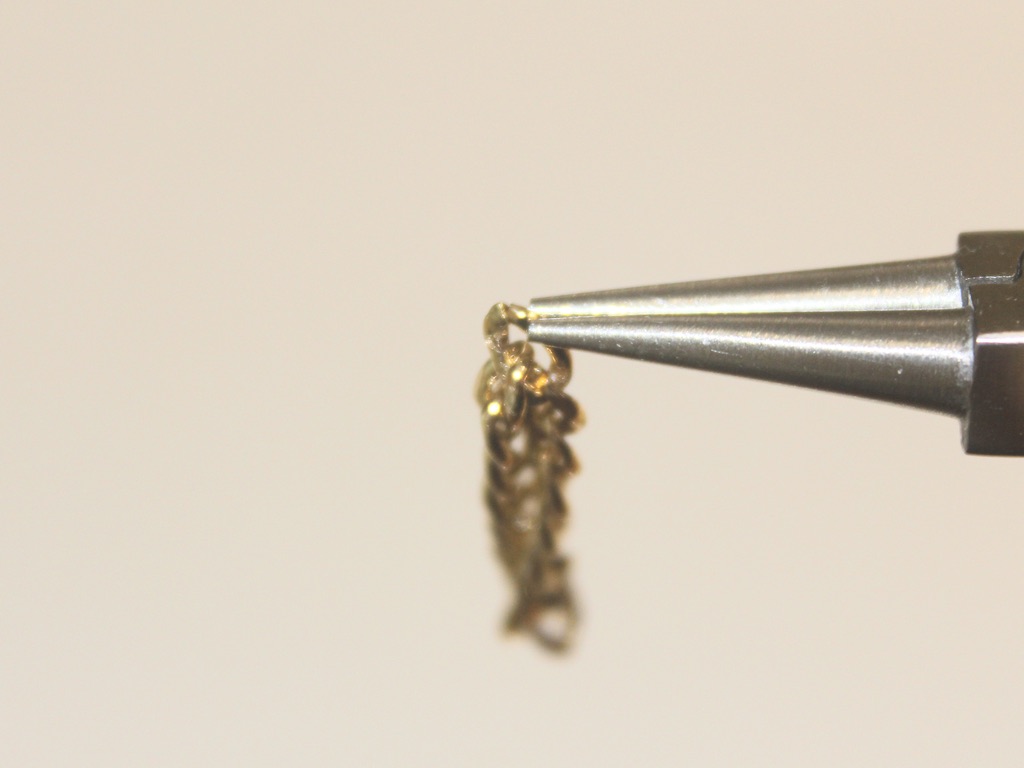
4: Close the link to form a circle.
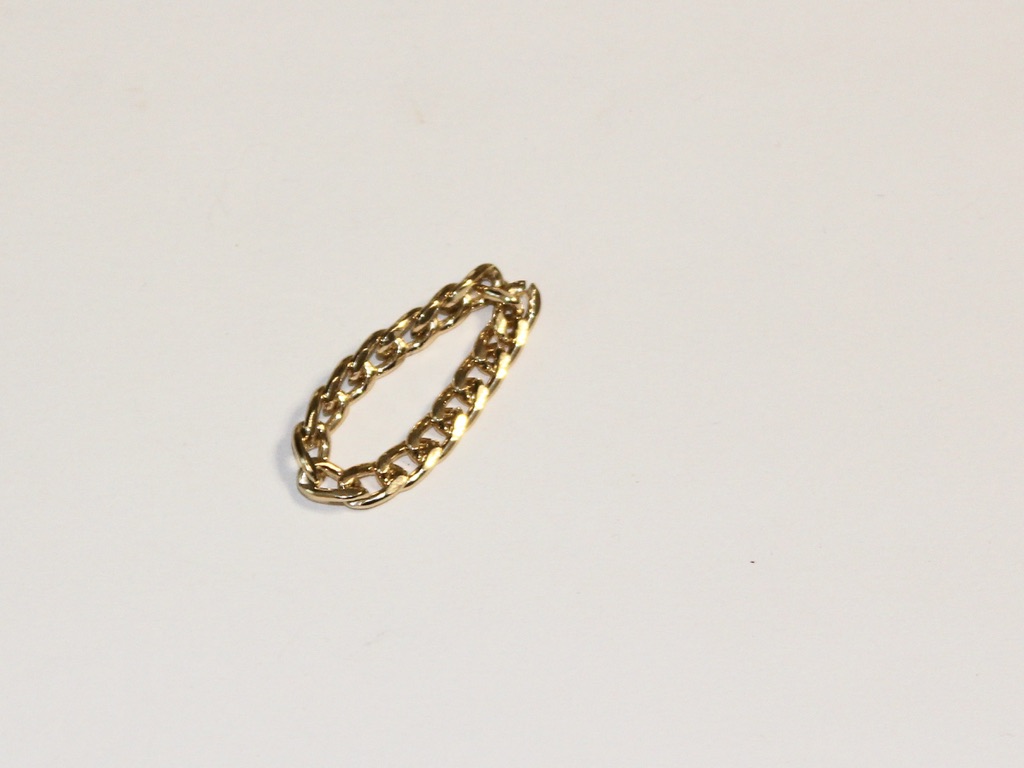
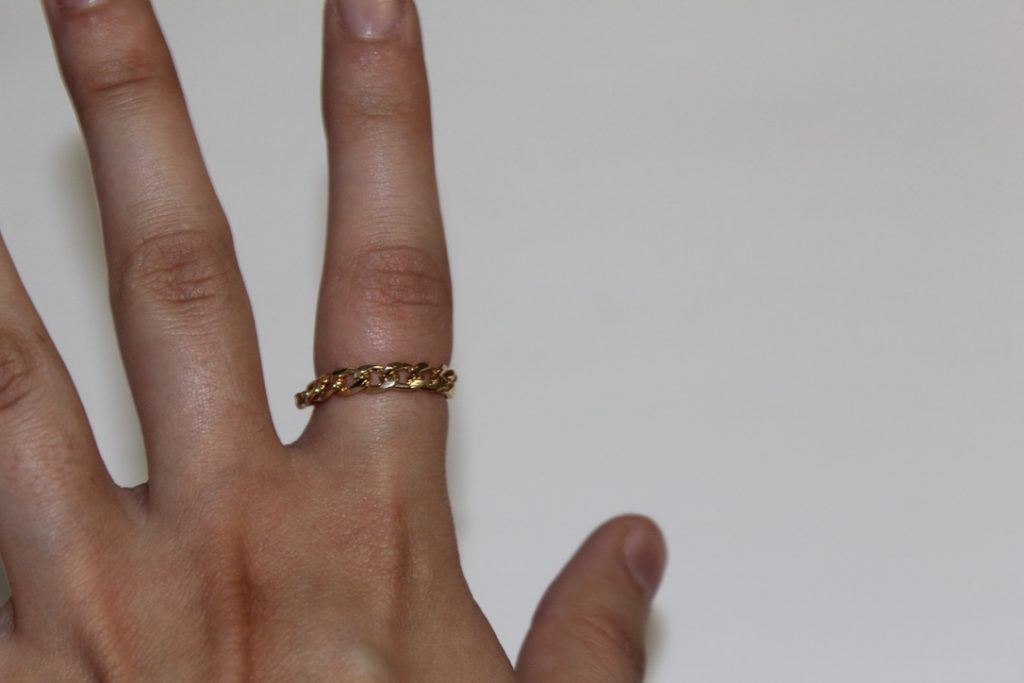
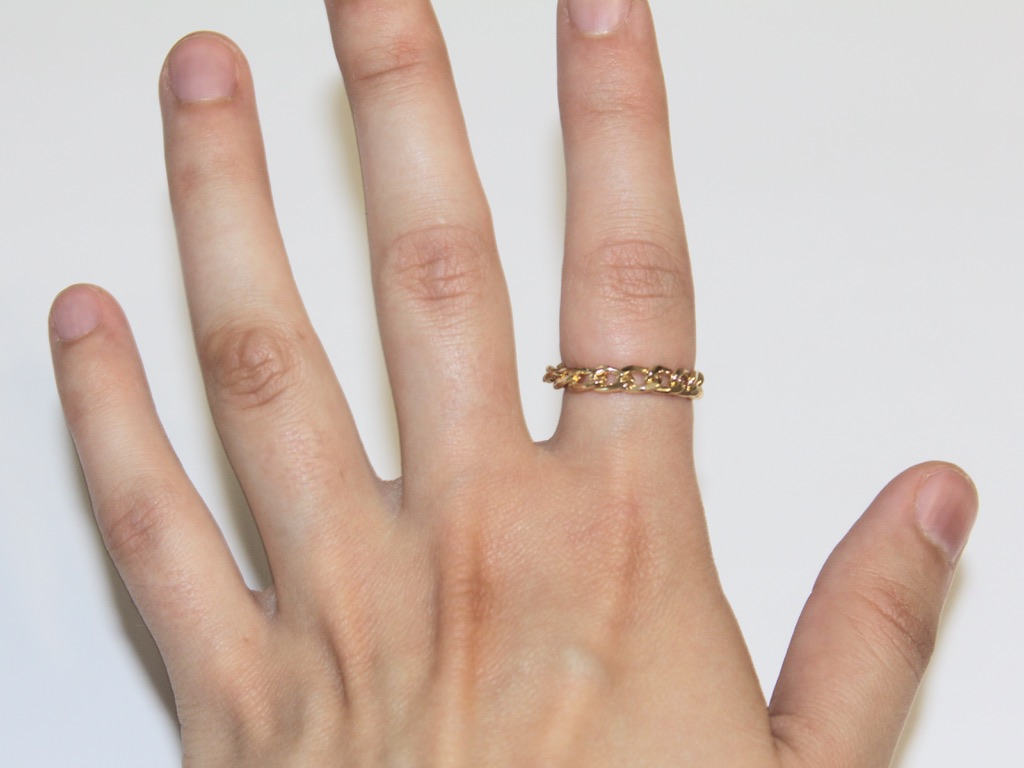
Now your ring is finished! How easy was that?
This tutorial contains affiliate links.