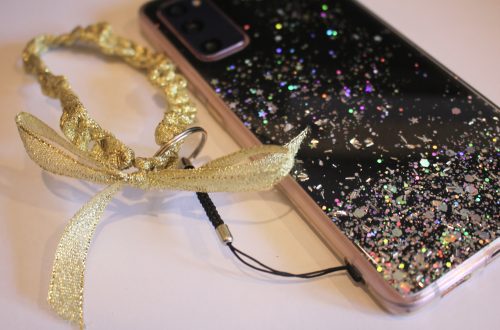
-
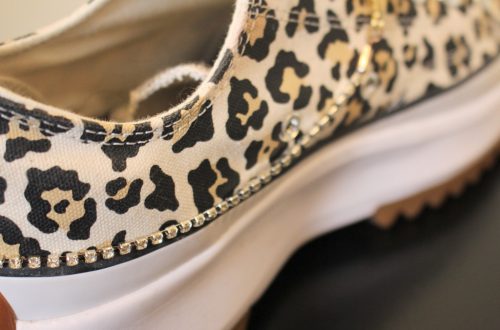
Here’s another sparkly shoe chain tutorial for you…
Shoe jewellery is pretty fun! Here’s how to make a sparkly decoration for your fave shoes using some string and some rhinestone embellished beads. I made this one long enough that you could also clip the ends together so you can wear it around boots. Please note that this tutorial contains affiliate links.
You’ll need these tools and materials to make this shoe chain:
1: A piece of string about 35-40cm long.

2: Two large lobster clasps.

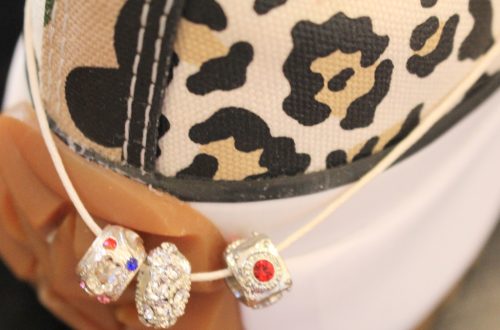
3: Some beads. I used these second-hand rhinestone embellished metal beads.

4: Scissors for trimming the string.

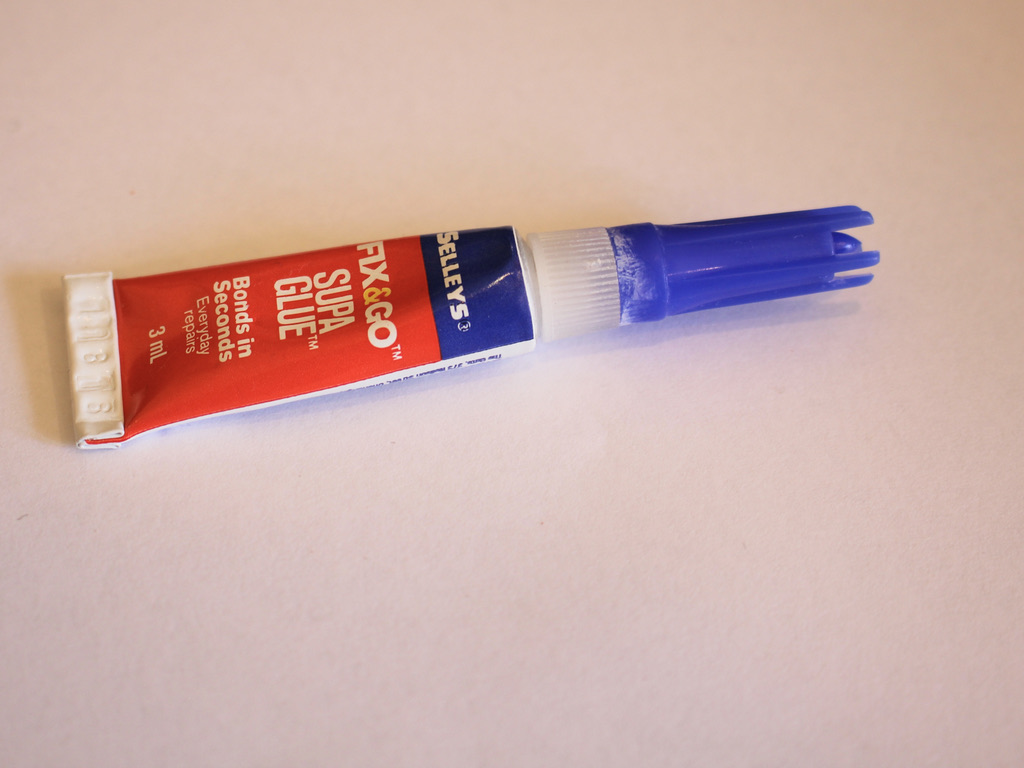
5: Some superglue.
Follow these steps to make your shoe chain using string and beads:
1: Add one of the lobster clasps to one end of the string and tie a knot.


2: Tie two more knots, leaving the end for now.

3: Add the beads to the string.
4: Add the second lobster clasp to the other end of the string and tie three knots as you did in steps 1 and 2.

5: Trim the ends of the string using your scissors.

6: Add a dab of superglue to the knots to secure them then set it aside to dry.
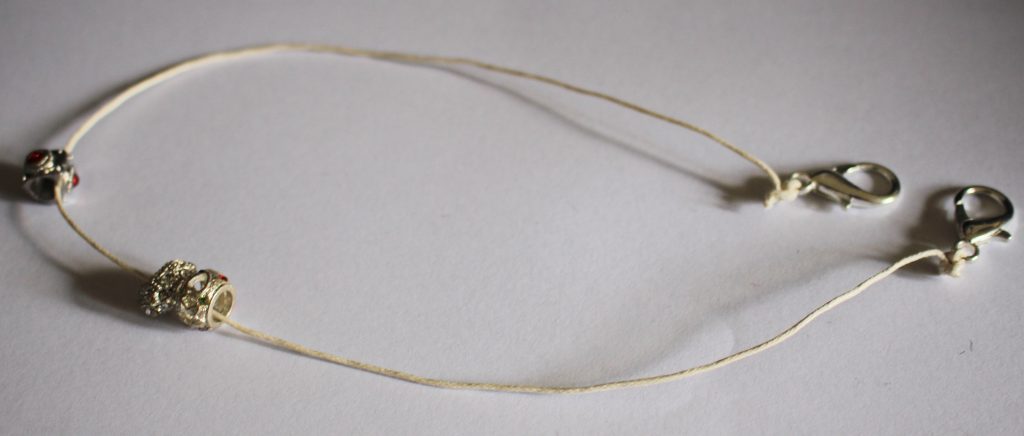
Now your shoe chain is finished. Here it is clipped to some low top sneakers, but you could experiment and add them to high-tops or boots!


-
How to make a beaded lanyard using string and funky beads!
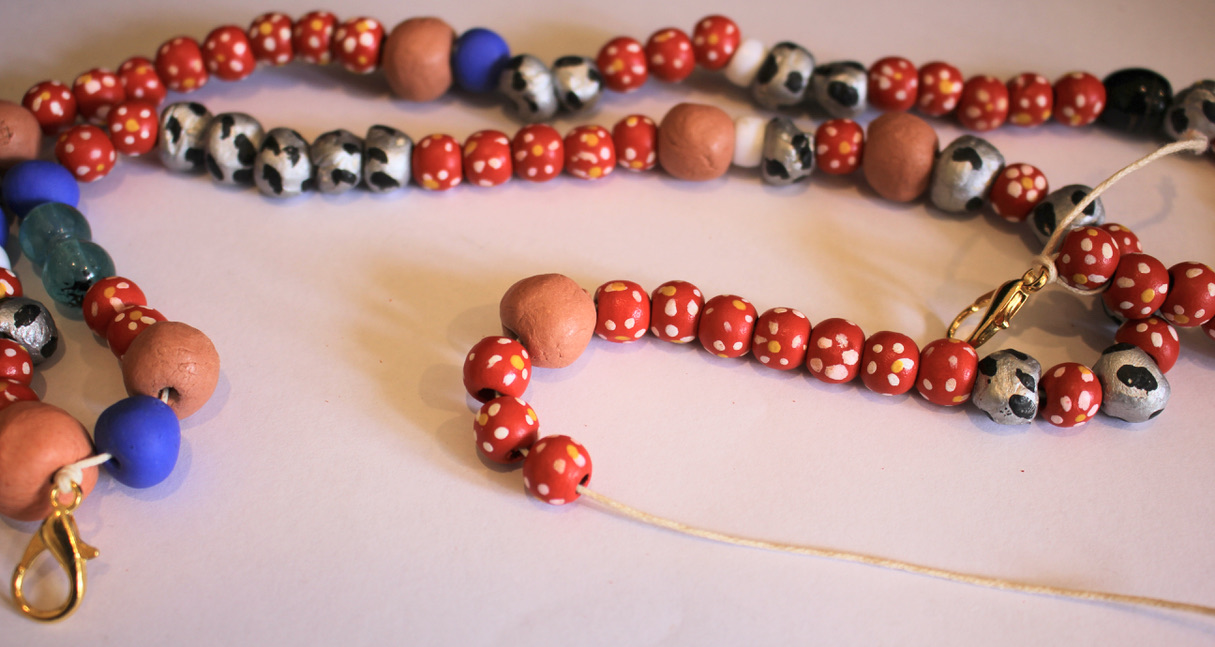
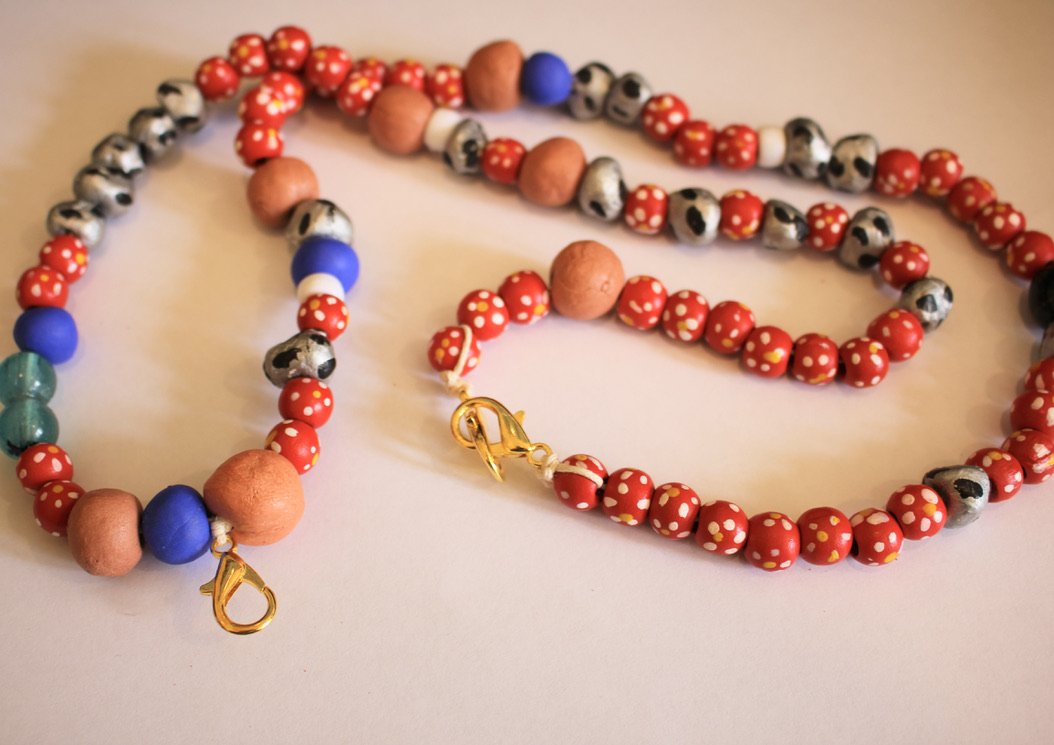
I recently caught up with a friend, she’s a teacher and she was really excited that she found some funky beaded lanyards, and it made me think… I could probably make one myself! So here’s the tutorial, here’s how to transform some string, clasps and funky beads into a useful lanyard! Please note that this tutorial contains affiliate links.
You’ll need these tools and materials to make your own beaded lanyard:
1: Scissors
2: Cotton twine, cut about 15cm longer than the length you want your lanyard.

3: Three large lobster clasps.

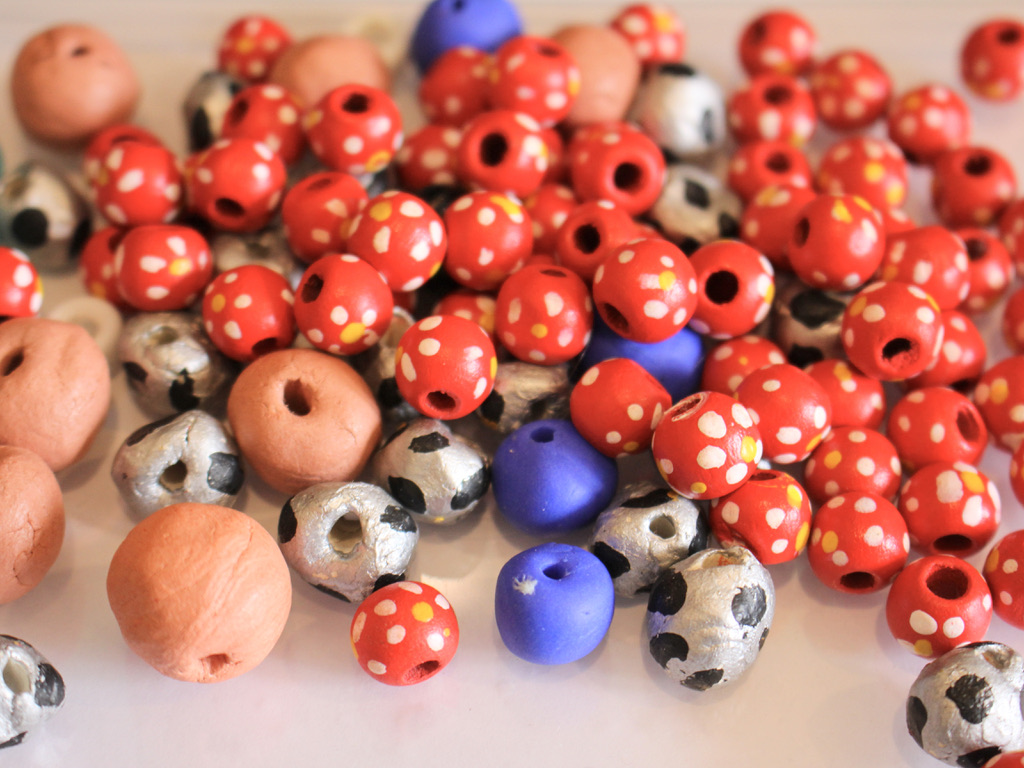
4: A selection of beads with holes large enough to fit on the string. I used some painted timber beads, glass beads, plastic beads, and some beads I made from polymer clay, resin and air dry clay.
5: Superglue
Follow these steps to make your own beaded lanyard:
1: Take one of the clasps and add it to the middle of the piece of string.

2: Create a knot at the top of the clasp.
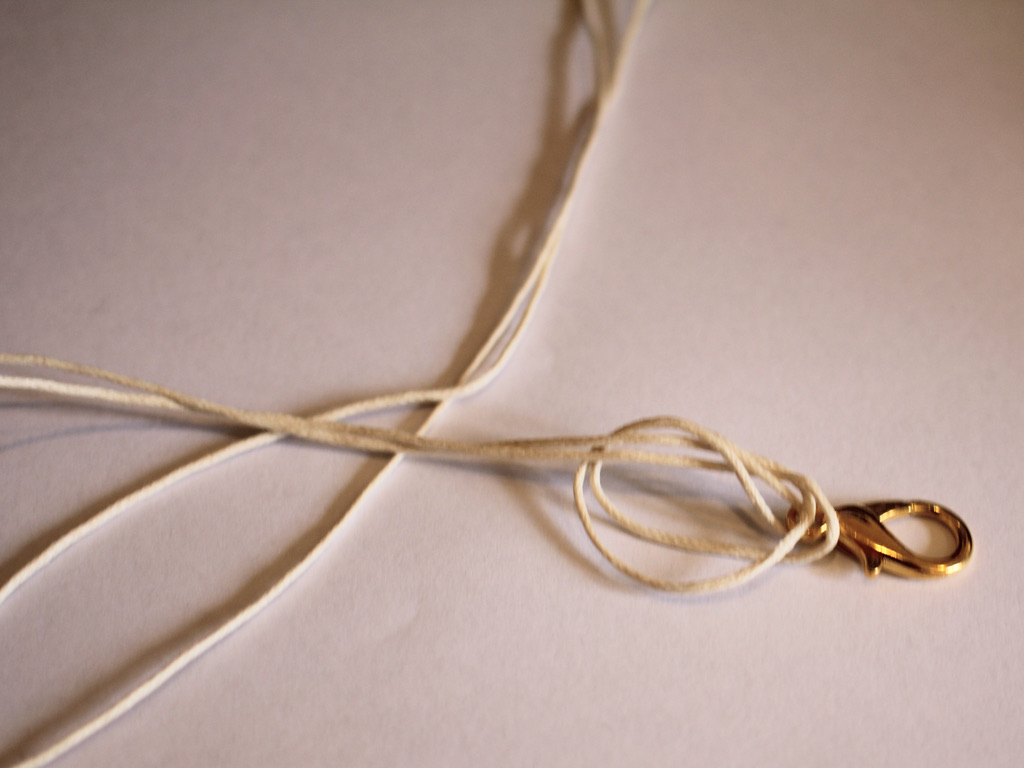

3: Add beads to one side of the lanyard until you get the length you like.


4: Add another clasp to the end of the lanyard and loop the end of the string back through the last bead and pull it tight.
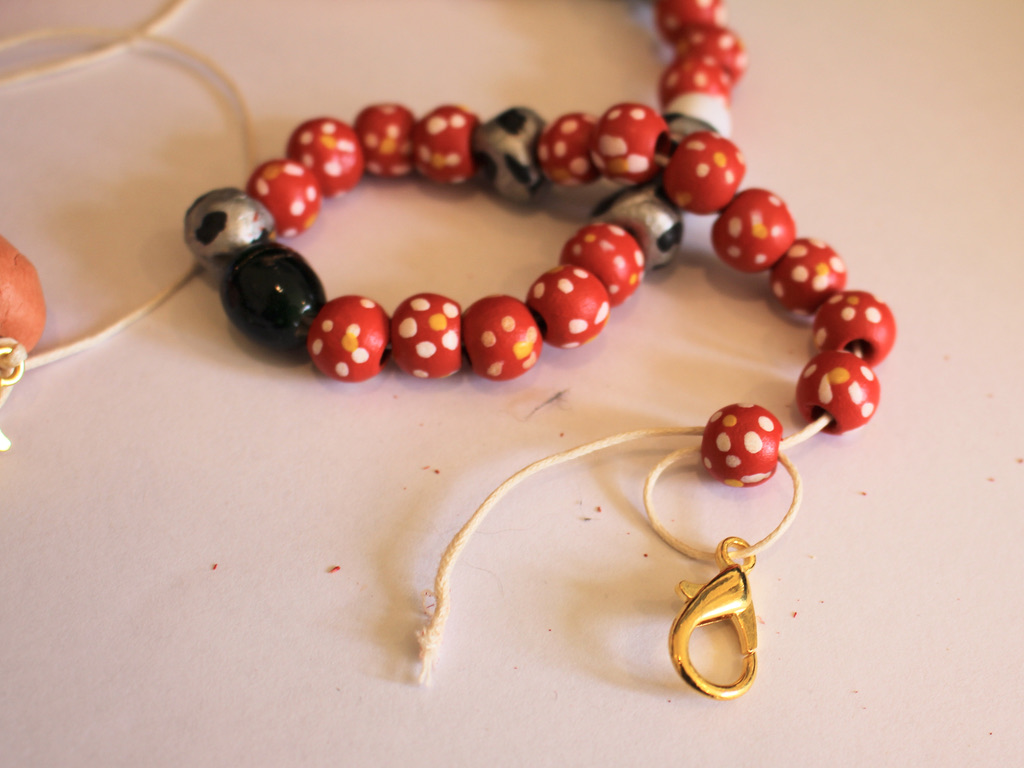

5: Tie a secure knot to the end of the string securing the clasp tightly to the last bead.


6: Repeat steps 3 to 5 for the other side of the lanyard.

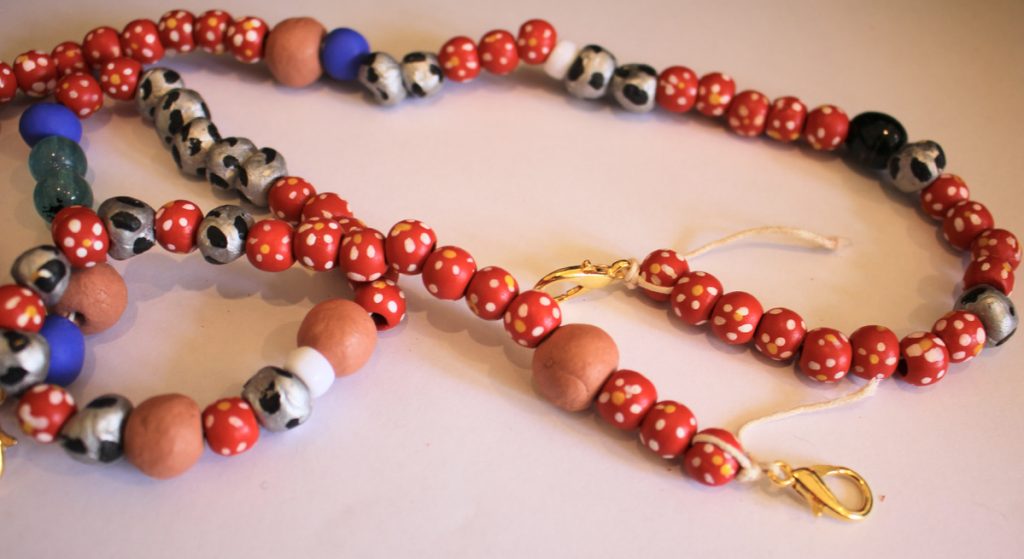
7: Trim the excess string on either end of the lanyard.


8: Add a dab of superglue to each of the knots at the end of the lanyard. Set it aside to dry.

Clip the ends of the lanyard together and now your beaded string lanyard is finished and ready to use!


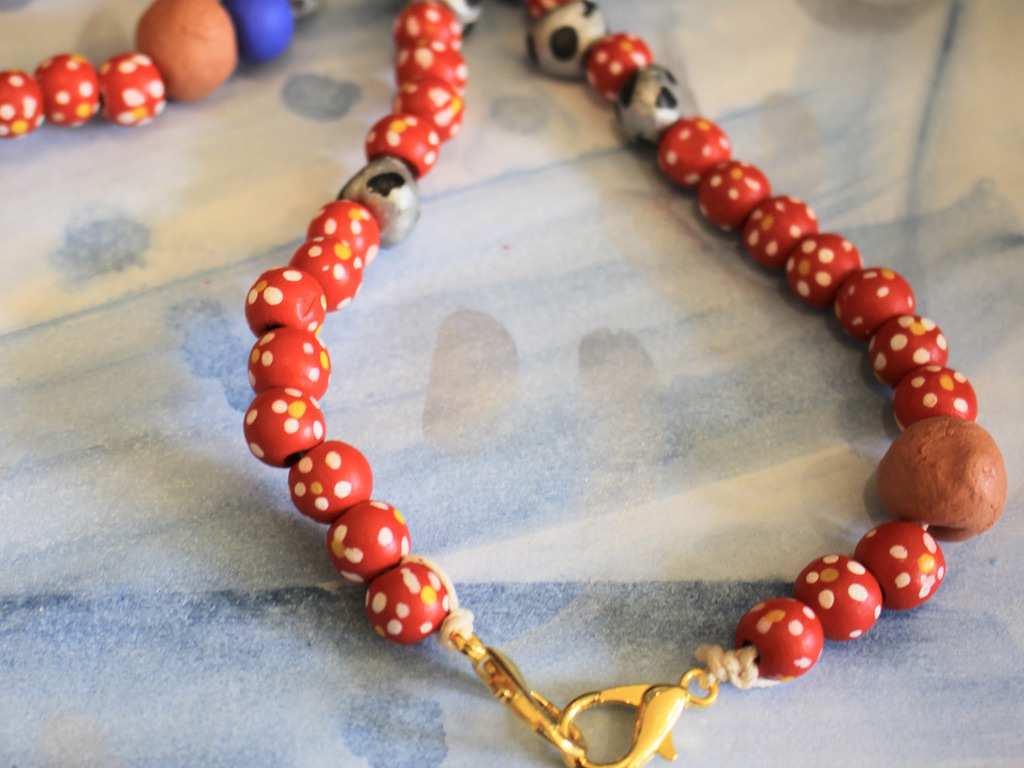
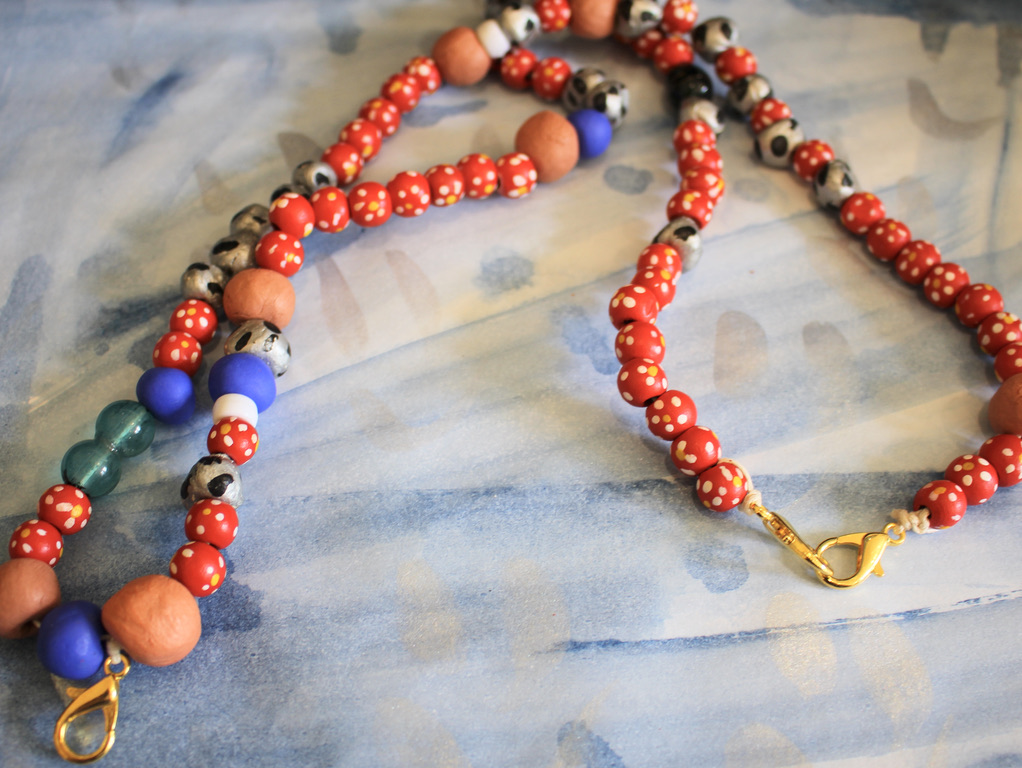
If you want to make your lanyard with handmade beads, here’s a tutorial you can follow to make your own.
You May Also Like

Searching for something different? Make yourself some cute collar clips!
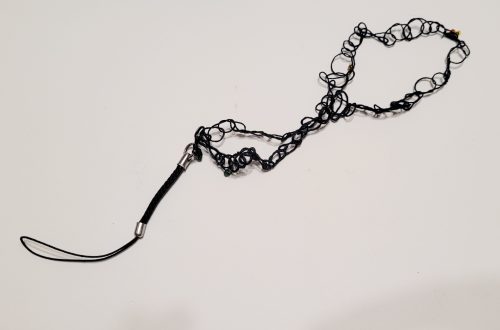
Get Hands-Free and Stylish with a DIY Crochet Phone Wrist Strap: Follow our Step-by-Step Tutorial Now!

Need help keeping hold of your phone? Here’s how to make a cute chain and rhinestone phone strap so its harder to lose!
-
How to make a beaded phone strap using a piece of string!
Beaded phone straps are a bit of a trend right now, and here’s a down and dirty way to make one! Really all you need is some string and some beads. I added a large lobster clasp as well, you can use it to attach the strap to your phone or to add some keys or other important charms to your design! Please note that this tutorial contains affiliate links.
You will need these tools and materials to make your own beaded phone strap:
1: A piece of string. I cut mine to be about 40cm long but I suggest going longer, maybe 50-60cm.

2: A selection of beads. Make sure they have holes big enough to fit over the string. I used a mix of handmade polymer clay beads, glass beads, resin beads, timber beads and plastic beads.

3: A large lobster clasp.

4: A pair of scissors for cutting and trimming your string.
Follow these steps to make your phone strap:
1: Fold the string in half.

2: Take the folded end and create a knot, I made mine a little small, I suggest creating the knot about 8-10cm down the string. After you pull the knot tight you will have a loop and two separate strings.


3: Begin adding beads to one of the strings until you have most of the string beaded.


4: Add beads to the other side, beading the second string to the same length as the first.

5: Tie the ends of each string together, adding the lobster clasp before securing the knot.


6: Add an accent bead to one of the tails of the loop and knot the end to secure the bead in place.


7: Repeat step 6 for the second tail of the beaded phone strap.

Now your phone strap is finished! This is a bit of a down and dirty DIY but the results are pretty cute and you can personalise it to your liking!


-
Here’s a cute idea… make a beaded hair elastic!
I’m really into quick DIY’s at the moment, so here’s another one you can make quickly with no tools! This hair elastic has some fun timber beads on it so you can add some extra spice to your hairstyles. You can also wear it on your wrist as a bracelet when it isn’t tying back your hair.
You’ll need these tools and materials to make your beaded hair elastic:
1: A piece of elastic.

2: Beads. I used these painted timber beads.

Follow these steps to make your super cute beaded hair elastic:
1: Add the beads to the elastic.

2: Tie the ends of the elastic into a knot.
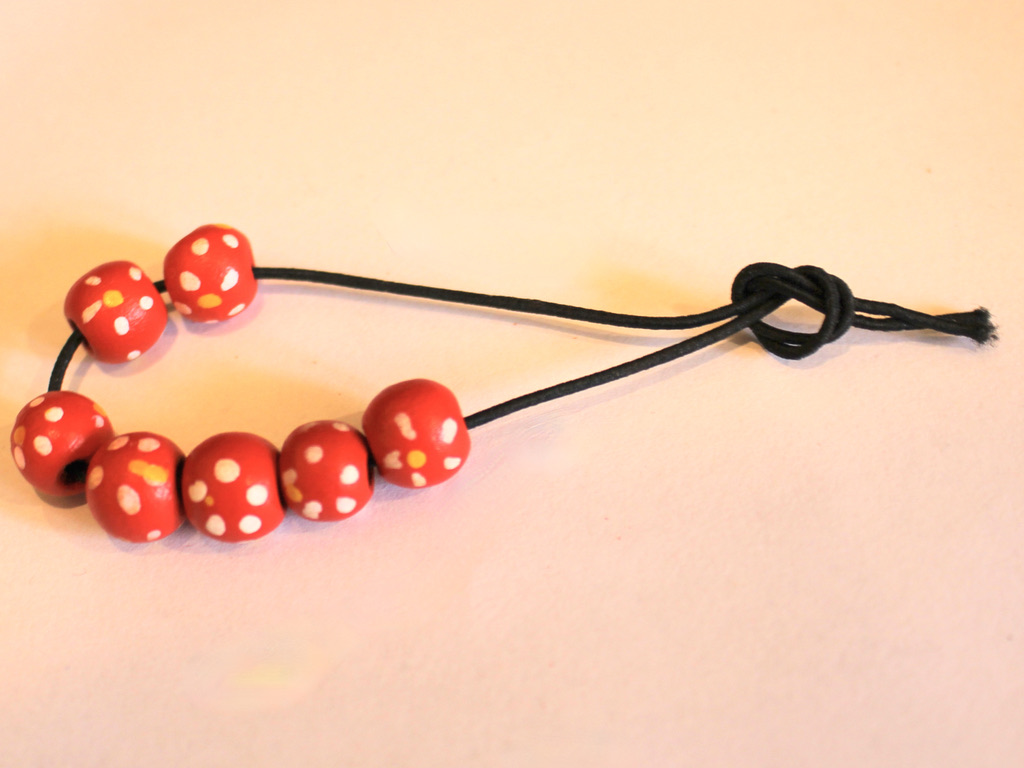

Now you’re done! It’s literally a two step process and it looks so cute!

Here’s how it looks as a bracelet

Here are some other hair accessories tutorials you can follow at home:
- A cool barrette with a chain feature.
- This rhinestone embellished hair comb.
- A shell covered hair clip.
- Floral embellished bobby pins.
- How to cover hair clips with ribbons.
- Sparkly rhinestone hair clips.
- How to add rhinestones to a headband.
- A knot feature headband.
- A beaded bobby pin.
- Add feature rhinestones to your old headband.
- Glue a charm to an old hair clip for a quick revamp.