Got some beaded bracelets that aren’t doing it for you? Why not turn them into a necklace?
I bought these lovely ceramic beaded bracelets from a market in Japan recently. Unfortunately, I’m not a massive fan of stretch bracelets, so I decided to take them apart and turn them into a single, playful choker necklace. This is a super easy DIY and can be a great way to repurpose jewelry that isn’t quite working for you anymore.
Please note that this tutorial contains affiliate links for which we may receive a commission.
You’ll need the following tools and materials to make your necklace.
1: Two or more bracelets that you don’t want to wear anymore.

You can get something similar here:
2: Some tiger tail wire.

You can get some here:
3: Four crimp beads.

You can get crimp beads here:
4: A clasp.

You can get a sterling silver bolt ring clasp here:
5: Two jump rings

You can get sterling silver jump rings here:
6: Cutting pliers to cut your bracelets and the wire.

You can get a pair here:
7: Flat nose pliers or parallel pliers. I used my parallel pliers but it doesn’t really matter for this project.

You can get flat-nose pliers here:

You can get parallel pliers here:
Follow these steps to transform your bracelets into a necklace.
1: Cut one of the bracelets open to release the beads. You might want to leave them on the thread so you can maintain their original order, or you can pull them all off and work from a small tray if you want to create a new bead design.

2: Cut the tiger tail wire to your desired length, adding some extra centimetres/inches so that you have enough wire to secure the ends.

3: Add two crimp beads to the end of the wire.

4: Add a jump ring to the end of the wire.

5: Wrap the end of the wire through the jump ring and back into the crimp beads.

6: Squash the crimp beads using flat nose pliers to secure the jump ring.

7: Begin adding beads until you have finished the first bracelet.

8: Cut the second bracelet and add the rest of the beads. Repeat this if you have additional bracelets you want to use.

9: Once your necklace is fully beaded, add another two crimp beads and the second jump ring.


10: Wrap the end of the wire around the end of the jump ring and back through the crimps and the first bead.

11: Squash the crimps using flat nose pliers.

12: Trim the excess wire using cutting pliers.

13: Add the clasp, securing it closed with flat nose pliers.


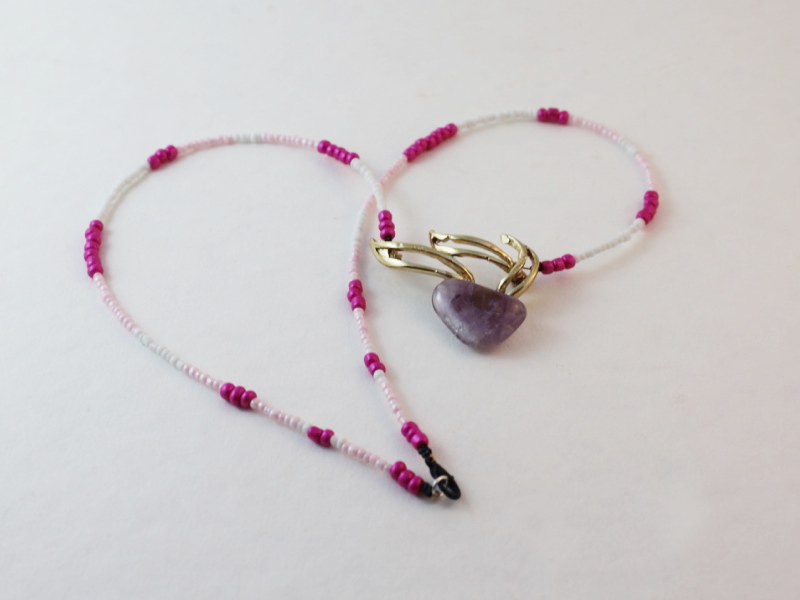
14: Now your necklace is finished and ready to wear! What a fun way to repurpose jewelry that isn’t serving you anymore?!

DIY Jewelry Hub
Welcome to DIY Jewelry Hub. If you’ve ever wanted to learn how to make your own jewelry this is the place to start! Jewelry is a great way to show off your individuality and style. You’ll be surprised at how easy it is to create your own unique pieces! DIY Jewelry Hub will equip you with all the knowledge and inspiration you need to make your own jewelry.

You May Also Like

Triangles are Great! Here’s how to Make a Triangle Pendant Necklace.

All the steps to make your own triple strand leather necklace