-
Do You Have Some Mismatched Buttons Lying Around? Why Not Make These Button Bracelets?

These button bracelets are really easy to make and they look great! Use some vintage buttons to give your bracelets an extra unique edge.
You will need the following tools and materials to make this bracelet:
1: Pliers. You will need your round nose pliers and flat nose pliers to make this bracelet.


2: scissors for trimming your string.

3: Two pieces of string.

4: A button with four holes.

5: Two leather crimp ends.

6: Two jump rings.

7: A toggle clasp.

Follow these steps to make your bracelet:
1: Fold one piece of string in half. Feed both ends of the string into two separate holes.

2: Feed the ends of the string through the loop you have formed and pull it tight.


3: Repeat this for the other side of the bracelet using the other piece of string, make sure you loop it the same way so that your knots match.

4: Add an extra knot to each piece of the string so it sits closely on either side of the button.


5: Measure the string around your wrist and trim the excess if required.


6: Add a crimp end to either side of the bracelet using the flat nose pliers.


7: Add a jump ring to either side of the bracelet and attach each end of the toggle clasp to finish your bracelet.


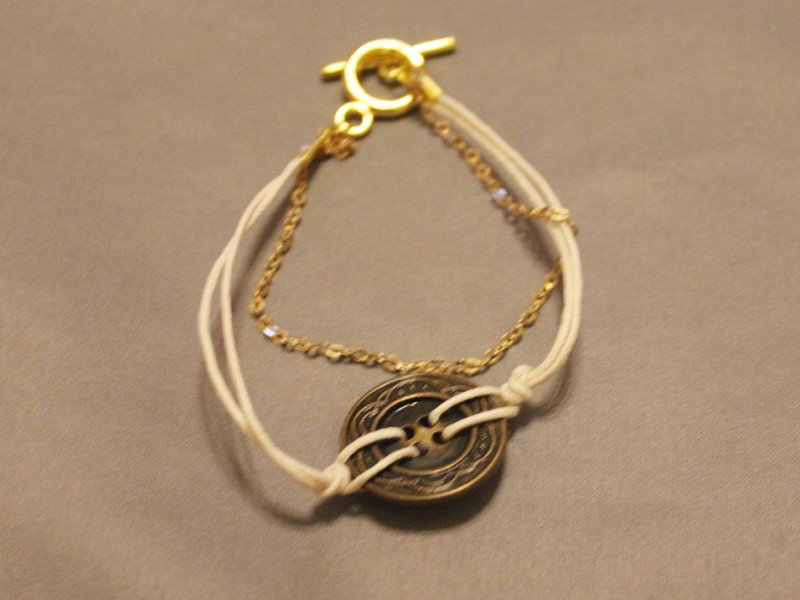
Here are some other button bracelets I put together using different colored buttons, string and chain.


-
Here’s Some Cute Finger Bling, Make Yourself A Button Ring!

Do you have any random plastic decorations lying around? Why not use them to make some cute rings? All you need are your fave buttons, a ring finding and some trusty araldite! This tutorial contains affiliate links.
You will need the following tools and materials to make your button ring:
1: A button or plastic cabochon of your choice. I used this pink rose-shaped button, I recommend using something that already has a flat back so you don’t need to go through the hassle of cutting the button loop off.

2: A ring finding.

4: Araldite glue.

5: A piece of scrap paper.

6: A Skewer.

Follow these steps to make your ring:
1: Squeeze out the glue and mix it using the skewer.


2: Add the glue to the ring using the skewer.

3: Place the ring on the back of the button and let it dry. You might need to check it to make sure that the ring doesn’t slide out of place.

Once your ring is dry it is ready to wear! Cute!!





