-
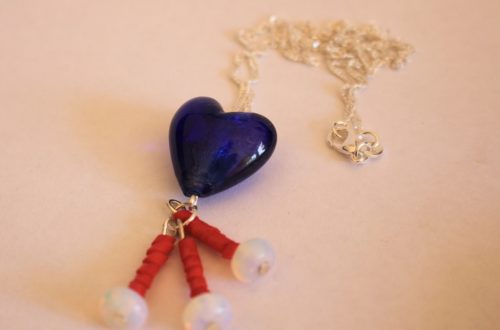
How to make a beaded teardrop pendant

Here’s how to make a cute beaded teardrop pendant using memory wire. If you’re sick of making chokers with your memory wire coil this is another way to use it!
You will need the following tools and materials to make your teardrop pendant:
1: Pliers. You’ll need your cutting pliers, flat nose pliers and round nose pliers.

2: A piece of memory wire, half of a necklace loop.

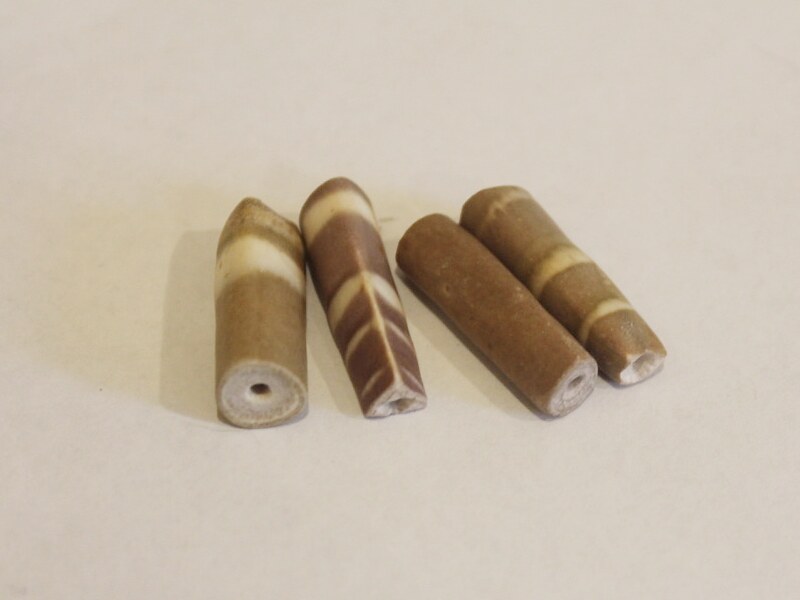
3: Beads. I used these mixed glass seed beads.

Follow these steps to make your teardrop pendant:
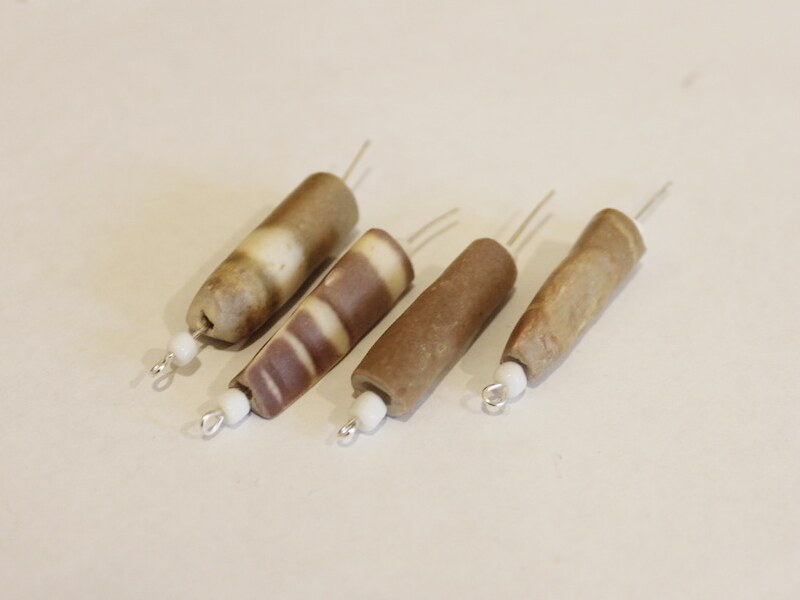
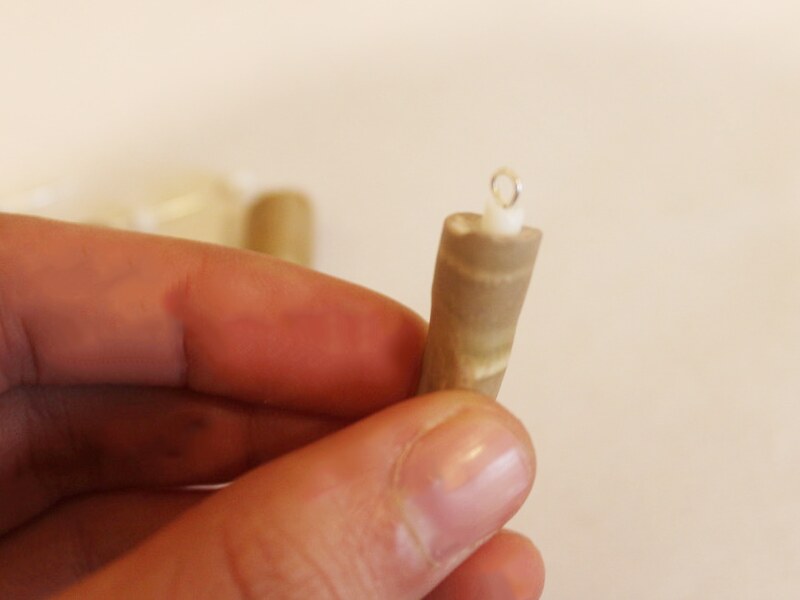
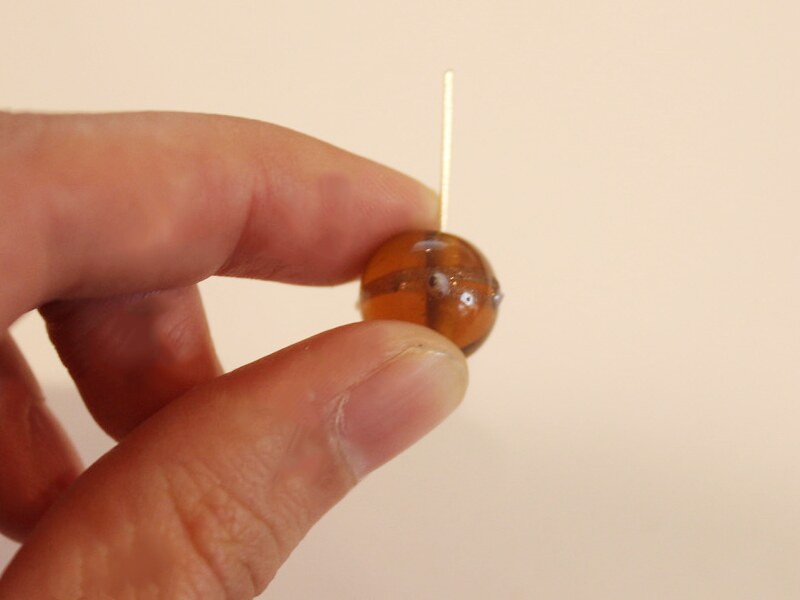
1: Create a loop at the end of one side of the piece of memory wire.


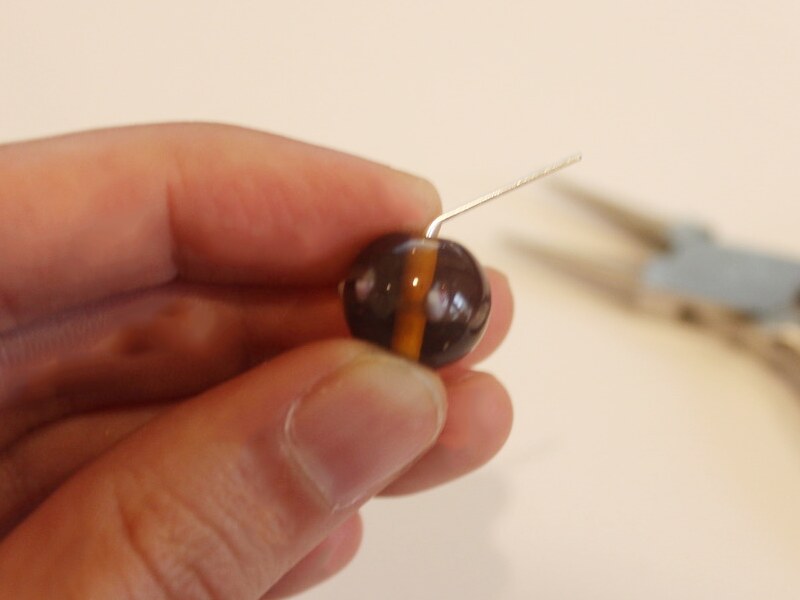
2: Add the beads to the wire until there is only 1cm left unbeaded.


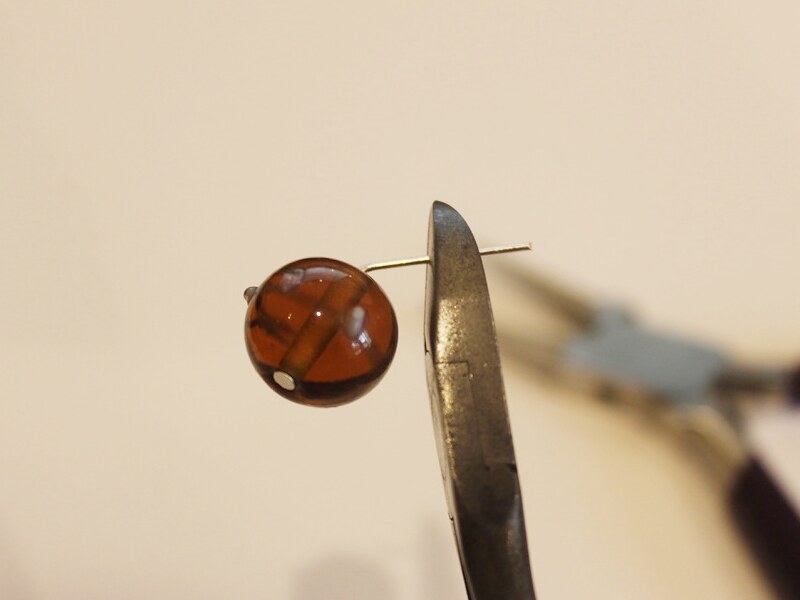
3: Create a loop at the other end of the wire securing the beads in place.

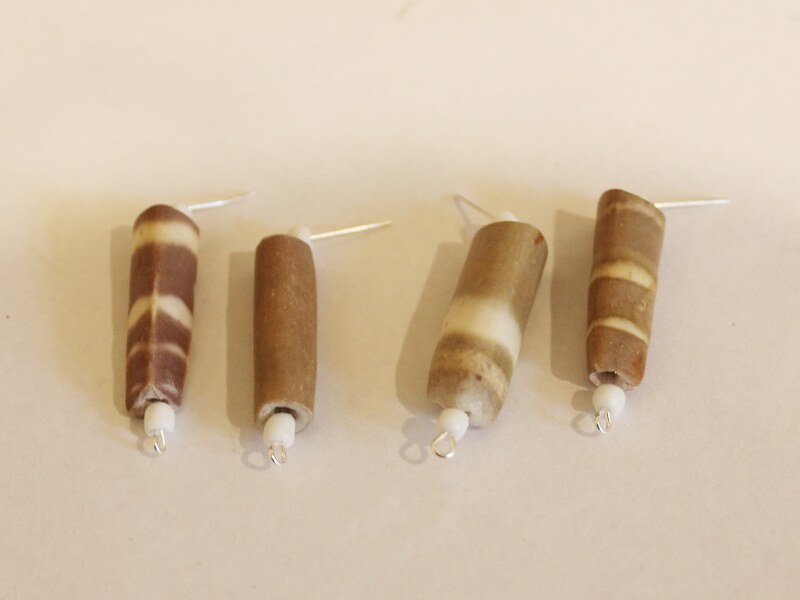
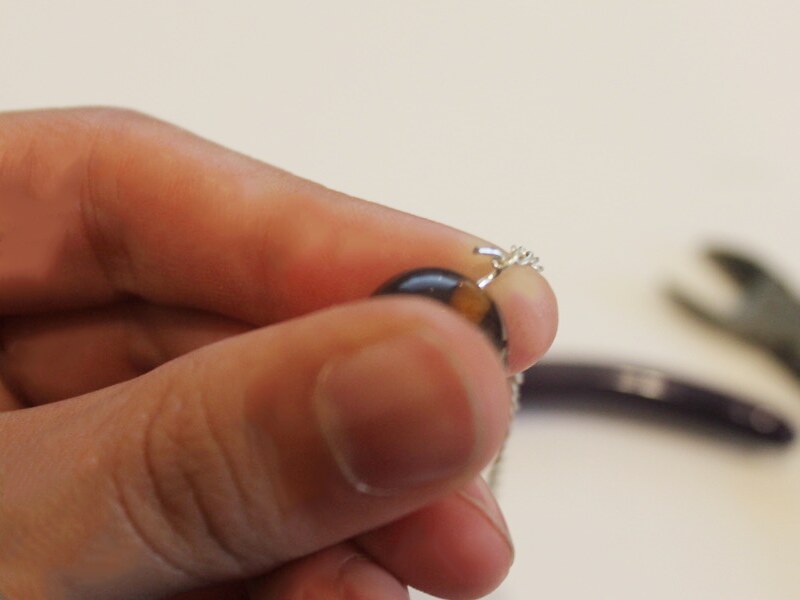
4: Link the loops together to form the teardrop shape.


Now your pendant is finished you can attach it to a chain or beaded strand of your choice!

Here’s a pair of earrings I made using the same technique. Just add an earring hook to the top of each teardrop instead of a chain!

-
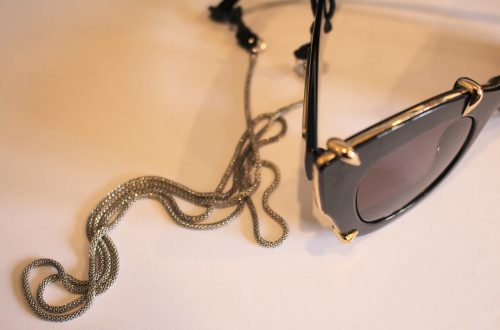
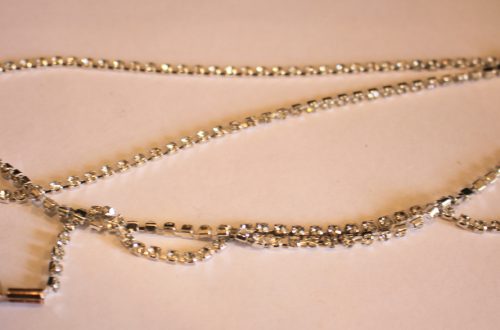
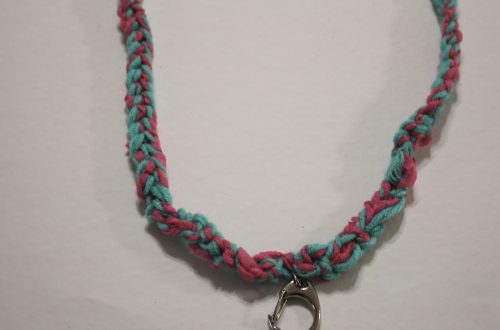
Here’s how to make the perfect glasses chain for summer!

Summer in the Southern Hemisphere is coming! If you’re like me and hate losing your sunglasses you’ll need to get this handy glasses chain into your accessories arsenal.
You’ll need the following tools and materials to make your glasses chain:
1: Pliers. You’ll need your flat nose and round nose pliers.


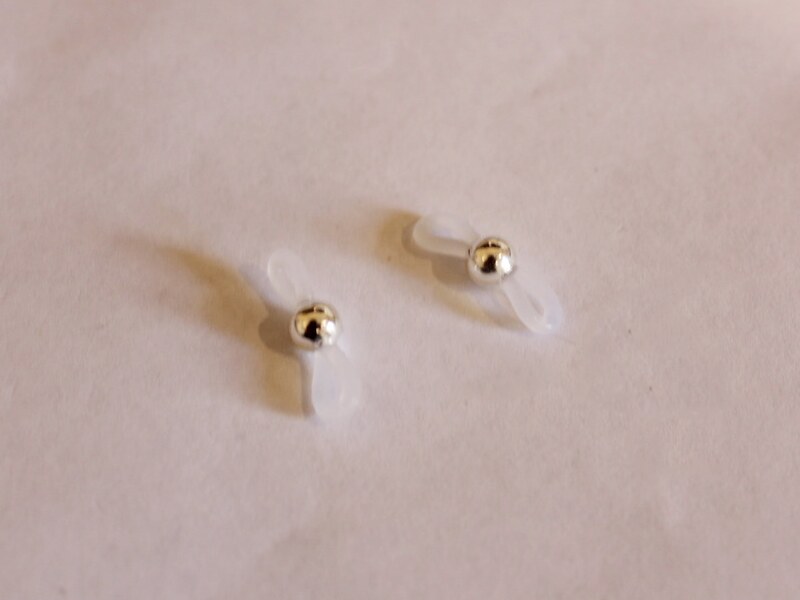
2: Two glasses holder findings.
3: A piece of chain approximately 50cm long.

4: Ten eye pins.

5: Two jump rings.

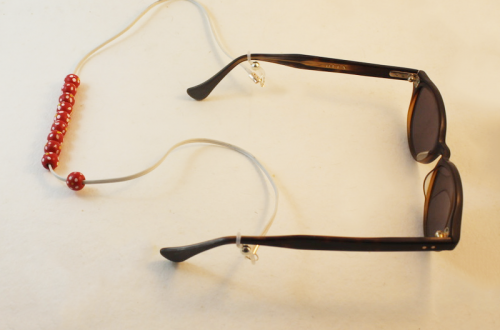
6: Ten beads. I used these pink glass beads.

Follow these steps to make your glasses chain.
1: Add each of the beads to each of the eye pins.

2: Loop the top of each pin using the round nose pliers. This will secure the beads on the pins.


3: Link five of the beaded pins together to form a chain.


4: Link the remaining pins together to form a second chain.

5: Attach one of the beaded chains to one side of the long piece of chain.


6: Attach the other beaded chain to the other side of the long chain.

7: Attach a glasses holder to each side of the chain using the jump rings.


Now your glasses chain is finished and ready to wear! Perfect for keeping your sunnies secure during summer activities.

-
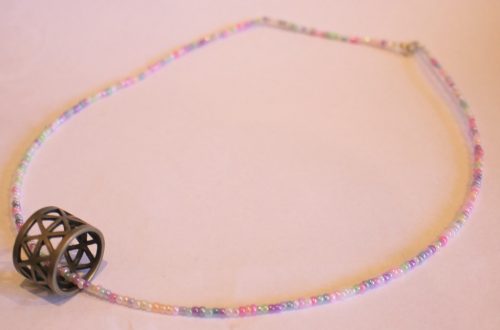
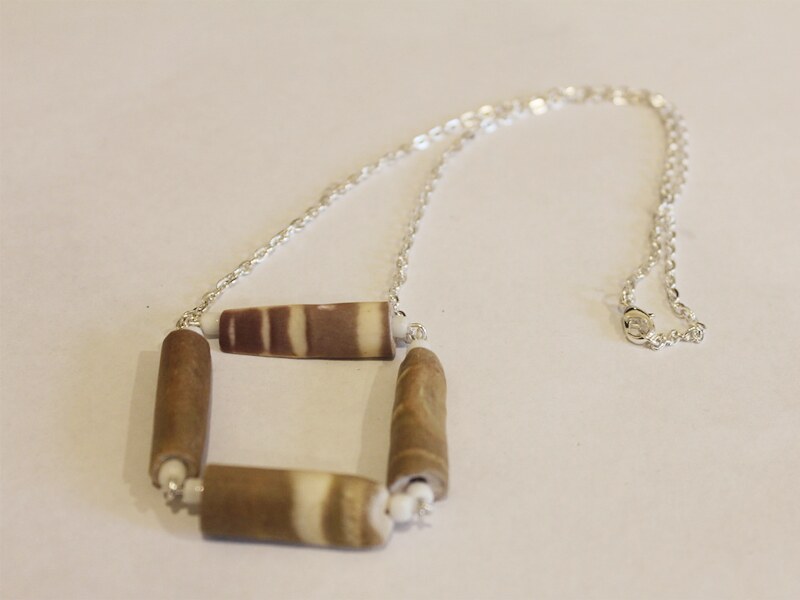
Here’s how to make a cute square pendant necklace
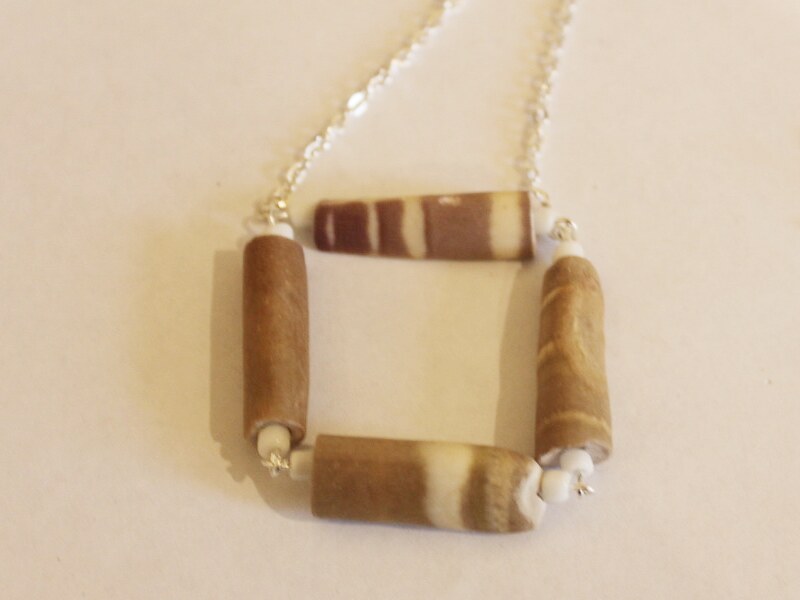
Remember the square earrings? Well here’s how you can make a square beaded pendant! This tutorial contains affiliate links.
You will need the following tools and materials to make your square pendant necklace:
1:Pliers. You will need your round nose pliers, flat nose pliers and cutting pliers.
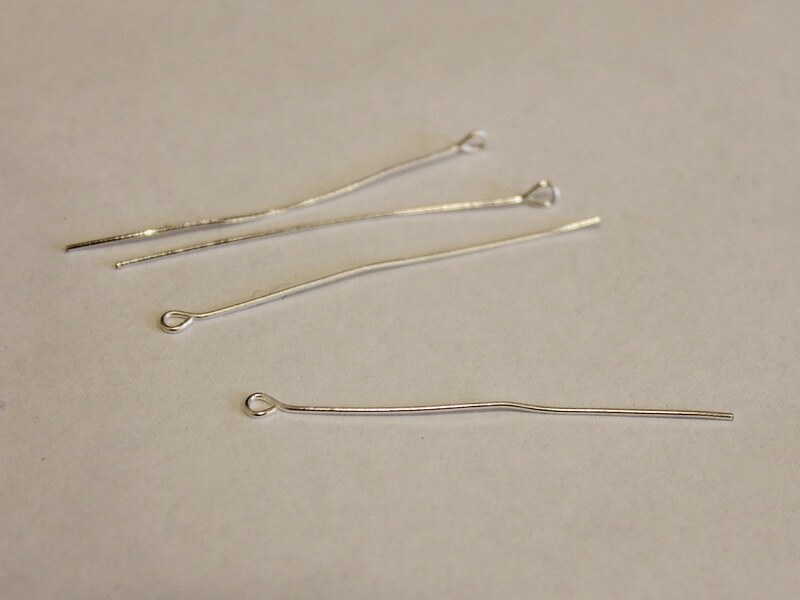
2: Four eye pins.
3: Two pieces of chain made to a length of your choice. I made mine approximately 15cm long.

4: A lobster clasp.

5: Two small jump rings.

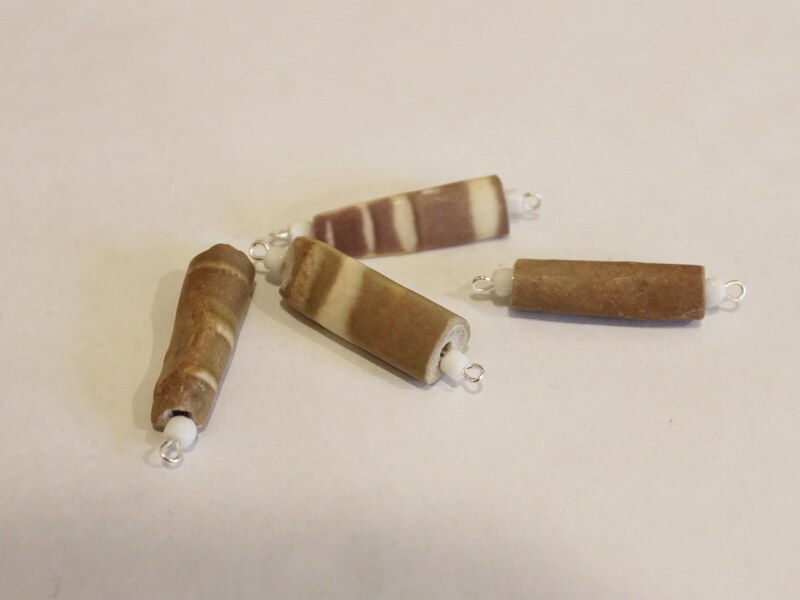
6: Beads of your choice. I used these long vintage beads with some white e-beads.

Follow these steps to make your square pendant necklace:
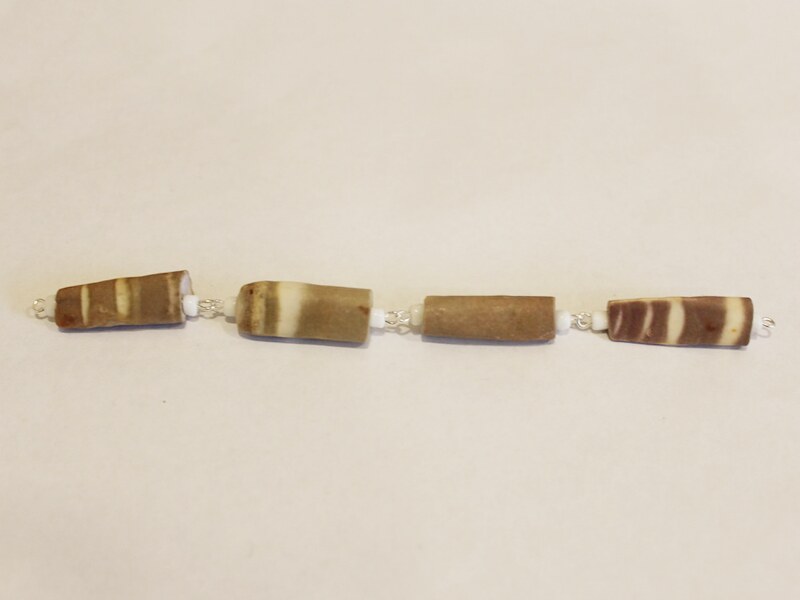
1: Add the beads to each of the pins.
2: Bend the ends of each pin to form a right angle.
3: Trim each of the bent ends so that they are approximately 1cm long.

4: Create a loop at the top of each pin using the round nose pliers. This will secure the beads in place.
5: Link each of the beaded pins together.

6: Link the two end pins together to form a square.
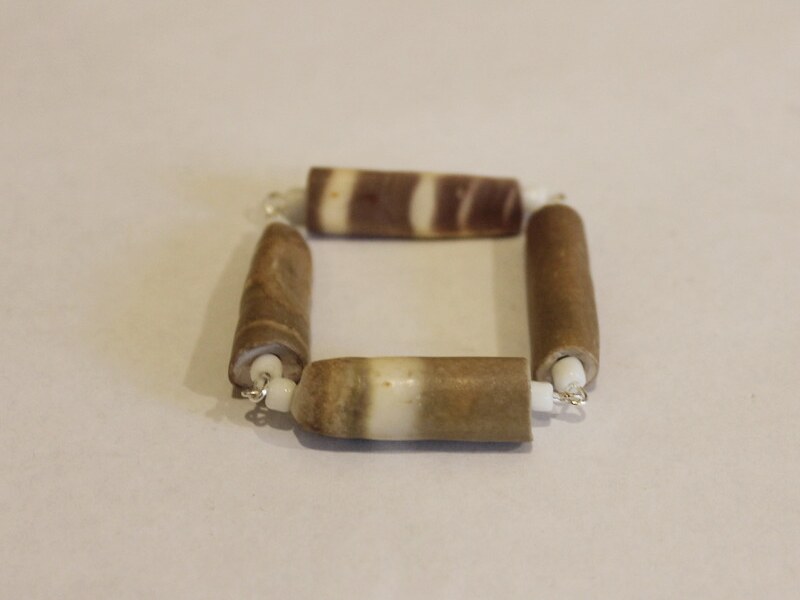
7: Add a piece of chain to either side of one of the eye pins.


8: Add a lobster clasp to one side of the chain using one of the small jump rings.

9: Add the remaining jump ring to the other side of the chain to finish the necklace.
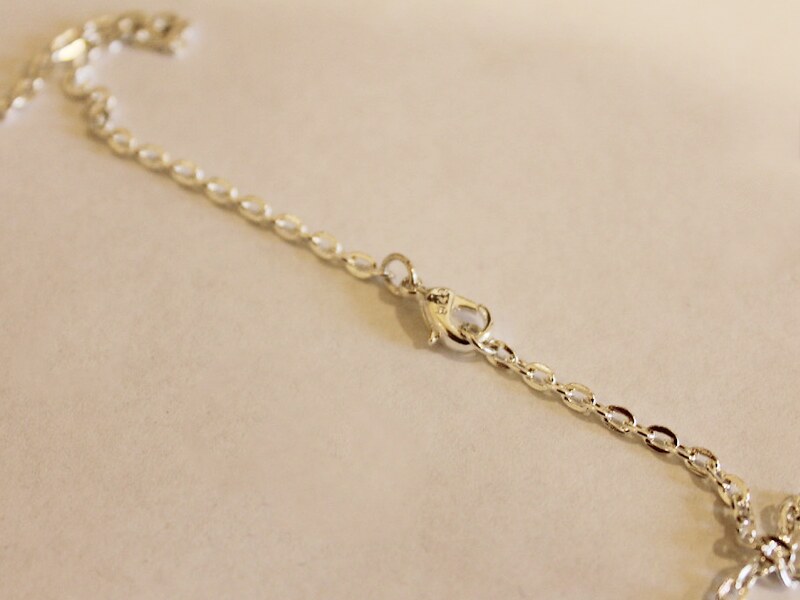
Now your square pendant necklace is finished and ready to wear!
-
Love shell jewelry? I do! Why not make this shell charm anklet?!
Note, this tutorial contains affiliate links.
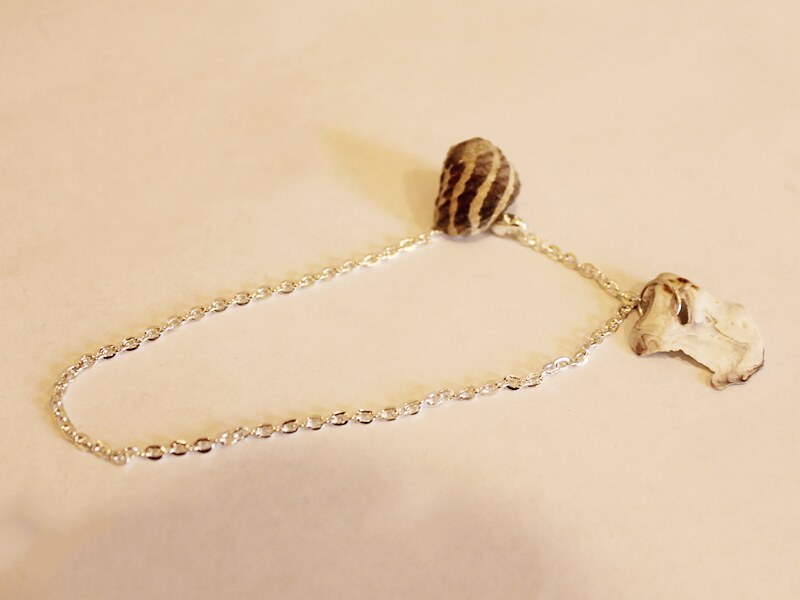
If you love shell jewelry as much as I do you’ll need to make this shell charm anklet!
You’ll need the following tools and materials to make your shell charm anklet:
1: Pliers. You’ll need your flat nose pliers and round nose pliers.
2: One medium jump ring.

3: One large jump ring.
4: Two small jump rings.
5: A lobster clasp.
6: A piece of chain long enough to fit around your ankle.

7: Two shells. I used these shells that had natural holes in them.

Follow these steps to make your shell charm anklet:
1: Add the small jump rings and lobster clasp to the ends of the chain to form the anklet.

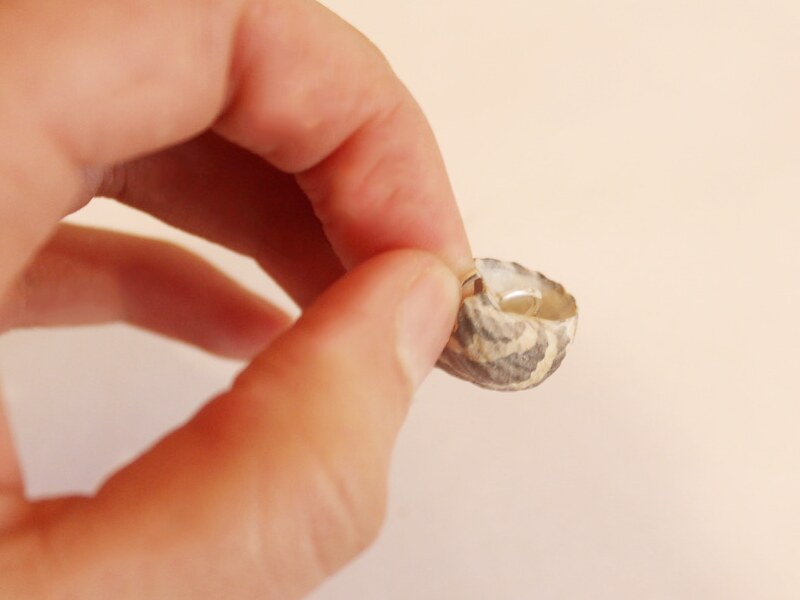
2: Add the medium jump ring to the first shell and attach it to a chain link.
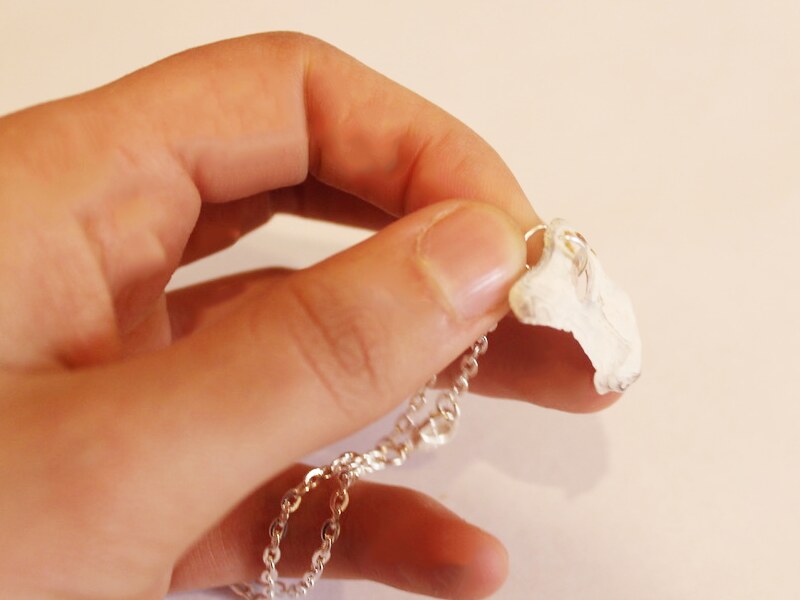
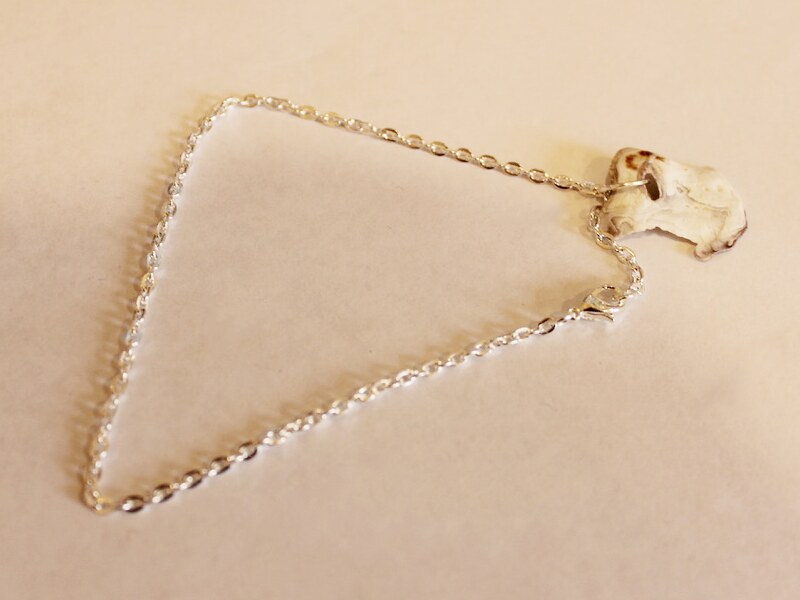
3: Add the larger jump ring to the other shell and attach it to the jump ring that is being used to secure the clasp to the chain.

Now your anklet is finished! How many shells will you add to yours?
-
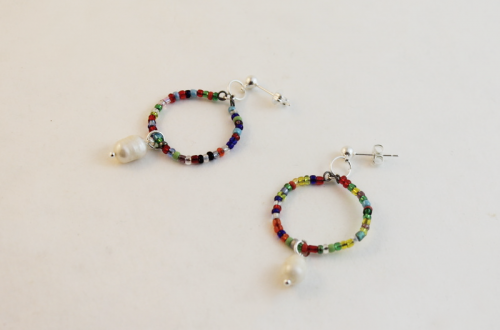
Here’s how to make a beaded circle lariat necklace. So cool!
Do you remember the triangle lariat tutorial? Here’s how to make a beaded circle lariat to add to your collection!
You will need the following tools and materials to make this lariat necklace:
1: Pliers. You will need your cutting pliers to cut your wire, flat nose pliers and round nose pliers.
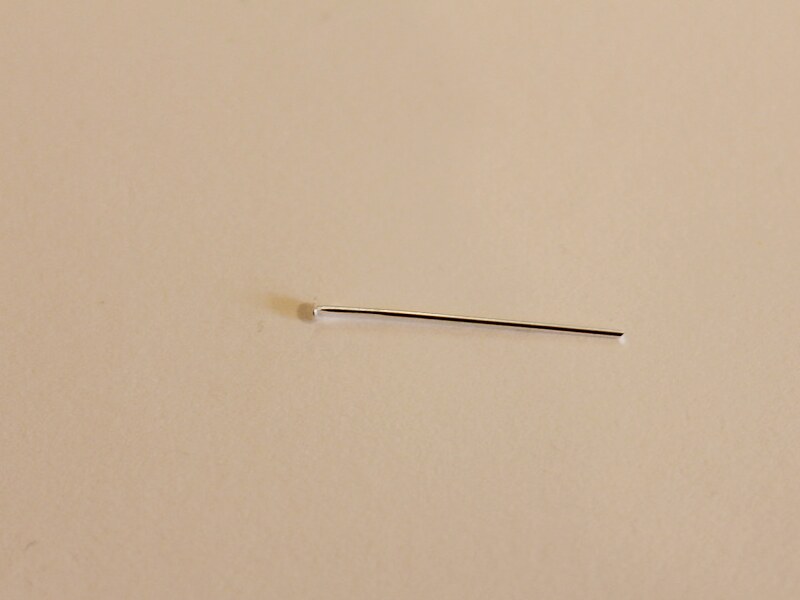
2: Two pieces of wire, one longer than the other.

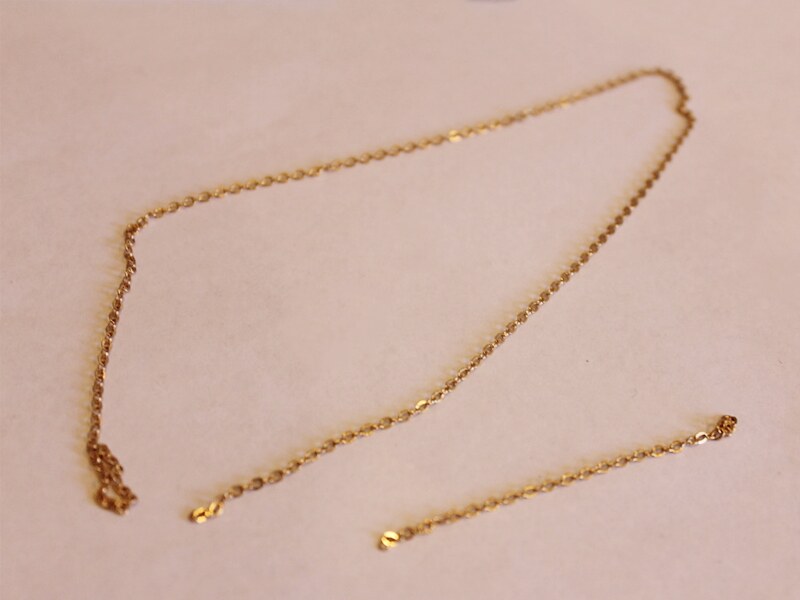
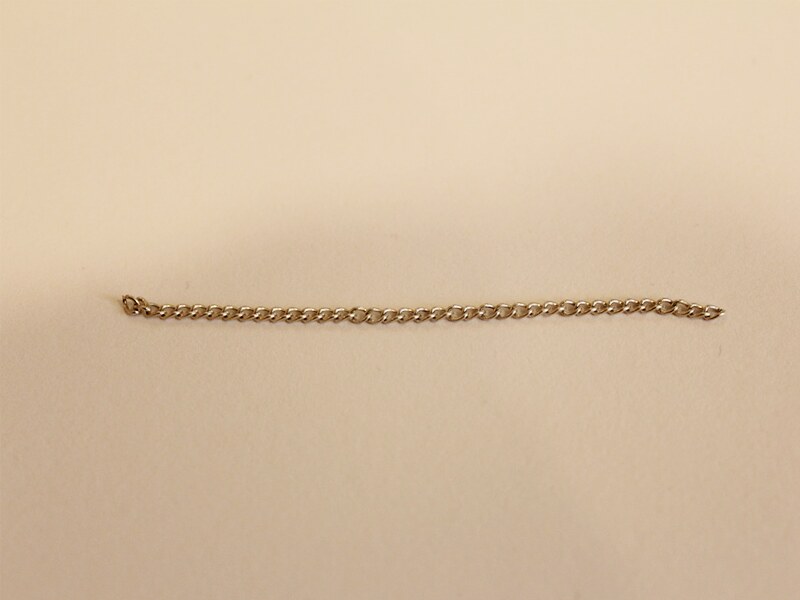
3: Two pieces of chain, a necklace length piece and another that is approximately 10cm long.
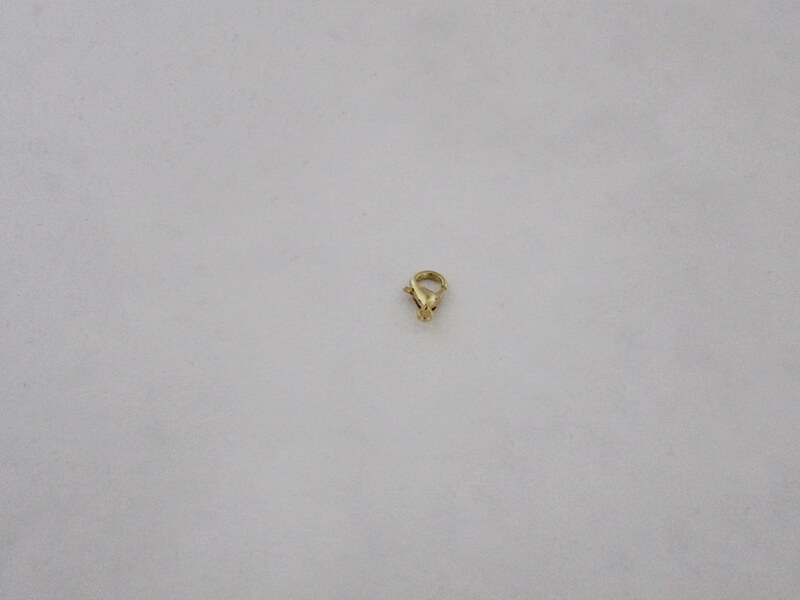
4: A lobster clasp.
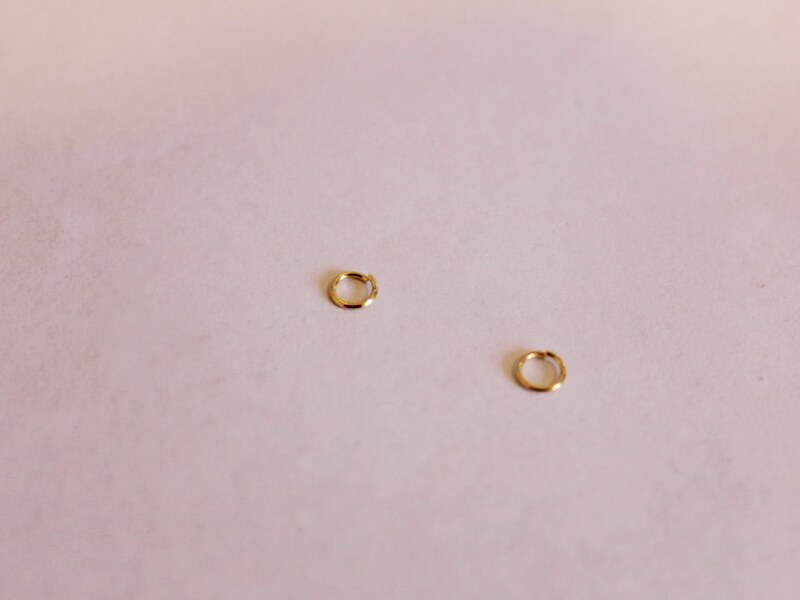
5: Two small jump rings.
6: One large jump ring.

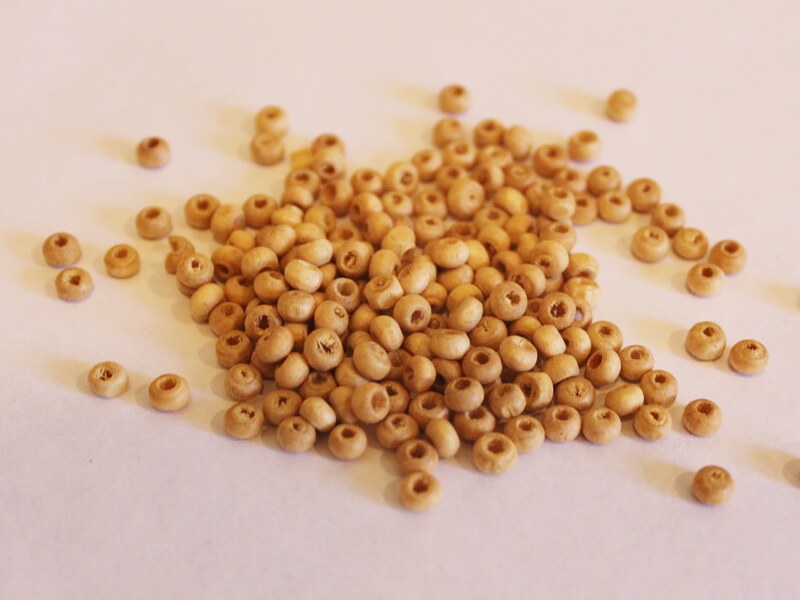
7: Beads of your choice. I used some natural colored wooden beads.
Follow these steps to make your circle lariat necklace:
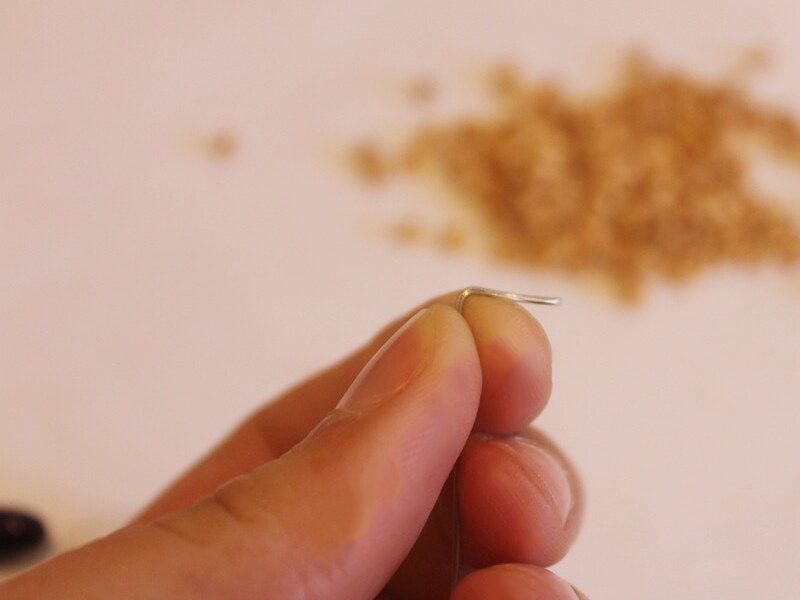
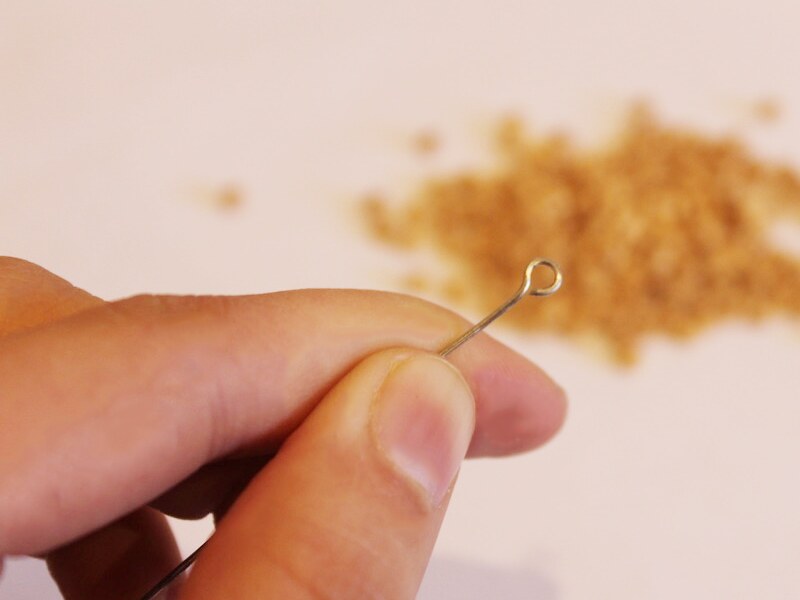
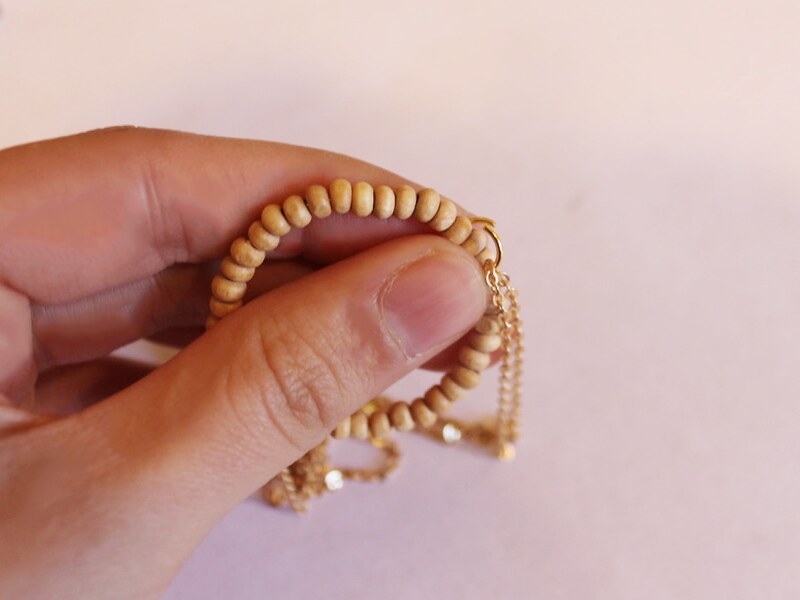
1: Create a loop at one end of the longer piece of wire using your round nose pliers.
2: Add beads to the wire until there is only 1cm left unbeaded.
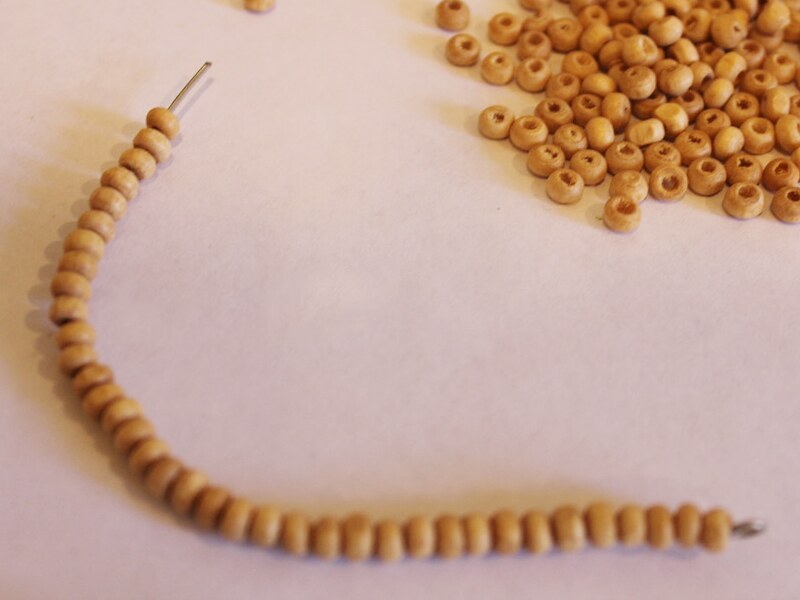
3: Create another loop at the end of the wire to secure the beads in place.

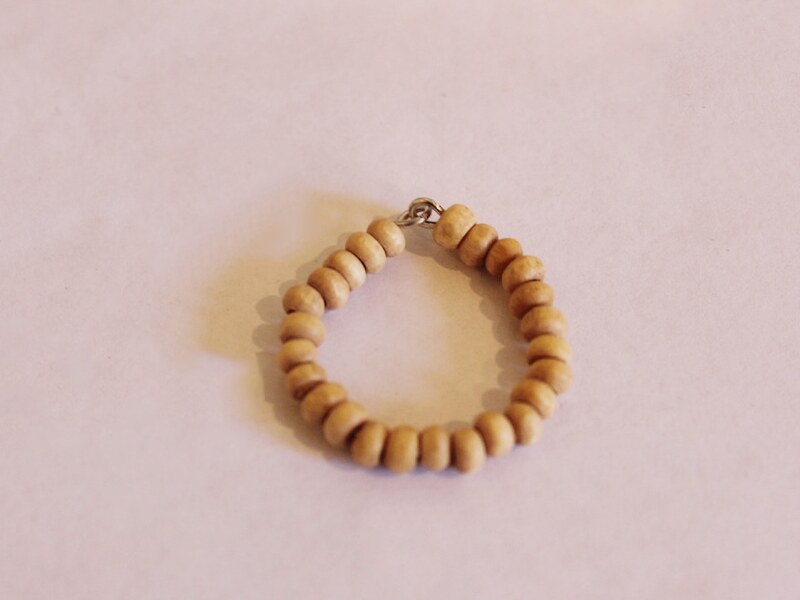
4: Gently bend the wire into a circle shape, carefully open one of the loops and link the two ends together to secure the circle shape in place.

5: Repeat steps 1-4 for the second piece of wire, making a smaller circle.
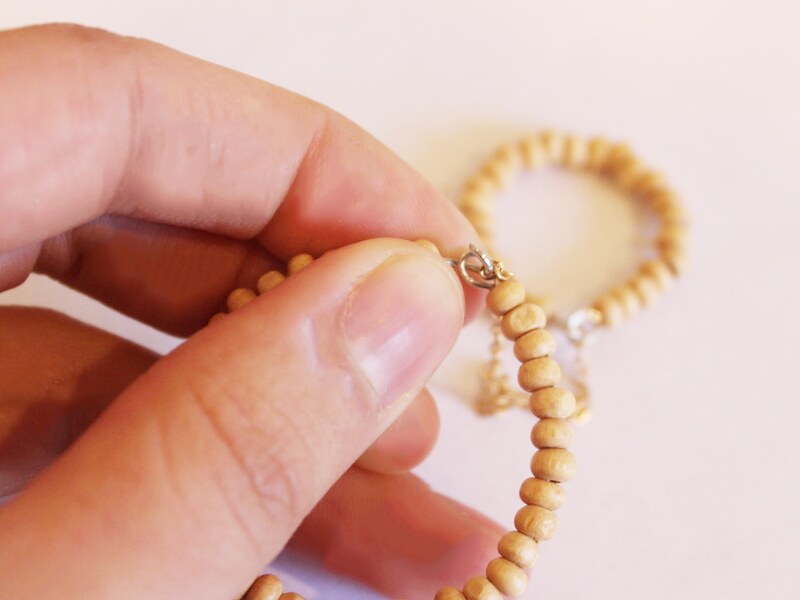
6: Open one of the loops on the smaller circle and attach one end of the short chain.
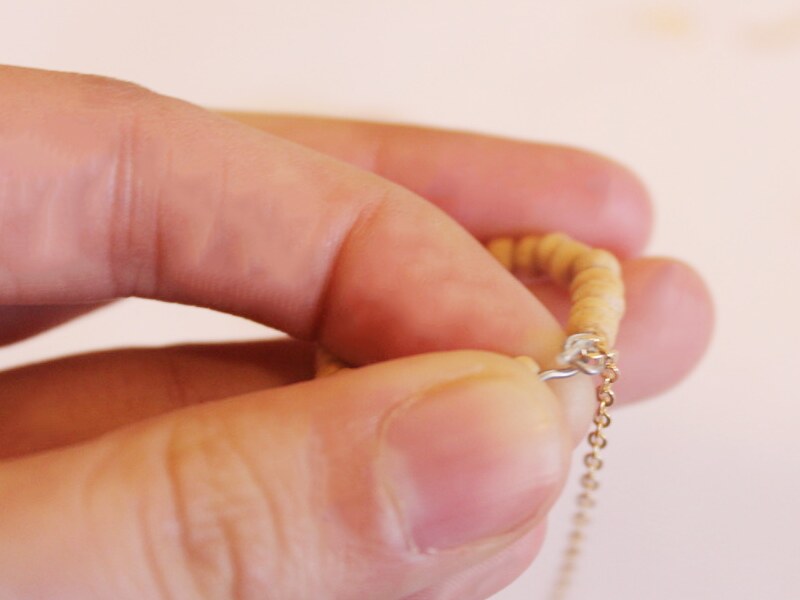

7: Attach the other end of the short chain the same way to the larger circle.
8: Add a small jump ring to one end of the long piece of chain and use it to secure the lobster clasp in place.
9: Add the other small jump ring to the other end of the long chain.
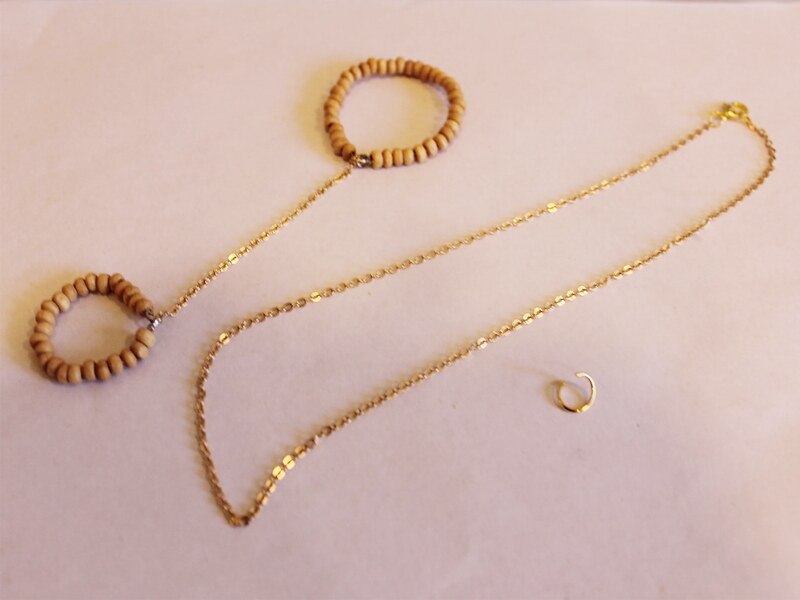
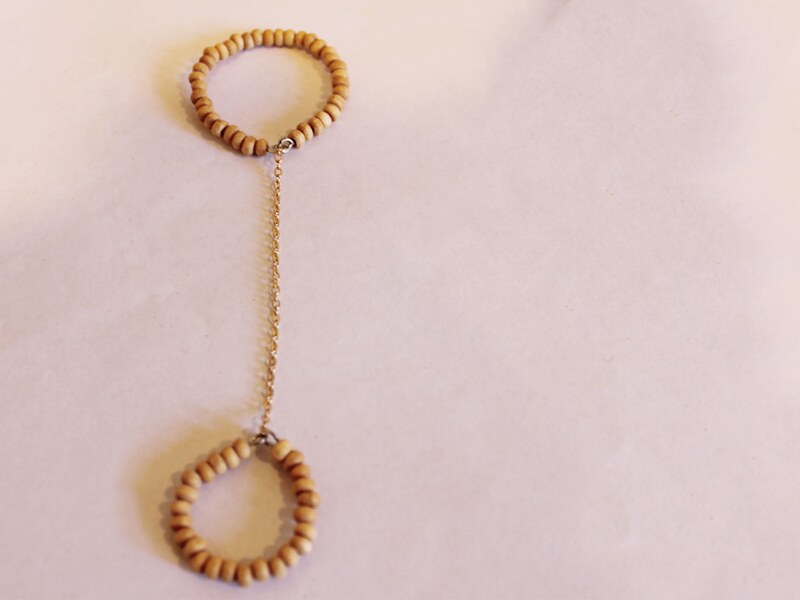
10: Use the large jump ring to attach the circle charms to the chain like you would a pendant.
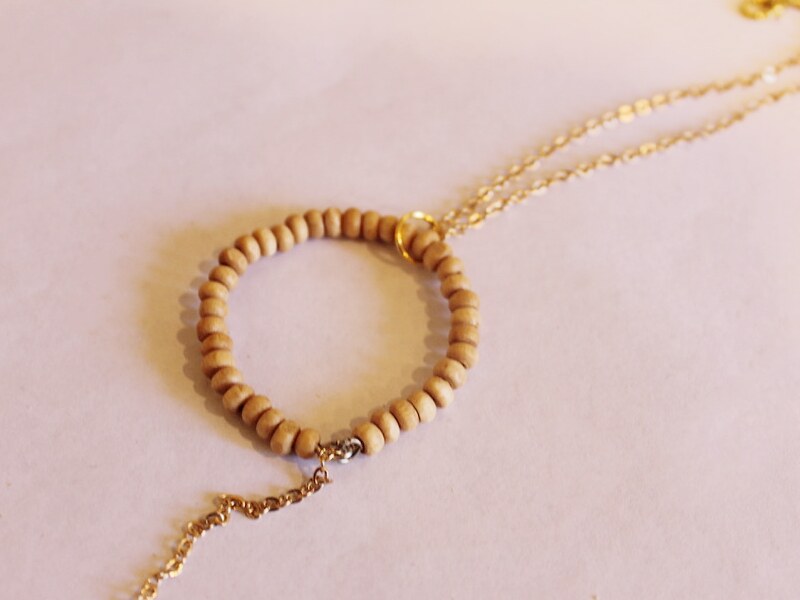
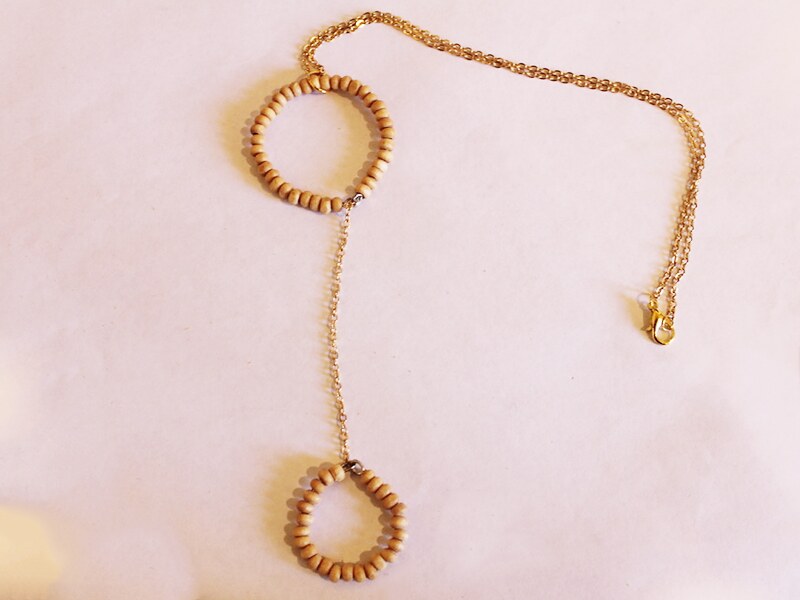
Now your necklace is finished!
Here’s another circle lariat I made using copper chain and yellow and purple glass beads.

-
Here’s how to make a beaded body chain for summer!

This body chain looks incredible. Using glass beads and some delicate gold chain it is sure to make a statement with your next summer outfit!
You will need the following tools and materials to make your beaded body chain:
1: Pliers. You will need your flat nose pliers, round nose pliers and cutting pliers to make this body chain.
2: Eight glass beads. I used these blue beads.

3: Eight eye pins.

4: Five jump rings.

5: Two lobster clasps.

6: A necklace length piece of chain.

7: Another piece of chain long enough to fit around your waist (plus another 10cm).

Follow these steps to make your beaded body chain:
1: Add the beads to each of the eye pins.

2: Bend each of the pins to form a right angle.

3: Create a loop at the end of each pin to secure the beads in place.


4: Attach all the beads together to form a beaded chain.


5: Attach the beaded chain to the middle of the shorter piece of chain.

6: Add a jump ring to one side of the short chain.

7: Attach one of the lobster clasps to the open jump ring and close the ring to secure the clasp in place.


8: Add another jump ring to the other side of the necklace chain.

9: Add one end of the long chain to the bottom of the beaded section.

10: Create a loop with the long chain, attach approximately 10cm from the end of the beaded section using one of the jump rings.


11: Split the long loop in the middle (this will be the back of the body chain).

12: Add a jump ring and clasp to one side of the long loop.

13: Add the last remaining jump ring to the other side of the body loop to finish it off.

Now it’s finished and ready to wear! How fun?!

-
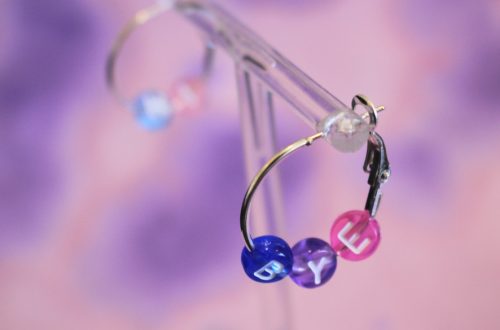
Get the look without the pain! Make this faux double piercing earring.

Do you like the look of earrings made for two piercings but don’t want to get any new holes? Why not make this faux double piercing earring?
You will need the following tools and materials to make this earring:
1: Pliers. You will need your flat nose pliers and round nose pliers.
2: Araldite glue.

3: A skewer.

4: A scrap piece of paper.

5: One clip on earring finding.

6: One earring post.

7: One butterfly back.

8: Two jump rings.

9: A small piece of chain.

10: Glue on charms. I used a piece of acrylic and a couple of rhinestones.


Follow these steps to make your faux double piercing earring:
1: Squeeze out the glue in equal parts onto the scrap paper.


2: Mix the glue with the skewer.

3: I glued one of the rhinestones onto the acrylic piece first.


4: Glue the rhinestones onto each earring. Make sure you leave the charm loop exposed on the clip on earring finding.


5: Set the earrings aside to dry.

6: Once the earrings are dry add a jump ring to the butterfly back. Slide one end of the chain onto the open jump ring and close it to secure the components together.


7: Add the remaining jump ring to the loop on the clip on earring.

8: Secure the other end of the chain to the clip on earring and close the jump ring to secure the earrings together.

Once your earrings are connected with the chain they are ready to wear, pop the earring post into your piercings and clip the other end onto the side of your ear! How cute?!

-
Here’s another lariat tutorial, and it’s a great one! Make this triangle lariat!
This triangle lariat is adorable and special! Here’s how to make your own.
You will need the following tools and materials to make your necklace:
1: Pliers. You will need your flat nose pliers and round nose pliers.
2: Two long pieces of chain to fit around your neck.

3: One shorter piece of chain.

4: Five jump rings.


5: A lobster clasp.

6: Three eye pins.

7: One head pin.

8: Beads. I used these bronze colored e-beads.

Follow these steps to make your triangle lariat necklace:
1: Add beads to each of the eye pins.

2: Bend each eye pin to form a right angle to the beaded section.

3: Loop the end of each pin to secure the beads in place.


4: Add the beads to the head pin. Bend the pin to form a loop to secure the beads in place.


5: Add the small eye pin charm to the shortest chain.

5: Attach the eye pins together to form a chain.


6: Attach the ends of the beaded chain to create a triangle.

7: Use one of the jump rings to attach one piece of long chain to one side of the triangle, so that it points down.


8: Attach the other long piece of chain to the other side of the triangle.


9: Attach the short chain to the bottom of the triangle.


10: Attach the remaining jump rings to the ends of the long pieces of chain and attach the lobster clasp to finish the lariat necklace.


Here’s another triangle lariat design I made using silver chain and some orange and yellow glass beads.


-
Searching for something different? Make yourself some cute collar clips!

Here’s a fun way to use clip on earring findings… Collar clips! Pop these on your favorite shirt collar to jazz it up.
You will need the following tools and materials to make these collar clips:
1: Pliers. You will need your round nose pliers and flat nose pliers.
2: Two clip on earring findings with charm holes at the end.

3: Two cabochons. I used these sparkly resin cabs.

4: Two jump rings.
5: A piece of chain, mine was approximately 12cm long.

6: Araldite Glue.
7: A Skewer.
8: A scrap piece of paper.
Follow these steps to make your collar clips:
1: Squeeze out the glue in equal parts onto the scrap paper and mix well with the skewer.
2: Add the glue to the charms and place them onto the clip on earrings, leaving the charm loop exposed.


3: Wait for the charms to dry.
5: Once the clips are dry, add a jump ring to one of the charm loops and attach one end of the chain. Close the jump ring to secure the chain in place.


6: Repeat step five to attach the other clip to the other end of the chain.

Once your chain has been attached to both clips your collar clips are ready to wear! How will you style yours?

-
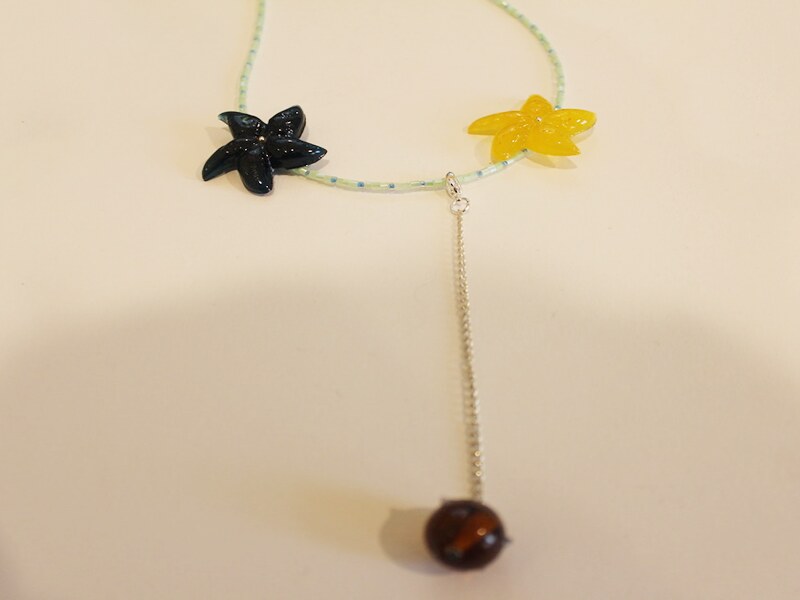
This charm will let you turn any necklace into a lariat!
Do you love the look of a lariat necklace? Here’s a tutorial that will allow you to turn any necklace into a lariat.
You will need the following tools and materials to make your clip on lariat charm:
1: Pliers. You will need your round nose, cutting pliers and flat nose pliers.
2: A piece of chain, mine was approximately 9cm long.
3: A lobster clasp.
4: A jump ring.

5: A head pin.
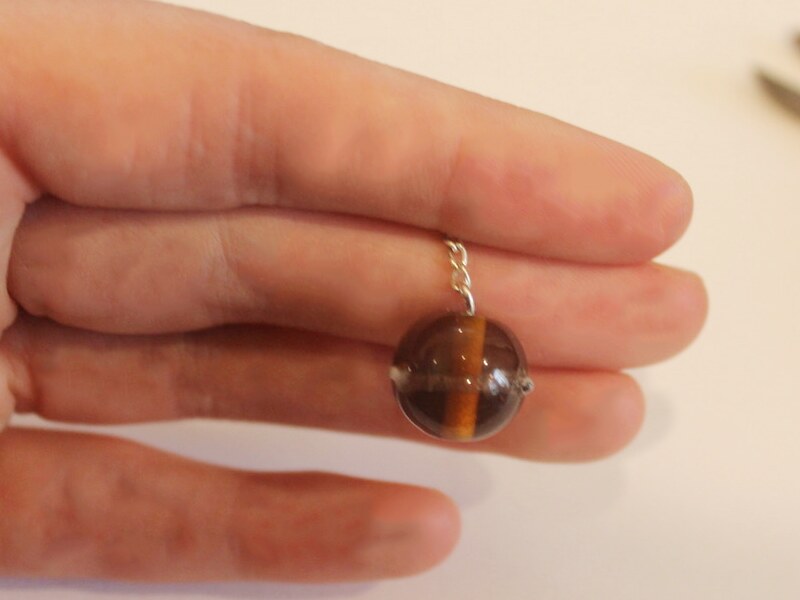
6: A bead of your choice (You can also use a charm). I used this glass bead.

Follow these steps to make your clip on lariat charm:
1: Add the bead to the head pin.
2: Bend the pin to form a right angle.
3: Trim the pin so that there is only 1cm left.

4: Create a loop at the top of the pin using the round nose pliers.

5: Attach the charm to one end of the chain.
6: Add the jump ring to the other end of the chain and add the lobster clasp.

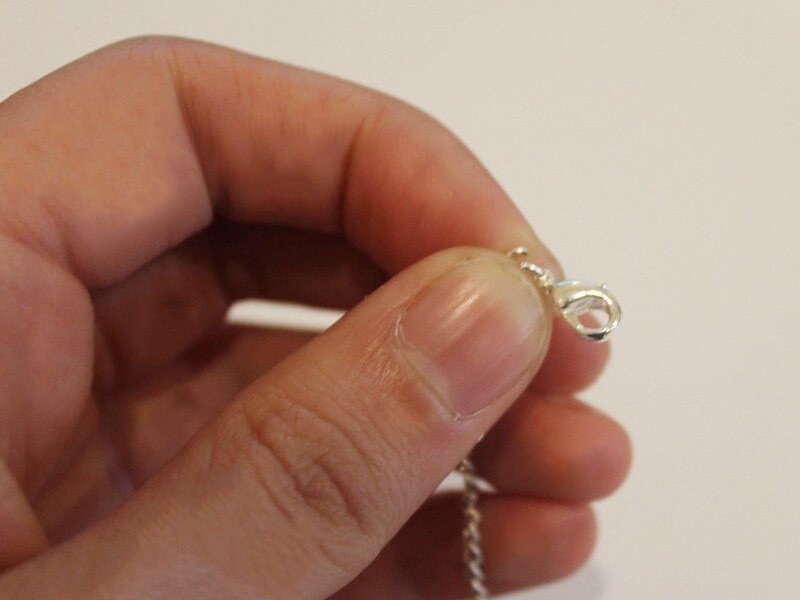
7: Close the jump ring to secure the clasp to the chain.

Once the clasp is in place your charm is ready to be attached to all the necklaces in your collection! How will you style your lariat charm?