Here’s another delicate dangling beaded chain to add to your jewelry box!

I love dainty chain necklaces that accentuate lovely beads. If you love to layer your beads and chains then why not add this dangling bead chain necklace to your personal jewelry collection. A special bead pattern will make this design really POP! What will you wear with your pretty new necklace? I can’t wait to layer mine with a lovely stack of delicate chain necklaces.
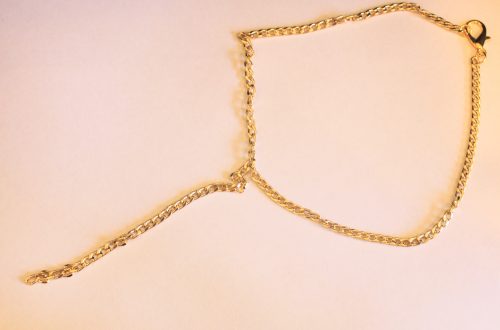
You will need the following tools and materials to make your dangling beaded chain necklace:
1: Pliers. You will need your flat nose pliers and round nose pliers.


2: A length of chain, make sure that it fits comfortably around your neck.

3: Eight small head pins.

4: One lobster clasp.

5: One jump ring.

6: Beads of your choice. I used some small gold bugle beads and eight blue faux pearl beads.


Here are the steps for making your delicate dangling bead necklace:
1: Add the beads in your desired pattern to each of the head pins.


2: Once all your head pins have been beaded, use the round nose pliers to bend the pin at a right angle to the beaded section.


3: Create a loop at the top of each pin using the round nose pliers. This will secure the beads in place.


4: Once all your pins have been looped you can prepare to attach them to the necklace chain.
5: Work out where you want to place the first bead charm.

6: Open the loop on the first bead charm and slide it onto a chain link close to the middle of the necklace chain.

7: Once the charm is in place, close the loop again using the round nose pliers to secure the bead charm in place.
8: Measure out the next point to which you will attach the next bead charm, I attached my beads 5 chain links apart. Attach the second charm.


9: Continue to attach the bead charms, placing the final 4 charms on the other side of the first charm you attached to ensure that they are placed evenly along the necklace chain.

10: Once all your bead charms have been attached, open a link at the end of the necklace chain and slide the lobster clasp onto the open link.

11: Close the link again to secure the clasp in place.

12: Open a jump ring and attach it to the other side of the necklace chain.

13: Once the final jump ring is in place your necklace is complete and ready to wear!
DIY Jewelry Hub
Welcome to DIY Jewelry Hub. If you’ve ever wanted to learn how to make your own jewelry this is the place to start! Jewelry is a great way to show off your individuality and style. You’ll be surprised at how easy it is to create your own unique pieces! DIY Jewelry Hub will equip you with all the knowledge and inspiration you need to make your own jewelry.


You May Also Like

Want to Add Another Cool Choker To Your Collection? Make This Velvet Number!

Flowers are so pretty! Here’s how to make a beaded flower choker…