-
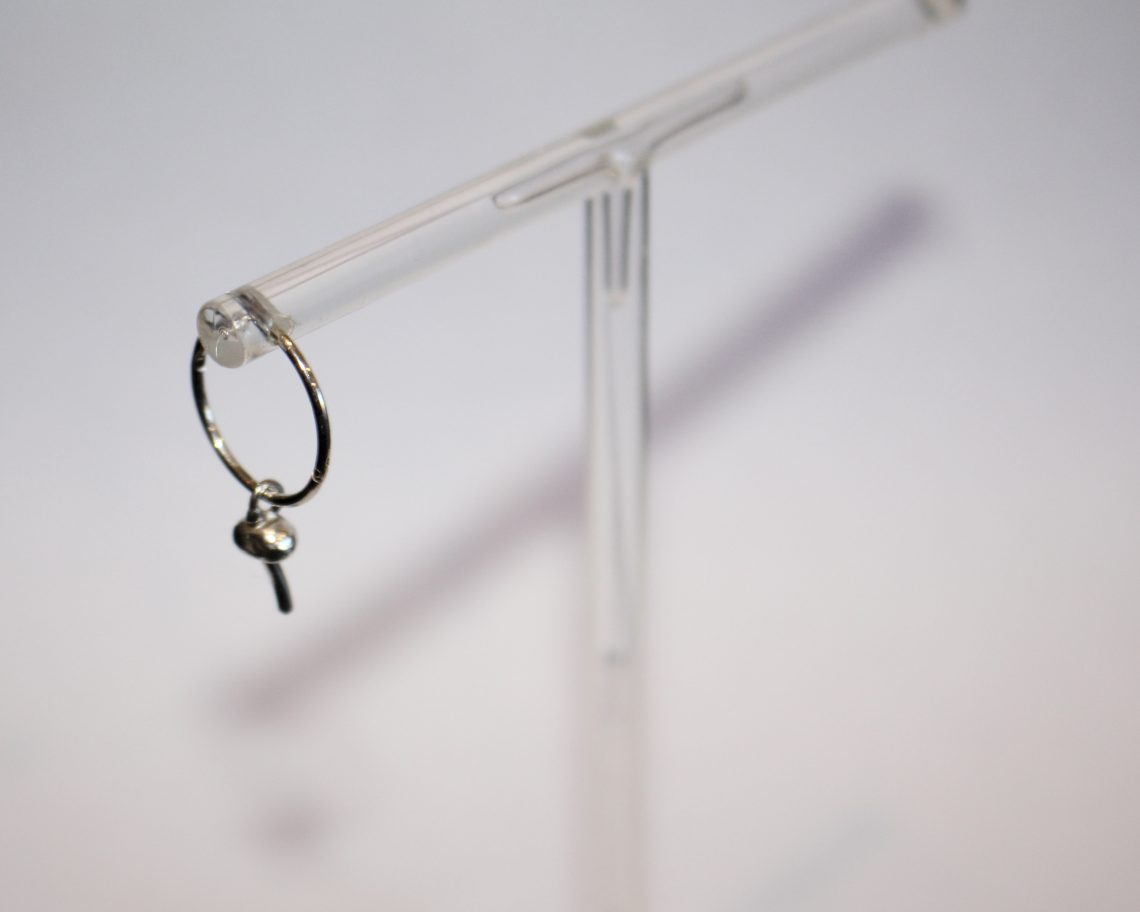
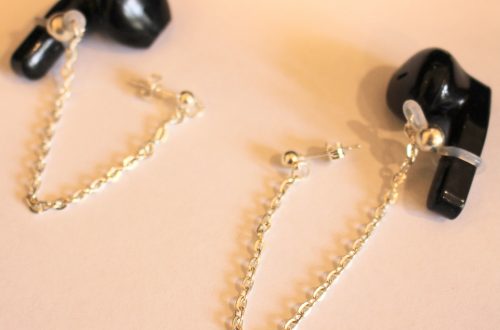
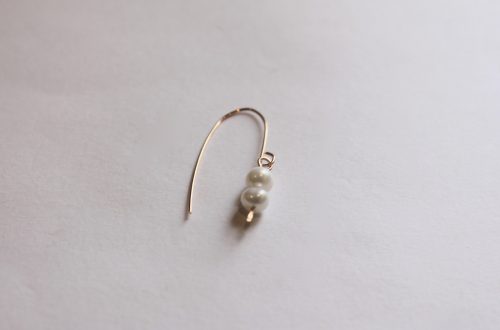
Sleeper earring charms?! Here’s how to add a cute charm to your sleeper earrings.
I love adding a little glamour to my causal sleeper earrings with charms! This super simple tutorial that doesn’t require any tools at all shows you how to add cute tiny charms to your everyday earrings. You can even mix and match your favourite little charms.
Please note that this tutorial contains affiliate links for which we may receive a commission.
You’ll need the following materials to update your sleeper earrings with charms:
1: A sleeper earring. You can use gold or silver. I used a sterling silver sleeper.

You can get silver sleepers here:
Or you can get gold sleepers here:
2: A charm. I used this sterling silver mushroom charm. You can mix metals and add a gold charm, or add something that matches instead.

You can get something similar here:
Or try these gorgeous charms:
Follow these steps to add your charm to your earring:
1: Open the earring.

2: Put the charm on the earring and close it to secure.


Now you’re charm filled sleeper is ready to wear! What charms will you add to yours?


Here are some other charm sleepers I have put together!


If you love this tutorial here are some similar earrings you can make:
- Make clip on charms for your hoop earrings.
- Beaded square charms to add to your hoops.
- How to add mini star bead charms to your hoop earrings.
- How to make your own hoop earrings out of wire.
- How to embellish your hoops with letter beads.
- How to make pearl charms for your hoops.
- How to make bohemian hoops with ribbon and shells.
- How to make pearl tassel hoops.
- How to make fruit charm hoops.
-
Here’s how to make some clip-on shoe charms.
I was browsing the internet the other day and saw the cutest shoe charms, so I knew I had to make a quick tutorial so you can make your own as well! These charms use lobster clasps and pre-made charms for a fun way to personalise your sneakers. Please note that this tutorial contains affiliate links for which we may receive a commission.
You’ll need the following tools and materials to make your shoe charms:
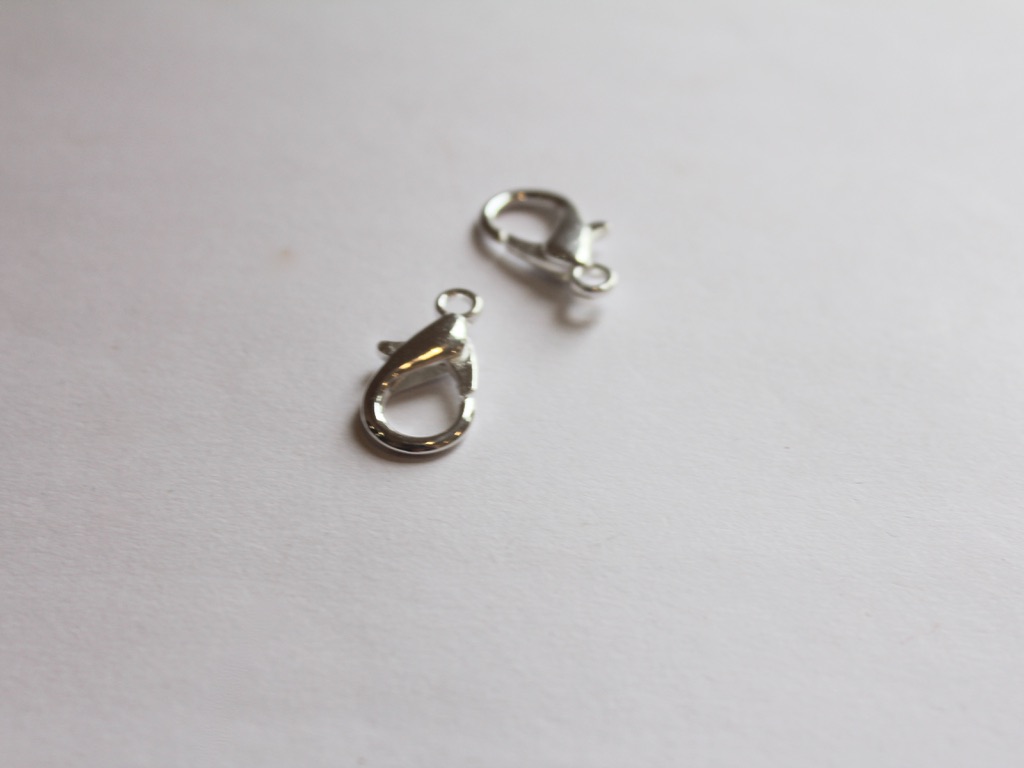
1: Some lobster clasps. I used some I already had, a black clasp and a gold-tone one.

You can get black clasps here:
And gold ones here:
2: Some charms. I used a glass heart charm and a plastic banana charm.

You can get banana charms here:
And heart charms here:
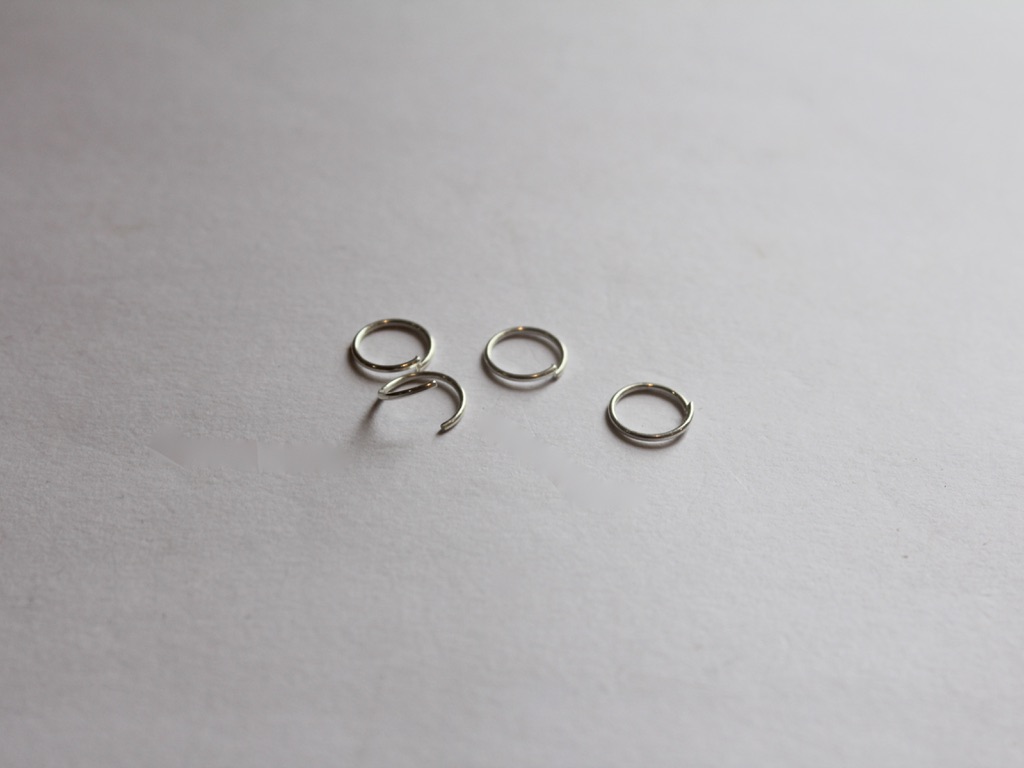
3: A couple of jump rings in colours that match my clasps.

You can get jump rings here:
4: Pliers. I used my flat nose and parallel pliers to open and close my jump rings. If you don’t have parallel pliers you can also use needle nose pliers, or any two sets of pliers you have on hand to open and close your jump rings (except cutting pliers, don’t want to snip those rings!)

You can get flat nose pliers here:

You can get a pair here:
Here are all the steps to follow to make your own shoe charms:
1: Add the open jump rings to the clasps.

2: Add the charms to the clasps.

3: Close the clasps using your pliers.

Now your shoe charms are ready to use! Clip them onto your laces to add some extra ‘charm’ to your fave sneakers. So cute!


Here are some other shoe decoration tutorials you can follow:
1: A sparkly shoe chain made with string and metal beads.
-
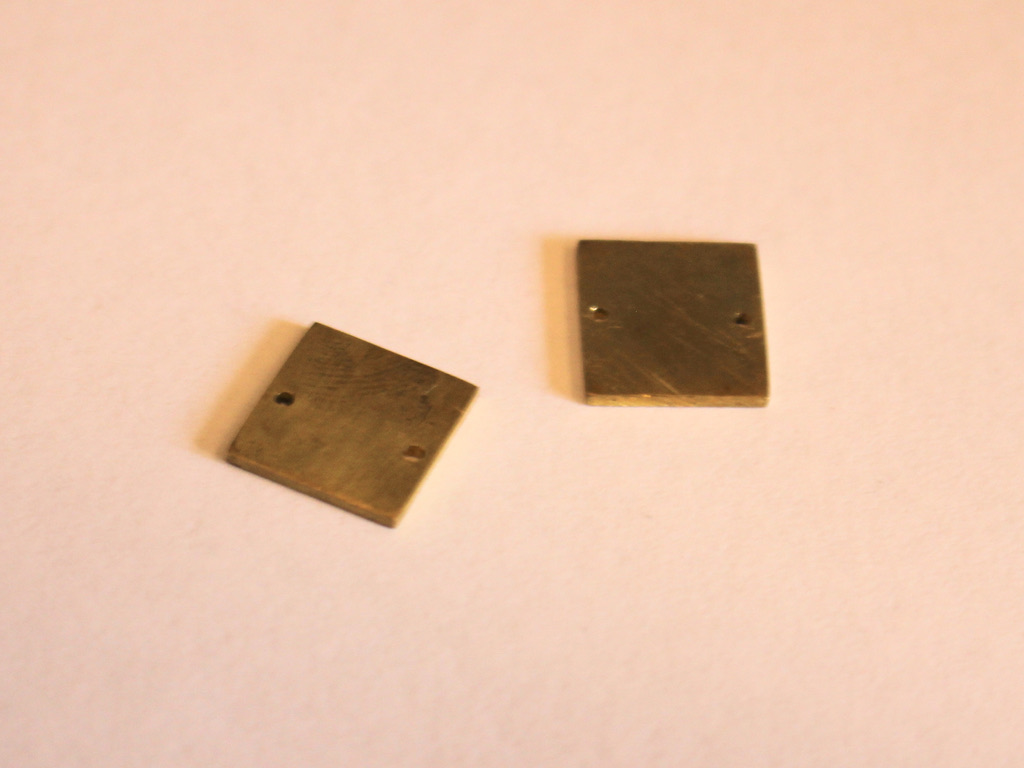
Here’s how to patina brass charms using salt and vinegar…
I’ve already shown you how to turn copper green using salt and vinegar, and the same process can be used on brass! Brass has a high copper content, so it can develop a nice patina when you put it in a container with salt and vinegar, simple ingredients that you can find easily at the supermarket. This is a fun way to add some character and interesting patterns to your metal jewelry designs! Please note that this tutorial contains affiliate links.
You’ll need these tools and materials to do this patina process:
1: Brass charms. I used these brass charms that I made a while ago.
2: A plastic container. I used a recycled takeaway container with a lid.

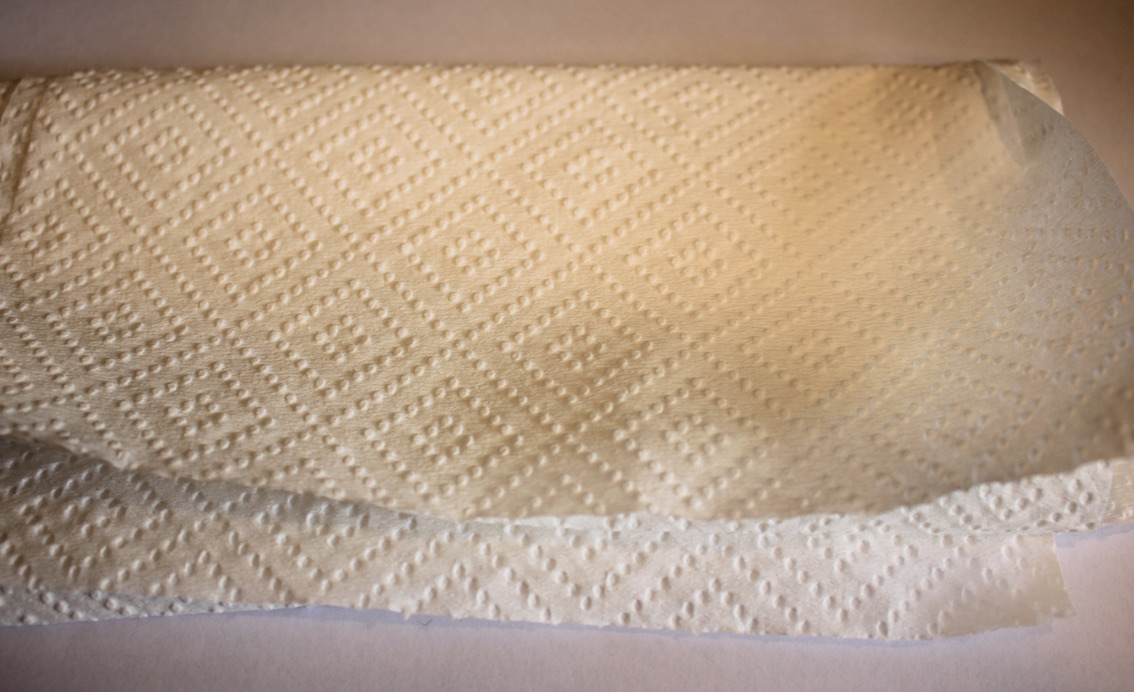
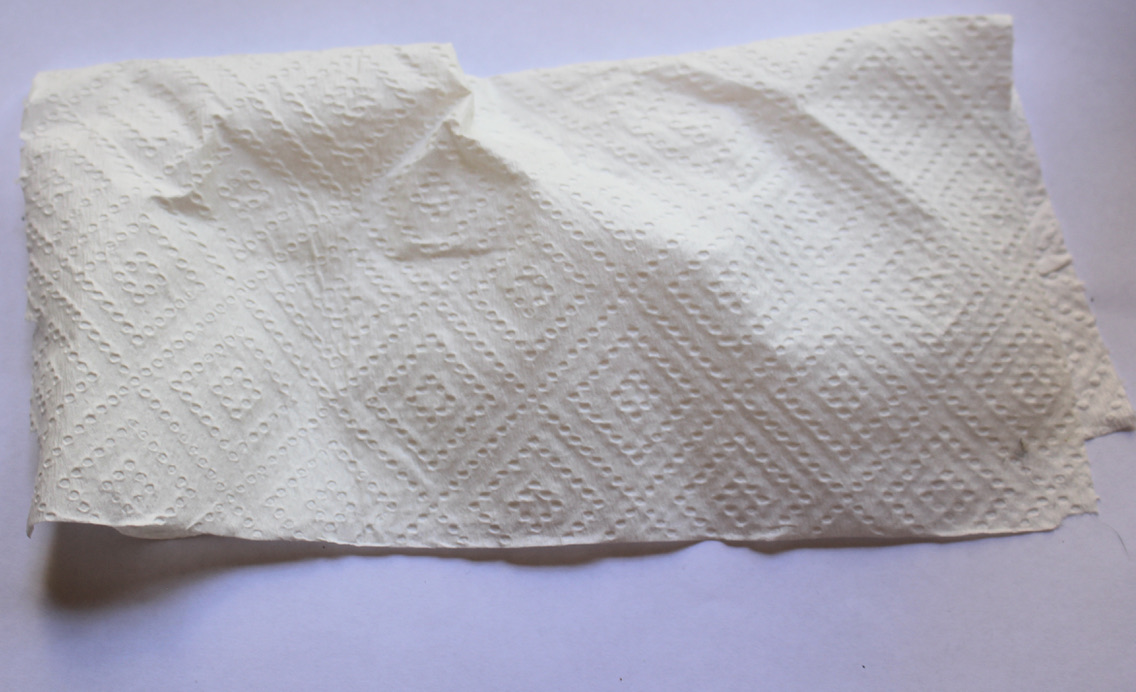
3: Paper towels. I haven’t tried it with reusable cloth, but I bet that would work too!

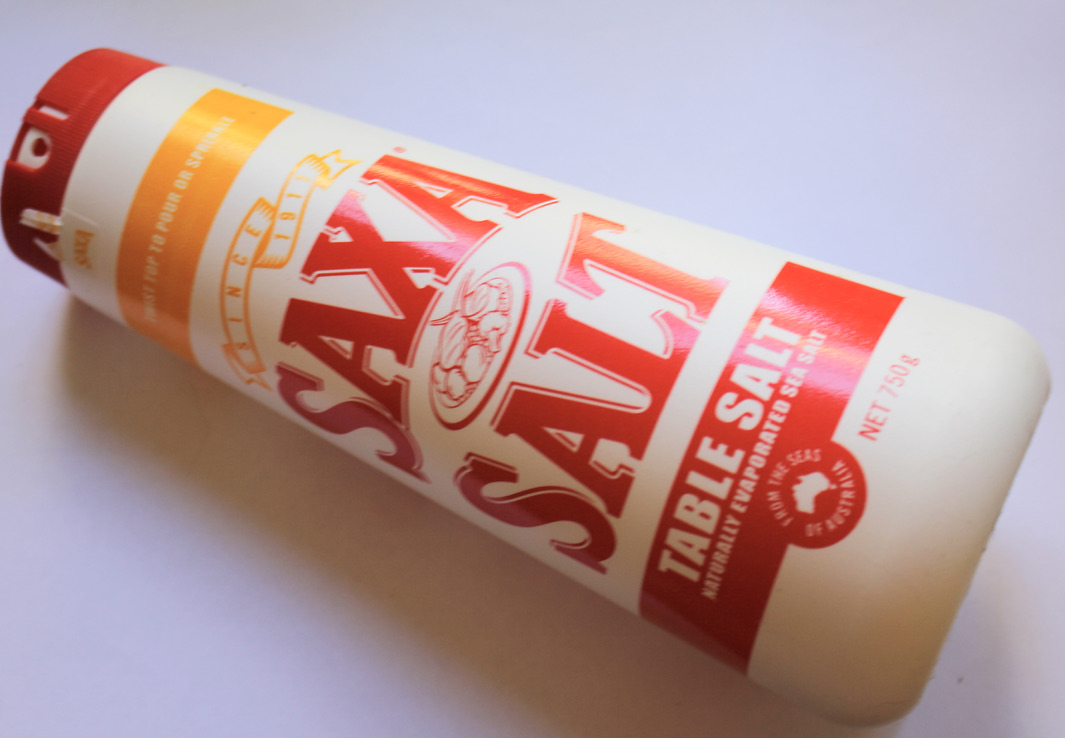
4: Salt.

5: Vinegar. I used white vinegar for this process.

Follow these steps to add patina to your brass charms:
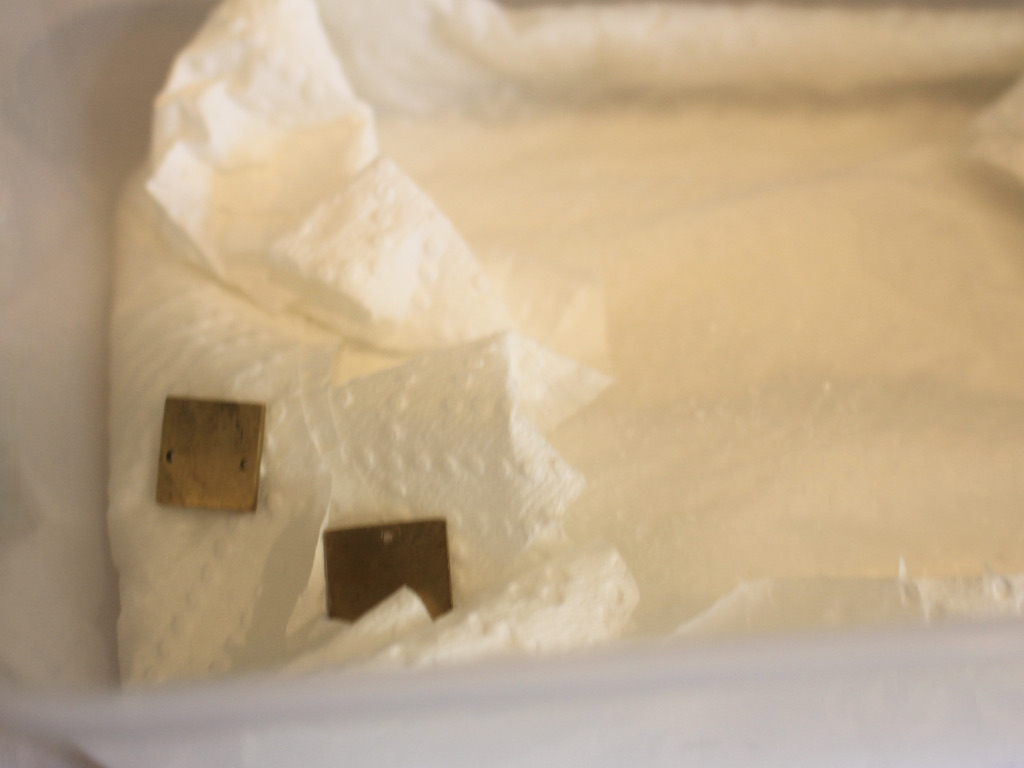
1: Put the paper towel in the container.
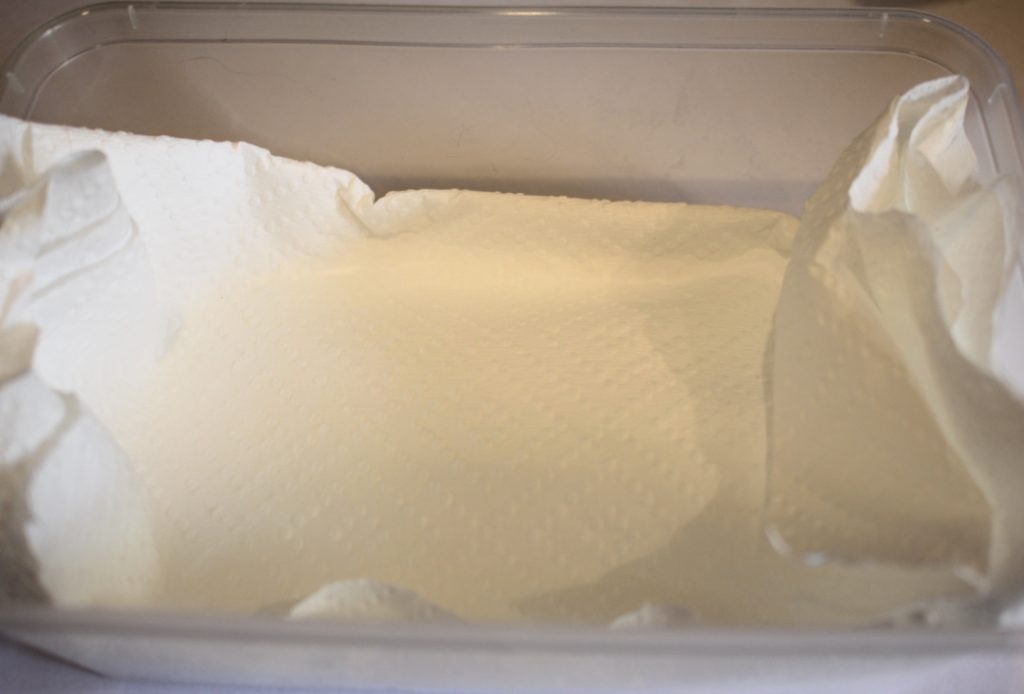
2: Add a dash of vinegar to the paper towel.

3: Sprinkle some salt over the top.

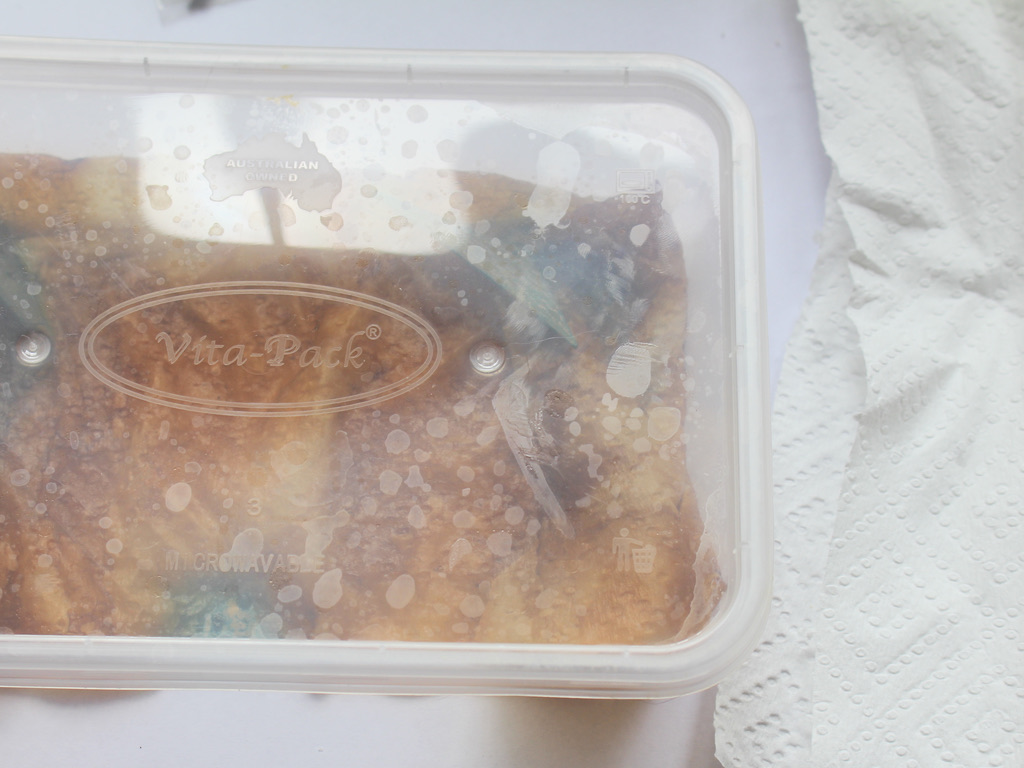
4: Put the charms in the container and put the lid on. Set this container aside for a while, maybe overnight, to allow the patina to develop.
5: Once the charms have a patina you like, take them out of the container and wipe them down gently using more paper towel.


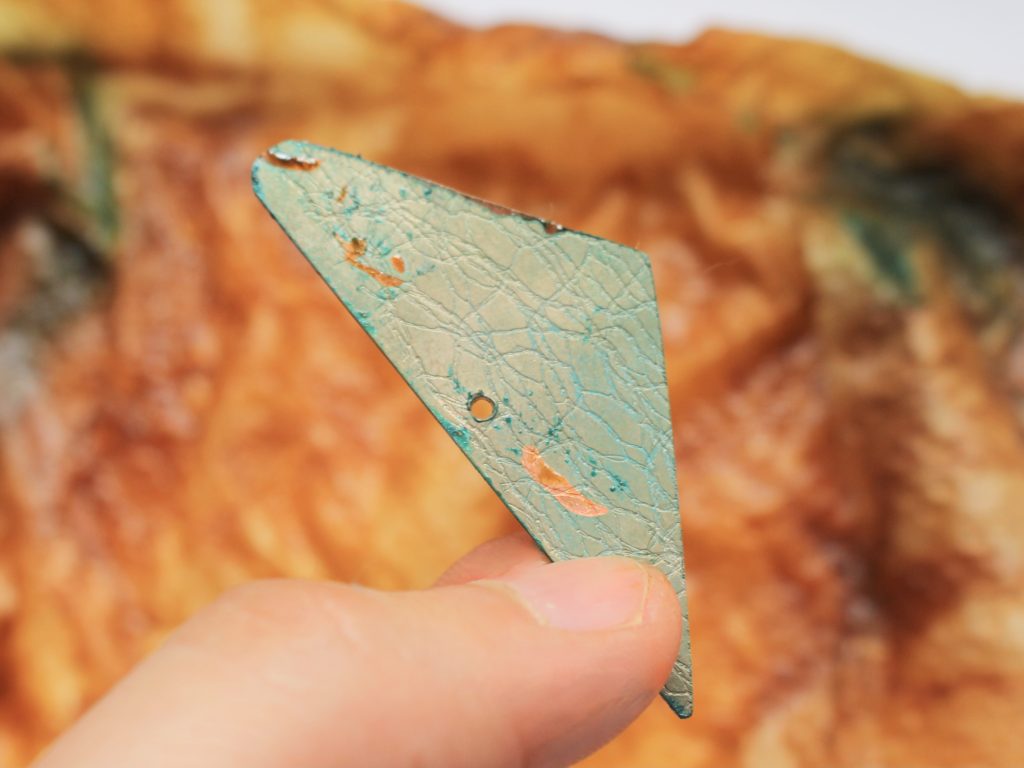
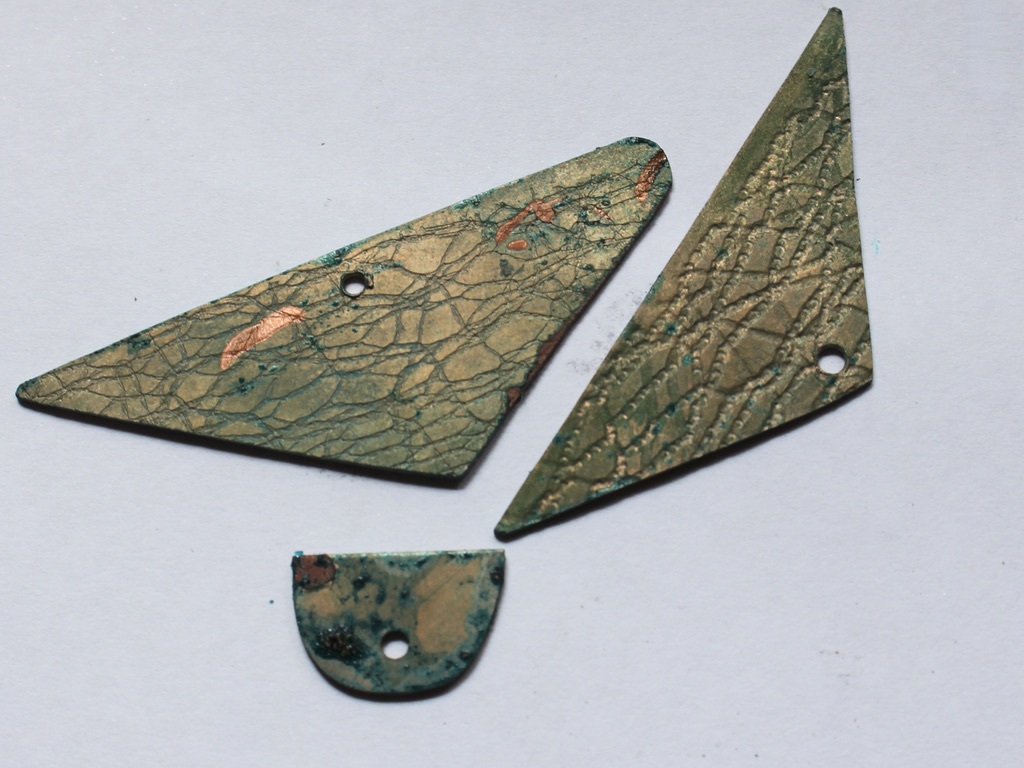
Isn’t it interesting to see how the patina will develop?! this one formed a lot around the grains of salt. Now you can use them in your jewelry designs! Please note that the patina can be delicate, so you can protect it using a product like renaissance wax.
-
Here’s how to turn copper charms green using kitchen ingredients! I love this technique.
Copper is a really fun material to make jewellery with, it is reactive and oxidises easily, so you can make some great patterns and patina using simple household ingredients. In this tutorial I’m going to show you how to turn copper green using kitchen salt and balsamic vinegar! Please note that this tutorial contains affiliate links.
You’ll need these tools and materials to turn copper green:
1: A plastic container with a lid. I used a recycled takeaway container.

2: A couple of paper towels, one for turning the pieces green and another for wiping them off.

3: Some copper charms. I used these charms I made from some copper sheet a while ago.

4: Vinegar. I used balsamic vinegar for this tutorial, but you can try other vinegars such as white vinegar.

5: Salt.
Now, here are the steps to follow to turn your copper green:
1: Put the paper towel inside the plastic container.

2: Add a dash of vinegar to the container, it will soak into the paper towel.

3: Add the salt to the container, sprinkle it over the paper towel.

4: Place the copper pieces into the container, try to have them leaning against the side as having the pieces right against the vinegar-coated paper towel stops the patina from developing well (you can see this below with the copper arch charm, one side didn’t turn green because it was directly against the salt and vinegar mixture).

5: Put on the lid and leave the pieces overnight.
6: Once you have a patina you like, you can take the pieces out of the container and gently pat them dry with another paper towel, and that’s all! Now your pieces are ready to make with.


The final patina can be delicate when it is dry, so you can protect it with a substance called renaissance wax, which coats the piece and protects the green patina.
Here are some earrings I made using this technique, what do you think?

If you love this design, you can buy them here: https://www.etsy.com/au/listing/724963620/australian-made-earrings-copper-earrings?click_key=71fb4f1a5e946b8d959e969ff1a5137d17891322%3A724963620&click_sum=ee529605&ref=shop_home_active_27&frs=1

Here’s another pair you can purchase: https://www.etsy.com/au/listing/746942552/copper-and-silver-earrings-white-jade?click_key=42061fd44dcd2c519b427d32fdeaf45615238bcc%3A746942552&click_sum=3fb803a0&ref=shop_home_active_2&frs=1
And a third pair I made using copper wire and jasper beads, you can buy them here: https://www.etsy.com/au/listing/1130385893/textured-copper-earrings-copper-earrings?click_key=1fb520d80bb1c050717c9f98bc6c20c3f0260d48%3A1130385893&click_sum=deed90a6&ref=shop_home_active_8&frs=1

-
Here’s how to make a really cute charm anklet!
Do you love the look of dangling charms? Why not drape some around your ankle with this beaded charm anklet design? This tutorial contains affiliate links.
Here are the tools and materials I used to make my beaded charm anklet:
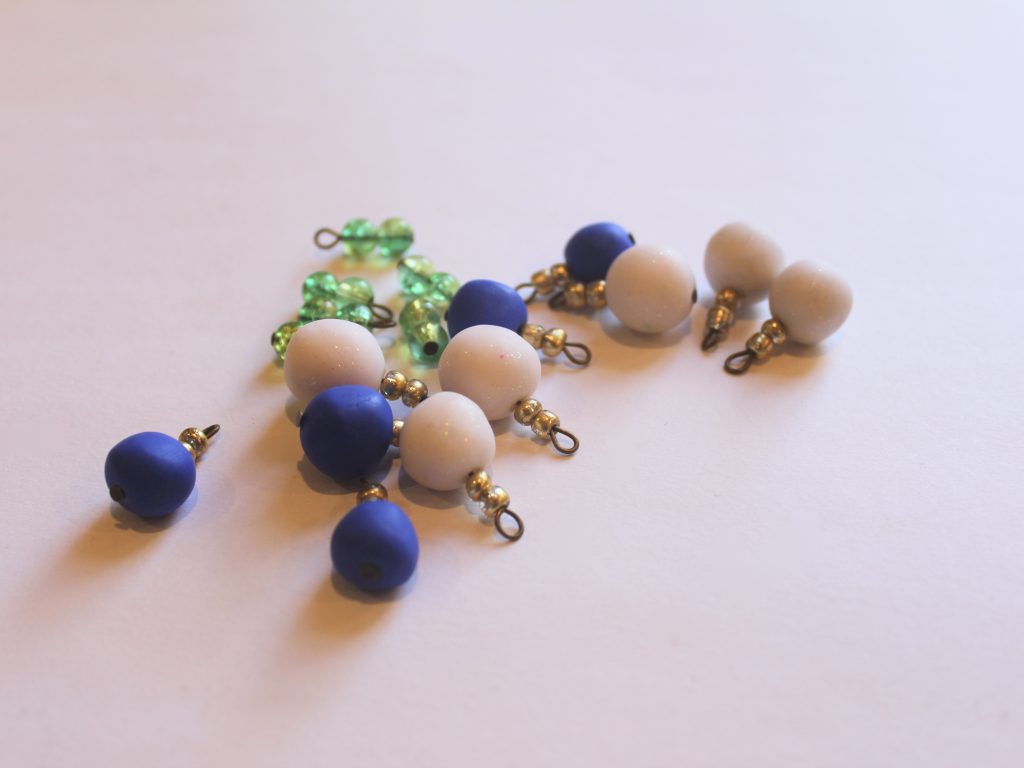
1: Pliers. I used by round nose pliers (middle), flat nose pliers (right) and cutting pliers (left).

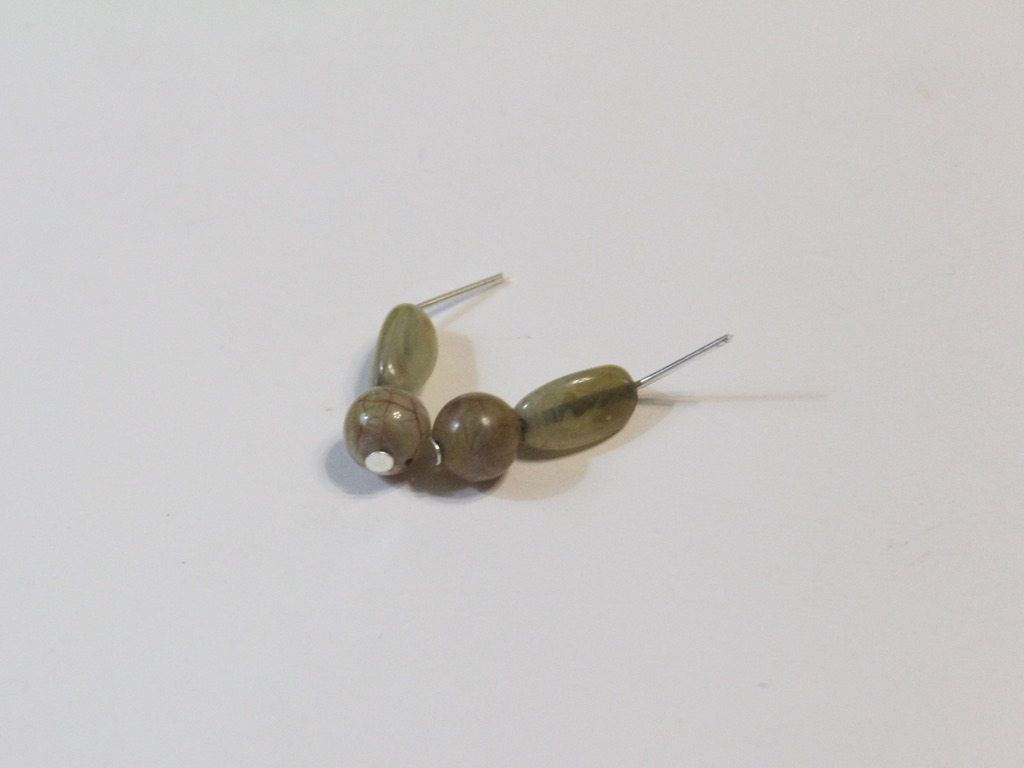
2: A selection of beads. I used some polymer clay beads that I made a while ago, some green glass beads and some gold e-beads.
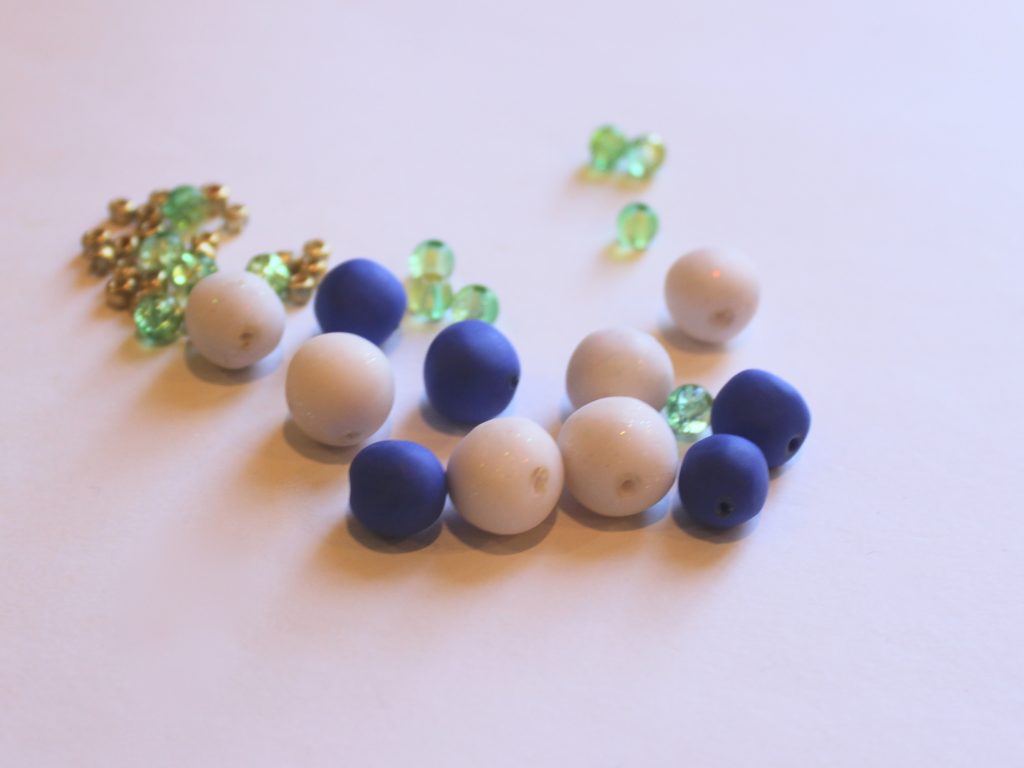
3: Some chain long enough to fit around your ankle.

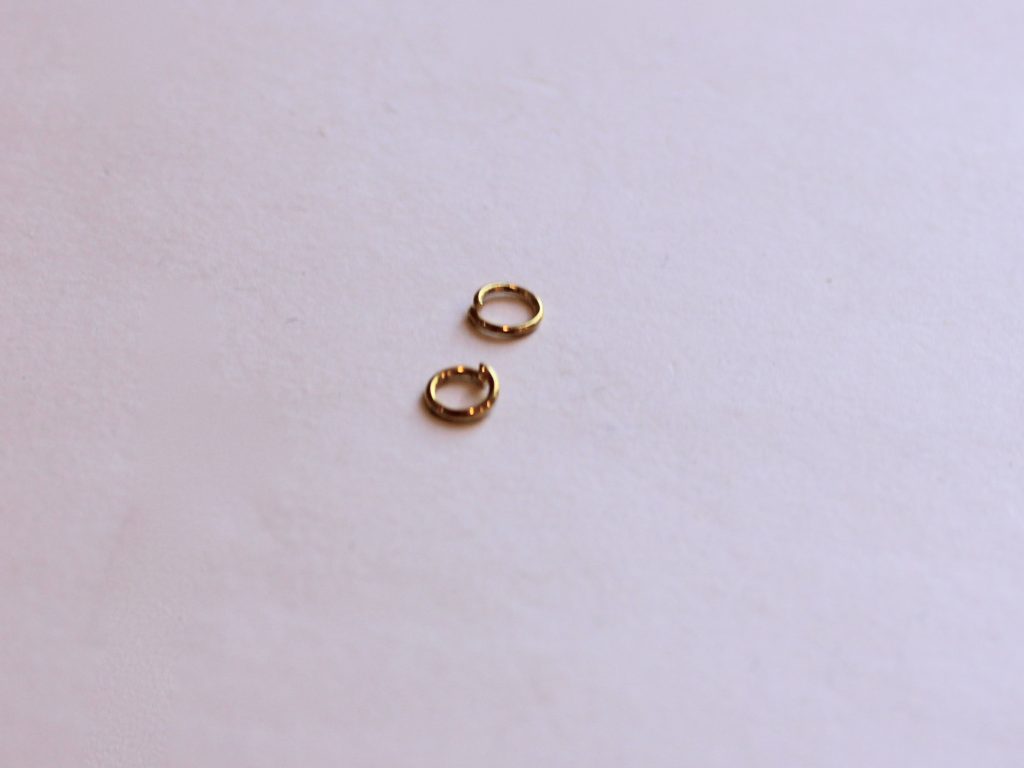
4: Two jump rings.
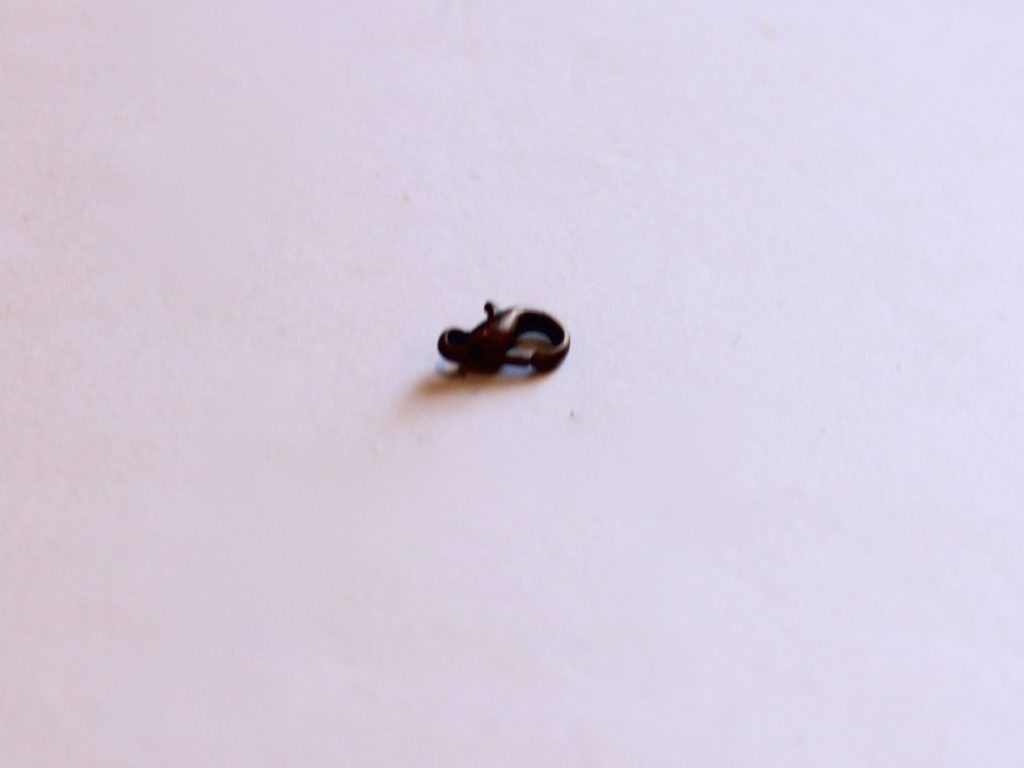
5: A lobster clasp.
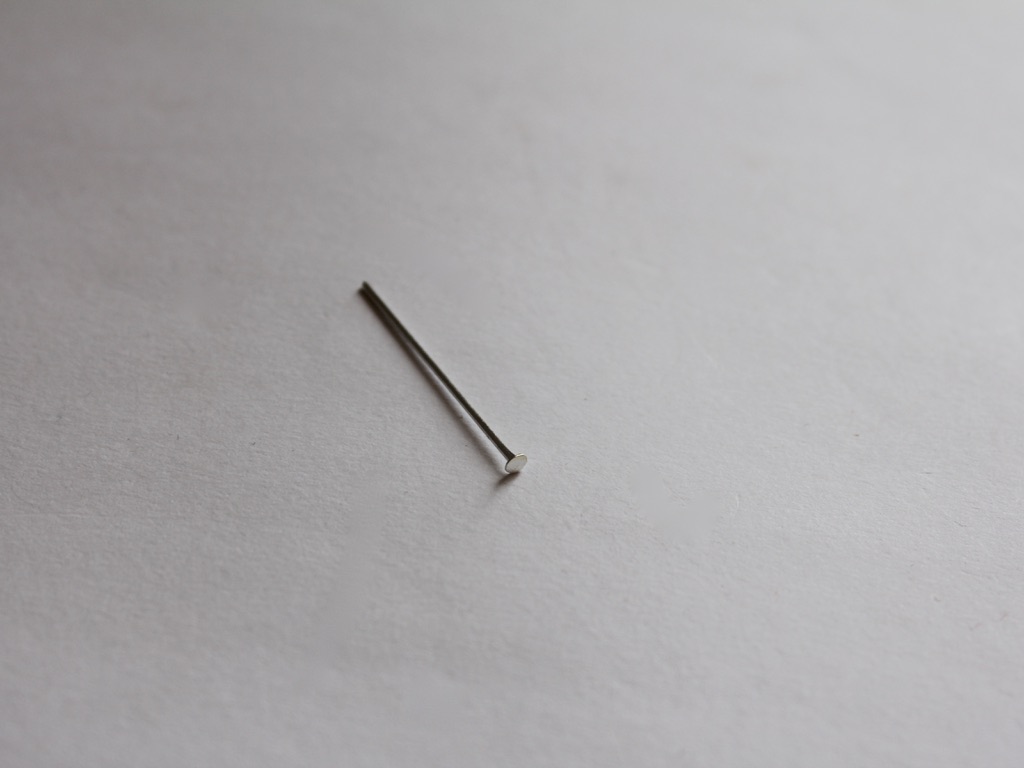
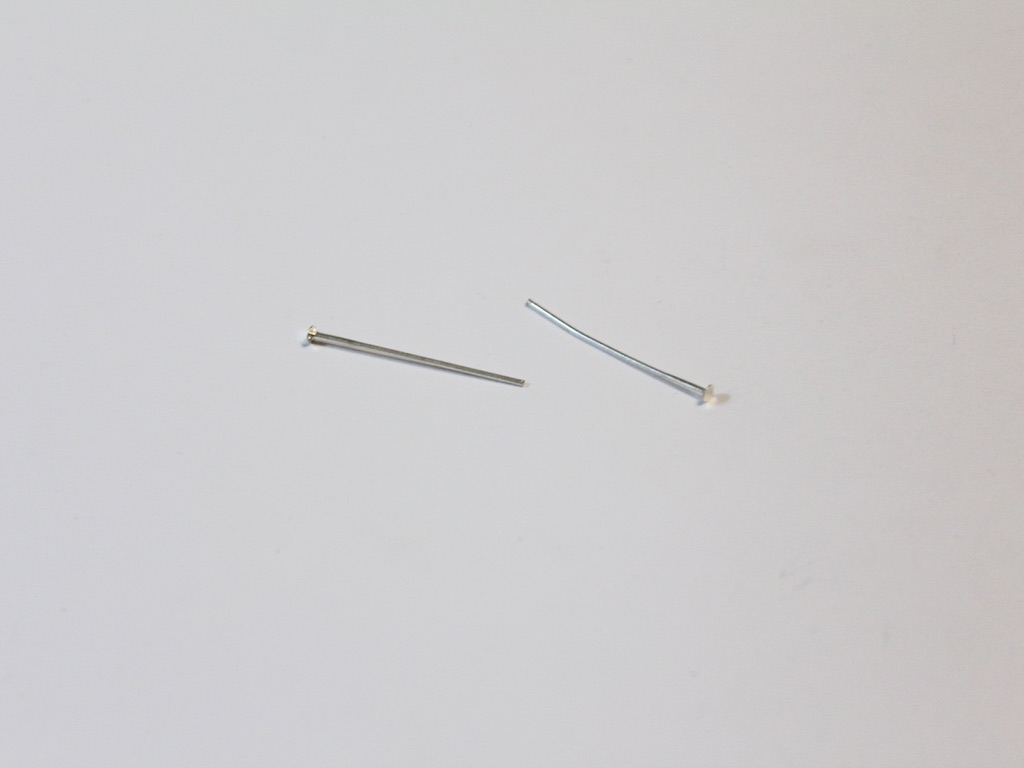
6: A bunch of head pins.

Follow these steps to make your charm anklet:
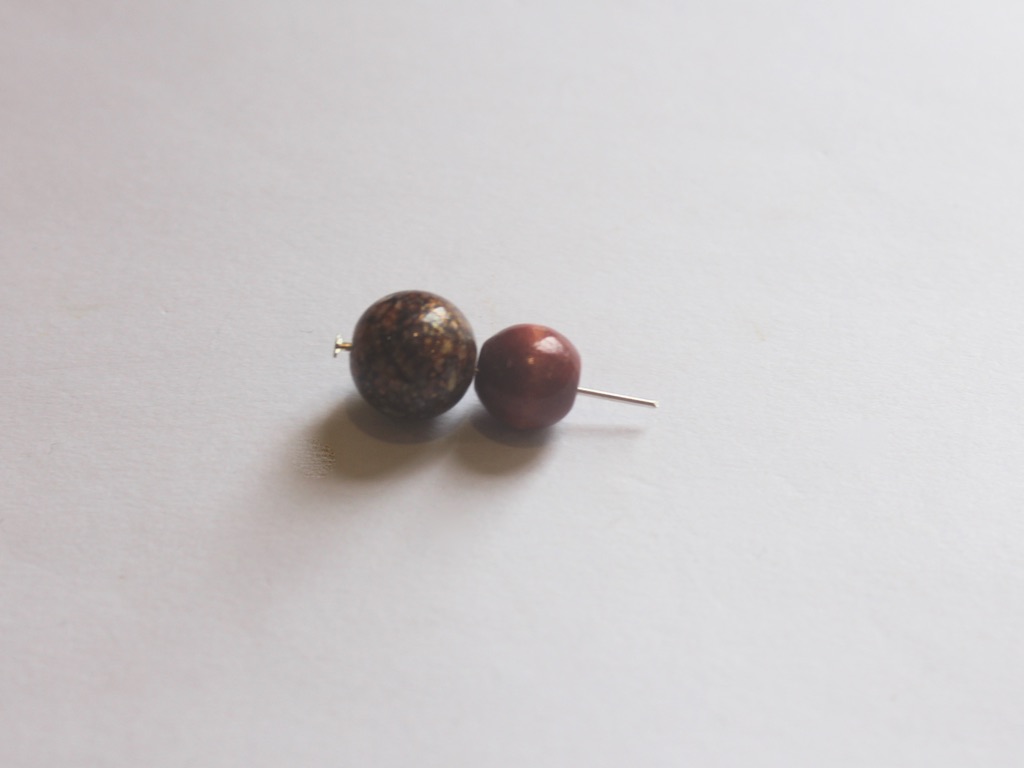
1: Add beads to each of the head pins.
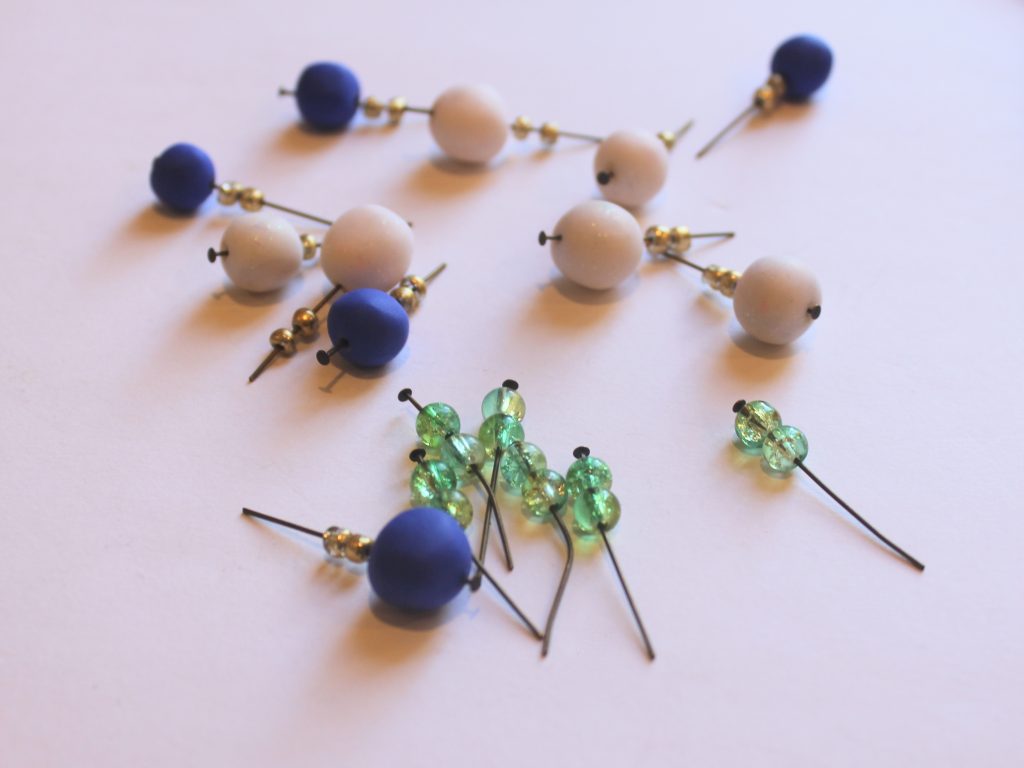
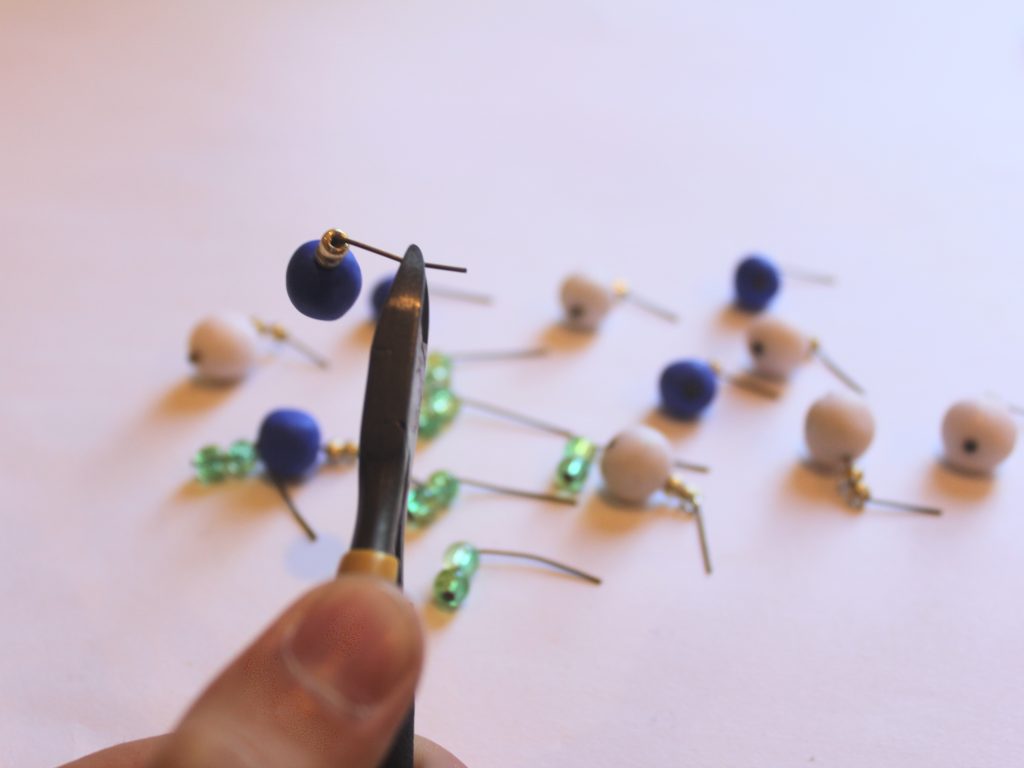
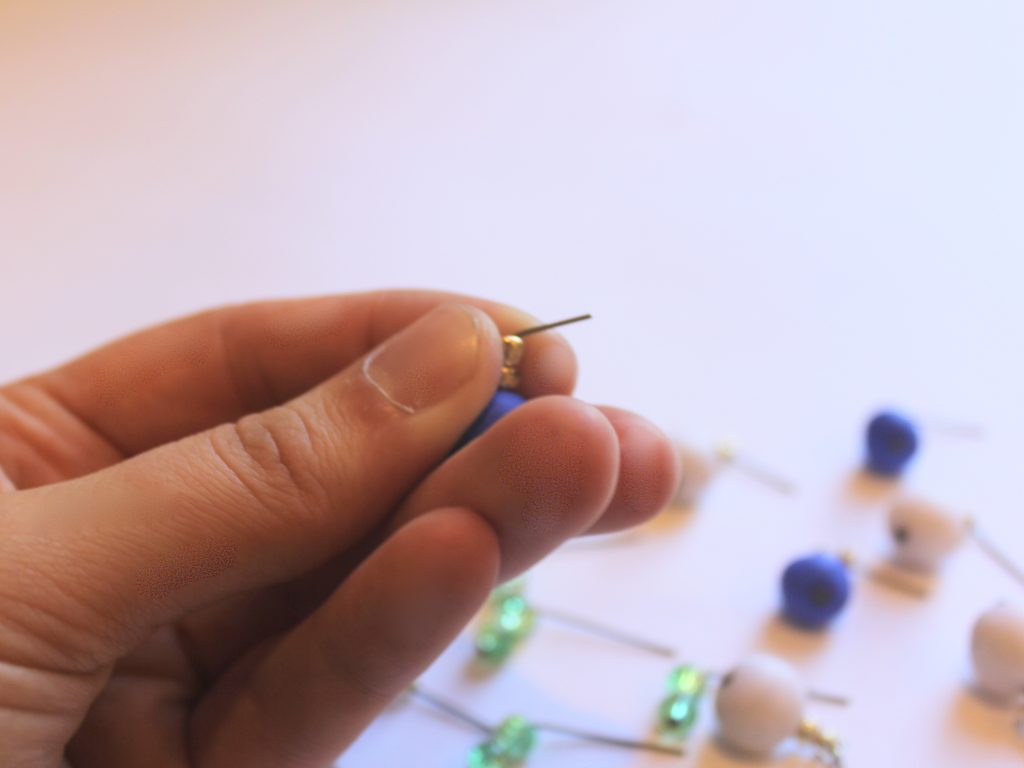
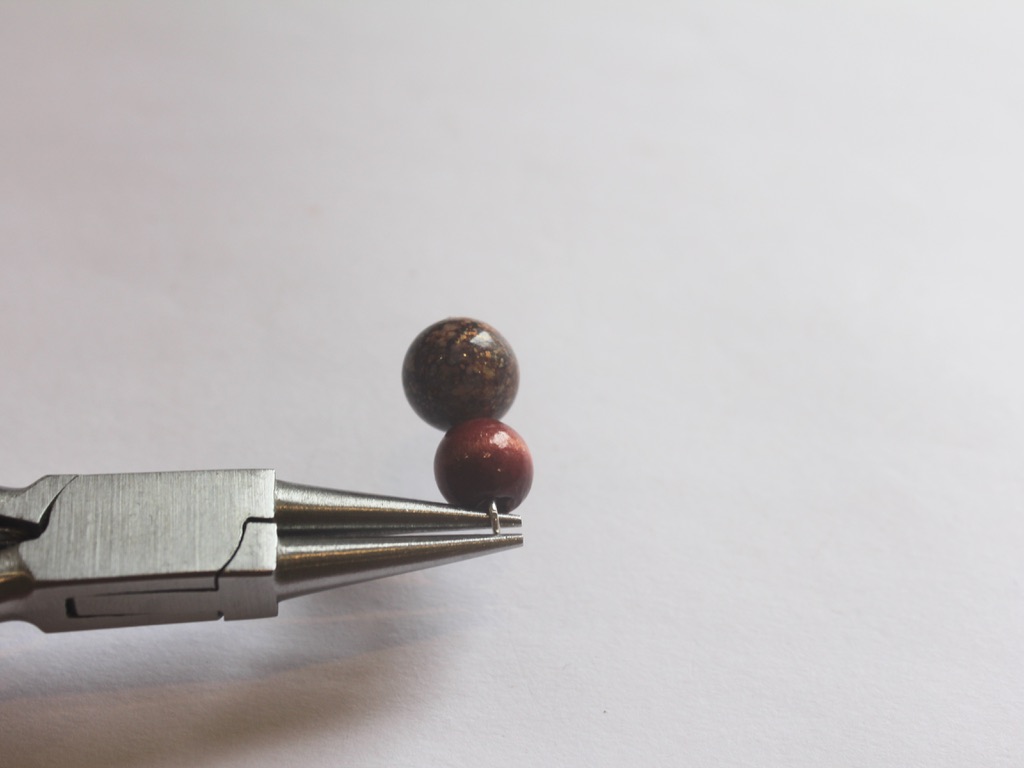
2: Bend each head pin to form a right angle.

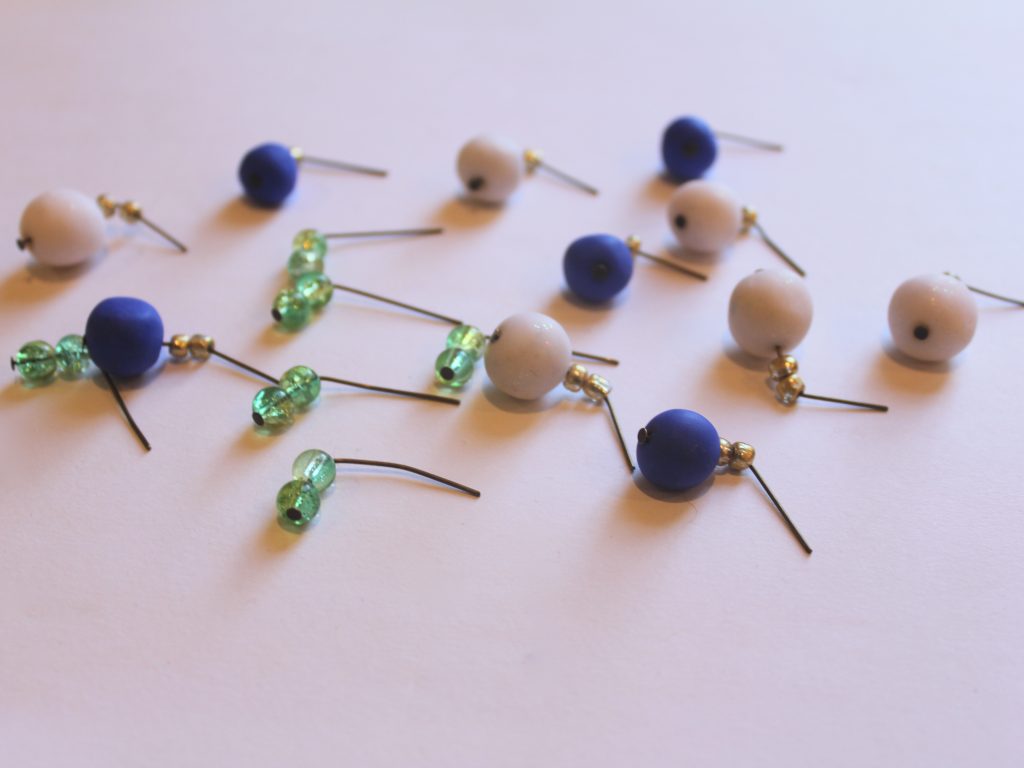
3: Trim the excess pin using the cutting pliers. Leave approximately 1cm unbeaded on all the charms.
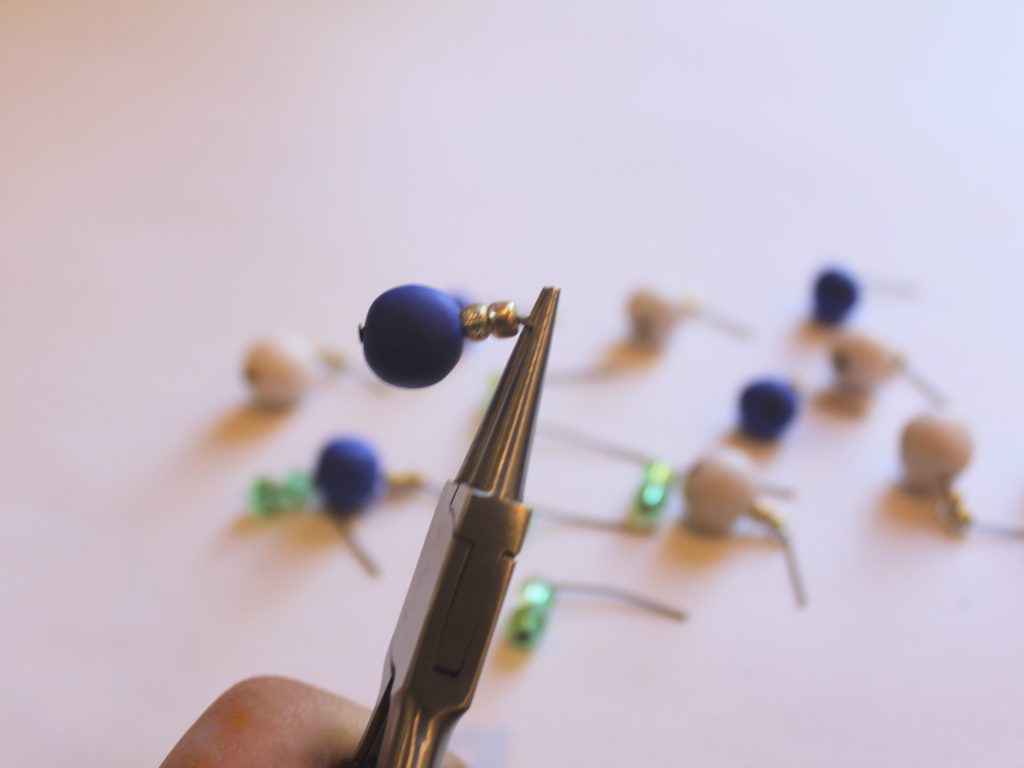
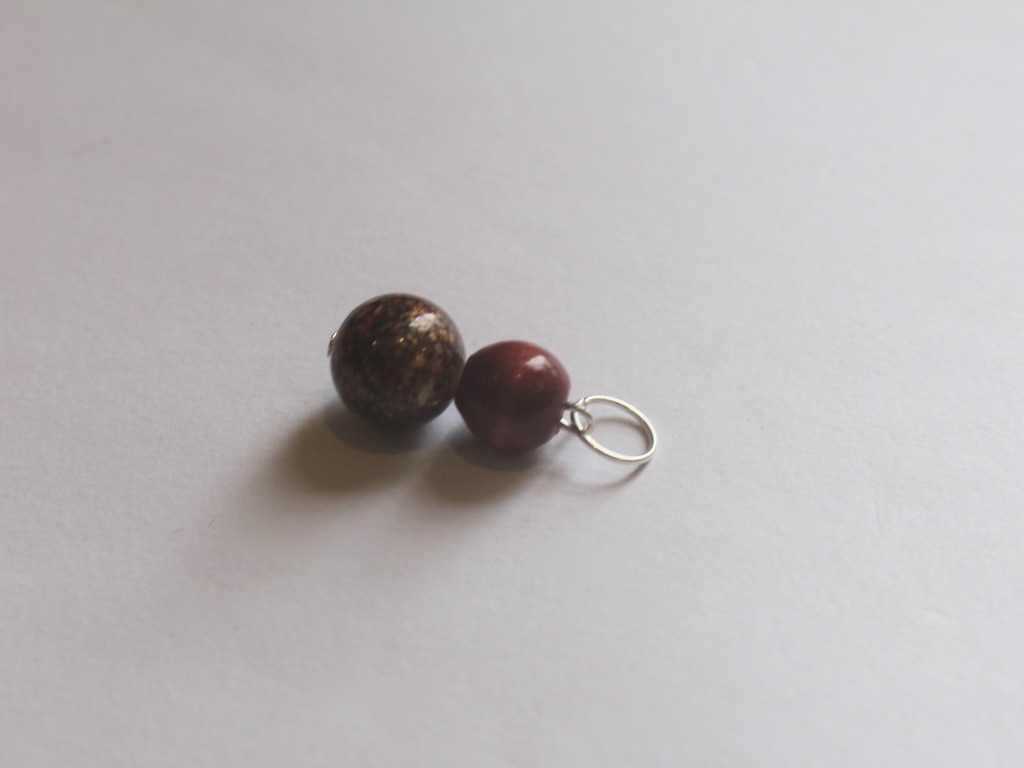
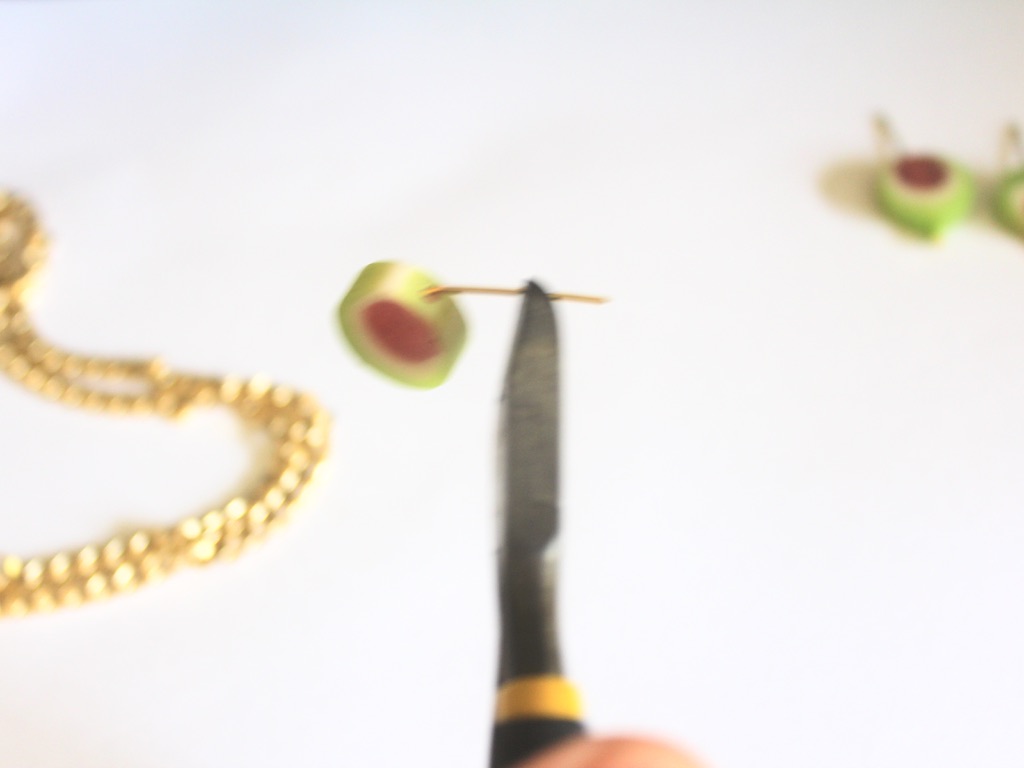
4: Loop the top of the pin using the round nose pliers to secure the beads in place.

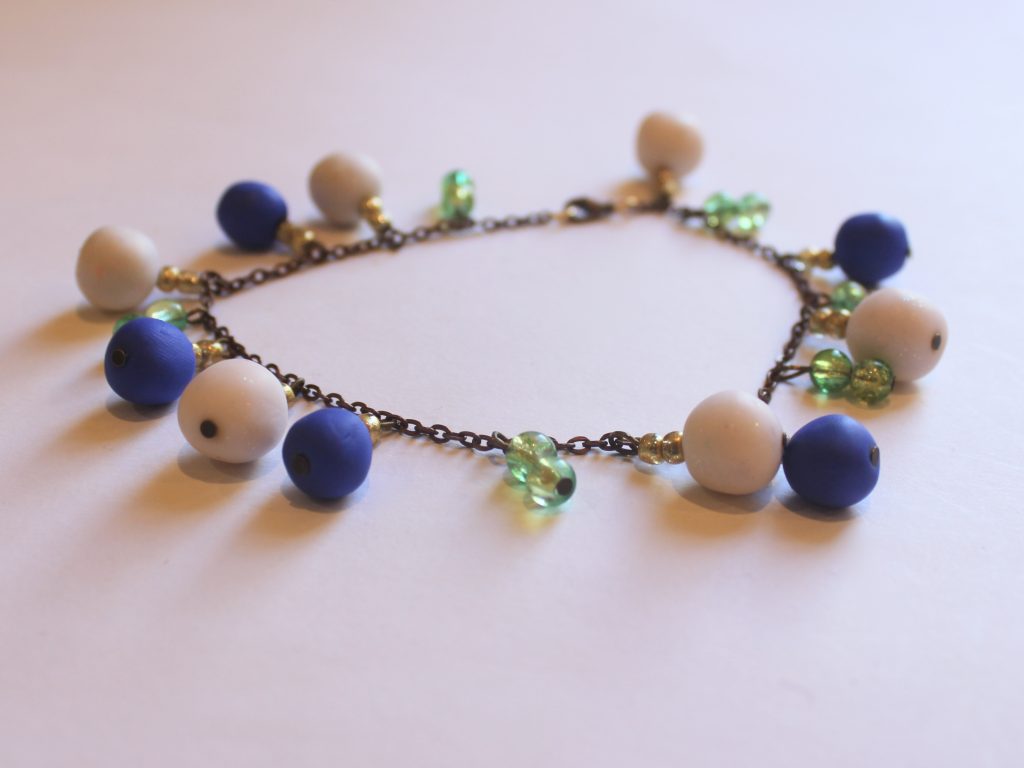
5: Add a jump ring to either end of the anklet chain and attach the lobster clasp to one of them.


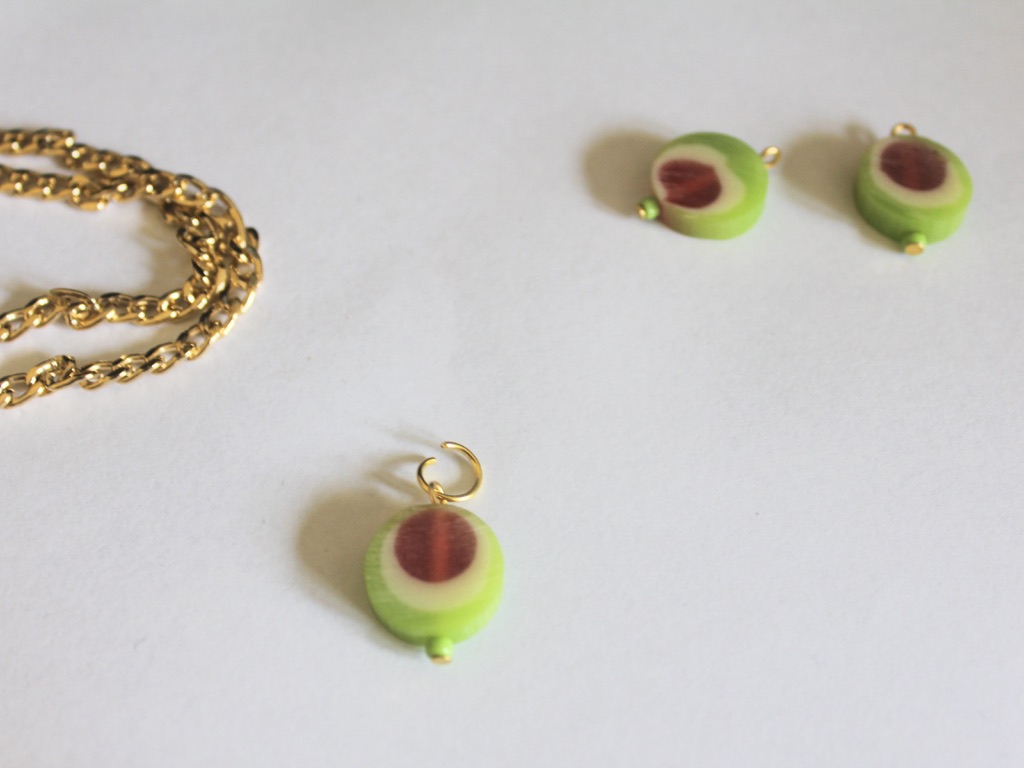
6: Now you can attach the charms. Do this by opening the top loop slightly and sliding it through the chain links at spacing of your choice.


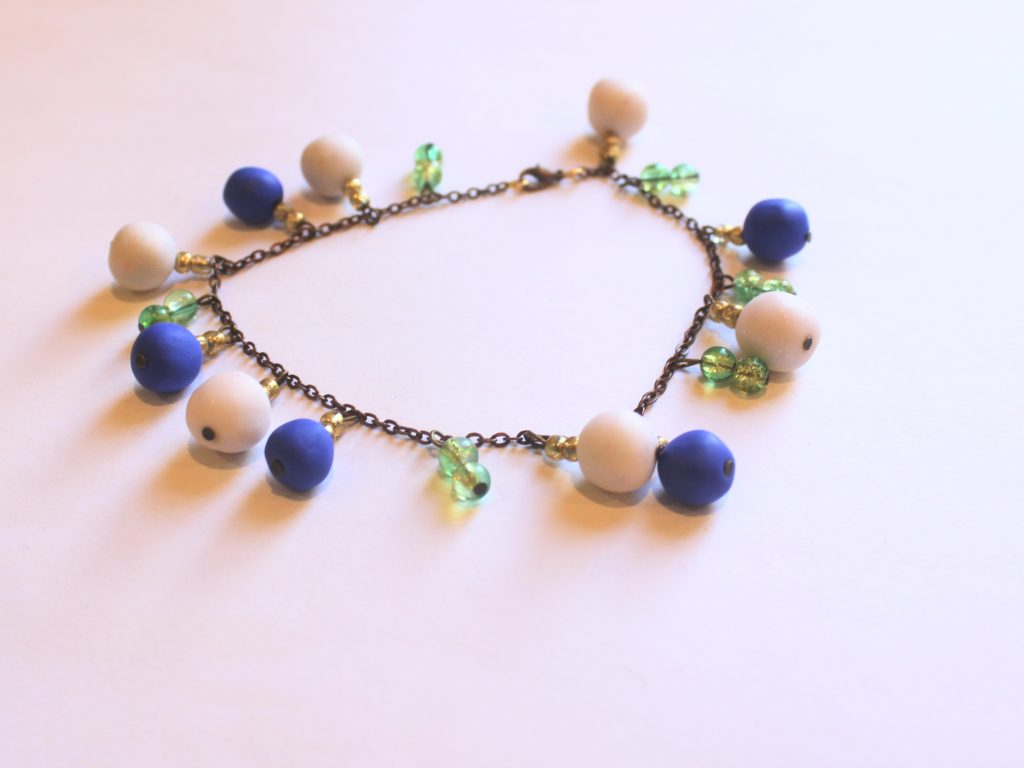
Now your charm anklet is finished and ready to wear! So fun!
This tutorial contains affiliate links.
-
Here’s how to make a bohemian waist chain with cute charms!
Summer in the Northern Hemisphere might be held mainly at home, but that doesn’t mean that you can’t dress for the occasion. Make this charm embellished waist chain to add some summer fun to your wardrobe! This tutorial contains affiliate links.
You’ll need these tools and materials to make this waist chain with charm embellishments.
The Materials
1: Pliers. I used my round nose pliers (centre), flat nose pliers (right) and cutting pliers (left).
2: A piece of chain that fits comfortably around your waist. I used copper tone chain.

3: Jump rings. I used two.

4: Some head pins. I ended up using a couple more because I added some charms I had made previously (see the second picture below).


5: Beads. I used a mixture of glass beads and a metal butterfly-shaped bead.

6: A lobster clasp. This is a bad picture but I used one that matched the tone of my chain.

The Steps
Follow these steps to make your charm embellished waist chain:
1: Add the jump rings to either end of the chain and attach the lobster clasp. Secure the clasp by closing the jump ring using pliers.


2: Find the middle of the chain and set it aside for a minute.
3: Add each of the beads to the head pins.

4: Bend the head pins to form right angles.

5: Trim the pins so that there is only approximately 1cm left. Use your cutting pliers.


6: Loop the top of the pins using the round nose pliers. This will secure the beads on the pins.


7: Attach the beads to the chain by looping the top of each charm through the chain links. I added my first charm to the centre and then worked outwards.


Now the waist chain is finished and ready to wear in the sun! Don’t forget your sunscreen though, this cool piece of jewelry could leave a weird tan line 😉


Here are some other waist chain tutorials:
This tutorial contains affiliate links.
-
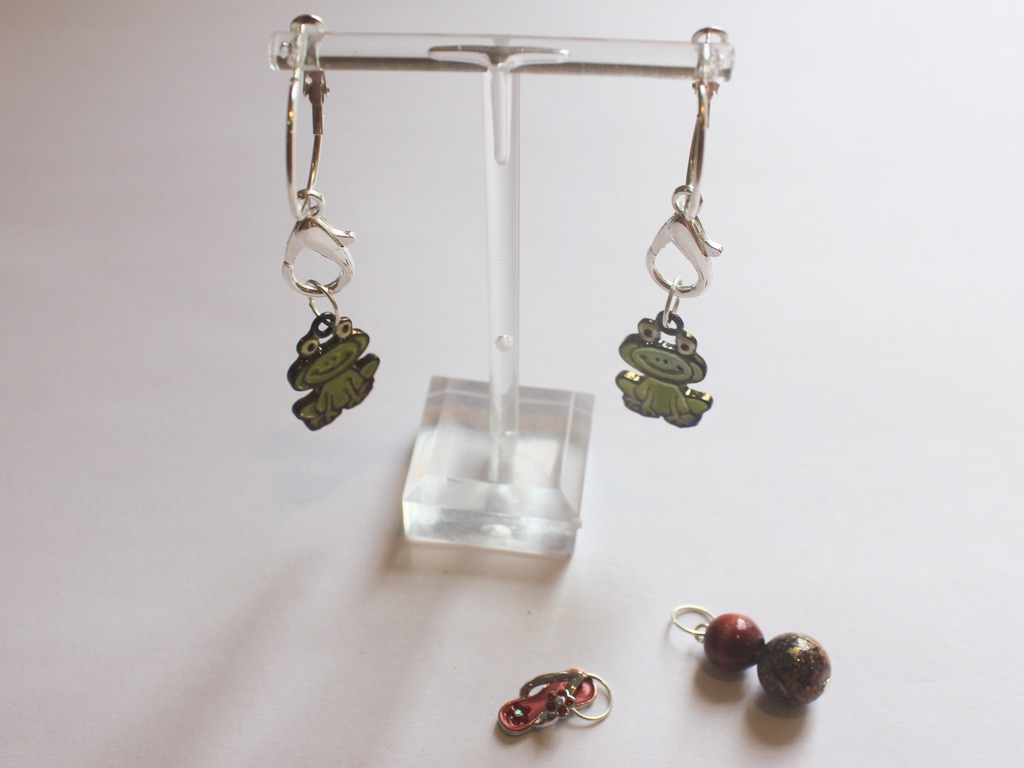
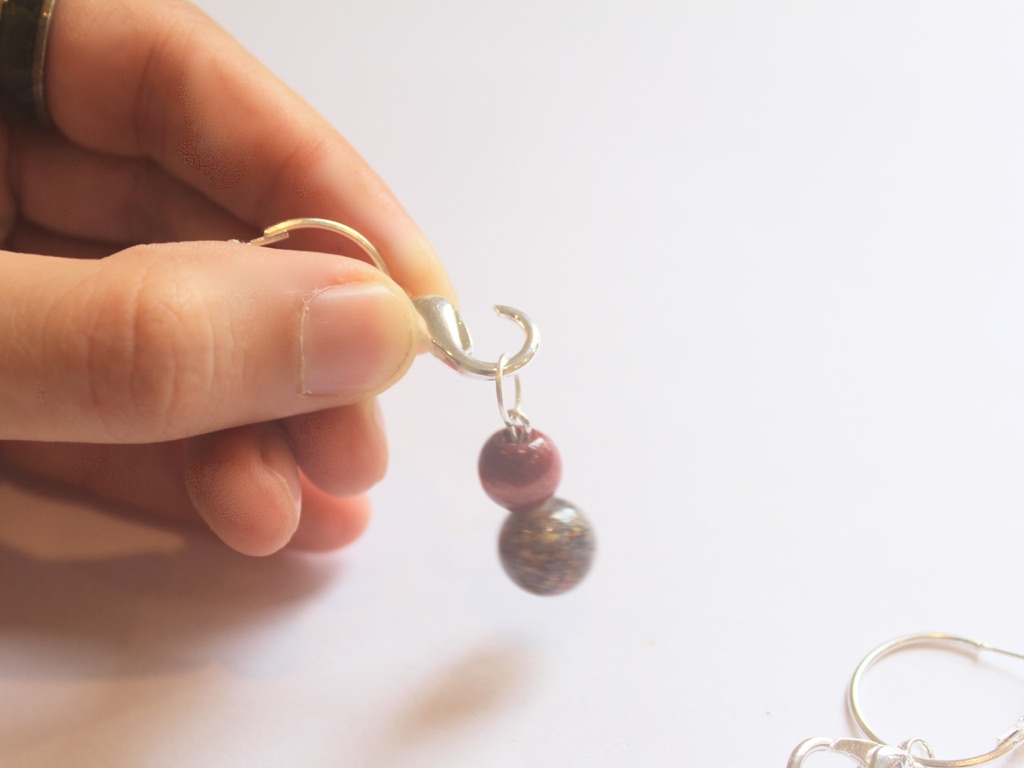
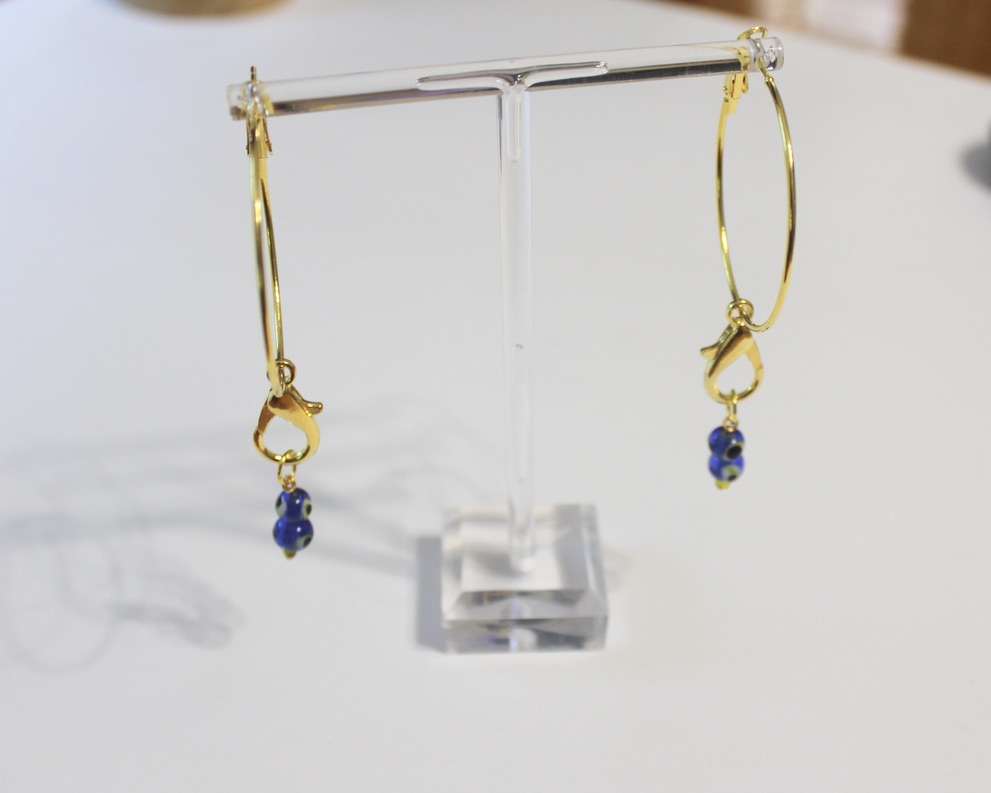
This is a bit of fun, how to make clip charms for your hoop earrings.
This DIY is a little bit silly, but hopefully a bit of fun as well. It is a way to make the most of your face hoop earrings and show off your favorite charms. This design uses large lobster clasps that you can use to clip different charms onto your hoops. This tutorial contains affiliate links.
You’ll need these tools and materials to make your customizable charm hoop earrings:
1: Pliers. I used my round nose and flat nose pliers.


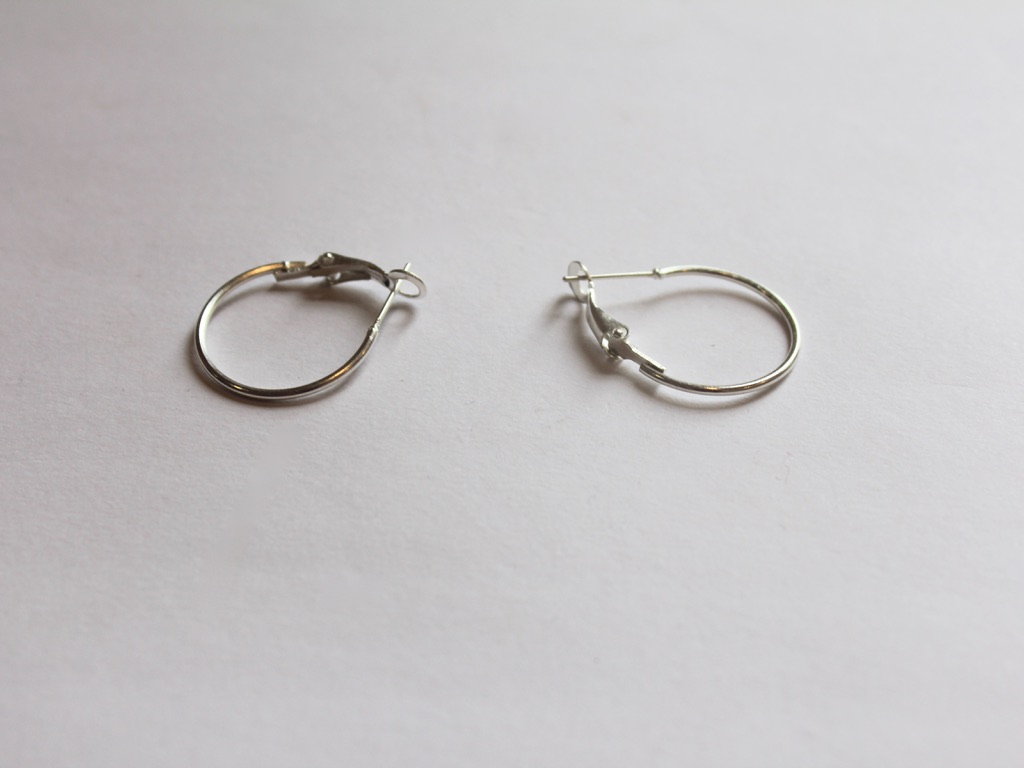
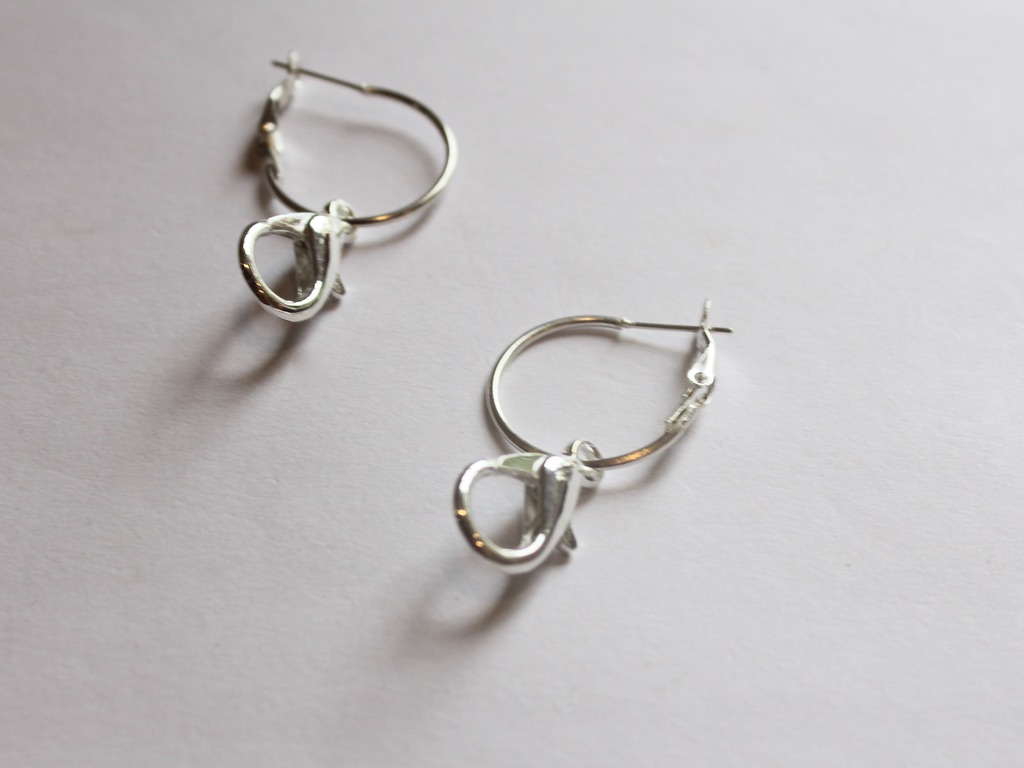
2: Hoop earrings. I used these silver hoop earrings with a lever back.
3: Jump rings to attach to your charms.
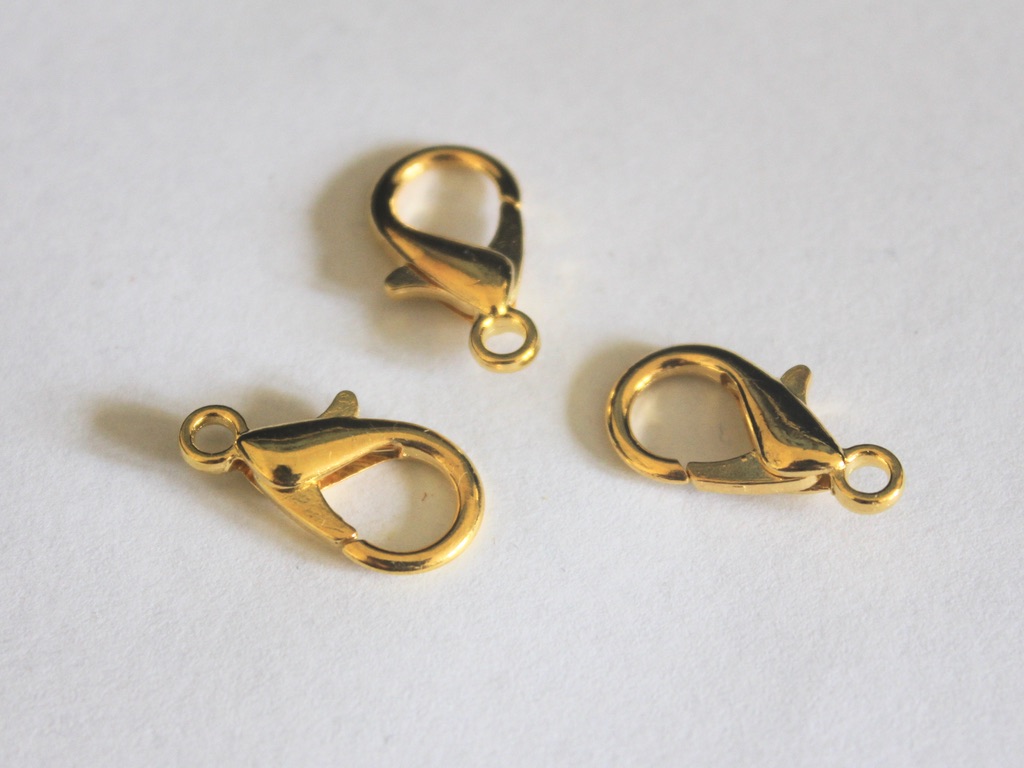
4: Two large lobster clasps the same color as your hoops.
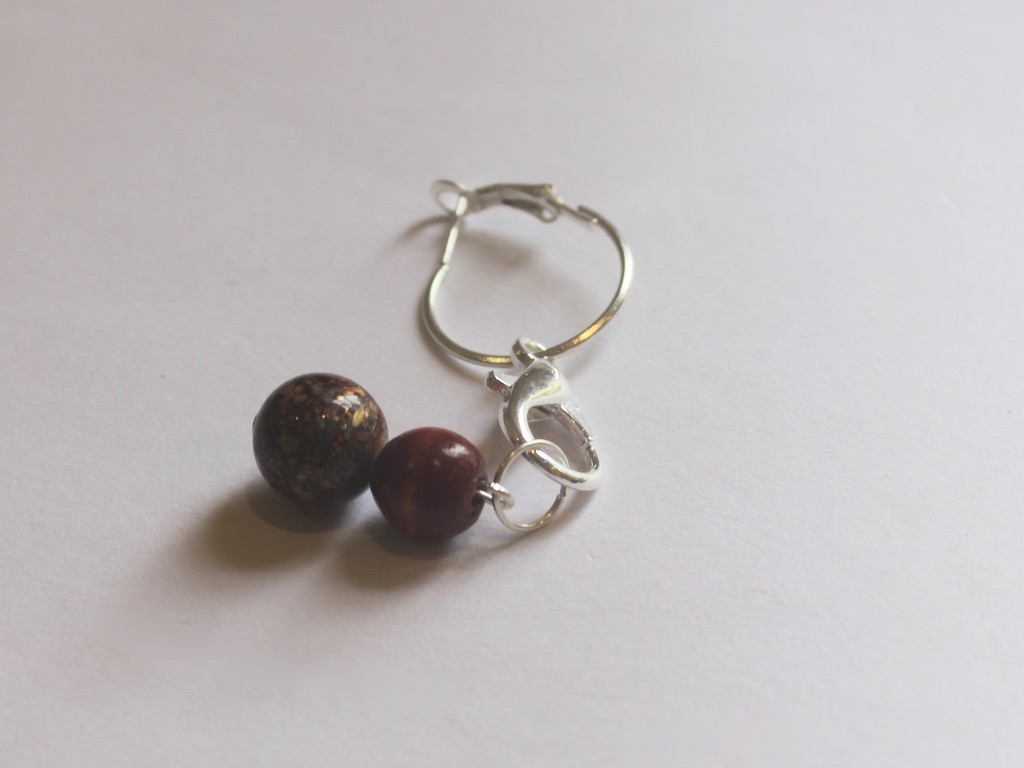
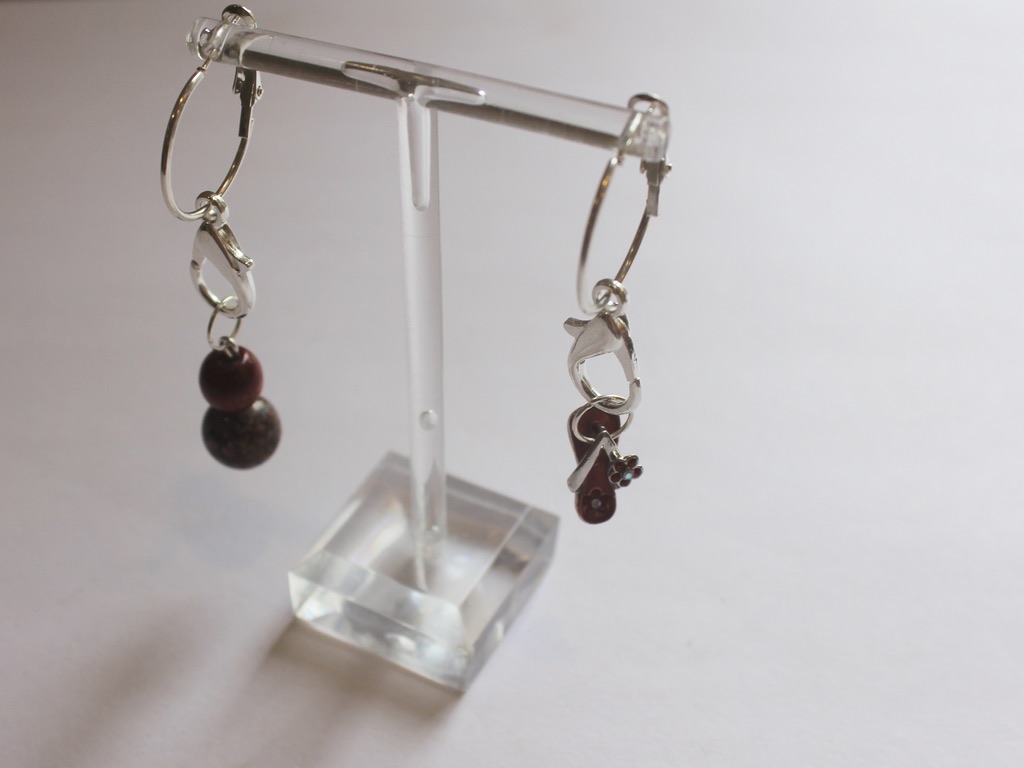
5: Charms or beads and head pins. I used both to make some mismatched charms.
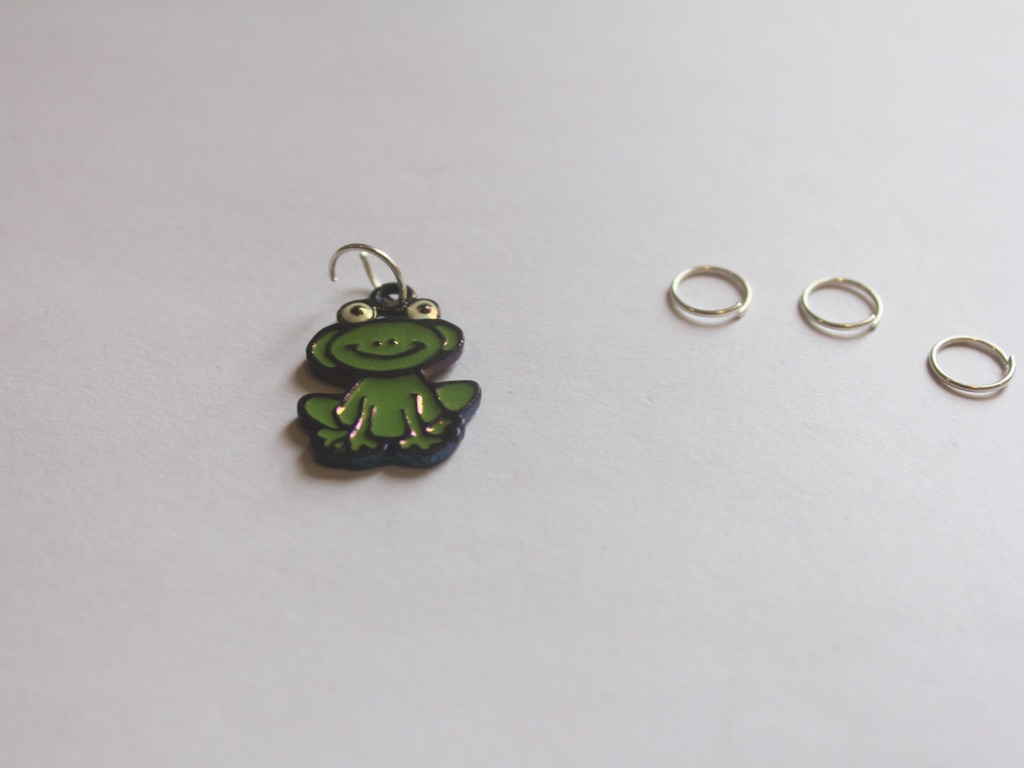
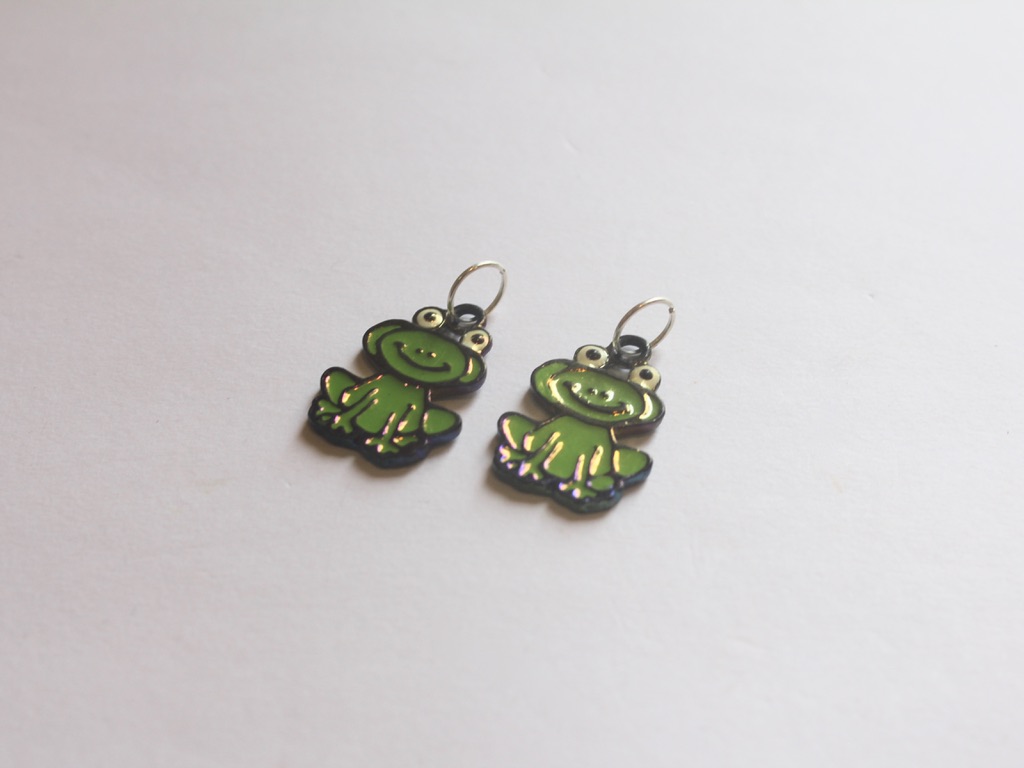
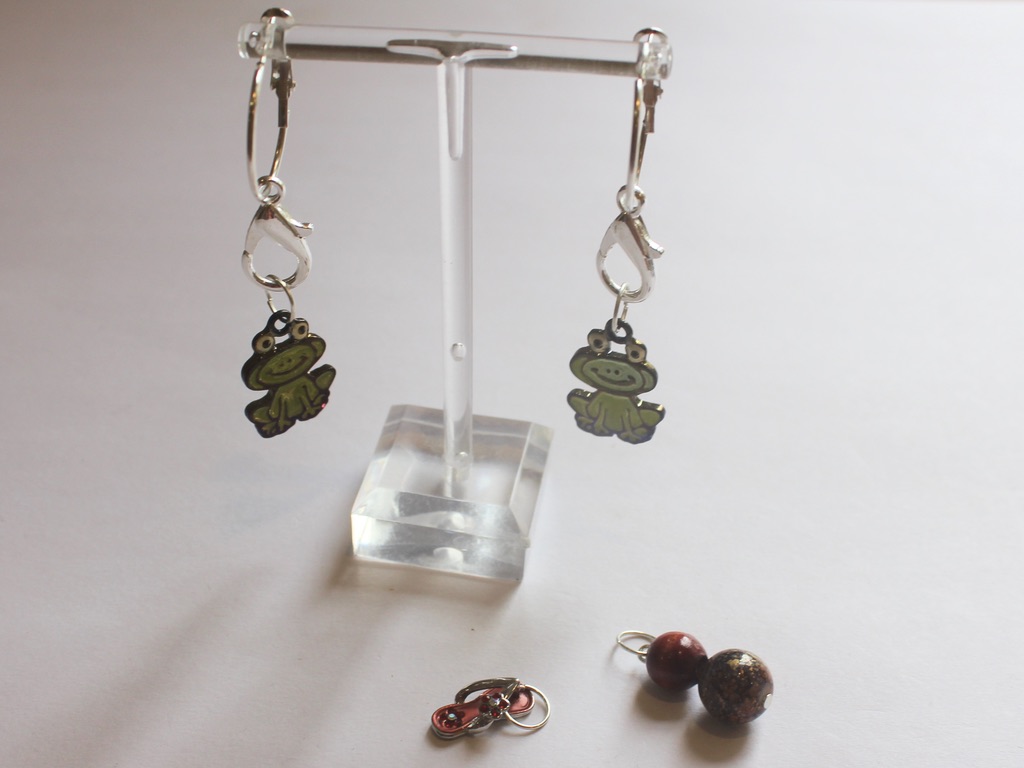
I used these cartoon frog charms.

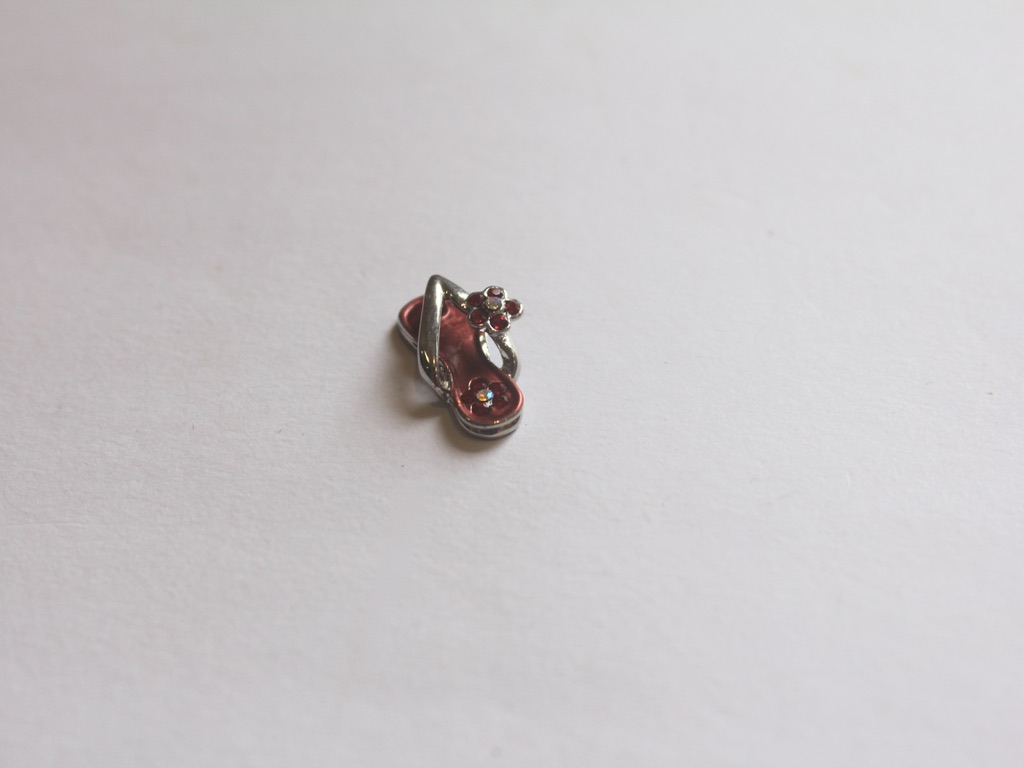
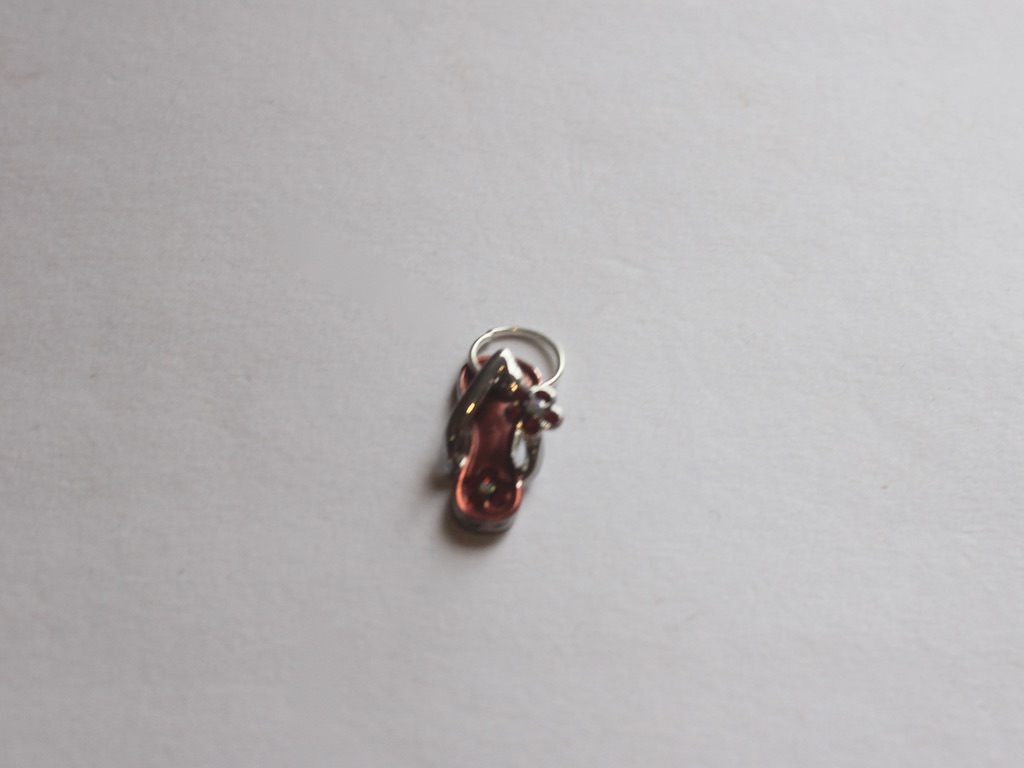
And some beads and a head pin with a flip flop charm.
Follow these steps to make your customisable hoop earrings:
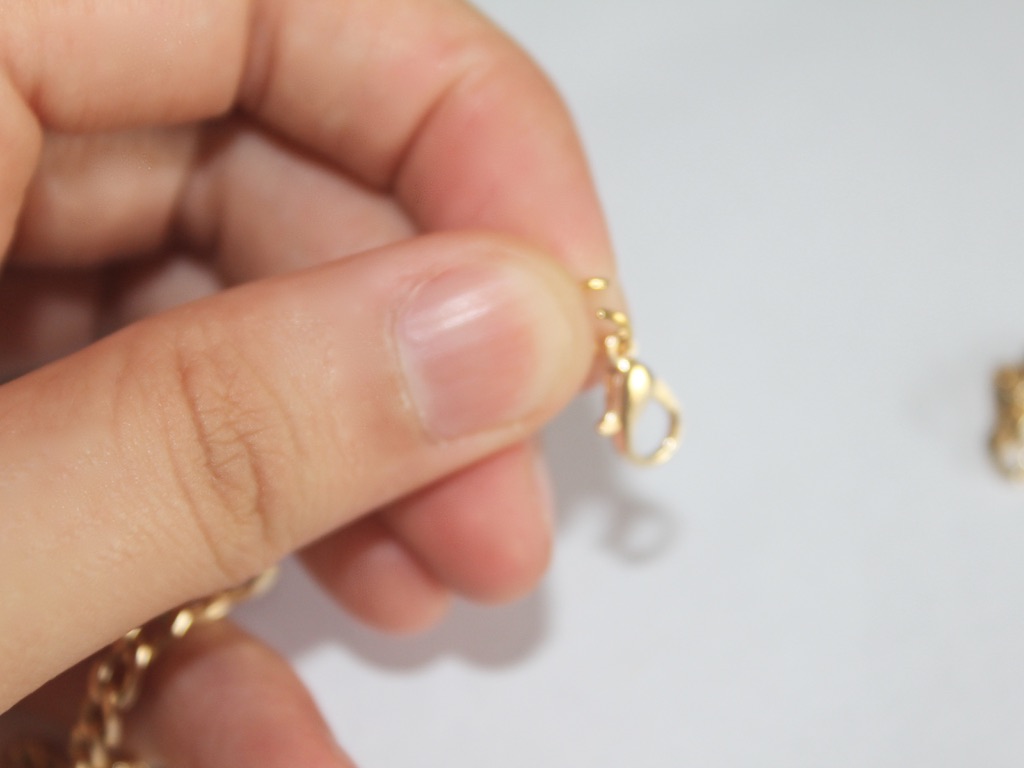
1: Add each of the lobster clasps to the hoops.
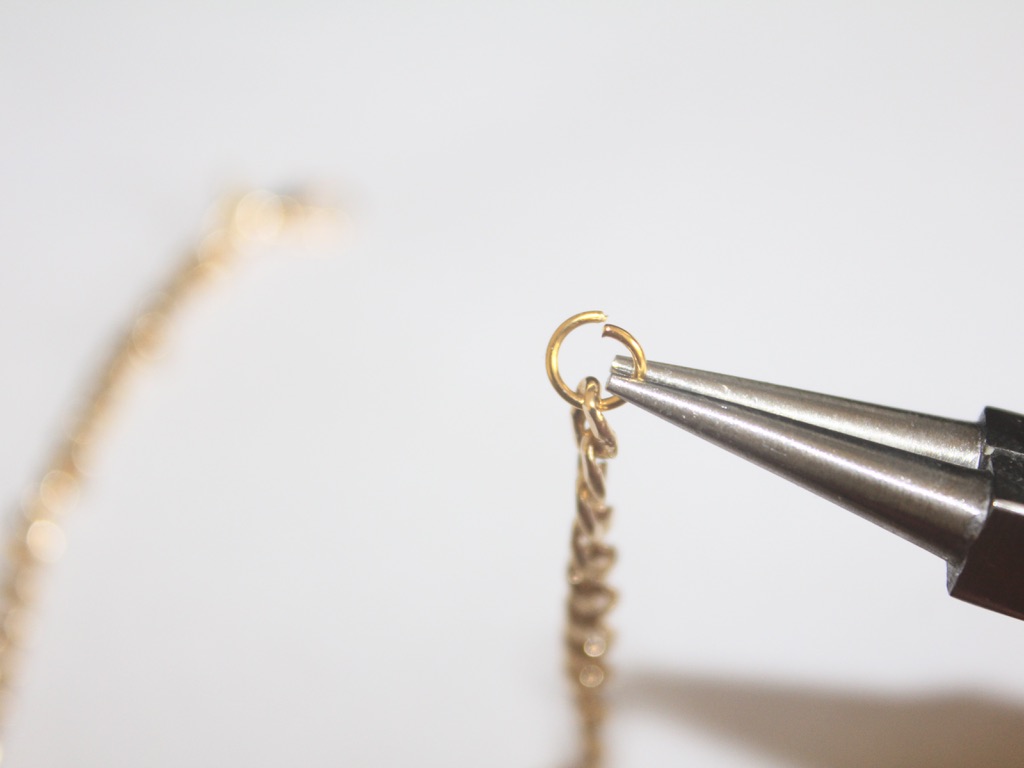
2: Add jump rings to the top of each charm you want to feature on your earrings.
3: Create your bead charms, do this by adding beads to your head pin and curl the tops into a loop using the round nose pliers. Add a jump ring to the top if you need it.
Now you can clip on the charms you like, mix and match for a unique look!
I think this tutorial is great for showcasing the charms you already have at home, but this post also contains affiliate links if you want to buy some new charms and materials.
Here’s another pair I made using gold-tone materials and glass beads.
-
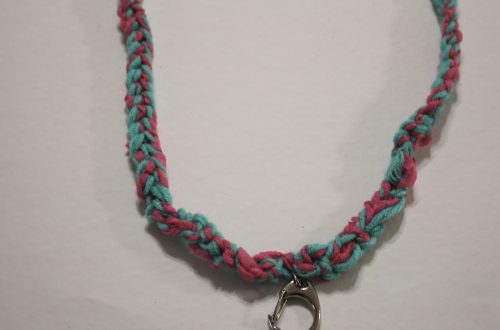
Ankle wear is cool! Here’s how to make a wrap anklet with clip on charms.
This anklet is so cool! It is made from chunky chain that wraps twice around your ankle and has three cute clip on charms. This is sure to keep you busy for a little while, make tonnes of charms so that your ankle feels fancy!
You’ll need the following tools and materials to make your wrap anklet with charms:
1: A length of chain long enough to wrap twice around your ankle.

2: Two medium sized jump rings.

3: A small lobster clasp.

4: Three head pins

5: Three large jump rings.

6: Three large lobster clasps.
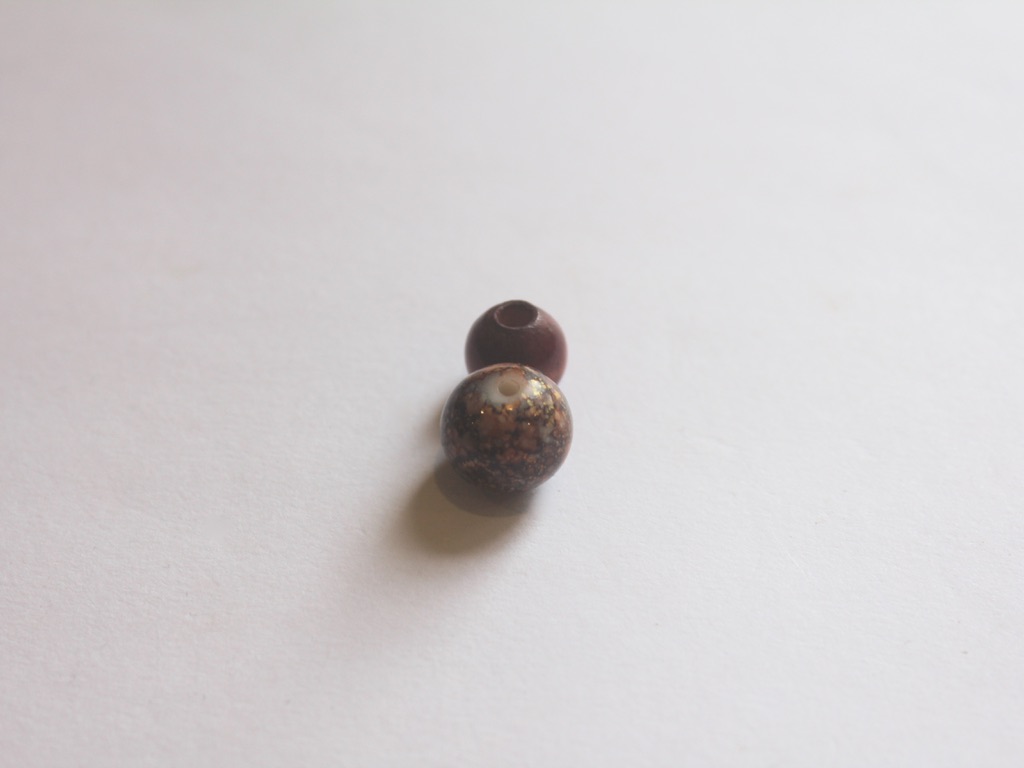
7: Beads. I used these resin beads with some green glass beads.

8: Pliers. I used cutting pliers, round nose pliers and flat nose pliers.
Here are the steps to make your wrap anklet with clip on charms:
1: Add jump rings to either side of the length of chain.
2: Before closing one of the jump rings add the small lobster clasp. You can set the chain aside for a moment at this stage.

3: Add the beads to each of the head pins.


4: Bend the pins at a right angle and trim them so that there is only approximately 1cm exposed.


5: Loop the tops of each pin using the round nose pliers to secure the beads on the pins.


7: Add a jump ring to each charm.
8: Attach each of the charms to each of the large lobster clasps and secure them by closing the jump ring.

9: Attach the charms to the chain wherever you choose. Now your anklet is finished!

Here’s what the finished product looks like on.

This tutorial contains affiliate links.
We have lots of other anklet DIYs you can follow if you want to shine up your ankle game:
- This fully beaded charm anklet
- Simple chain anklets that feature cool tube beads
- Chain anklets with cute charms
- A Gemstone embellished chain anklet
- Why not make a leather and bead charm anklet?
- Braid up this string and bead anklet
- Double chains for this anklet
- Recycle broken headphones to make this anklet
- Here’s how to add shell charms to a chain anklet
- Love charm connectors? Add one to a delicate anklet
- Construct a beaded chain anklet
- Add some fun to your ankle with this pearl beaded anklet
- Finger knit this bohemian shell anklet
- Use recycled shopping bag cords to make this anklet
-
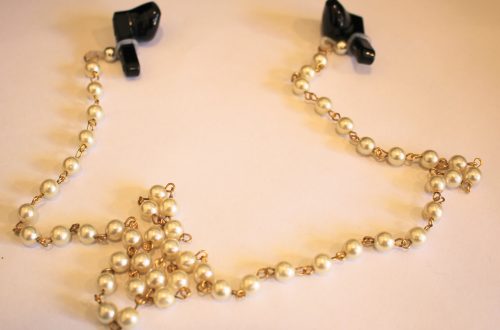
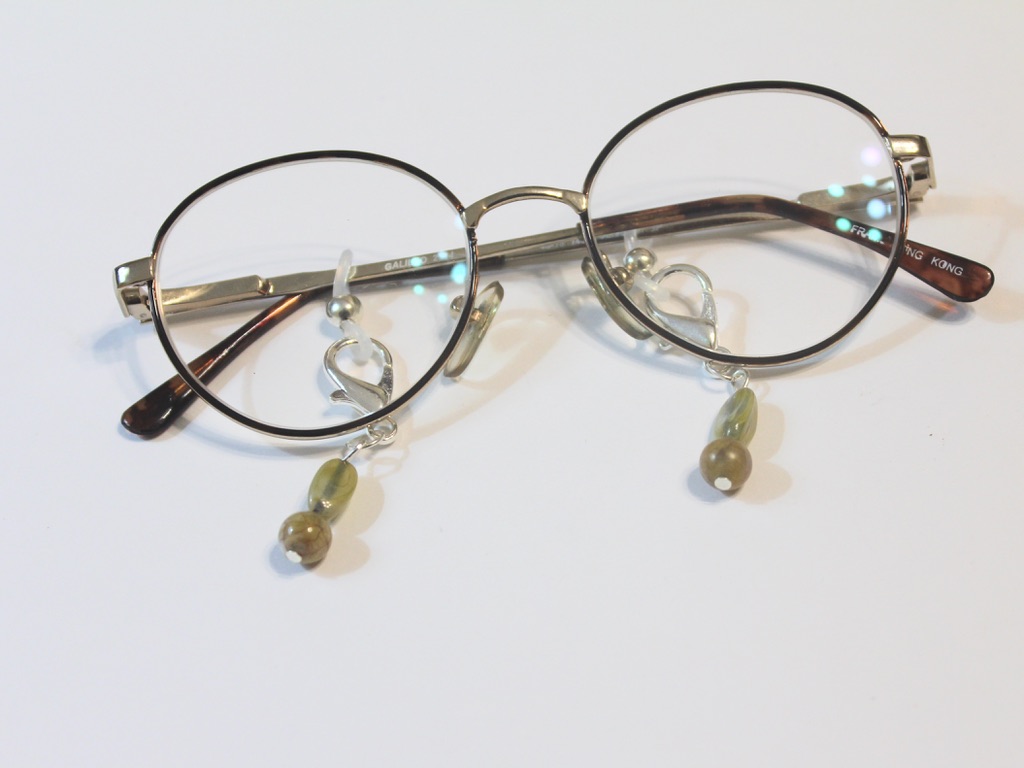
Do your glasses need a spruce up? Make these glasses charms!
These charms attach to the arms of your glasses to give them some extra pizzaz! Make them with some special beads to add some glam to your everyday pair of specs or shades. Because they feature large clasps, you can easily mix and match them with new charms that you make!
You’ll need the following tools and materials to make these glasses charms:
1: Two rubber glasses holders.

2: Pliers. I used round nose and flat nose pliers.
3: Two jump rings.

4: Two large lobster clasps.

5: Two head pins.
6: Beads. I used these vintage plastic beads.

Follow these steps to make your glasses charms:
1: Add the beads to each of the pins.

2: Bend the pin to form a right angle and form a loop at the top of the pin using the round nose pliers. This will secure the beads on the pin.


3: Attach the charms to each of the lobster clasps using the jump rings.


4: Attach the lobster clasps to the rubber holders to finish the charms off.


Pop your charms onto your favourite glasses and then wear them!


This tutorial contains affiliate links.
-
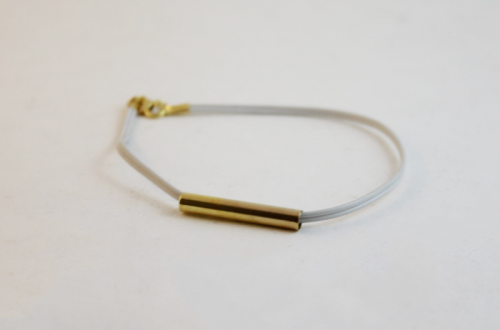
Anklets are the coolest!!!!! Here’s how to make a simple chain charm anklet.
This anklet is super simple in design, add a cute charm to a plain chain and you’re ready to go! What kind of charms will you put on your DIY anklet? This tutorial contains affiliate links.
You’ll need the following tools and materials to make your simple chain charm anklet:
1: Some pliers. Use your flat nose and round nose pliers.
2: A piece of chain long enough to fit your ankle.

3: Two jump rings.

4: A lobster clasp.

5: Another jump ring.

6: A charm of your choice. I used an enamel peach charm.

Follow these steps to make your simple charm anklet:
1: Add a jump ring to one end of the chain.
2: Add the lobster clasp to the open jump ring. Close the jump ring to keep the clasp in place.


3: Add another jump ring to the other side of the anklet.


4: Add the remaining jump ring to the top of the charm.
5: Attach the charm to the jump ring that attaches the clasp to the chain.

6: Close the charm jump ring to secure the charm in place and finish off your anklet.

Now it is ready to wear! How cute is this little peach charm anklet? I am really into food and fruit themed jewelry at the moment 🙂

This tutorial contains affiliate links.