-
Love layering your necklaces but hate when they tangle? Here’s a trick to fix that!
I love layering my necklaces, but I can’t stand it when they tangle and twist together, so here’s how to use two clasps and a couple of jump rings to make a handy necklace stacker clasp that allows you to layer your necklaces with ease. This is a super simple tutorial that will transform your jewelry styling!
Please note that this tutorial contains affiliate links for which we may receive a commission.
You’ll need the following tools and materials to make your necklace stacker clasp:
1: Two sterling silver lobster clasps with jump rings attached.

You can get some here:
2: Two large jump rings.

You can get some here:
3: A pair of flat nose pliers for opening and closing the jump rings.

You can get a pair here:
4: Any necklaces you want to wear stacked. I used this selection of beaded and chain necklaces of different lengths.

Follow these steps to make your game-changing necklace stacker clasp:
1: Take one of the jump rings and attach it to one of the clasp ends. Close it carefully using the flat nose pliers, making sure to get the ends close together.


2: Add the second large jump ring to the end of the second clasp and close it with the pliers.

3: Clip the second clasp to the large jump ring that you attached to the first clasp.

4: Now the clasp is complete and you are ready to start stacking necklaces. The clasp of each necklace is attached to the jump ring end of the clasp, while the other end is attached to the lobster clasp end.
5: Add the first necklace by clipping it onto the jump ring.

6: Then add the other end to the clasp end by opening the clasp and sliding the ring onto it before closing it again.

7: Repeat steps 6 and 7 for the other necklaces, being careful to attach them in the same order on either side.


Once you’ve attached all your necklaces, your new stacked piece is ready to wear. You can use bigger or smaller jump rings depending on how many necklaces you wish to stack. How handy?!
Here’s the finished clasp again.

And here it is with all the necklaces attached.


Here’s how it looks when it is being used.

-
How to make a beaded lanyard using string and funky beads!
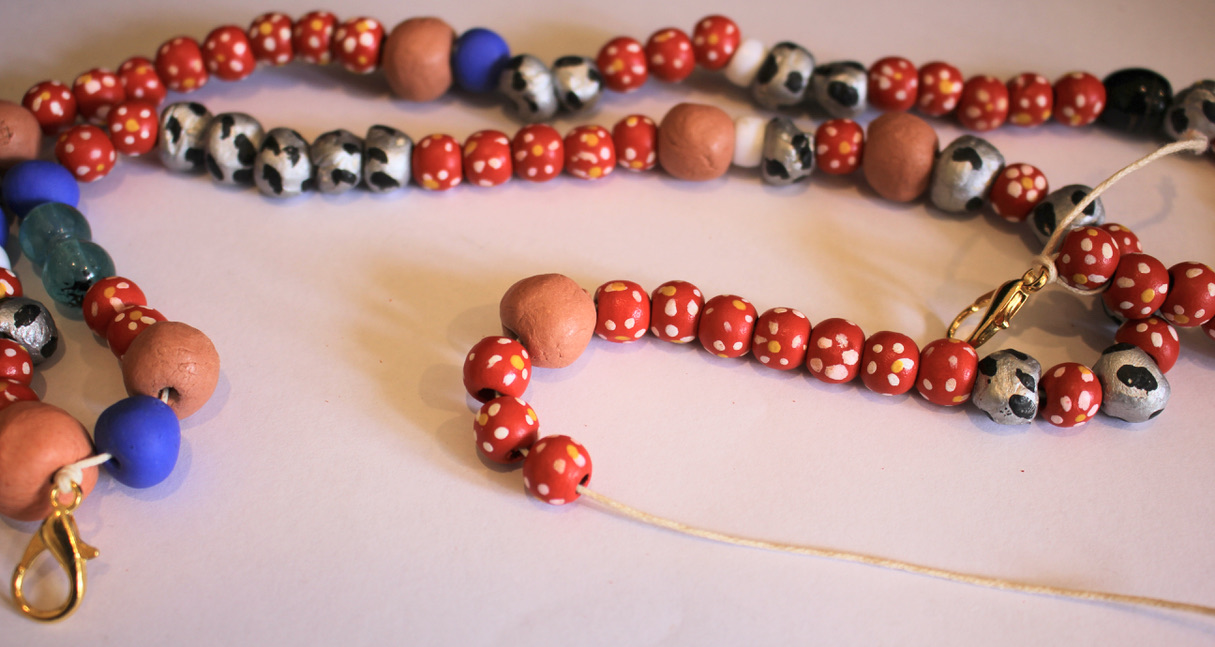
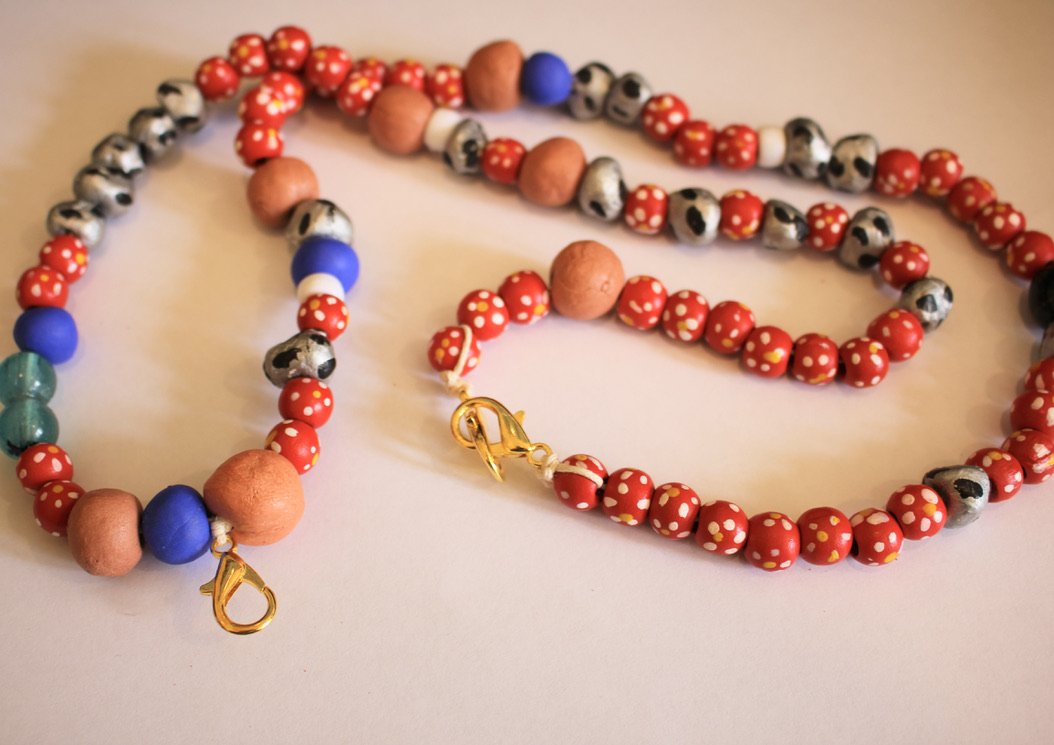
I recently caught up with a friend, she’s a teacher and she was really excited that she found some funky beaded lanyards, and it made me think… I could probably make one myself! So here’s the tutorial, here’s how to transform some string, clasps and funky beads into a useful lanyard! Please note that this tutorial contains affiliate links.
You’ll need these tools and materials to make your own beaded lanyard:
1: Scissors

2: Cotton twine, cut about 15cm longer than the length you want your lanyard.

3: Three large lobster clasps.

4: A selection of beads with holes large enough to fit on the string. I used some painted timber beads, glass beads, plastic beads, and some beads I made from polymer clay, resin and air dry clay.
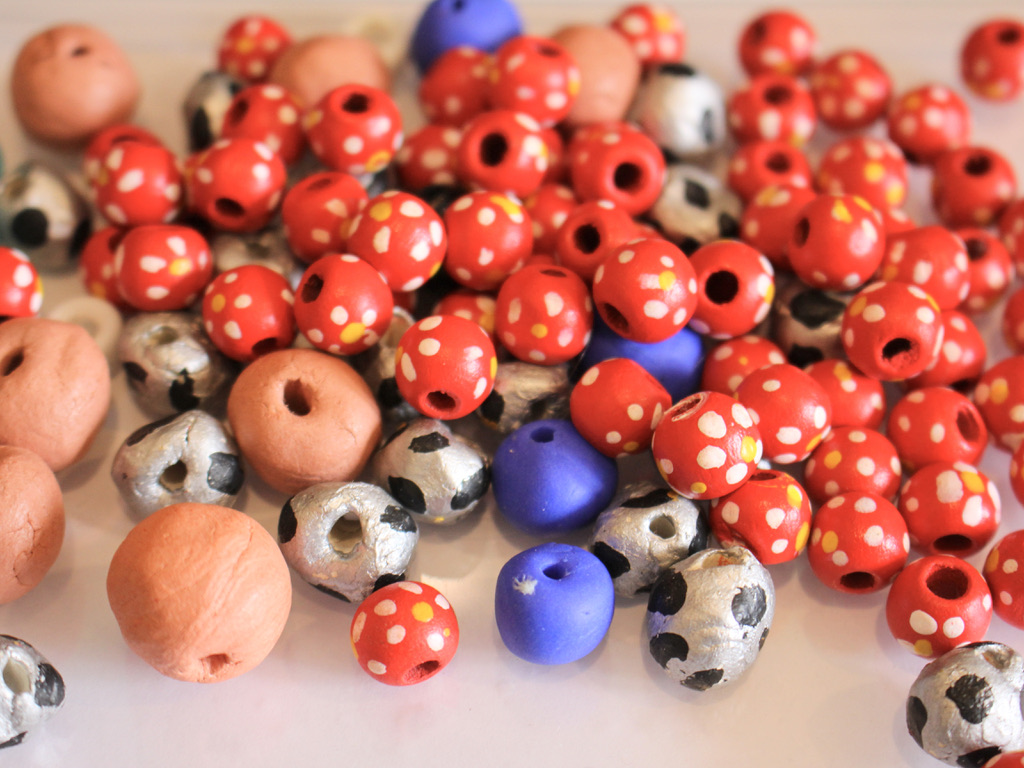
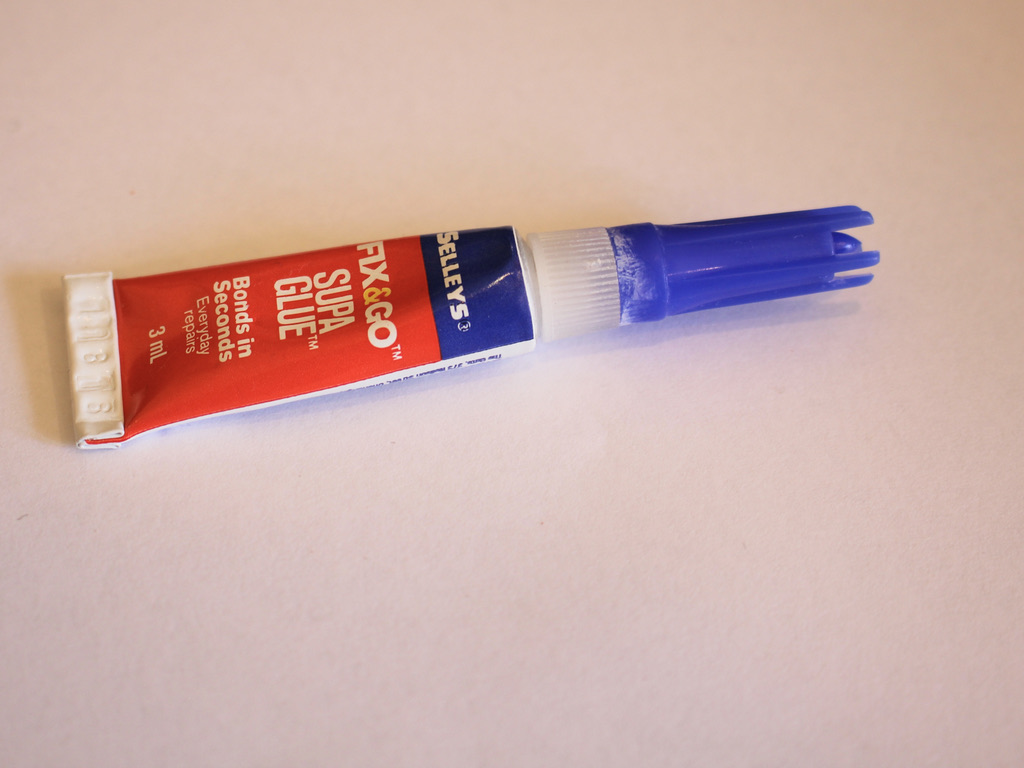
5: Superglue
Follow these steps to make your own beaded lanyard:
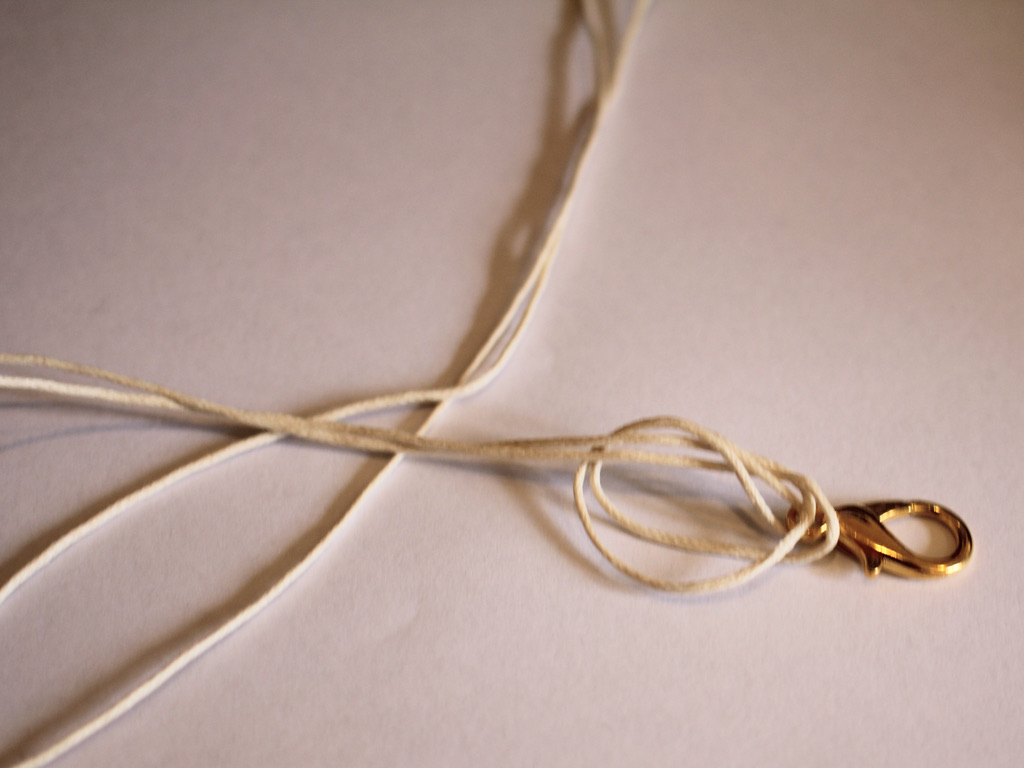
1: Take one of the clasps and add it to the middle of the piece of string.

2: Create a knot at the top of the clasp.

3: Add beads to one side of the lanyard until you get the length you like.


4: Add another clasp to the end of the lanyard and loop the end of the string back through the last bead and pull it tight.
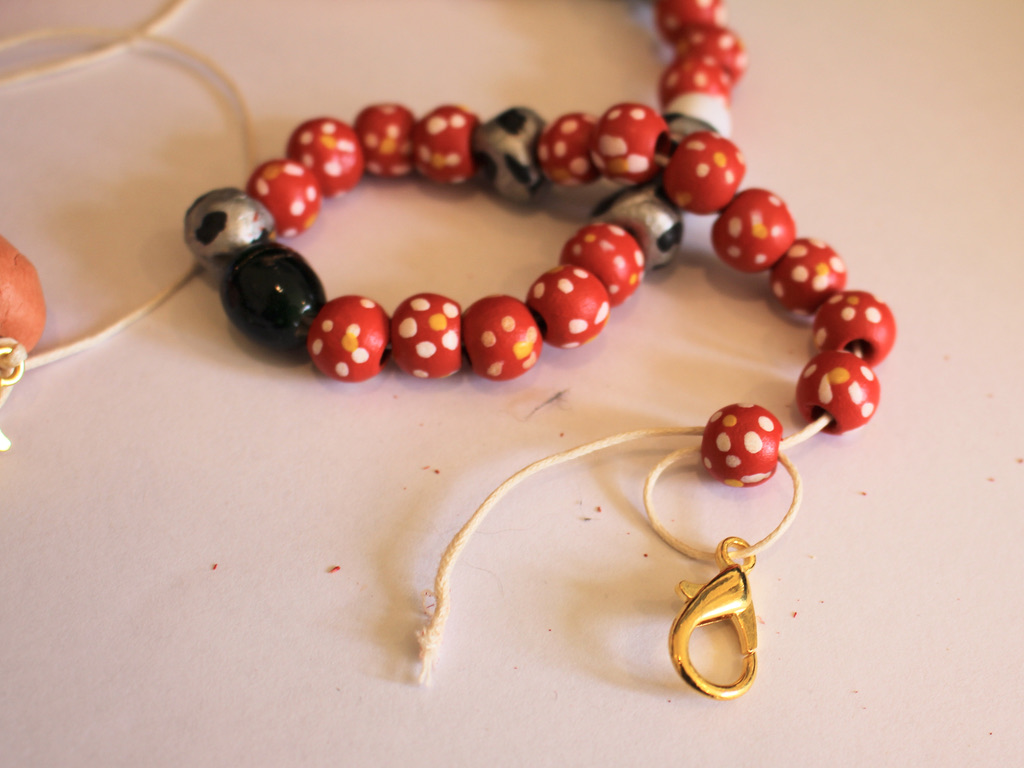

5: Tie a secure knot to the end of the string securing the clasp tightly to the last bead.


6: Repeat steps 3 to 5 for the other side of the lanyard.

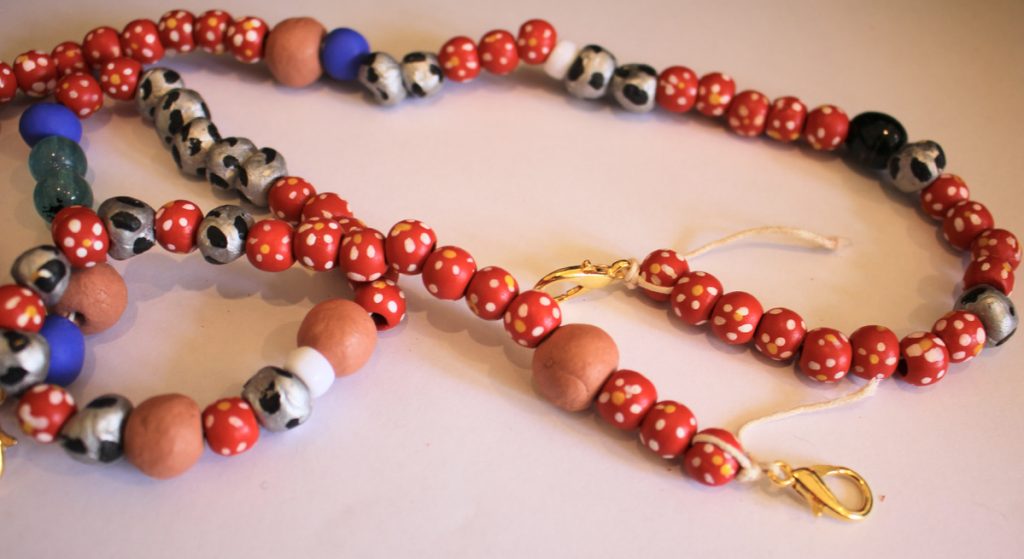
7: Trim the excess string on either end of the lanyard.


8: Add a dab of superglue to each of the knots at the end of the lanyard. Set it aside to dry.

Clip the ends of the lanyard together and now your beaded string lanyard is finished and ready to use!


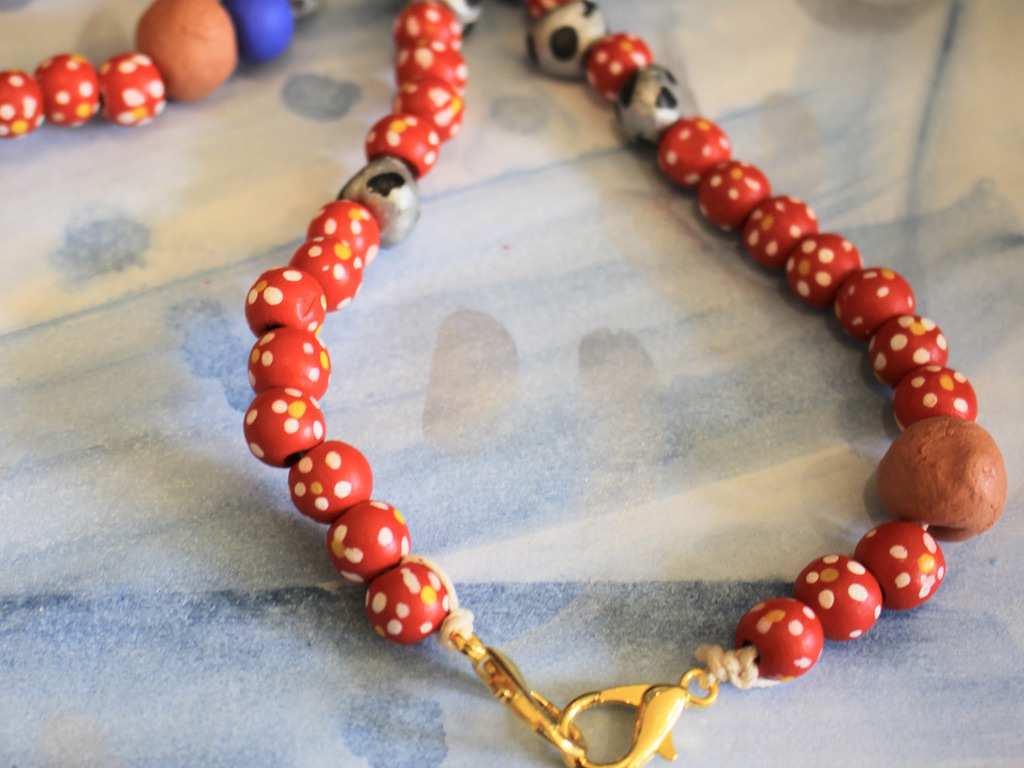
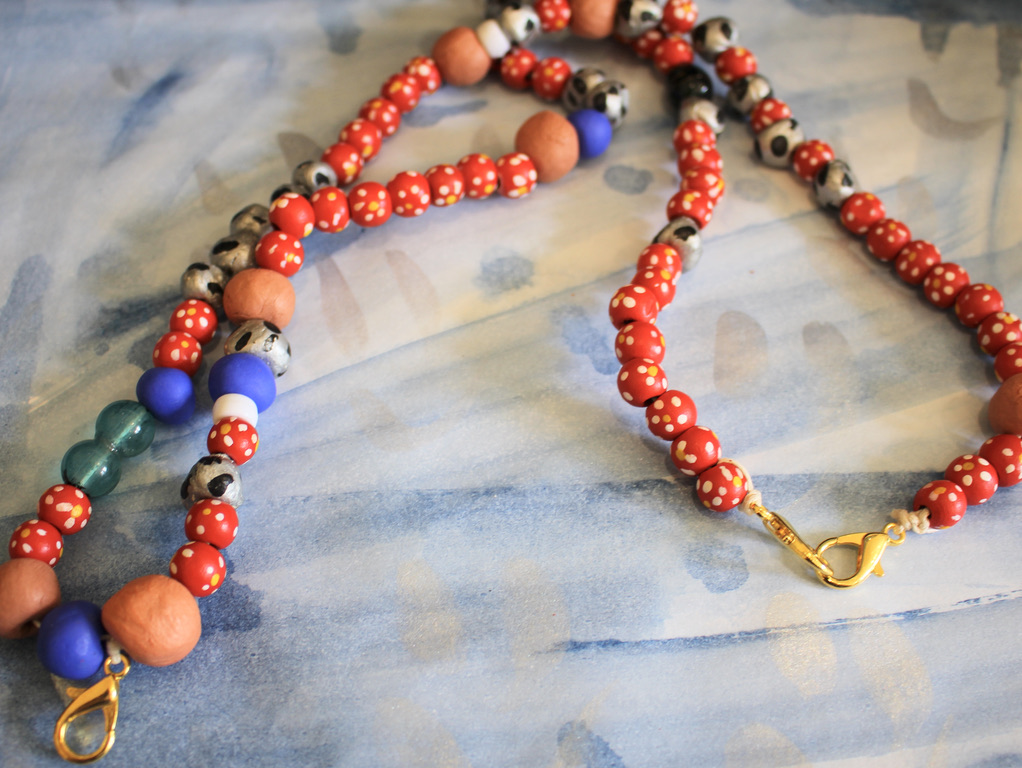
If you want to make your lanyard with handmade beads, here’s a tutorial you can follow to make your own.