-
Having Trouble deciding what to make? Here are my top 10 fave tutorials!
Here is a count down of my top 10 favorite tutorials on DIY Jewelry hub so far. I hope some of your faves are in here too!
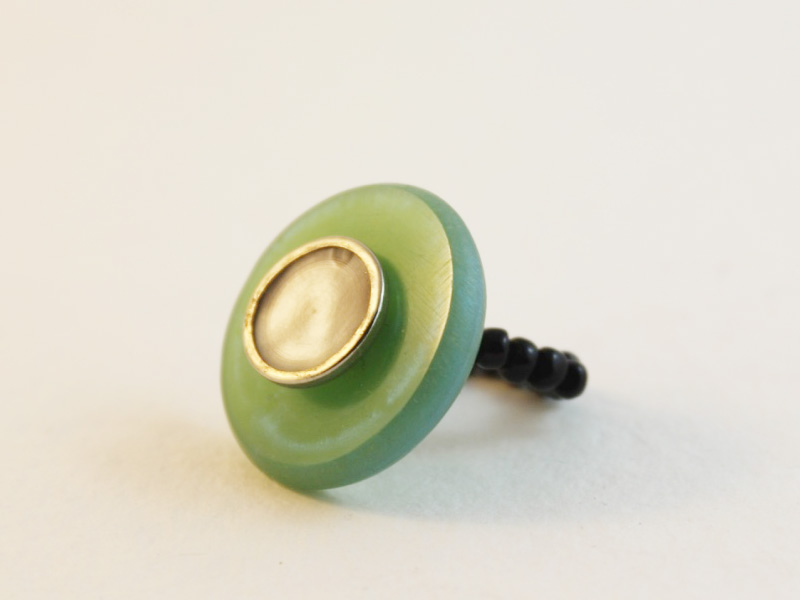
10.
Transform beautiful buttons into stunning and unique earrings. This tutorial is a personal favorite of mine and I wear my button earrings all the time!
Check out the button earring tutorial out here!


9.
This one is for the fellas! A quick DIY that leaves you with some incredible and unique cufflinks. I gave a special pair to my Dad.
Click here to make your own unique cufflinks.


8.
This design is pretty cool! Using memory wire and some crimp beads you can make your beads float across your chest.
Here are all the steps to make your own floating bead necklace.


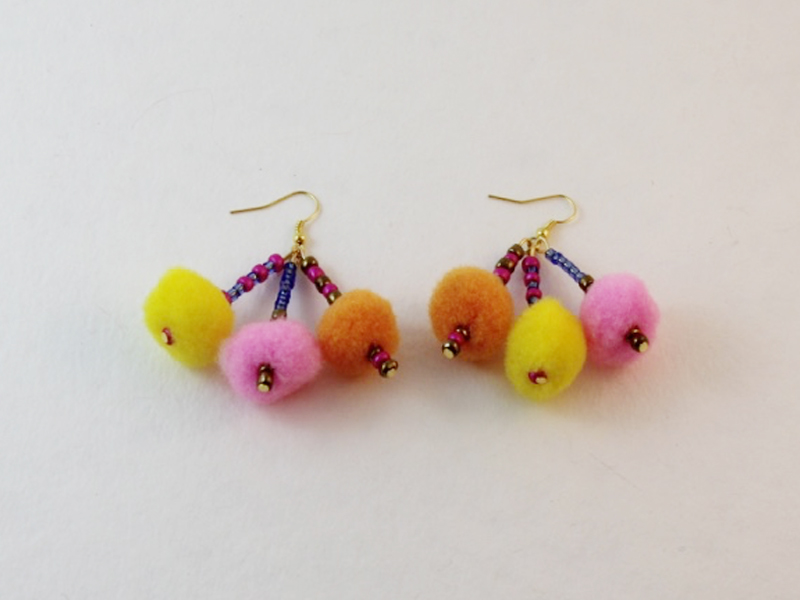
7.
How cute are these? I love these festive pom pom earrings, especially as the silly season is coming up soon!
Make your own pom pom earrings, follow these steps.
6.
Recycling doesn’t have to be messy! I love upcycling old cardboard tubes and and plastic rings into jewelry.
Make yourself some recycled ribbon bangles!


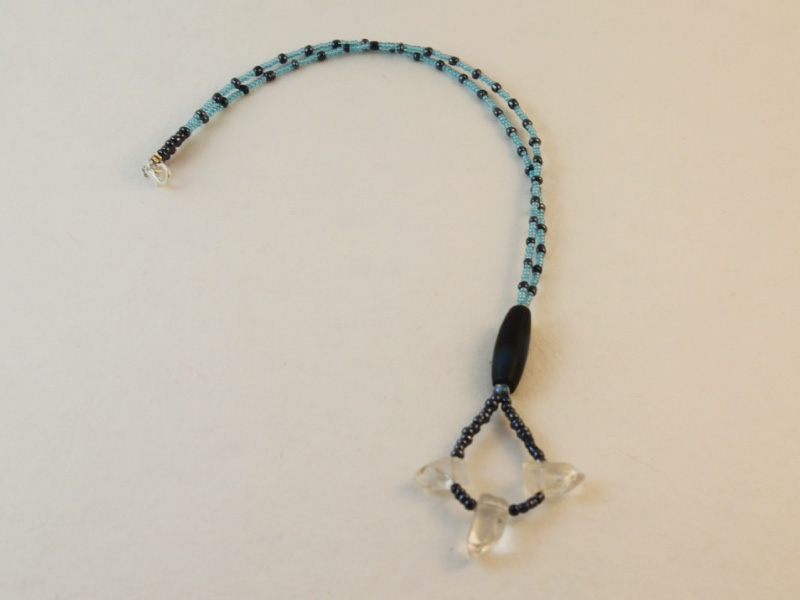
5.
This beaded triangle pendant is one of my favorite designs! All you need are some awesome beads and three eye pins and you’re on your way.
Check out the triangle pendant tutorial video for some DIY inspiration!

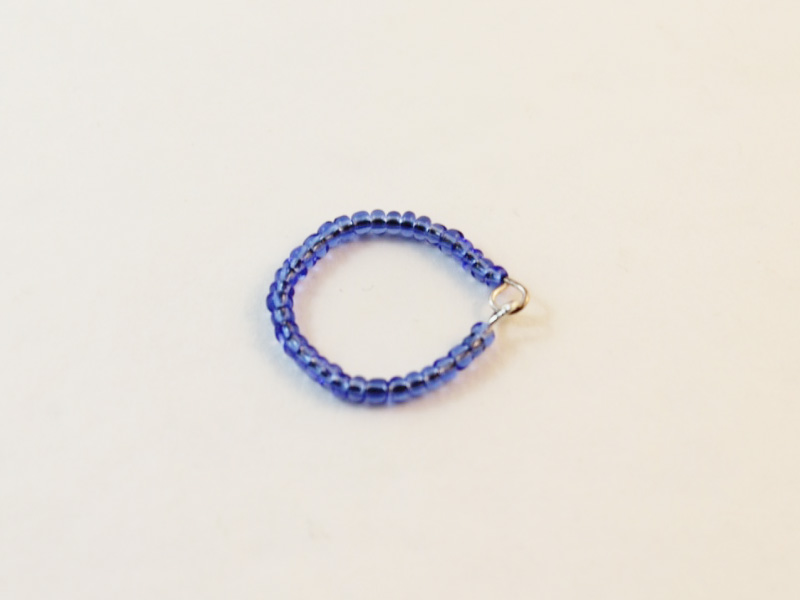
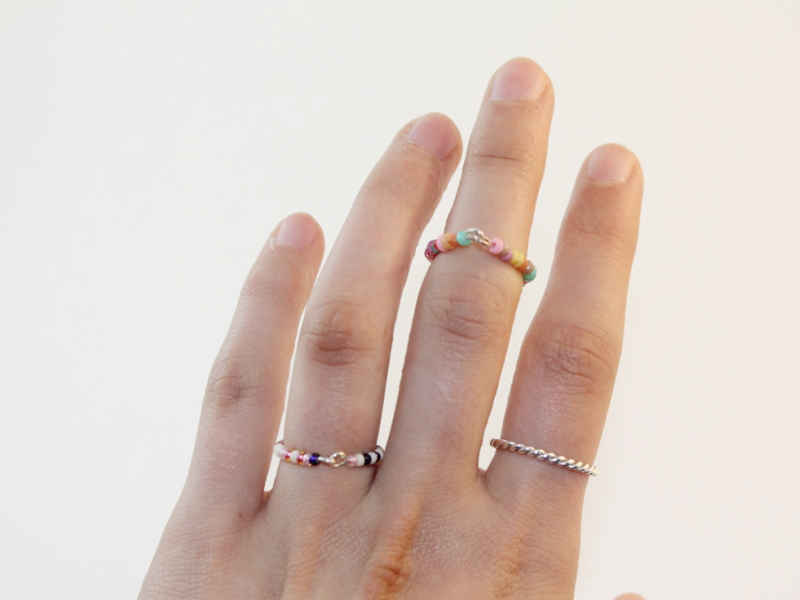
4.
Want to make your own beaded rings without using a ring finding? Here’s how! You’ll be decorating your fingers with these delicate beauties.
All the steps to make beaded rings are right here.
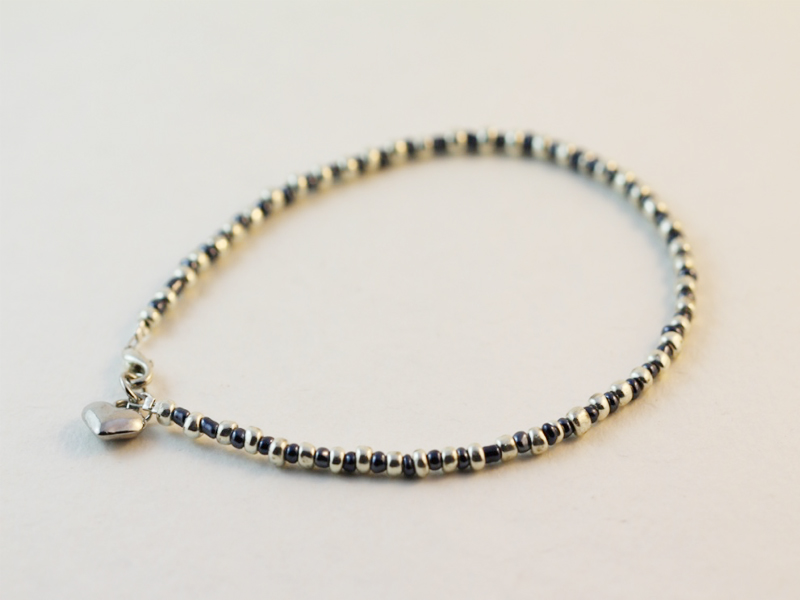
3.
Anklets are great, especially in summer. This video tutorial shows you how to make a simple beaded anklet to make that ankle shine!
Follow the anklet making steps right here.
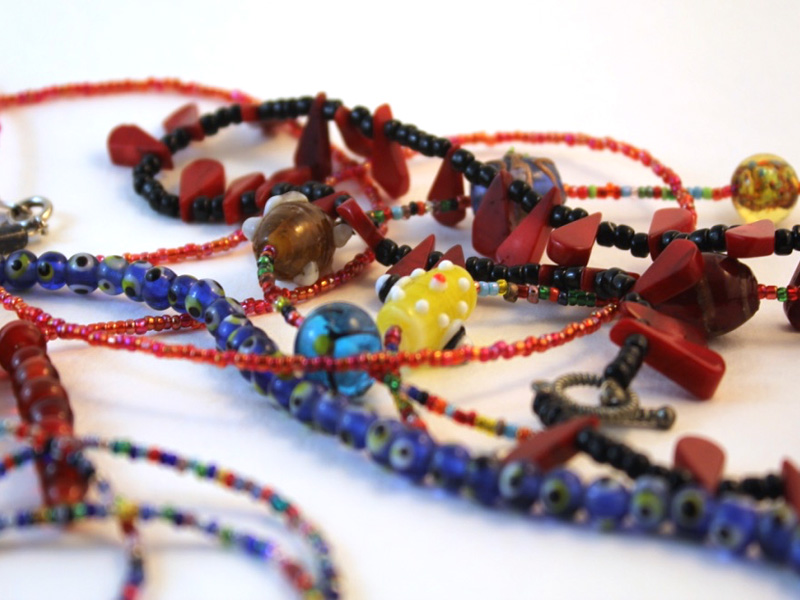
2.
This looping technique is super easy to do and gives a great effect! I bet every necklace you make using this technique will look completely different. This tutorial is also perfect for making gifts.
Check the beaded loop necklace tutorial out right here!
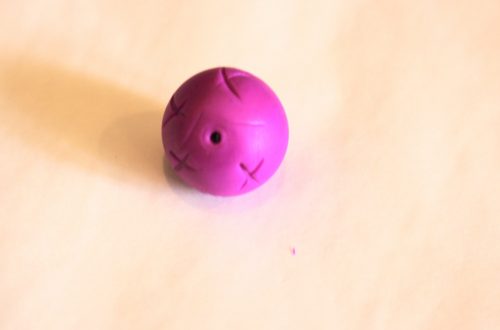
1.
What’s more exciting than making your own bead jewelry? Making your own beads! Using air dry clay to make your own beads is easy, fun (and just the right amount of messy).
Get stuck into the bead making, all the steps are right here!


-
Give Your Jewelry a Unique Edge by Making Your Own Beads!
I love making jewelry with pretty beads and pendants made out of different materials like gemstones and glass, but sometimes I want to my jewelry designs to have a special, one of a kind edge. To make sure that my designs are truly unique, I sometimes make my own beads out of air dry clay. Using clay allows you to get really creative with the shapes and forms that you create. Not only can you make your own beads, you can made some beautiful pendants and charms as well. Using air drying clay requires a little bit of extra patience (As you wait for them to dry) but it is an easy fun (and slightly messy) material to work with!
In this tutorial I will show you a few different ways that you can make unique clay beads and pendants.
You will need the following tools and materials to make these clay beads and pendants:
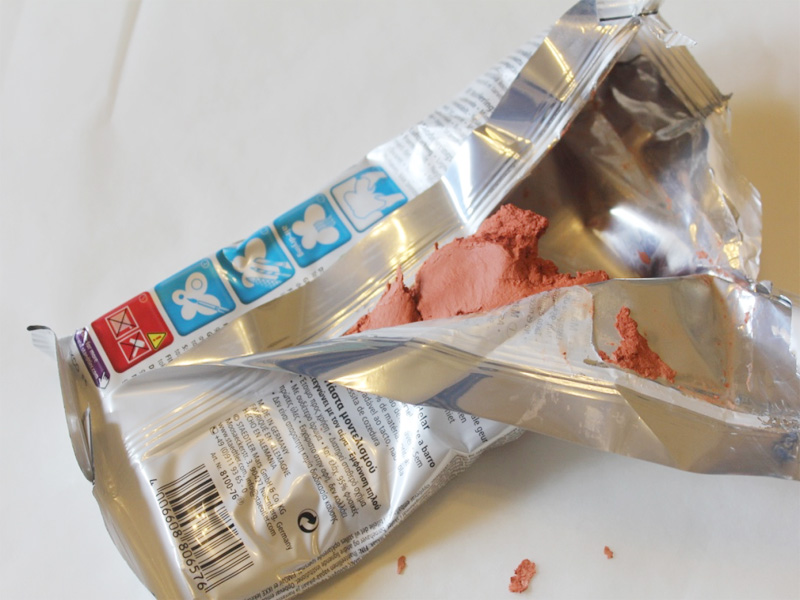
1: Air dry clay. I used terracotta colored Fimo Basic air dry clay.
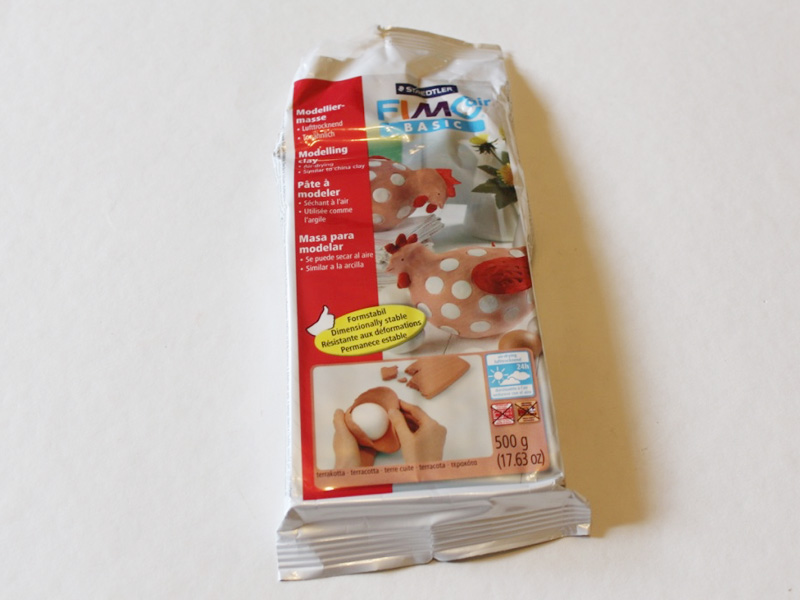
I used terracotta colored Fimo Basic air dry clay but this DAS air dry clay in terracotta gives a similar finish. You can also purchase it in white!
2: Baking paper. Baking paper is a great surface to work on and helps to keep your surfaces clean!
3: A skewer for making holes in your beads and pendants.

4: Buttons or other materials for adding pattern to your beads and pendants.

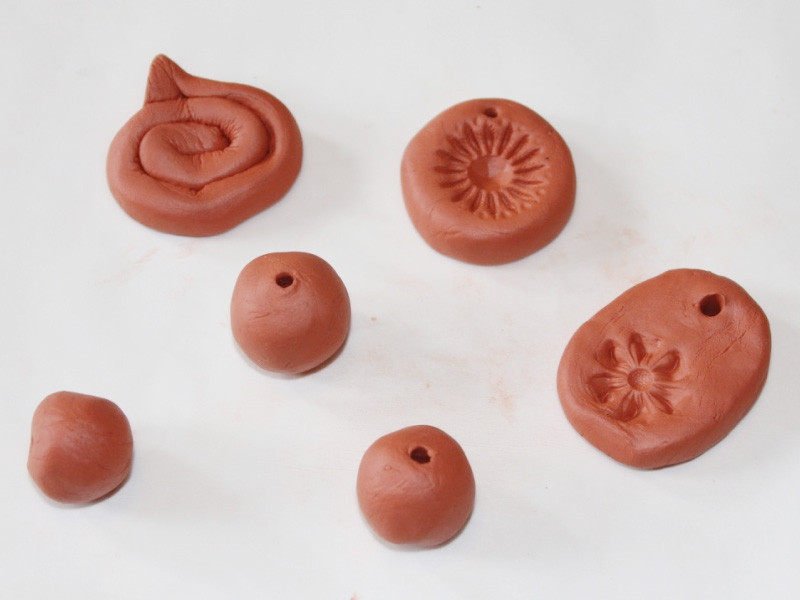
The Steps:
Here are the steps for making a round clay bead:
1: Lay down a piece of baking paper.
2: Take out a portion of clay.
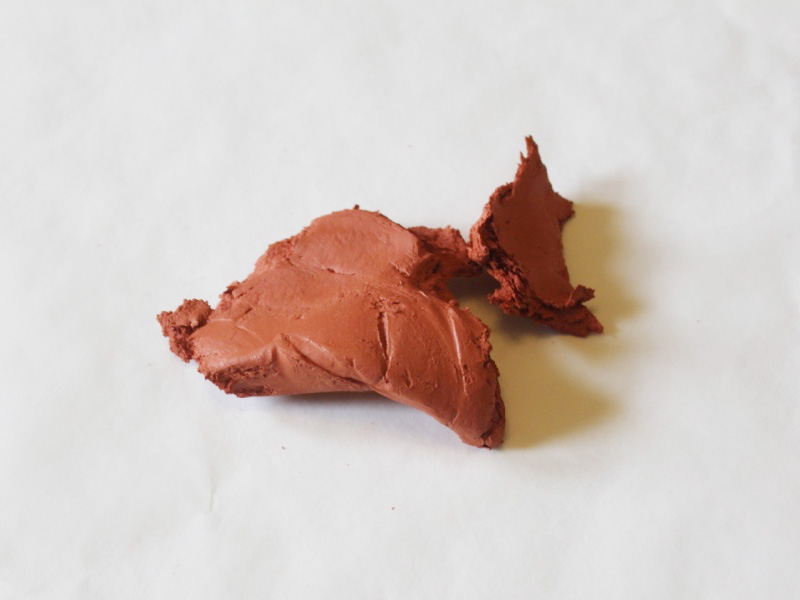
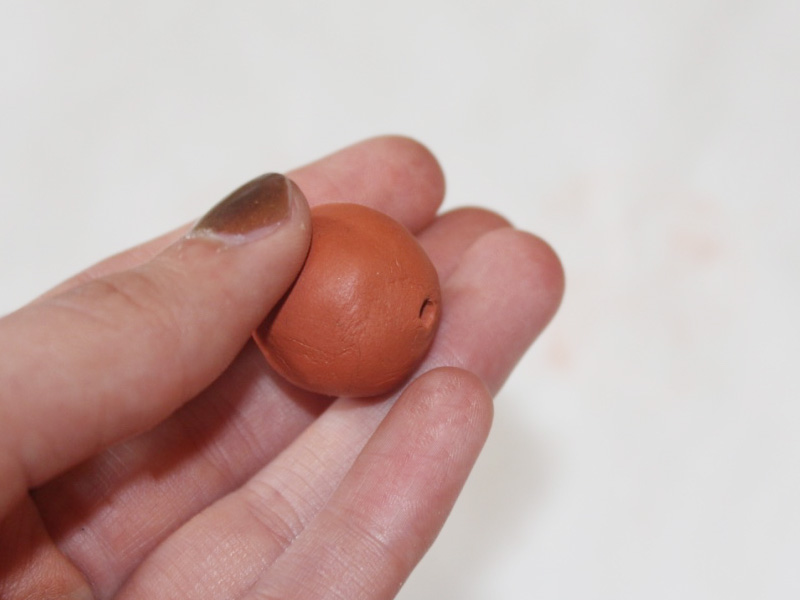
3: Begin rolling and shaping the clay in your hands. Forming a spherical shape can be easier if you roll the piece on a flat surface.


4: Once you are happy with the shape you have made, take the skewer and poke a hole through the center of the bead.

5: Your shape might be a bit disfigured after poking the skewer through, carefully reshape it again and poke the skewer through the hole from the other side. This will ensure that the hole is evenly shaped on both sides.

Here are the steps for making a textured round clay pendant:
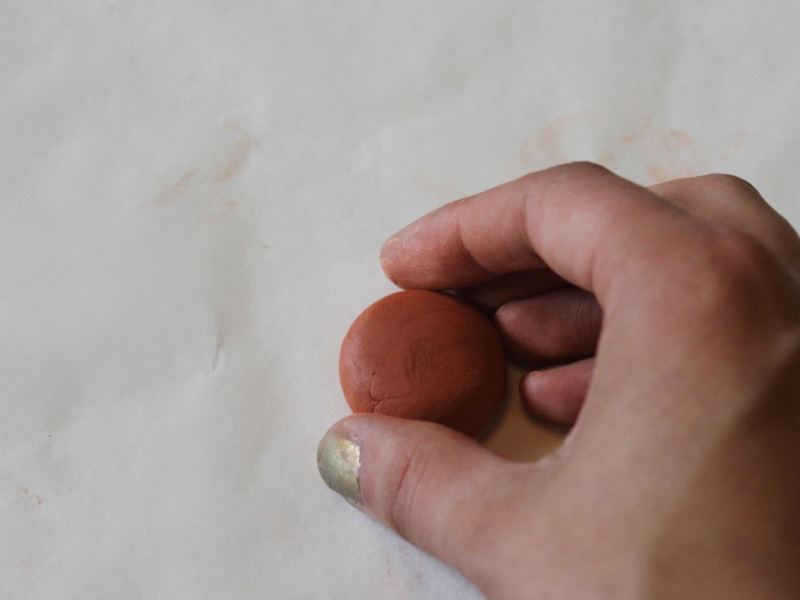
1: Take another piece of clay and begin shaping it into a sphere.
2: Take the spherical shape and then flatten it between your palms to make a disk shape.

3: smooth the surfaces out by pressing each side lightly against a flat surface.
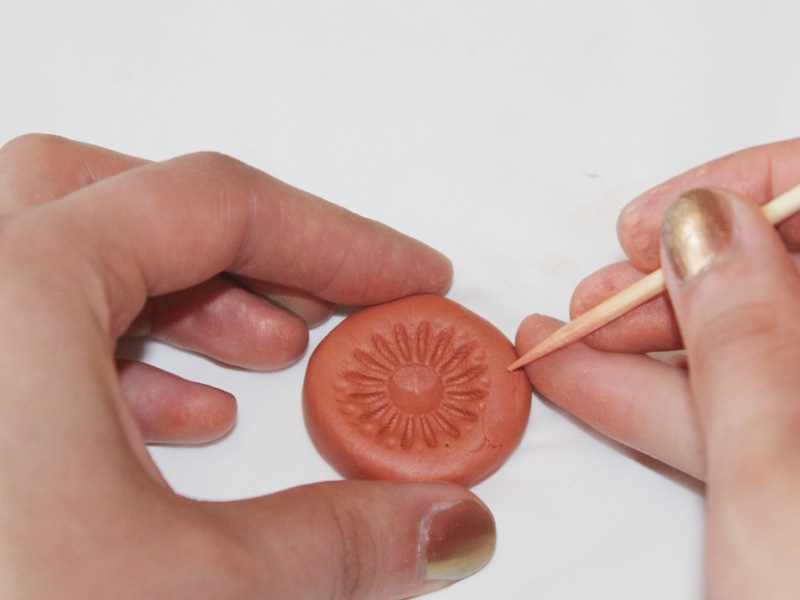
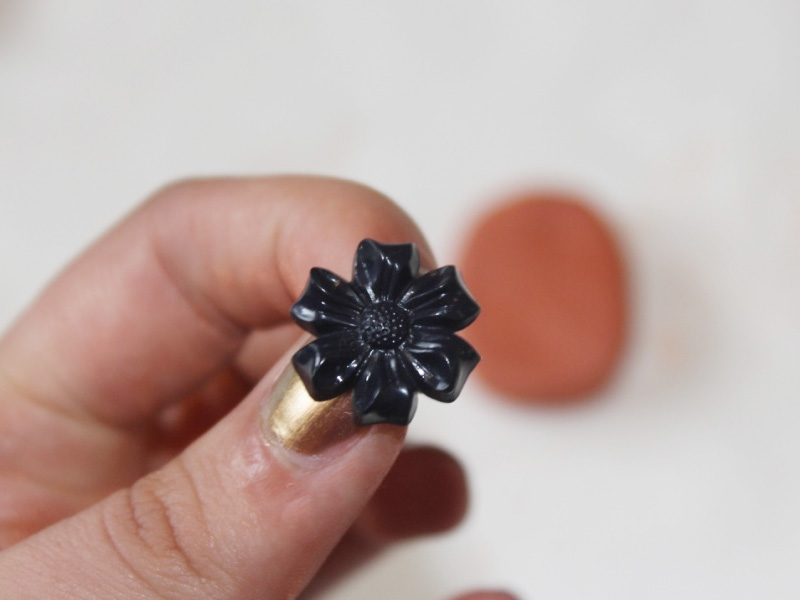
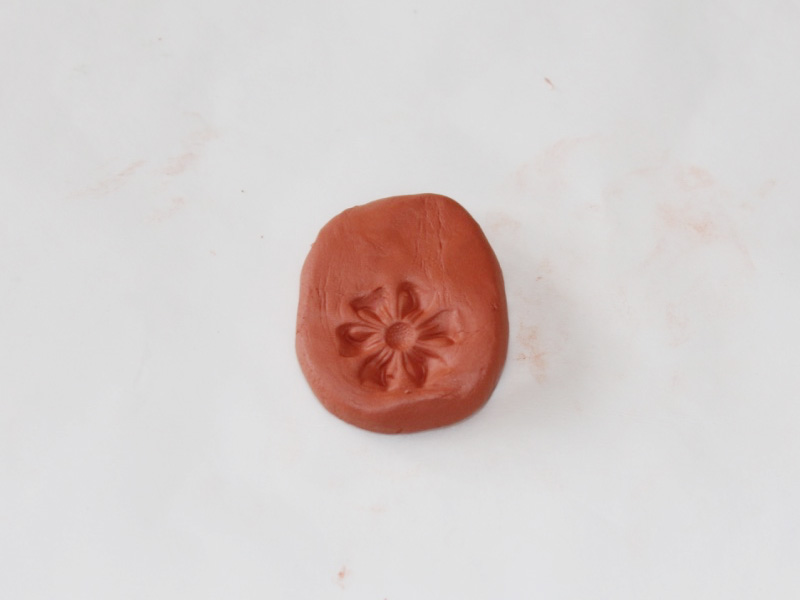
4: Once you are happy with your shape, take a button and press it into the upper face of the clay. Make sure you press down firmly to get a good impression in the clay.


5: Remove the button to reveal the impression made in the clay.

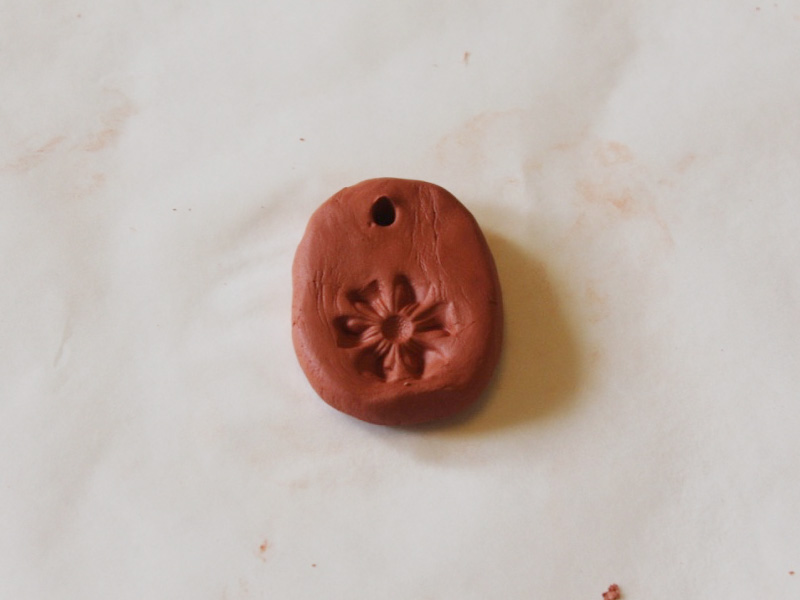
6: Take the skewer and use it to create a hole in the pendant disk. As with the round bead, you may need to poke the skewer through from both sides.
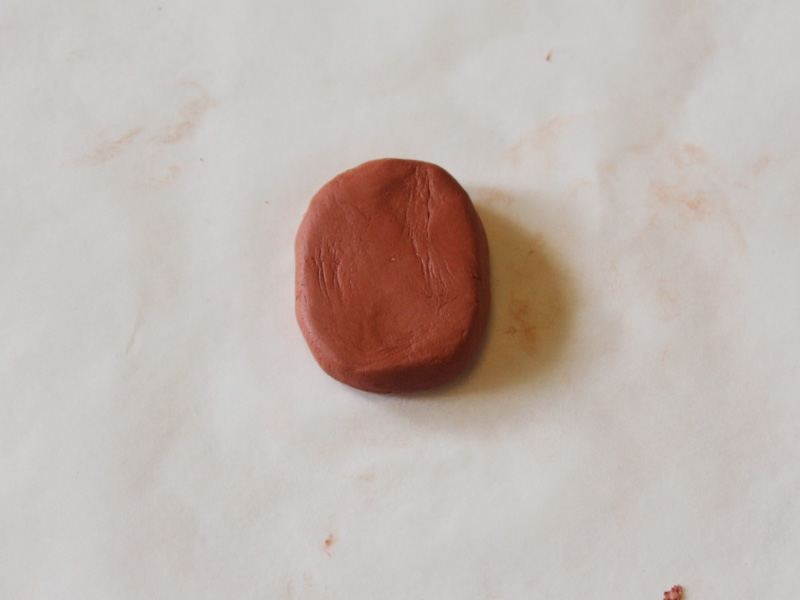
Here are the steps for making a rectangular clay pendant:
1: Form a rectangular shape with a piece of clay using your fingers to make your desired shape.
2: Take another button or charm and press it firmly into one end of the clay shape.


3: Remove the button to see the impression it has left in the clay.
4: Use the skewer to create a hole at the top of the pendant. Make sure you poke the skewer through to create an even hole.

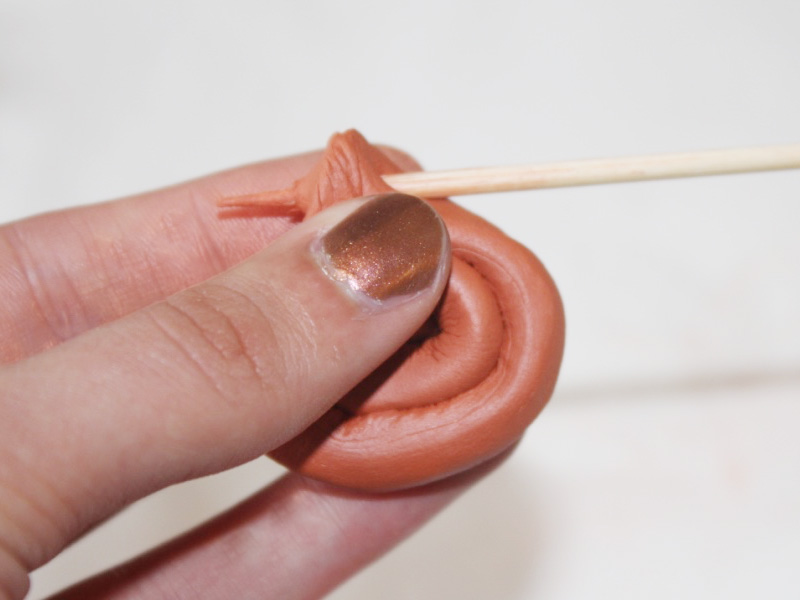
Here are the steps for making a coiled clay pendant:
1: Roll some clay backwards and forwards on a hard surface using your fingers.

2: Continue rolling until your piece of clay is a long flexible log shape.

3: Coil the log into a spiral shape and pinch the end to create a space for the hole to be placed.
4: Poke the skewer through the top part of the pendant. Make sure to even out the hole on both sides.


When you have finished making all of your clay designs, pop them outside to harden in the sun. If that doesn’t suit you can leave them to dry inside.

Once your pieces are dry you can get to beading with them right away or you can add some extra pizzazz by finishing them off with some paint.
Here are some tutorials that show you can use your handmade clay beads and charms:
- Turn your clay charms into scented diffusers
- Make a flower necklace with clay beads
- How to make clay love heart charms
- Make a double strand necklace with clay statement beads
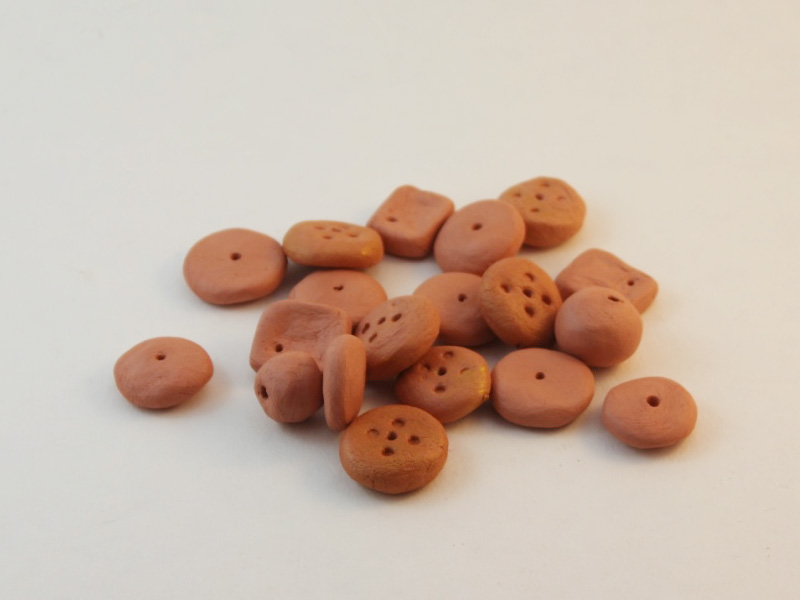
Here is some more inspiration for making jewels out of your handmade clay beads and charms.
Some of these beads have a metallic finish that was achieved by mixing gold acrylic paint into the clay when it was still wet. 
These clay beads were painted with acrylic paints after they had dried. 


These hand formed cube beads were painted with red and gold acrylic paint. 

A memory wire bracelet made using hand painted clay beads and blue glass seed beads. 
Handmade clay buttons This tutorial contains affiliate links