-
How to make a pair of triangle statement earrings!
Here’s how to make a cute pair of statement earrings, these are such a fun design that pack a bold punch with their size and colours. Please note that this tutorial contains affiliate links.
You’ll need these tools and materials to make these earrings:
1: Eight pieces of wire all the same length. I used 0.8mm copper wire.

Here’s a pre-made eye pin option if you don’t feel like making them yourself: https://tidd.ly/3WCad6D
2: Four statement beads. I used these polymer clay beads I made. Here’s a polymer clay bead tutorial for you.

3: Some accent beads. I used these timber beads.

4: A pair of earring hooks. If you don’t have any, you can find tutorials that show you how to make your own here, here and here.

5: Some flat nose pliers and round nose pliers. You will also need your cutting pliers if you are not using pre-made eye pins.



Follow these steps to make your amazing triangle statement earrings:
1: Bend the end of each wire to form a right angle using the flat nose pliers.


2: Loop the end of each wire using round nose pliers.

3: Add beads to two of the wires, these will form the bottom of your triangles. I added some statement beads to each of these wires.

4: Bend the ends of the beaded wires to form another right angle.


5: Loop the end of the wire using the round nose pliers. This will secure the beads in place.
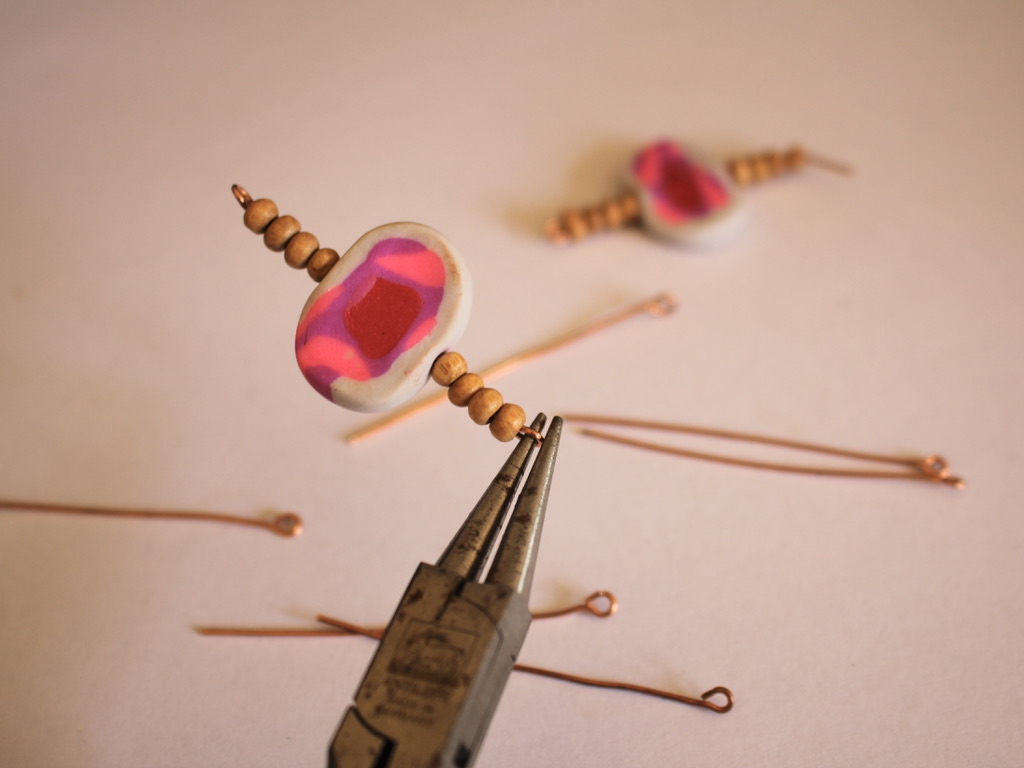

6: Repeat steps 3-5 for two more of the pins, these will be used to attach the triangles to the earring hooks.

7: Add your accent beads to the four remaining wires to create four solid beaded pins, secure the beads in place as you did in steps 4 and 5.

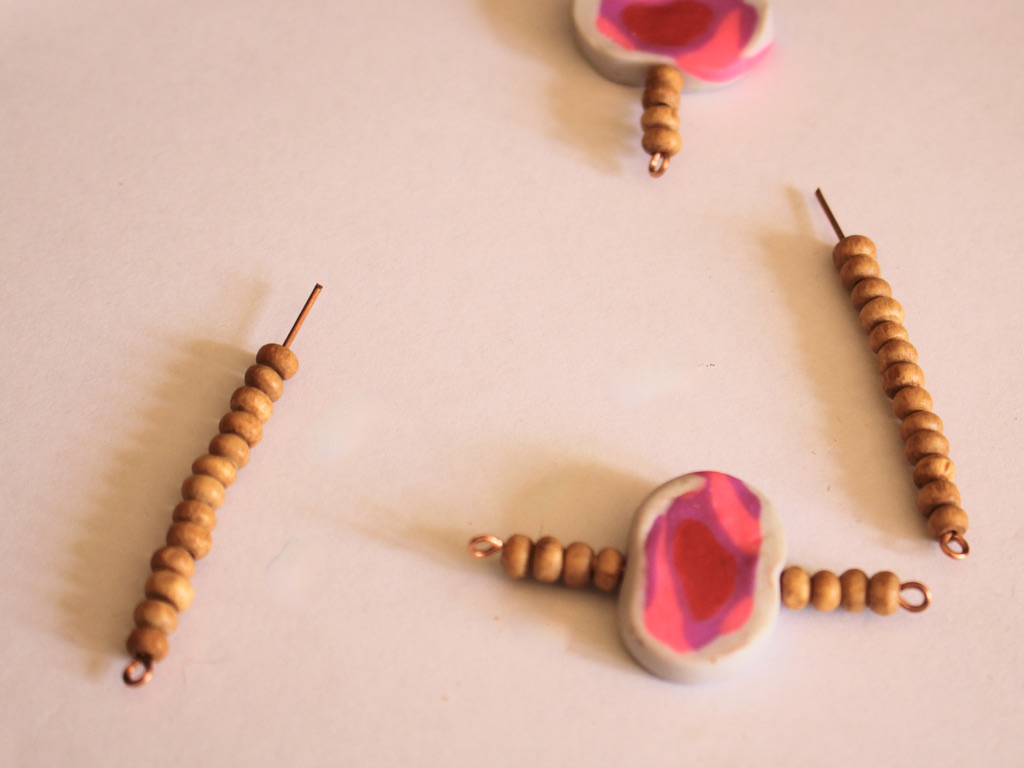


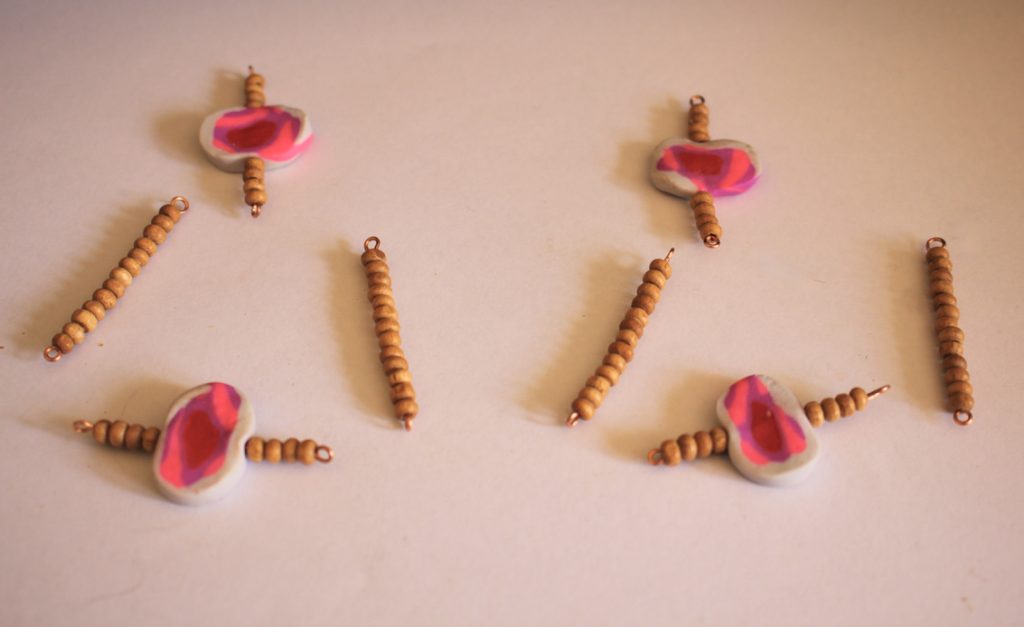
8: Now it is time to start assembling your earrings, Add one of the solid beaded wires to one of the accent beaded wires.
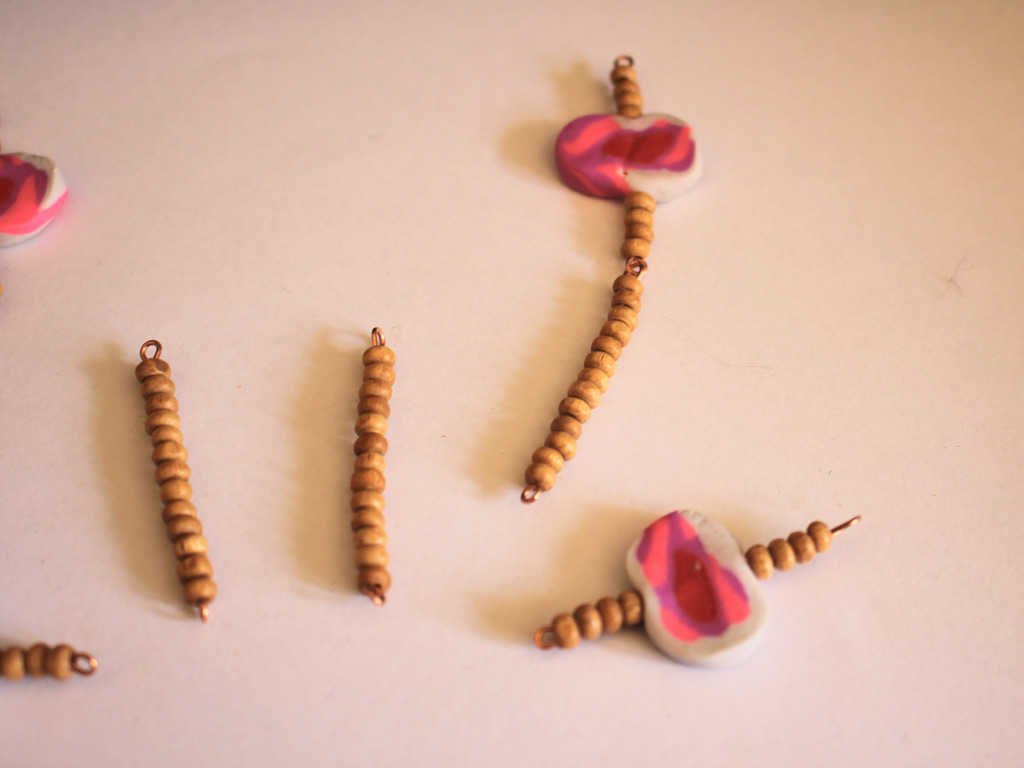
9: Add a second solid beaded wire to the first accent beaded wire, so you have one statement beaded wire with two solid beaded wires attached.
10: Add a second statement beaded wire to the earring, attaching each end to each of the solid beaded wires to form a triangle shape.


11: Repeat steps 8 to 10 for the second earring.

12: Attach each of the earring hooks to the triangle forms. Once both earring hooks are attached your earrings are finished and ready to wear out! How will you style yours?


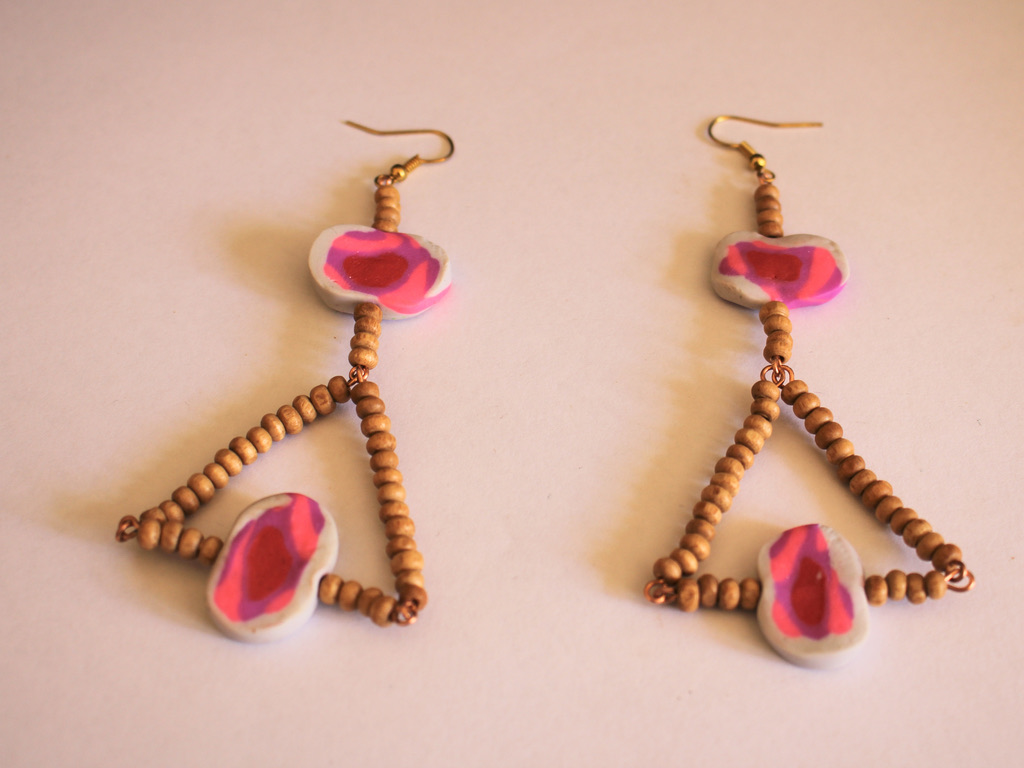
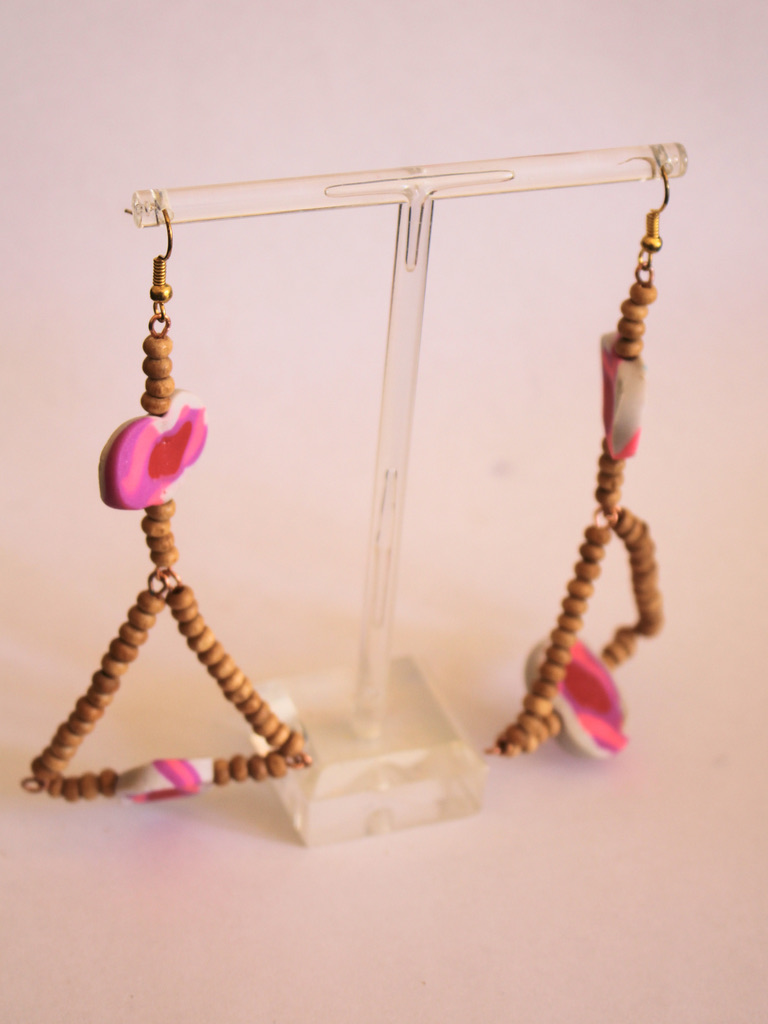
Here are the finished earrings!

-
Here’s how to turn copper charms green using kitchen ingredients! I love this technique.
Copper is a really fun material to make jewellery with, it is reactive and oxidises easily, so you can make some great patterns and patina using simple household ingredients. In this tutorial I’m going to show you how to turn copper green using kitchen salt and balsamic vinegar! Please note that this tutorial contains affiliate links.
You’ll need these tools and materials to turn copper green:
1: A plastic container with a lid. I used a recycled takeaway container.

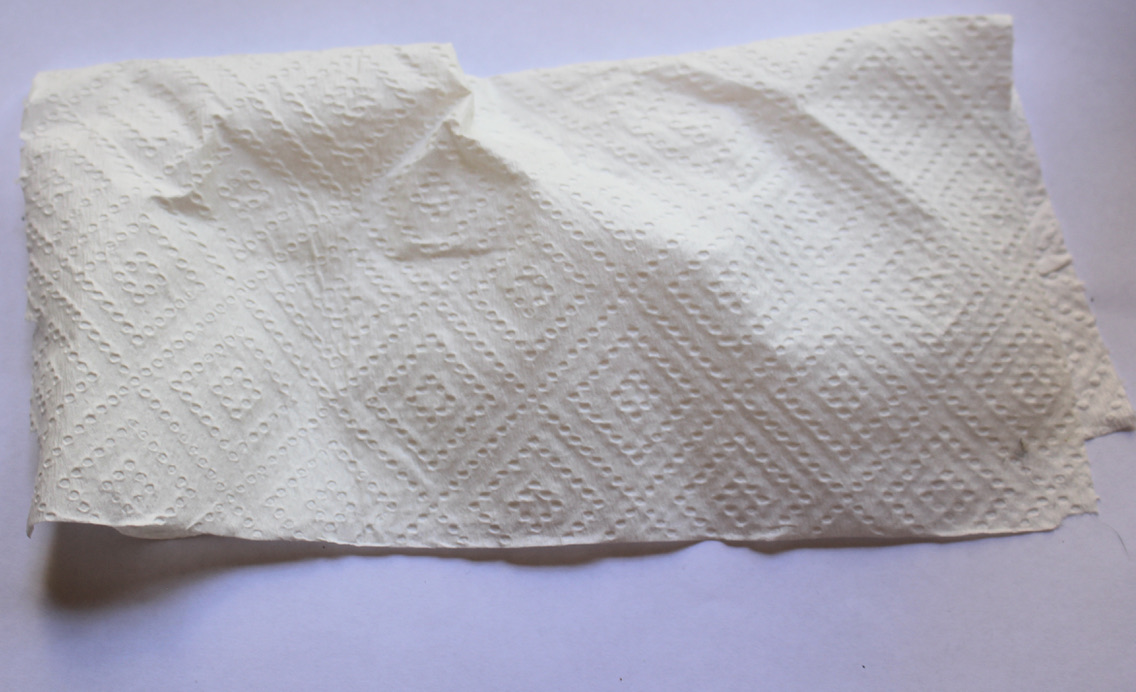
2: A couple of paper towels, one for turning the pieces green and another for wiping them off.

3: Some copper charms. I used these charms I made from some copper sheet a while ago.

4: Vinegar. I used balsamic vinegar for this tutorial, but you can try other vinegars such as white vinegar.

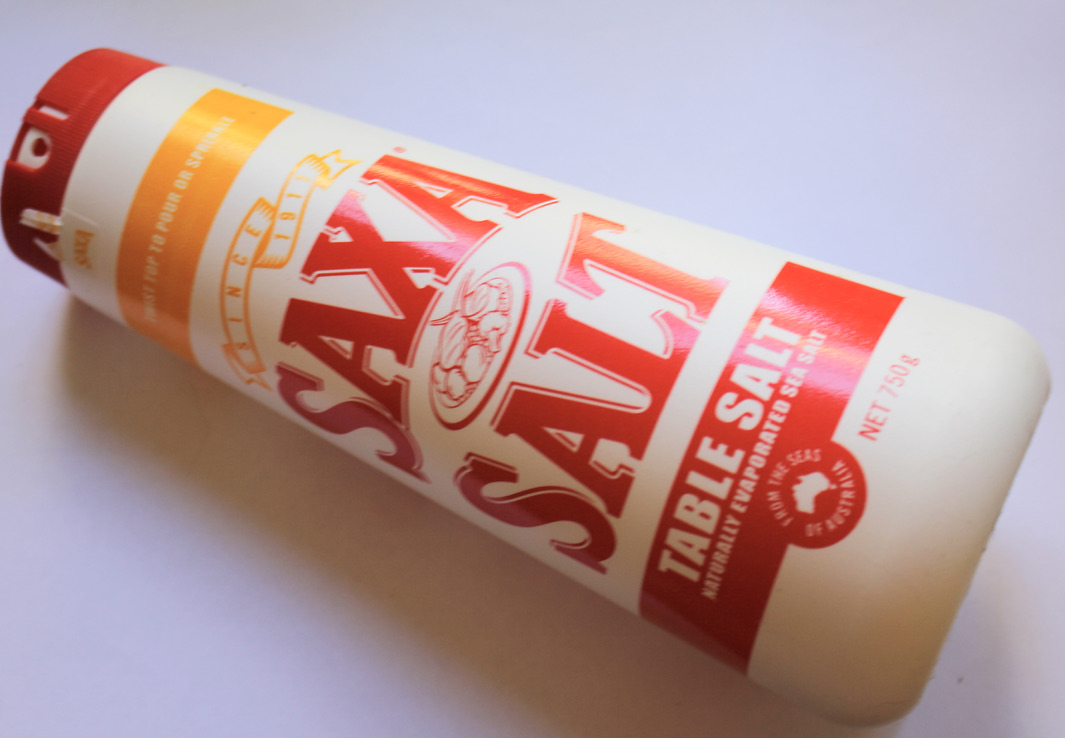
5: Salt.
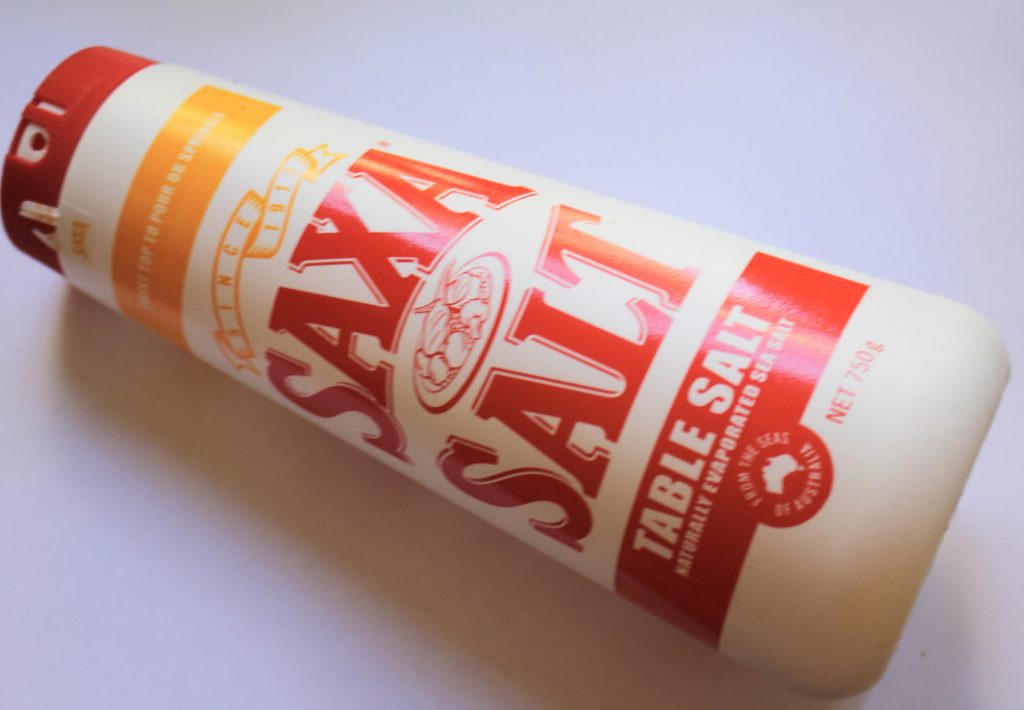
Now, here are the steps to follow to turn your copper green:
1: Put the paper towel inside the plastic container.

2: Add a dash of vinegar to the container, it will soak into the paper towel.

3: Add the salt to the container, sprinkle it over the paper towel.

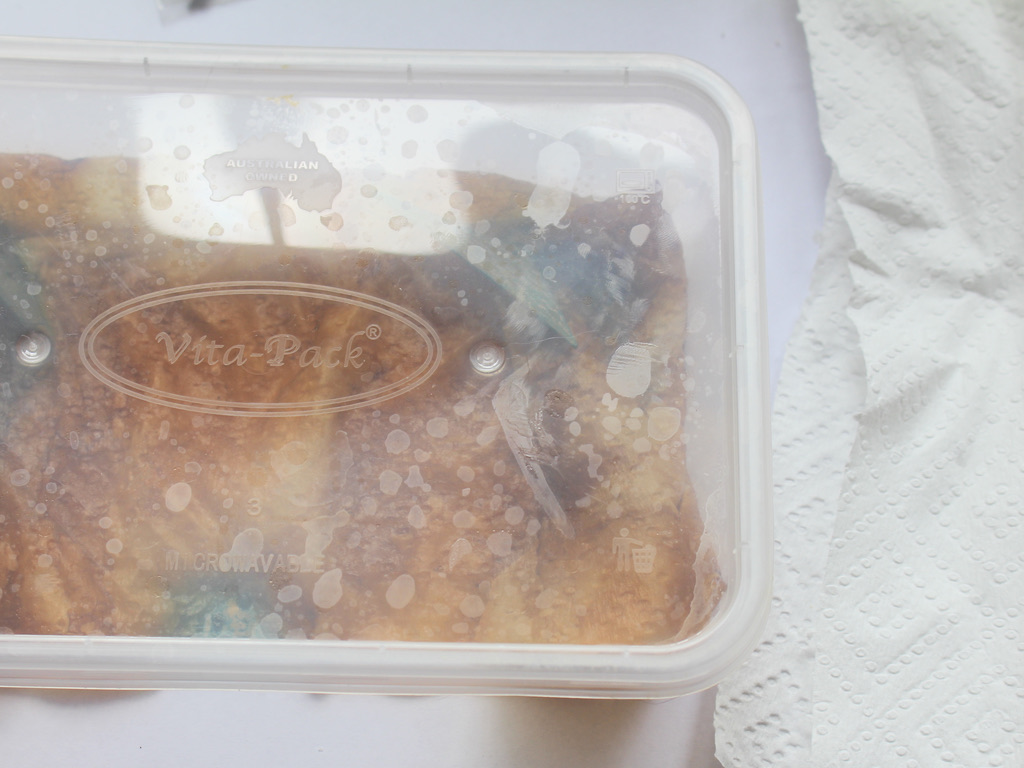
4: Place the copper pieces into the container, try to have them leaning against the side as having the pieces right against the vinegar-coated paper towel stops the patina from developing well (you can see this below with the copper arch charm, one side didn’t turn green because it was directly against the salt and vinegar mixture).

5: Put on the lid and leave the pieces overnight.
6: Once you have a patina you like, you can take the pieces out of the container and gently pat them dry with another paper towel, and that’s all! Now your pieces are ready to make with.


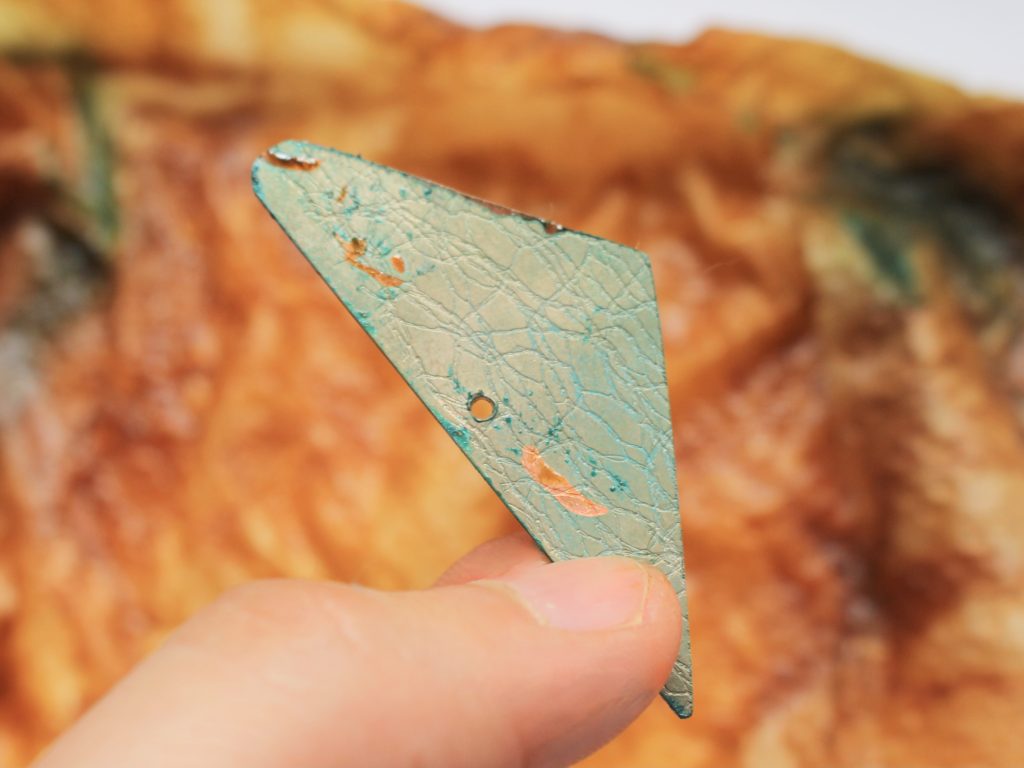


The final patina can be delicate when it is dry, so you can protect it with a substance called renaissance wax, which coats the piece and protects the green patina.
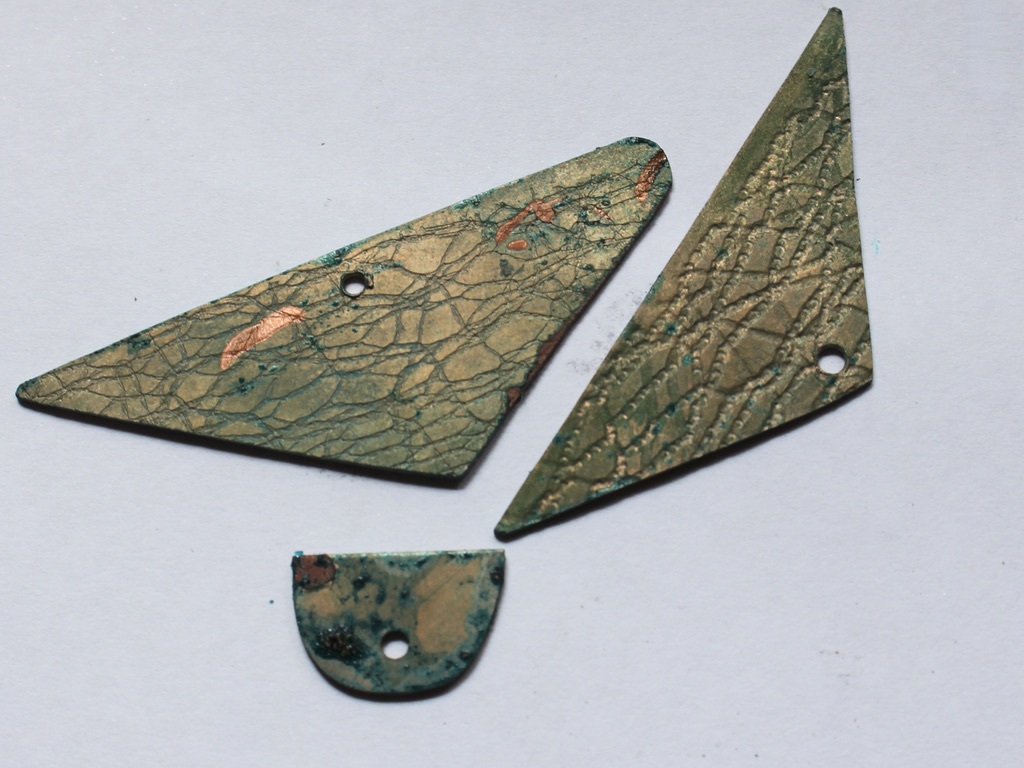
Here are some earrings I made using this technique, what do you think?

If you love this design, you can buy them here: https://www.etsy.com/au/listing/724963620/australian-made-earrings-copper-earrings?click_key=71fb4f1a5e946b8d959e969ff1a5137d17891322%3A724963620&click_sum=ee529605&ref=shop_home_active_27&frs=1

Here’s another pair you can purchase: https://www.etsy.com/au/listing/746942552/copper-and-silver-earrings-white-jade?click_key=42061fd44dcd2c519b427d32fdeaf45615238bcc%3A746942552&click_sum=3fb803a0&ref=shop_home_active_2&frs=1
And a third pair I made using copper wire and jasper beads, you can buy them here: https://www.etsy.com/au/listing/1130385893/textured-copper-earrings-copper-earrings?click_key=1fb520d80bb1c050717c9f98bc6c20c3f0260d48%3A1130385893&click_sum=deed90a6&ref=shop_home_active_8&frs=1