-
Here’s a cute idea… make a beaded hair elastic!
I’m really into quick DIY’s at the moment, so here’s another one you can make quickly with no tools! This hair elastic has some fun timber beads on it so you can add some extra spice to your hairstyles. You can also wear it on your wrist as a bracelet when it isn’t tying back your hair.
You’ll need these tools and materials to make your beaded hair elastic:
1: A piece of elastic.

2: Beads. I used these painted timber beads.

Follow these steps to make your super cute beaded hair elastic:
1: Add the beads to the elastic.

2: Tie the ends of the elastic into a knot.
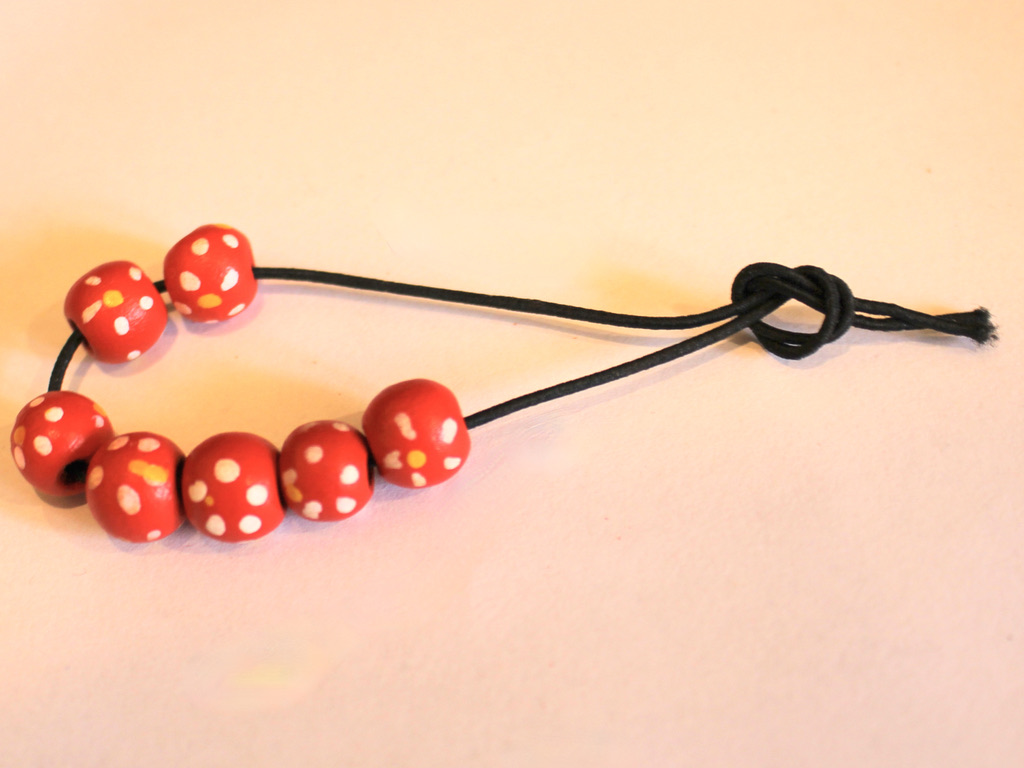

Now you’re done! It’s literally a two step process and it looks so cute!

Here’s how it looks as a bracelet

Here are some other hair accessories tutorials you can follow at home:
- A cool barrette with a chain feature.
- This rhinestone embellished hair comb.
- A shell covered hair clip.
- Floral embellished bobby pins.
- How to cover hair clips with ribbons.
- Sparkly rhinestone hair clips.
- How to add rhinestones to a headband.
- A knot feature headband.
- A beaded bobby pin.
- Add feature rhinestones to your old headband.
- Glue a charm to an old hair clip for a quick revamp.
-
Add some custom bobby pins to your clip collection
Clips, barrettes, hair slides… hair accessories are having a moment! Add your favorite decorations to some bobby pins do add a custom edge to your hair accessory collection. Please note that this tutorial contains affiliate links.

You will need the following tools and materials to make your custom bobby pins:
1: A pair of bobby pins with a flat bed for attaching charms.

2: Two charms to glue on to the bobby pins. I used these flower charms.

3: Araldite glue.

4: A scrap piece of paper for mixing the glue on.

5: A skewer for mixing and applying glue.

Follow these steps to make your custom bobby pins:
1: Squeeze out some glue in equal parts and mix it with the skewer.



2: Apply the glue to the flat parts of one of the bobby pins and one of the charms.


3: Glue the pieces together and set them aside to dry.

4: Repeat steps 1 to 3 for the second bobby pin.
Once your bobby pins are dry they are ready to pop in your hair and wear away!
-
Hair clips are back. Here’s how to turn those useful clips into something more elegant.

Covering your clips with luxurious ribbon adds an element of elegance to those practical accessories. I love to add a ribbon covered hair clip to my everyday hairstyle. Contains affiliate links.
You will need the following tools and materials to make your ribbon covered hair clips:
1: Two metal hair clips. I used this pair that I had lying around.

2: Two pieces of ribbon long enough to wrap around the ends of the clips. I used this red satin ribbon.

3: Super glue. You might want to use Araldite for a stronger hold.

Follow these steps to make your hair clips:
1: Add glue to the back of one clip.

2: Add the ribbon and hold it in place until it is secured. Be careful not to glue your fingers.

3: Open the clip and Fold the ribbon around it.

4: Add glue to the underside of the open top.

5: Secure the other end of the ribbon. Make sure there is enough slack to allow your clip to close properly.

6: Add extra glue if needed to secure the ribbon in place.
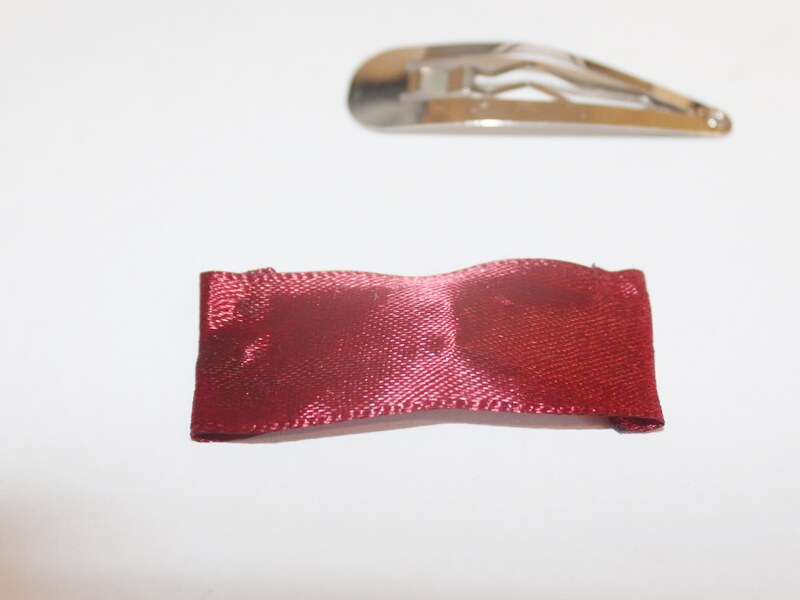
7: Repeat steps 1 to 6 for the second clip.
Once your clips are dry you can pop them in your hair and go on your way!
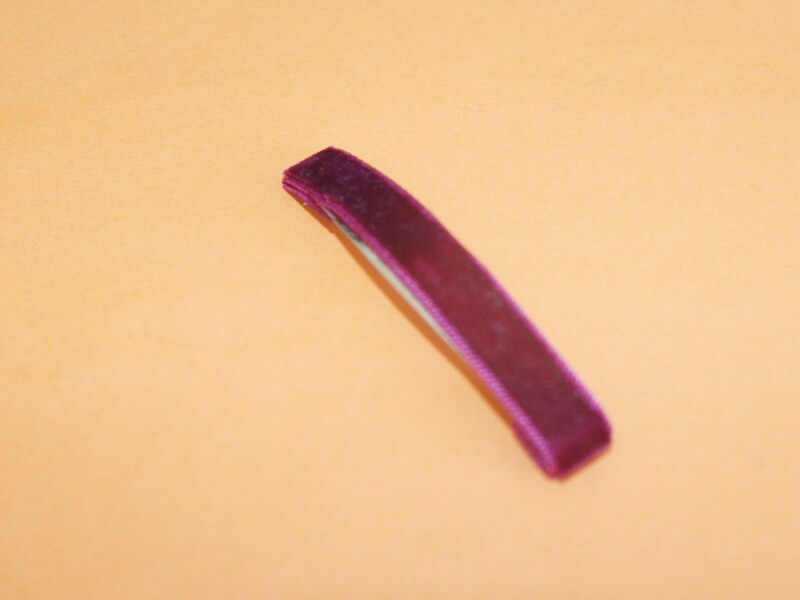
Here’s another clip I covered with velvet ribbon.