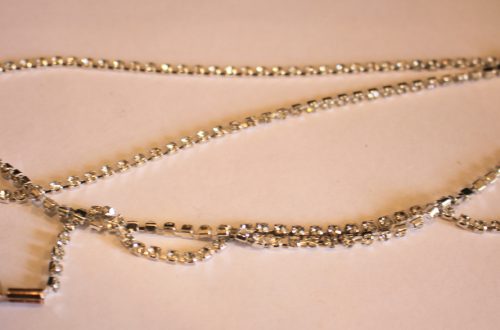
-
Here’s how to string beads onto nylon beading thread!
I’ve been experimenting with different stringing materials lately for my beaded designs and I’ve come to like working with nylon beading thread, so I thought I’d make a tutorial to show you all how to use it! In this tutorial I am going to make a simple beaded necklace using glass seed beads and polymer clay fruit beads for a fun and tropical look. Please note that this tutorial contains affiliate links.
You’ll need these tools and materials to make your beaded necklace:
1: Some nylon beading thread. You’ll need to cut a bit over double the length you want your necklace to be.

2: A beading needle with a thin loop of thread tied to it.

3: A sterling silver lobster clasp.

4: A sterling silver jump ring.

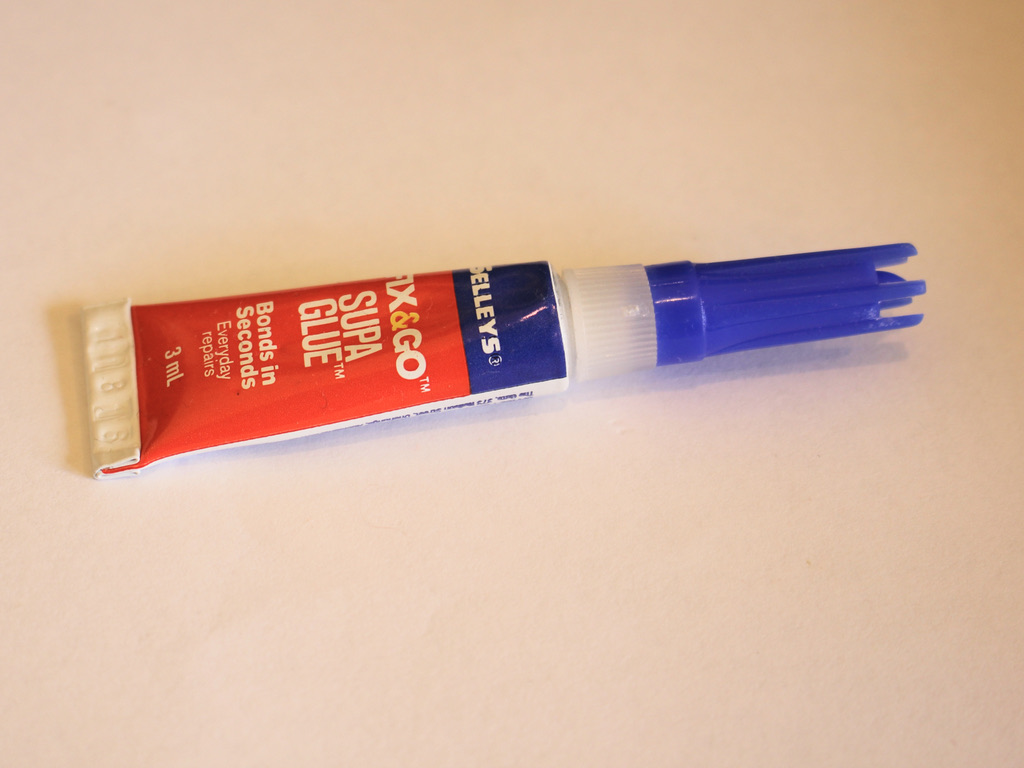
5: Superglue.
6: Beads. I used some polymer clay fruit beads and some clear silver lined glass seed beads.


7: Scissors to trim the thread.

Follow these steps to create your beaded necklace using nylon thread:
1: Fold the thread in half.

2: Loop the thread through the jump ring on the clasp and pull the ends back through.

3: Pull the loop tight.

4: Create another knot over the one you just made. If the knot is a little high, pull the strings apart carefully, making sure not to break the thread.


5: Loop the ends of the thread through the loop on the end of the needle.

6: Begin adding beads, pulling the beads gently over the thin thread and onto the necklace thread.


7: Add beads in the same manner in your chosen pattern until you have the length you want for your necklace.


8: Tie a knot at the end of the beaded section the same way you knotted the thread in step 4.

9: Slide the jump ring onto the thread.


10: Loop the thread through the ring again and then tie a knot below the jump ring. Do this one more time so that you have a secure knot.


11: Trim the excess thread.

12: If you feel like it, you can melt the extra thread using a lighter or match, but be careful not to break the thread or burn yourself.

13: Add a dab of superglue to the knots at each end of the necklace.


Now your necklace is finished and ready to wear!

If you don’t feel like making your own version of this necklace, you can purchase this one that I made here: https://www.etsy.com/au/listing/891450996/fruit-necklace-fruit-bead-necklace?ref=shop_home_active_30&frs=1
Here are some other polymer clay fruit designs you can make:
-
How to make a sweet fruity necklace with beads and some chain!
This necklace is super duper cute! Add some fruity polymer clay beads to eye pins and chain to create a fun beaded chain necklace perfect for adding some color and summer vibes to your wardrobe. Please note that this tutorial contains affiliate links.
You’ll need these tools and materials to make your fruity necklace:
1: A selection of polymer clay fruit beads.

2: The same number of eye pins.

3: Two pieces of chain slightly shorter than the necklace you want to make (The bead elements will make the necklace longer).

4: Two jump rings.

5: A lobster clasp.

6: Some pliers. I used my round nose and flat nose pliers for this piece.


Follow these steps to make your fruit necklace:
1: Add one of the beads to one of the eye pins.

2: Bend the pin to form an angle with the bead.
3: Loop the end of the pin using the round nose pliers. This will secure the bead onto the pin.


4: Repeat steps 1-3 for the rest of the fruit beads.

5: Attach all the fruit beads on their pins together to form a chain. Do this by slightly opening the loops with your pliers and then closing them again after sliding a charm onto the open loop.

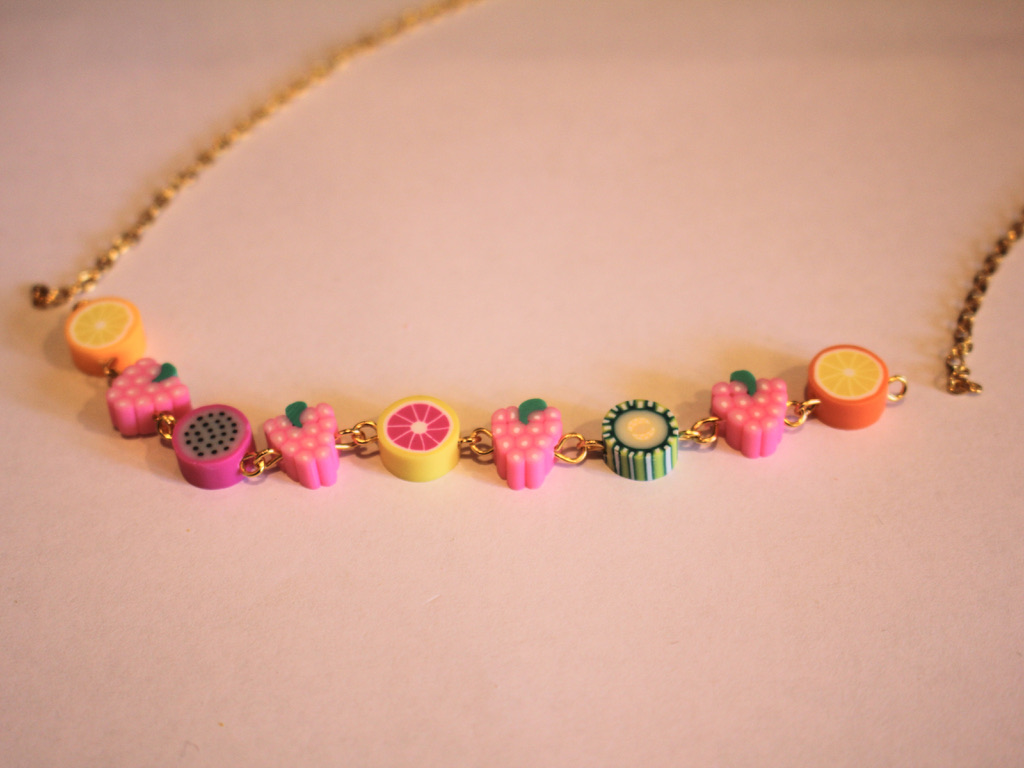
6: Add one side of the chain to one end of the fruit chain you have just made attaching it as you did the fruit links in step 5.


7: Add the other side of the chain to the other side of the fruit section as you did in step 6.

8: Add a jump ring to one end of the chain and add the lobster clasp before closing it.

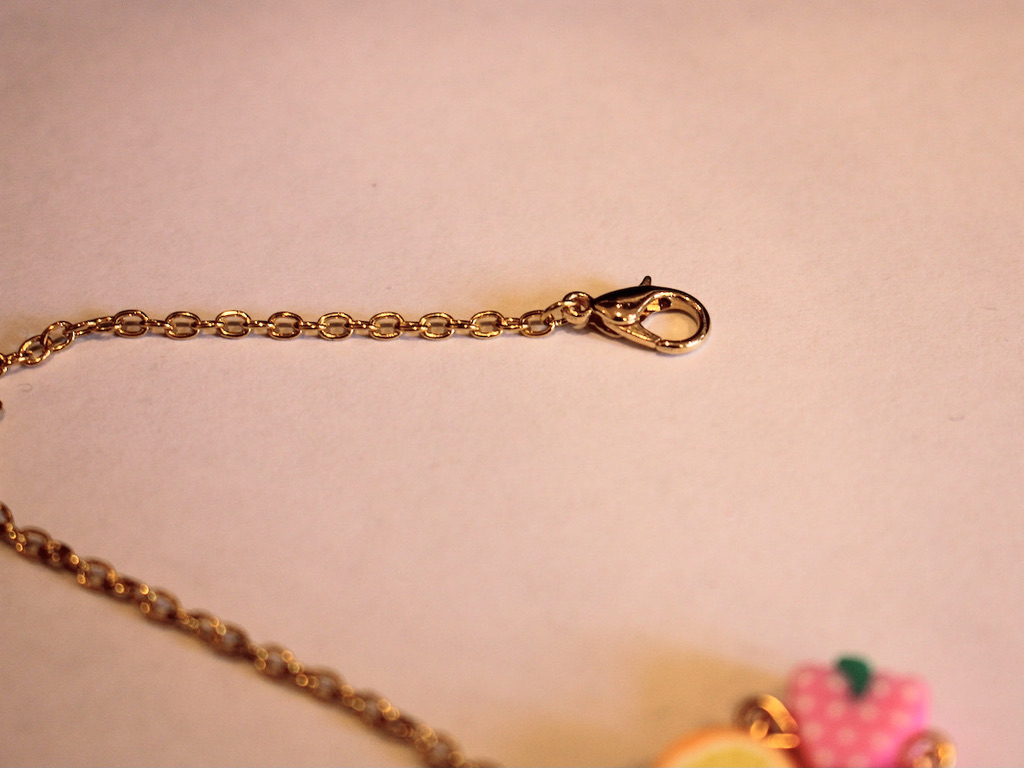
9: Add the other jump ring to the other side of the jump ring to finish it off.

Now your necklace is finished! How perfect and cheerful is this fruity design?!


Here are some other fruity jewelry tutorials you can make if you loved this one:
- A fruit themed waist chain
- Beaded hoops with glass fruit charms
- This perfectly simple apple bracelet
- This cute peachy anklet
- Strawberry dangle charm earrings
- Hot hot hot, a single chilli and pearl earring
- Orange threader earrings
- This yummy bell pepper necklace
- Fruit also features on this mixed bead necklace
- And on this simple strawberry necklace
- This letter bead bracelet has a happy banana on it
-
Here’s how to make a fruity waist chain!
This waist chain can be adjustable and is embellished with fun polymer clay fruit beads to make you feel like a tropical human fruit salad! This tutorial shows you a way to put beads on a chain for a fun effect! Please note that this tutorial contains affiliate links.
You’ll need the following tools and materials to make your fruit salad waist chain:
1: Pliers. I used my round nose and flat nose pliers.
2: Chunky chain long enough to fit your waist. Make it a little longer to make your belt adjustable.

3: Two large lobster clasps.

4: Two large jump rings.

5: Some head pins.

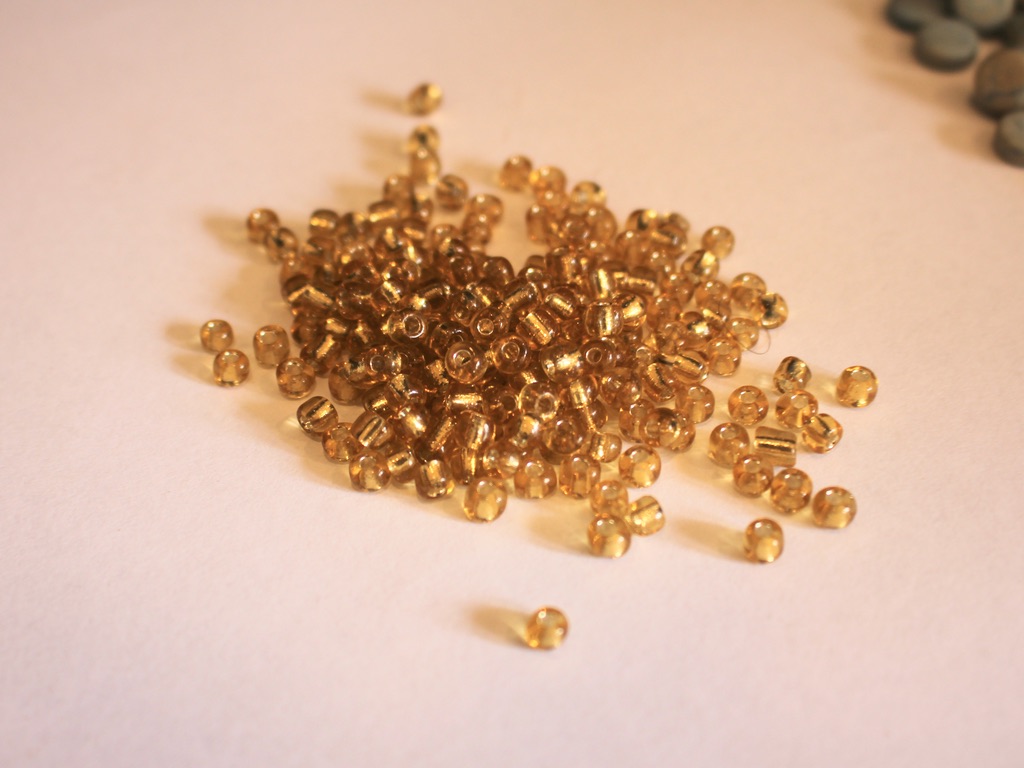
6: Beads. I used polymer clay beads in the shape of different fruits and some yellow glass beads.

Follow these steps to make your fruity waist chain:
1: Attach a clasp to either end of your chain using each of the jump rings. Open the jump ring and slide it through the end of the chain and the clasp. Close the ring to secure the clasp to the chain.


2: Set the chain aside.
3: Add beads to a head pin. I used a few glass beads and a fruit bead on mine.

4: Bend the top of the pin to form a right angle.

5: Create a loop at the top of the pin using the round nose pliers. This will secure the beads on the pin.


6: Open the loop slightly and attach it to one of the chain loops. Close the loop to secure the charm to the chain.


7: Make another charm that features only glass beads and place it on the chain next to the first charm.


8: Continue making fruit and bead charms and attach them to the chain in your chosen pattern until you have a fully beaded chain.

Now your waist chain is finished and ready to wear! You can also wear this design as a necklace.


Here are some other waist chain designs you can make: