-
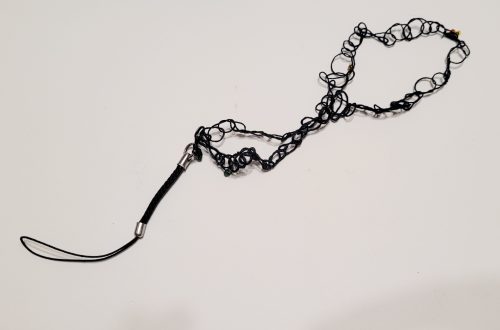
Here’s how to turn a chain into a lariat that holds your wireless ear buds
Wireless headphones allow you to roam freely, but they can also get lost easily, so here’s a tutorial that shows you how to make a chain that holds your headphones, can can also be worn as a lariat necklace when you’re not using it. How handy? Please note that this tutorial contains affiliate links for which this website may receive a commission.
You’ll need the following tools and materials to make this lariat.
1: A chain. I used this silver tone snake chain that is quite long. Make sure you have some jump rings to add to either end or that the chain necklace already has them in place.

You can get a similar chain here:
You can purchase jump rings here:
2: Two hair elastics.

You can get some here:
3: Wireless earbuds. Hopefully you already have these 😉

Follow these steps to make your headphone holder lariat:
1: Take one of the hair elastics and slide it through the jump ring at one end of the chain.

2: Loop one end of the elastic through the other and pull it tight around the end of the chain. Add a knot above it to secure the elastic in place.


3: Add a knot in the middle of the elastic, make it sit closer to one end so that it is small enough to sit tightly around your ear bud.

4: Repeat steps 1-3 for the other end of the chain.


Once you have both elastics in place, your ear bud holder lariat is ready to use. Slide the elastic around each of your ear buds and pop them in your ears. When The ear buds are in use, the chain will hang around your shoulders like a glasses chain, when you are finished, you can pull the ear buds out of your ears and loop the chain around your neck like this. So handy!


If you want some other ideas for how to keep track of your headphones you can check out these tutorials.
-
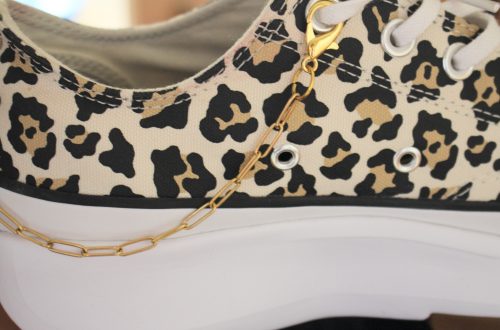
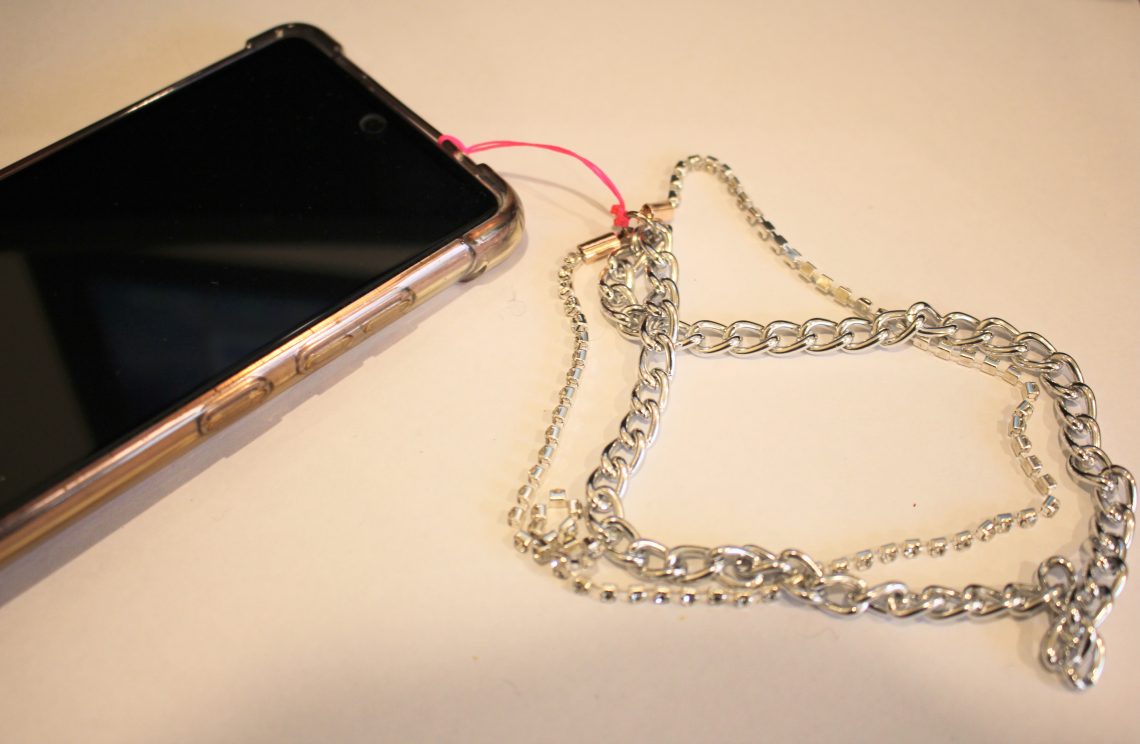
Need help keeping hold of your phone? Here’s how to make a cute chain and rhinestone phone strap so its harder to lose!
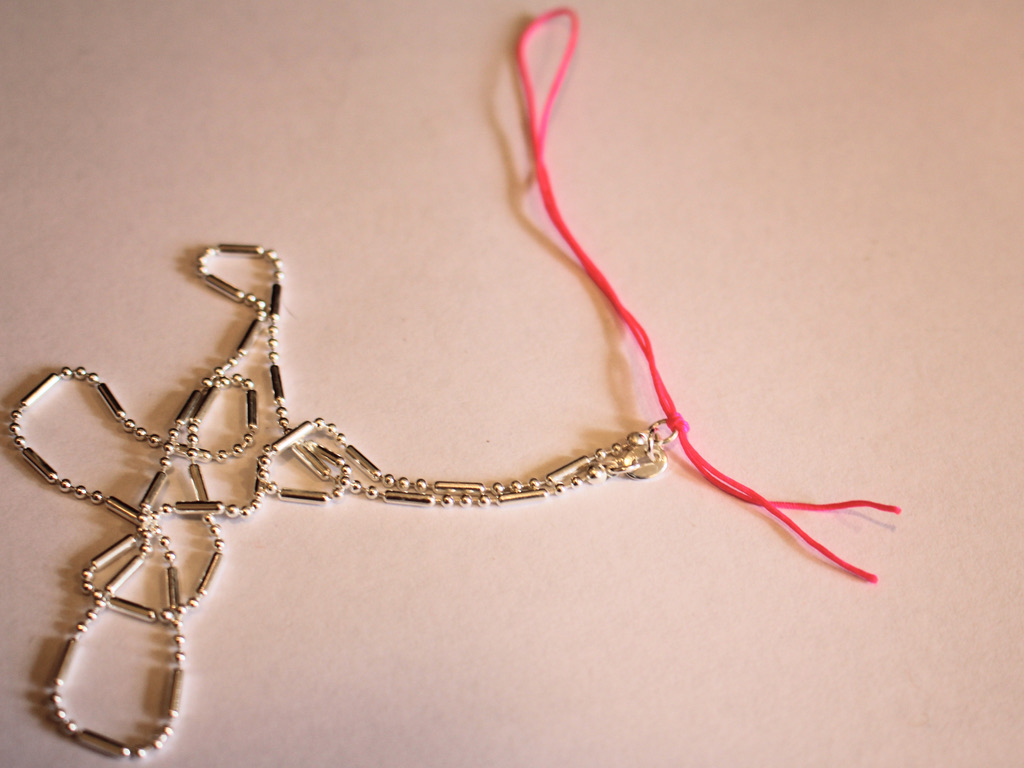
I’m loving making phone straps lately! This one combines a chunky chain with some rhinestone trim to create this double stranded phone strap. I decided to add the extra chain for more strength! Please note that this tutorial contains affiliate links.
You will need the following tools and materials to make this phone strap:
1: Pliers. I used my flat nose pliers, round nose pliers and cutting pliers. I also used scissors to trim my string.


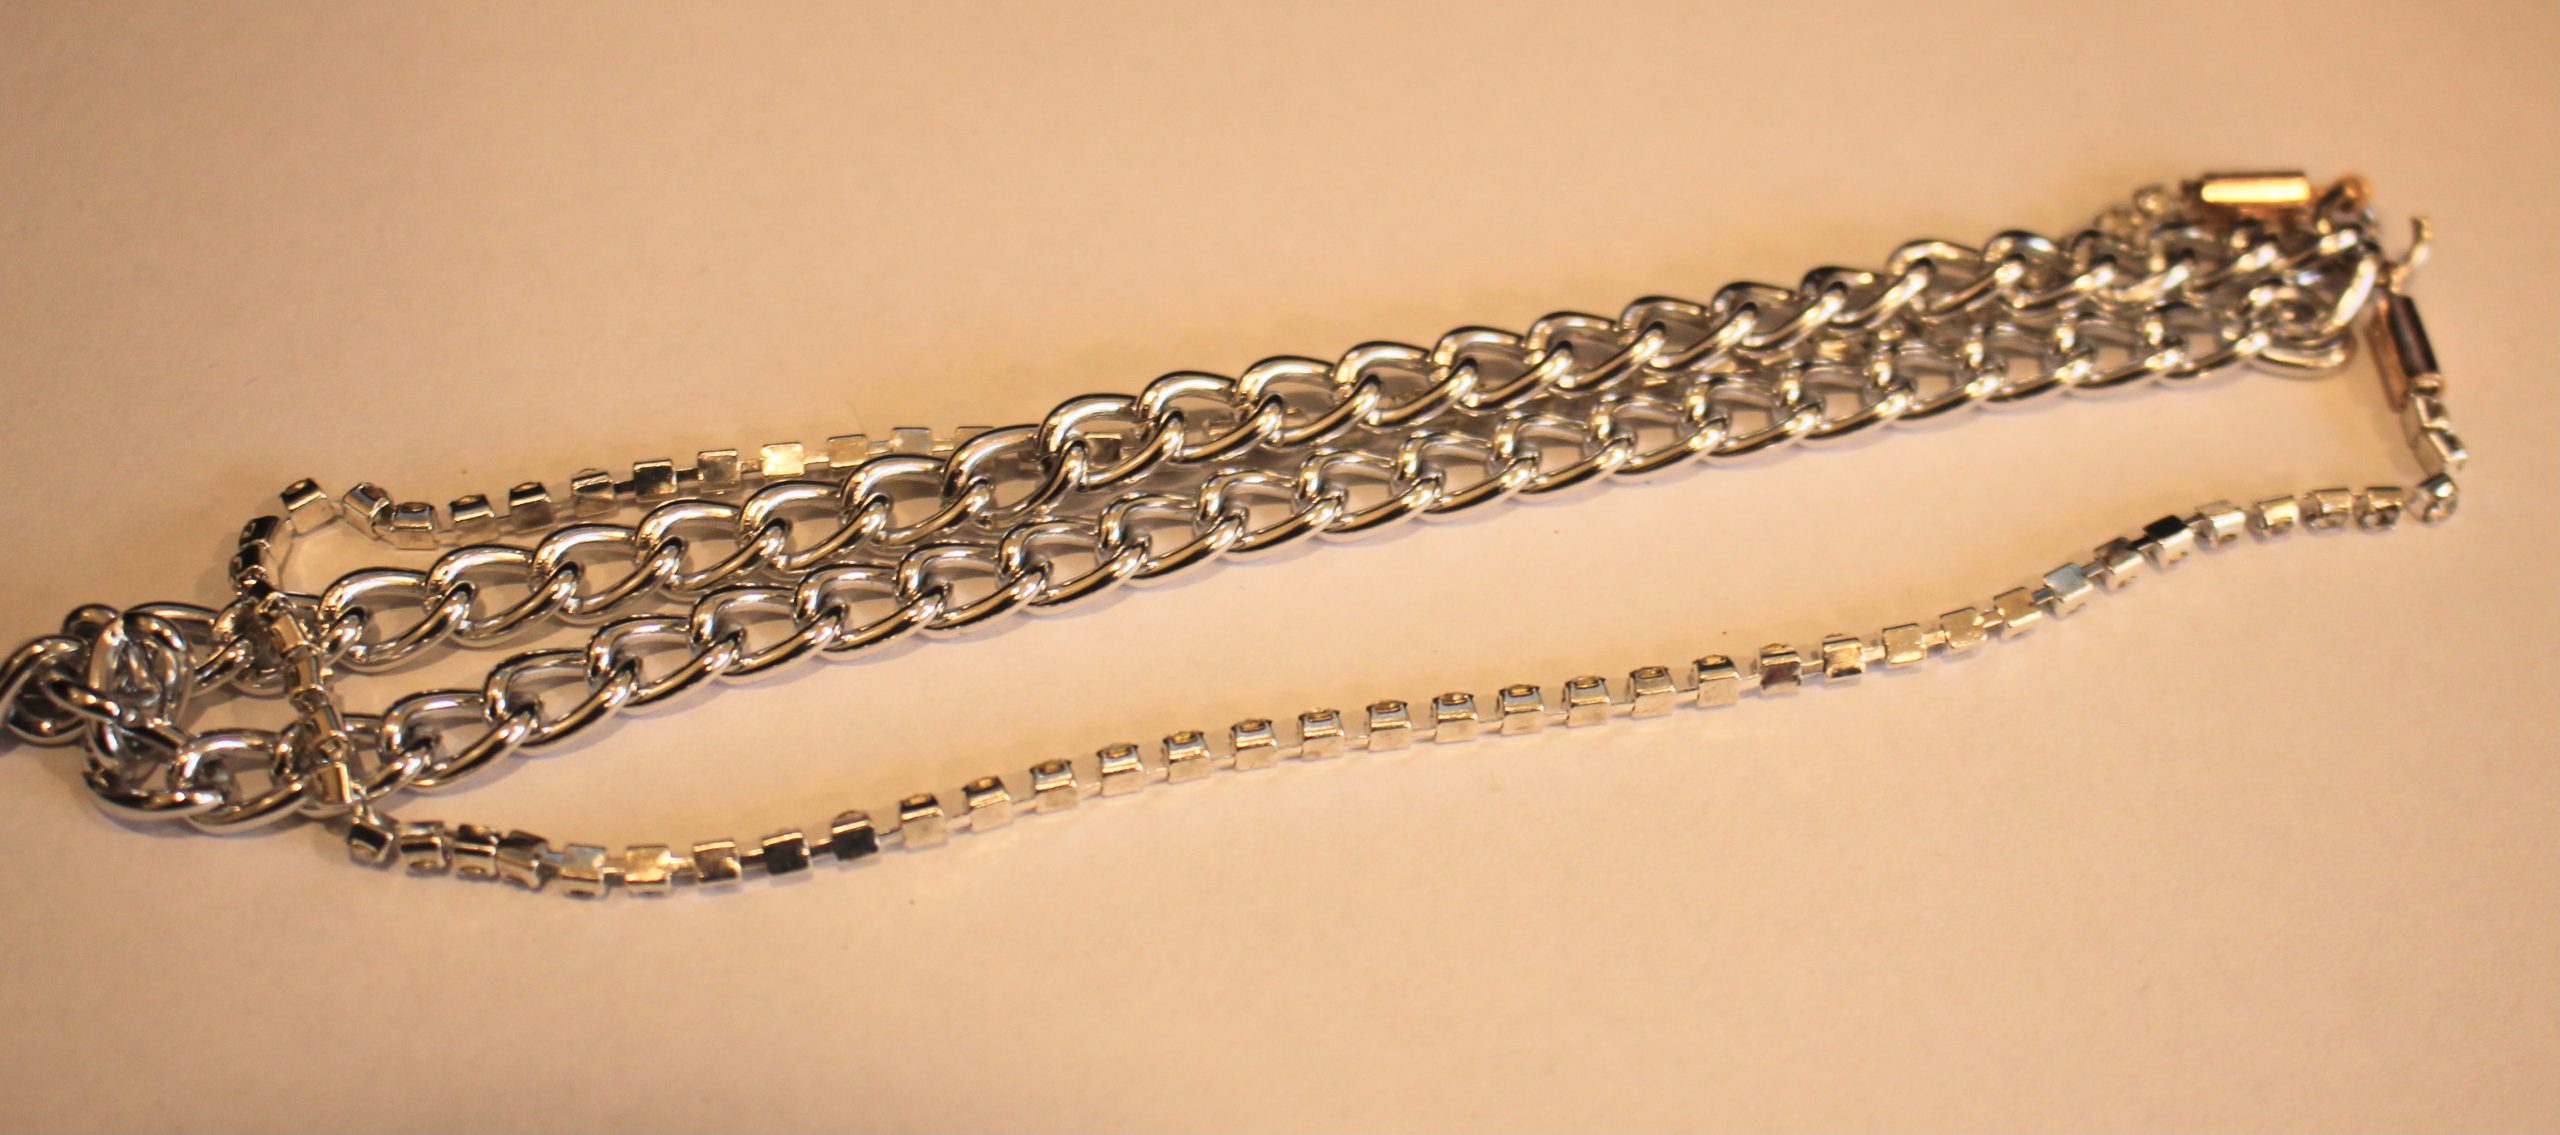
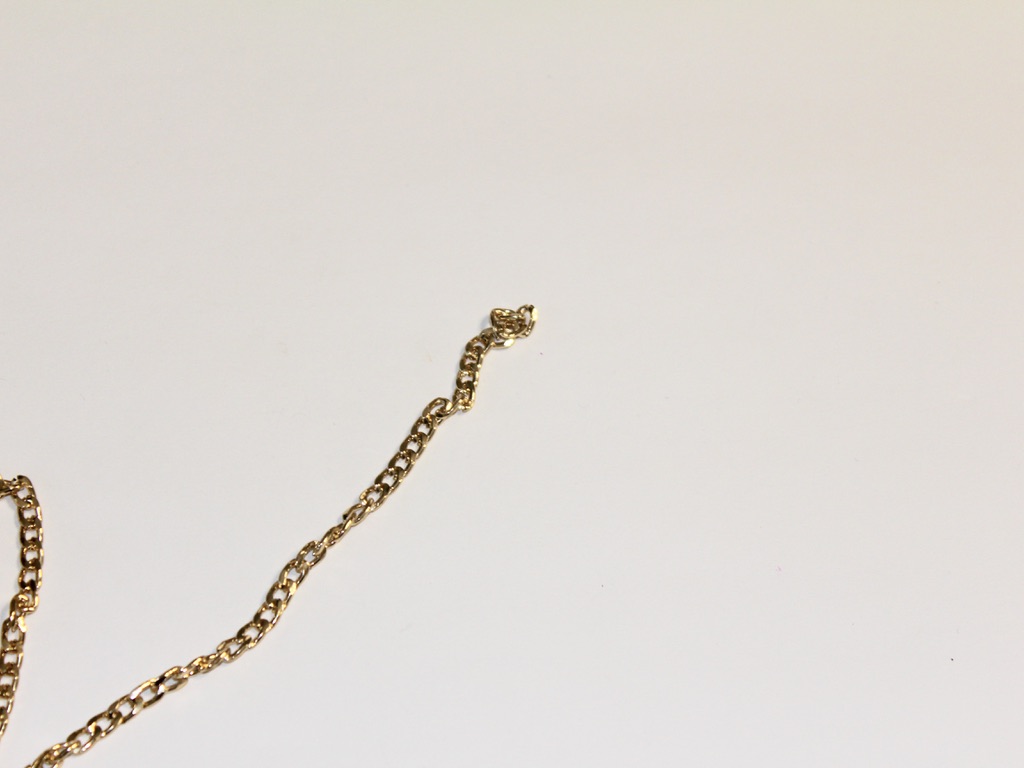
2: A piece of chain about 30cm long. I used this silver tone chunky curb chain.

3: A piece of rhinestone trim about the same length as the chain.

4: Two crimp ends.

5: A large jump ring.

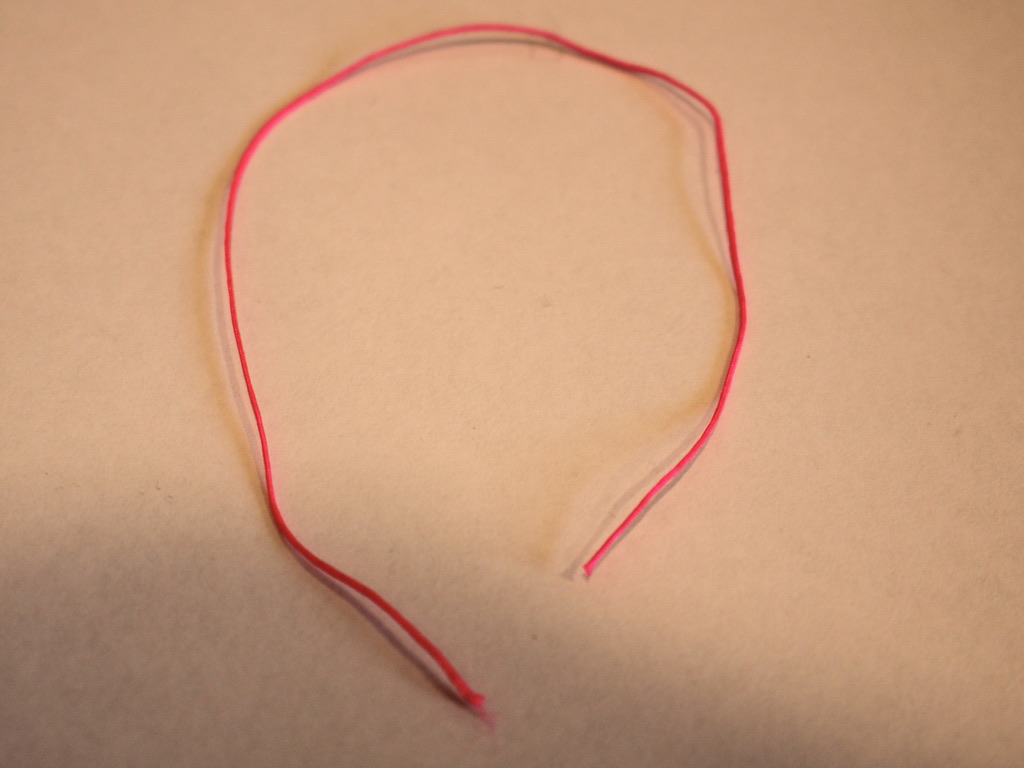
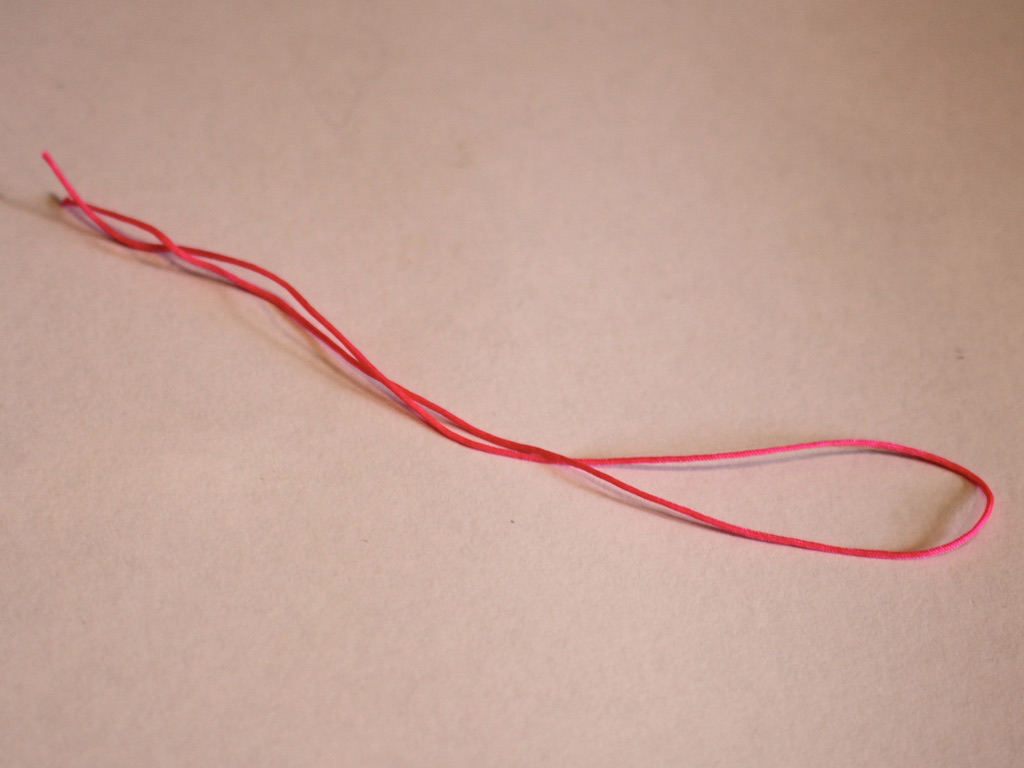
6: A piece of string. I used this hot pink nylon string that I cut to be about 15cm long.
7: Super glue.

Follow these steps to make your rhinestone phone strap:
1: Take one end of the rhinestone strand and place it in one of the crimp ends.

2: Squash one side of the crimp around the end of the rhinestones using the flat nose pliers.

3: Repeat the squeezing of the crimp for the other side, folding it around the end of the rhinestones. Squeeze until the crimp feels securely attached to the rhinestone strand.


4: Repeat steps 2 and 3 for the other end of the rhinestone chain.

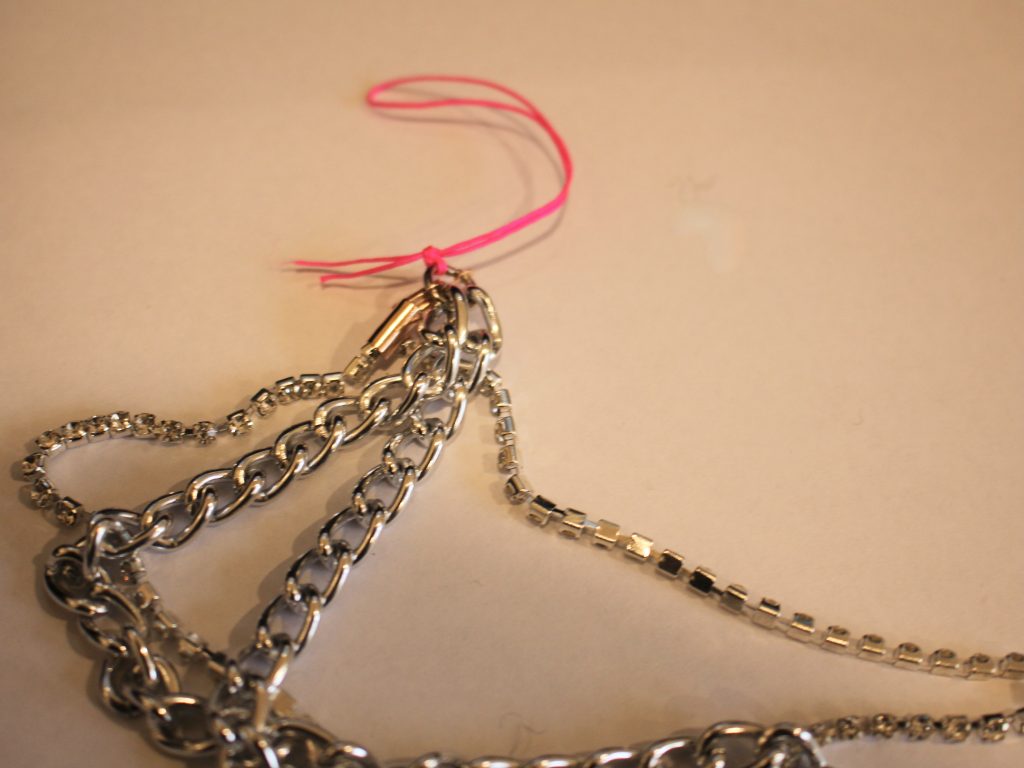
5: Add one end of the chain and rhinestone strand to the jump ring.

6: Add the other end of the chain and rhinestone strand to the jump ring in the same order.

7: Close the jump ring using your pliers.

8: Fold the string in half and tie the open ends around the jump ring, loop and knot it a few times to secure it.


9: Trim the ends of the string.

10: Add a dab of super glue to the ends of the string to secure the knot.

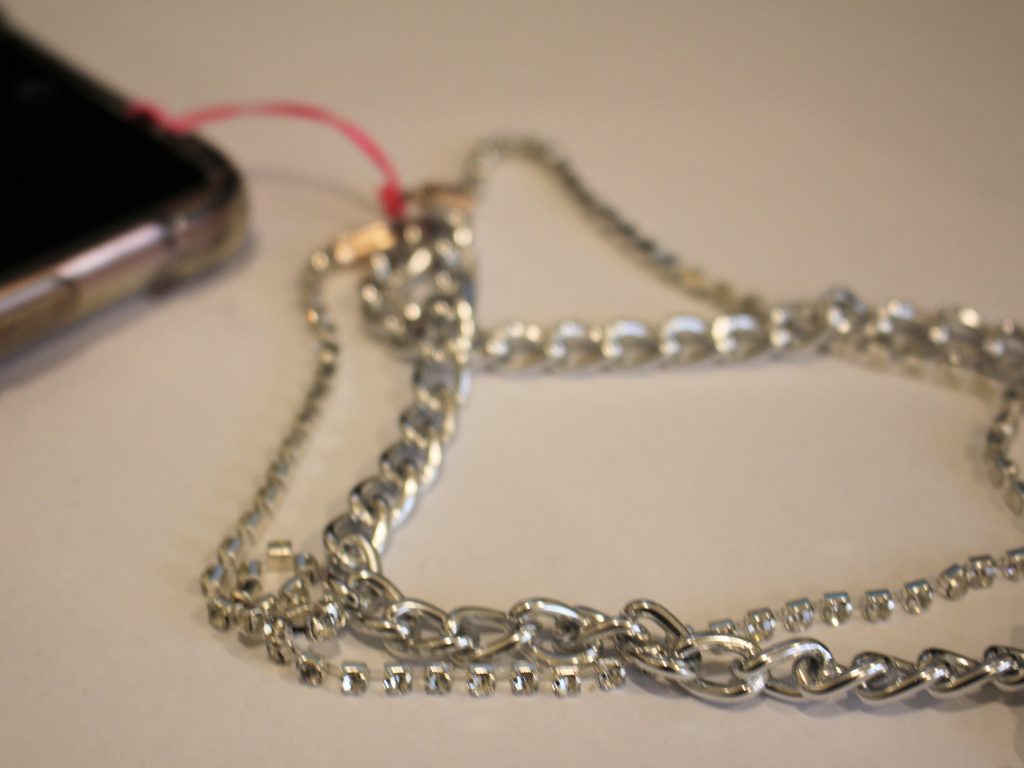
Now your double strand phone strap is finished and ready to pop on your phone. Loop it through on of the holes on your phone case for more phone customisation!


-
Here’s how to turn a necklace into a strap for your electronics!
You never want to lose your gadgets! I love having a wrist strap for my camera, my phone, all sorts of things… If you want a cute new wrist strap for your fave toy, here’s one you can make from an existing necklace chain and a piece of string! Please note that this tutorial contains affiliate links.
You’ll need these tools and materials to make your electronics strap:
1: A necklace chain.

2: A piece of string, I made mine about 25cm long.
3: A pair of scissors for cutting and trimming string.
4: A couple of pairs of pliers to open and close jump rings.

5: Super glue for securing the end of the string.
Follow these steps to make your wrist strap:
1: Open the jump rings on the chain to remove the clasp.

2: Attach the ends of the chains together using the jump rings.

3: Fold the string in half and thread it through one of the jump rings.

4: Tie a knot in the string, leaving a loop on one side.
5: Wind the end of the threads through the jump rings and tie an extra few knots to secure the string to the chain.

6: Trim the excess string.

7: Add a dab of superglue to the end of the string to secure it and stop the knot from unraveling.

Now your wrist strap chain is finished! I added mine to my film camera because I’m a super cool hipster 😉


-
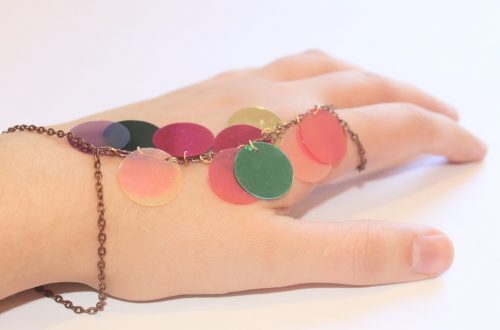
How to make a fun sequinned waist chain! It can also be a sparkly necklace.
This waist chain is so much fun! Attach a rainbow of sequins to your waist length chain for a fun and festive accessory you can add to all your fave outfits! Please note that this tutorial contains affiliate links.
You’ll need the following tools and materials:
1: Pliers. I used my flat nose and round nose pliers for this DIY.
2: A piece of chain long enough to fit around your waist. I used some copper tone rolo chain.

3: A bunch of small jump rings.

4: A bunch of sequins with holes at the top.

5: Two larger jump rings.

6: A lobster clasp.

Here are the steps for making your sequin waist chain:
1: Add one of the larger jump rings to one end of the chain and attach the lobster clasp. Close the ring to secure the clasp in place.


2: Add the other larger jump ring to the other end of the chain.

3: Take a sequin and slide it onto one of the smaller jump rings.

4: Attach the sequin to the chain by sliding the open jump ring onto one of the chain links. Close the jump ring to secure it in place.


5: Continue adding sequins in your chosen pattern as you did in step 4 until the whole chain is sequinned up.

Now your rainbow sequin waist chain is ready to wear! So fun!


Here are some other sequin jewellery tutorials:
-
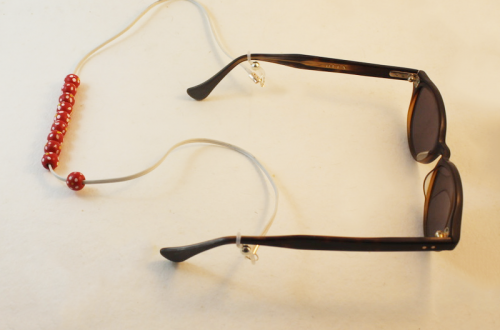
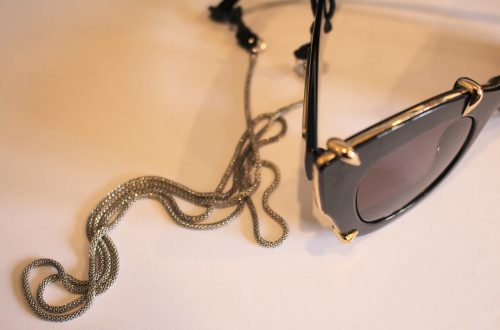
Here’s how to make a 2 in 1 glasses and mask chain.
People are starting to wear masks as part of every day life, if you want to add a bit of your own style to your mask why not make this cute mask chain? Add some glasses holders and you’ve got a piece that works double time! Clip it to your mask or pop it on the arms of your glasses, whatever you like! This tutorial contains affiliate links.
You’ll need the following tools and materials to make your mask/glasses chain:
1: Pliers. I used my flat nose pliers.
2: A ball chain. I used this rose gold-tone ball chain.

3: Two crimp ends. I used these rose gold ones that match my chain.

4: Two large lobster clasps. I used these silver tone ones.

5: Two rubber glasses holders.

6: Two jump rings.

Follow these steps to make your mask/glasses chain:
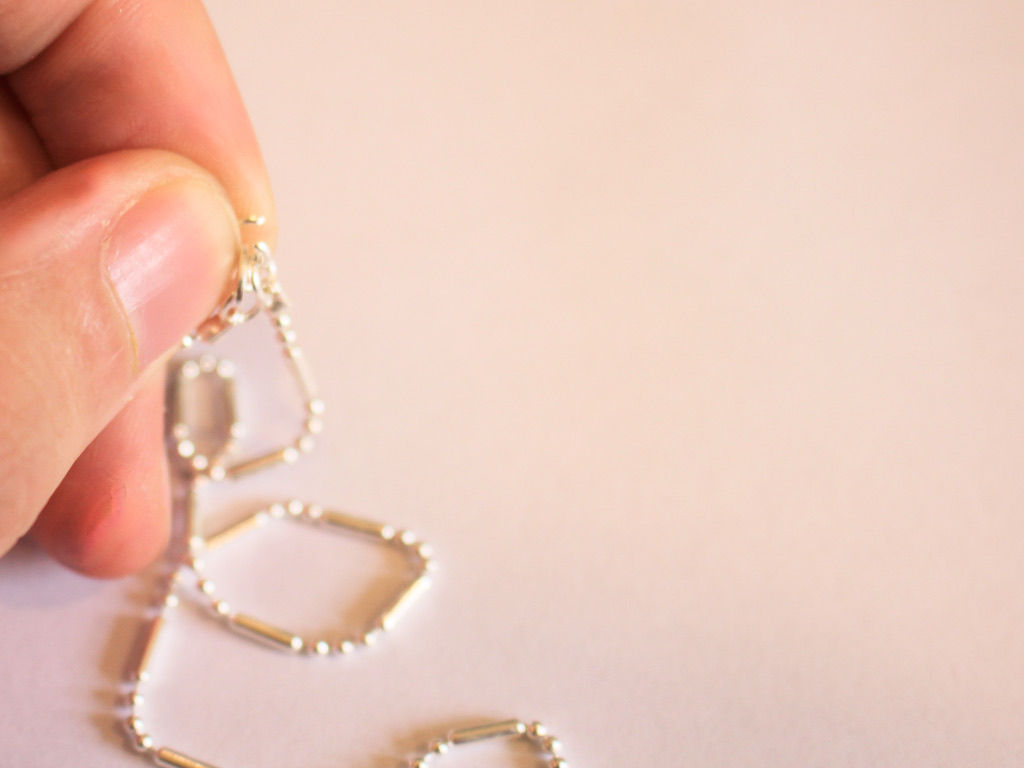
1: Remove the clasp on the ball chain.

2: Add one of the crimp ends to one end of the ball chain.

3: Use the flat nose pliers to carefully close and squash the crimp end around the end of the chain.


4: Repeat steps 2 and 3 for the other end of the chain.

5: Add one of the jump rings to one of the crimp ends.

6: Add one of the clasps and one of the glasses holders to the jump ring.


7: Close the jump ring to secure the clasp and rubber holder in place.

8: Repeat steps 5 to 7 for the other end of the chain to finish it off!

You can use the clasps to attach the chain to your mask or the rubber holders to secure them to your glasses! How good?!

This tutorial contains affiliate links.
Check out some of our other glasses chain tutorials:
-
Want a cute new ring? Here’s a super easy way to make one out of chunky chain.
Are you ready for a super simple DIY? Make this chunky chain ring! I keep reading over and over that chunky chains are trendy right now. This ring tutorial is a fun way to dip your toe into this fun new jewelry trend.
You’ll need just a few tools and materials to make this cool chain ring:Pliers. I used my round nose and flat nose pliers.
1: Pliers. I used my round nose and flat nose pliers.
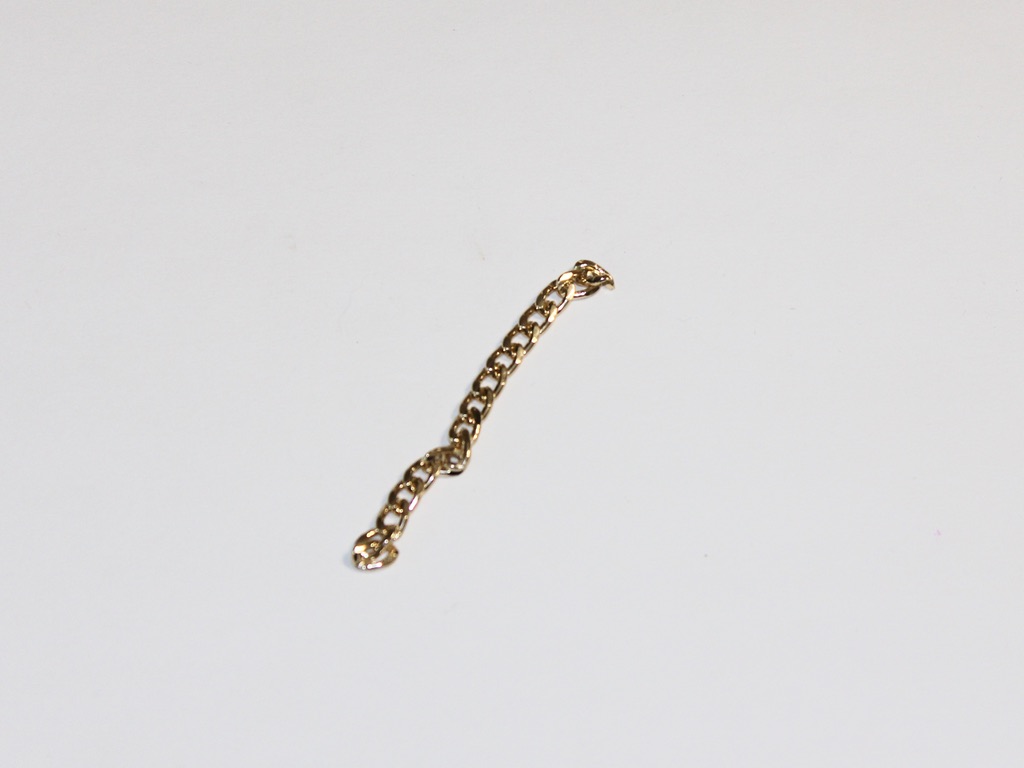
2: Some chunky chain
Now you can make your ring:
1: Wrap the chain around your finger to get the right size.
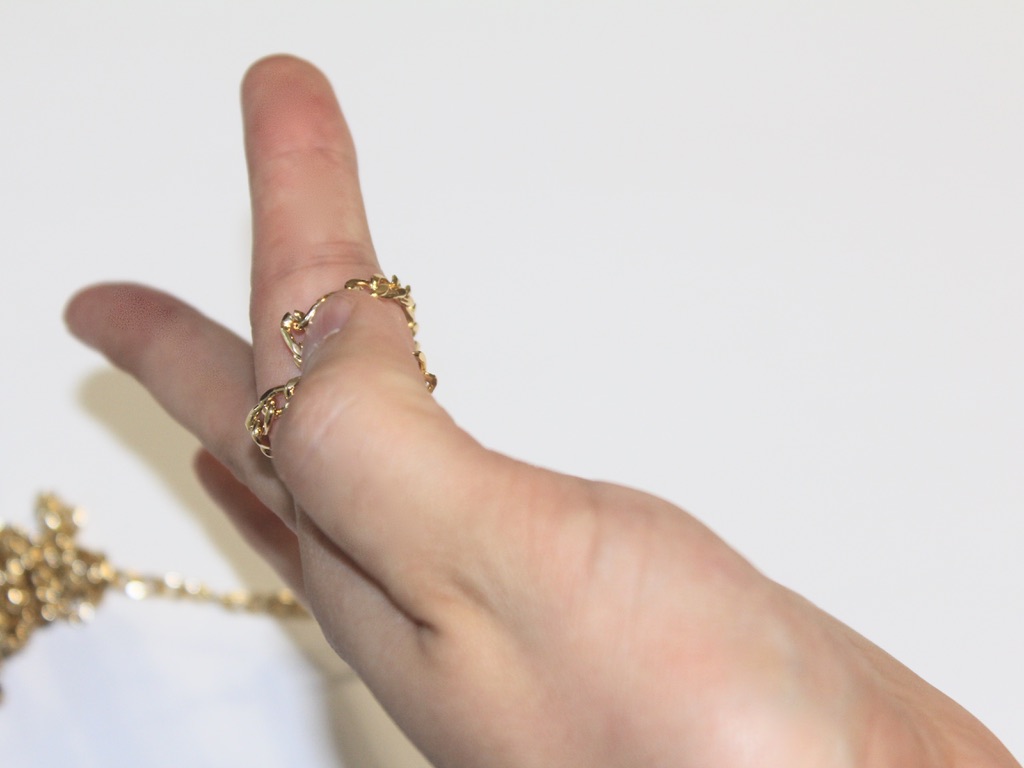
2: Open a link and detatch the short amount of chain that you measured out.
3: Form a loop and put the end link into the open one.
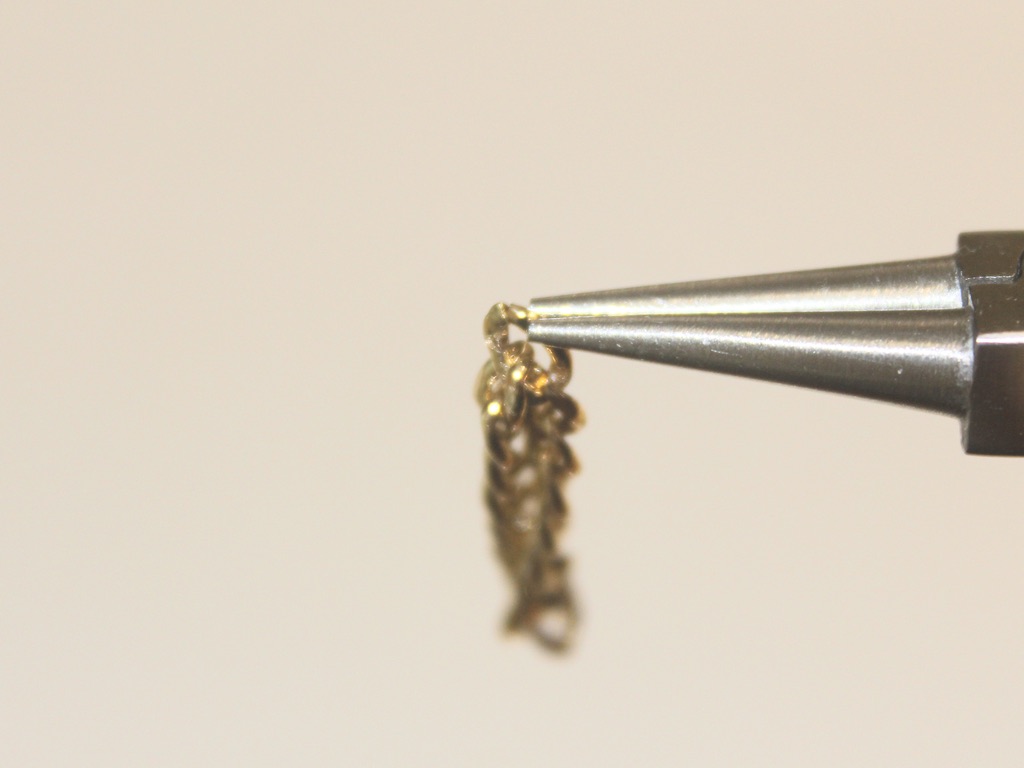
4: Close the link to form a circle.
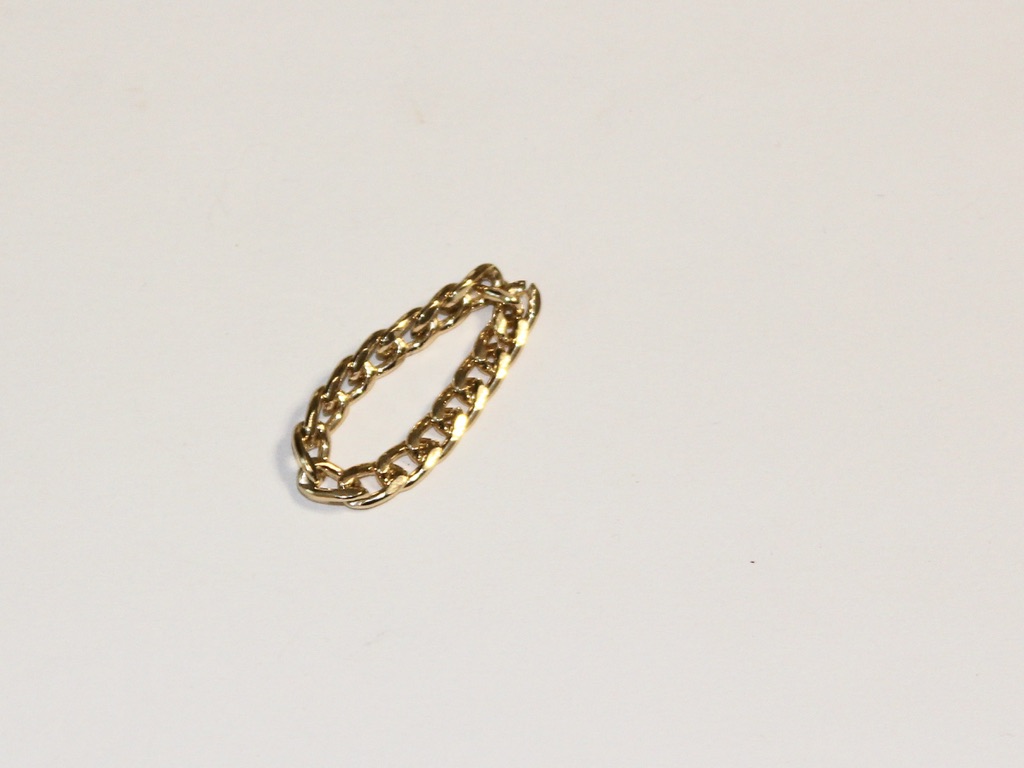
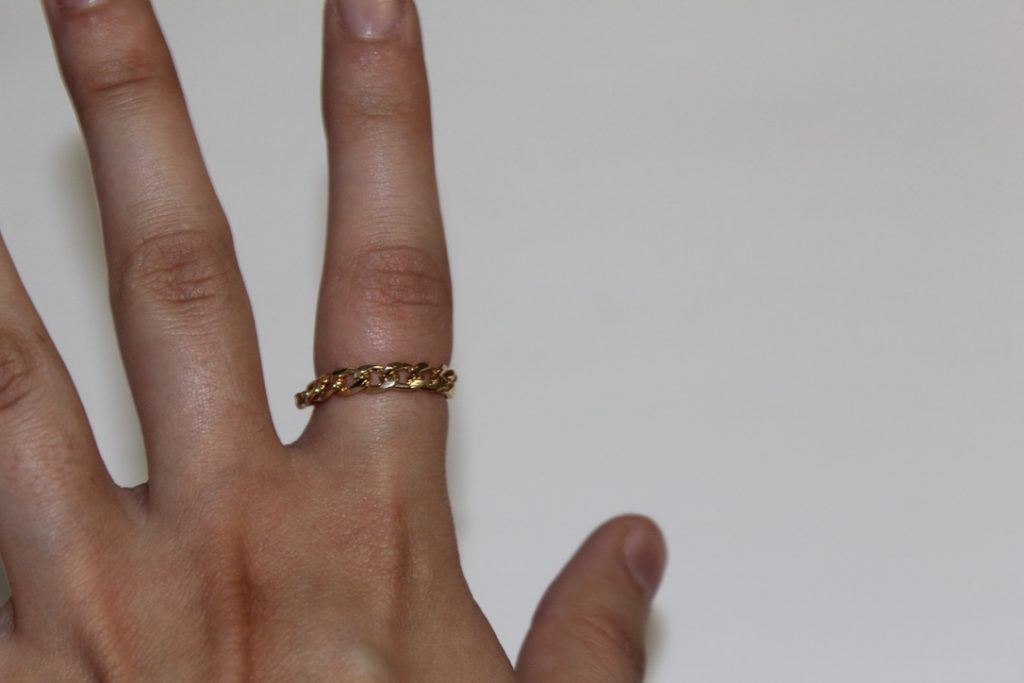
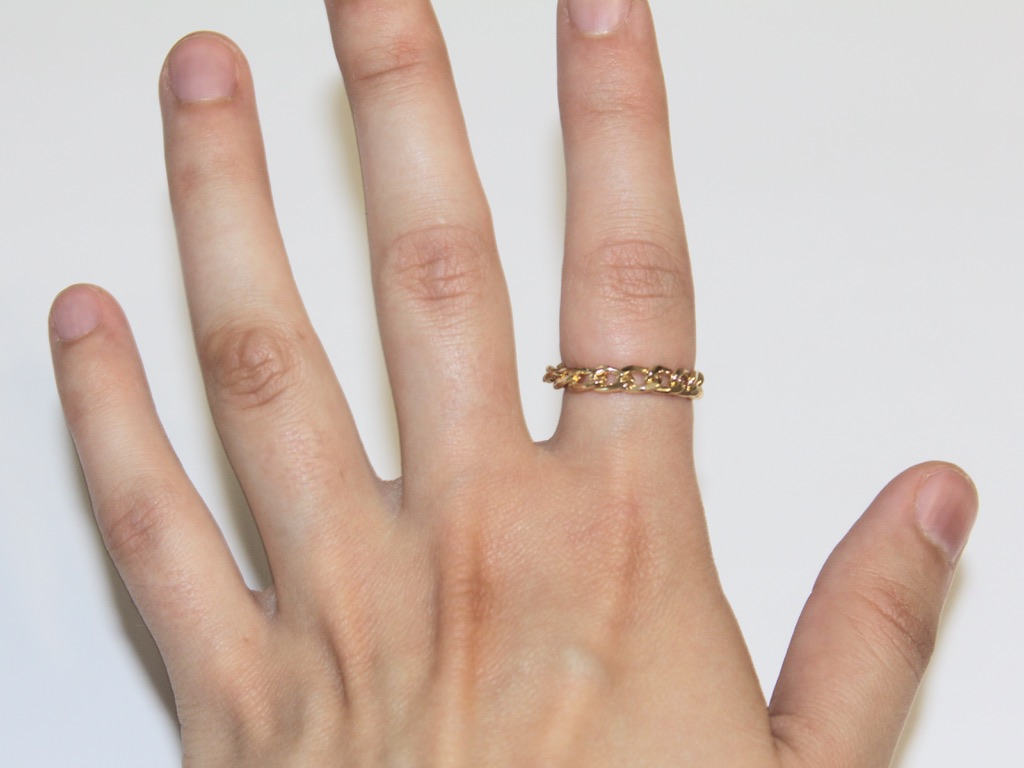
Now your ring is finished! How easy was that?
This tutorial contains affiliate links.
-
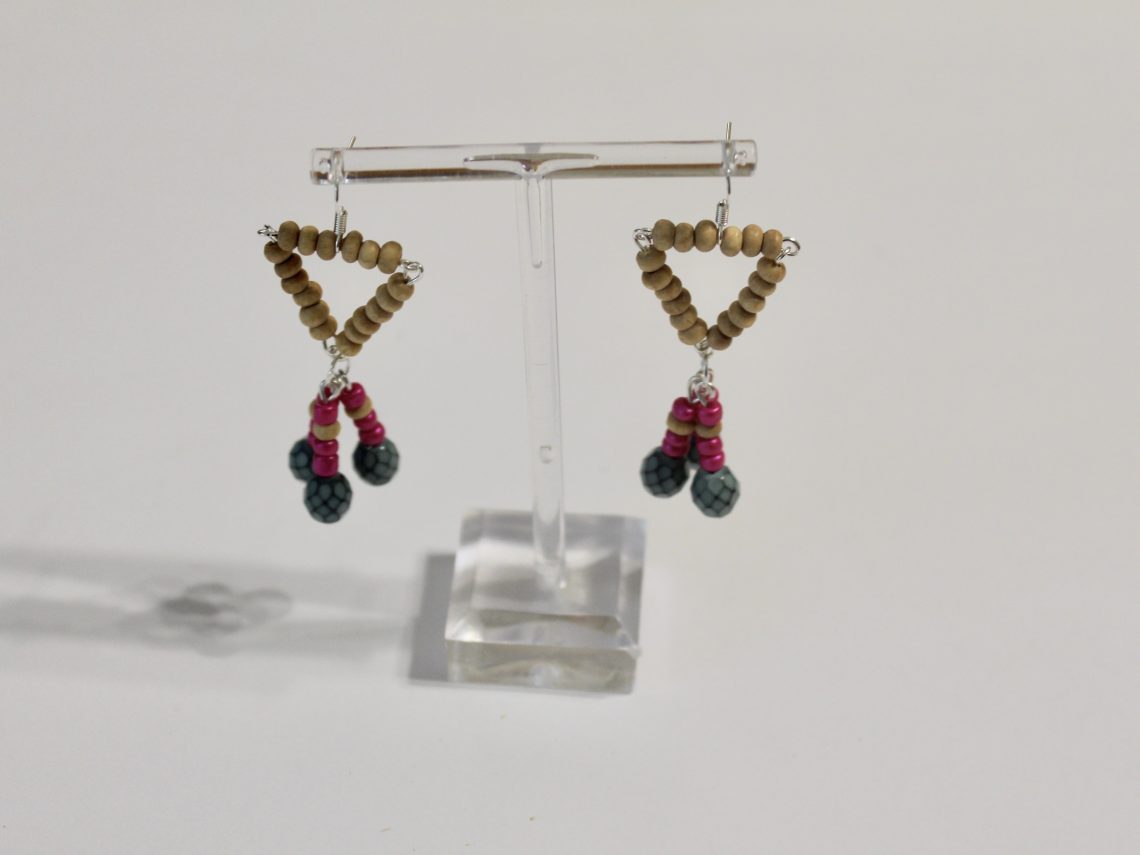
This vid shows you how you can make beaded triangle tassel earrings

This video is a little longer than some of my other video tutorials, but it shows you, in detail, all the steps you need to take to make a cool pair of beaded triangle tassel earrings.
Here are some affiliate links so that you can get all the tools and materials you’ll need to make a similar pair of triangle tassel earrings:
1: Eye pins
2: Earring hooks
3: Head pins
4: Jewelry pliers
5: Wooden beads
6: Pink glass beads
7: Blue faceted beads.
Here are some other tassel earring tutorials:
-
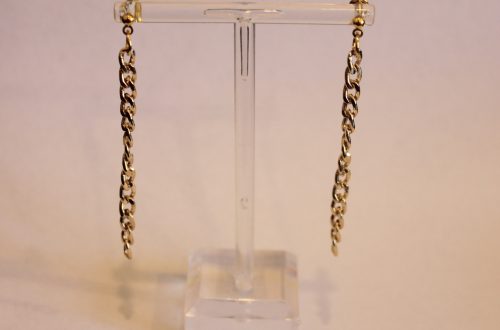
Chunky chains are taking over. Here’s a DIY to get you in on the trend.

Apparently chunky chains are taking over from dainty delicate jewelry. Getting in on this cool new trend is super easy… here’s how to make your own chunky chain necklace.
You will need the following tools and materials to make your chunky chain necklace:
1: Pliers. You’ll need your round nose and flat nose pliers.
2: A chunky chain long in a length of your choice. I used this lightweight silver chain and made it choker length (fitting closely around the neck).

3: Two jump rings.

4: A lobster clasp.

Follow these steps to make your chunky chain necklace:
1: Add one of the jump rings to one end of the chain. Close it to secure it in place.


2: Add the other jump ring to the other end of the necklace.

3: Add the lobster clasp to the open jump ring.

4: Close the jump ring to secure the clasp in place and finish your necklace.

IT IS THAT SIMPLE! Now your chunky chain necklace is ready to wear!

-
Here’s how you can update your old ugly headbands… With Rhinestones!

Do you need something fun to add to your festive outfits? This embellished headband is for you! If you’ve got an old ugly headband lying around this tutorial shows you the perfect way to jazz it up. Contains affiliate links.
You will need the following tools and materials to make this headband:
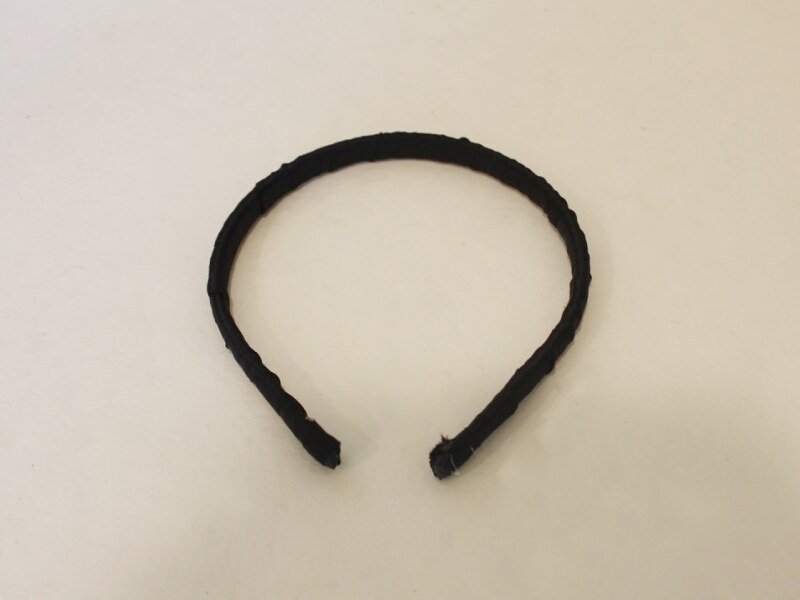
1: A headband. I used this old headband I had lying around at home.

2: Some ribbon.

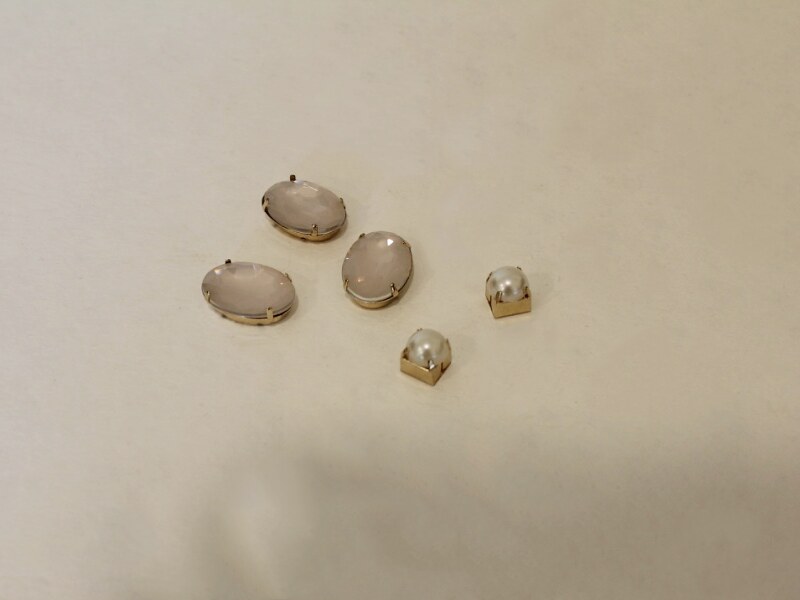
3: Rhinestones.
4: A hot glue gun and glue sticks.

5: Scissors.
Follow these steps to make your headband:
1: Add some glue to the inside of the headband with the glue gun.

2: Stick on end of the ribbon to the glue, being careful not to burn yourself as the glue will be hot.

3: Begin wrapping the ribbon tightly around the headband. Overlapping the ribbon to ensure that the headband is completely covered.

4: Continue wrapping the headband until you reach the other end.
5: Add more glue to the other end of the headband and place the ribbon over it to secure the end.


6: Use the scissors to trim the excess ribbon.

7: Add some glue to the top of the headband where you want your embellishment to sit, I mine slightly off center.

8: Place the first rhinestone onto the glue.

9: Repeat steps 7 and 8 for the remaining rhinestones until you are happy with your embellishments.
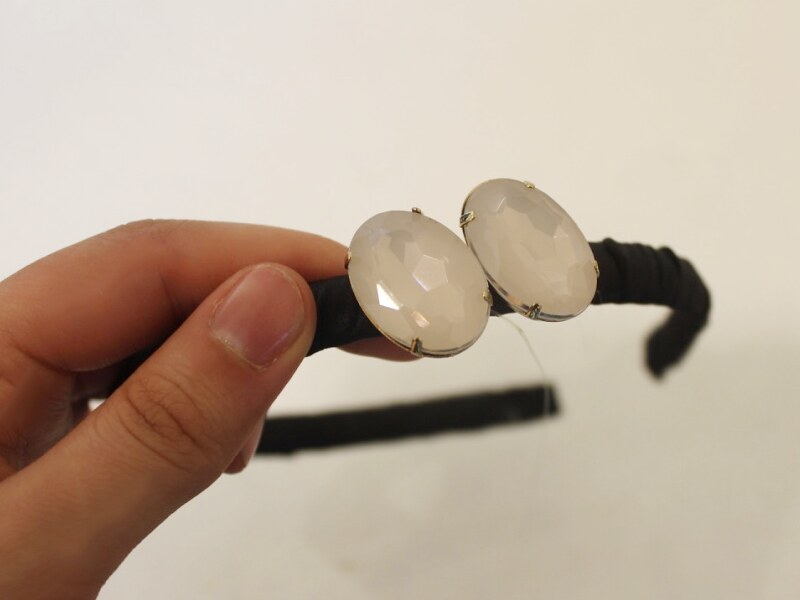


Once all your rhinestones are in place your headband is finished. Wait for the glue to dry and trim any of the excess glue strings before you pop it on!

-
Want To Give Your Hairdos a Revamp? Decorate Your Hair Clips For an Easy Update!

Sometimes your go-to hairstyle doesn’t cut it, so here’s an easy way you can jazz up the old favorites! This DIY couldn’t be easier! This could also be a fun way to make presents for kids.
You will need the following tools and materials to make this hair clip:
1: Araldite glue.

2: A piece of scrap paper.

3: A skewer.

4: A hair clip. I used an old one I had lying around.

5: A flat backed charm. I used this glittery resin charm.

Follow these steps to decorate your hair clip:
1: Squeeze the glue out in equal parts onto the scrap paper.


2: Mix the glue using the skewer.

3: Add glue to the back of the charm using the skewer.

4: Add glue to the front of the clip using the skewer.

5: Add the pieces together.

6: Leave the pieces to dry, checking on it occasionally to make sure that the charm doesn’t slide out of place.

Once the hair clip is dry it is ready to wear!