googlea7fe66ce5e35c83b.html gtag('config', 'UA-139427764-1')
finished earrings
How to Make Earrings

Here’s how to make some statement beaded earrings. These babies are special!

Do you love statement earrings? These statement earrings feature some gorgeous beads and some clever wire work to make a cute pair of bold earrings to wear on your next outing. Please note that this tutorial contains affiliate links.

You’ll need these tools and materials to make these earrings:

1: Two pieces of tiger tail wire about 20cm long.

two pieces of wire

https://ebay.us/LajZm2

https://amzn.to/3OszEnr

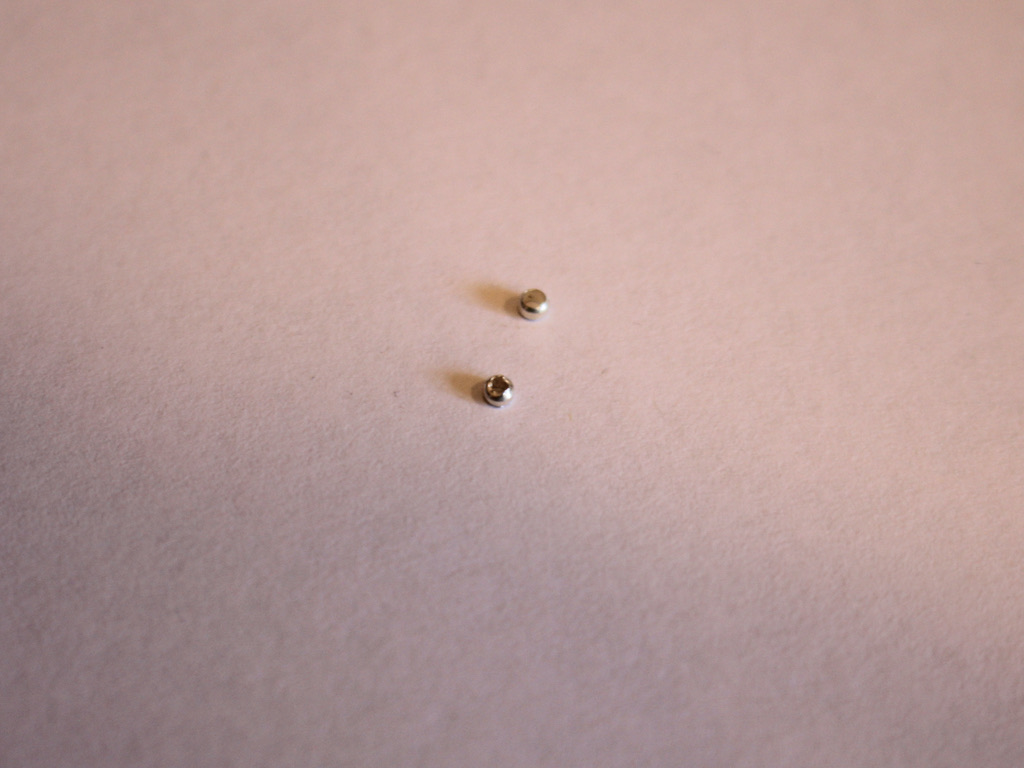
2: Two crimp beads.

two crimp beads

https://amzn.to/3QVlpJu

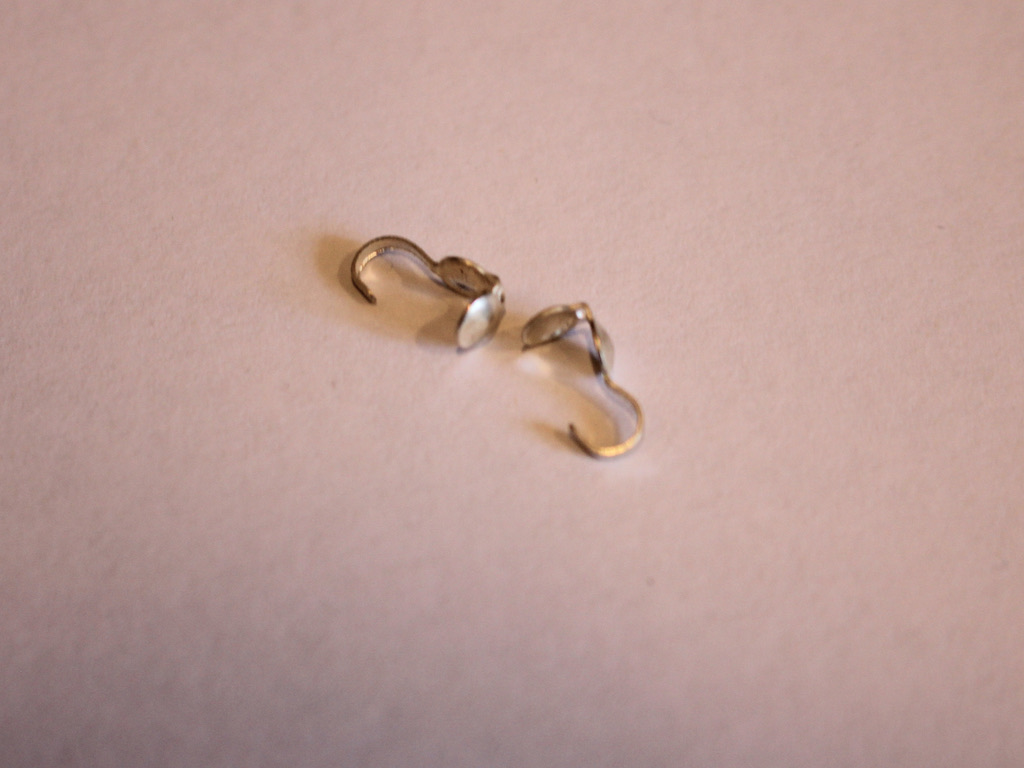
3: Two crimp cover ends.

crimp covers

https://www.awin1.com/cread.php?awinmid=10781&awinaffid=1029234&ued=https%3A%2F%2Fwww.etsy.com%2Fau%2Flisting%2F984574185%2Fsterling-silver-clam-shell-bead-tips-4mm%3Fga_order%3Dmost_relevant%26ga_search_type%3Dall%26ga_view_type%3Dgallery%26ga_search_query%3Dsterling%2Bsilver%2Bcrimp%2Bcovers%26ref%3Dsr_gallery-1-27%26cns%3D1%26sts%3D1%26organic_search_click%3D1

4: A pair of earring hooks.

two earring hooks

https://www.awin1.com/cread.php?awinmid=10781&awinaffid=1029234&ued=https%3A%2F%2Fwww.etsy.com%2Fau%2Flisting%2F243453492%2Fsterling-silver-hook-earrings-ear-wires%3Fga_order%3Dmost_relevant%26ga_search_type%3Dall%26ga_view_type%3Dgallery%26ga_search_query%3Dsterling%2Bsilver%2Bearring%2Bhooks%26ref%3Dsc_gallery-1-5%26pop%3D1%26sts%3D1%26plkey%3Deab92cb1219e8cf370cda819fb115d37e6faab04%253A243453492

https://amzn.to/3u5Ywcg

5: Pliers. I used my flat nose, cutting and round nose pliers.

Cutting pliers, round nose pliers and flat nose pliers

https://amzn.to/3NkxKE0

6: Beads. I used some resin cube beads, some handmade polymer clay beads (tutorial for these here), and some timber beads.

two cube beads

https://www.awin1.com/cread.php?awinmid=10781&awinaffid=1029234&ued=https%3A%2F%2Fwww.etsy.com%2Fau%2Flisting%2F878217858%2F1-x-bag-of-30-mixed-colour-cube-square%3Fga_order%3Dmost_relevant%26ga_search_type%3Dall%26ga_view_type%3Dgallery%26ga_search_query%3Dresin%2Bcube%2Bbeads%26ref%3Dsr_gallery-1-1%26organic_search_click%3D1

https://www.ebay.com.au/itm/371012862351?hash=item566217018f:g:AAwAAOSw-vlVkj1B&mkcid=1&mkrid=705-53470-19255-0&siteid=15&campid=5338932945&customid=5338932945&toolid=10001&mkevt=1

two blue polymer clay beads

https://amzn.to/3A9SqM4

https://ebay.us/iEDcbF

timber beads

https://www.awin1.com/cread.php?awinmid=10781&awinaffid=1029234&ued=https%3A%2F%2Fwww.etsy.com%2Fau%2Flisting%2F757904417%2F250-pieces-natural-unfinished-wooden%3Fga_order%3Dmost_relevant%26ga_search_type%3Dall%26ga_view_type%3Dgallery%26ga_search_query%3Dsmall%2Btimber%2Bbeads%26ref%3Dsr_gallery-1-11%26organic_search_click%3D1

Follow these steps to make your statement earrings:

1: Add one of the cube beads to the middle of the wire.
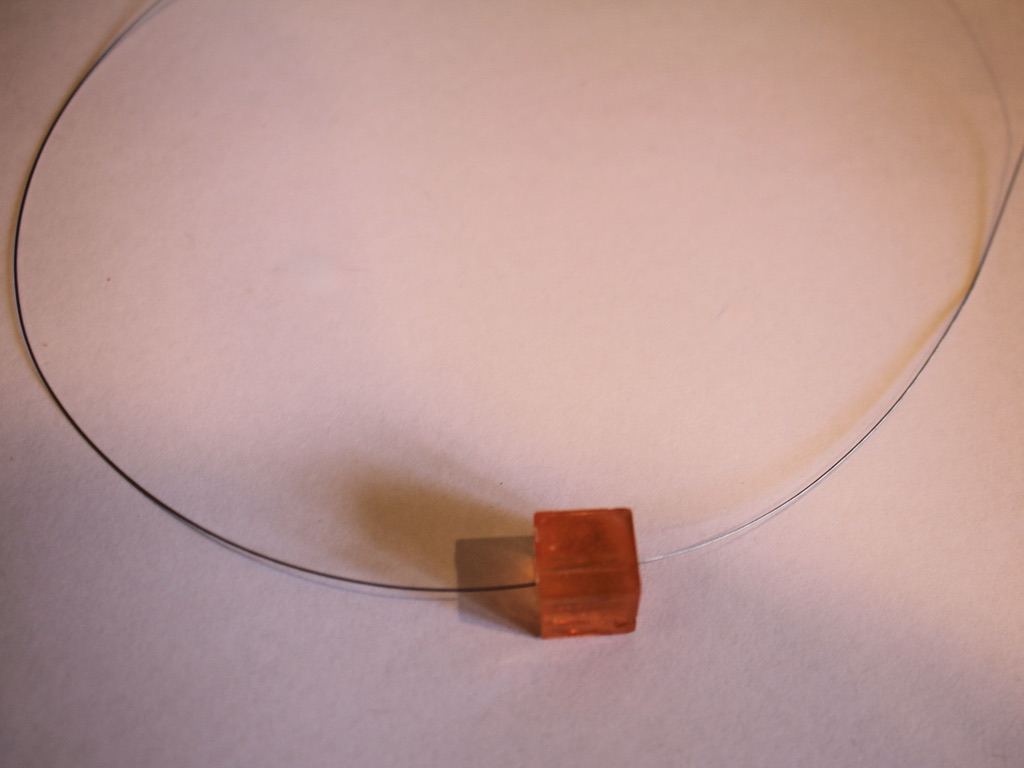
first bead added to wire

2: Add the smaller timber beads either side of the cube bead, I added 10 to each side, but you can add more or less depending on the size of the beads you are using. You’ll want to get a circle about 2.5cm in diameter.

beads added to either side of centre beads

3: Add one of the polymer clay beads to one side of the wire.
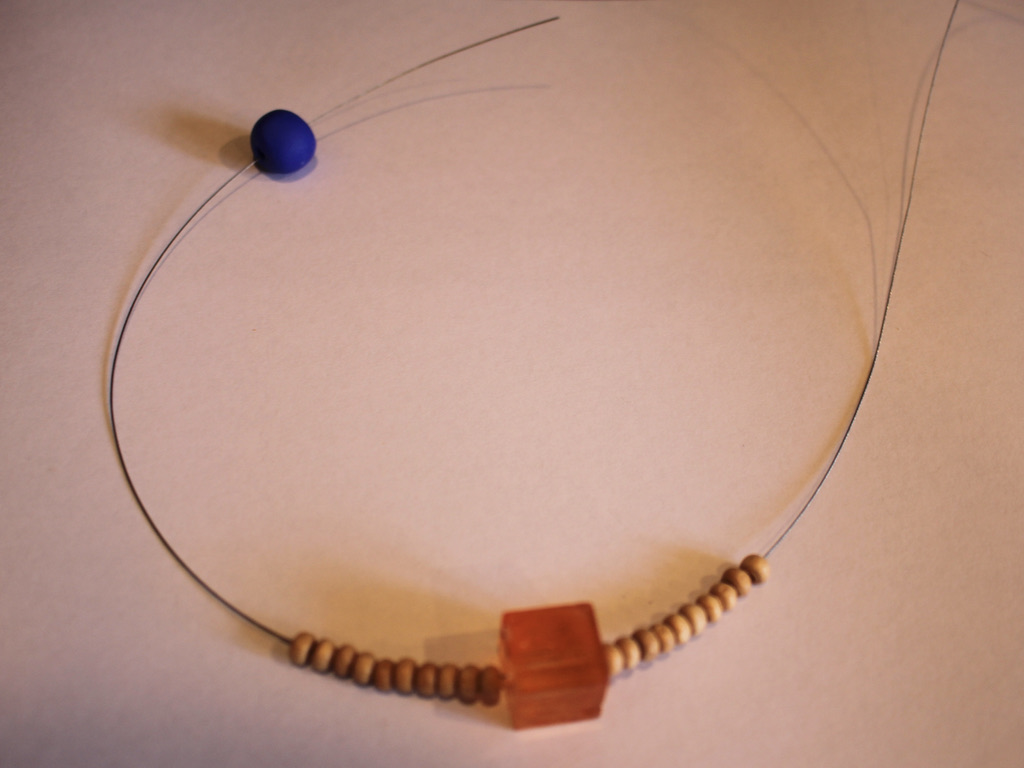
adding the top bead to wire

4: Thread the other side of the wire through the polymer clay bead to create a loop.

looping both ends through the top bead
one looped formed

5: Add another four beads to each end of the wire.

adding extra beads to the top

6: Add the crimp cover to the two wires held together.

7: Keeping the crimp cover open, add a crimp bead to the wire.

8: Squash the crimp bead using flat nose pliers.

squashing crimp

9: Trim the excess wire.

trimming excess wire
crimp before squashing

10: Squash the crimp cover around the crimp bead using the flat nose pliers.

squashing crimp cover
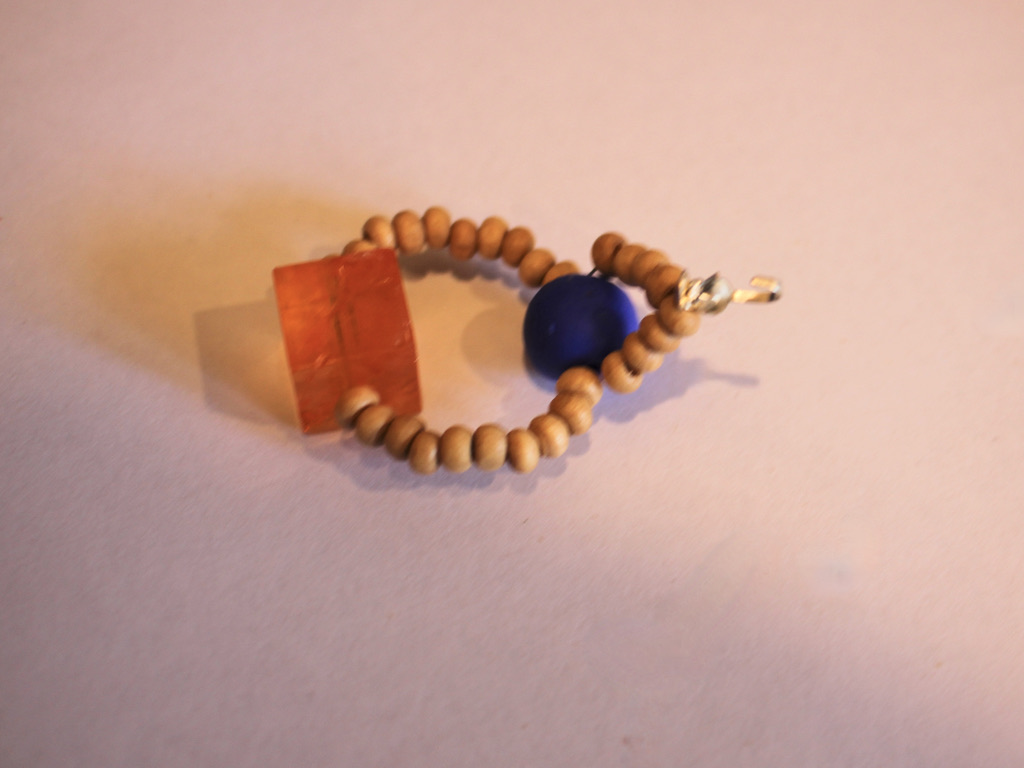
one earring before crimp cover is closed

11: Use the wire at the end of the crimp cover to create a loop, thread on an earring hook and close it to secure the earring to the beaded design.
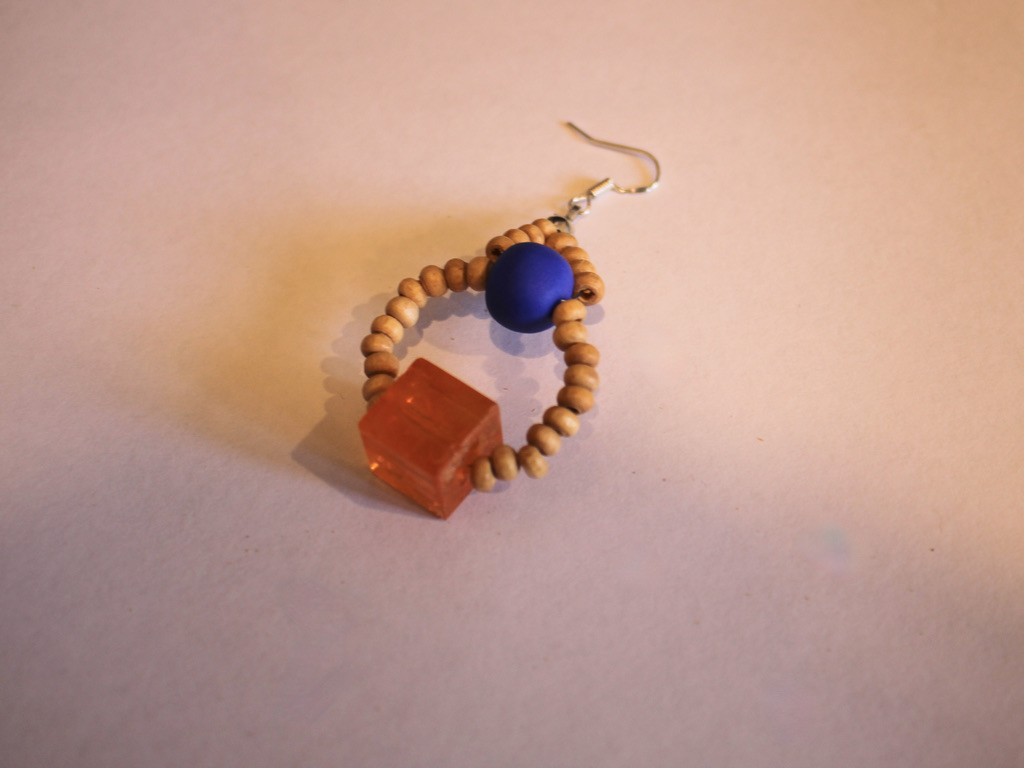
one finished earring

12: Repeat steps 1-11 for the second earring.
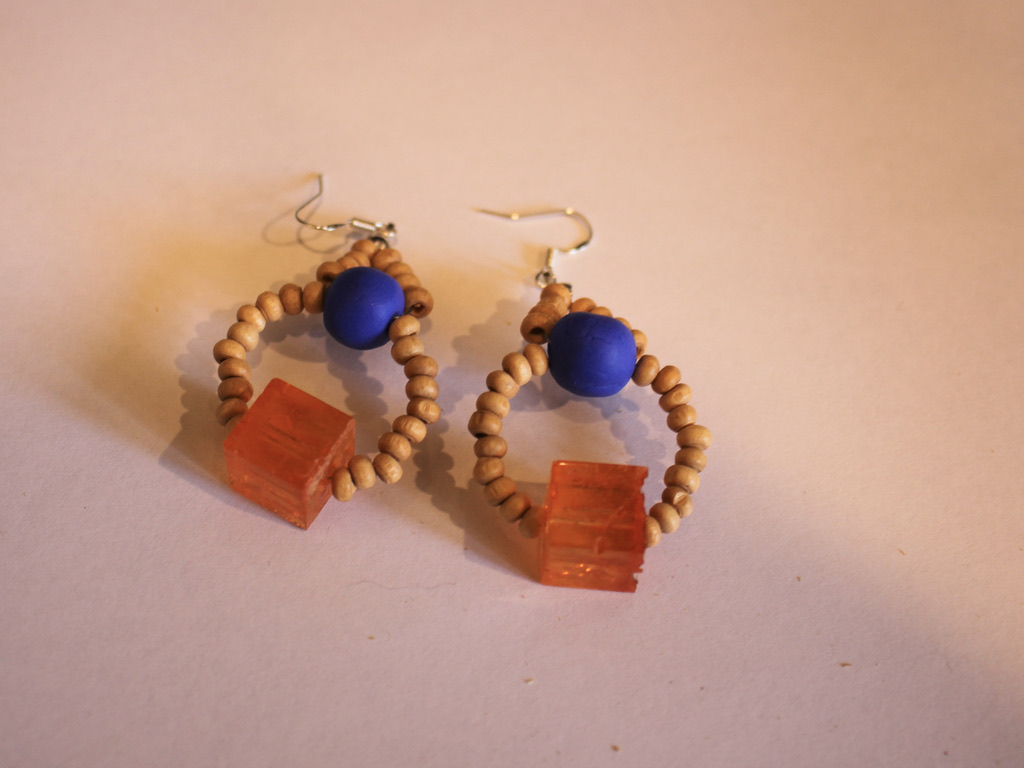
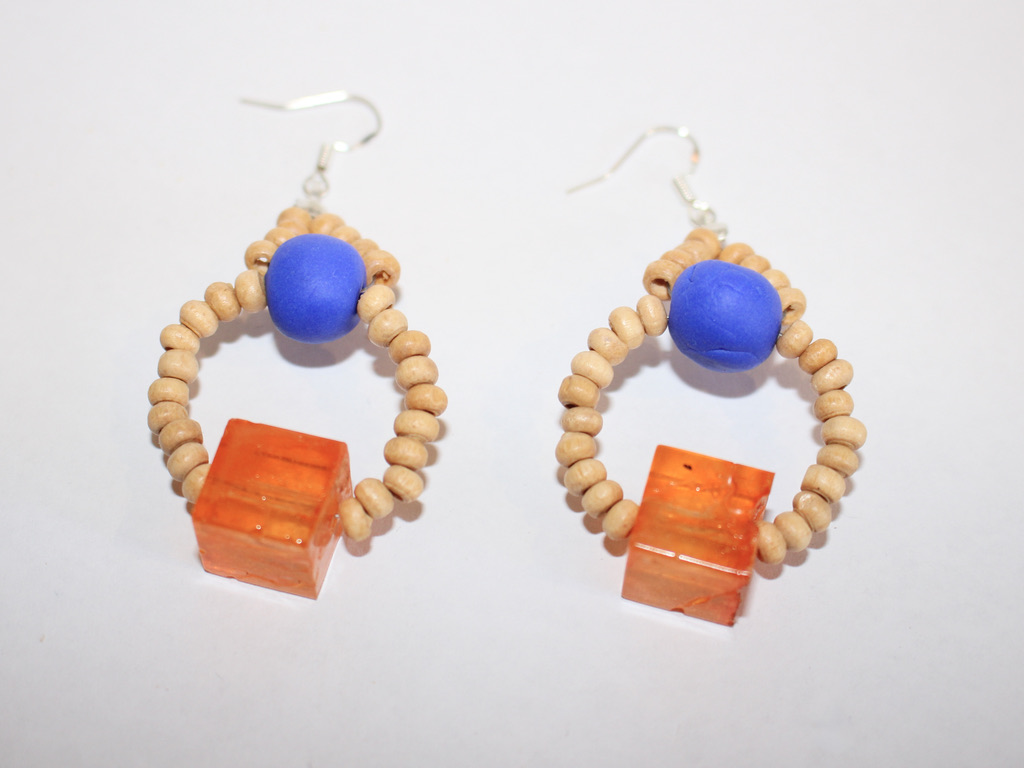
finished earrings

Now your beaded statement earrings are complete and ready to wear!

finished earrings
finished statement earrings
finished earrings

Welcome to DIY Jewelry Hub. If you’ve ever wanted to learn how to make your own jewelry this is the place to start! Jewelry is a great way to show off your individuality and style. You’ll be surprised at how easy it is to create your own unique pieces! DIY Jewelry Hub will equip you with all the knowledge and inspiration you need to make your own jewelry.

Leave a Reply

Your email address will not be published. Required fields are marked *

This website uses Google Analytics software. You can opt out via this link. Click here to opt-out.