-
Here’s a wild beaded anklet that can also be worn as a shoe chain!
I love jewelry that can be worn multiple ways, so I created a tutorial that shows you how to make a beaded shoe chain that can also be worn as an anklet! It features clasps on either end so that it can be clipped to your shoelaces as a shoe decoration, or to each other to create an anklet effect. Please note that this tutorial contains affiliate links. Here’s a fun detail. This tutorial makes use of beads I made in this tutorial… so if you follow both you can have a completely custom piece of jewelry!
You’ll need these tools and materials to make this multi-use shoe chain/anklet:
1: Some beading thread, I used this hot pink nylon string. Make it long enough to fit your ankle plus a bit extra.

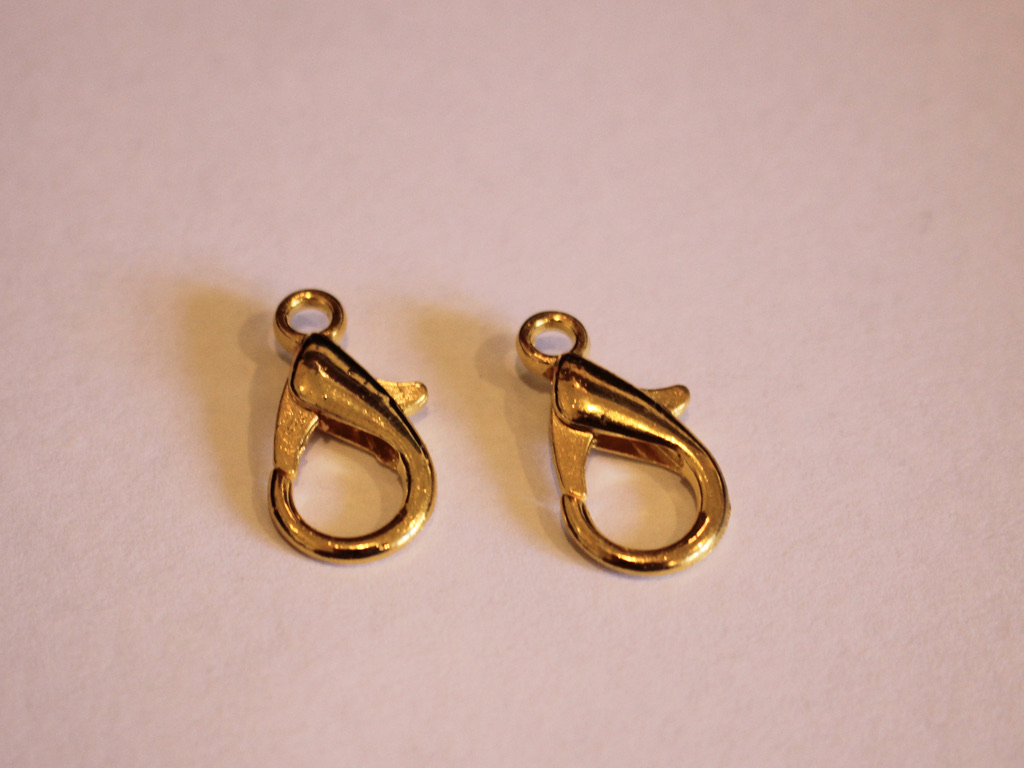
2: A pair of large clasps. I used these gold-tone clasps.
3: A selection of beads. I used a mixture of handmade resin and polymer clay beads, and other plastic beads.

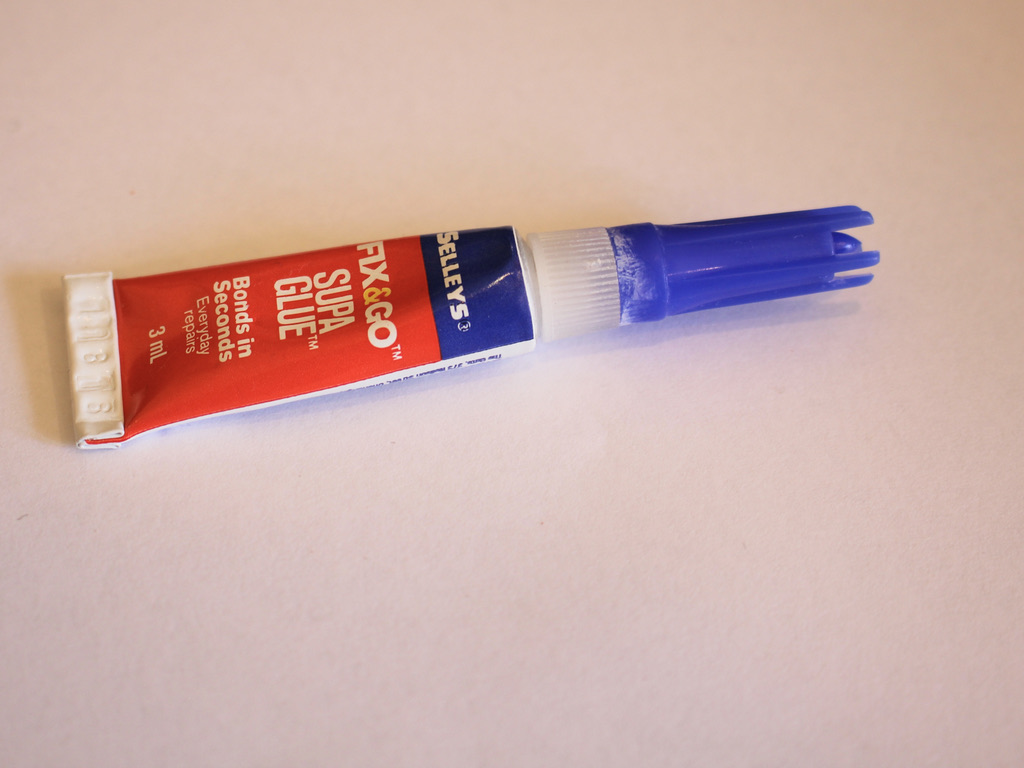
4: Super glue for securing the knots.
5: Some scissors for trimming the string.

Follow these steps to make your multi-purpose anklet shoe chain:
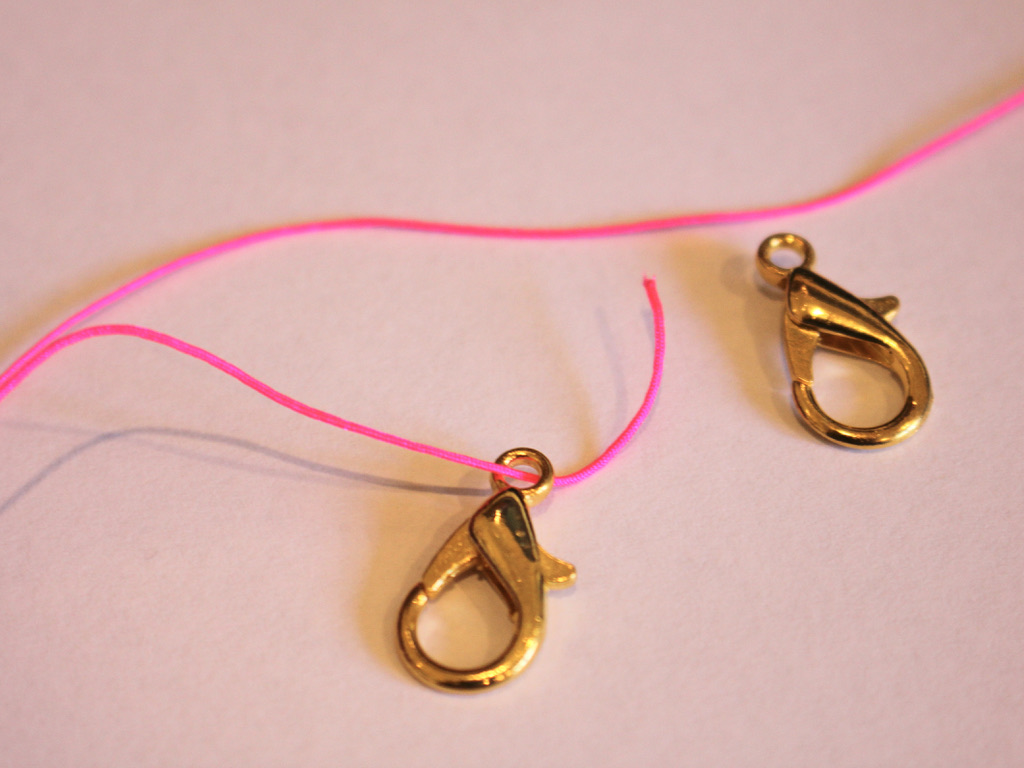
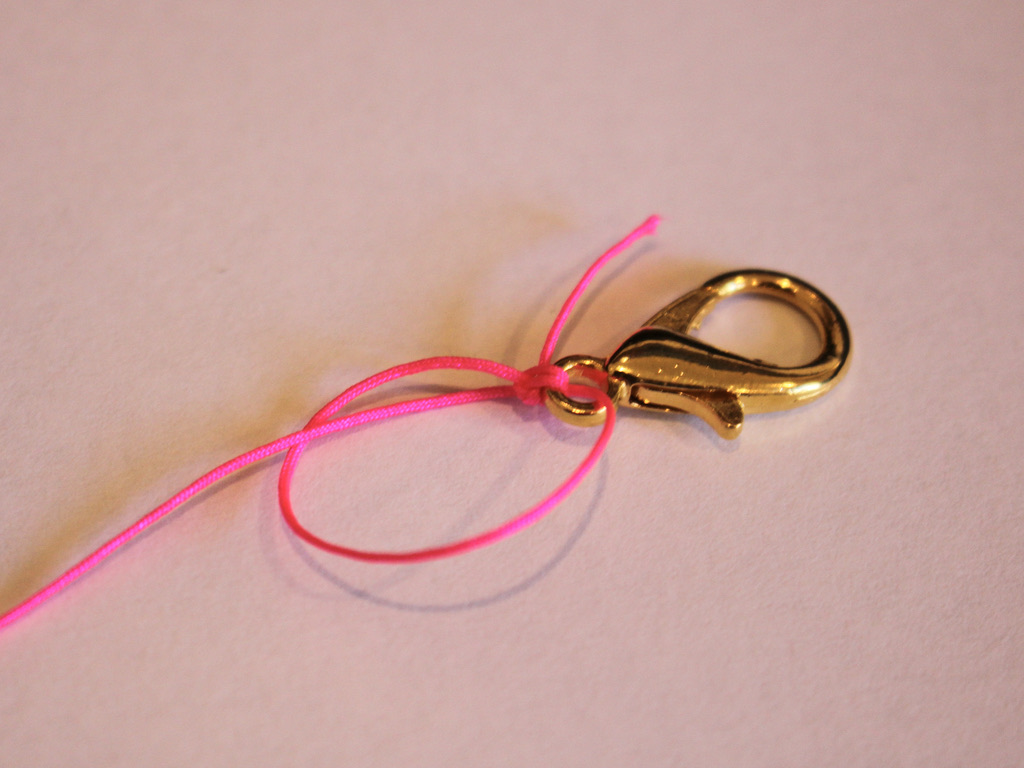
1: Tie the string to one of the clasps. Wrapping the string around the clasp a few times and making multiple knots can help keep it more secure for longer.



2: Add beads to the string in your chosen pattern. I added mine in random order.

3: Continue beading until you have a length you like. Then tie a knot at the end to secure the last bead in place

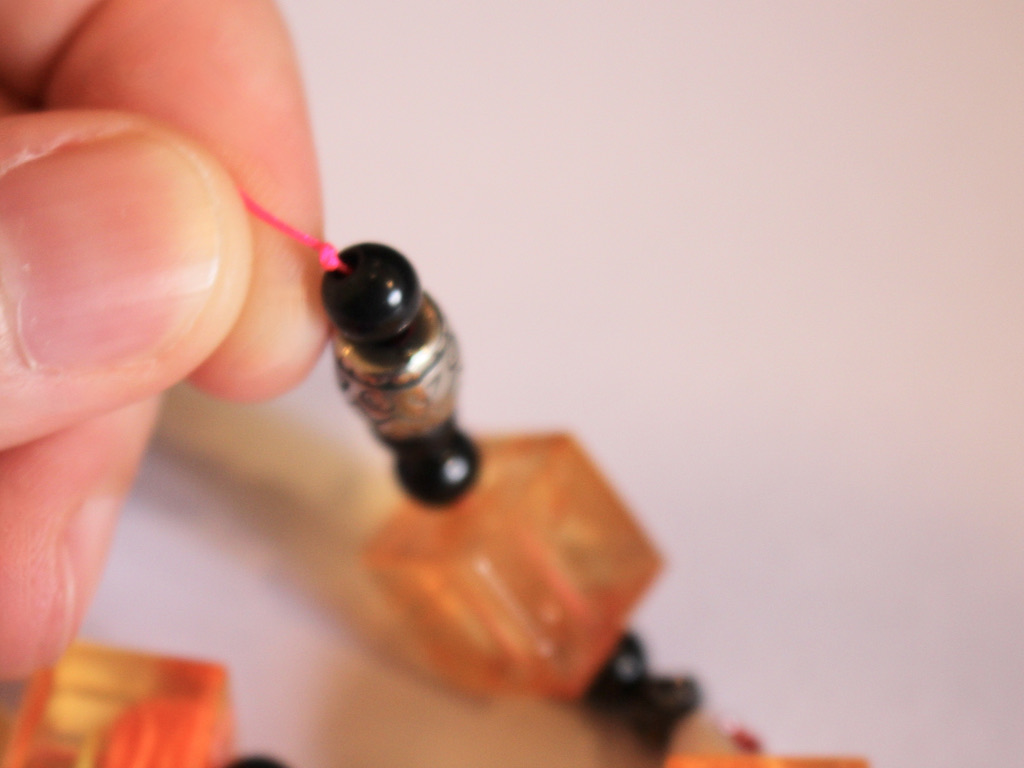
4: Add the second clasp to the end of the string.
5: Knot the second clasp in place, remembering to wrap the string through the end of the clasp a few times and securing it with multiple knots.


6: Trim the excess string on both ends of the shoe chain anklet.
7: Add a dab of superglue to each knot to keep it secure and set it aside to dry.

Once the glue is dry, your anklet is ready to wear! Which shoes will you clip yours to?
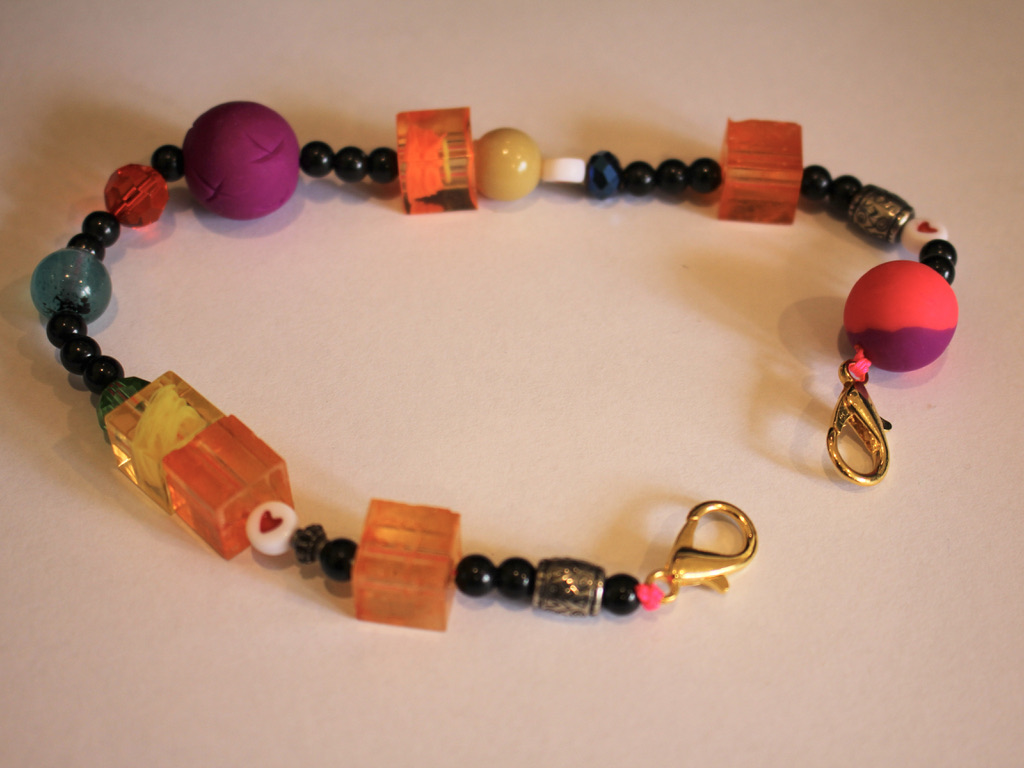
And here’s what it looks like (On some dirty old converse haha)

Here is the design as a shoe chain attached on one side to the lower laces 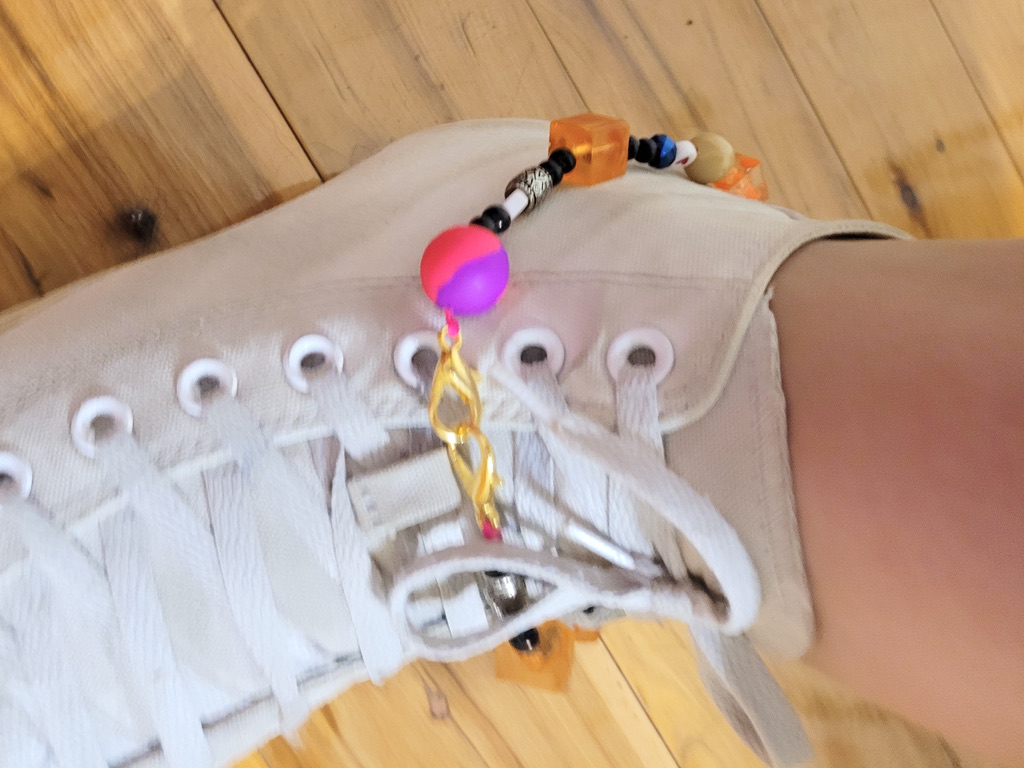
Here it is worn as an anklet over the shoe. 
Here is the design as a shoe chain attached on one side to the lower laces Here are some other shoe chain tutorials you can follow if you want to make some more:
-
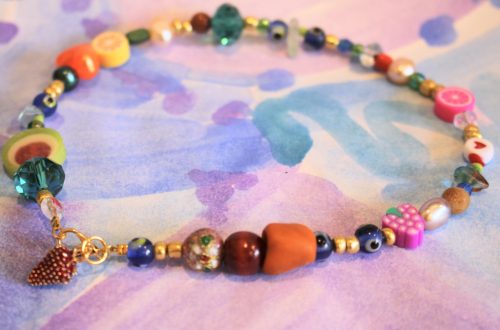
Here’s how you can make a y2k inspired anklet with a mix of random beads!
These craft-core y2k inspired designs are so popular right now. A mix of beads including glass, polymer clay, semi-precious gemstones and pearls come together to create a chaotic but stylish look! This is perfect for using those random beads in your stash that you aren’t sure how to use! Please note that this tutorial contains affiliate links.
You’ll need these tools and materials to make this cute y2k nostalgia anklet:
1: Some tiger tail wire, cut it about 5cm longer than the length you need to fit loosely around your wrist.

2: Pliers. I used my round nose pliers (middle), flat nose pliers (right) and cutting pliers (left).

3: A selection of beads. I used some glass beads, some polymer clay beads, plastic beads, pearls, gemstone chip beads and timber beads.

4: A charm. I used this gold strawberry charm.

5: Four crimp beads.

6: Two small jump rings.

7: One larger jump ring.

8: A lobster clasp.

Follow these steps to make your y2k inspired anklet:
1: Add two of the crimp beads to the piece of tiger tail wire.

2: Add a jump ring.

3: Fold the end of the wire around the jump ring and through the crimps.

4: Squash the crimps using the flat nose pliers.


5: Add beads until you have the length you like to fit around your ankle.


6: Add the second set of crimp beads to the wire.

7: Add the second small jump ring.
8: Loop the wire around the jump ring and back through the crimps and the end bead. Pull the wire tight.

9: Squash the crimp beads using the flat nose pliers again.

10: Trim the excess wire.

11: Add the lobster clasp to one end of the anklet. Attach it by opening the jump ring and sliding the clasp on.

12: Close the jump ring.

13: Attach the charm to the bracelet using the larger jump ring.


Now your y2k inspired anklet is finished and ready to wear! How cute?!


-
How to make a three strand chain anklet. Super cute and simple!
This cute anklet is made from three different kinds of chain for a textured look. Combine your fave types of chain to create your own custom look. This tutorial contains affiliate links.
You’ll need the following materials to make your three chain anklet:
1: Pliers. I used my flat nose pliers and round nose pliers.


2: Three lengths of chain that are long enough to fit comfortably around your ankle. I used chunky gold tone curb chain, copper tone rolo chain and antique gold tone curb chain.


3: Two large jump rings.

4: A lobster clasp.

Follow these steps to make your three chain anklet:
1: Open one of the jump rings.
2: Add each of the chains to the open jump ring.
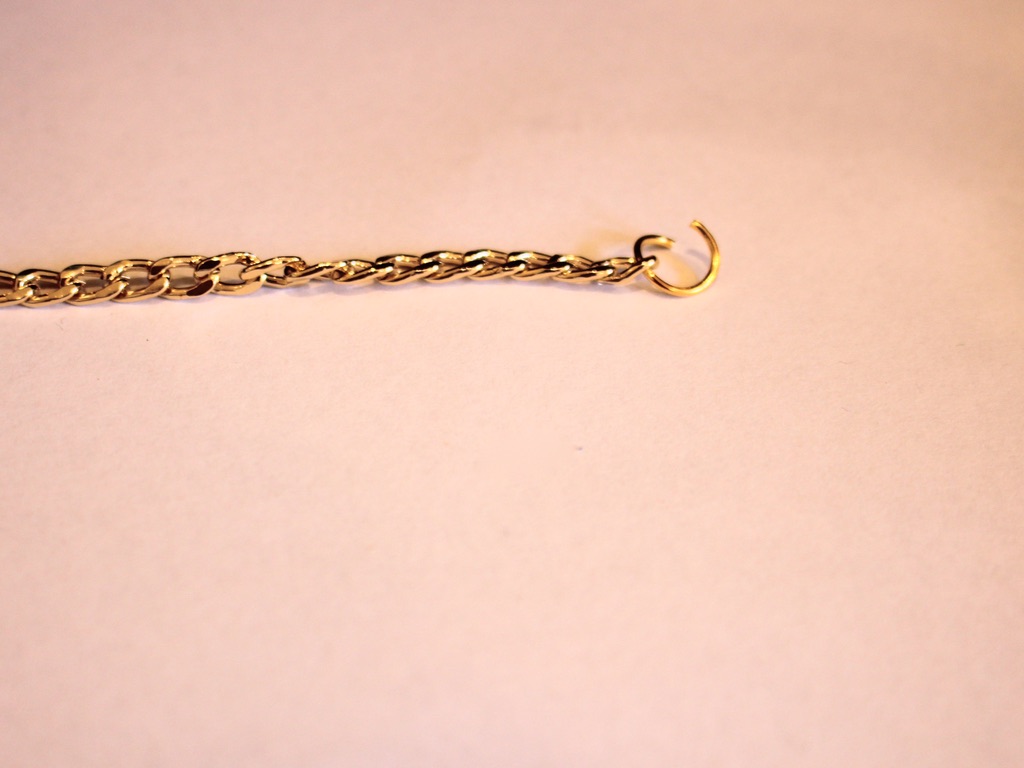

3: Close the jump rings to secure the chains together.


4: Open the other jump ring and put the other end of each chain onto the jump ring in the same order as the other end.
5: add the lobster clasp to the second jump ring before closing it.
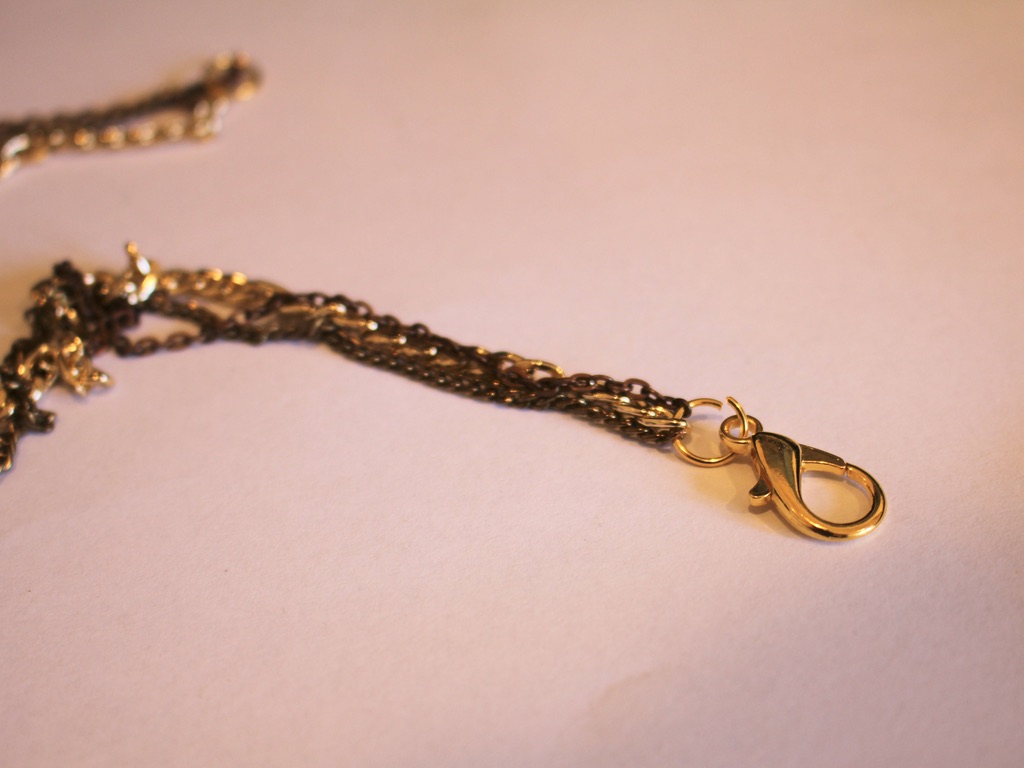
Now your anklet is finished and ready to put on! Throw one together before your next social distanced hang.


-
Here’s how to make a really cute charm anklet!
Do you love the look of dangling charms? Why not drape some around your ankle with this beaded charm anklet design? This tutorial contains affiliate links.
Here are the tools and materials I used to make my beaded charm anklet:
1: Pliers. I used by round nose pliers (middle), flat nose pliers (right) and cutting pliers (left).
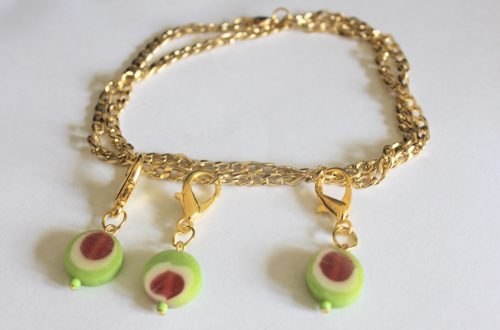
2: A selection of beads. I used some polymer clay beads that I made a while ago, some green glass beads and some gold e-beads.
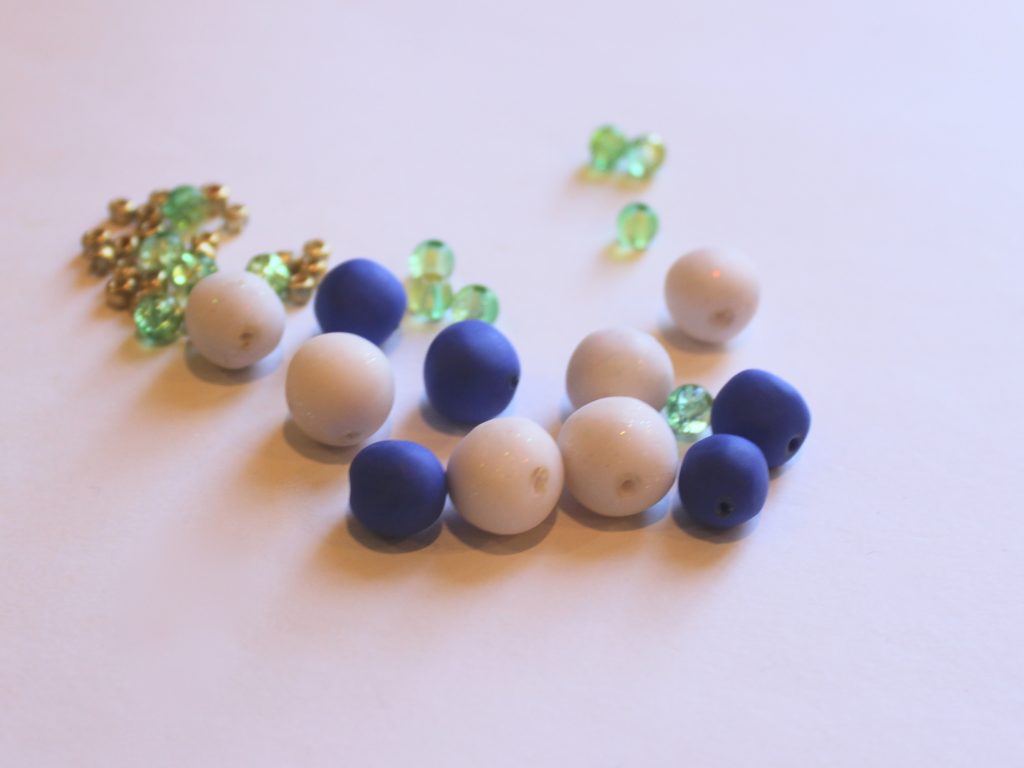
3: Some chain long enough to fit around your ankle.

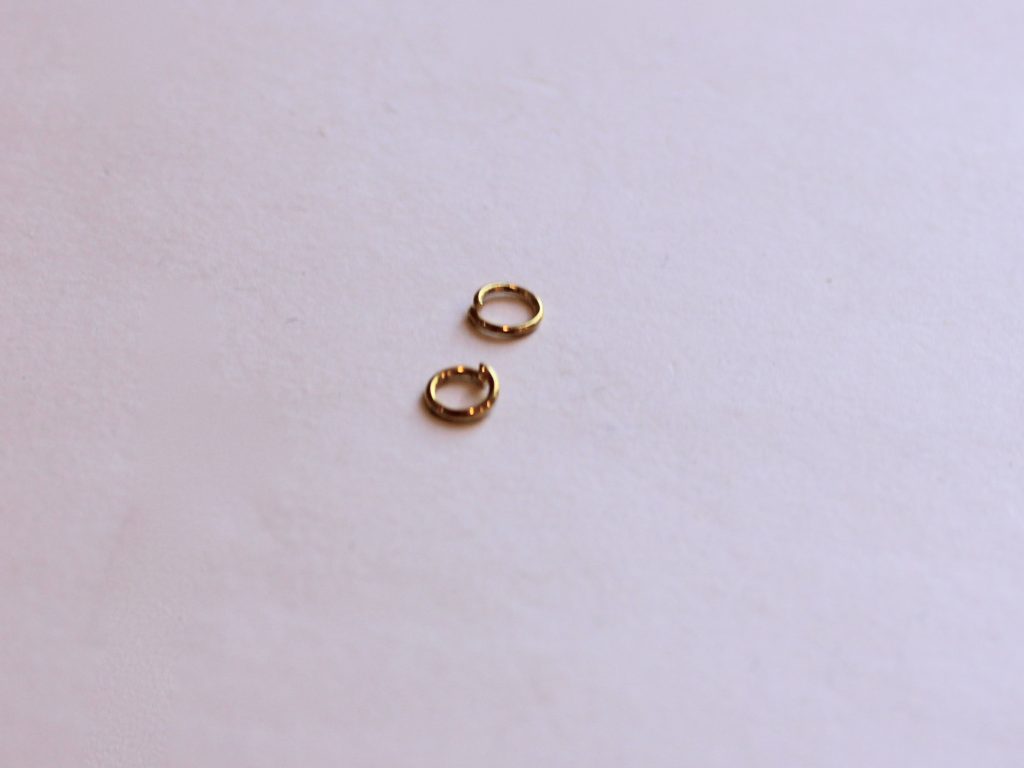
4: Two jump rings.
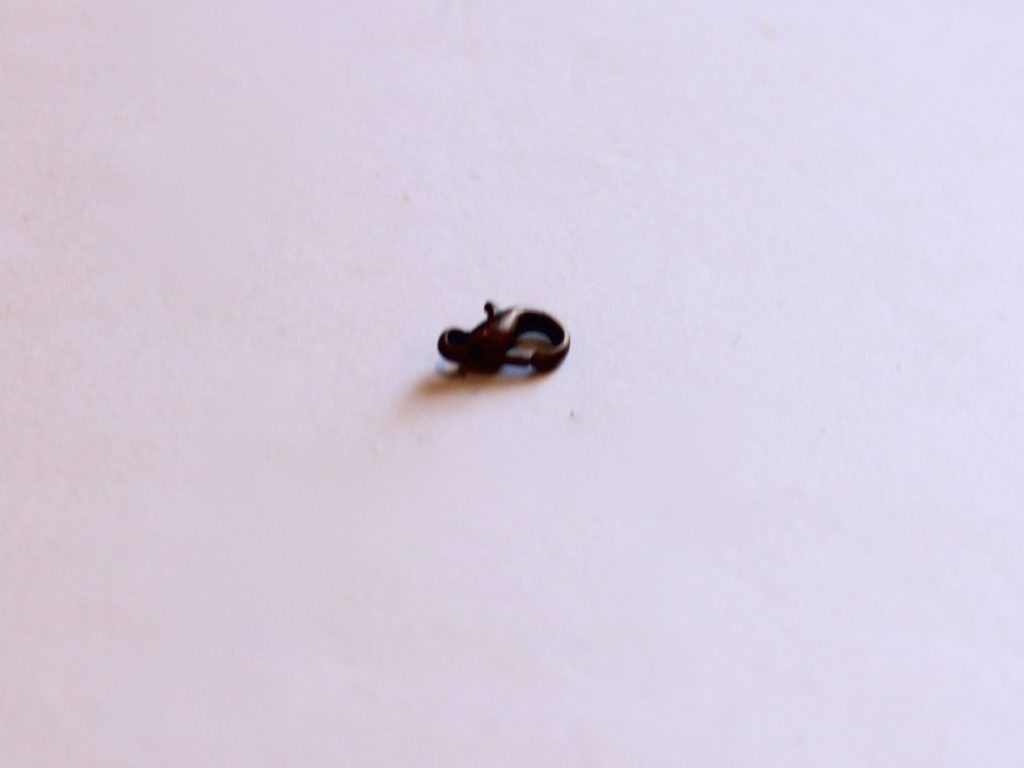
5: A lobster clasp.
6: A bunch of head pins.

Follow these steps to make your charm anklet:
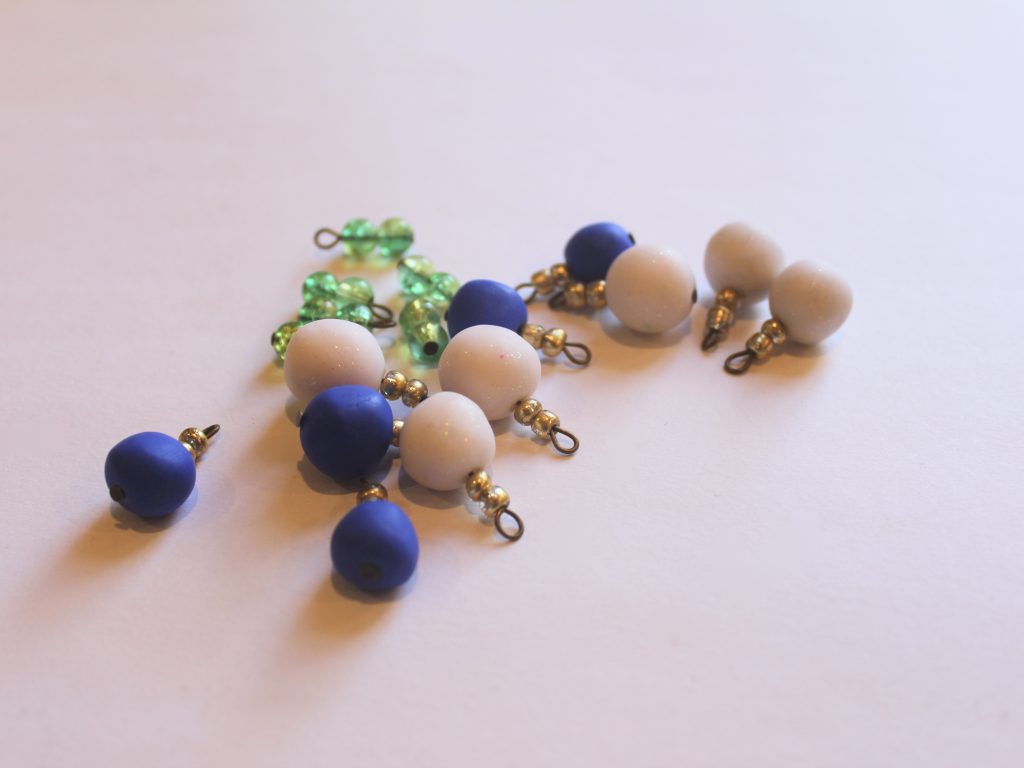
1: Add beads to each of the head pins.
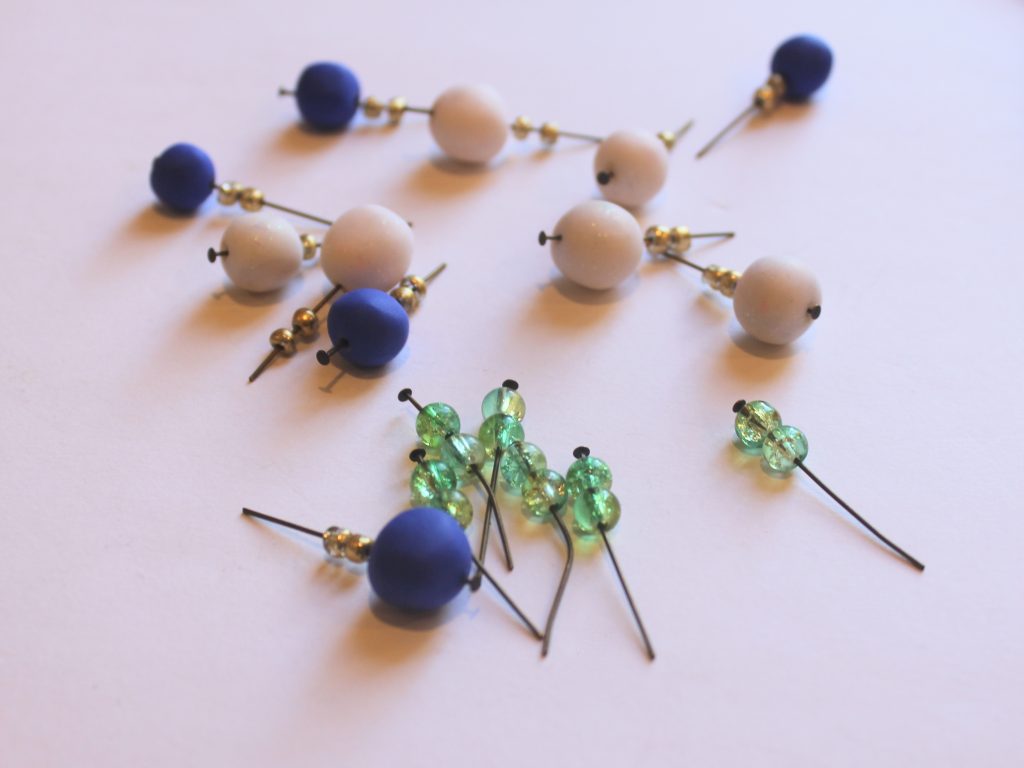
2: Bend each head pin to form a right angle.

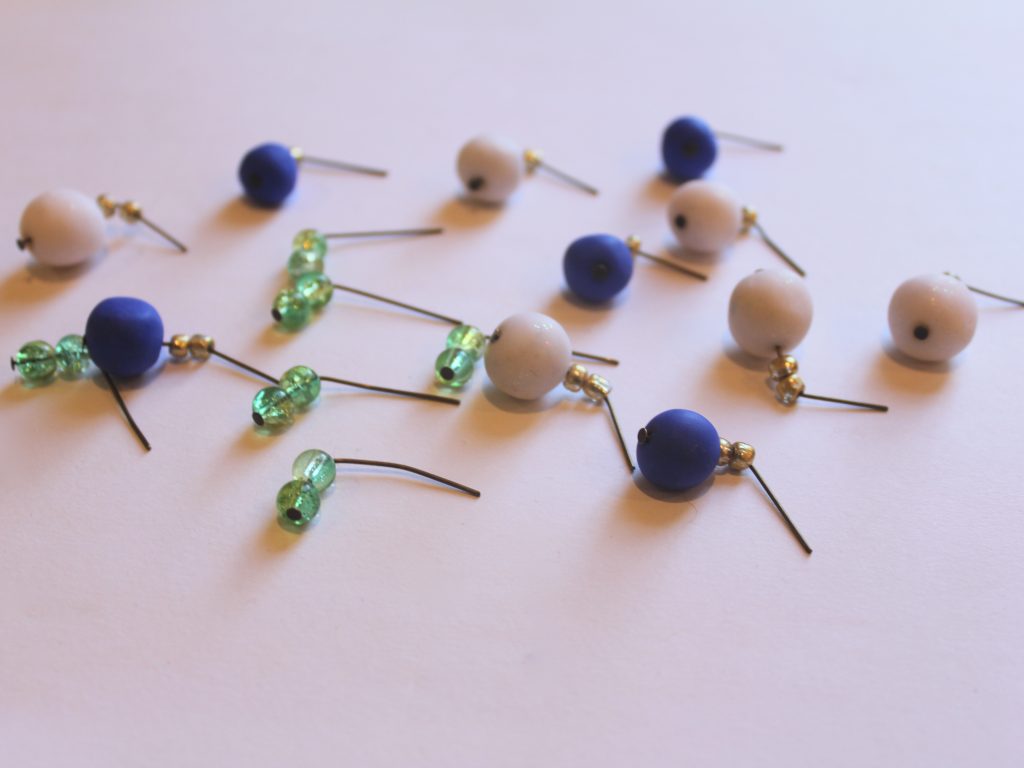
3: Trim the excess pin using the cutting pliers. Leave approximately 1cm unbeaded on all the charms.
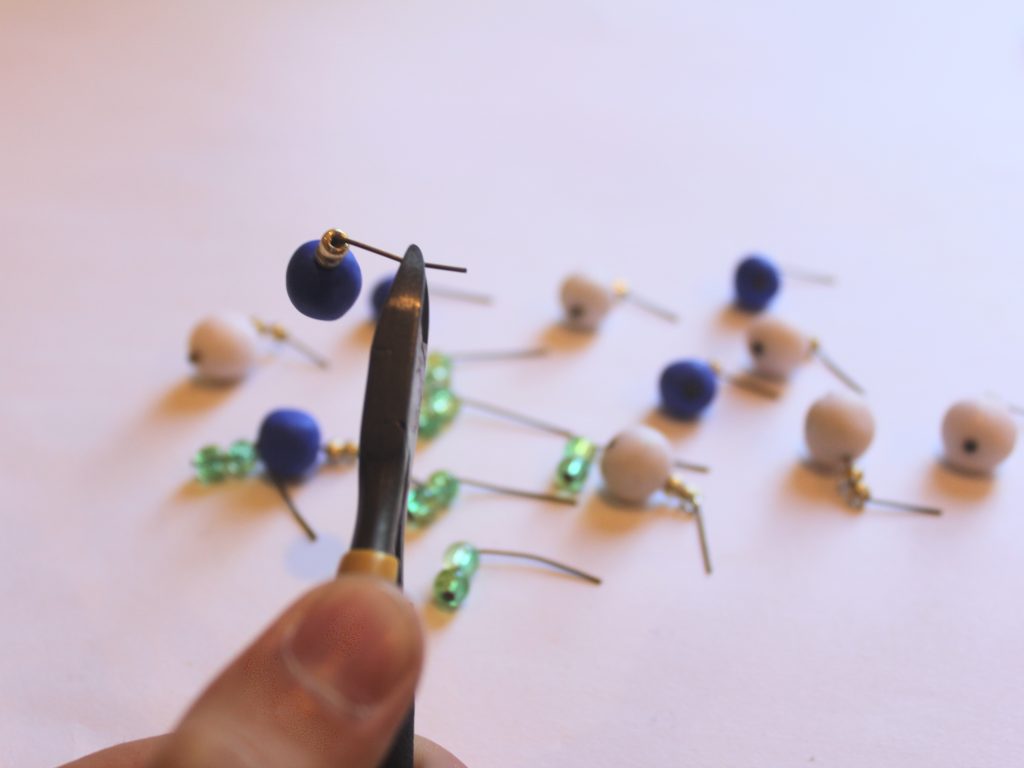
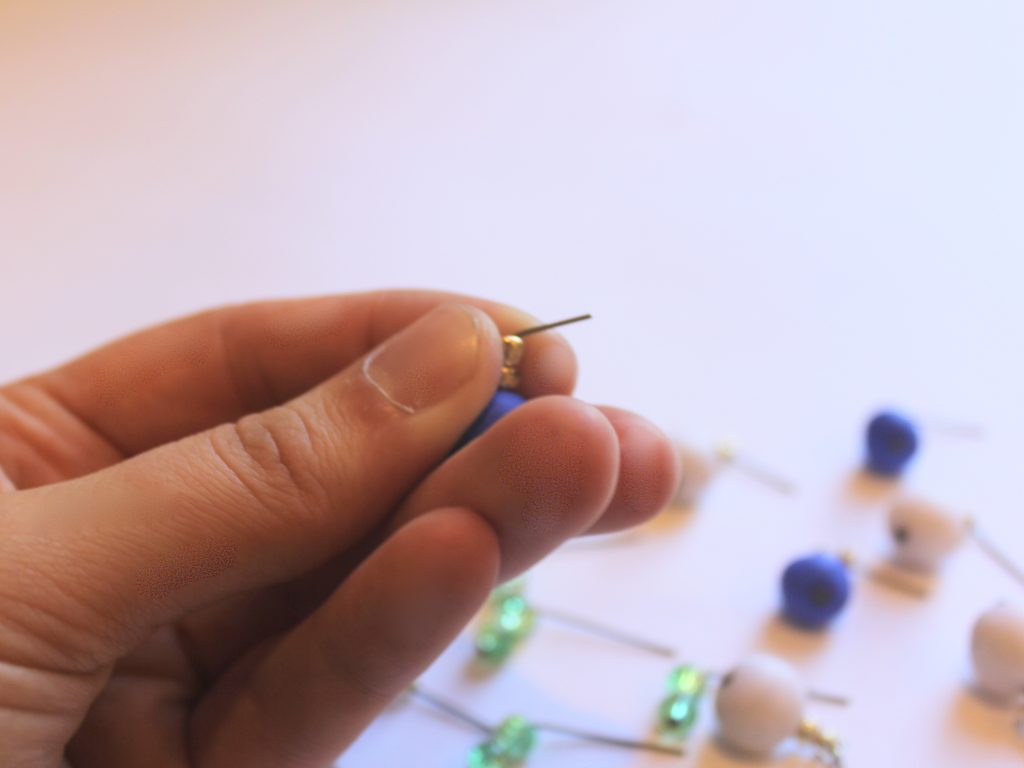
4: Loop the top of the pin using the round nose pliers to secure the beads in place.
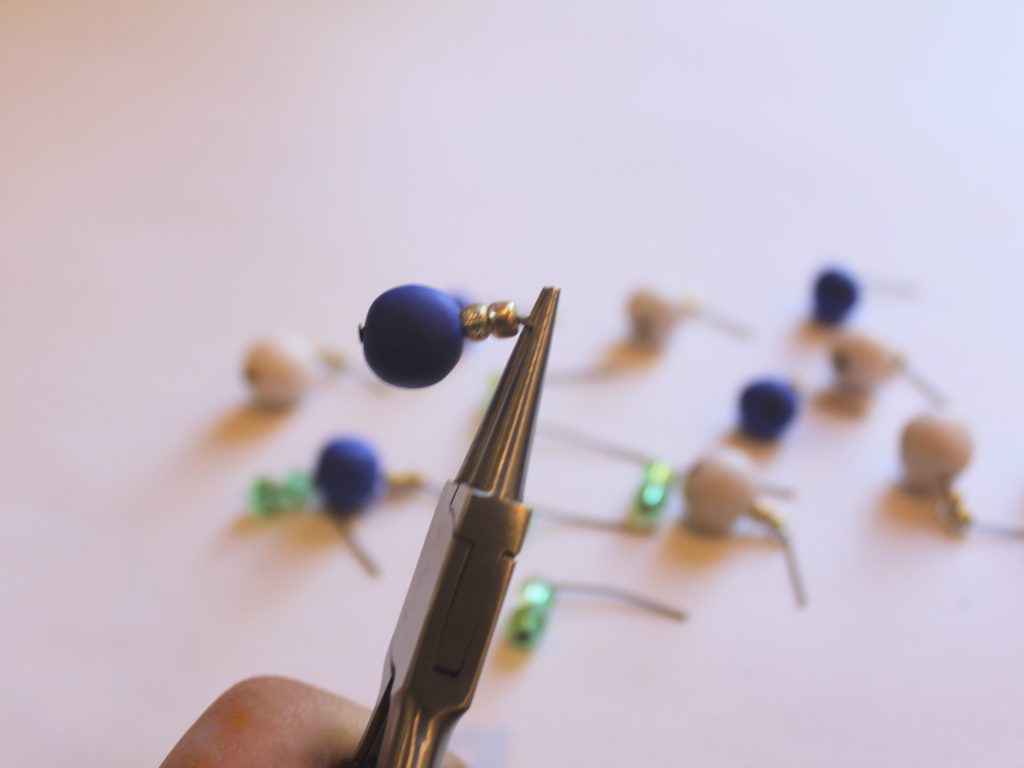

5: Add a jump ring to either end of the anklet chain and attach the lobster clasp to one of them.


6: Now you can attach the charms. Do this by opening the top loop slightly and sliding it through the chain links at spacing of your choice.


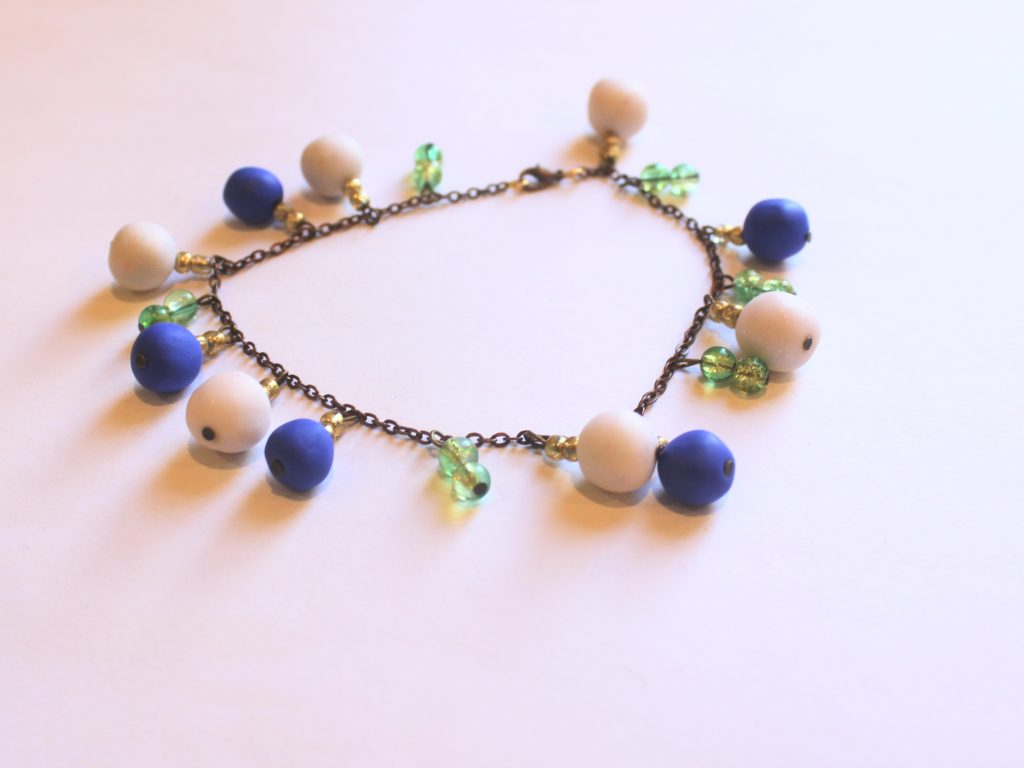
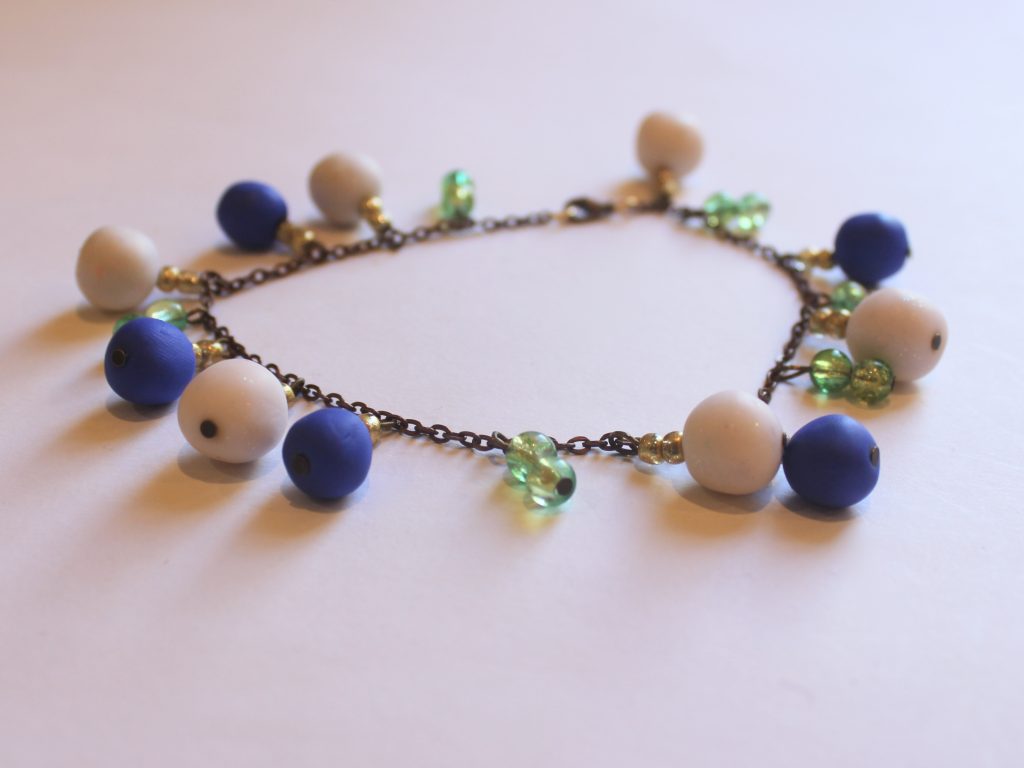
Now your charm anklet is finished and ready to wear! So fun!
This tutorial contains affiliate links.
-
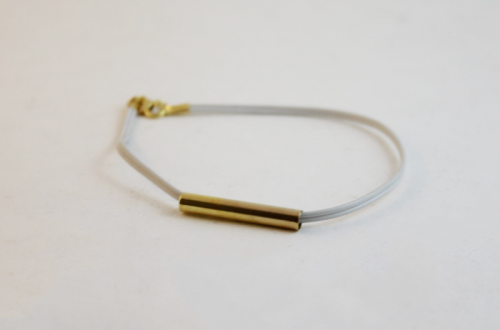
Can’t get enough of ankets? Here’s another cool anklet to DIY.

Anklets are a fun summer accessory you can adorn your legs with. Why not make this simple one to stack with other fun ankle accessories? This article contains affiliate links.
You will need the following tools and materials to make your anklet:
1: One piece of ankle length chain. I used this gold-tone chain.

2: Two jump rings.

3: A lobster clasp.
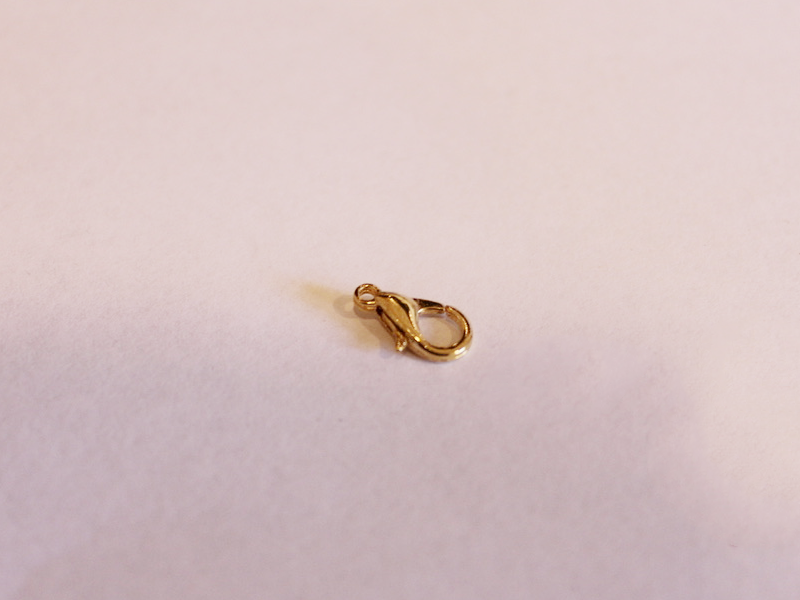
4: A tube bead. I used this gold-tone tube bead.

5: Pliers. I used my round nose and flat nose pliers.
Follow these steps to make your new anklet:
1: Add the tube bead to the chain.
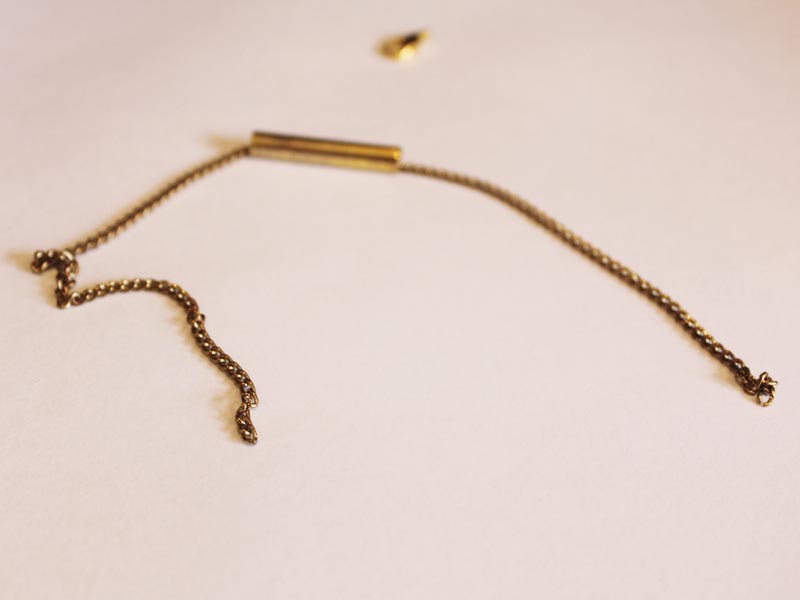
2: Attach one of the jump rings to one end of the chain. Do this by sliding the open jump ring through the end link of chain.

3: Add the lobster clasp to the open jump ring.

4: Close the jump ring to secure the clasp in place.

5: Add the other jump ring to the other side of the anklet and close it to finish it off.

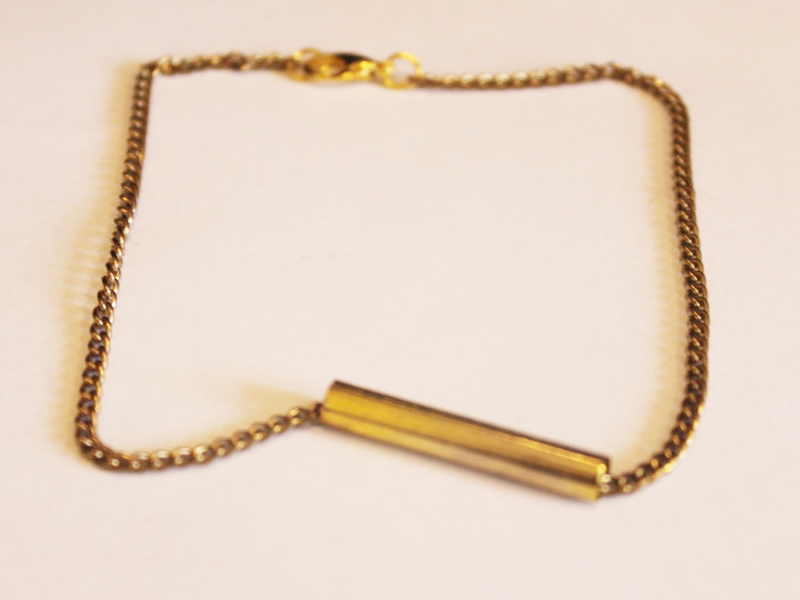
Now your anklet is finished and ready to wear!
Here’s another one I made using a curved silver bead.
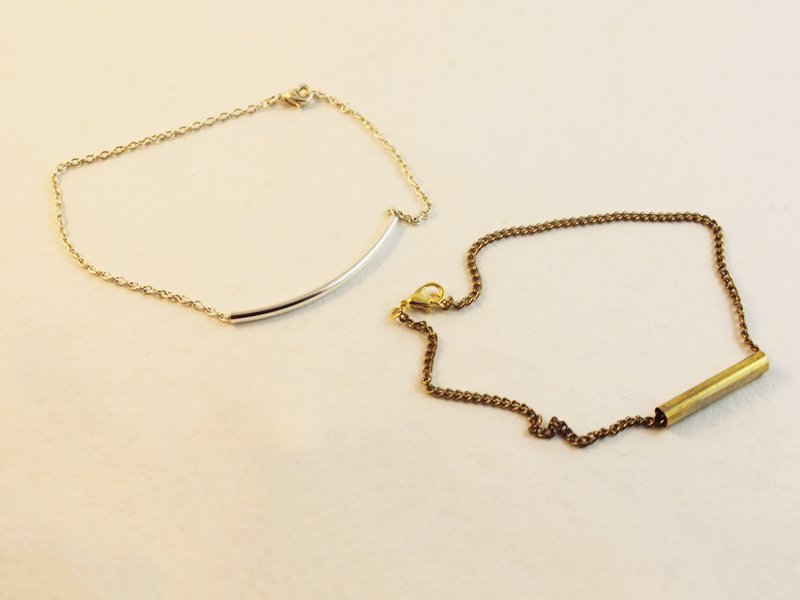
Here is a link so you can buy some curved silver beads if you like that look more!
Note: This article contains affiliate links
-
Anklets are the coolest!!!!! Here’s how to make a simple chain charm anklet.
This anklet is super simple in design, add a cute charm to a plain chain and you’re ready to go! What kind of charms will you put on your DIY anklet? This tutorial contains affiliate links.
You’ll need the following tools and materials to make your simple chain charm anklet:
1: Some pliers. Use your flat nose and round nose pliers.
2: A piece of chain long enough to fit your ankle.

3: Two jump rings.

4: A lobster clasp.

5: Another jump ring.

6: A charm of your choice. I used an enamel peach charm.

Follow these steps to make your simple charm anklet:
1: Add a jump ring to one end of the chain.
2: Add the lobster clasp to the open jump ring. Close the jump ring to keep the clasp in place.


3: Add another jump ring to the other side of the anklet.


4: Add the remaining jump ring to the top of the charm.
5: Attach the charm to the jump ring that attaches the clasp to the chain.

6: Close the charm jump ring to secure the charm in place and finish off your anklet.

Now it is ready to wear! How cute is this little peach charm anklet? I am really into food and fruit themed jewelry at the moment 🙂

This tutorial contains affiliate links.
-
Anklets are awesome. Here’s how to make a double strand anklet.

Anklets are the jewelry accessory for the summer, here’s how to make a different version with two chain strands. Contains affiliate links.
You will need the following tools and materials to make your double strand anklet:
1: Pliers. You need your round nose pliers and flat nose pliers to make this anklet.
2: Two pieces of chain long enough to fit your ankle comfortably. I used two different shaped chains in the same color.

3: Two jump rings.

4: A lobster clasp.
Follow these steps to make your double strand anklet:
1: Open one of the jump rings and slide it on to the end of both chains.

2: Close the jump ring to secure the chains together.

3: Add the other jump ring to the other side of the chain.

4: Add the lobster clasp to the open jump ring.
5: Close the jump ring to secure the clasp in place.

Now your double strand anklet is finished! So cool!

-
Here’s another way to make a cool anklet for summer…

Like I said before, anklets are going to be a hot ticket accessory this summer, so here’s another way to make an anklet to add to your #ankleparty
You will need the following tools and materials to make your anklet:
1: Pliers. You’ll need flat nose pliers, round nose pliers and cutting pliers for this anklet design.
2: A broken pair of headphones. I used these headphones left over from a different project.

3: Two crimp ends.

4: Two jump rings.

5: A lobster clasp.

6: A long gold coloured bead.

Follow these steps to make your simple anklet:
1: Measure the headphone cord around your anklet and cut it to length using the cutting pliers.


2: Add the bead to the trimmed headphone cord.

3: Add a crimp to either end of the cord, folding it around the cord using the flat nose pliers.


4: Add a jump ring to one end of the anklet and attach the lobster clasp.


5: Add the other jump ring to the other side of the anklet.

Now your anklet is done! How cute is this simple design? Add it to your #ankleparty and dance the night away!

-
Combine the latest trends in one awesome design with this pearl anklet!

Pearls and anklets are having a moment right now. Hop in on the trend with this rainbow pearl beaded anklet. Contains affiliate links.
You’ll need the following tools and materials to make your pearl anklet:
1: Pliers. You’ll need cutting pliers, flat nose pliers and round nose pliers to make your anklet.
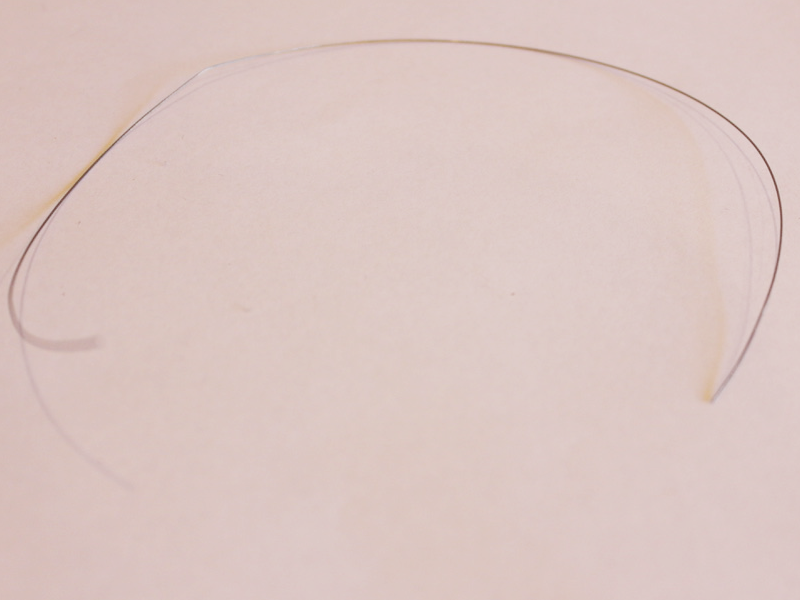
2: Tiger tail wire. Cut it a little longer than the length you want to make your anklet.
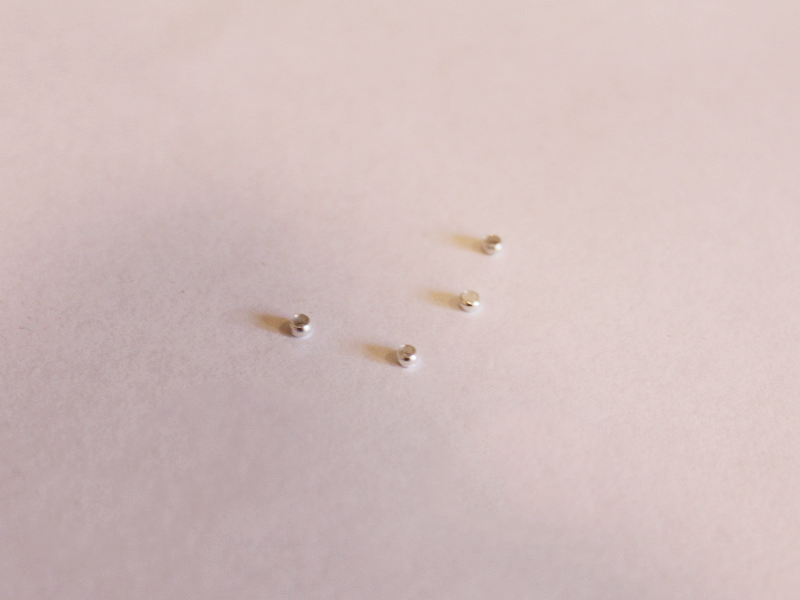
3: Four crimp beads.
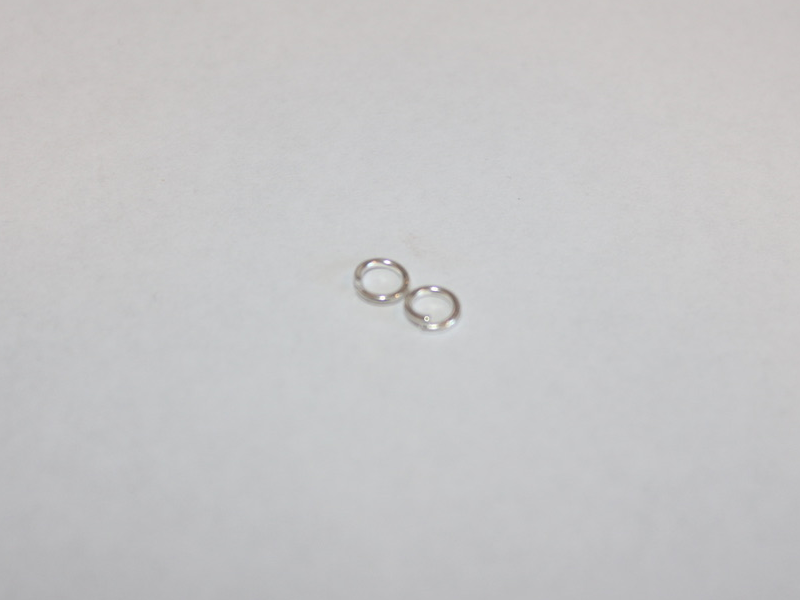
4: Two jump rings.
5: A lobster clasp.

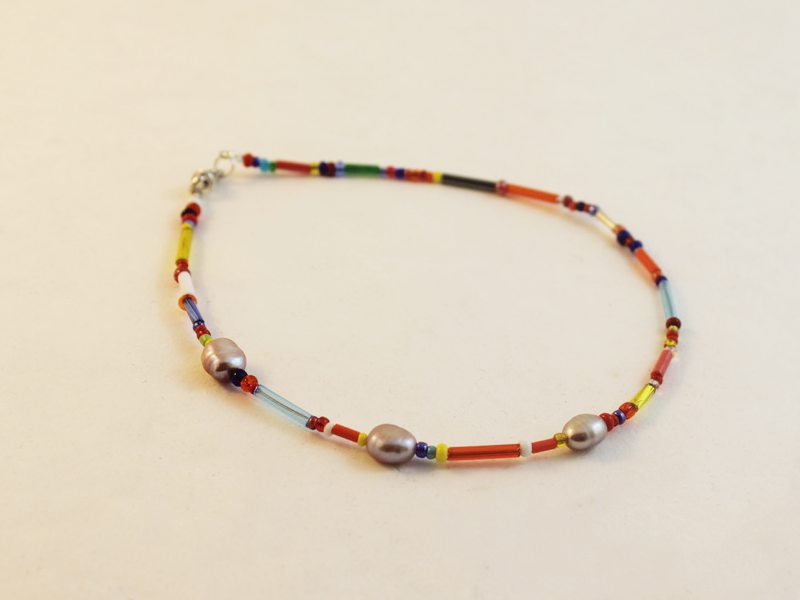
6: Pearl beads. I used three pink freshwater pearls.

7: Mixed beads. I used a mix of bugle and seed beads.

Follow these steps to make your pearl anklet:
1: Add two crimp beads to one end of the wire.
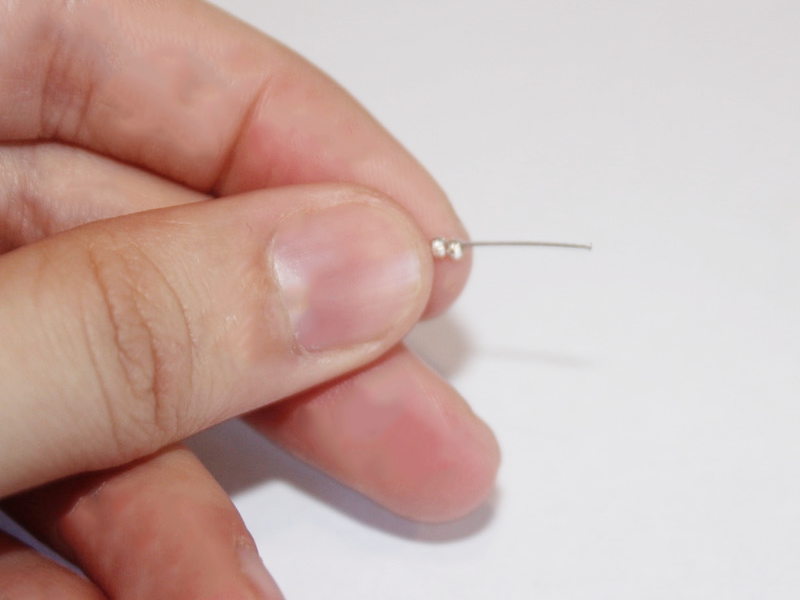
2: Add a jump ring.
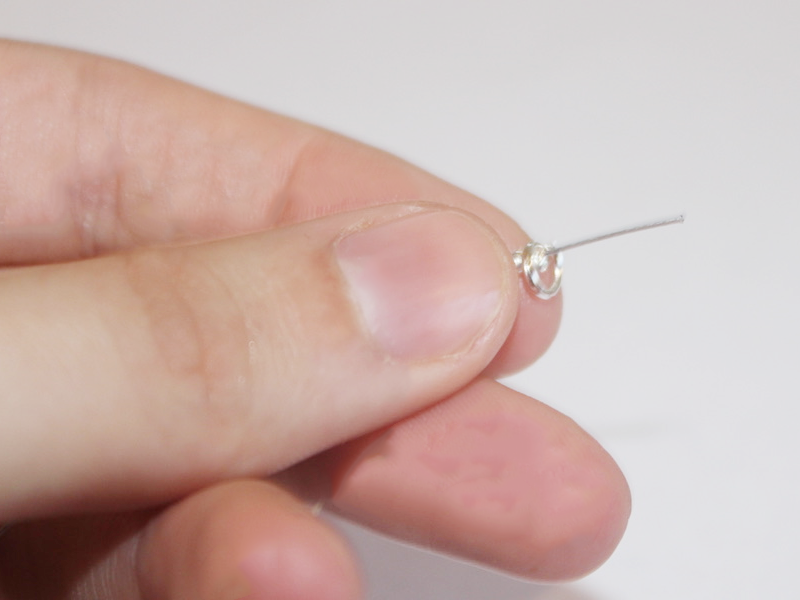
3: Loop the wire around the jump ring and through the crimp beads.
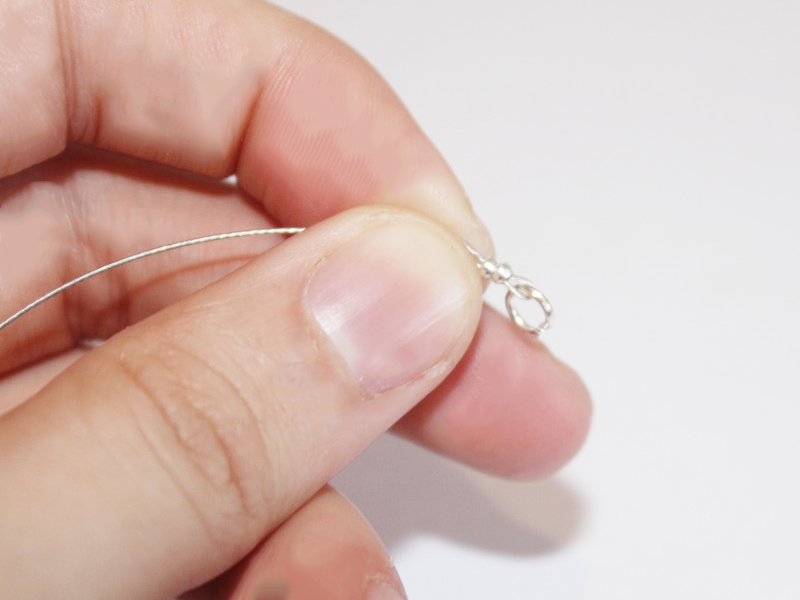
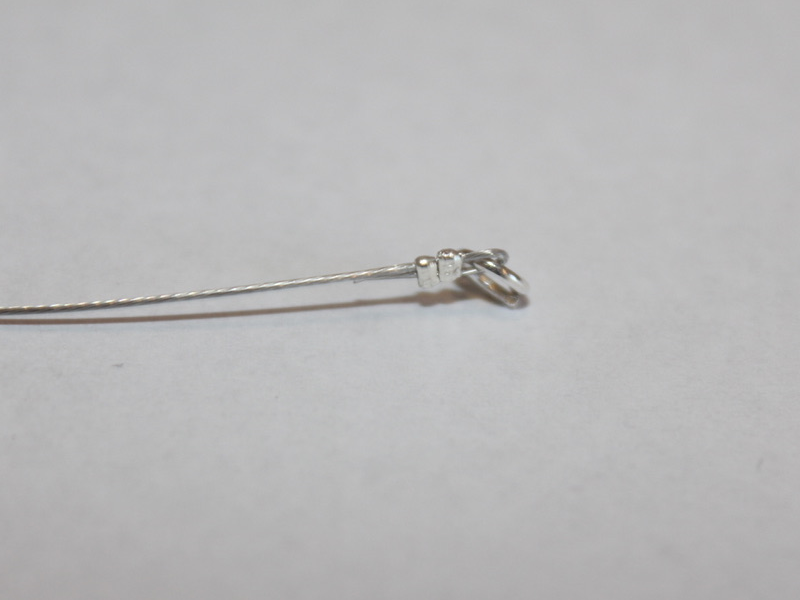
4: Squash the jump rings using the flat nose pliers.

5: Add your beads. I added mine in a pattern with the pearls situated close to one side of the anklet.
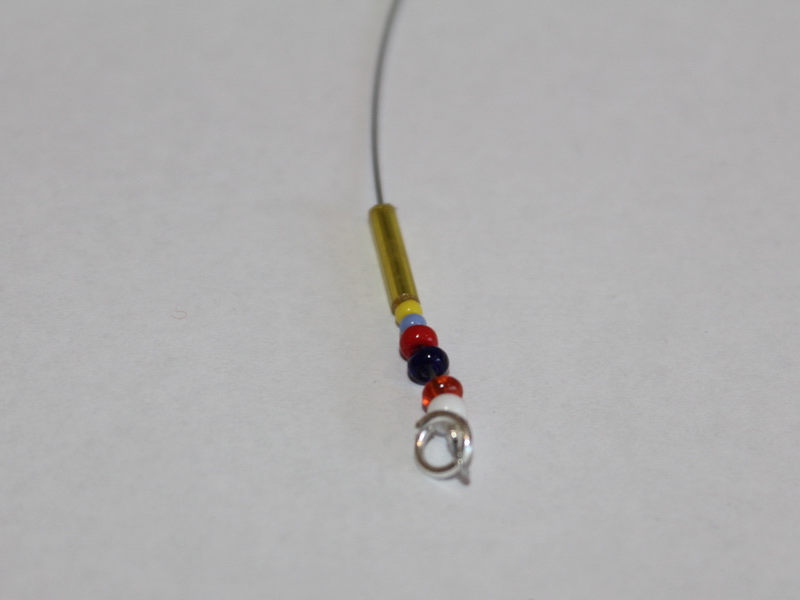
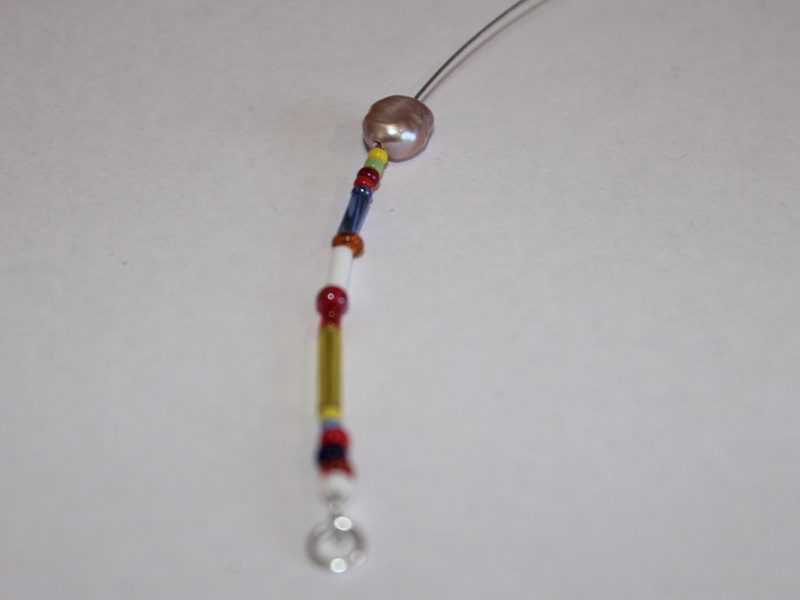

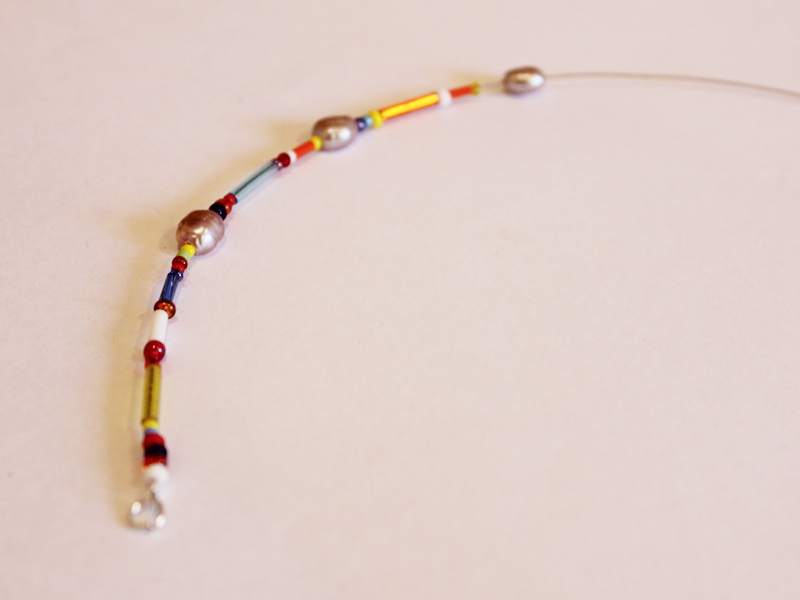
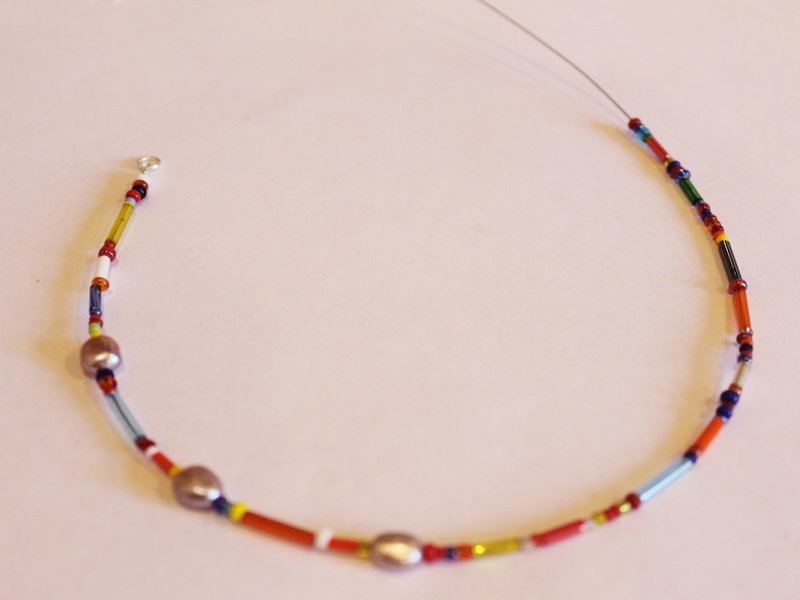
6: Once your anklet is fully beaded add the remaining crimp beads.
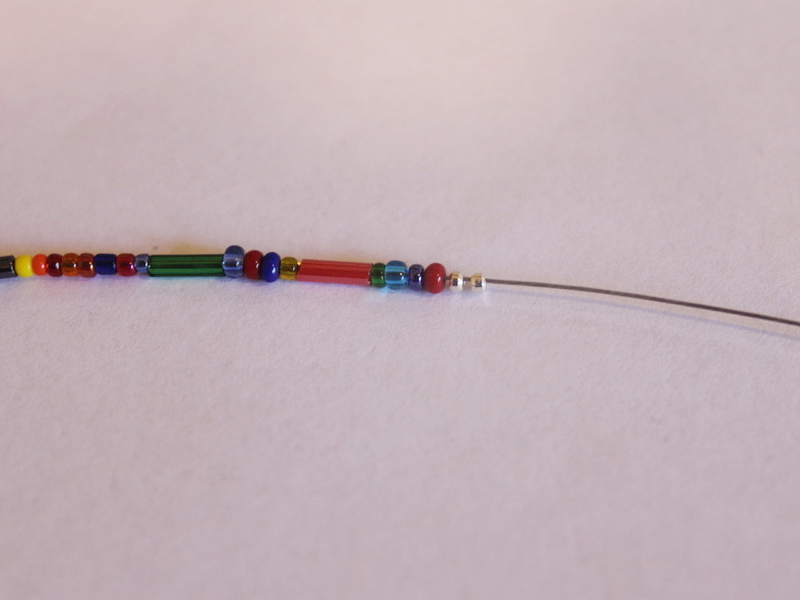
7: Add the second jump ring.
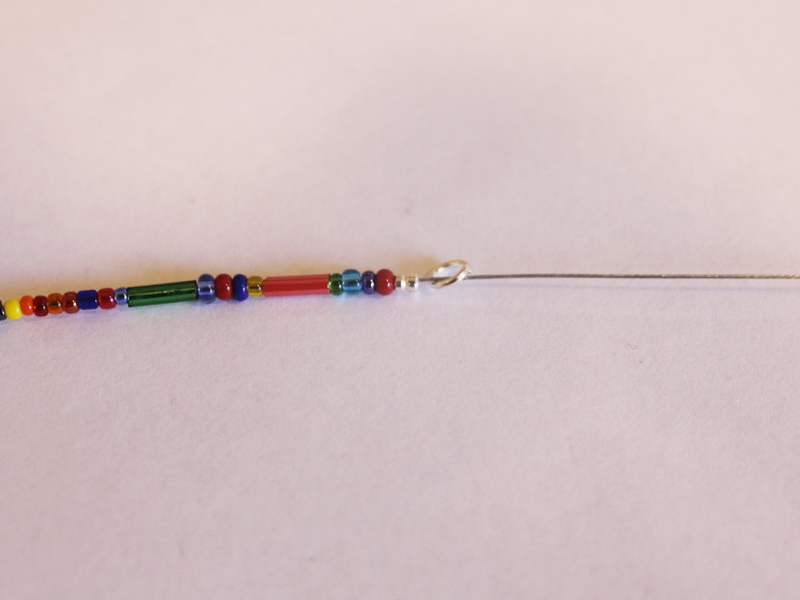
8: Loop the end of the wire around the jump ring and through the crimp beads and the end few glass beads.
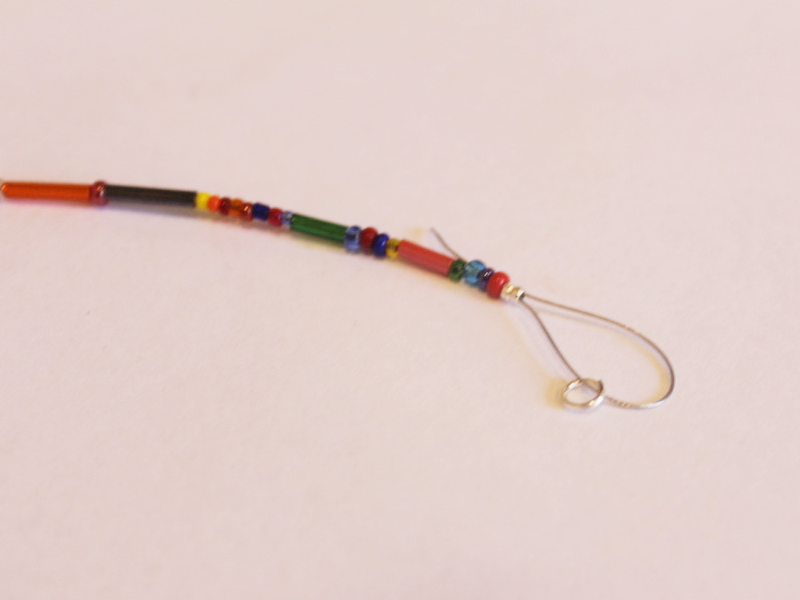
9: Pull the wire tight.
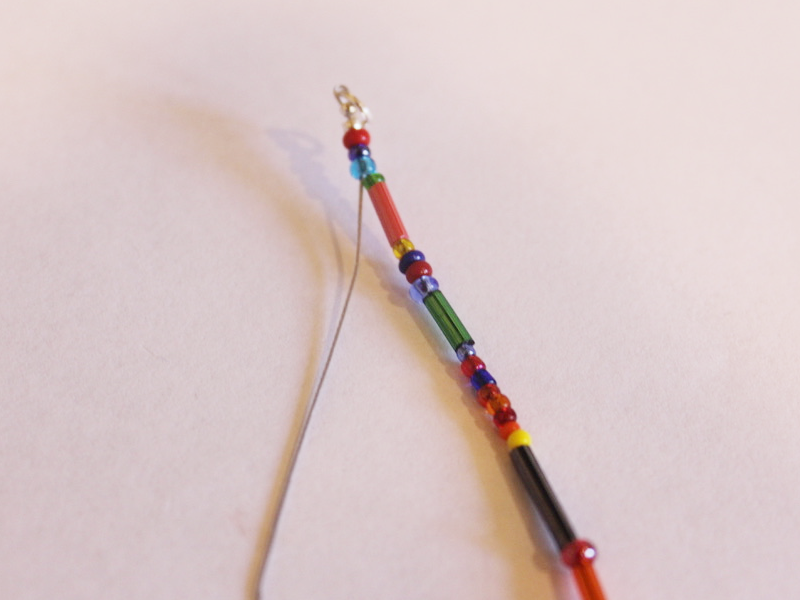
10: Squash the crimps using the flat nose pliers.
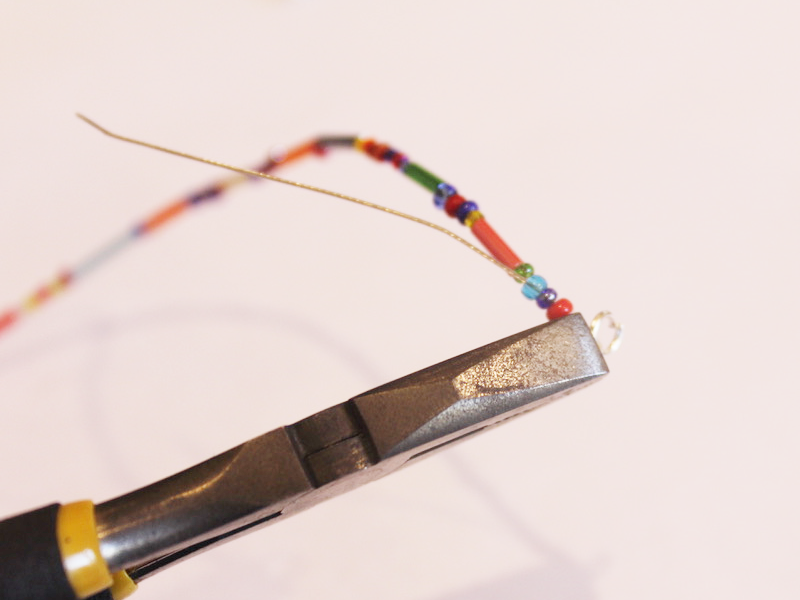
11: Trim the excess tiger tail wire.
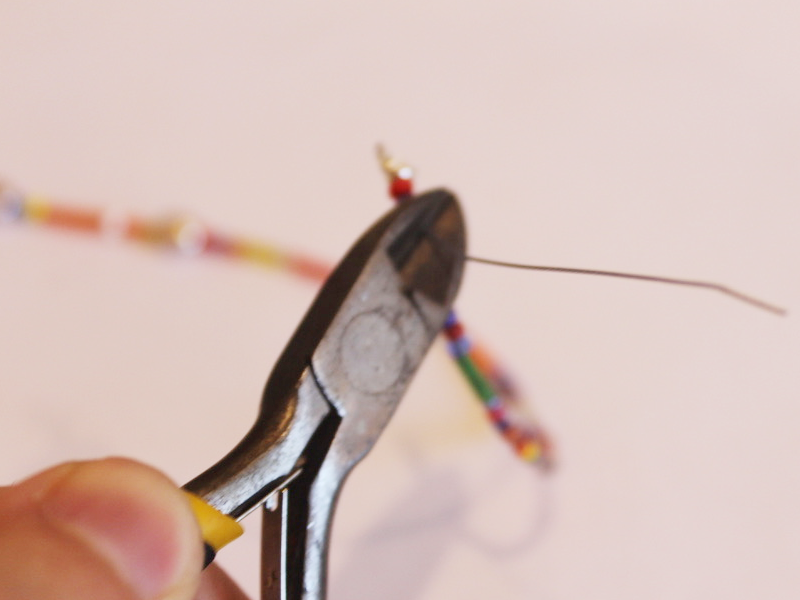
12: Add the clasp to one side of the anklet. Close the jump ring to secure it in place.
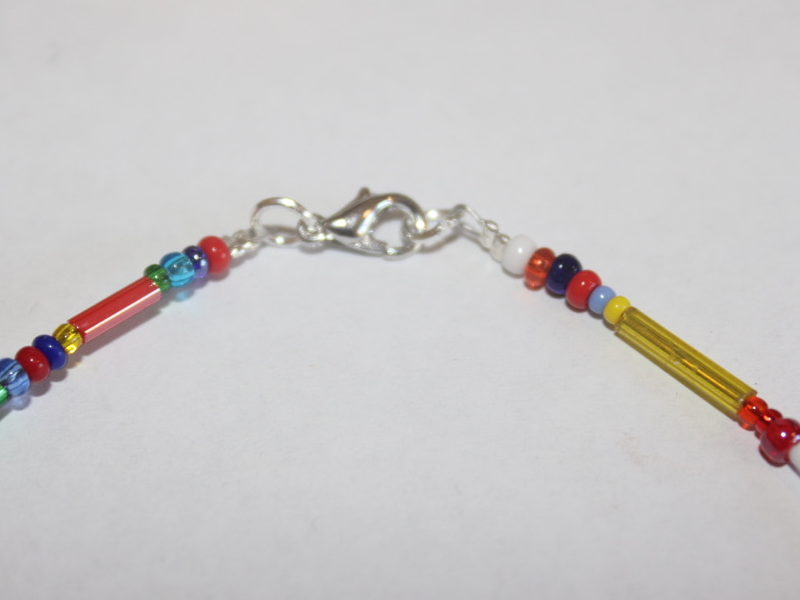
Now your pearl anklet is finished and ready for a summer #ankleparty.
-
Anklets are set to be HOT in the summer months. Here’s one to add to your accessories collection.

According to this article, anklets are set to be the jewelry item that defines summer in 2019. This anklet is sparkly and summery, perfect for evening drinks or beach holidays!
You will need the following tools and materials to make your beaded anklet:
1: Pliers. You’ll need flat nose pliers and round nose pliers.
2: Eye pins.

3: Two jump rings.

4: A lobster clasp.

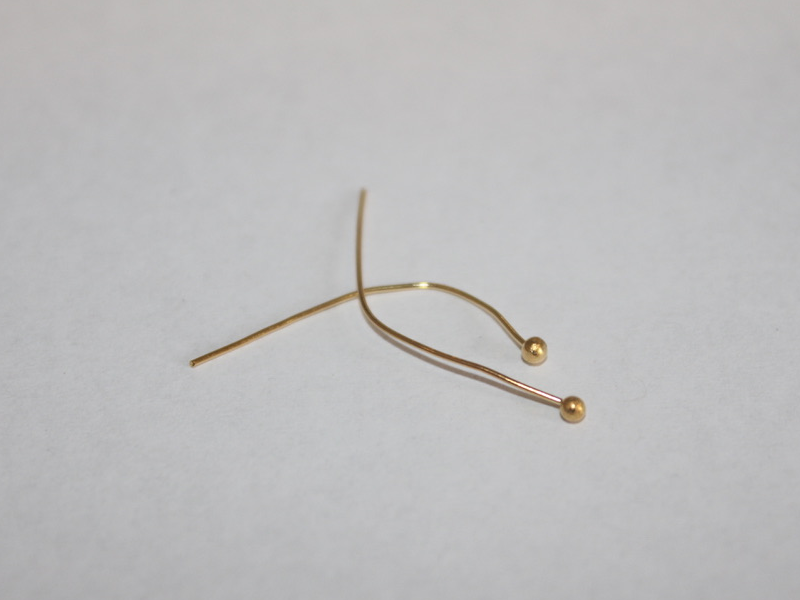
5: Two head pins.
6: Beads. I used some blue faceted plastic beads recycled from an old necklace, some glass seed beads and some other blue glass feature beads.


Follow these steps to make your beaded anklet:
1: Add beads to the pins and loop the tops. Attach each charm using the end loops to form a chain.


3: Continue making these charms and attaching them in a pattern until your chain is long enough to fit comfortably around your ankle.

4: Add a jump ring to one end of the chain and add the lobster clasp.

5: Add the remaining jump ring to the other side of the chain.

6: At this stage your anklet is ready to wear, but you can perform these extra steps to add some extra charms.
7: Add beads to the two head pins.

8: Curl the tops of the pins using the round nose pliers.


10: Add the charms to the jump ring that attaches the clasp to the anklet. Close the jump ring to secure the charms in place.


Now your anklet is finished with some cute little charms! How adorable is this design? Why not make a whole bunch and have a #ankleparty 😉