-
Here’s a letter bead necklace so you can tell everyone how you feel.
This letter bead necklace is a simple design with a big personality. Use letter beads to show something about your mood or personality around your neck. Layer this design with some other pieces to really show off your style. I love this simple necklace DIY! Please note that this tutorial contains affiliate links.
Here are the tools and materials you’ll need to make your letter bead necklace:
1: Pliers. I used my cutting pliers (to cut my chain to length), round nose pliers and flat nose pliers.

2: A piece of chain long enough to fit around your neck. You can make it longer or shorter depending on how long you like your necklaces.

3: Two small jump rings.

4: A lobster clasp.

5: Letter beads. I used two to spell out ‘OK’.

Follow these steps to make your letter bead necklace:
1: Add your beads to the chain to form your chosen word.


2: Add one of the jump rings to one end of the chain by threading it through the last chain link. This can be tricky when your chain links are small like on this chain. I suggest using your smallest size jump ring.

3: Close the jump ring to secure it in place.

4: Add another jump ring to the other side of the chain.

5: Add a lobster clasp to the open jump ring and close it to finish the necklace off.


Now your minimalist but very cool letter bead necklace is ready to wear. Will you wear yours on its own for a big statement, or layer it with other pieces for a more curated look?


-
Personalised jewelry is so special. Here’s how to make your own with cute colourful letter beads.
I think personalised jewelry will always be timeless and this tutorial shows you how to put a fun twist on a classic! Using colourful letter beads you can make a bracelet that says whatever you want. I started with initials but your only limit is your wrist size ;). Please note that this tutorial contains affiliate links.
You’ll need these tools and materials to make your personalised bracelet:
1: Your pliers. I used cutting pliers (left), flat nose pliers (right) and round nose pliers (middle).
2: Tiger tail wire. I used some silver tone tiger-tail and cut it a little longer than the circumference of my wrist.

3: Four crimp beads.

4: Two jump rings.

5: A toggle clasp.

6: Letter beads to make your choice of word. I used some initials.

7: Beads to surround the letter beads. I used blue glass seed and green bugle beads.

Follow these steps to make your personalised bracelet:
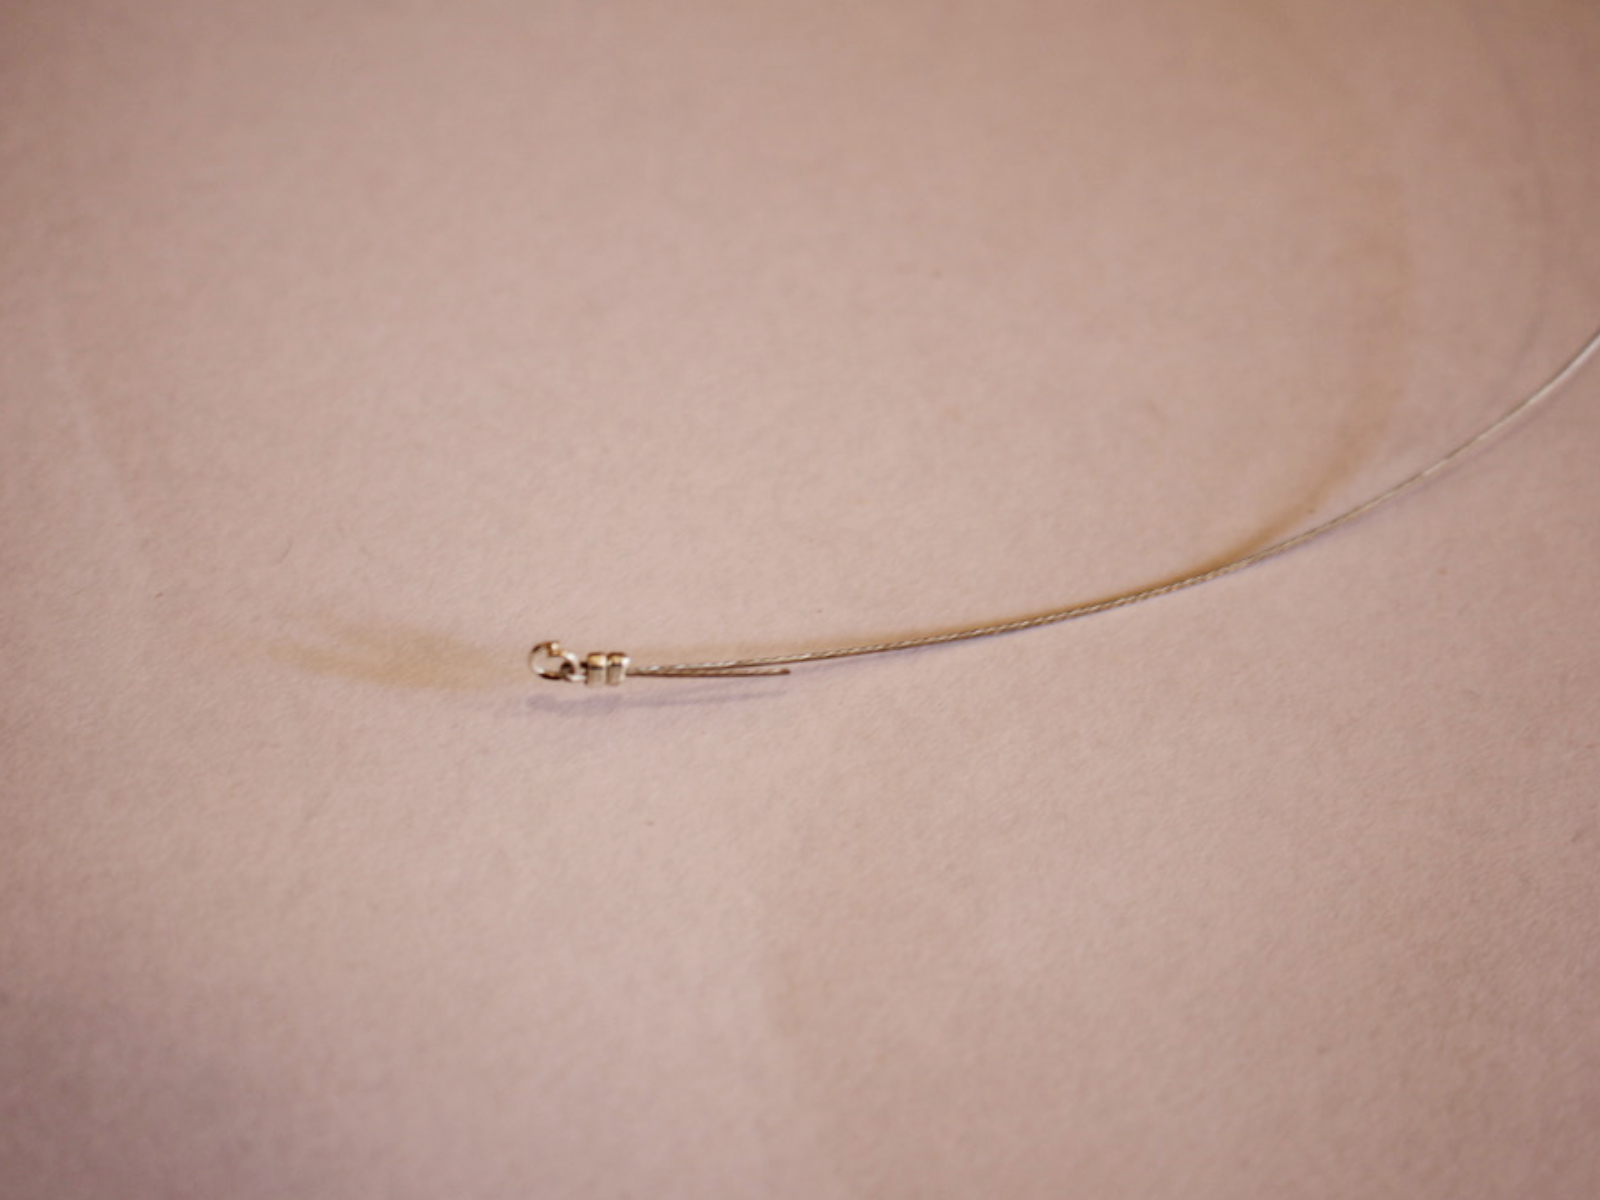
1: Add two crimp beads and a jump ring to one end of the tiger tail wire.


2: Fold the end of the wire around the jump ring and back through the crimps. Pull the end tight to secure the jump ring.

3: Squash the crimps using flat nose pliers to secure the end of the bracelet.


4: Begin adding beads in your chosen pattern.


5: Once you have beaded to approximately half-way around your wrist (this will vary depending on the length of your chosen word but for three initials the length is approximately half-way), add your letter beads.

6: Continue adding beads in the pattern you established on the other side to complete beading the bracelet. Make sure it fits closely around your wrist at this stage.

7: Add the remaining crimp beads to the end of the bracelet.

8: Also add the second jump ring.
9: Loop the wire around the jump ring and back through the crimps.

10: Pull the end of the wire tight.
11: Squash the crimp beads to secure the wire.

12: Trim the excess tiger tail wire.


13: Attach each part of the toggle clasp to either end of the bracelet by opening the jump rings and sliding them on. Close the jump rings to secure the clasp components in place.


Now your personalised bracelet is finished and ready to wear! Super cute and a great gift idea for a best friend or other loved one.

You can get these beads in a white tone as well, but I like the rainbow beads because they make your designs even more fun! What words will you add to your collection of personalised jewelry? Maybe a cute nickname or funny in joke?
This is our first letter bead tutorial, but I have used cute love heart beads in a similar shape to make another design, here it is: