-
Here’s how to make a glasses chain using an old necklace and some hair elastics!
Sometimes I like to MacGyver some things together to make something far more useful, this is one of those times. I needed a sunglasses chain for an upcoming trip where I definitely didn’t want to lose my glasses. In the past I’ve made glasses chains using specialised findings, but I found that the rubber would wear out and break very quickly, so I wanted a more durable option… cue hair elastics! By tying some hair elastics cleverly, I’ve now got a stylish glasses chain that is far more long lasting than my old rubber pieces. How cool!?!
Please note that this tutorial contains affiliate links.
You will need the following tools and materials to make your glasses chain:
1: Two thin hair elastics.

2: A long chain that you don’t use anymore. I used this snake chain costume jewelry necklace.

3: Some flat nose pliers for opening and closing jump rings.

Here are the steps to make your own handy glasses chain using hair elastics:
1: Using your pliers. Remove the clasp and any additional hardware from the jump rings on either end of the chain.

2: Close the jump rings.

3: Take one of the hair elastics, fold it in half and thread it though one of the jump rings at the end of the chain.

4: Loop the other end of the elastic through the loop that you just threaded through the jump ring and pull it tight.


5: Create a knot above the loop you just made to secure the elastic on the jump ring.

6: Now find a spot near the middle of the elastic, but closer to the open end of it, and create a knot. You might need to make it closer to the end of the elastic or further away depending on the width of your glasses arms.
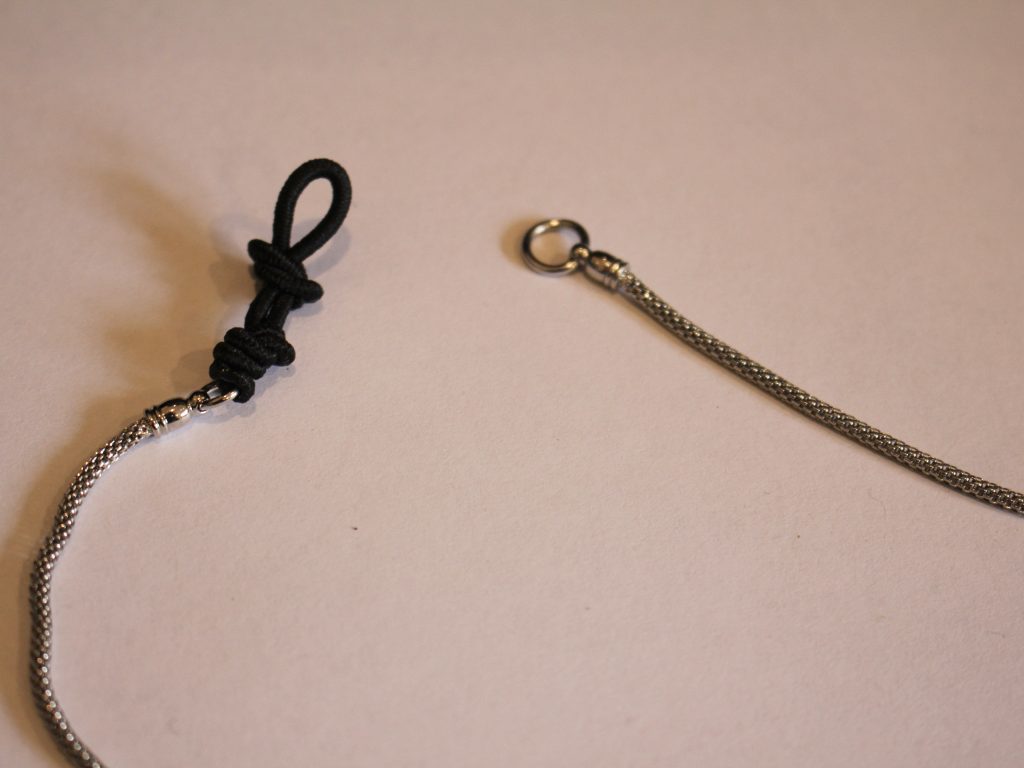
7: Repeat steps 3 to 6 for the second elastic to complete the glasses chain.
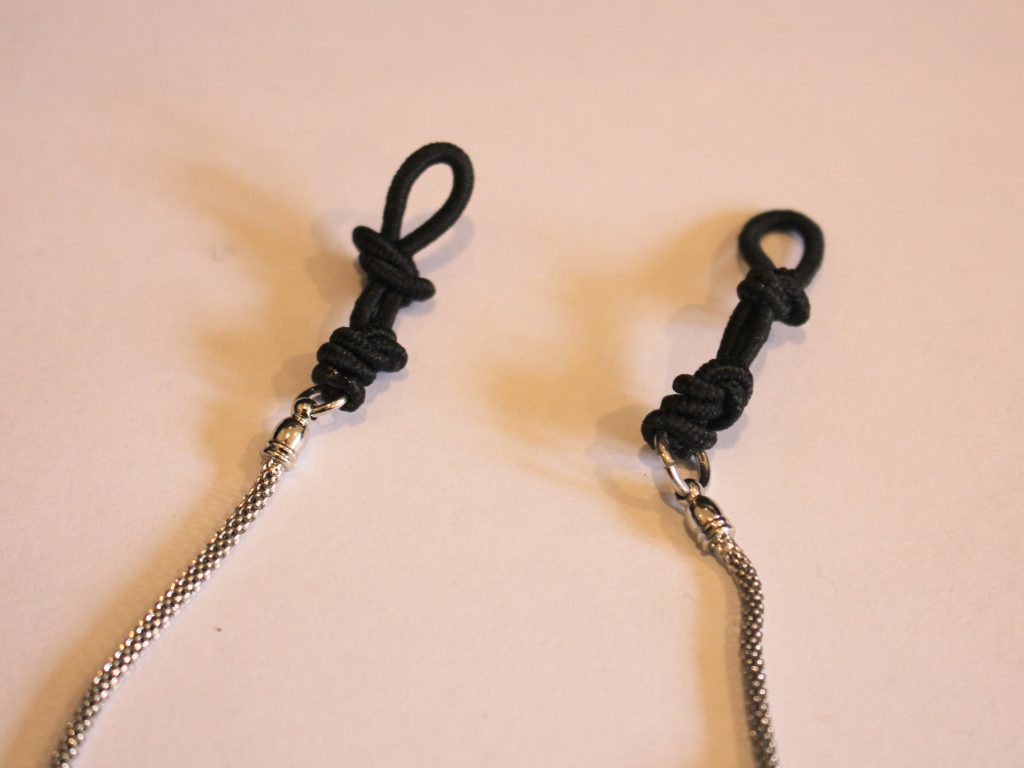
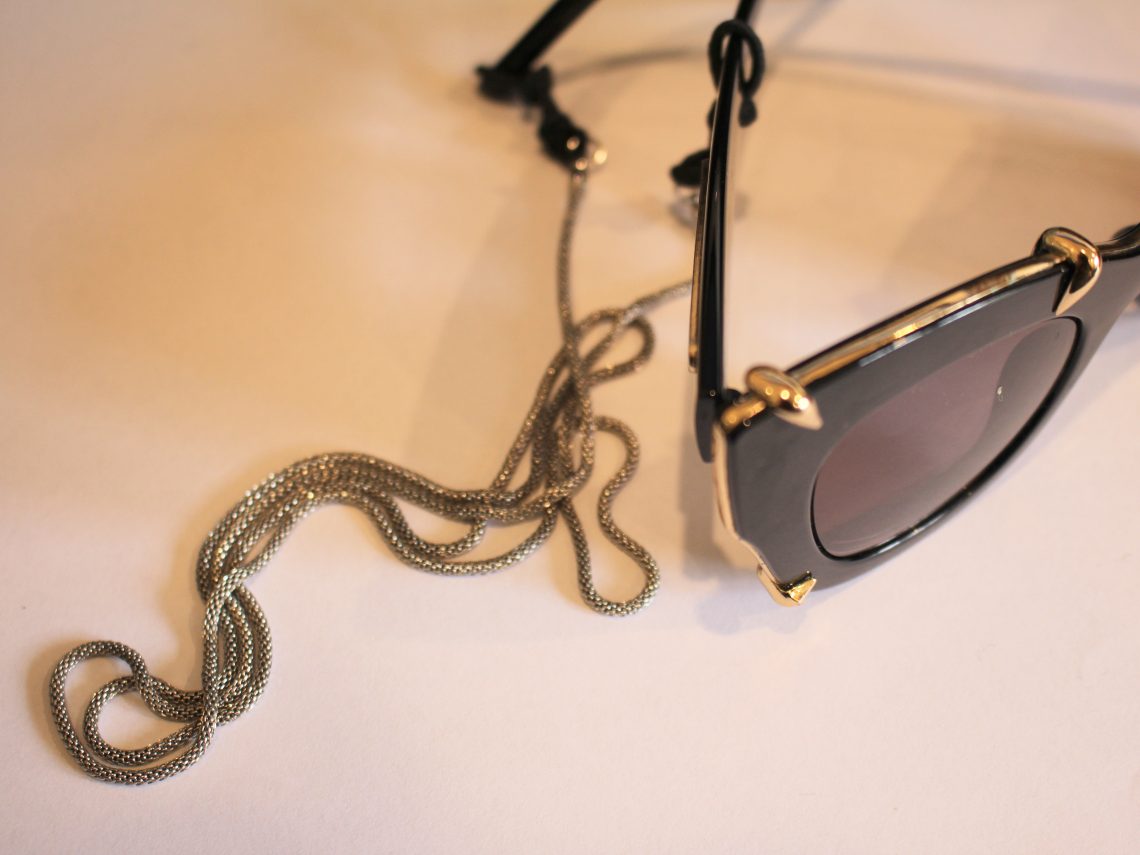
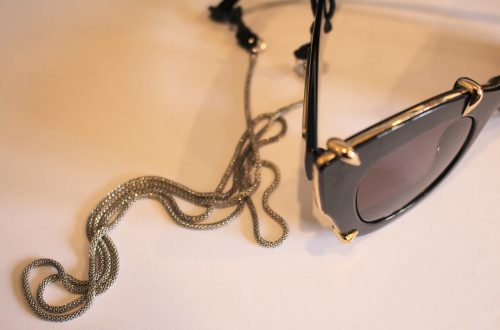
Once you have both elastics in place your glasses chain is ready to use! Here’s my finished chain.
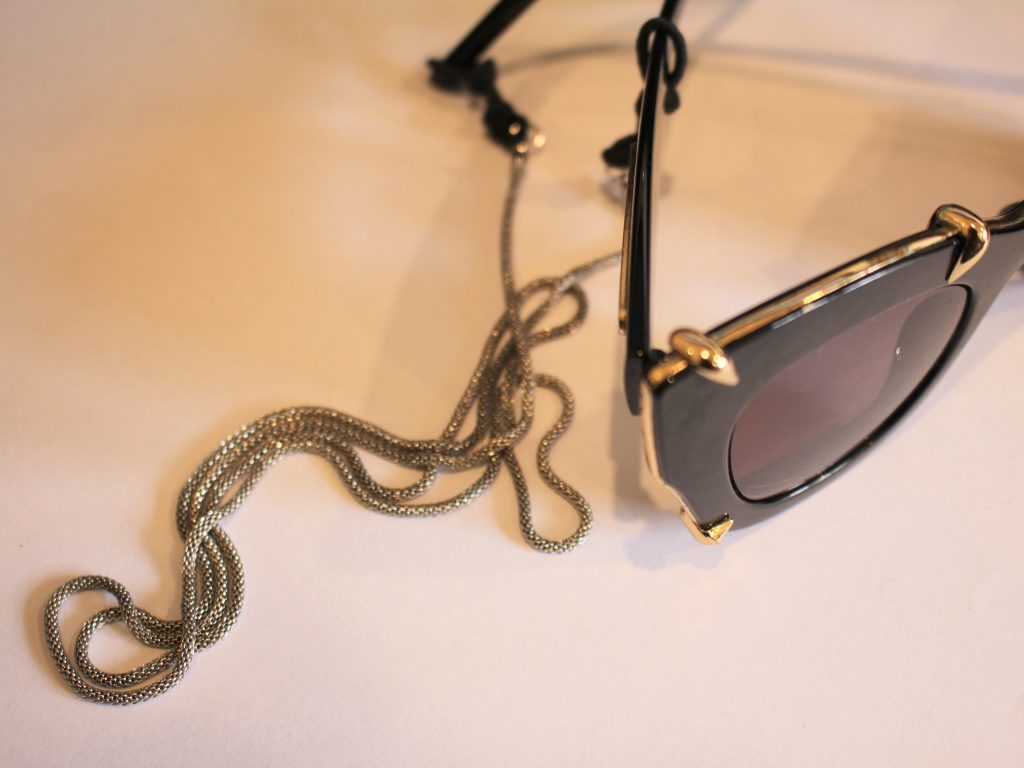
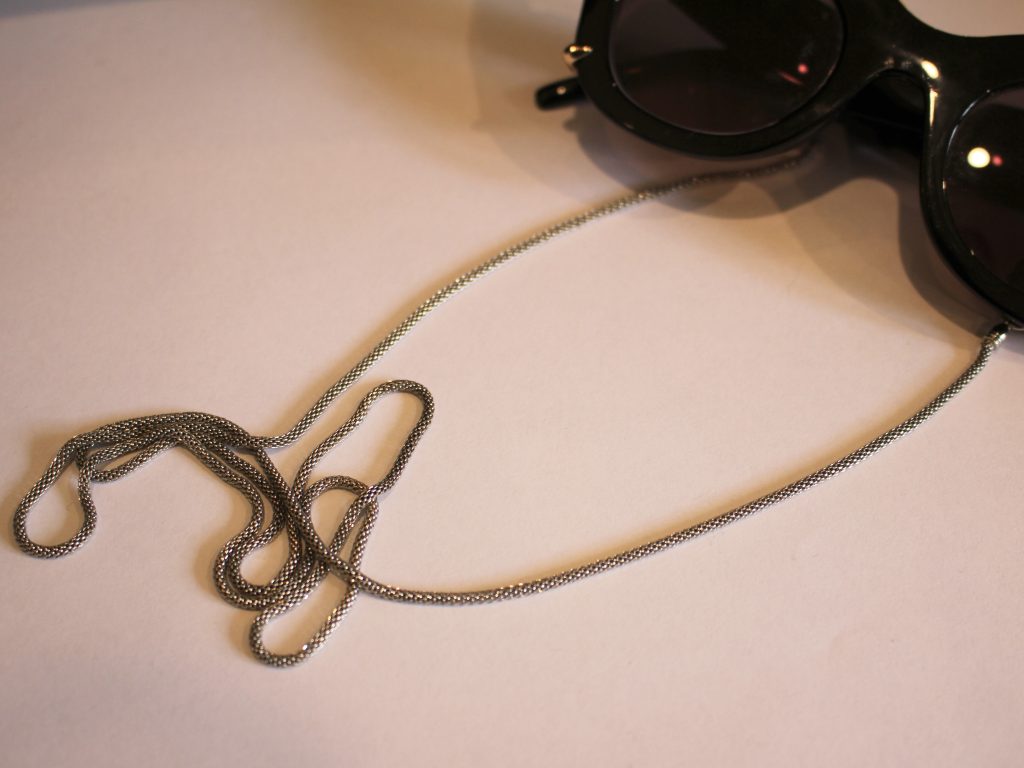
And here are some more I made:
This one was made with a handmade beaded copper chain.
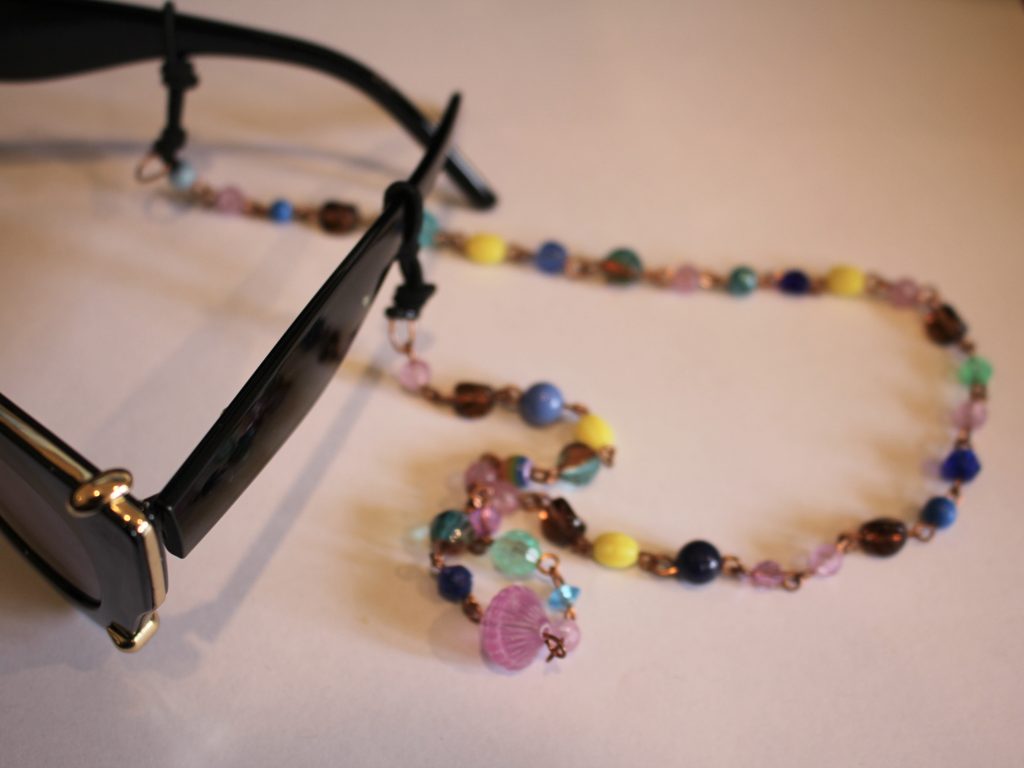
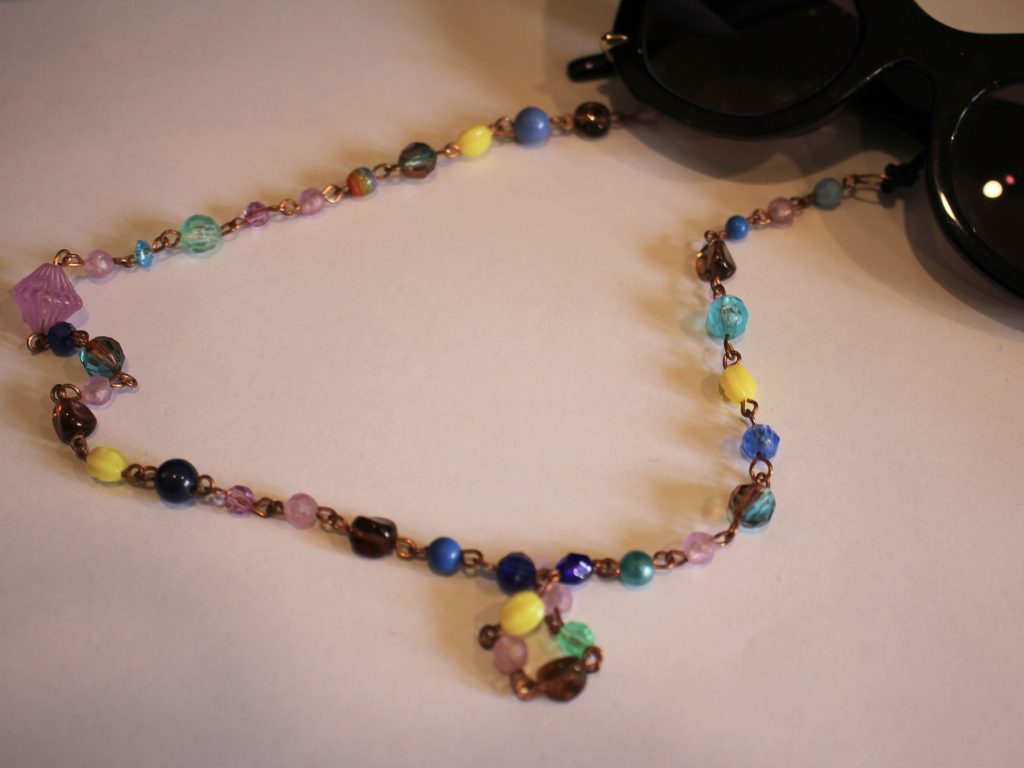
Here’s some pre-made beaded chain you can use if you don’t want to make your own:
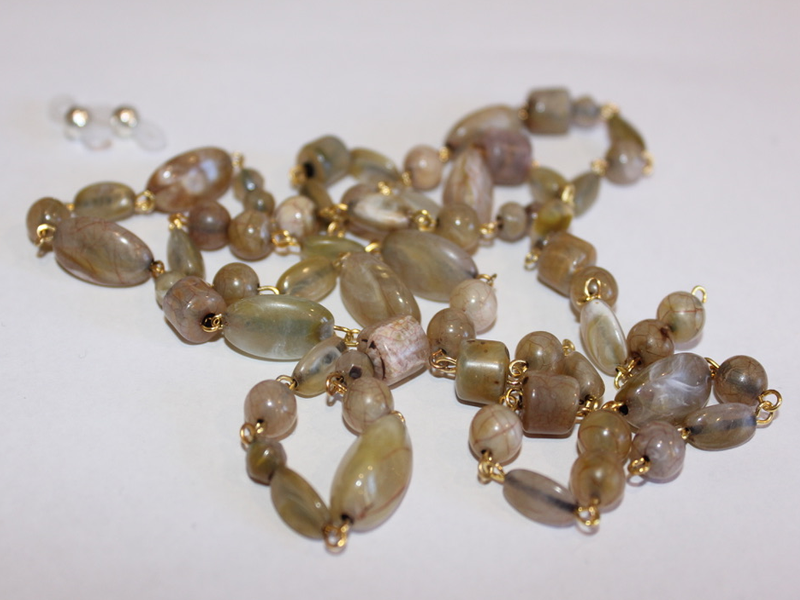
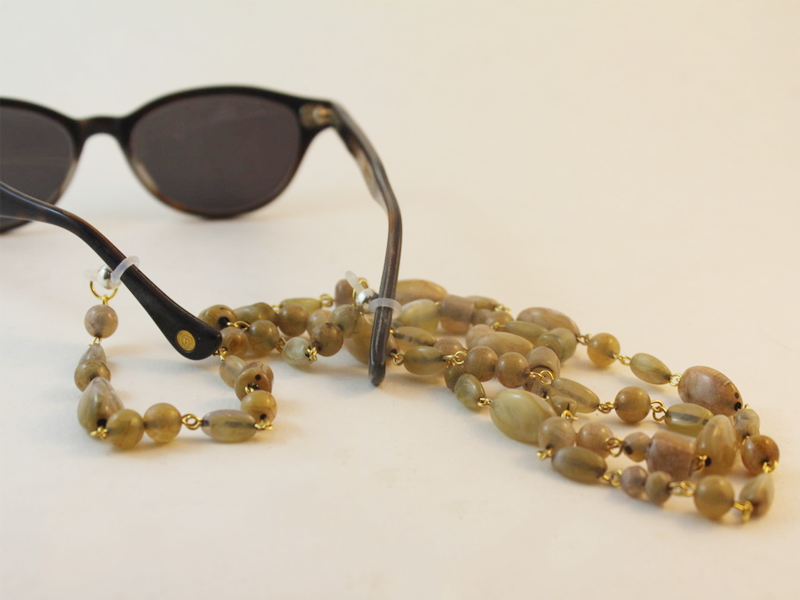
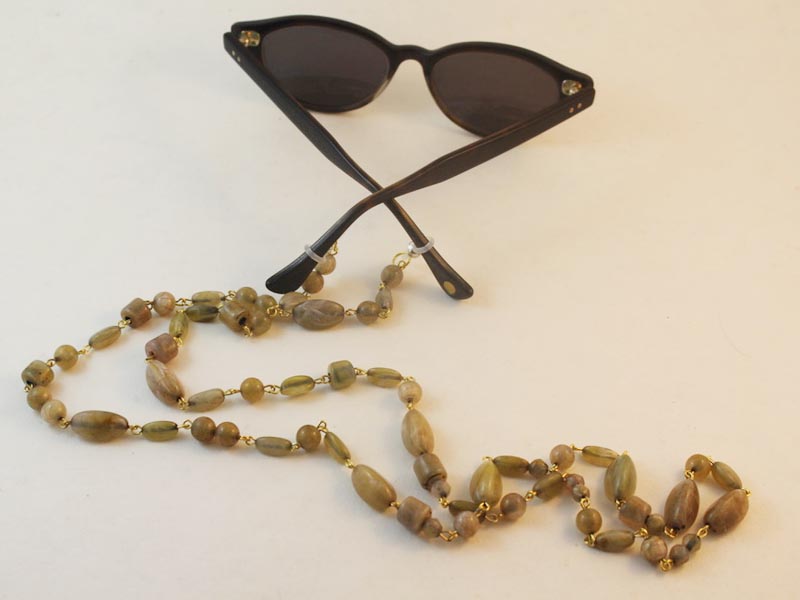
And this one was made using a vintage plastic chain.
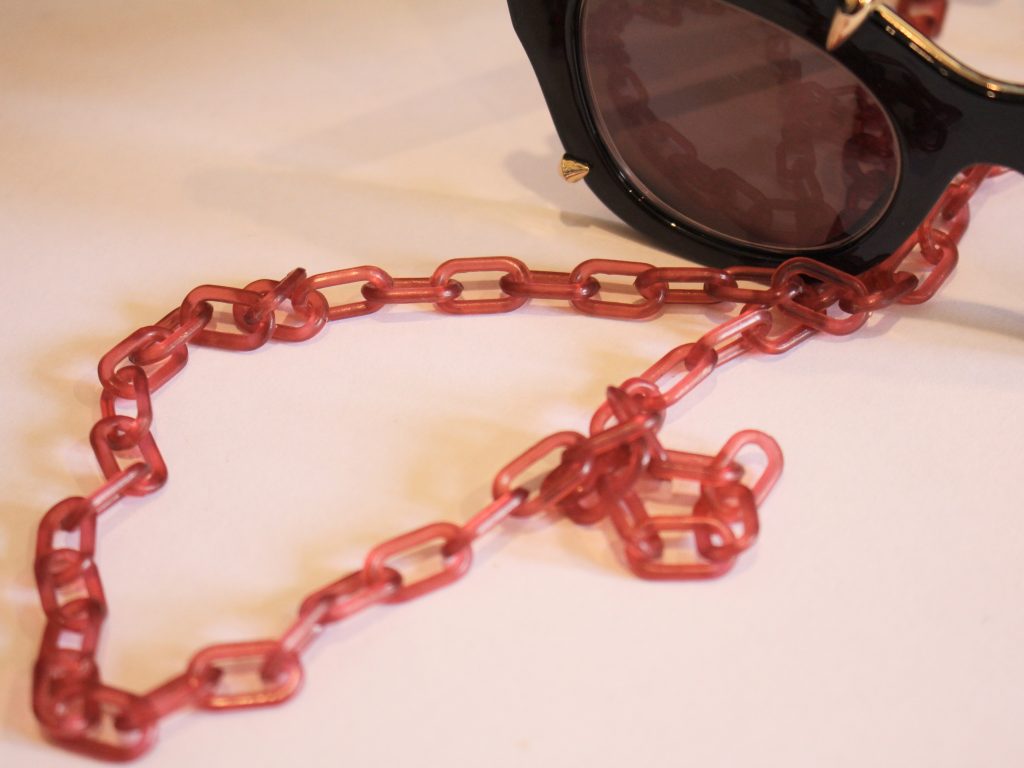
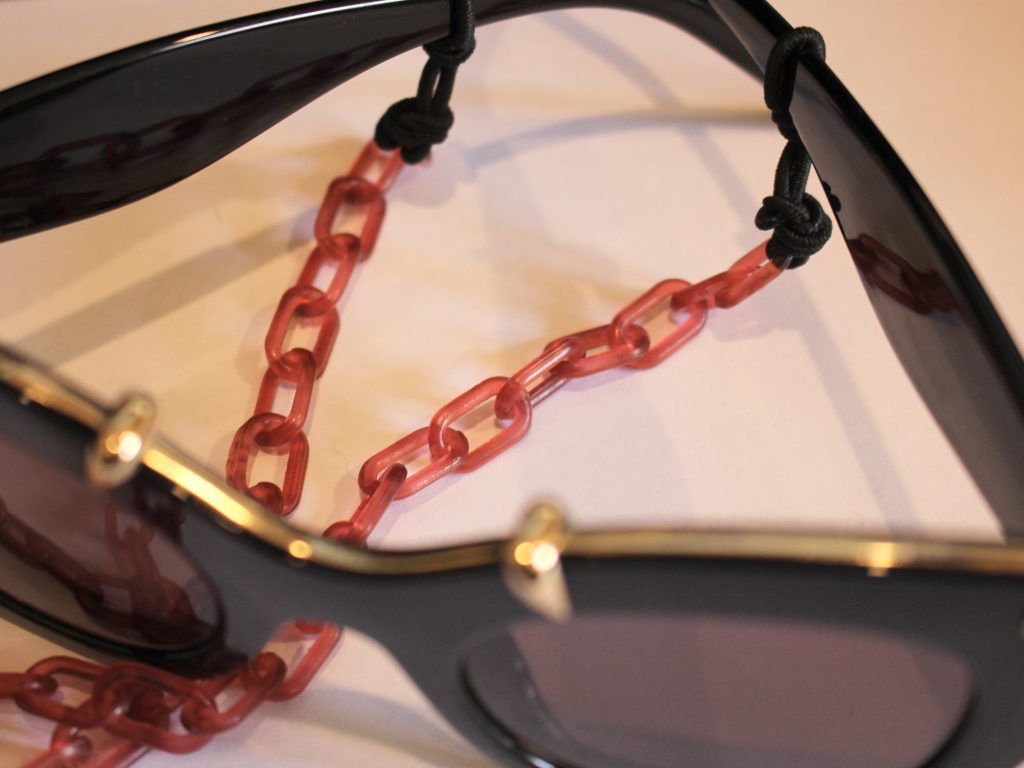
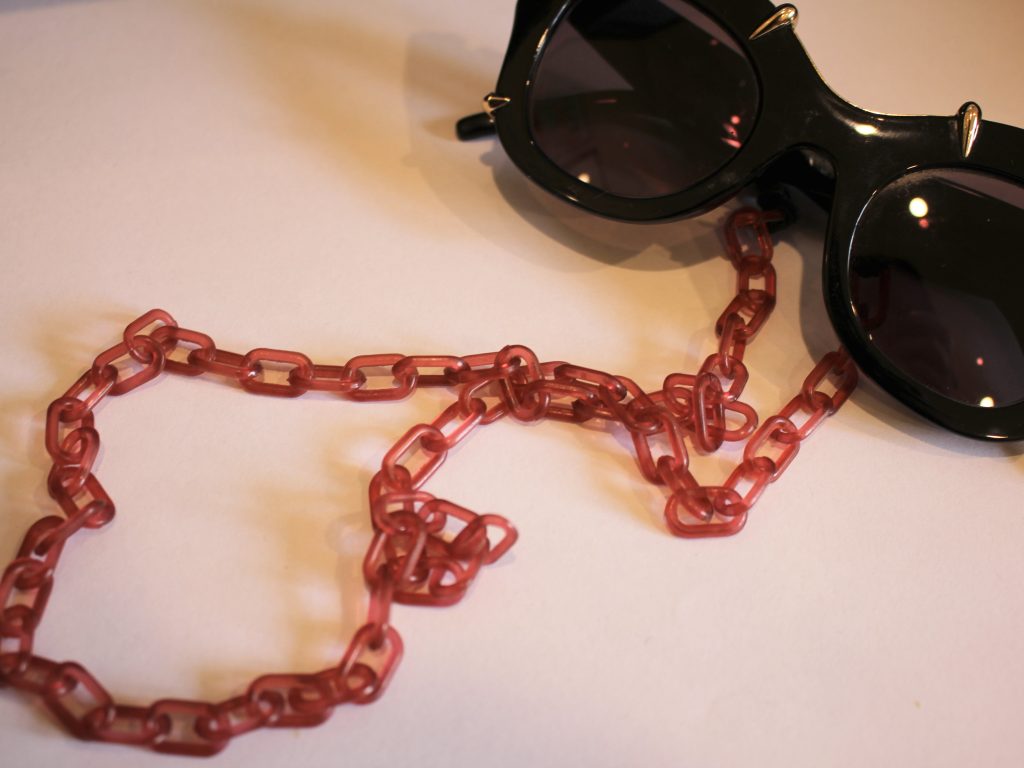
Here are some plastic chain options you can use:
Here are some more glasses chain tutorials you can follow using traditional findings, if you want to use elastics instead, just follow the steps in this tutorial to knot them in place 😉
- Here’s how to make a glasses chain using a ball chain. This one also has clips so you can use it to keep track of a face mask or other accessory.
- Here’s a simple glasses chain with bead accents.
- This is a fully beaded glasses chain.
- This one shows you how to make a chain using head pins and beads.
- This glasses chain is made from recycled materials.
- Here’s a tutorial that shows you how to make a rhinestone glasses chain.
- This glasses chain has dangling charms on it.
- And finally, this tutorial shows you how you can use a glasses chain as a holder for your wireless headphones!
-
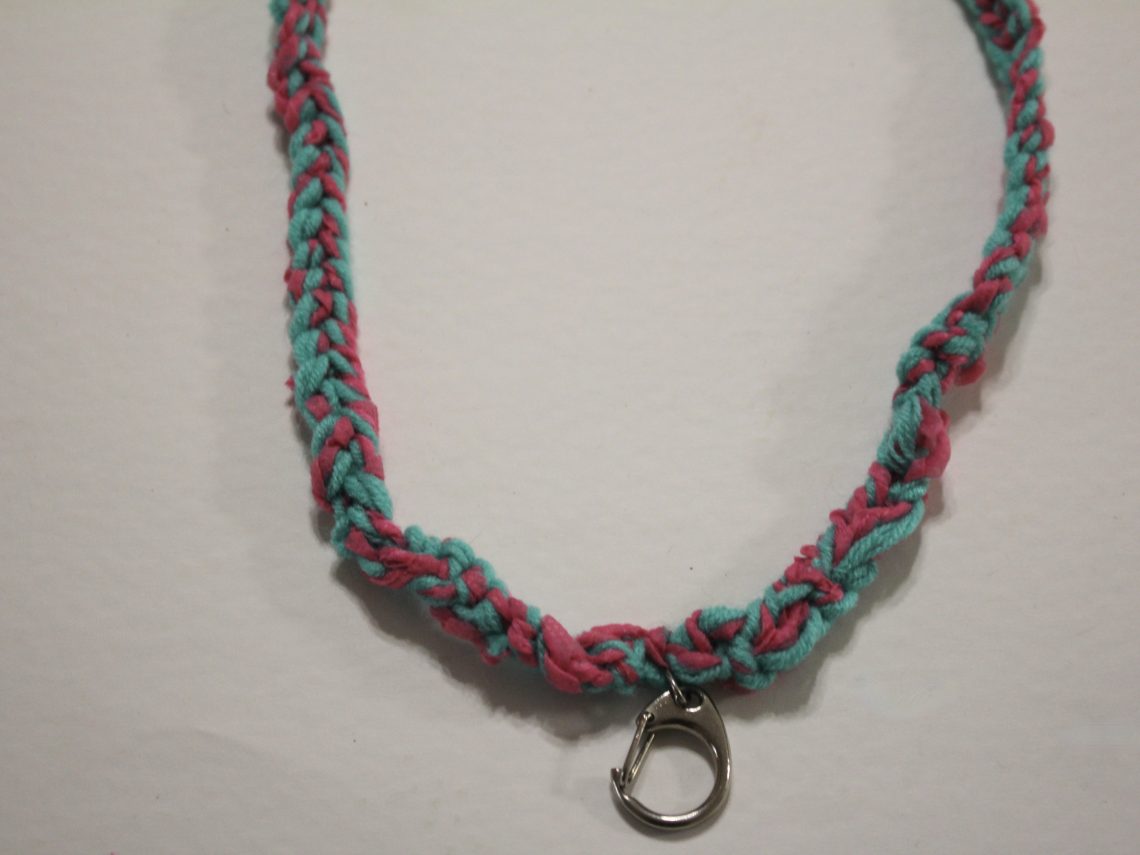
Here’s how to make a colorful crochet lanyard!
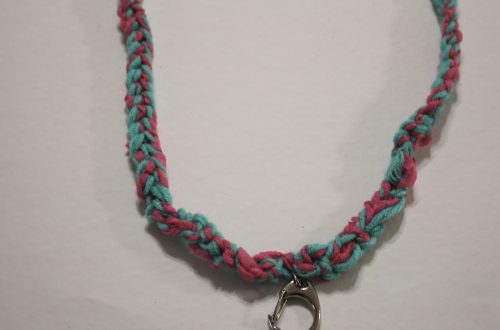
I have a teacher friend who loves a colourful lanyard, so this tutorial is inspired by her! This lanyard uses basic crochet combined with a large claw clasp to create a fun and practical accessory. I think this tutorial is a great way to use up scrap yarn and turn it into something useful. Please note that this tutorial contains affiliate links.
You’ll need these tools and materials to make this lanyard:
1: A crochet hook, large enough for chunky yarn. I used a 7mm hook.

2: Some yarn. I used three strands held together, two green strands and one pink strand.

Green yarn
Pink yarn
3: Scissors.

4: A darning needle.

5: A large lobster claw or similar. I used this chunky one that was recycled from an old keychain.
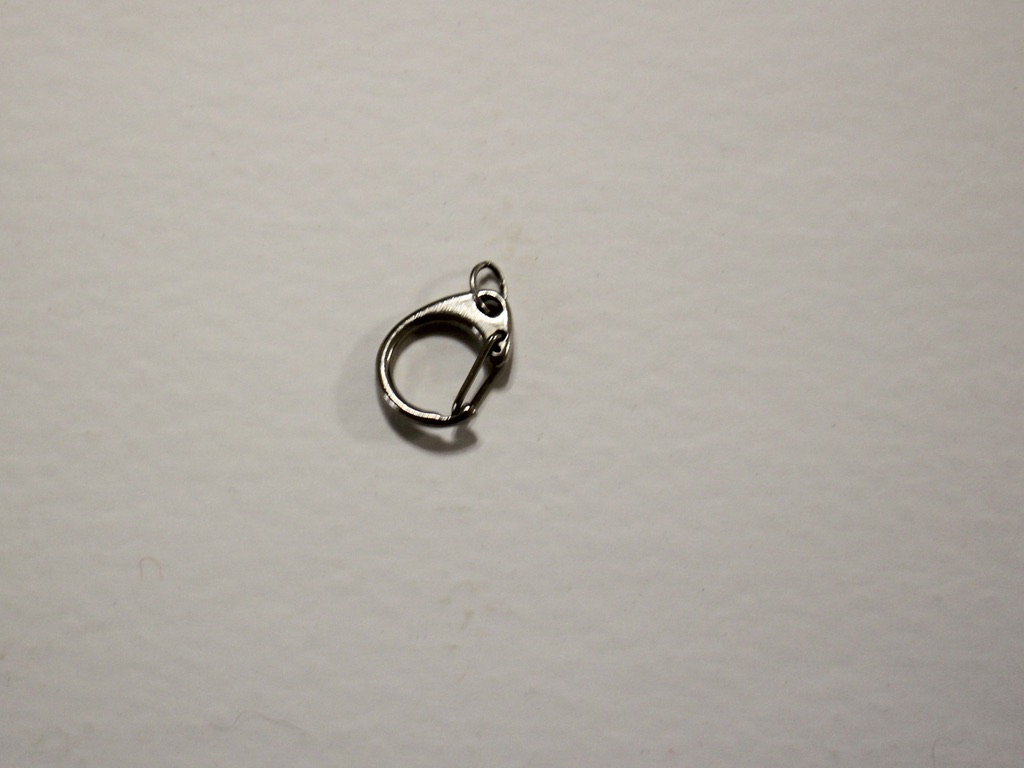
Here are the steps to make your own crochet lanyard.
1: Gather the three strands together.

3: Create a slip knot.

4: Place the loop around the crochet hook and pull the short end of the yarn to tighten it around the loop.

5: Take the long end of the yarn and wrap it around the hook before the first loop you made.

6: Grab the first loop and pull it over the top of the yarn you just wrapped around the crochet hook. This will leave you with just one loop on the hook again.

7: Repeat steps 5 and 6 to start creating a single row of crochet. Here’s a video that shows you what that looks like.

8: Continue crocheting until you have a length you like.

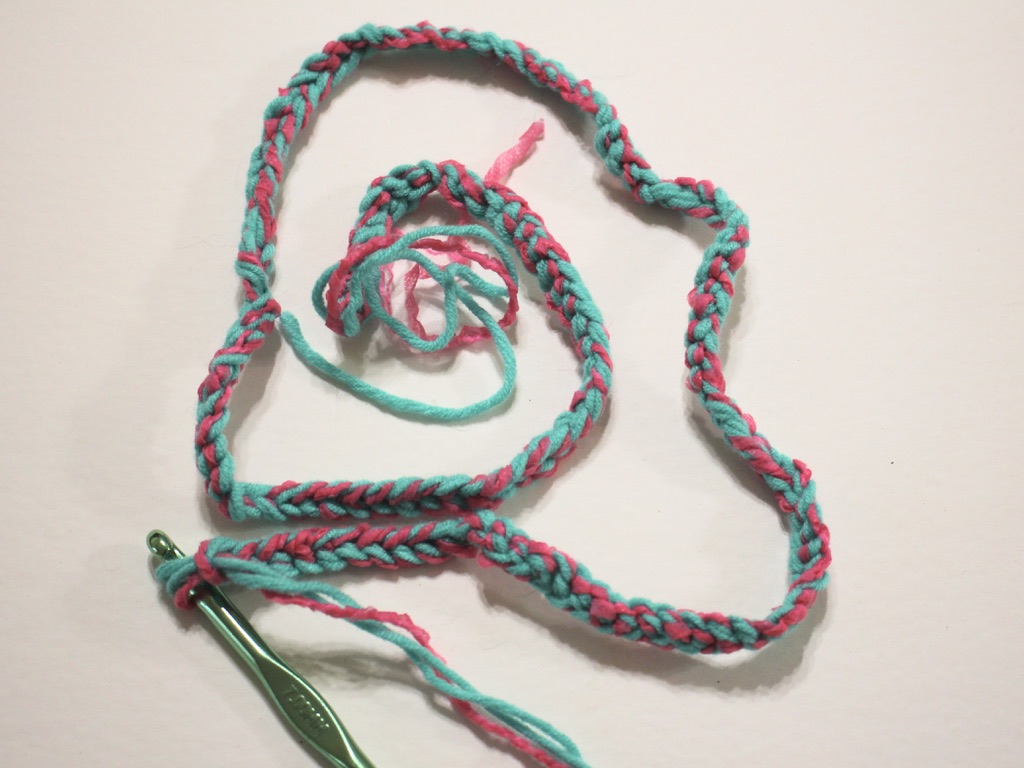
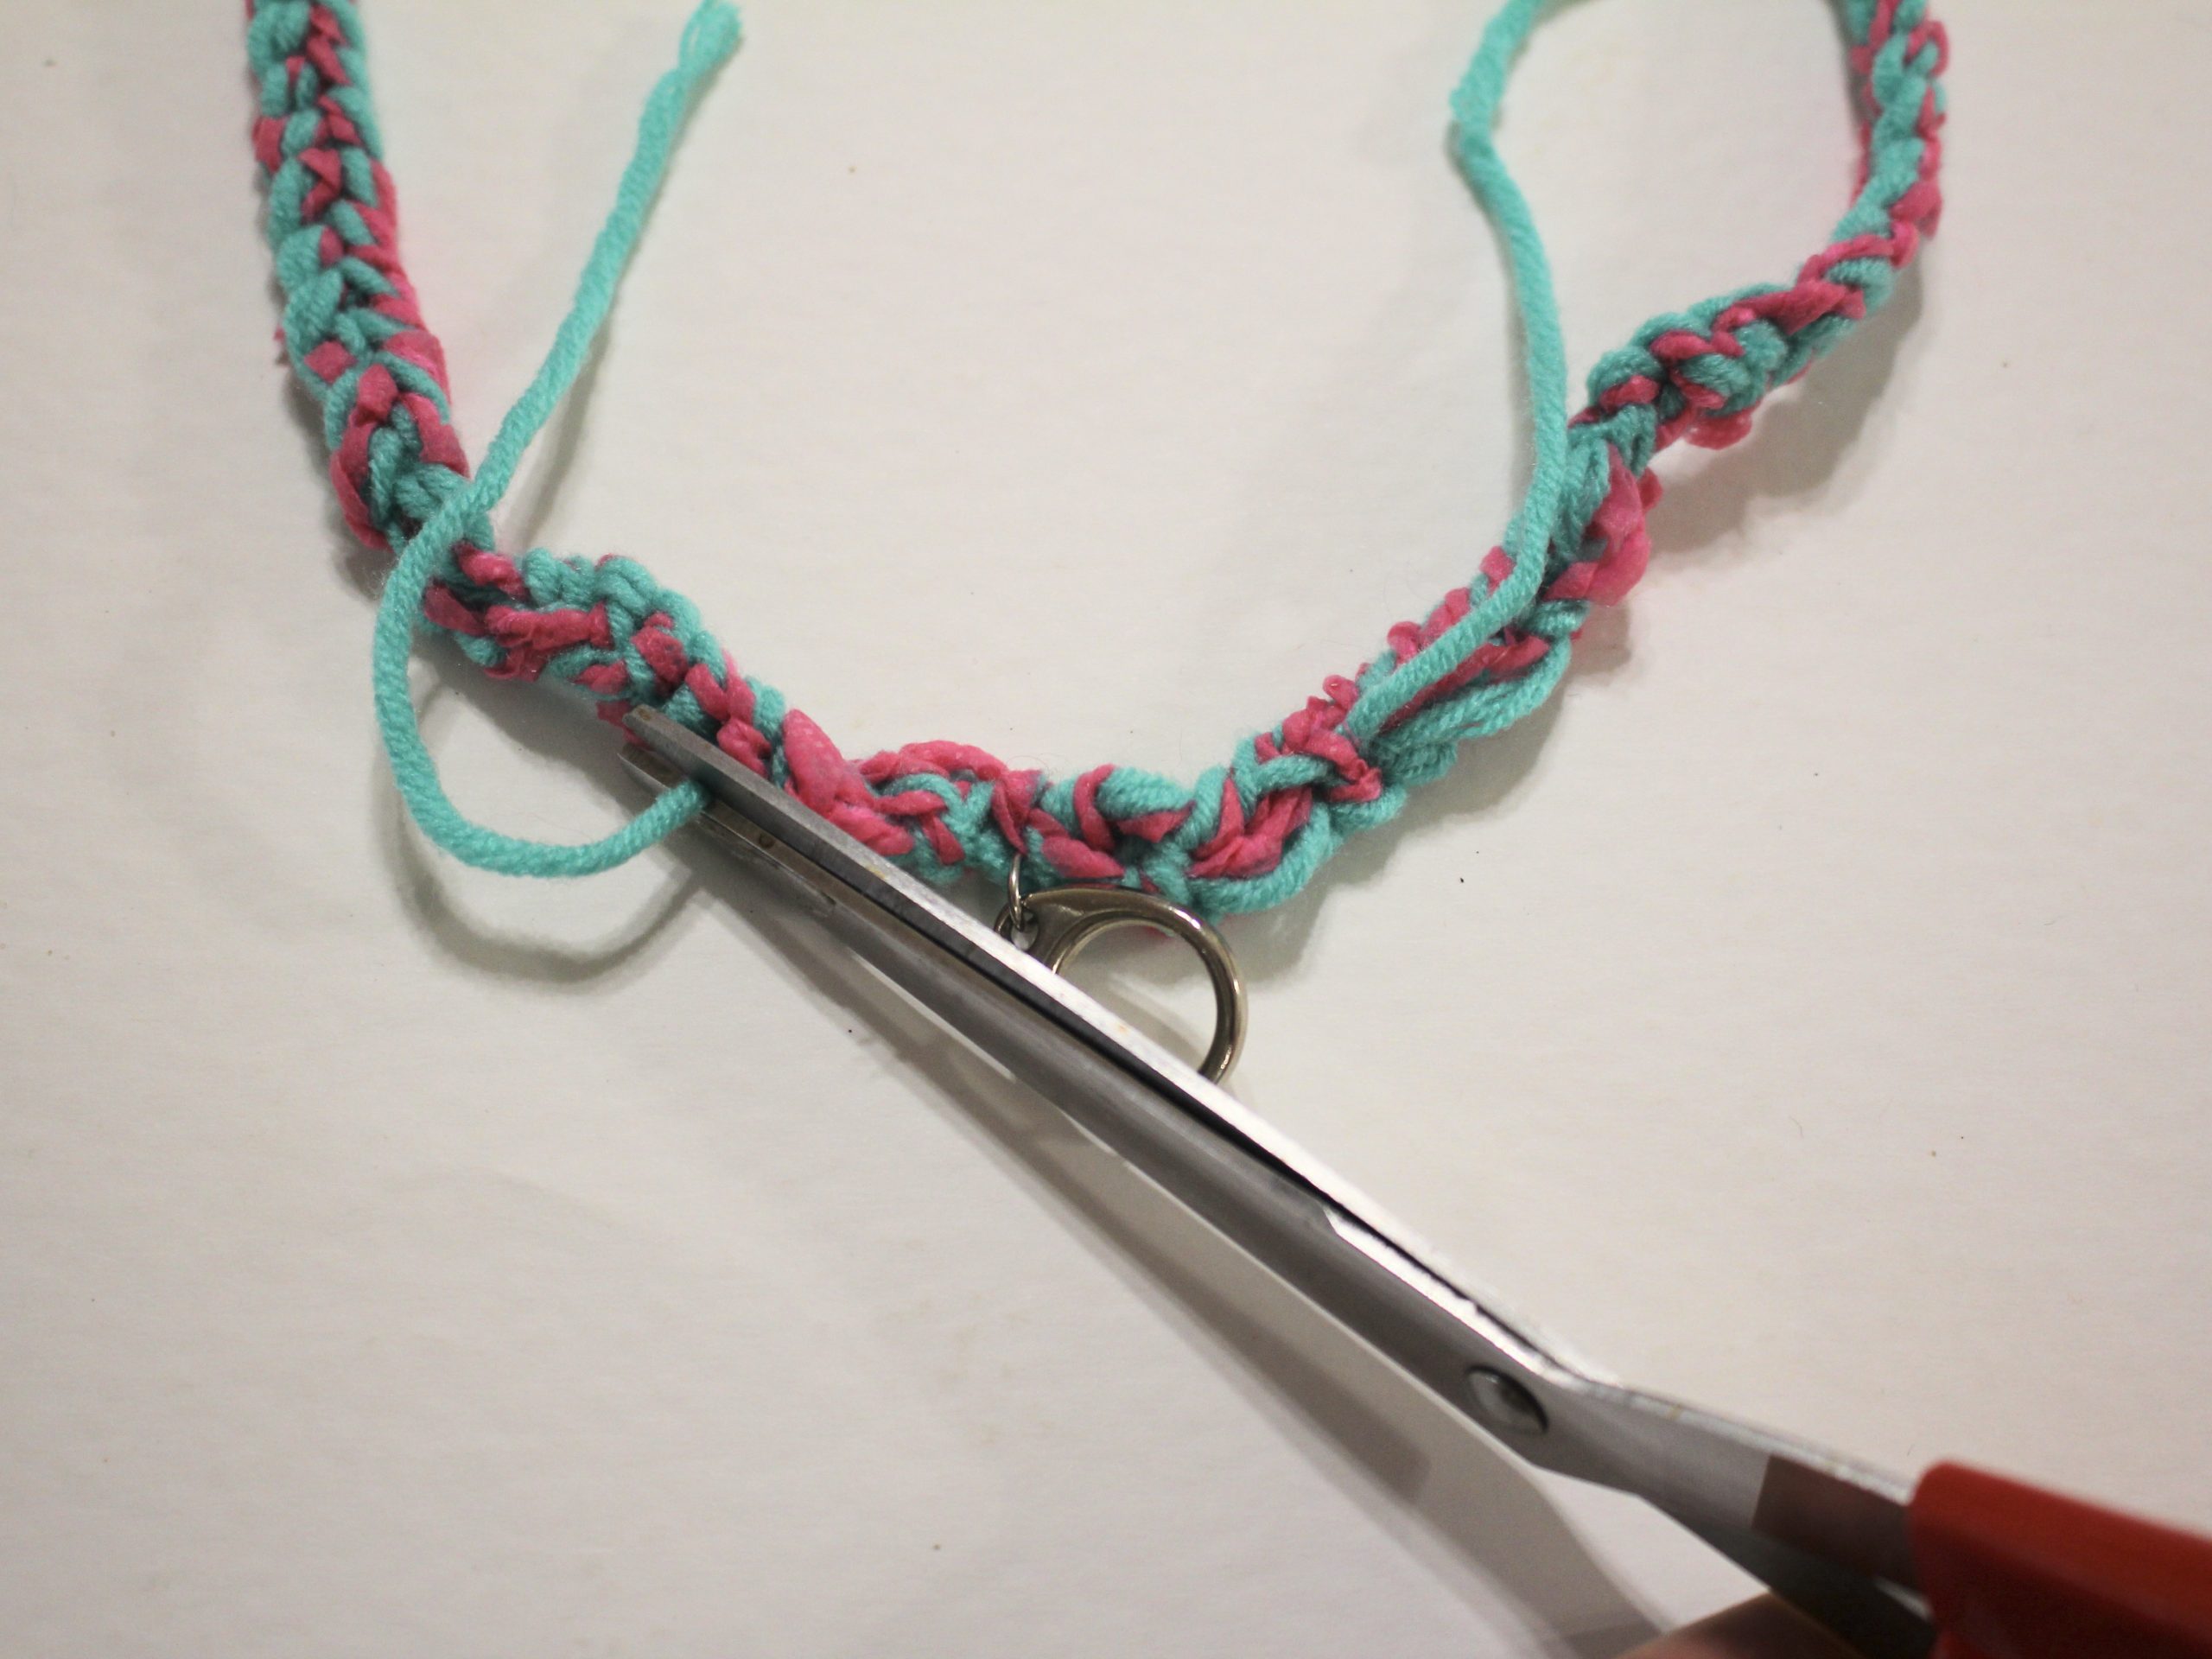
9: Cut the yarn leaving a reasonably long tail, about 15cm.

10: Remove the crochet hook and then loop the end of the yarn through the loop at the top.
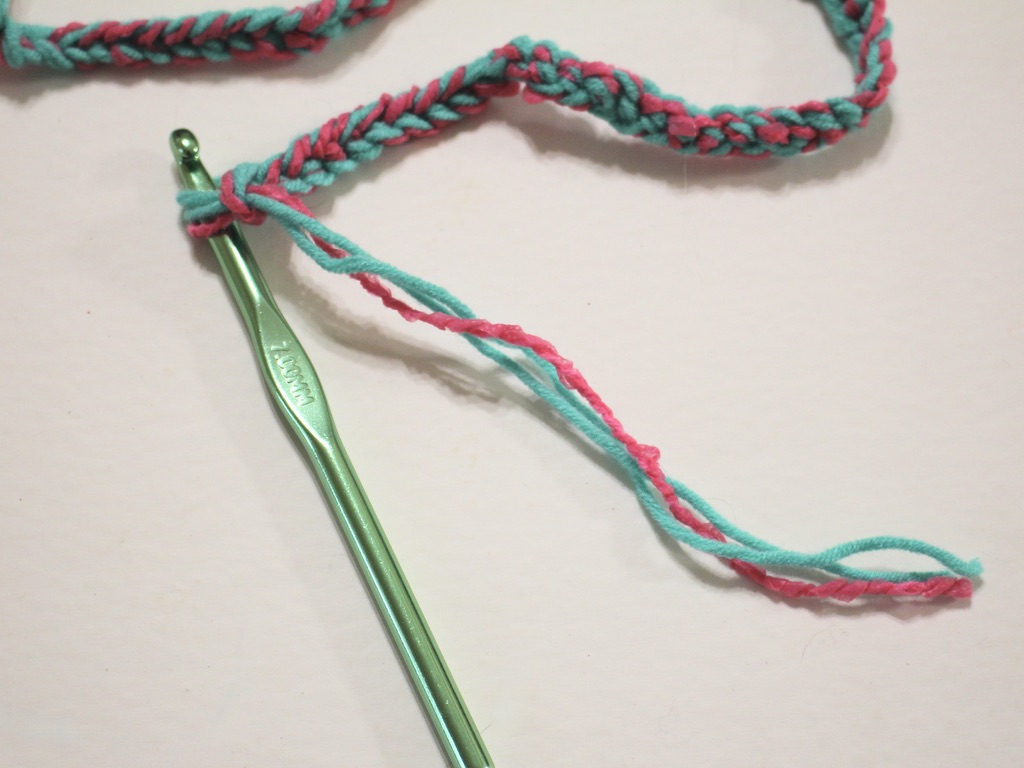
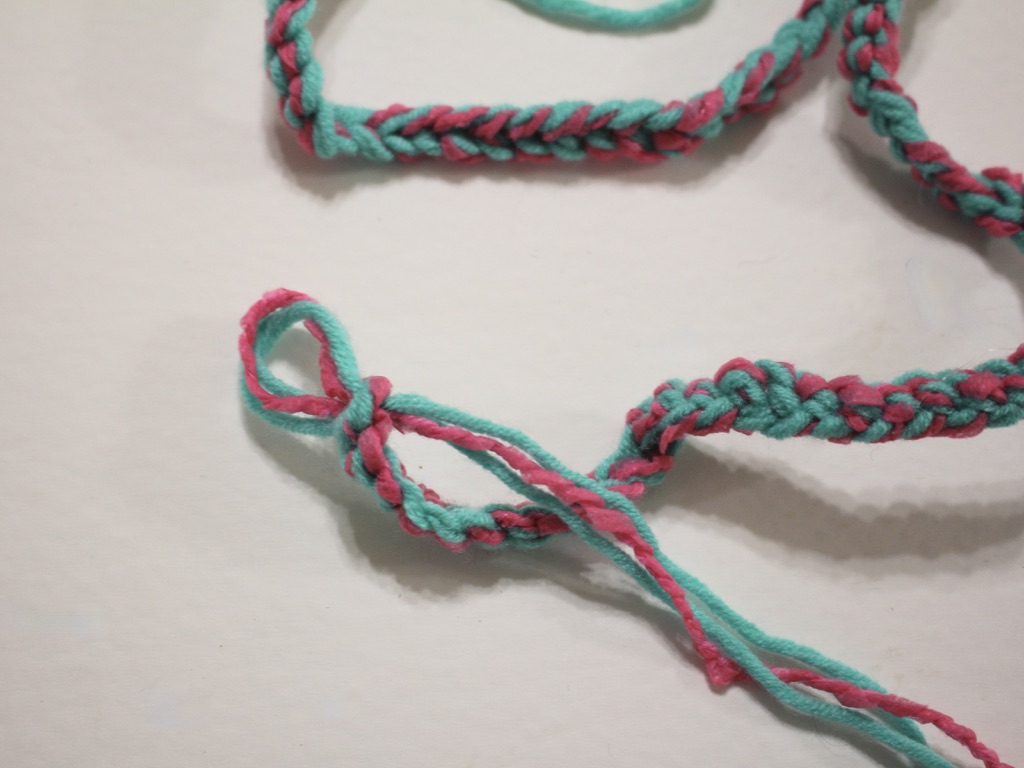
11: Pull the yarn tight to secure the end of the crochet cord closed.

12: Once you’ve got your preferred lanyard length and have the ends secured, take two of the strands (out of three) on each side and tie them together.


13: Use the needle to weave the paired threads through the crocheted part of the lanyard, trim the ends when you’re done. Do this for both sides of the lanyard.


14: Use the remaining strands to tie the claw clasp to the lanyard. Do a couple of knots to secure it, and then use the needle again to weave in the ends. Trim any excess yarn.


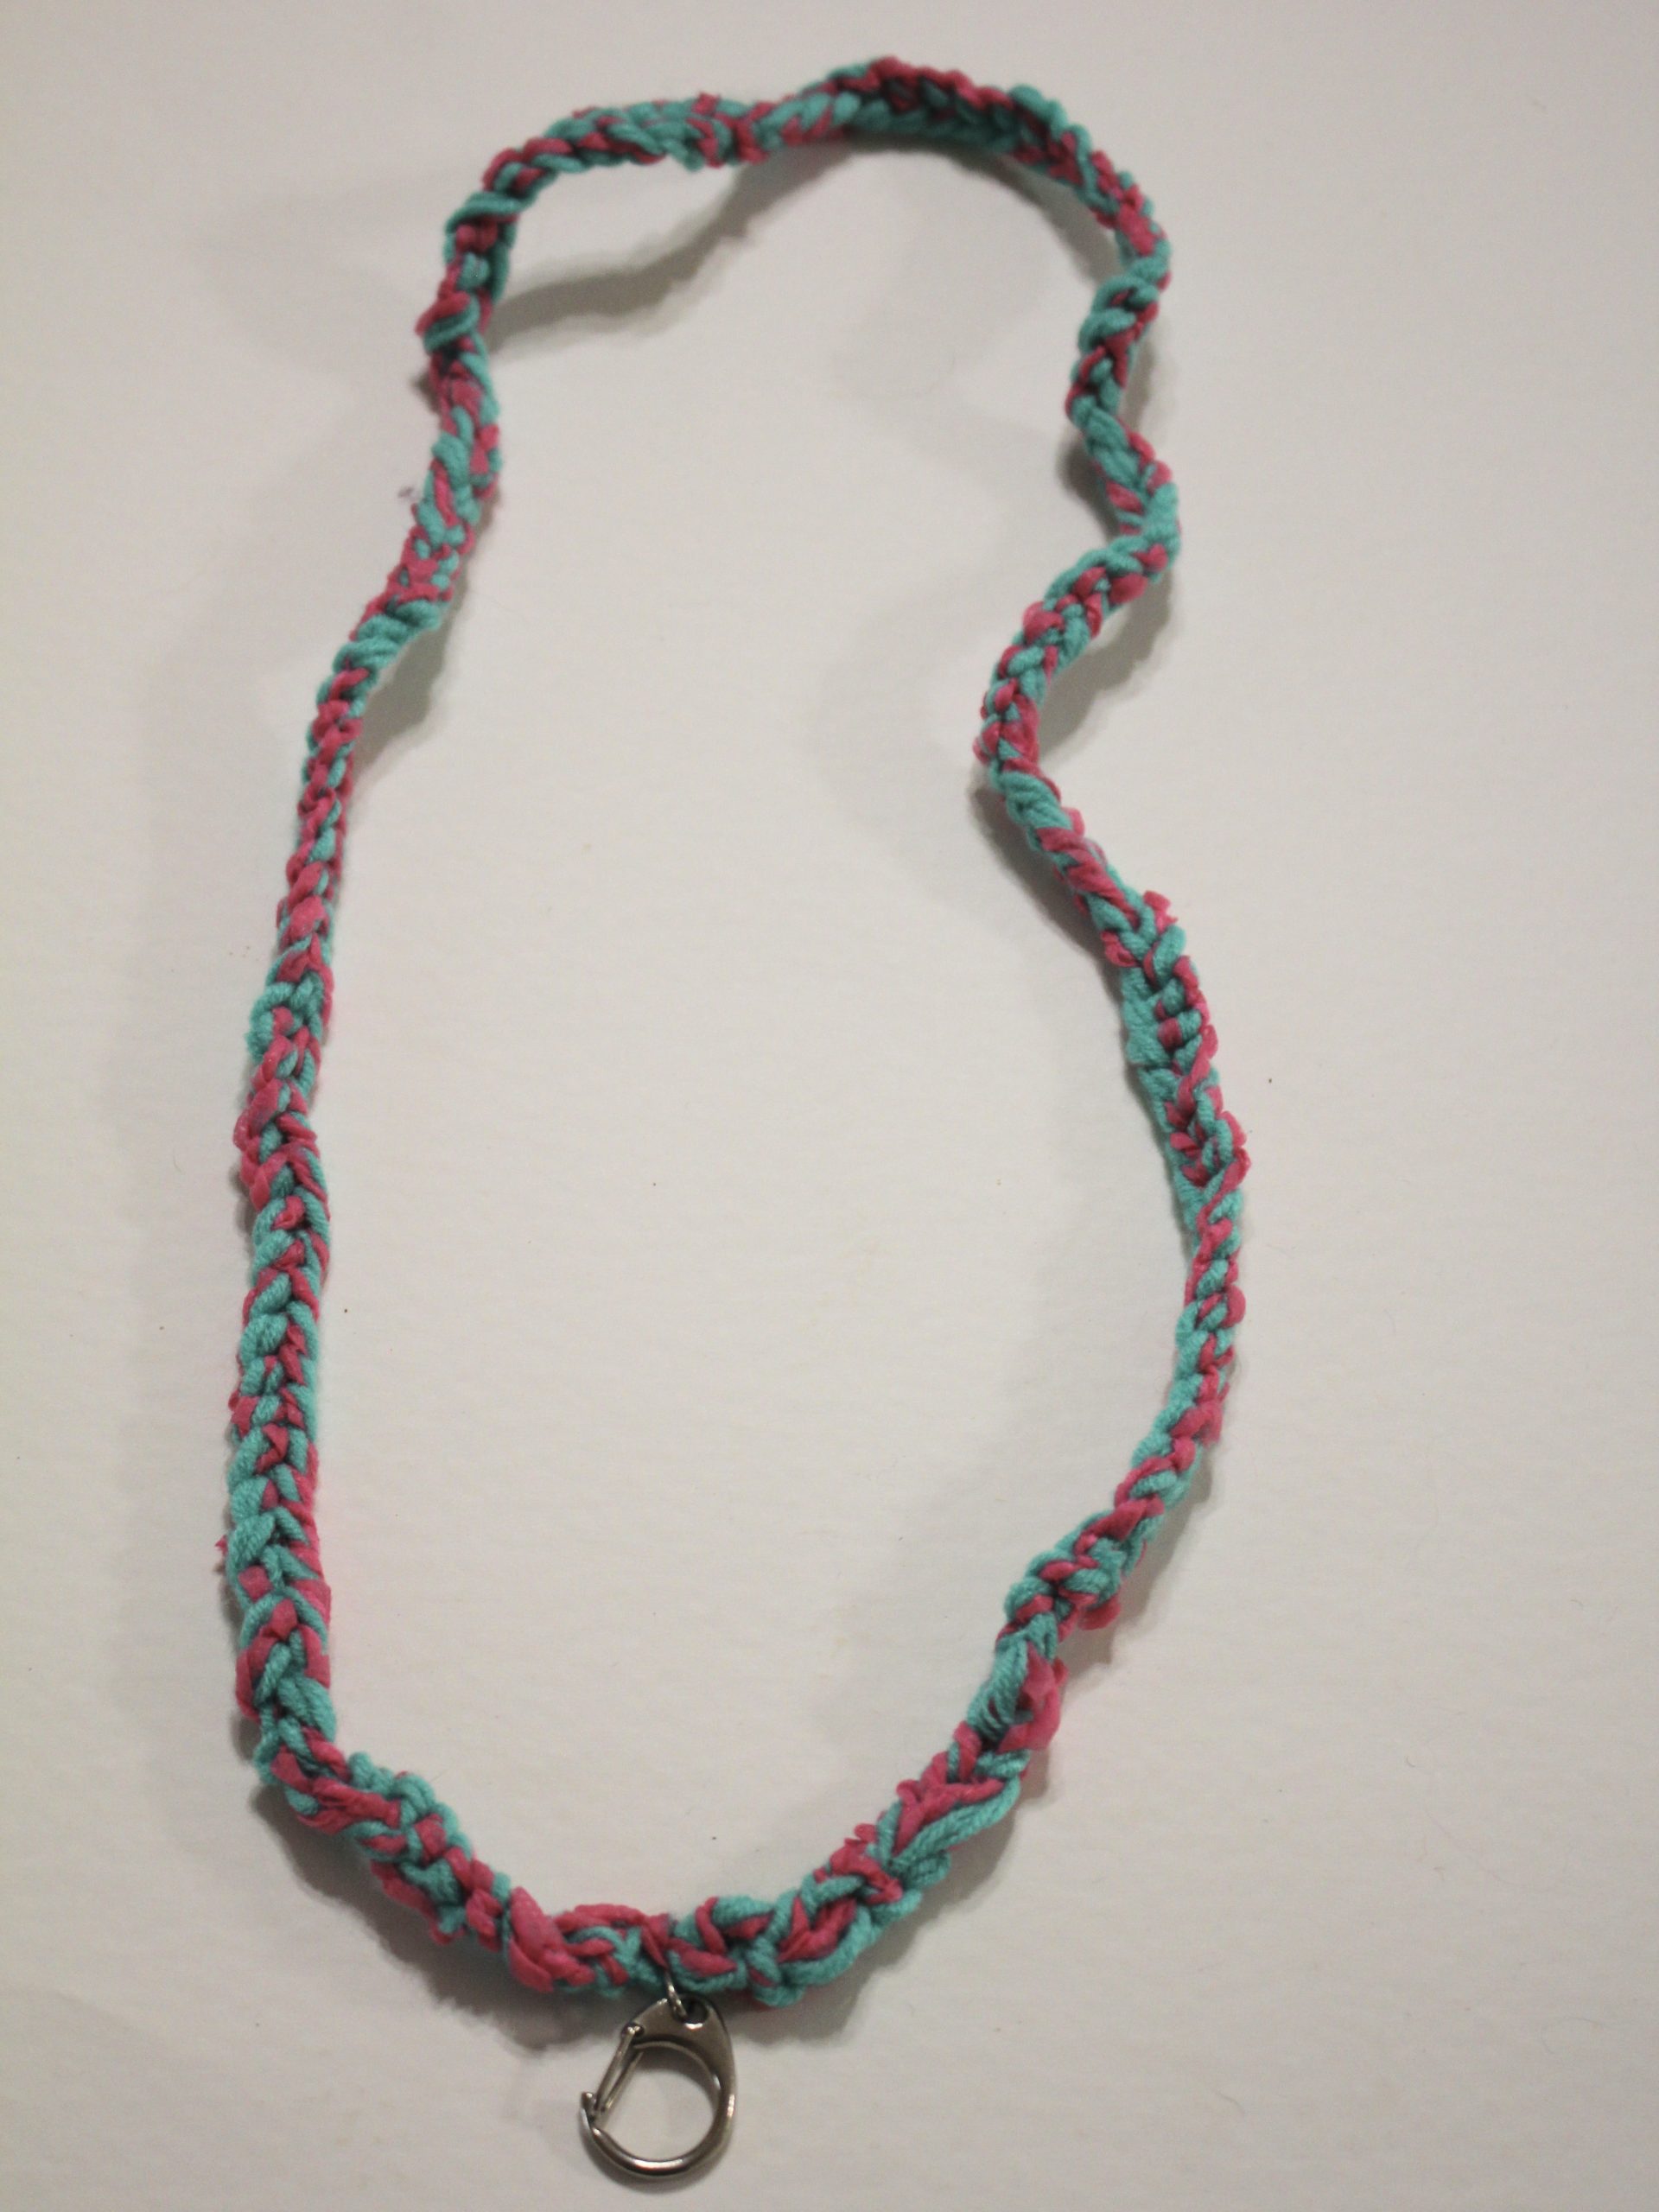
Once you’ve completed this step, your lanyard is ready to wear! Here’s what it looks like on using my needle sleeve as a sample ID 😉


What colours will your crochet your lanyard in? This is such a versatile technique, once you have your crochet base, you can add decorations by sewing in beads or buttons! You can even use a beaded yarn to add beads right from the start!
If you want to develop a lanyard collection, you can find out how to make a beaded lanyard here.
Here are some other yarn-based tutorials you can follow:
-
How to make a beaded lanyard using string and funky beads!
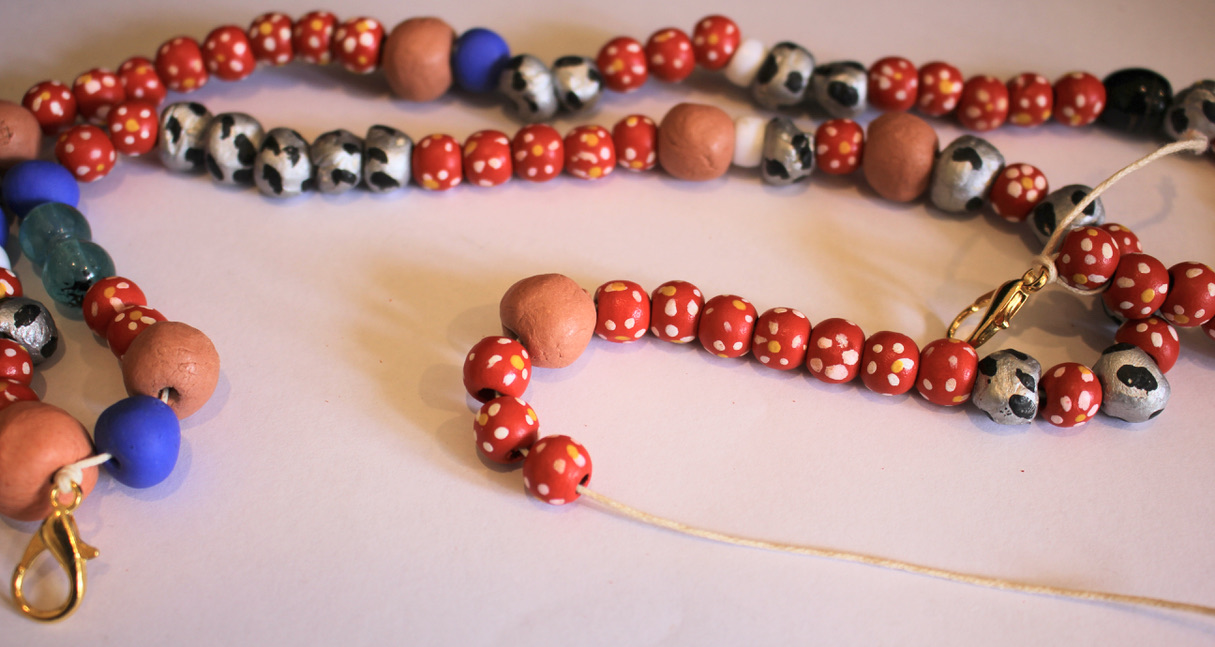
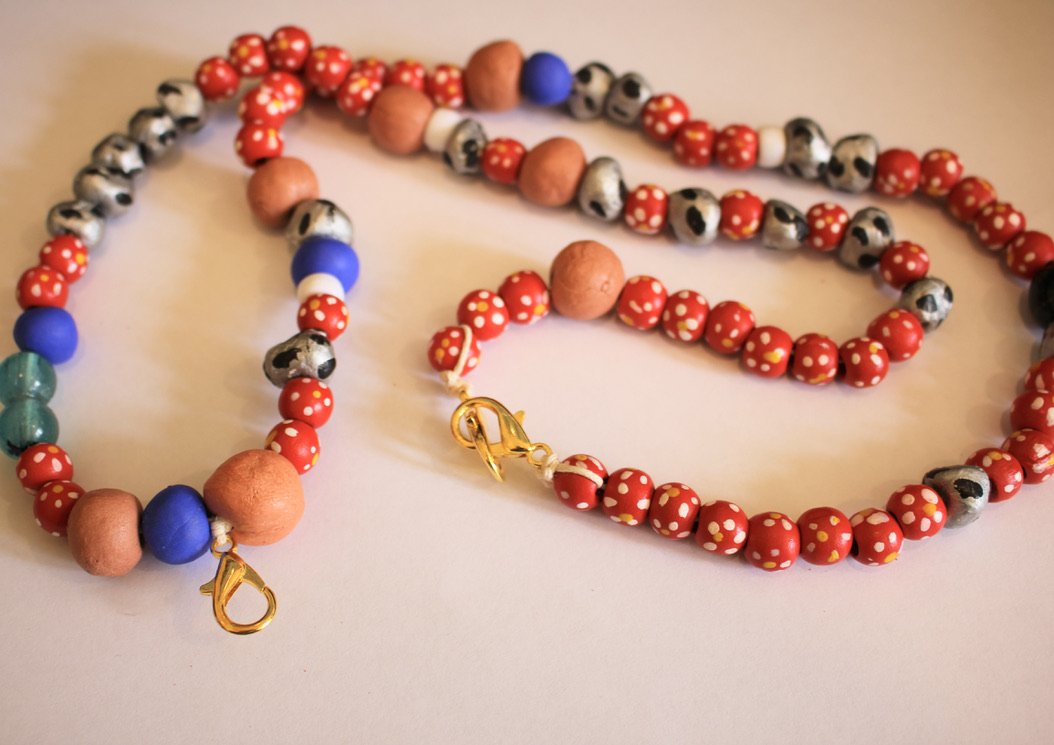
I recently caught up with a friend, she’s a teacher and she was really excited that she found some funky beaded lanyards, and it made me think… I could probably make one myself! So here’s the tutorial, here’s how to transform some string, clasps and funky beads into a useful lanyard! Please note that this tutorial contains affiliate links.
You’ll need these tools and materials to make your own beaded lanyard:
1: Scissors
2: Cotton twine, cut about 15cm longer than the length you want your lanyard.

3: Three large lobster clasps.

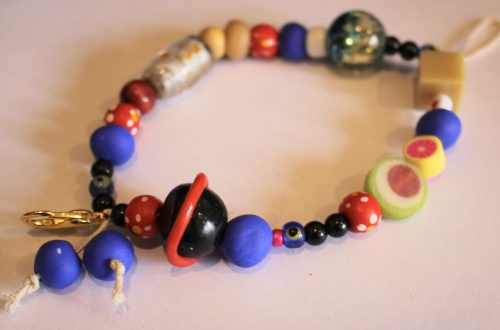
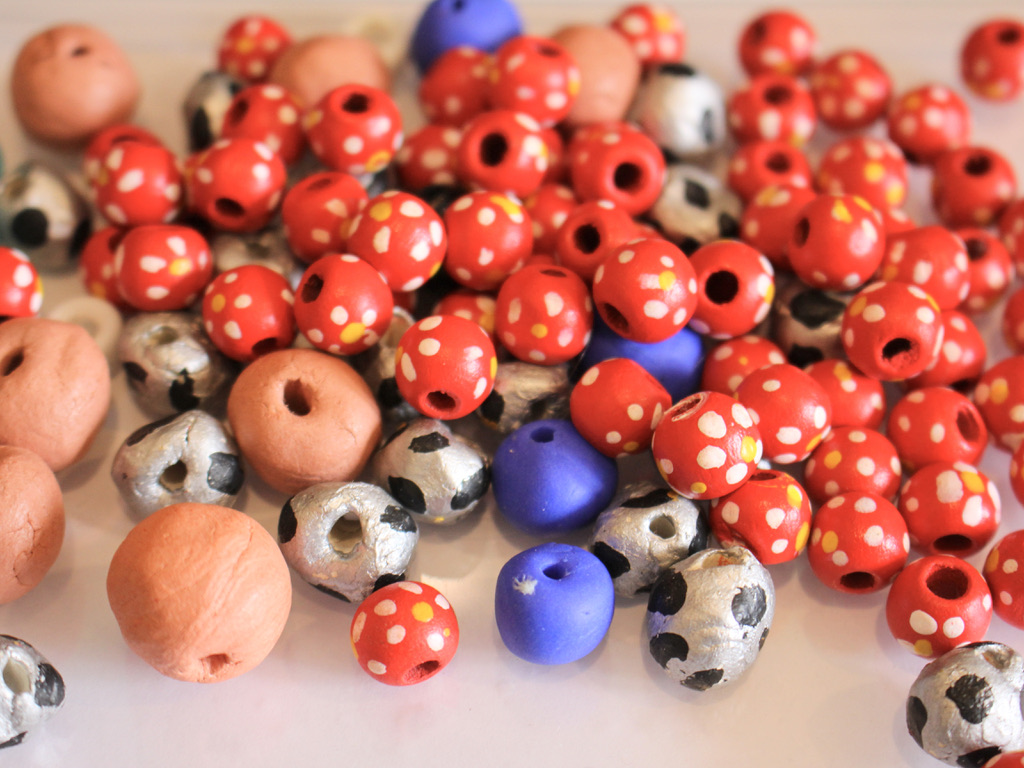
4: A selection of beads with holes large enough to fit on the string. I used some painted timber beads, glass beads, plastic beads, and some beads I made from polymer clay, resin and air dry clay.
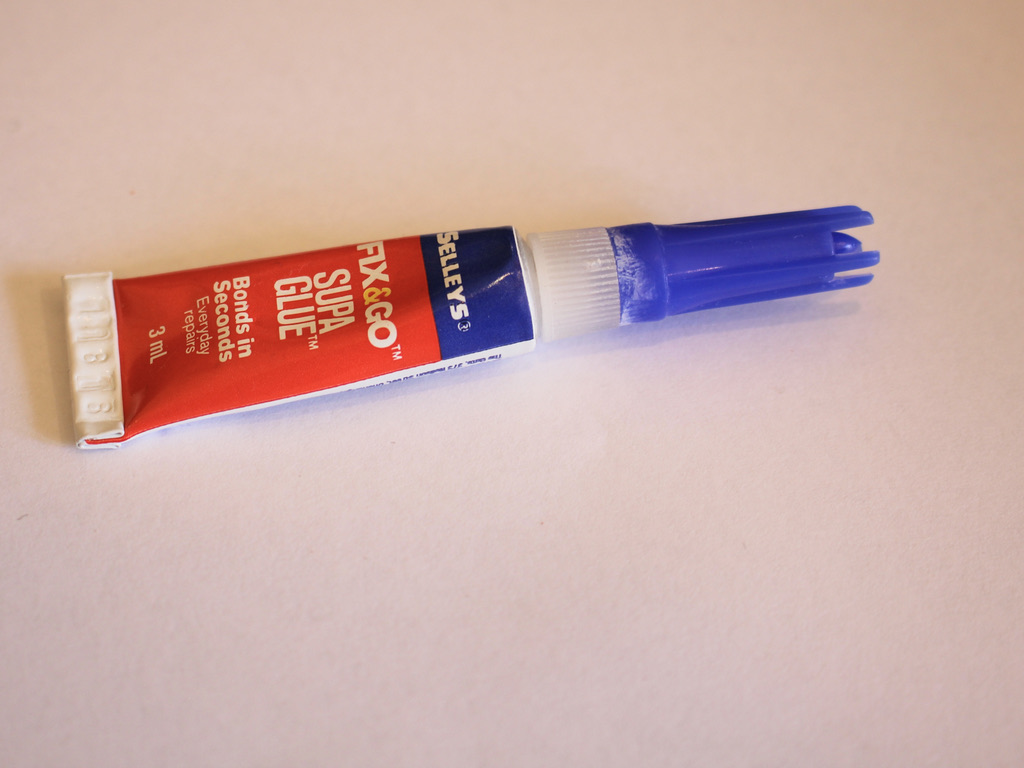
5: Superglue
Follow these steps to make your own beaded lanyard:
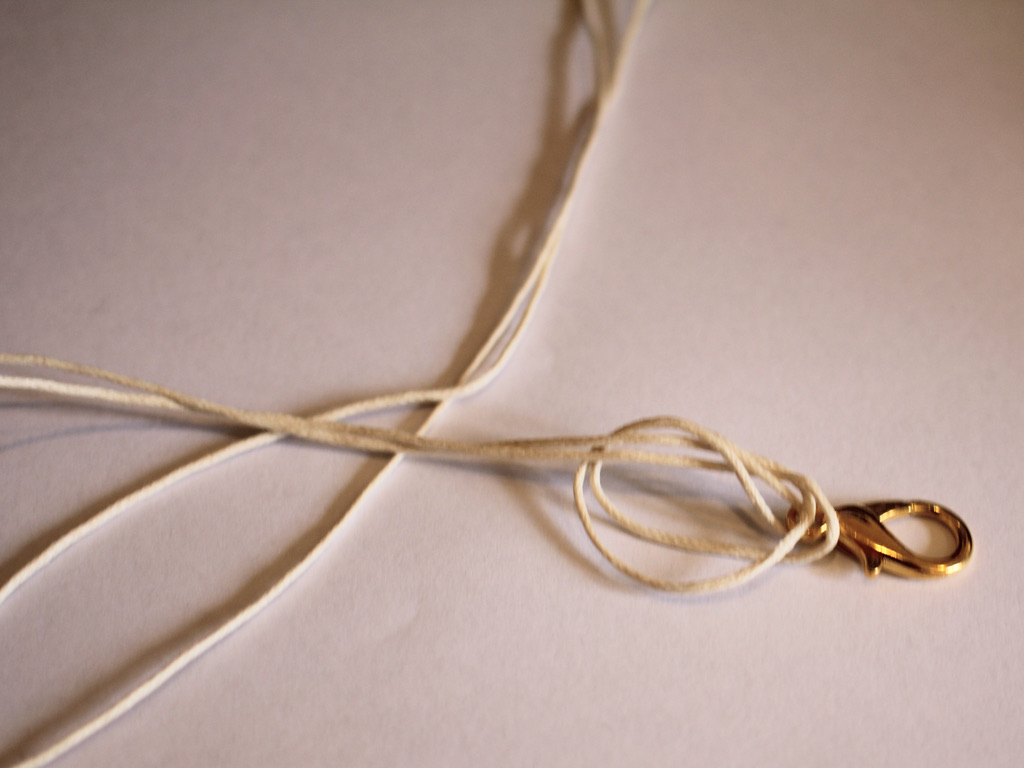
1: Take one of the clasps and add it to the middle of the piece of string.

2: Create a knot at the top of the clasp.

3: Add beads to one side of the lanyard until you get the length you like.


4: Add another clasp to the end of the lanyard and loop the end of the string back through the last bead and pull it tight.
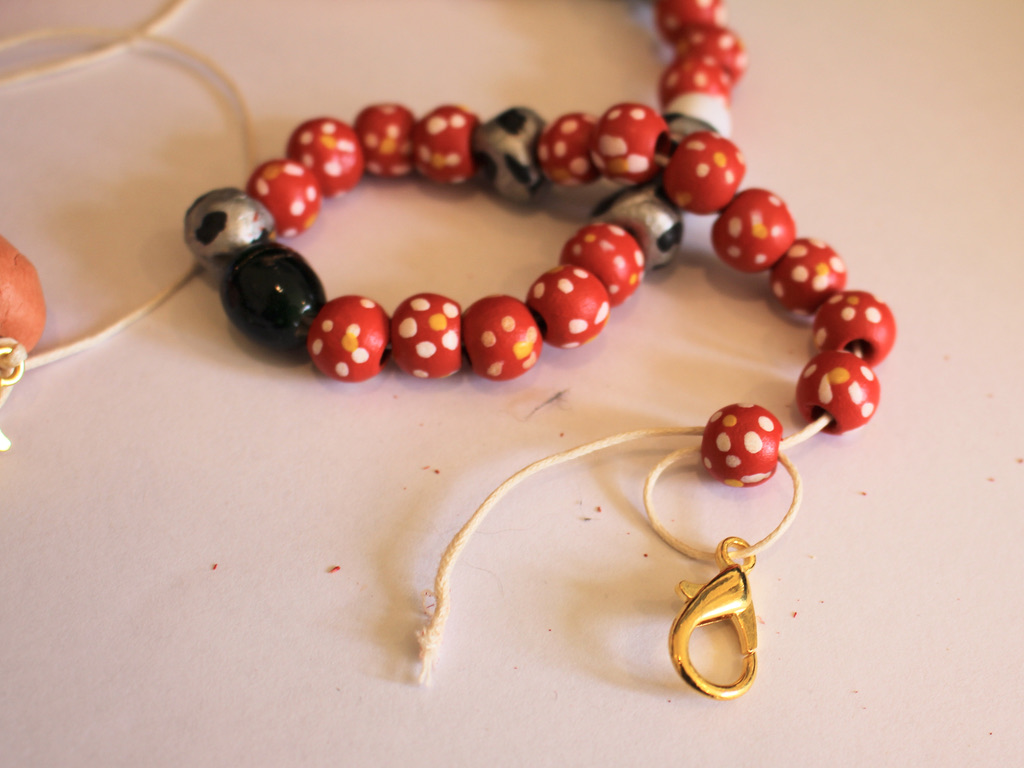

5: Tie a secure knot to the end of the string securing the clasp tightly to the last bead.


6: Repeat steps 3 to 5 for the other side of the lanyard.

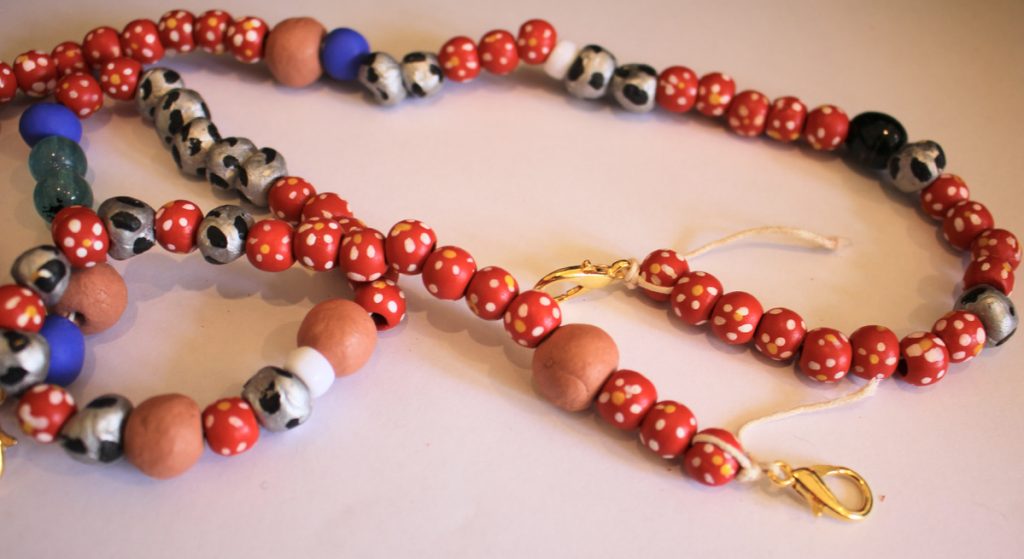
7: Trim the excess string on either end of the lanyard.


8: Add a dab of superglue to each of the knots at the end of the lanyard. Set it aside to dry.

Clip the ends of the lanyard together and now your beaded string lanyard is finished and ready to use!


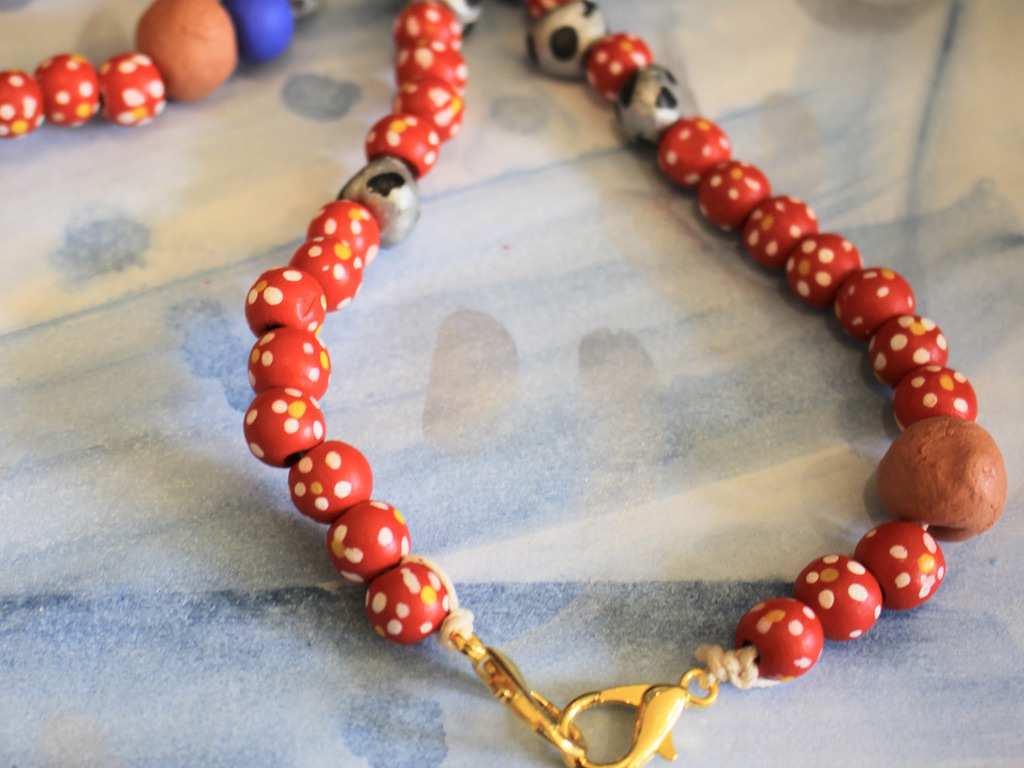
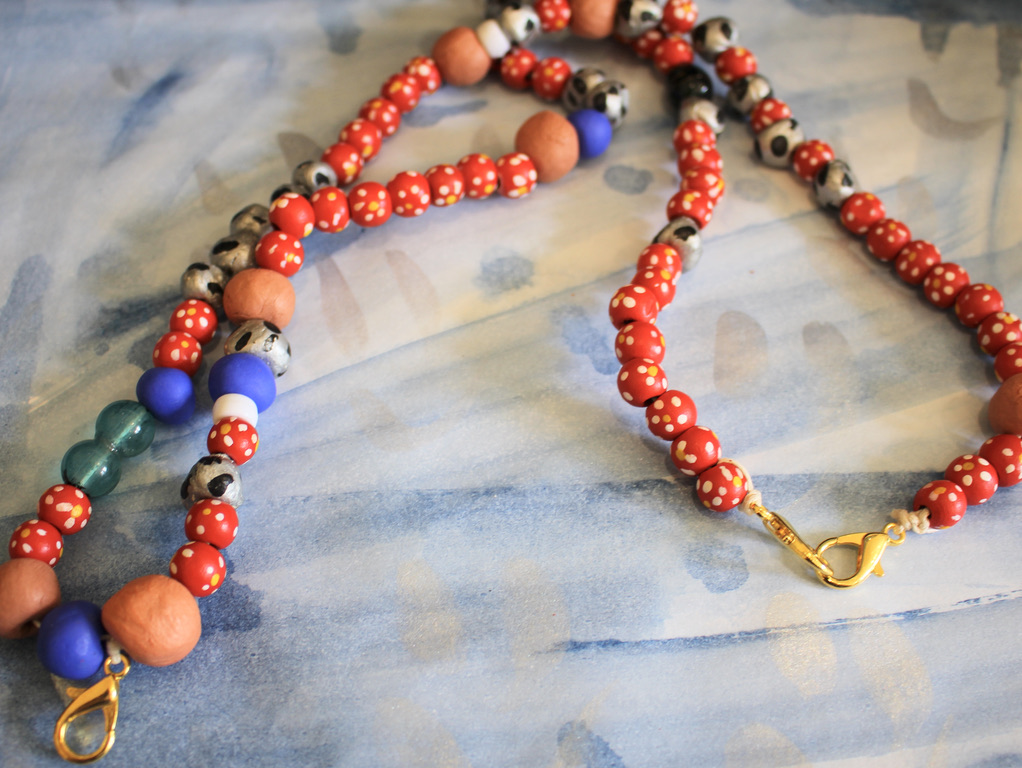
If you want to make your lanyard with handmade beads, here’s a tutorial you can follow to make your own.
-
Here’s how you can use a glasses chain to keep track of your wireless ear buds!
I love my wireless ear buds, but sometimes they fall out of my ears and onto the ground (yuck) when I’m out and about! Here’s how you can use a glasses chain to stop your ear buds from getting lost. Please note that this article contains affiliate links.
Grab your glasses chain and your headphones, you’ll want one with rubber loops at the ends.


Slide the rubber loop around each of the ear buds.

Then pop the ear buds in each ear, making sure to loop the chain around the back of your neck, so that if the ear buds fall out, they’ll just hang down around your chest instead of getting lost forever!

Here are some glasses chain tutorials you can follow if this trick tickles your fancy!
- Beads form the chain links in this glasses chain design.
- A glasses chain with dangling charms.
- Check out this sparkly rhinestone glasses chain!
- Transform a ball chain into a useful glasses chain.
- Use your old broken headphones to make a glasses chain (how ironic!)
- Bead up some wire to make a cool beaded glasses strap.
- Add bead accents to a chain for a cool look.
Alternatively, you can make a pair of earrings that attach your ear buds to your ear lobes to stop them getting lost!
-
Glasses chains are HOT! Make your own cool sunglass chain holder for summer.

Glasses chains are really hot right now! If our other glasses chain tutorials aren’t for you why not try this one out? Contains affiliate links.
You’ll need the following tools and materials to make your glasses chain:
1: Pliers. You’ll need your flat nose and round nose pliers to make this glasses chain.


2: Two glasses holder findings.
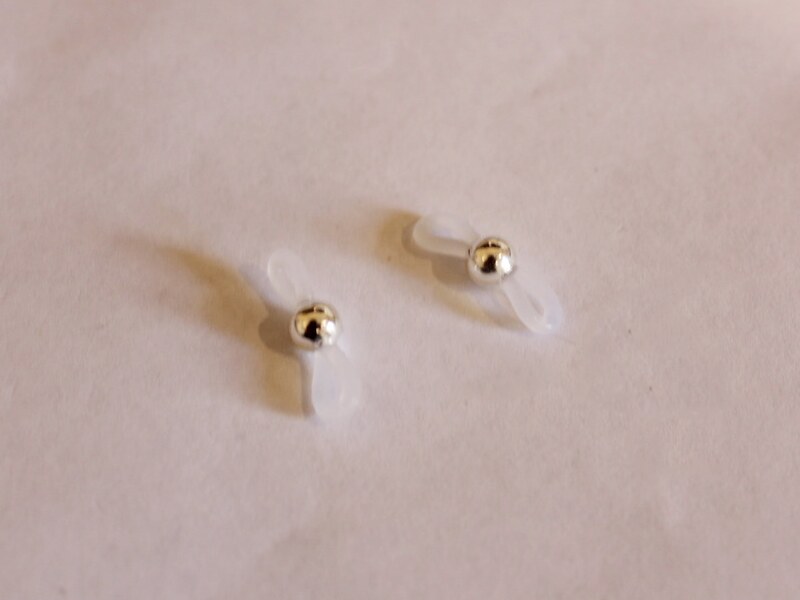
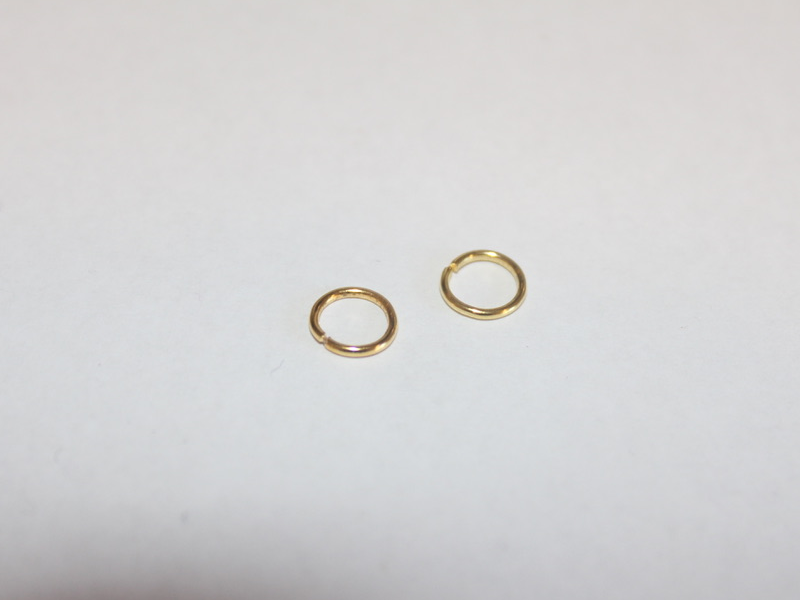
3: Two large jump rings.
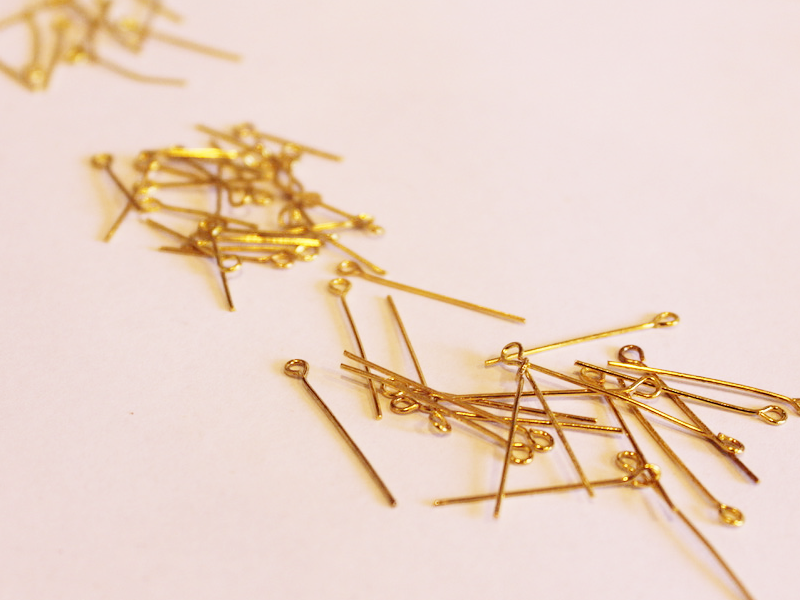
4: Eye pins.
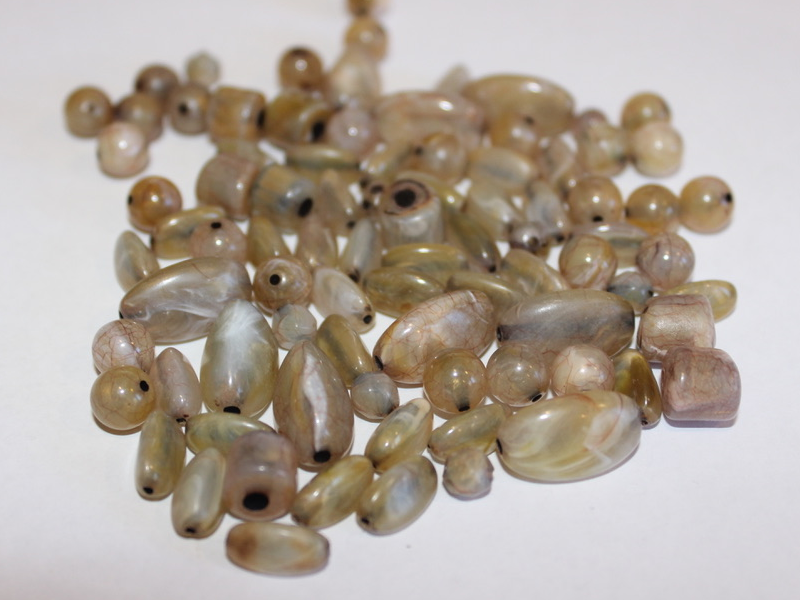
5: Beads. I used these vintage plastic beads recycled from a necklace I inherited.
Follow these steps to make your beaded glasses chain:
1: Add beads to the pins and loops the ends to secure them in place.
2: Start linking the beaded pins to form a chain.
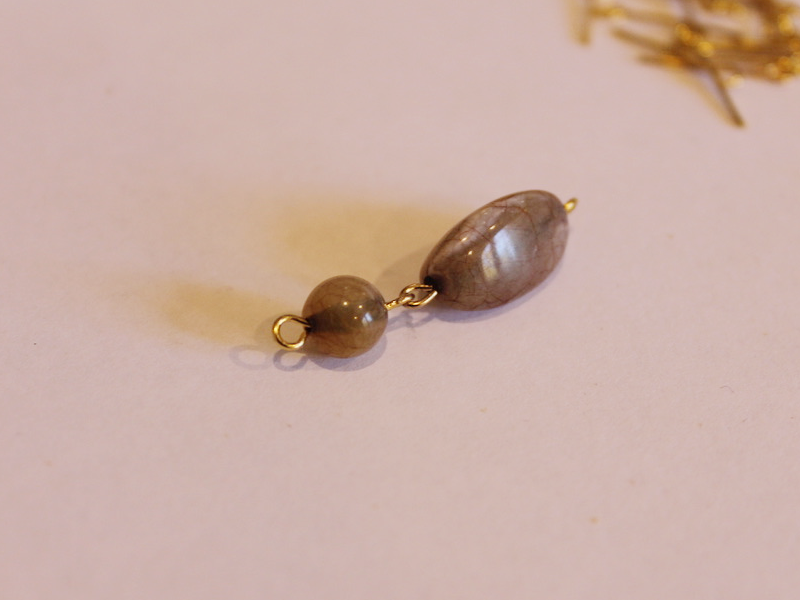
3: Continue making the beaded chain links until your chain is at your desired length.
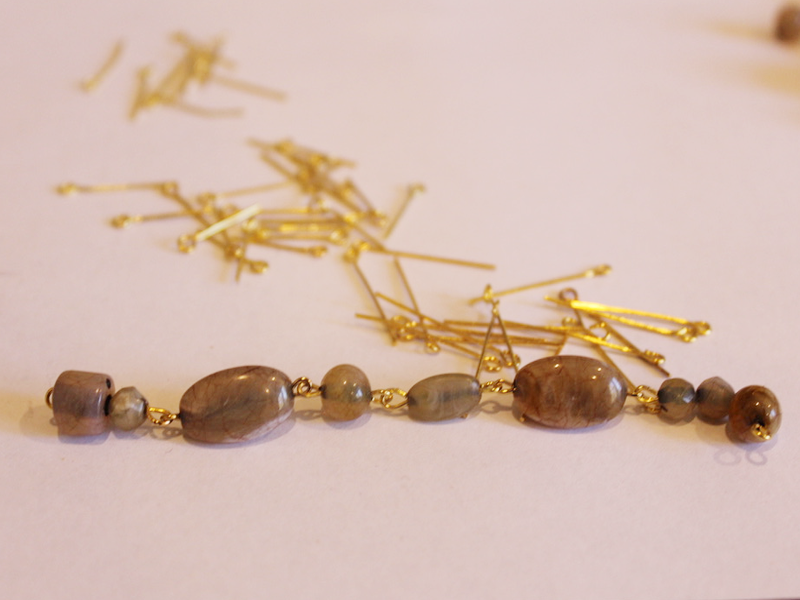
4: Attach a glasses holder to each end of the chain using the jump rings.
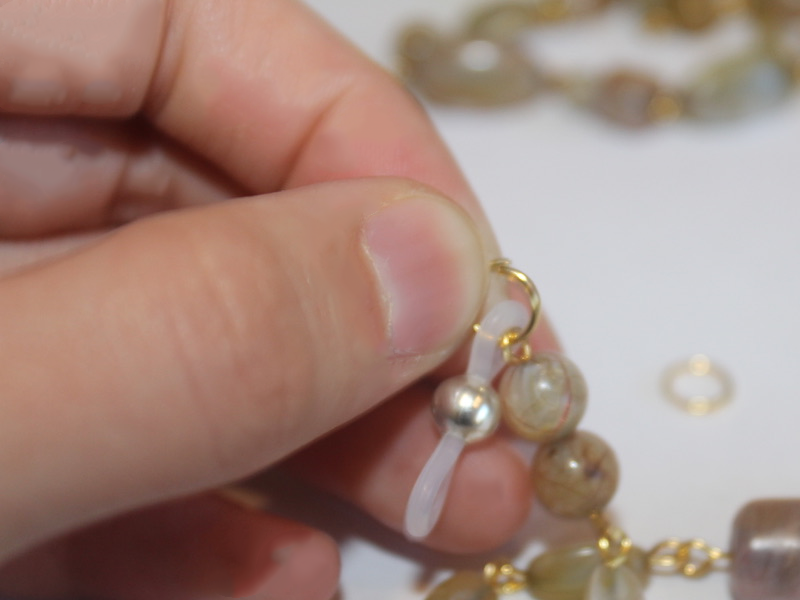
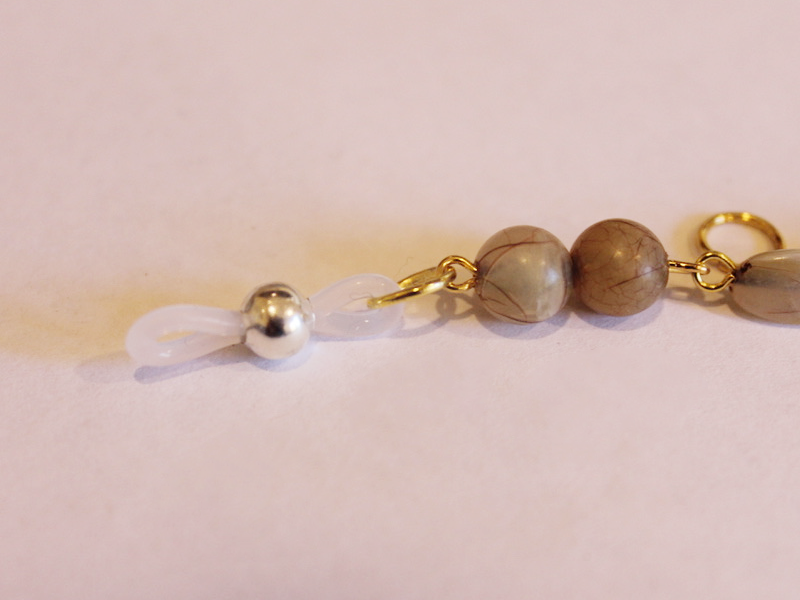
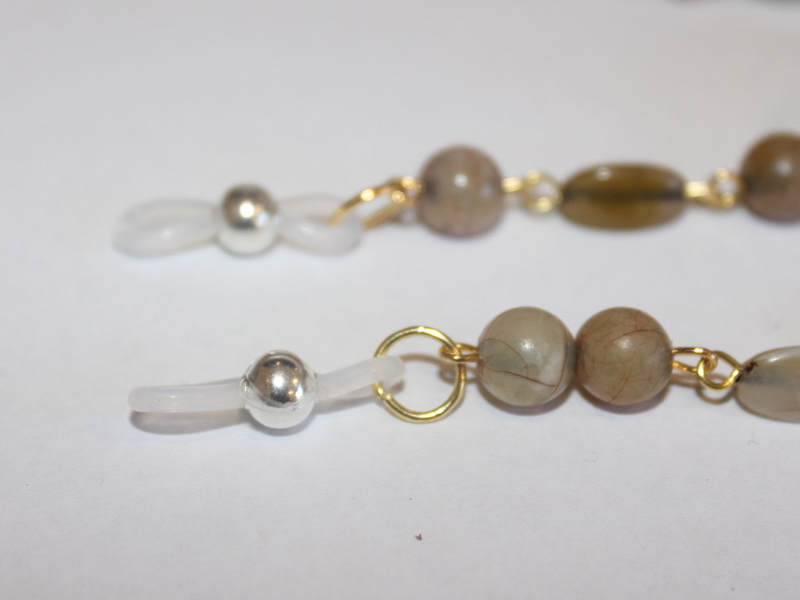
Now your glasses chain is finished and ready to use! Wonderful for keeping your glasses safe during summer activities.