-
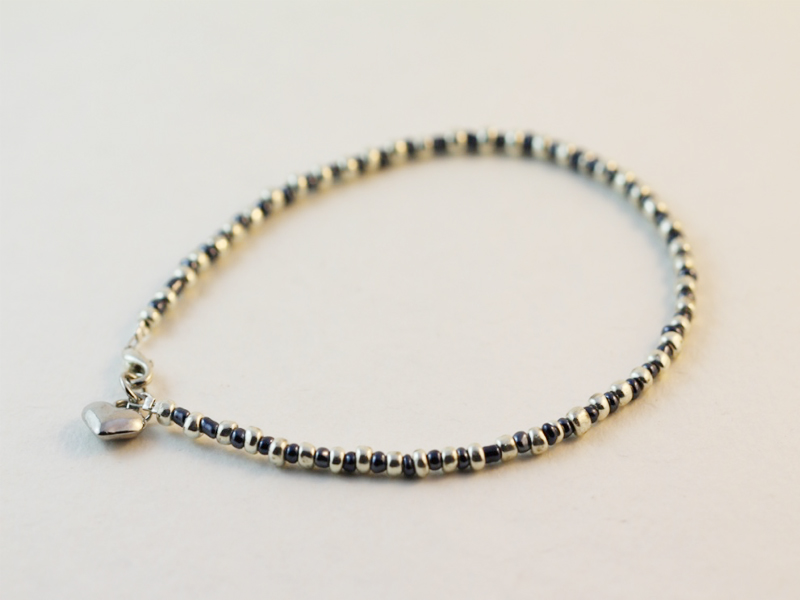
Here’s a wild beaded anklet that can also be worn as a shoe chain!
I love jewelry that can be worn multiple ways, so I created a tutorial that shows you how to make a beaded shoe chain that can also be worn as an anklet! It features clasps on either end so that it can be clipped to your shoelaces as a shoe decoration, or to each other to create an anklet effect. Please note that this tutorial contains affiliate links. Here’s a fun detail. This tutorial makes use of beads I made in this tutorial… so if you follow both you can have a completely custom piece of jewelry!
You’ll need these tools and materials to make this multi-use shoe chain/anklet:
1: Some beading thread, I used this hot pink nylon string. Make it long enough to fit your ankle plus a bit extra.

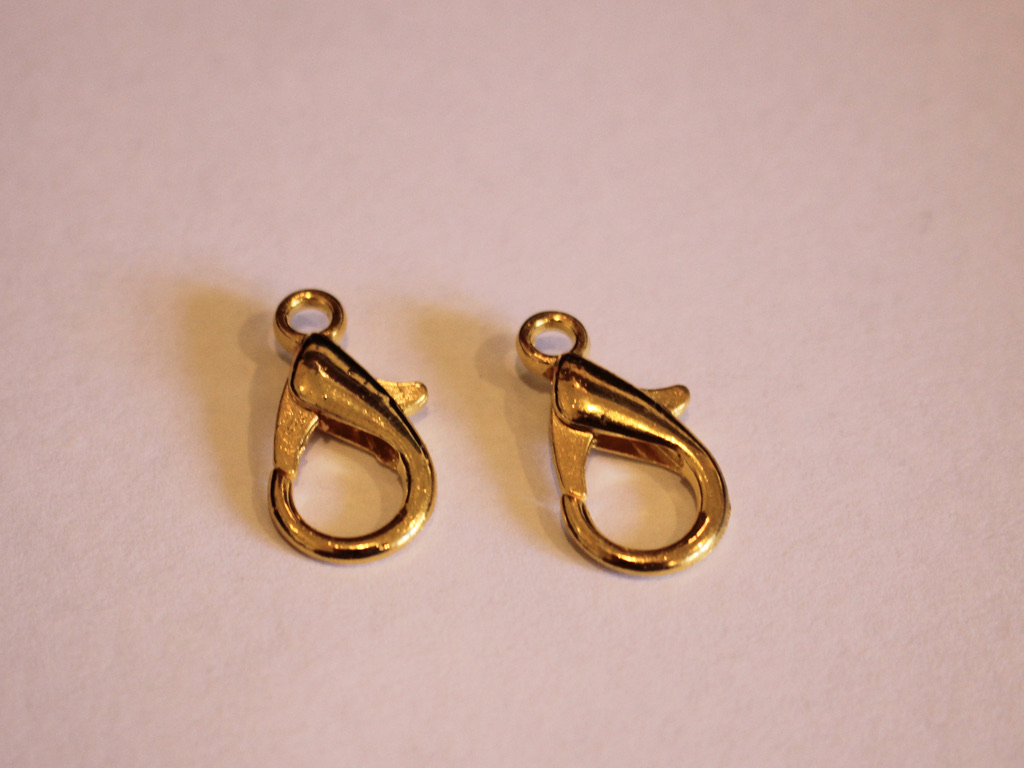
2: A pair of large clasps. I used these gold-tone clasps.
3: A selection of beads. I used a mixture of handmade resin and polymer clay beads, and other plastic beads.

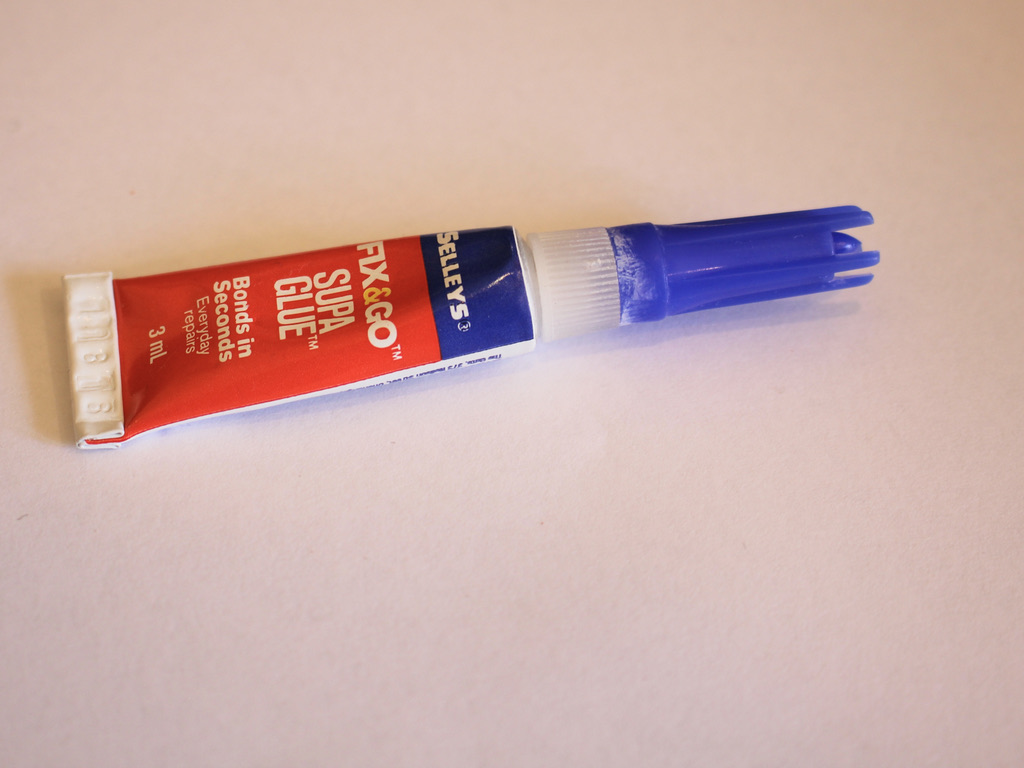
4: Super glue for securing the knots.
5: Some scissors for trimming the string.

Follow these steps to make your multi-purpose anklet shoe chain:
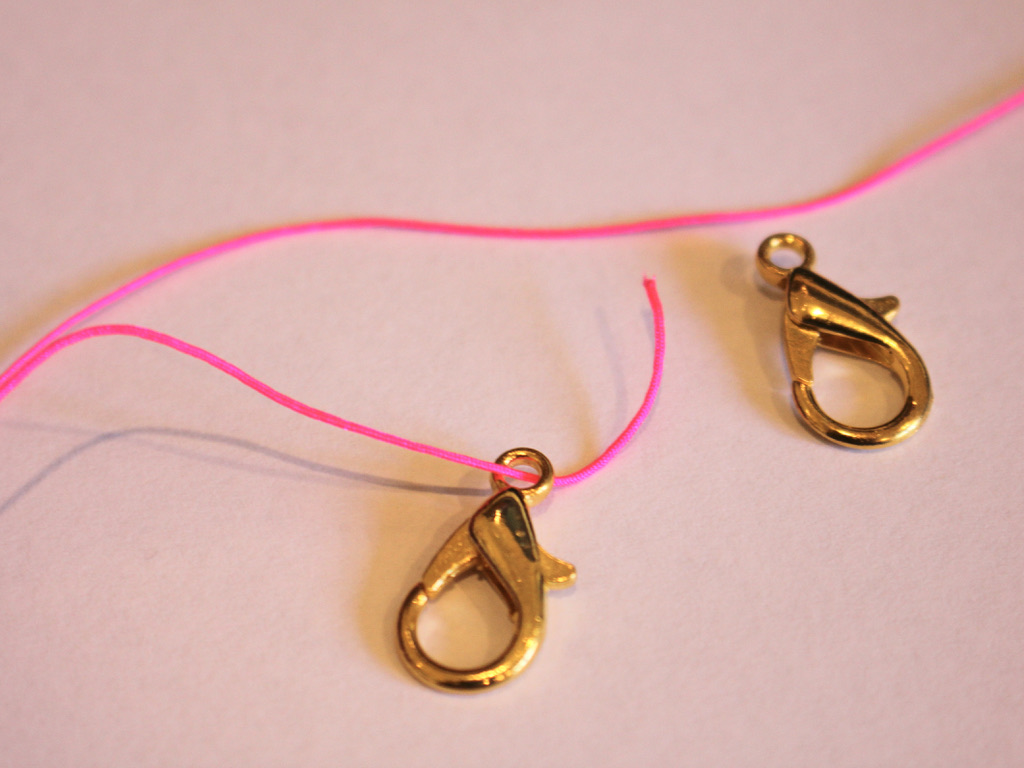
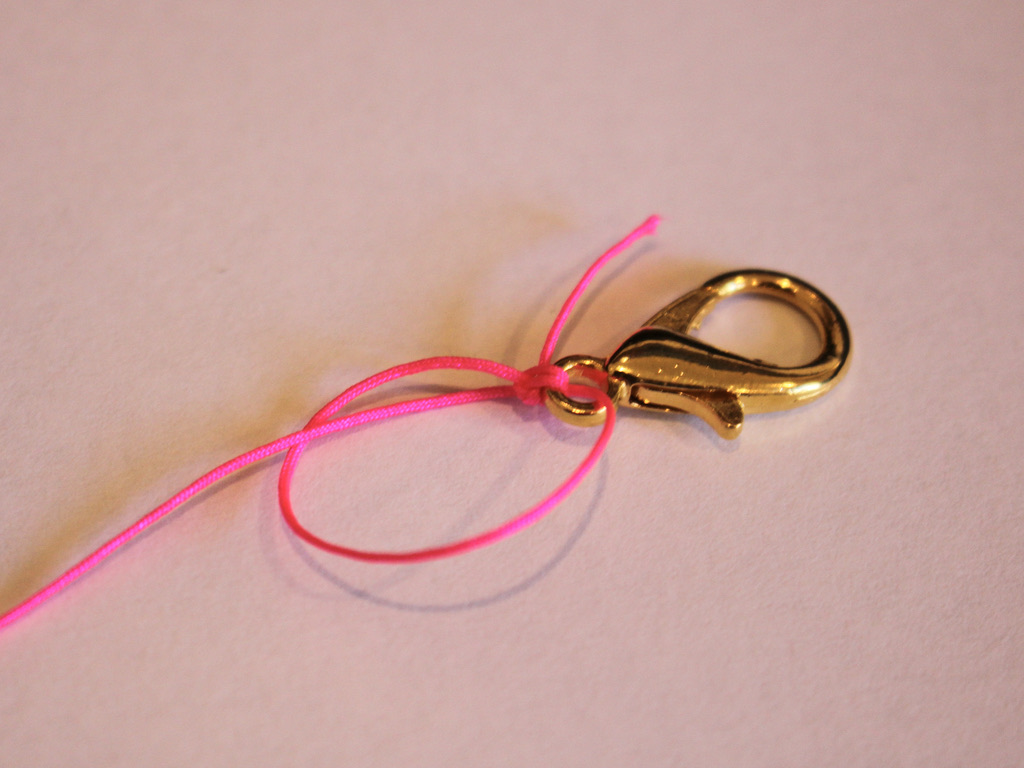
1: Tie the string to one of the clasps. Wrapping the string around the clasp a few times and making multiple knots can help keep it more secure for longer.



2: Add beads to the string in your chosen pattern. I added mine in random order.

3: Continue beading until you have a length you like. Then tie a knot at the end to secure the last bead in place

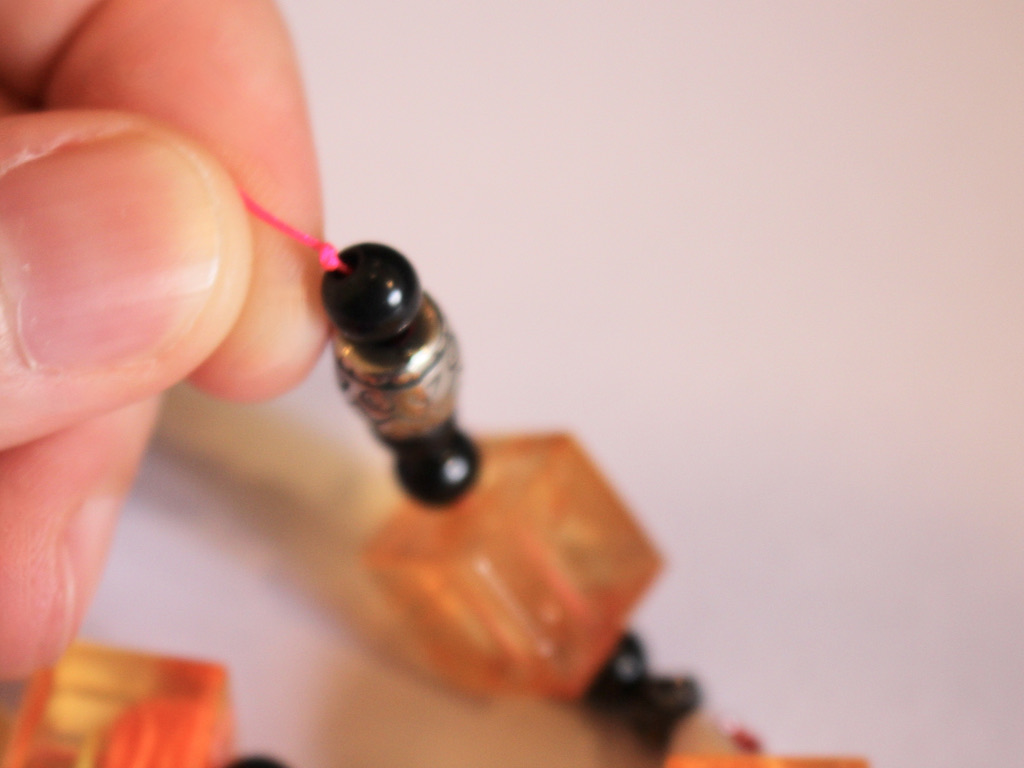
4: Add the second clasp to the end of the string.
5: Knot the second clasp in place, remembering to wrap the string through the end of the clasp a few times and securing it with multiple knots.


6: Trim the excess string on both ends of the shoe chain anklet.
7: Add a dab of superglue to each knot to keep it secure and set it aside to dry.

Once the glue is dry, your anklet is ready to wear! Which shoes will you clip yours to?
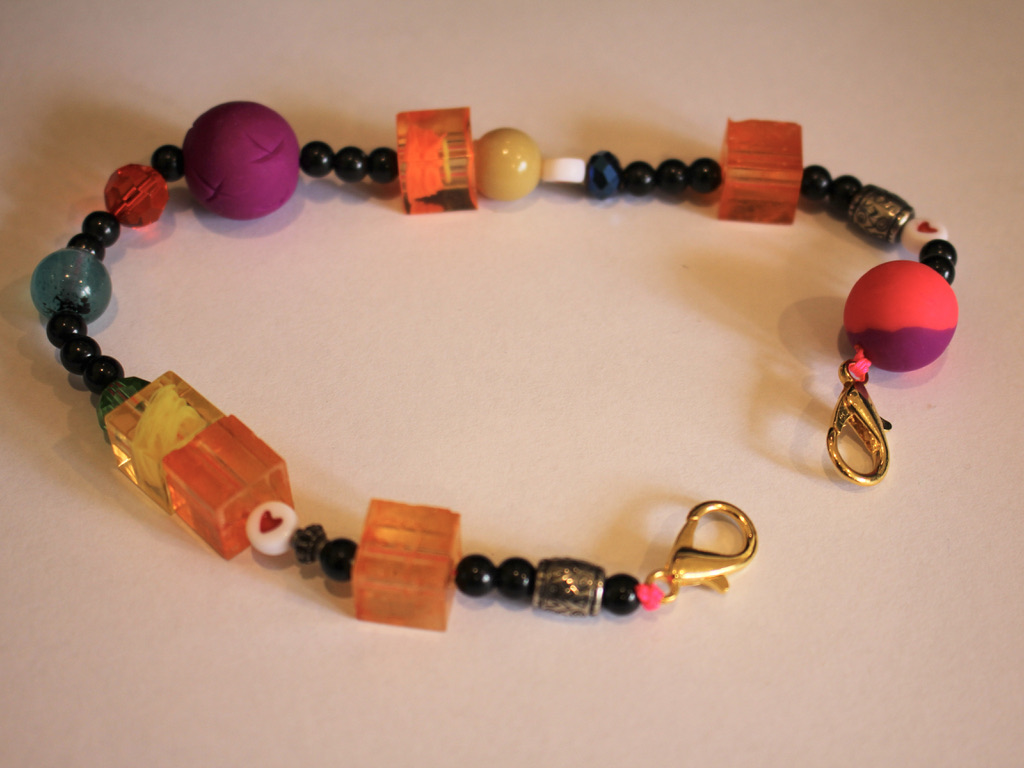
And here’s what it looks like (On some dirty old converse haha)

Here is the design as a shoe chain attached on one side to the lower laces 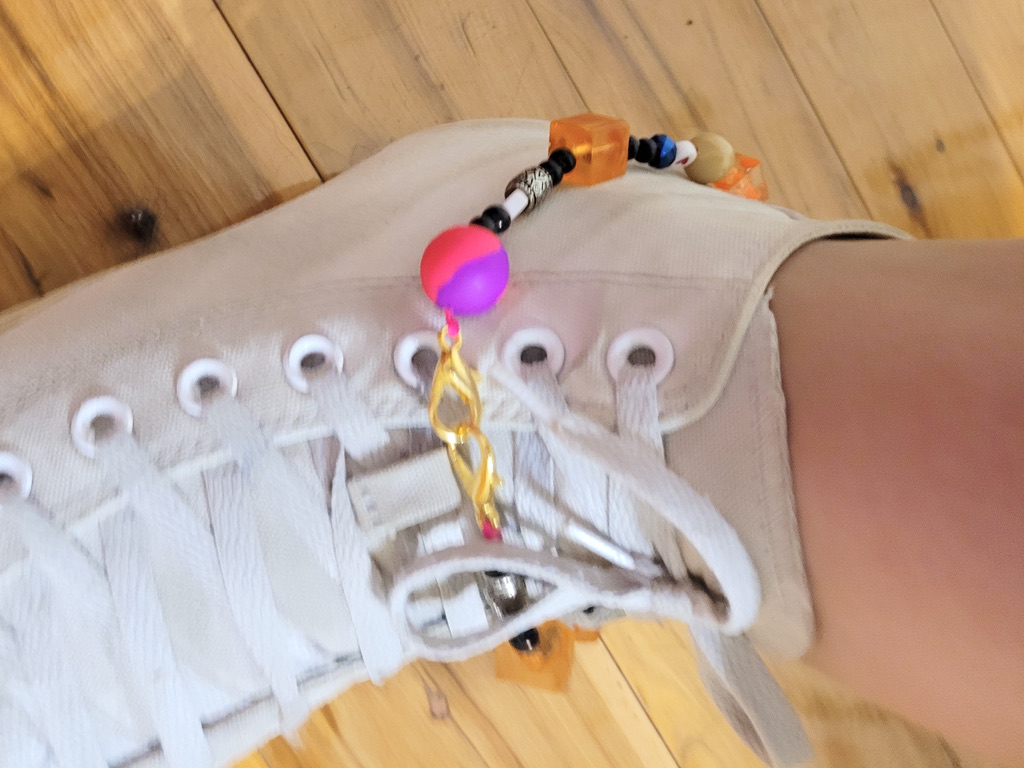
Here it is worn as an anklet over the shoe. 
Here is the design as a shoe chain attached on one side to the lower laces Here are some other shoe chain tutorials you can follow if you want to make some more:
-
Here’s another sparkly shoe chain tutorial for you…
Shoe jewellery is pretty fun! Here’s how to make a sparkly decoration for your fave shoes using some string and some rhinestone embellished beads. I made this one long enough that you could also clip the ends together so you can wear it around boots. Please note that this tutorial contains affiliate links.
You’ll need these tools and materials to make this shoe chain:
1: A piece of string about 35-40cm long.

2: Two large lobster clasps.

3: Some beads. I used these second-hand rhinestone embellished metal beads.

4: Scissors for trimming the string.
5: Some superglue.
Follow these steps to make your shoe chain using string and beads:
1: Add one of the lobster clasps to one end of the string and tie a knot.


2: Tie two more knots, leaving the end for now.

3: Add the beads to the string.
4: Add the second lobster clasp to the other end of the string and tie three knots as you did in steps 1 and 2.

5: Trim the ends of the string using your scissors.

6: Add a dab of superglue to the knots to secure them then set it aside to dry.
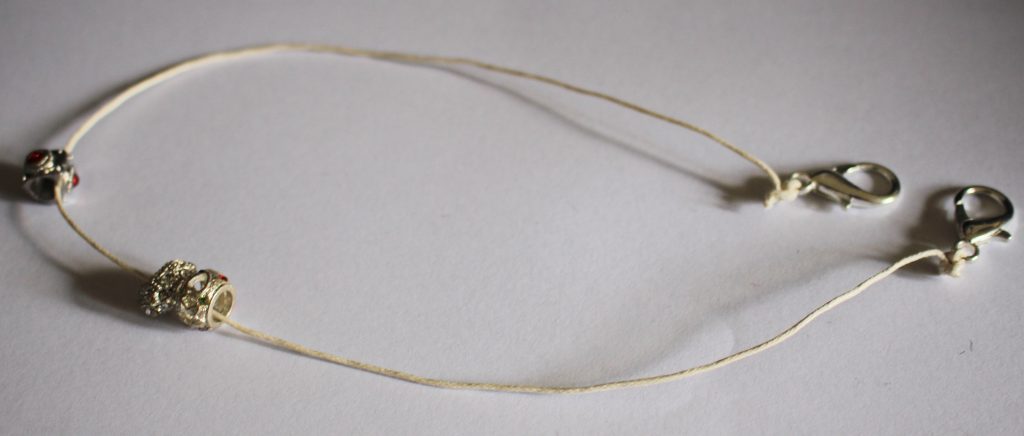
Now your shoe chain is finished. Here it is clipped to some low top sneakers, but you could experiment and add them to high-tops or boots!


-
Here’s how to make some fun jewelry for your shoes!
It can be fun to customise and add some flair to all your belongings, like adding gold chains to your fave pair of sneakers! This shoe chain can be clipped to a range of different shoes, the lobster clasps clip around your laces or shoe eyelets to add a personalised flair to your shoe game! Please note that this tutorial contains affiliate links.
You’ll need these tools and materials to make this shoe chain:
1: About 30-35cm of paperclip style chain.

2: Two large jump rings.

3: Two large lobster clasps.

4: Pliers. I used my flat nose, cutting and round nose pliers for this tutorial. I used my cutting pliers to cut the chain to the right length.

Follow these steps to make your own cool shoe chain:
1: Open one of the jump rings and slide it into one of the ends of the chain.

2: Add a clasp to the open jump ring.
3: Close the jump ring using your pliers.
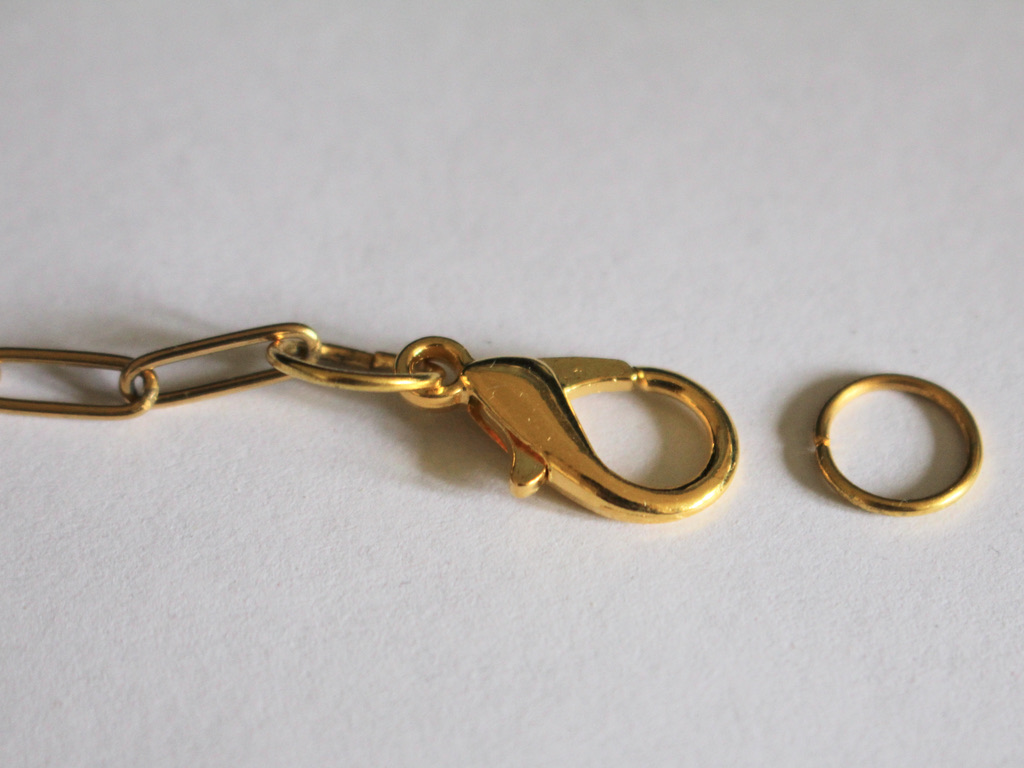
4: Repeat steps 1-3 for the other end of the chain.


And that’s it! Clip your shoe chain to your fave pair of sneakers and head out!