-
How to make a beaded lanyard using string and funky beads!
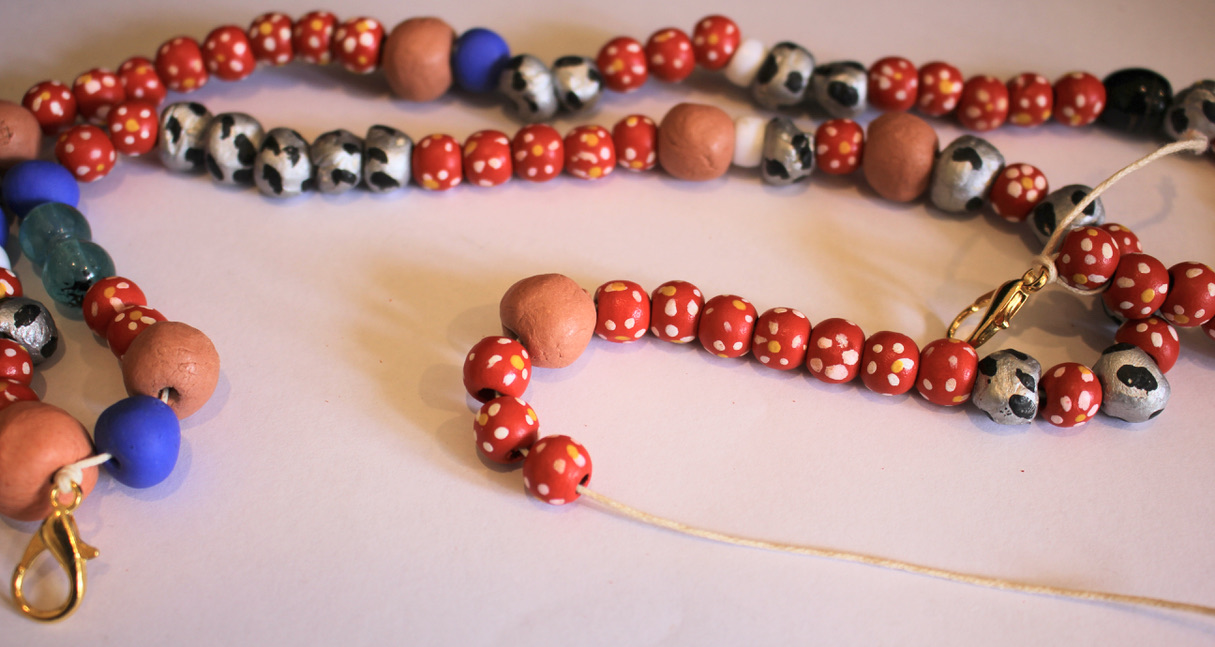
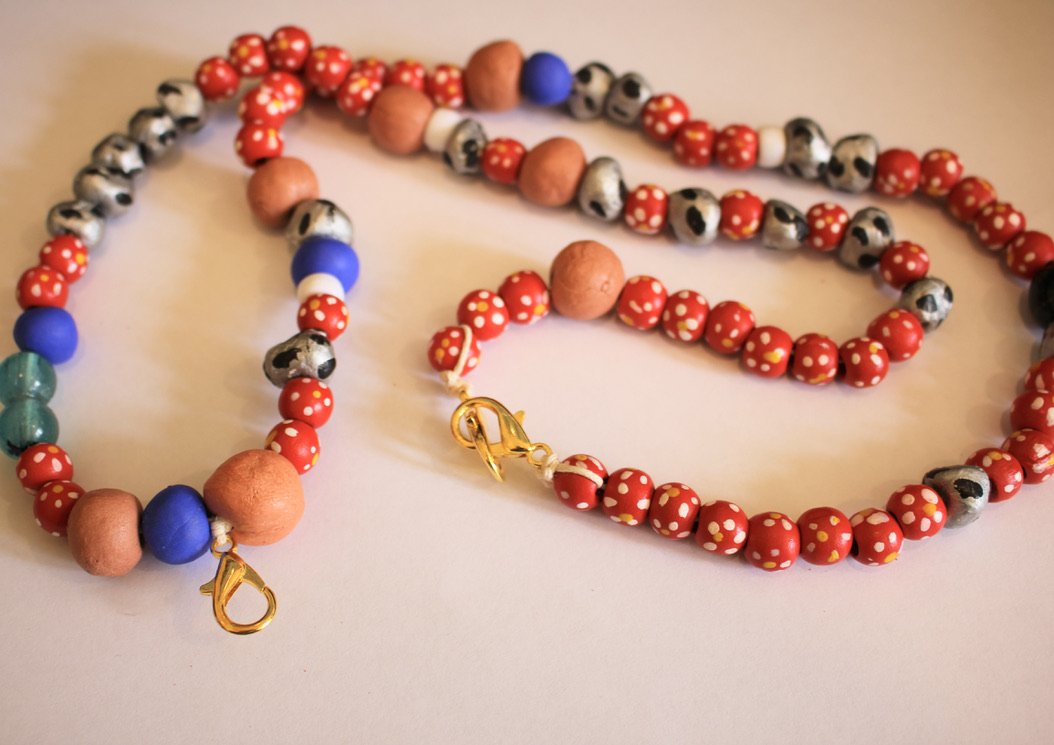
I recently caught up with a friend, she’s a teacher and she was really excited that she found some funky beaded lanyards, and it made me think… I could probably make one myself! So here’s the tutorial, here’s how to transform some string, clasps and funky beads into a useful lanyard! Please note that this tutorial contains affiliate links.
You’ll need these tools and materials to make your own beaded lanyard:
1: Scissors

2: Cotton twine, cut about 15cm longer than the length you want your lanyard.

3: Three large lobster clasps.

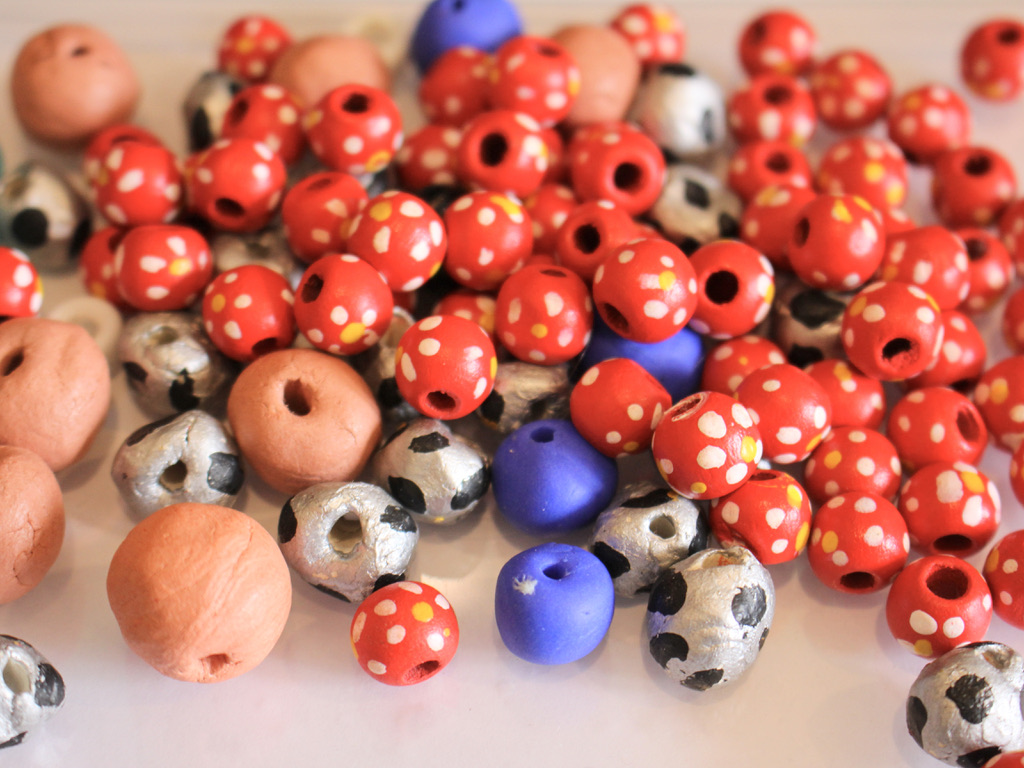
4: A selection of beads with holes large enough to fit on the string. I used some painted timber beads, glass beads, plastic beads, and some beads I made from polymer clay, resin and air dry clay.
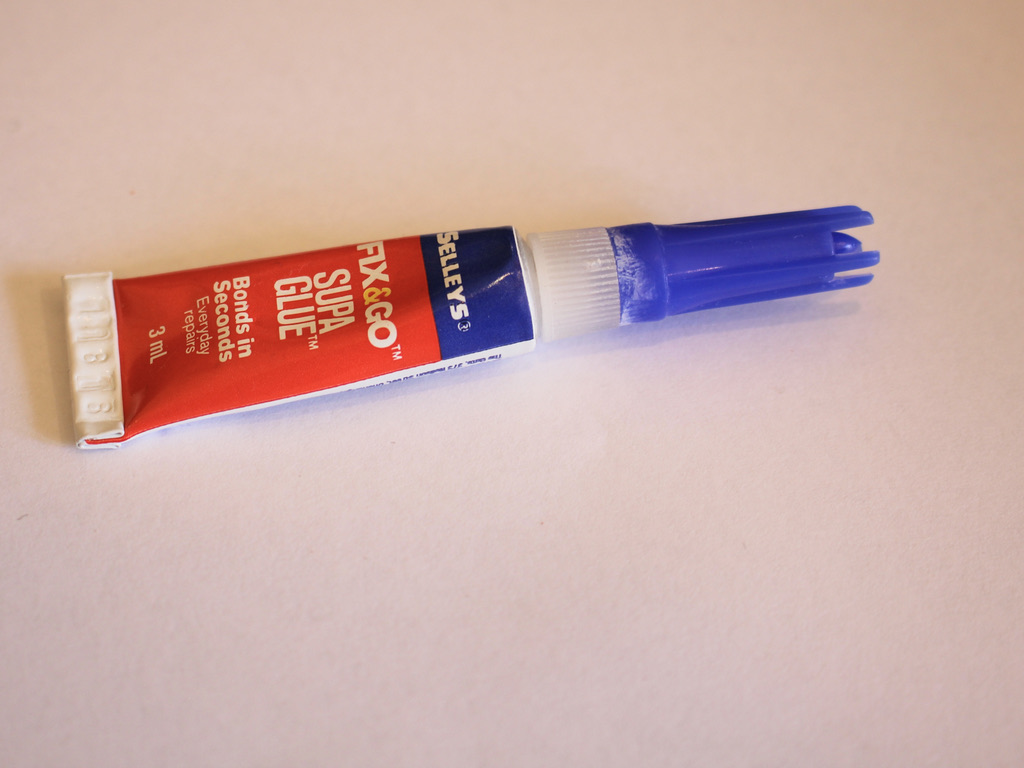
5: Superglue
Follow these steps to make your own beaded lanyard:
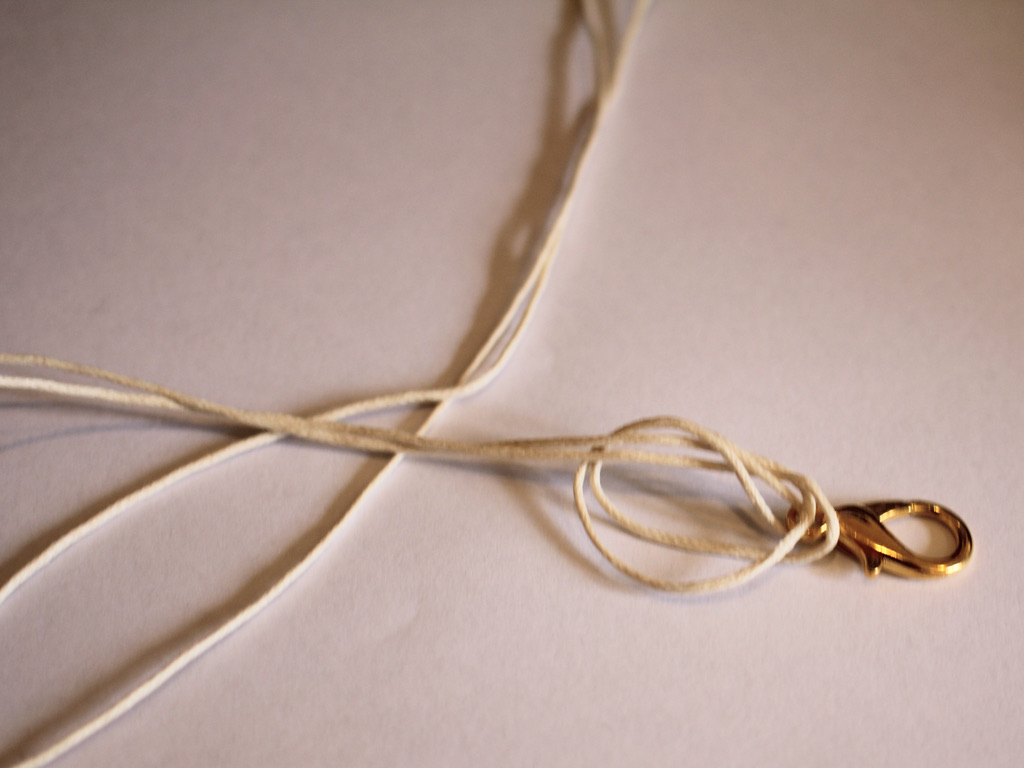
1: Take one of the clasps and add it to the middle of the piece of string.

2: Create a knot at the top of the clasp.

3: Add beads to one side of the lanyard until you get the length you like.


4: Add another clasp to the end of the lanyard and loop the end of the string back through the last bead and pull it tight.
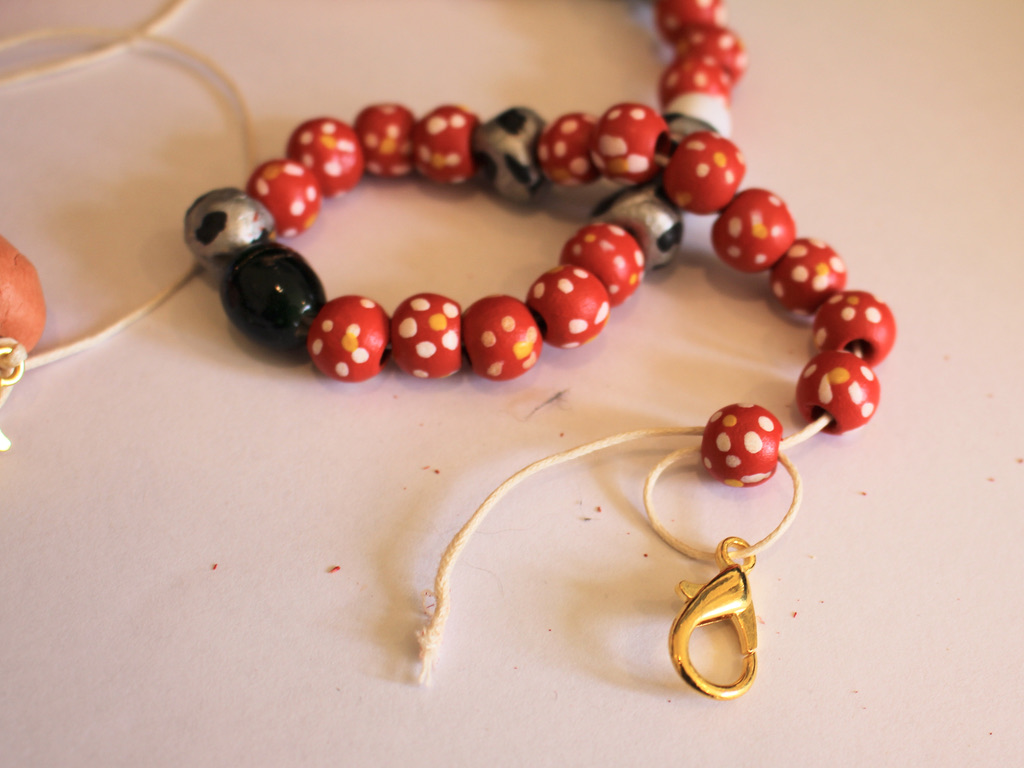

5: Tie a secure knot to the end of the string securing the clasp tightly to the last bead.


6: Repeat steps 3 to 5 for the other side of the lanyard.

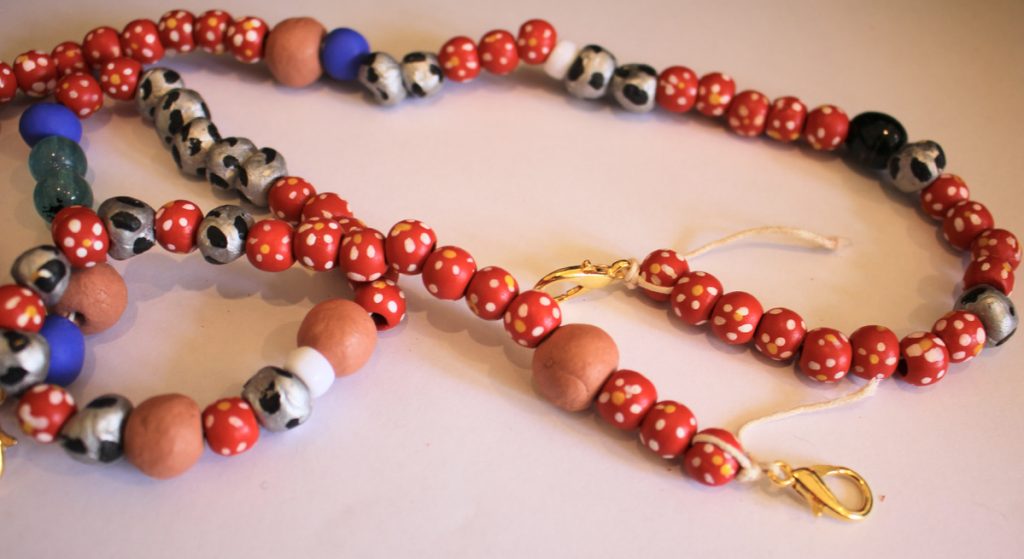
7: Trim the excess string on either end of the lanyard.


8: Add a dab of superglue to each of the knots at the end of the lanyard. Set it aside to dry.

Clip the ends of the lanyard together and now your beaded string lanyard is finished and ready to use!


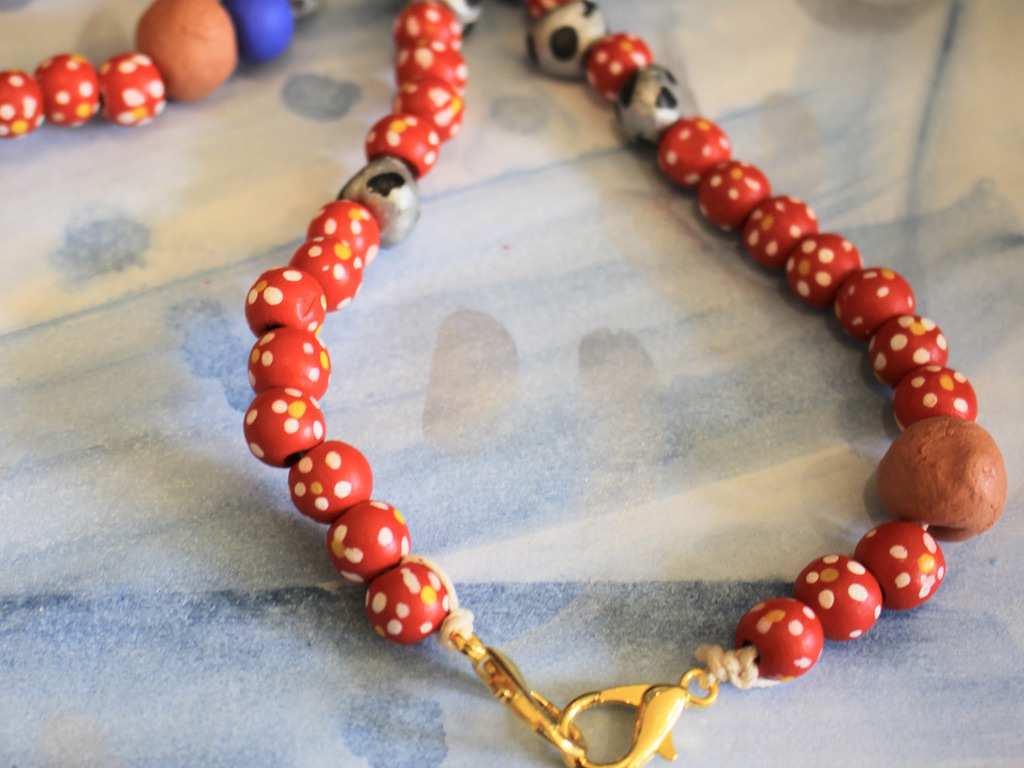
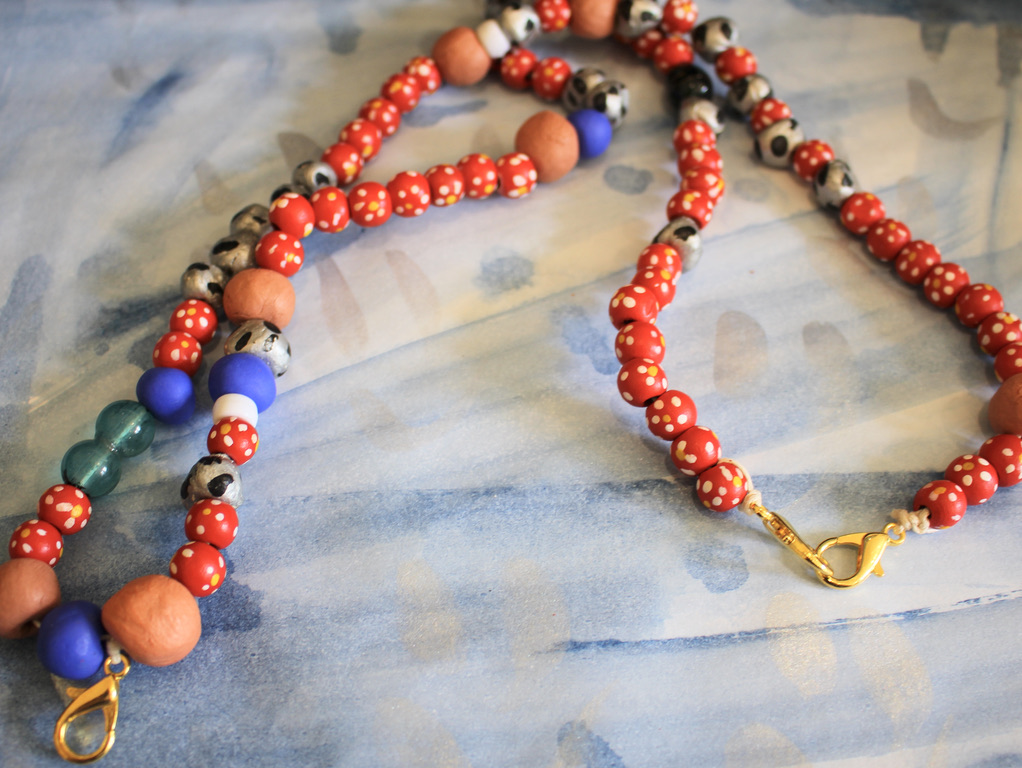
If you want to make your lanyard with handmade beads, here’s a tutorial you can follow to make your own.
-
Here’s another way to make an awesome shell anklet.

Are you digging the current trend for shell jewelry as much as I am? This current trend is perfect for DIY projects! Here’s all the steps you need to follow to make a rustic finger knit shell anklet. Here’s a little video on how to finger knit… just in case you need a reminder!
You’ll need the following tools and materials to make your anklet:
1: Scissors or cutting pliers to cut the string.

2: Flat nose pliers and round nose pliers.


3: Some cotton string.

4: Shells. I used these shells that I found with natural holes in them.

5: Two leather crimp ends.

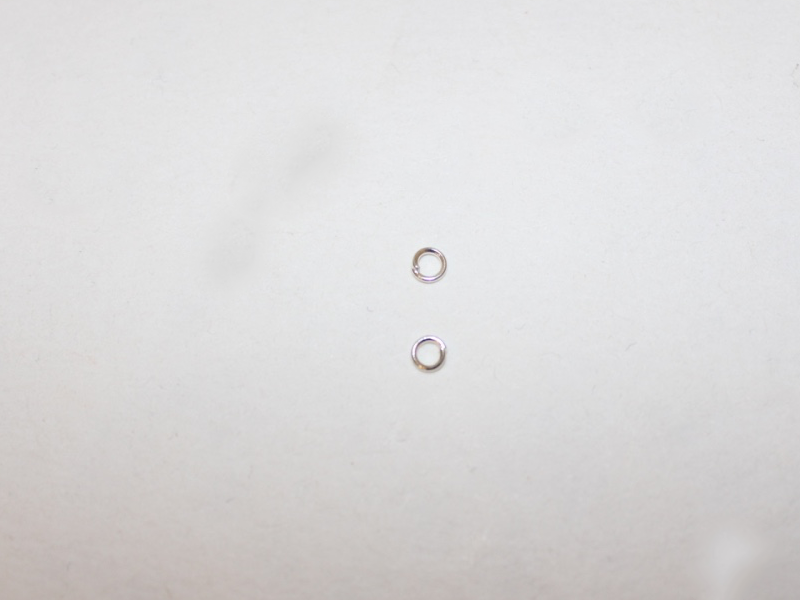
6: Two jump rings.
7: A lobster clasp.

Follow these steps to make your amazing finger knit shell anklet:
1: Add the shells to the string.

2: Make a slip knot and tighten it a little bit around your finger.

3: Make another loop around your finger.

4: Pull the first loop over the second one and off your finger.
5: Repeat steps 3 and 4 a few more times.

6: Place the first shell against your finger as you make the next loop. Pull the first loop over the shell to secure it to the knitted strand.

7: Continue this until all the shells are in place and the knitted string is long enough to fit around your ankle.


8: Tie a knot at the other end of the anklet.

9: Trim the ends of the string.

10: Add a crimp end to both ends of the anklet, securing them around each knot.

11: Add a jump ring to one side of the anklet and secure the clasp in place.

12: Add the remaining jump ring to the other side of the anklet to finish it off! So cute!