-
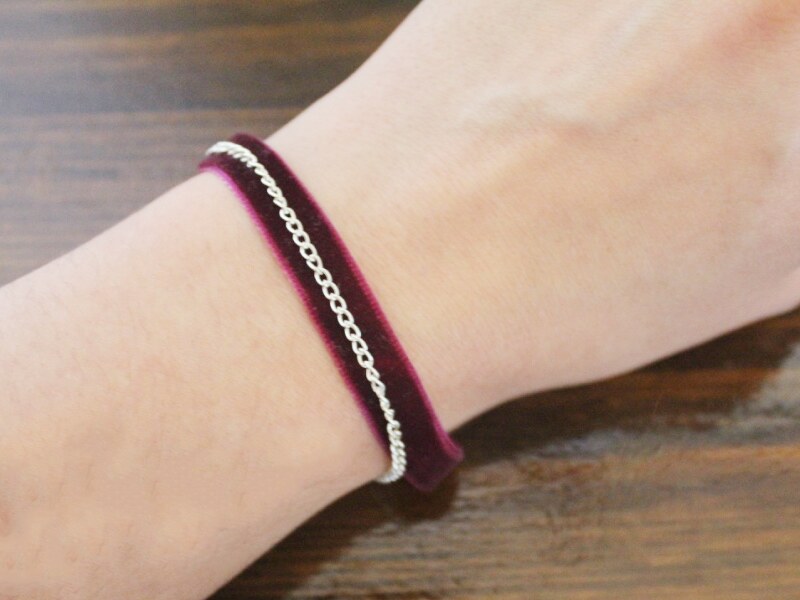
Velvet and chains, could it get more luxe? This bracelet is Amazing!
Are you in need of some luxurious new accessories? This chain and velvet ribbon bracelet could be the one for you! Contains affiliate links.
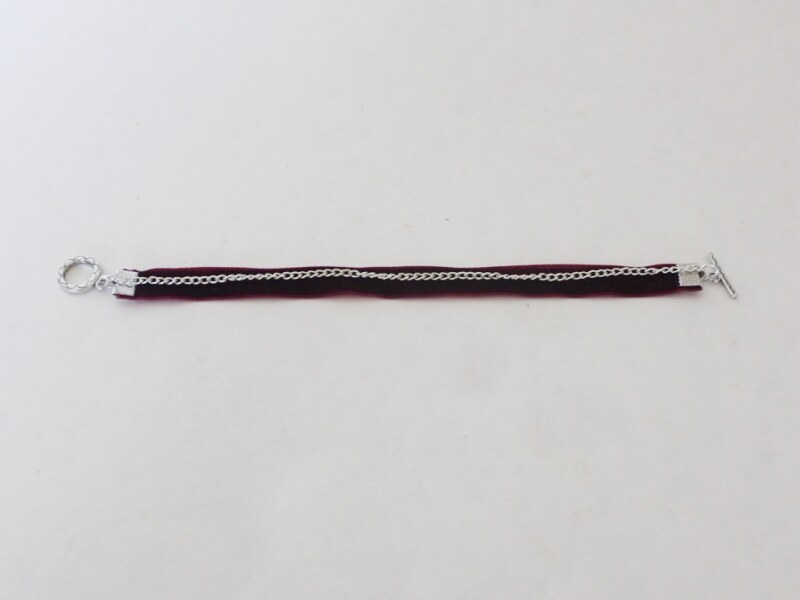
You will need the following tools and materials to make your bracelet:
1: Pliers. You will need your flat nose pliers, round nose pliers and cutting pliers to make this bracelet.

2: Two flat crimp ends.

3: Two jump rings.

4: One toggle clasp.

5: A piece of velvet ribbon cut to length to fit your wrist.
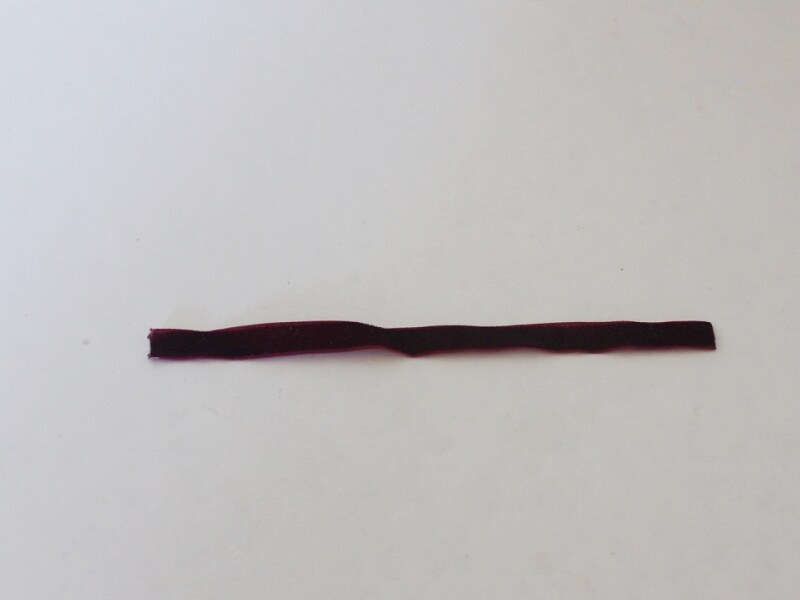
https://amzn.to/3TtDaAQ
6: A piece of chain that is around the same length of the ribbon.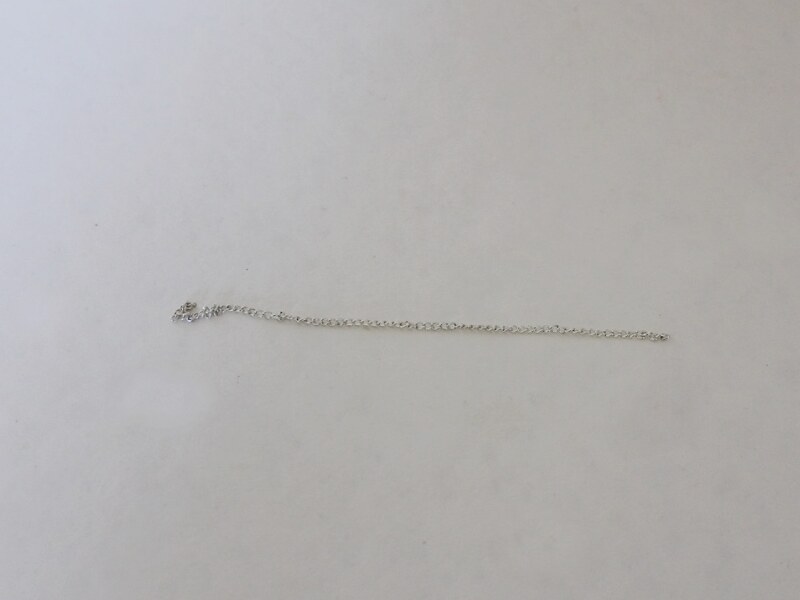
Follow these instructions to make your ribbon and chain bracelet:
1: Add a crimp end to one end of the ribbon.
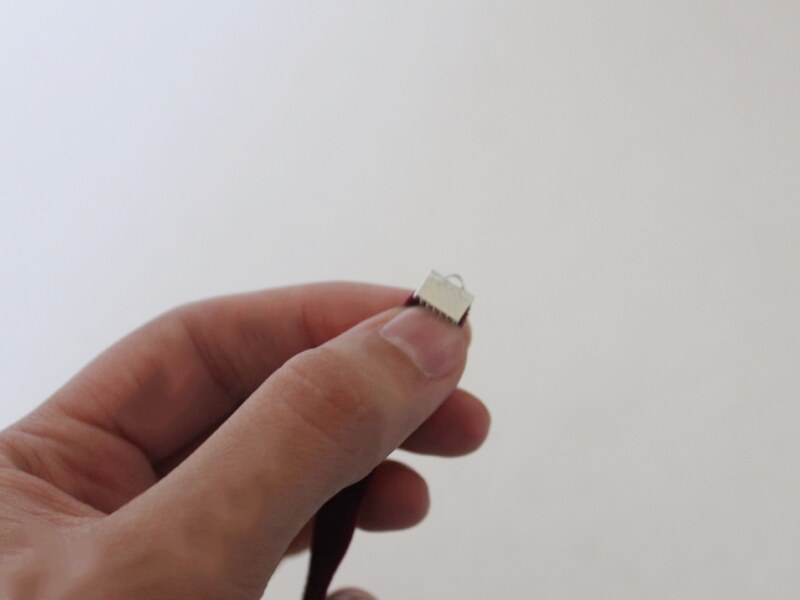
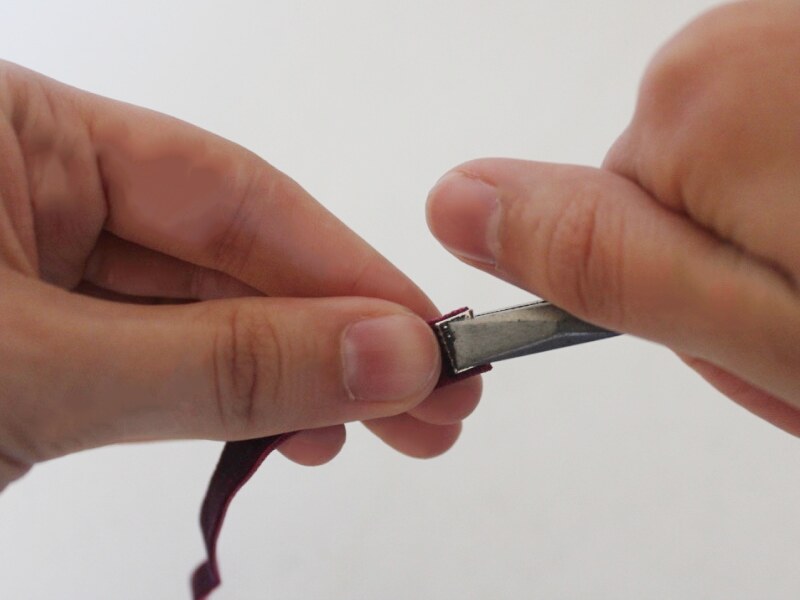
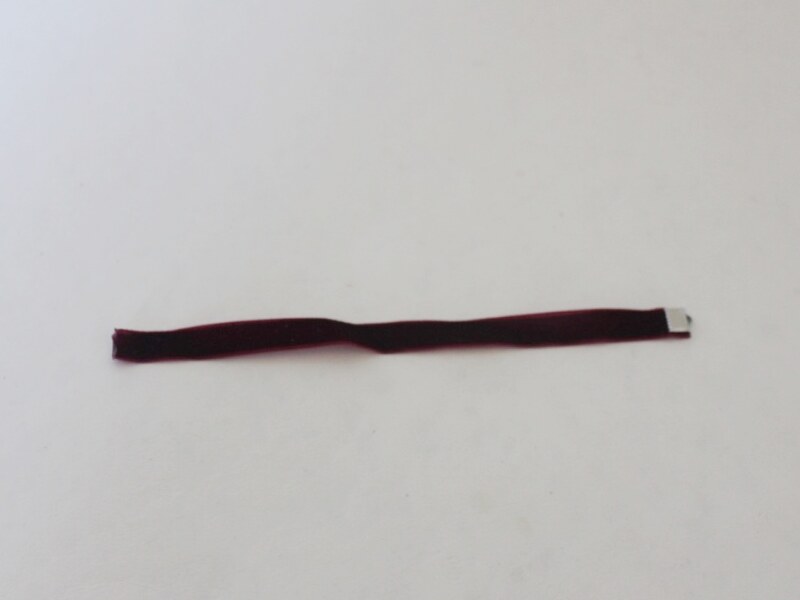
2: Repeat this step for the other side of the ribbon.
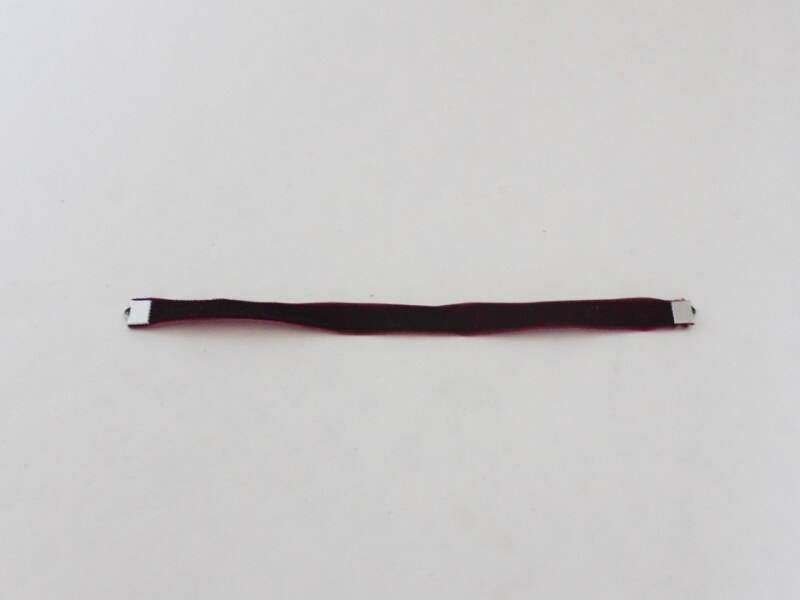
3: Add an open jump ring to the crimp end and slide one end of the chain onto the open ring.
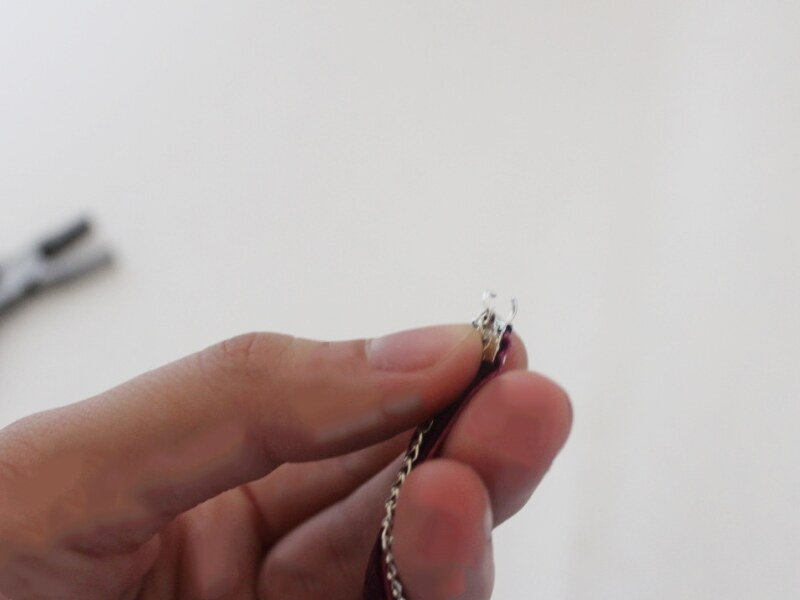
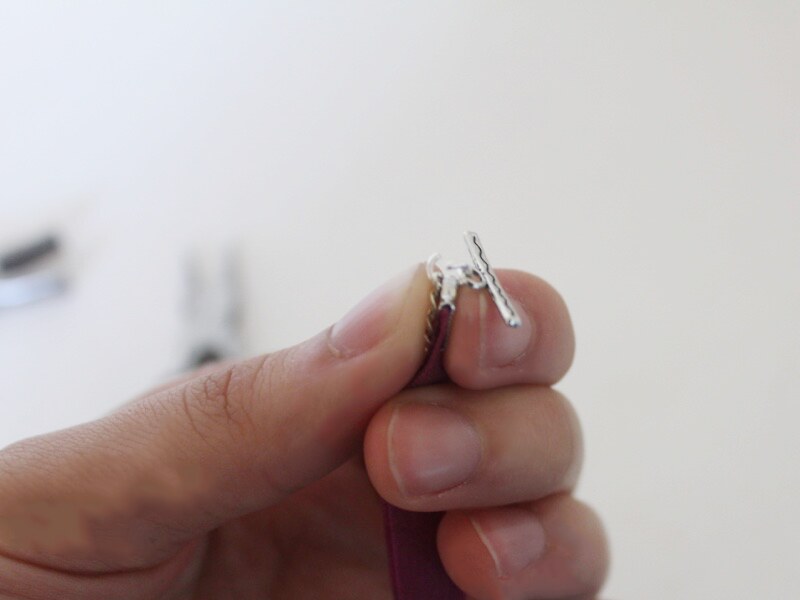
4: Add one side of the toggle clasp to the open jump ring. Close the jump ring to secure the pieces in place.
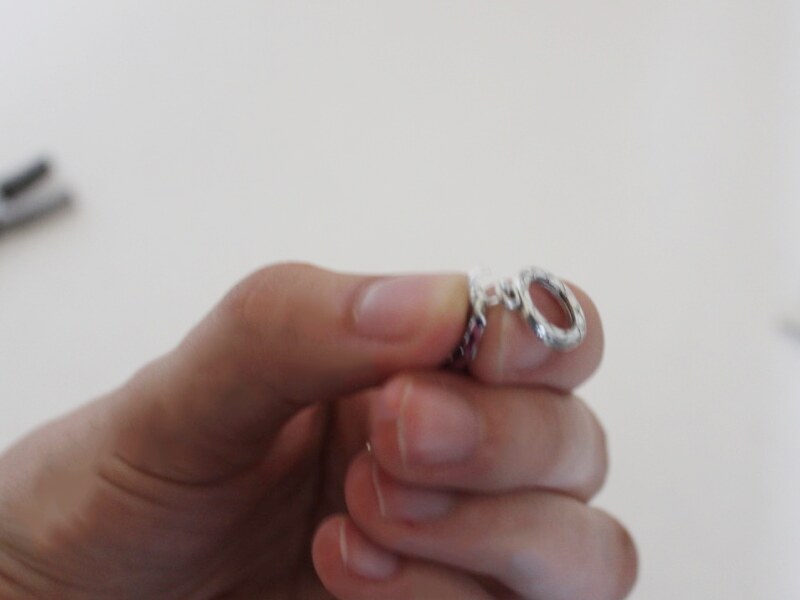
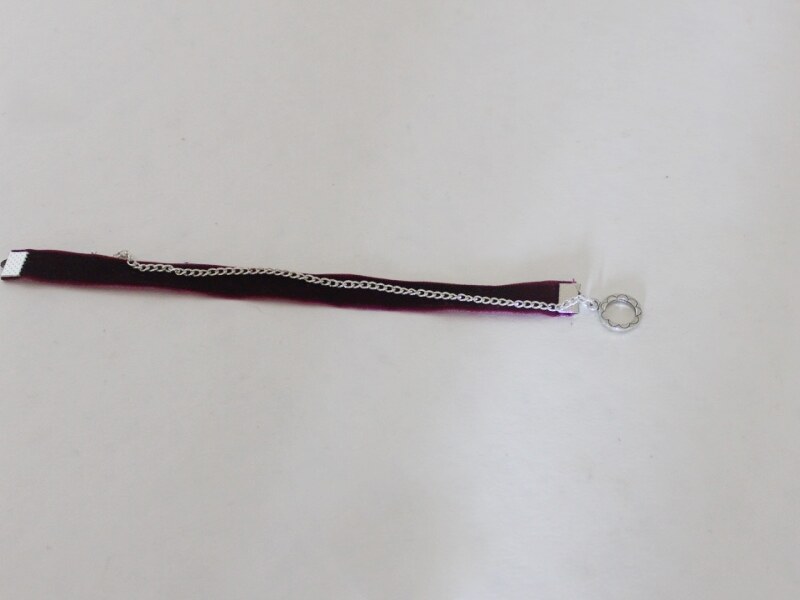
4: Repeat steps 2 to 4 for the other side of the bracelet… and now you’re done!
-
These Ribbon Earrings Are a Fun Way to Add Some More Color To Your Life!
These ribbon earrings make a big, bright impact! Made using colorful ribbons and a couple of flat end crimps they are bold and easy to make. Perfect for summer evenings for adding some color to cold winter days. This tutorial contains affiliate links.
You will need the following tools and materials to make your ribbon earrings:
1: Pliers. You will need your round nose pliers and flat nose pliers to make these earrings.


2: Scissors for cutting your ribbon to length.

3: Two flat end crimps, these ones are 2cm (0.8 inches) wide.

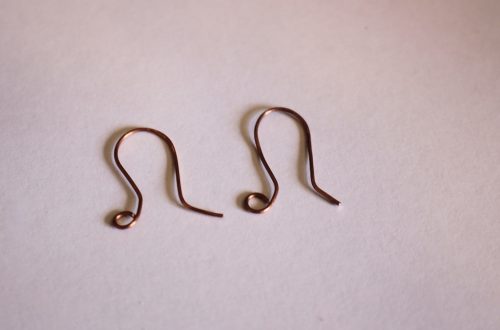
4: Two earring hooks.

5: Four pieces of ribbon, two wide and two narrow. Each of my pieces of ribbon were approximately 9cm (3.5 inches) long.

Follow these steps to make your ribbon earrings:
1: Cut your ribbons to length and then place a narrow and wide ribbon together so that their ends line up and the narrow ribbon is in the center.

2: Fold the ribbons in half to create a loop and place the crimp end over the folded ends.


3: Squash the crimp around the ends of the ribbons using the flat nose pliers.


4: Repeat steps 1-3 for the remaining ribbons.

5: Once the crimp is squashed in place, add an earring hook to the loop at the top of the crimp for each earring.

6: Close the loop on the earring hook to secure the pieces together and finish your earring.

6: Repeat steps 1-5 with the remaining ribbons to complete the second earring.

How simple was that?!