-
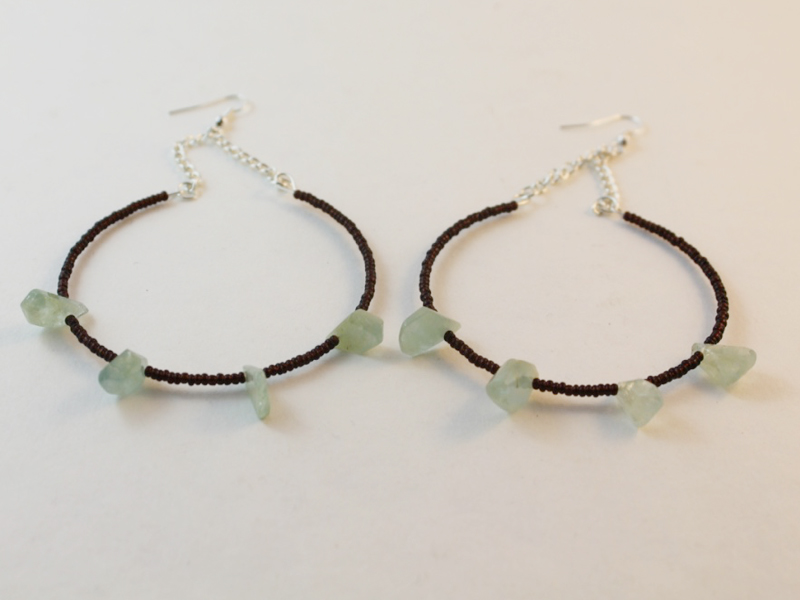
Here’s how to make your own Shepard hook earring findings using a wig-a-ma-jig!
I’ve already shown you how to make your own earring findings, here and here. But I haven’t shown you a way to make more traditional earring hooks from scratch. These simple Shepard hook earrings findings are made using some 0.8mm thick wire and a special contraption designed for wire-work called a ‘Wig-a-ma-jig’! Please note that this tutorial contains affiliate links.
You’ll need the following tools and materials to make your Shepard hook earring findings:
1: Some cutting pliers to cut your wire to length and trim any excess.

2: A pair of flat nose pliers to do some extra shaping to your earring hooks if required.

3: A Wig-a-ma-jig tool with pegs to create the shape for your earring hooks.

4: A needle file for smoothing the ends of your earrings, some sandpaper can be useful for getting a smooth finish as well.

5: Some wire. I used some copper wire in this demonstration but I suggest using sterling silver wire as it is a more suitable material for sensitive piercings. I used two pieces of copper wire about 0.8mm in diameter and about 8-10cm long. You will have some excess at the end that you will need to trim.

Follow these steps to make your earring hooks:
1: Arrange the Wig-a-ma-jig pins in the following formation, this will form the shape of your earring. The first peg is the bottom loop of the earring hook, the large top peg forms the arch of the earring and the last peg helps make the ‘kick’ at the end of the earring where it goes through your piercing.
2: Place the wire between the first two pegs as indicated in the picture below.

3: Take the long end of the wire and shape it around the large peg to form an arch

4: Loop the short end of the wire around the first smaller peg to form a circle shape, there will be some overlap at the end of the wire.
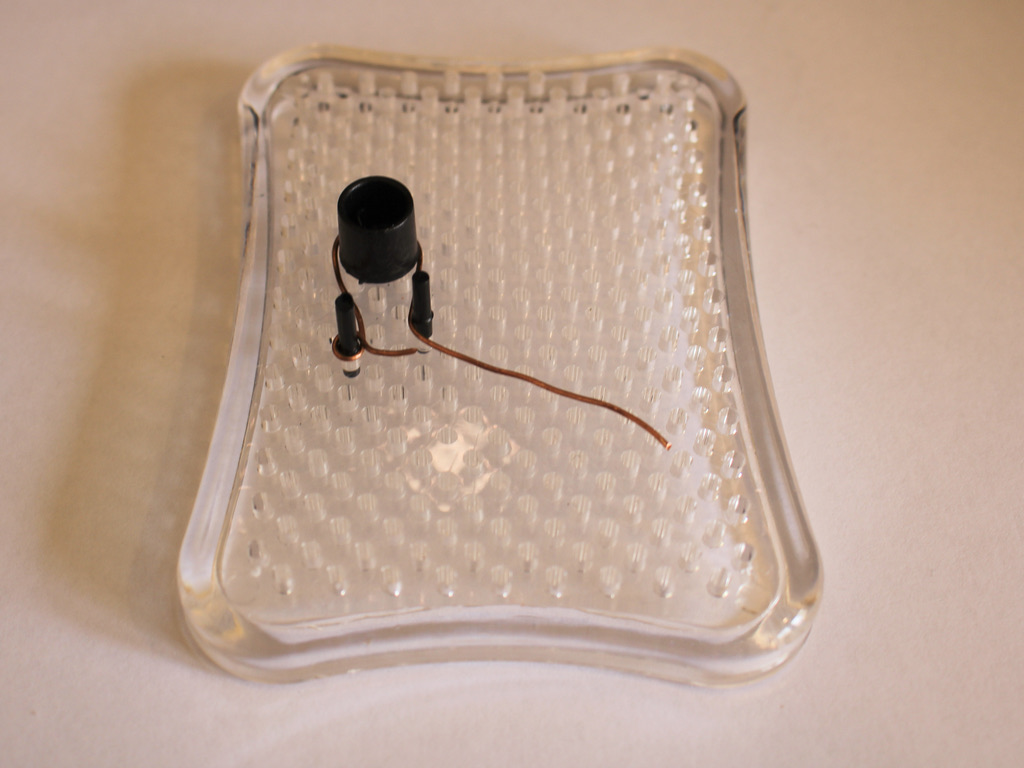
5: Kink the end of the wire underneath the last peg, there will be a lot of excess wire that will be trimmed later. You can see this pictured in the image above.
6: Take the wire shape off of the pegs. Do this carefully so as not to bend it out of the shape you just made.

7: Use the cutting pliers to trim the excess wire from the end of the earring and the loop overlap.


8: File the ends you just trimmed so they are smooth and won’t poke anyone wearing your earrings.

9: Repeat steps 2-8 for the second earring ensuring that the match.

Here’s my second earring on the jig 

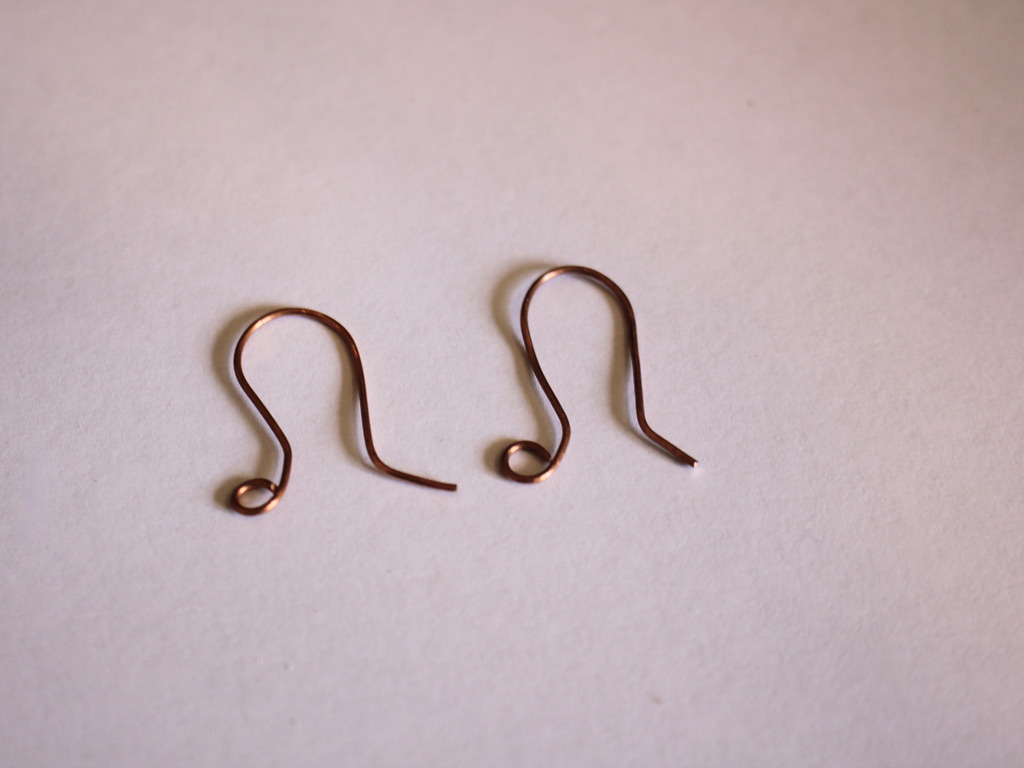
Once I had both earrings made, I did some small adjustments on them using my flat nose pliers to make sure they sat flat and were a nice shape, once I was happy with how they looked, these new earring findings were ready to use in a new earring creation! Below is a picture of the finished set of earring hooks.
Making your own jewellery findings is a great way to elevate your jewelry designs and have them feel even more unique and special. What will you attach to your hand made Shepard hook earring findings?
-
How to make a simple clasp out of wire!
This is a cool tutorial!
Imagine, you want to make a necklace or a bracelet, but you’ve totally run out of clasp findings. Rather than ordering some online, and waiting for them to arrive, check to see if you’ve got some wire on hand, and then come back here and keep reading about how you can turn this wire into a simple, but elegant clasp.
Please note, this tutorial contains affiliate links.
You’ll need these tools and materials to make your own clasp out of wire:
1: Some wire. I used a piece of copper wire recycled from an old project.

2: Some cutting pliers.
3: A jump ring that matches the wire colour.

4: Round flat pliers.

5: A small needle file.

Follow these steps to make your wire clasp:
1: Take the wire and wrap it around the widest part of the round on the round flat pliers to create a fold in the wire with the ends crossing each other. When you do this, have about 2.5cm on the short side, you can trim the long side later.


2: Using the cutting pliers, trim the long part of the wire off to be slightly longer than the short side.

3: File the ends gently so they aren’t spiky (You can skip this step if you don’t have a file).
4: Take the side that was longer to start with and create a loop at the end of the wire, this loop will turn away from the first loop you made and will sit flush against the other side.


5: Using the round-flat pliers again, create a loop at the other end of the wire, this loop will be higher up and sit flush against the other wire above the other loop.

6: Now your clasp is done. Thread the jump ring through the point where the two wires meet, this is how it opens and closes.
If the clasp feels a little soft or like it will pull out of shape, you can harden the wire a bit by squeezing it flat using some flat nose pliers or flat nose parallel pliers. This will work harden the metal a bit. Another alternative to work harden your clasp is to hammer it gently using a rubber or leather mallet on a steel block (be careful, this is likely to mark your metal or flatten it too much.)

This clasp might widen over time, you can put it back into place using some flat pliers and round flat pliers to make sure the wires sit closely together to prevent your jewelry from falling off!
Here’s an example of the same style of clasp on a bracelet I received as a gift.

Open version of the clasp on a bracelet from Peru. 
Closed version of the clasp on a bracelet from Peru.