-
How to make textured arch threader earrings
Here’s how to add some extra flare to your threader earrings… add some texture! Use a hammer to add some glittery facets to your wire threader earrings.
You will need the following tools and materials to make your earrings:
1: Cutting pliers to cut your wire to length.

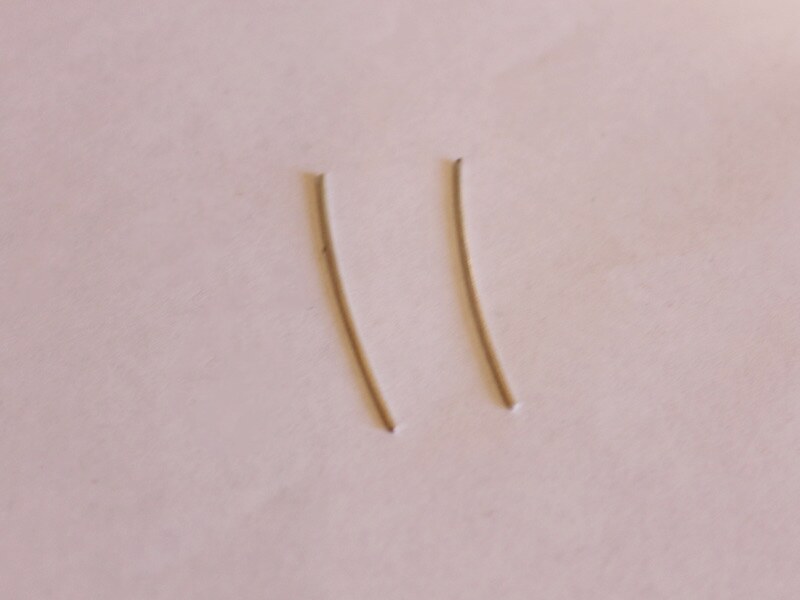
2: Two pieces of wire. I used some sterling silver wire approximately 4.5cm long.
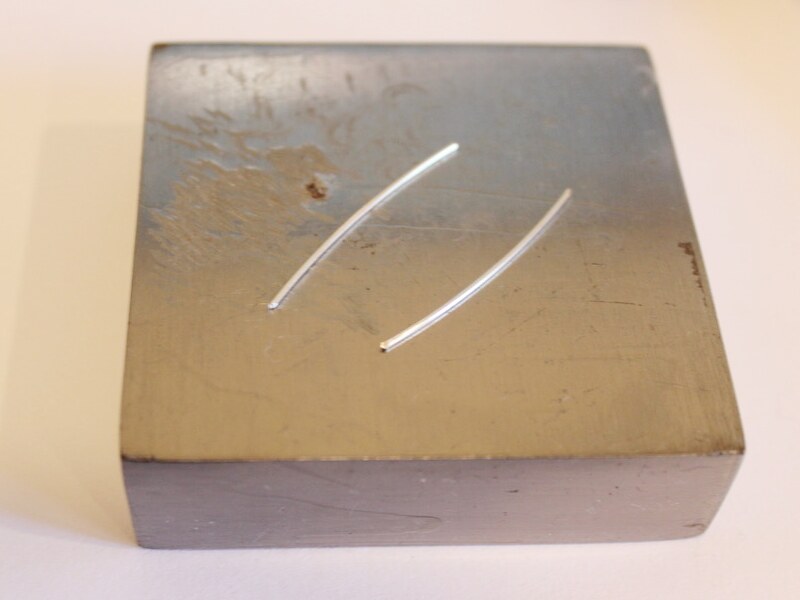
3: A steel block.

4: A hammer.

5: A file.

6: Tape.

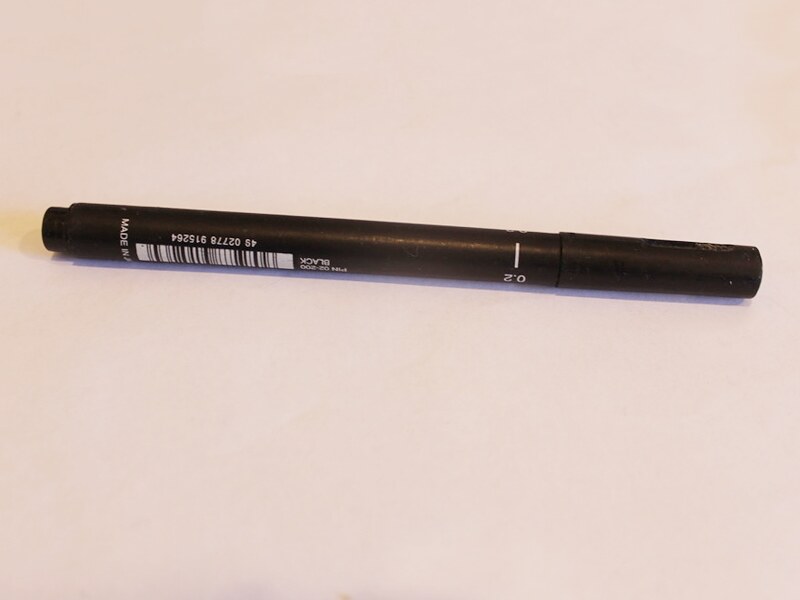
7: A pen or something else that is round to shape your wire around.
Follow these steps to make your textured wire threader earrings:
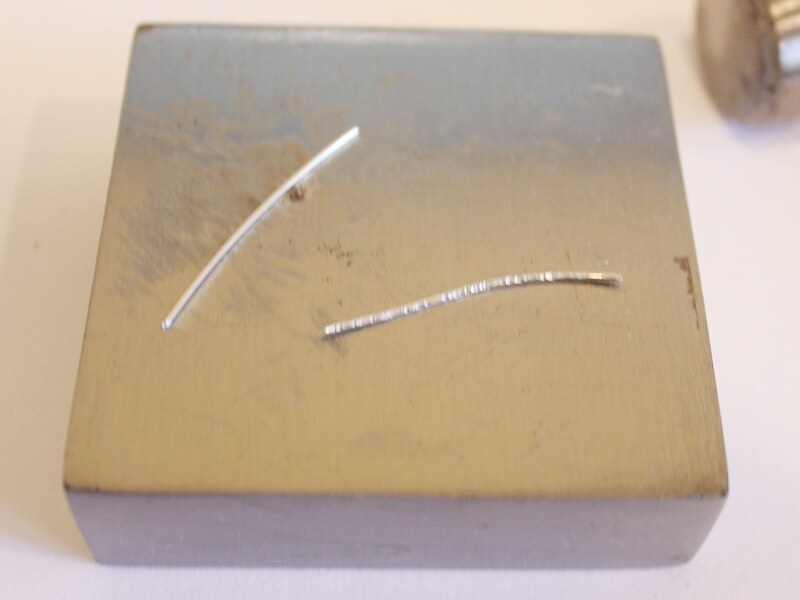
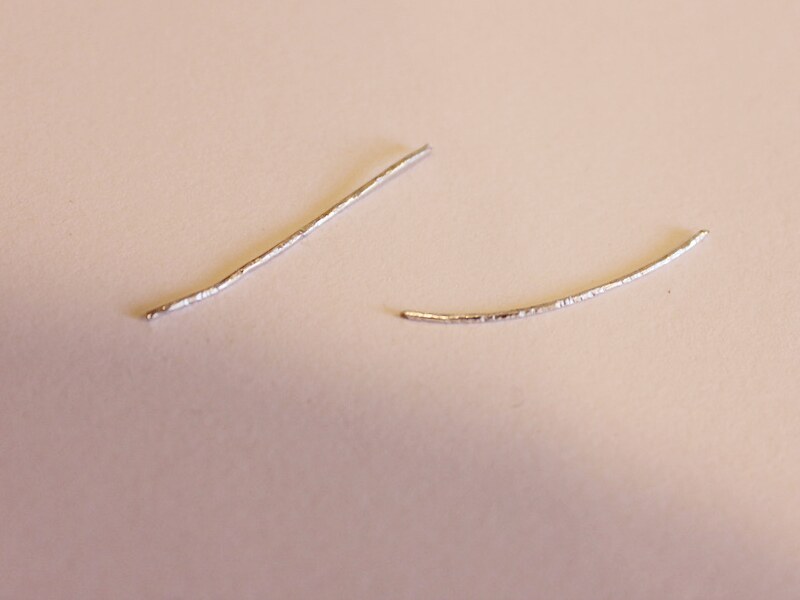
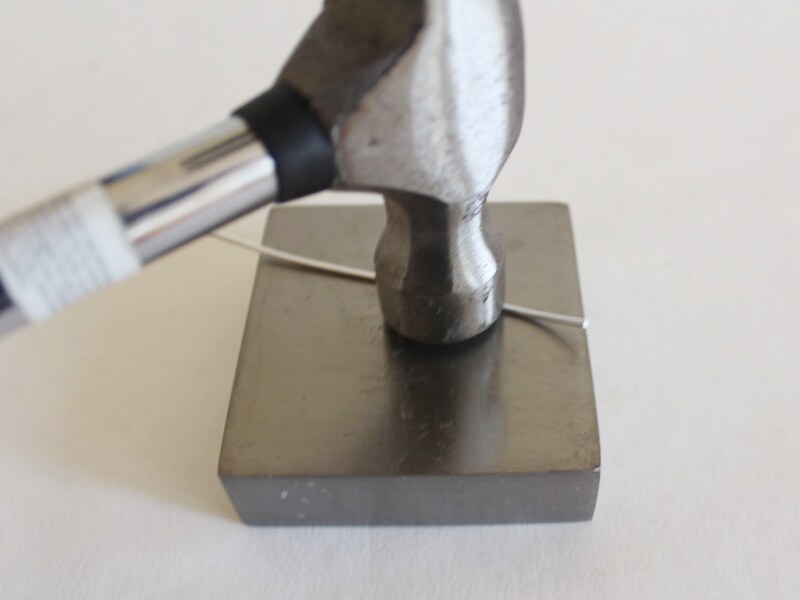
1: Hammer the wire so that it is textured on all surfaces. Do this by hitting the wire lightly with the edge of the hammer.
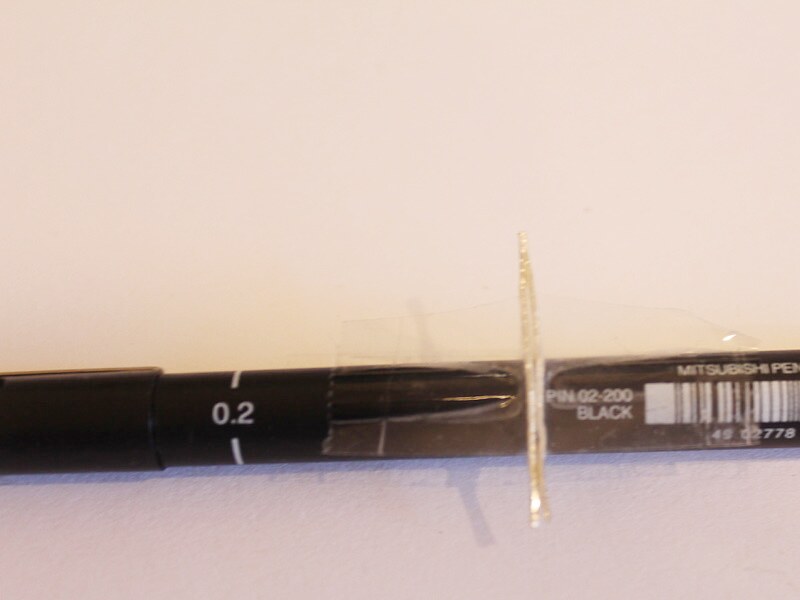
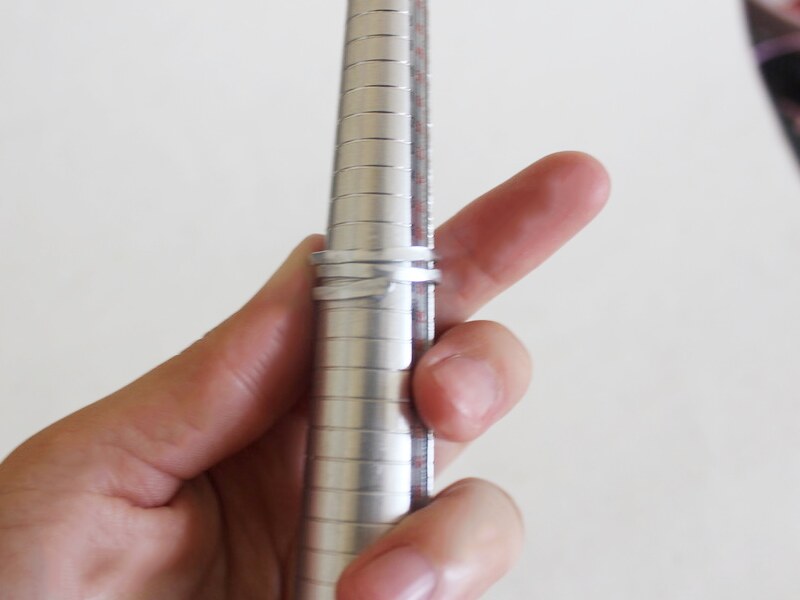
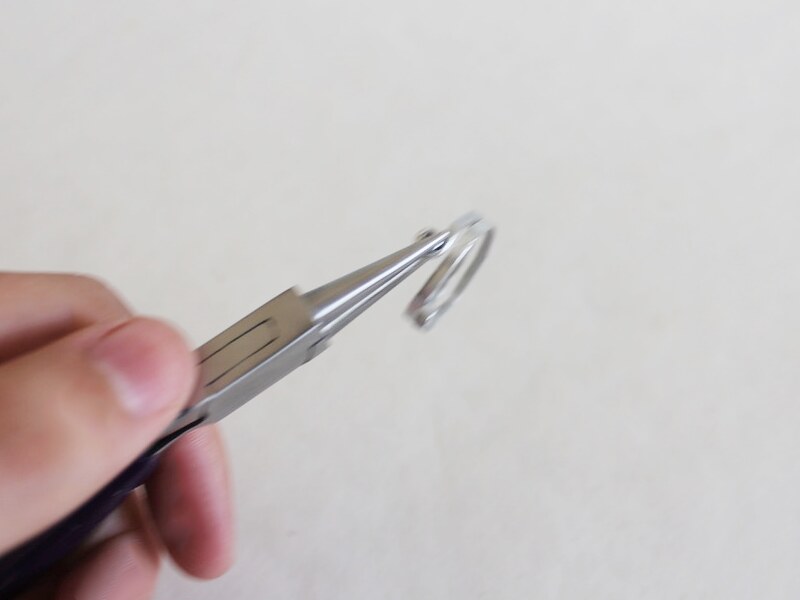
2: Once both pieces are textured line them up and tape them to the pen.
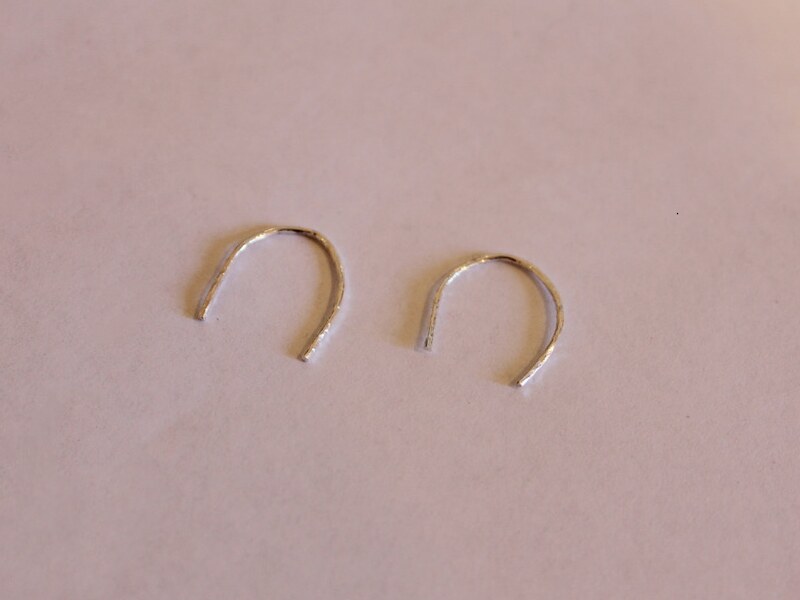
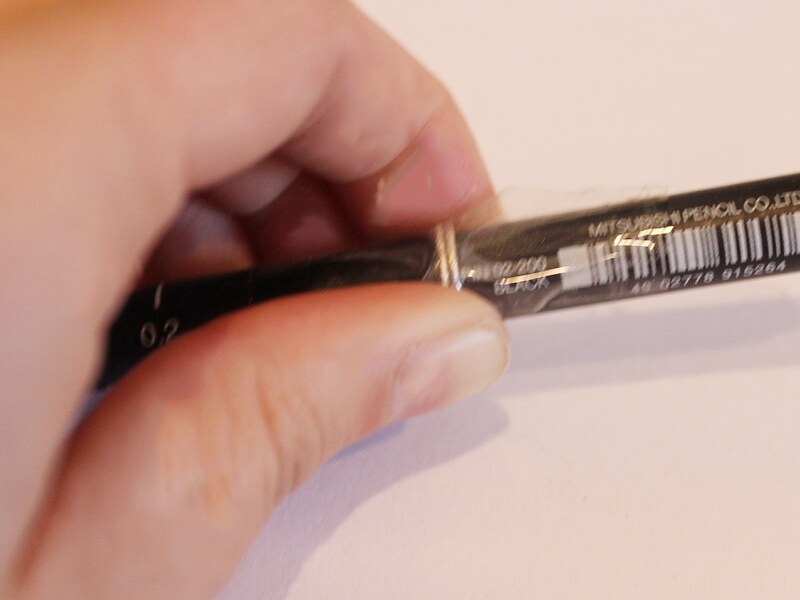
3: Bend the wire around the pen to form a curved arch shape.
4: Take the wire off the pen.
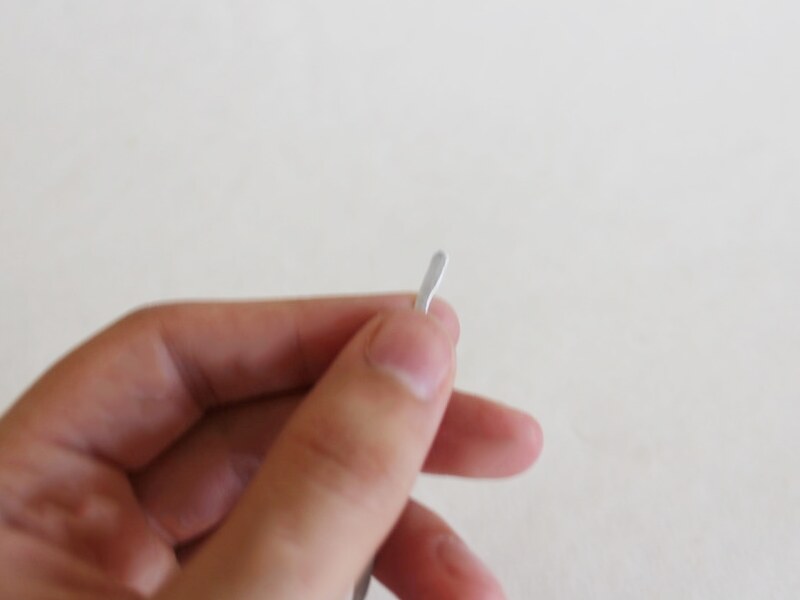
5: File the ends of the wire until they are smooth.
Once your earrings are filed they are ready to wear! How cute are these little arch threader earrings?!
-
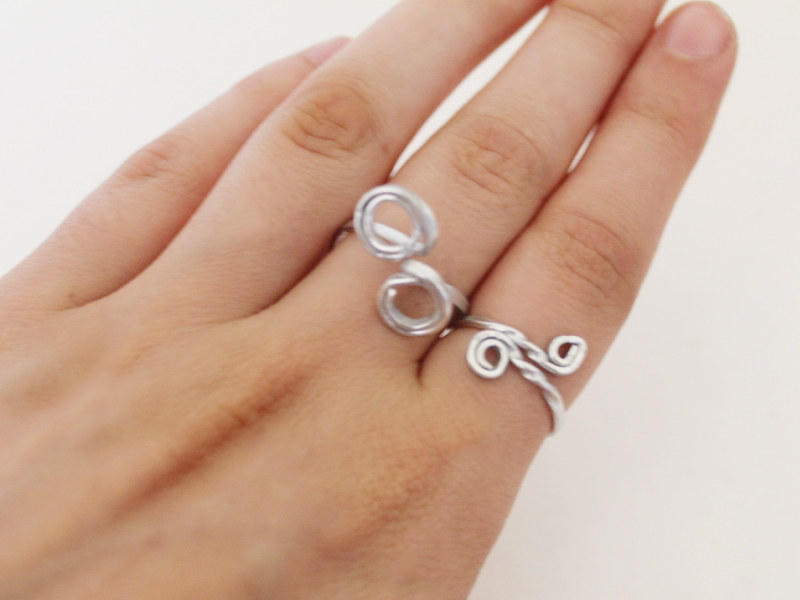
Here’s how to make a bent wire ring. You’ll need a hammer for this one!

Do you need some new finger decoration? Here’s how to turn some soft wire into a cool adjustable ring. Note: affiliate links
You will need the following tools and materials to make your ring:
1: Pliers. You will need your cutting pliers and round nose pliers to make this ring.

2: A ring mandrel.

3: A steel block.
4: A hammer.
5: A file.
6: Some soft wire. I used this thick gauge wire in a silver color.

Follow these steps to make your ring:
1: Cut a length of wire. I cut mine to approximately 12cm long (4.7 inches).

2: Flatten the wire on the steel block using the hammer.

3: File the ends of the wire so that they are not sharp.
4: Bend the wire around the mandrel at the size you want it.

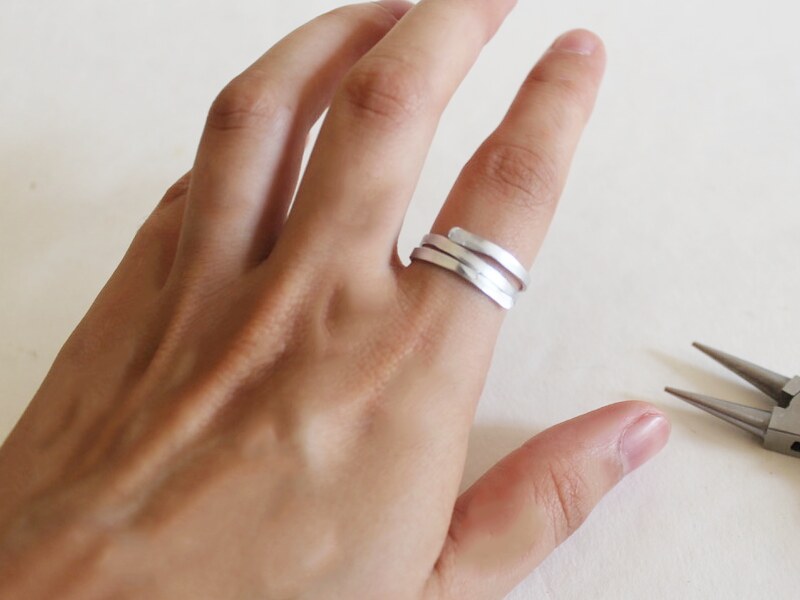
5: Wrap the rest of the wire around to give your ring a layered effect.
6: You can leave your ring as it is here. Or you can follow the next steps to add a coil decoration to it.
7: Using the round nose pliers, create a coil on one end of the wire.

8: Repeat for the other end of the wire.

9: Twist each coil out to the side so they align with the center of the ring.
10: Once both coils have been twisted outwards your ring is finished!

Here are some other hammered wire ring designs: