
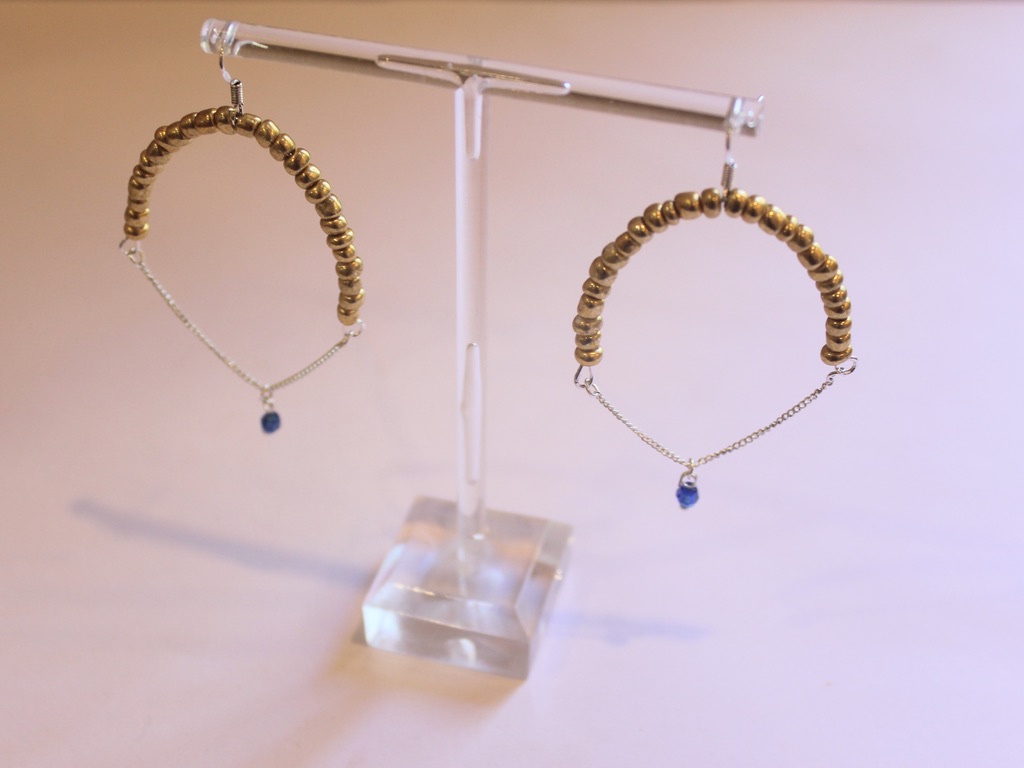
These arched and chain embellished earrings are so cool. Here’s how to make them.
We have made some different arch and chain earrings before, this one flips them around so that the arch sits at the top of the earring leaving the chain to dangle down gently. I really like the way these earrings move when you wear them. This tutorial contains affiliate links.
You’ll need the following tools and materials to make these earrings:
1: Pliers. I used my cutting pliers, round nose pliers and flat nose pliers.

2: Some bracelet length memory wire cut into half circles.

3: Two short pieces of chain.

4: Earring hooks.

5: Six jump rings.


6: Two head pins.

7: Beads. I used gold-tone e-beads and faceted blue plastic beads.


Follow these steps to make your own arch and chain dangle earrings:
1: Create a loop at one end of one of the pieces of memory wire using the round nose pliers.

2: Add beads so that approximately half of the wire is beaded.

3: Add one of the earring hooks.
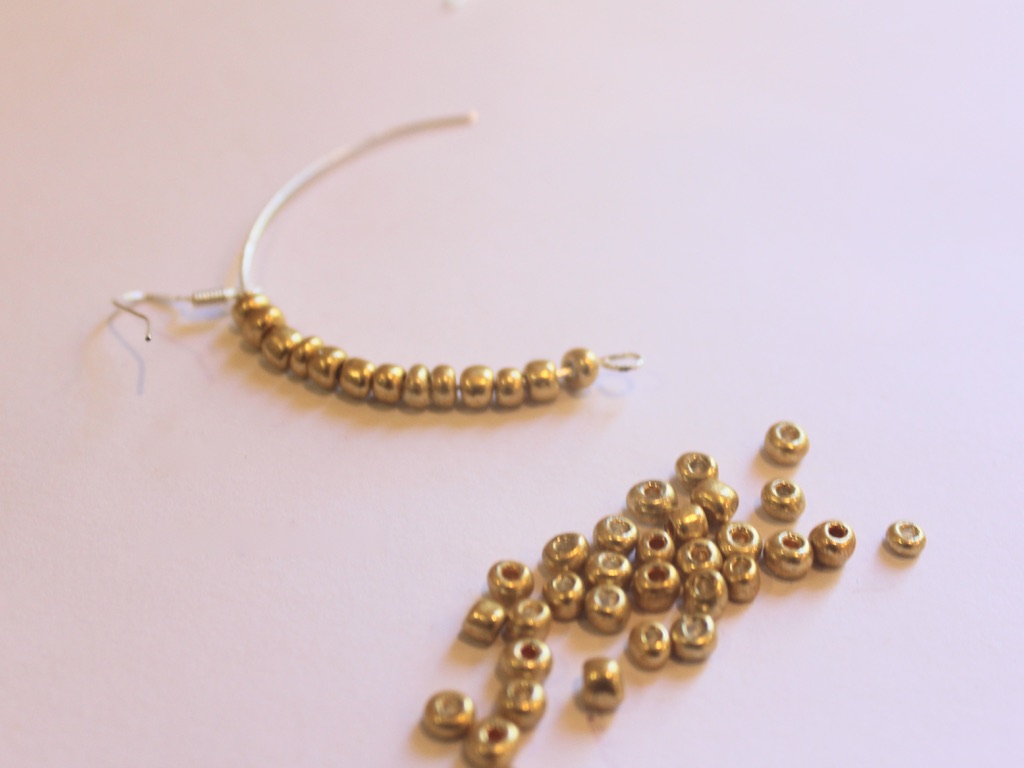
4: Add more beads to the wire until there is about 1cm left without beads.

5: Curl the end of the wire so that the beads and earring hook are secured in place. I squeezed my wire a bit at this point so that it formed a more narrow arch.

5: Repeat steps 1-5 for the second earring.

6: Add a jump ring to one end of the small chains.

7: Attach the end of the chain to the bottom of the beaded arch.

8: Repeat steps 6 and 7 for the other end of the chain to form a loop.


9: Repeat steps 6 to 8 for the other earring.

10: Add the faceted beads to each of the head pins and loop the tops using the round nose pliers to secure the beads in place.


11: Attach the newly formed bead charms to the chains with the remaining jump rings.

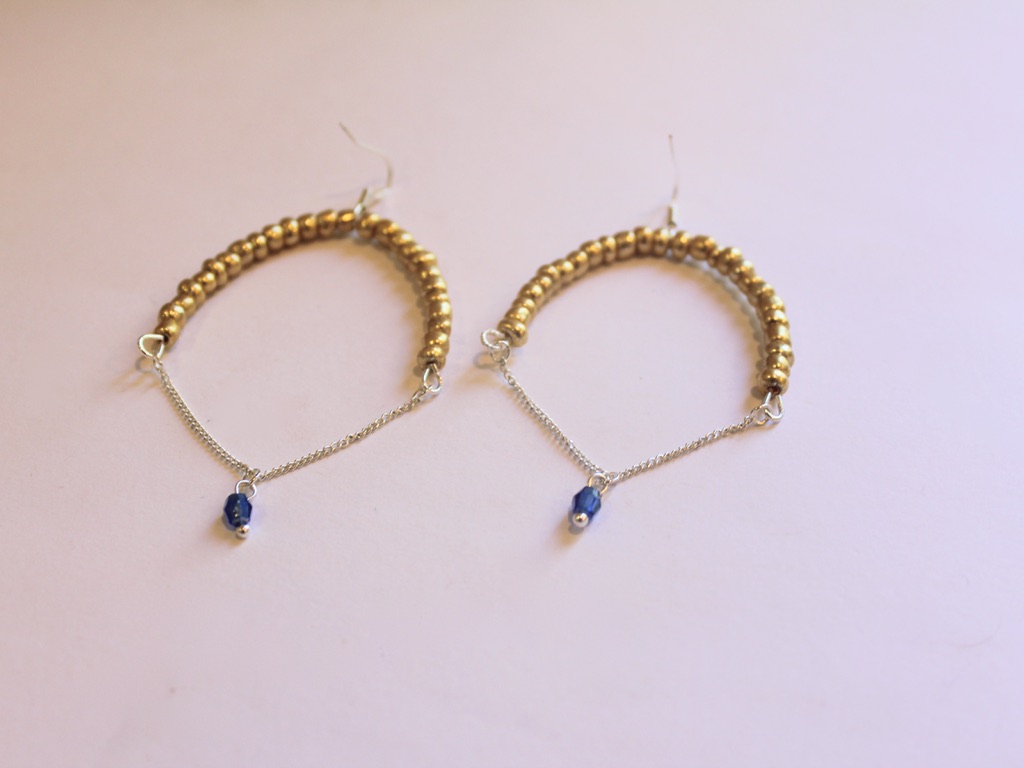
Now your dangling arch earrings are finished and ready to wear! So so cute!
If you like this design here’s a different arch earring tutorial we made a little while ago.
This tutorial contains affiliate links.

DIY Jewelry Hub
Welcome to DIY Jewelry Hub. If you’ve ever wanted to learn how to make your own jewelry this is the place to start! Jewelry is a great way to show off your individuality and style. You’ll be surprised at how easy it is to create your own unique pieces! DIY Jewelry Hub will equip you with all the knowledge and inspiration you need to make your own jewelry.


You May Also Like

If you had a secret diary this lock and key tutorial is perfect for you!

These loopy earrings are great!
