

How to Make Hoop Earrings And Then Kill it in the style stakes!
Want to take your DIY earring designs to the next level? DIY Jewelry Hub has another tutorial on how to make earrings. Follow these step-by-step instructions to make your own dangly beaded hoop earrings.
You will need the following tools and materials to make these earrings:
1. Pliers
To make these earrings you will need flat nose pliers, round nose pliers and cutting pliers.
 2. Two head pins.

3. Two hoop findings.

4. Two earring hooks.

5. Feature beads for the hoops.
In this design I used six coral beads, three on each hoop.

6. Seed beads.
I used white seed and clear seed beads in this design.


7. Two feature beads.
I used two green labradorite beads in this design.

The Steps:
1. Open one of the earring hoops.

2. Begin adding beads to the hoop. Continue adding beads to create your desired pattern.


3. Continue beading the hoop until only a small part is left bare and then lace this end back into the top attachment. Tip: Add a little glue to this end to ensure that it doesn’t pop out while you are wearing your earrings! Repeat these steps for the second hoop.

4. Once your hoops have been completed, take your feature beads and thread them onto the head pins.


5. Bend each pin at a right angle to the bead using the round nose pliers.

6. Trim both pins so that there is approximately 1cm (0.39 inches) protruding from the bead.
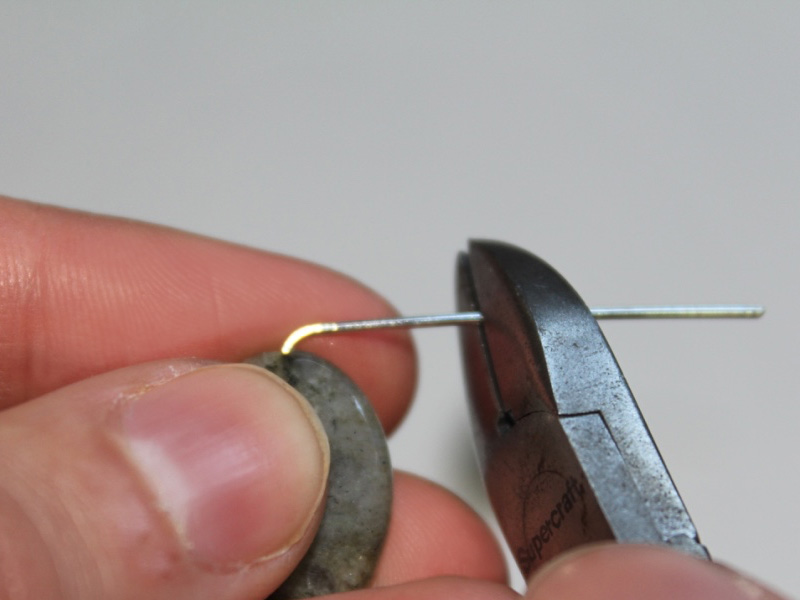
7. Once your pins have been trimmed, create a loop using the round nose pliers.


8. Once you loops have been created, open them slightly and slide the feature bead into the center of your earring hoop.

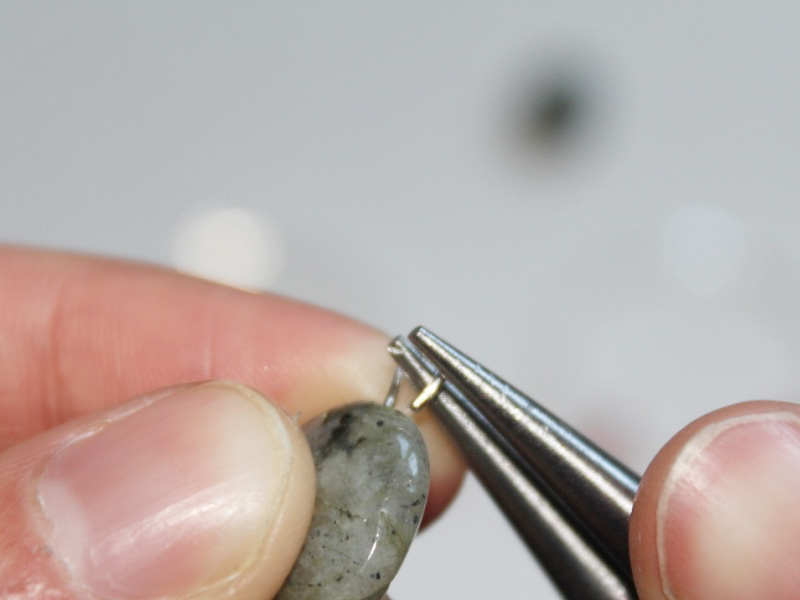
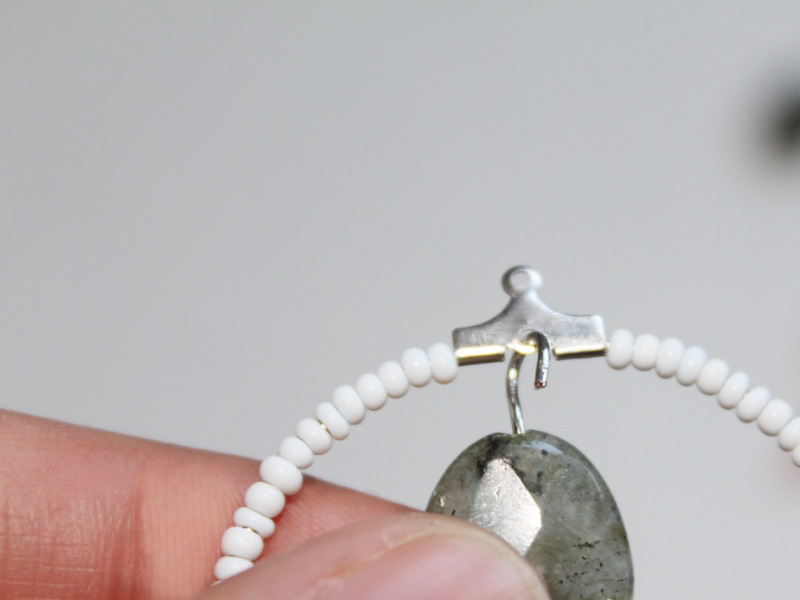
9. Close the bead loop using the round nose pliers. Make sure you repeat this for both of your earrings.
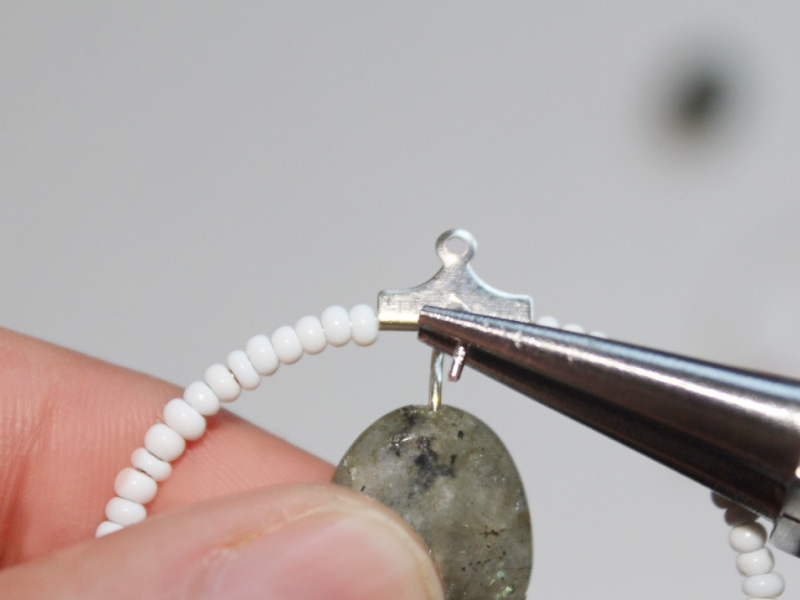

10. Open the loop at the bottom of the earring hooks using the round nose pliers.


11. Slide the open loop into the top of your beaded earring hoop and then close. Repeat this step for both earrings.
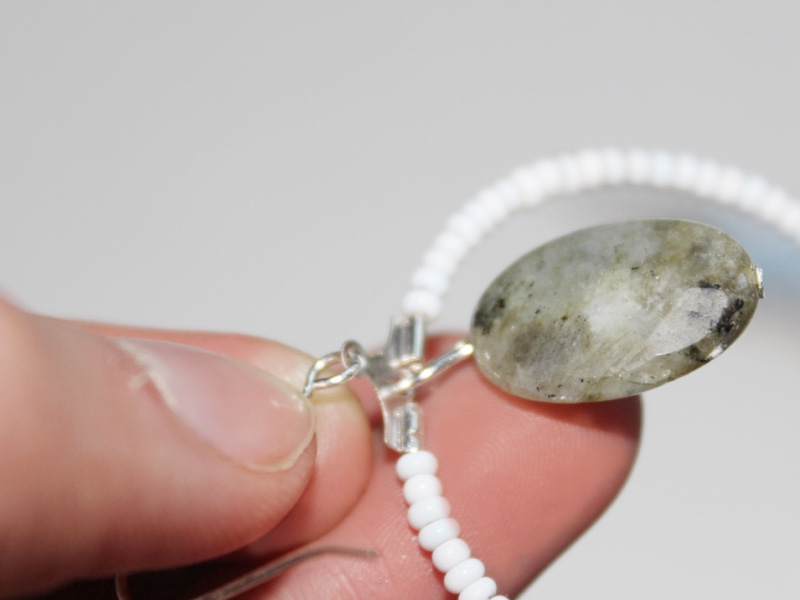
12. Your earrings are done! Now all that is left to do is wear them.

DIY Jewelry Hub
Welcome to DIY Jewelry Hub. If you’ve ever wanted to learn how to make your own jewelry this is the place to start! Jewelry is a great way to show off your individuality and style. You’ll be surprised at how easy it is to create your own unique pieces! DIY Jewelry Hub will equip you with all the knowledge and inspiration you need to make your own jewelry.


You May Also Like
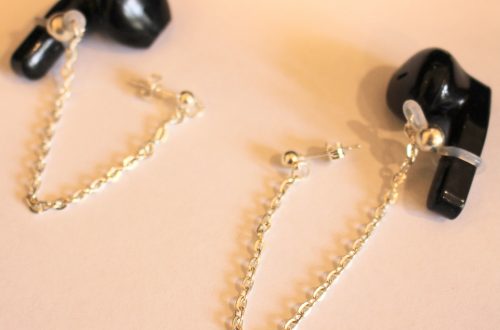
How to make earrings that are also holders for your wireless earbuds!

This earring is HOT! Combine pearls and glass charms to make a cool statement earring