Got Some Old Brooches Hanging Around? Here’s How to Turn them into a necklace Pendant!
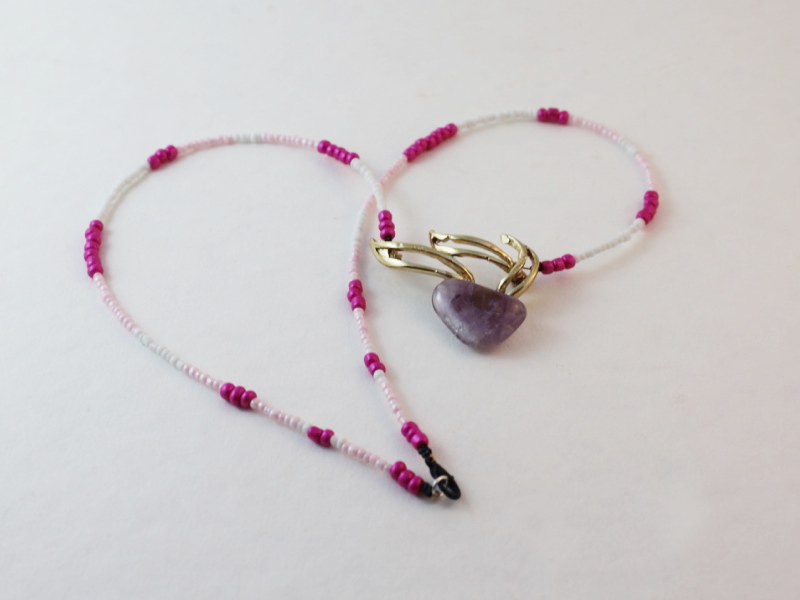
I recently acquired some of my grandmother’s old costume jewelry, and among all the beads and clip on earrings I found some wonderful brooches. I am not really a brooch wearer myself so I decided to turn them into something that I would wear, a necklace. Attaching the tiger tail wire to the necklace wire can be a bit tricky, but once you have it in place the rest is smooth sailing. This tutorial is a really fun way to re-purpose and recycle old pieces that you have stashed away in your jewelry box!
You will need the following tools and materials to make a brooch pendant necklace:
1:Pliers. To make this necklace I used the round nose pliers, flat nose pliers and cutting pliers.

2: A brooch. I used this gold colored amethyst broach that was handed down from my grandmother.

3: Tiger tail wire. I used this bronze colored tiger tail wire.

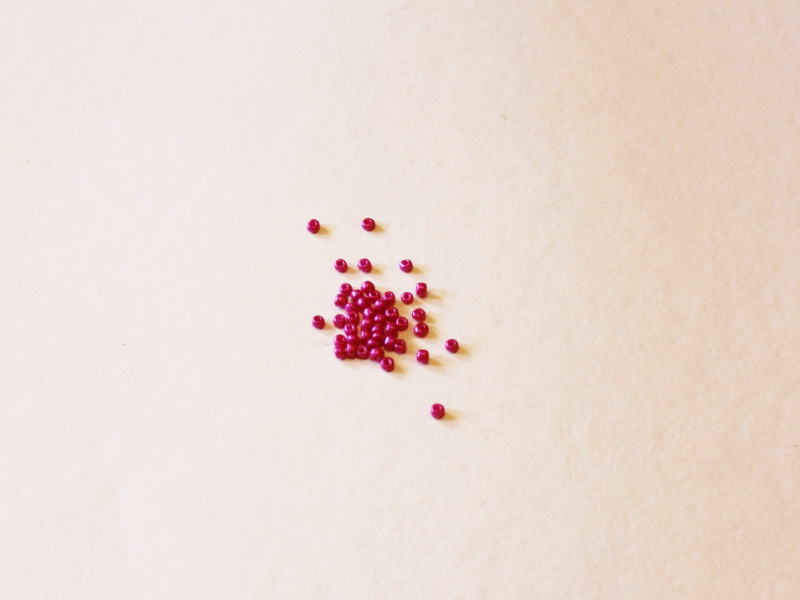
4: Eight crimp beads. I used these black colored crimp beads.

5: One lobster clasp. I used this black colored lobster clasp.

6: One jump ring.

7: Beads of your choice. I used a selection of pink and white glass beads.


The steps for making this broach necklace:
1: The first step is to remove the pin from the back of the brooch. If you want to be able to use it again as a brooch i recommend skipping this step and leaving the pin where it is. To remove the pin you can either try to pull it off using your flat nose pliers or cut it off using the cutting pliers.

2: Cut a length of tiger tail wire long enough to fit comfortably around your neck.

3: Using the cutting pliers, cut the length of tiger tail wire in half. These pieces will be used to make either side of the necklace.


4: Take one piece of tiger tail wire and add two crimp beads to the end. Then wrap the end around the back pin prong on the brooch. Make sure you pull the wire tight around the pin and through the crimps to ensure that it stays in place.

5: Once the loop has been formed, squash the crimp beads using your pliers to secure the strand in place. Because of the way this brooch was formed I needed to use my round nose pliers to squash the crimps but you can also use flat nose pliers to secure the crimps in place.


6: Repeat steps 4 and 5 for the second strand, attaching it to the other pin prong on the back of the brooch.

7: Begin adding beads to one side of the necklace in your chosen pattern.


8: When you reach the end of the first strand, add two crimp beads and the lobster clasp.

9: Loop the tiger tail around the clasp and back through the crimp beads. Make sure you pull it tight before squashing the crimp beads.

10: Once your tiger tail wire has been pulled tight, use the flat nose pliers to squash the crimps and secure the end of the strand.

11: Trim any excess wire using the cutting pliers.


12: Repeat steps 7 to 11 for the second strand, this time adding the jump ring to the end rather than a clasp.


13: Once you have completed the second strand of the necklace your new piece of jewelry is complete! Using a vintage brooch is a great way to make sure that you will have a special design that no one else has. How’s that for exclusive?!
This tutorial contains affiliate links

DIY Jewelry Hub
Welcome to DIY Jewelry Hub. If you’ve ever wanted to learn how to make your own jewelry this is the place to start! Jewelry is a great way to show off your individuality and style. You’ll be surprised at how easy it is to create your own unique pieces! DIY Jewelry Hub will equip you with all the knowledge and inspiration you need to make your own jewelry.

You May Also Like

Here’s a Little Chain Cutie To Add To Your Choker Collection!
Here’s how to make a braided bead choker, perfect for the beach!