The Bows are Back! Make your ears Some Cute bow stud earrings
So I’m assuming that you’ve already made yourself some delightful dangly bow earrings, so how about making yourself some bow stud earrings too? These earrings are as cute as can be and sit comfortably on your ear lobes. These bow stud earrings are super easy to make, check out the instructions to see for yourself!
You will need the following tools and materials to make these adorable bow stud earrings:
1: Pliers. You will need your round nose and cutting pliers to make these earrings.

2: Two bows. I used some pre-fabricated plaid orange bows.

3: Two head pins.

4: Two flat bed stud earrings.

5: Beads of your choice. I used a selection of glass beads.


6: One bamboo skewer.

7: One piece of scrap paper.

8: Araldite glue.
 Araldite is so handy to have around, I highly recommend that you add some to your DIY jewelry making kit:
The steps:
1: Add the beads to each of the head pins.


2: Use the round nose pliers to bend each pin on a right angle to the beaded section.


3: Trim each pin approximately 1cm (0.4 inches) from the beaded section using the cutting pliers.


4: Use the round nose pliers to create a loop at the top of each beaded pin.


5: Open one loop slightly and slide it through the middle of the bow.


6: Close the beaded charm loop with the round nose pliers to secure it in place.

7: Repeat steps 5 and 6 for the second bow.

8: Squeeze out some glue onto the scrap paper and mix it using the skewer.


9: Apply the glue mix to the flat part of the stud earring.

10: Place the stud with glue on it to the back of one of the bows. You might need to hold it in place for a while to prevent the earring from slipping out of place.

11: Repeat steps 9 and 10 for the second earring. 
12: Once the earring studs have been put in place all that is left to do is wait a little while for the glue to dry! What will you make during the drying time? Why not try making a quick ribbon choker necklace while you pass the time?
I hope you enjoy your cute new earrings!


DIY Jewelry Hub
Welcome to DIY Jewelry Hub. If you’ve ever wanted to learn how to make your own jewelry this is the place to start! Jewelry is a great way to show off your individuality and style. You’ll be surprised at how easy it is to create your own unique pieces! DIY Jewelry Hub will equip you with all the knowledge and inspiration you need to make your own jewelry.

You May Also Like
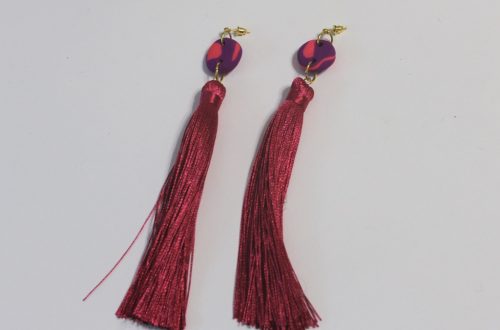
Here’s how to DIY a fantastic pair of polymer clay tassel earrings.

I am obsessed with fruit charms right now, here’s another way to use them!