
Need something to compliment your décolletage? Make this dainty chain drop necklace
This delicate and dainty chain drop necklace is an absolute stunner! Using two pieces of chain and some cleverly placed jump rings you can create your own beautiful, modern necklace that is perfect for day and evening looks. And while it may look incredible, this necklace isn’t too complicated to put together.
You will need the following tools and materials to make this delicate chain drop necklace:
1: Pliers. You will need your round nose pliers and flat nose pliers to make this necklace.


2: Two pieces of chain. Cut one piece of chain so that it long enough to fit closely around your neck. The second piece of chain will be shorter, I made mine approximately 8.5cm (approx 3.3 inches) long.


3: Three jump rings.

4: One lobster clasp.

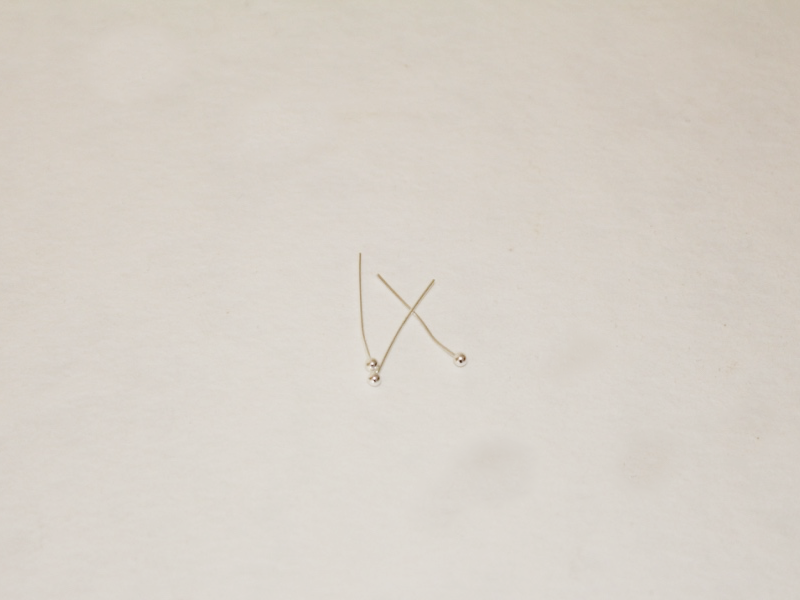
5: Three small head pins.
6: Beads of your choice. I used these different colored pearl beads.

If you love pearls as much as I do you can get some here to use in your own DIY jewelry designs:
Follow these steps to make your pretty chain necklace:
1: Open one jump ring using your pliers and add both ends of the long chain to it.


2: Add the short piece of chain to the same jump ring.

3: Close the jump ring using your round nose pliers and secure the chains together.

4: Take another jump ring and add the other end of the short piece of chain.


5: Add each of the beads to the head pins.


6: Take each of the pins and bend them at a right angle to the beads using the round nose pliers.


7: Use the round nose pliers to loop the tops of the head pins. Loop the pin a few times around the barrel of the round nose pliers so that the loop sits closely to the beads.


8: Use the round nose pliers to flatten down the ends of the pins so that they align with the loops.


9: Add all the beaded charms to the jump ring at the end of the short chain at the center of the necklace.

10: Close the jump ring to secure the beaded charms in place.

11: Find the center of the necklace loop and open a link to split the necklace ready to add the lobster clasp.

12: Add the lobster clasp to the open chain link and secure in place by closing it again using your pliers.


13: Add the third jump ring to the other side of the necklace to correspond with the lobster clasp. Once this jump ring is in place the necklace is complete!


How will you style your fabulous chain drop necklace? I love this design and I’m super excited to wear mine out day and night!


DIY Jewelry Hub
Welcome to DIY Jewelry Hub. If you’ve ever wanted to learn how to make your own jewelry this is the place to start! Jewelry is a great way to show off your individuality and style. You’ll be surprised at how easy it is to create your own unique pieces! DIY Jewelry Hub will equip you with all the knowledge and inspiration you need to make your own jewelry.


You May Also Like

Here’s another lariat tutorial, and it’s a great one! Make this triangle lariat!

Here’s another cute way to upcycle your broken headphones, a double strand necklace!
