

Here’s a fun one to make! Here’s how to make a beaded wiggle bracelet.
This design is a little tricky to make but it looks amazing! Using some chain, tiger tail wire and beads, you can create an interesting, almost sculptural, bracelet to wear. Please note that this tutorial contains affiliate links.
You’ll need these tools and materials to make this bracelet:
1: Some tiger-tail wire, I used about 1m of wire to make mine. I suggest cutting off slightly more than you need so you don’t run out.

2: A piece of chain that is bracelet length. I used a piece recycled from an old project that I took apart.

3: Two jump rings.

4: Four crimp beads.

5: A clasp.

6: Beads. I used these gold glass beads.

6: Your jewelry pliers. I used my cutting pliers, round nose and flat nose pliers.

Follow these steps to make your own wiggle bracelet:
1: Add two crimp beads and a jump ring to one end of the wire.

2: Loop the end of the wire around the jump ring and back through the crimps.

3: Squash the crimp beads using the flat nose pliers.

4: Attach the wire to the chain using the jump ring.


5: Add some beads to the wire. I added 6 beads.

6: Thread the end of the wire through a link in the chain, I threaded mine through the 7th link of the chain. You want the distance between links to be shorter than the length of each beaded section in order to make an arch shape.


7: Repeat steps 5 and 6, adding another 6 beads and threading it through another link on the opposite side of the chain, 7 links away from the first loop.
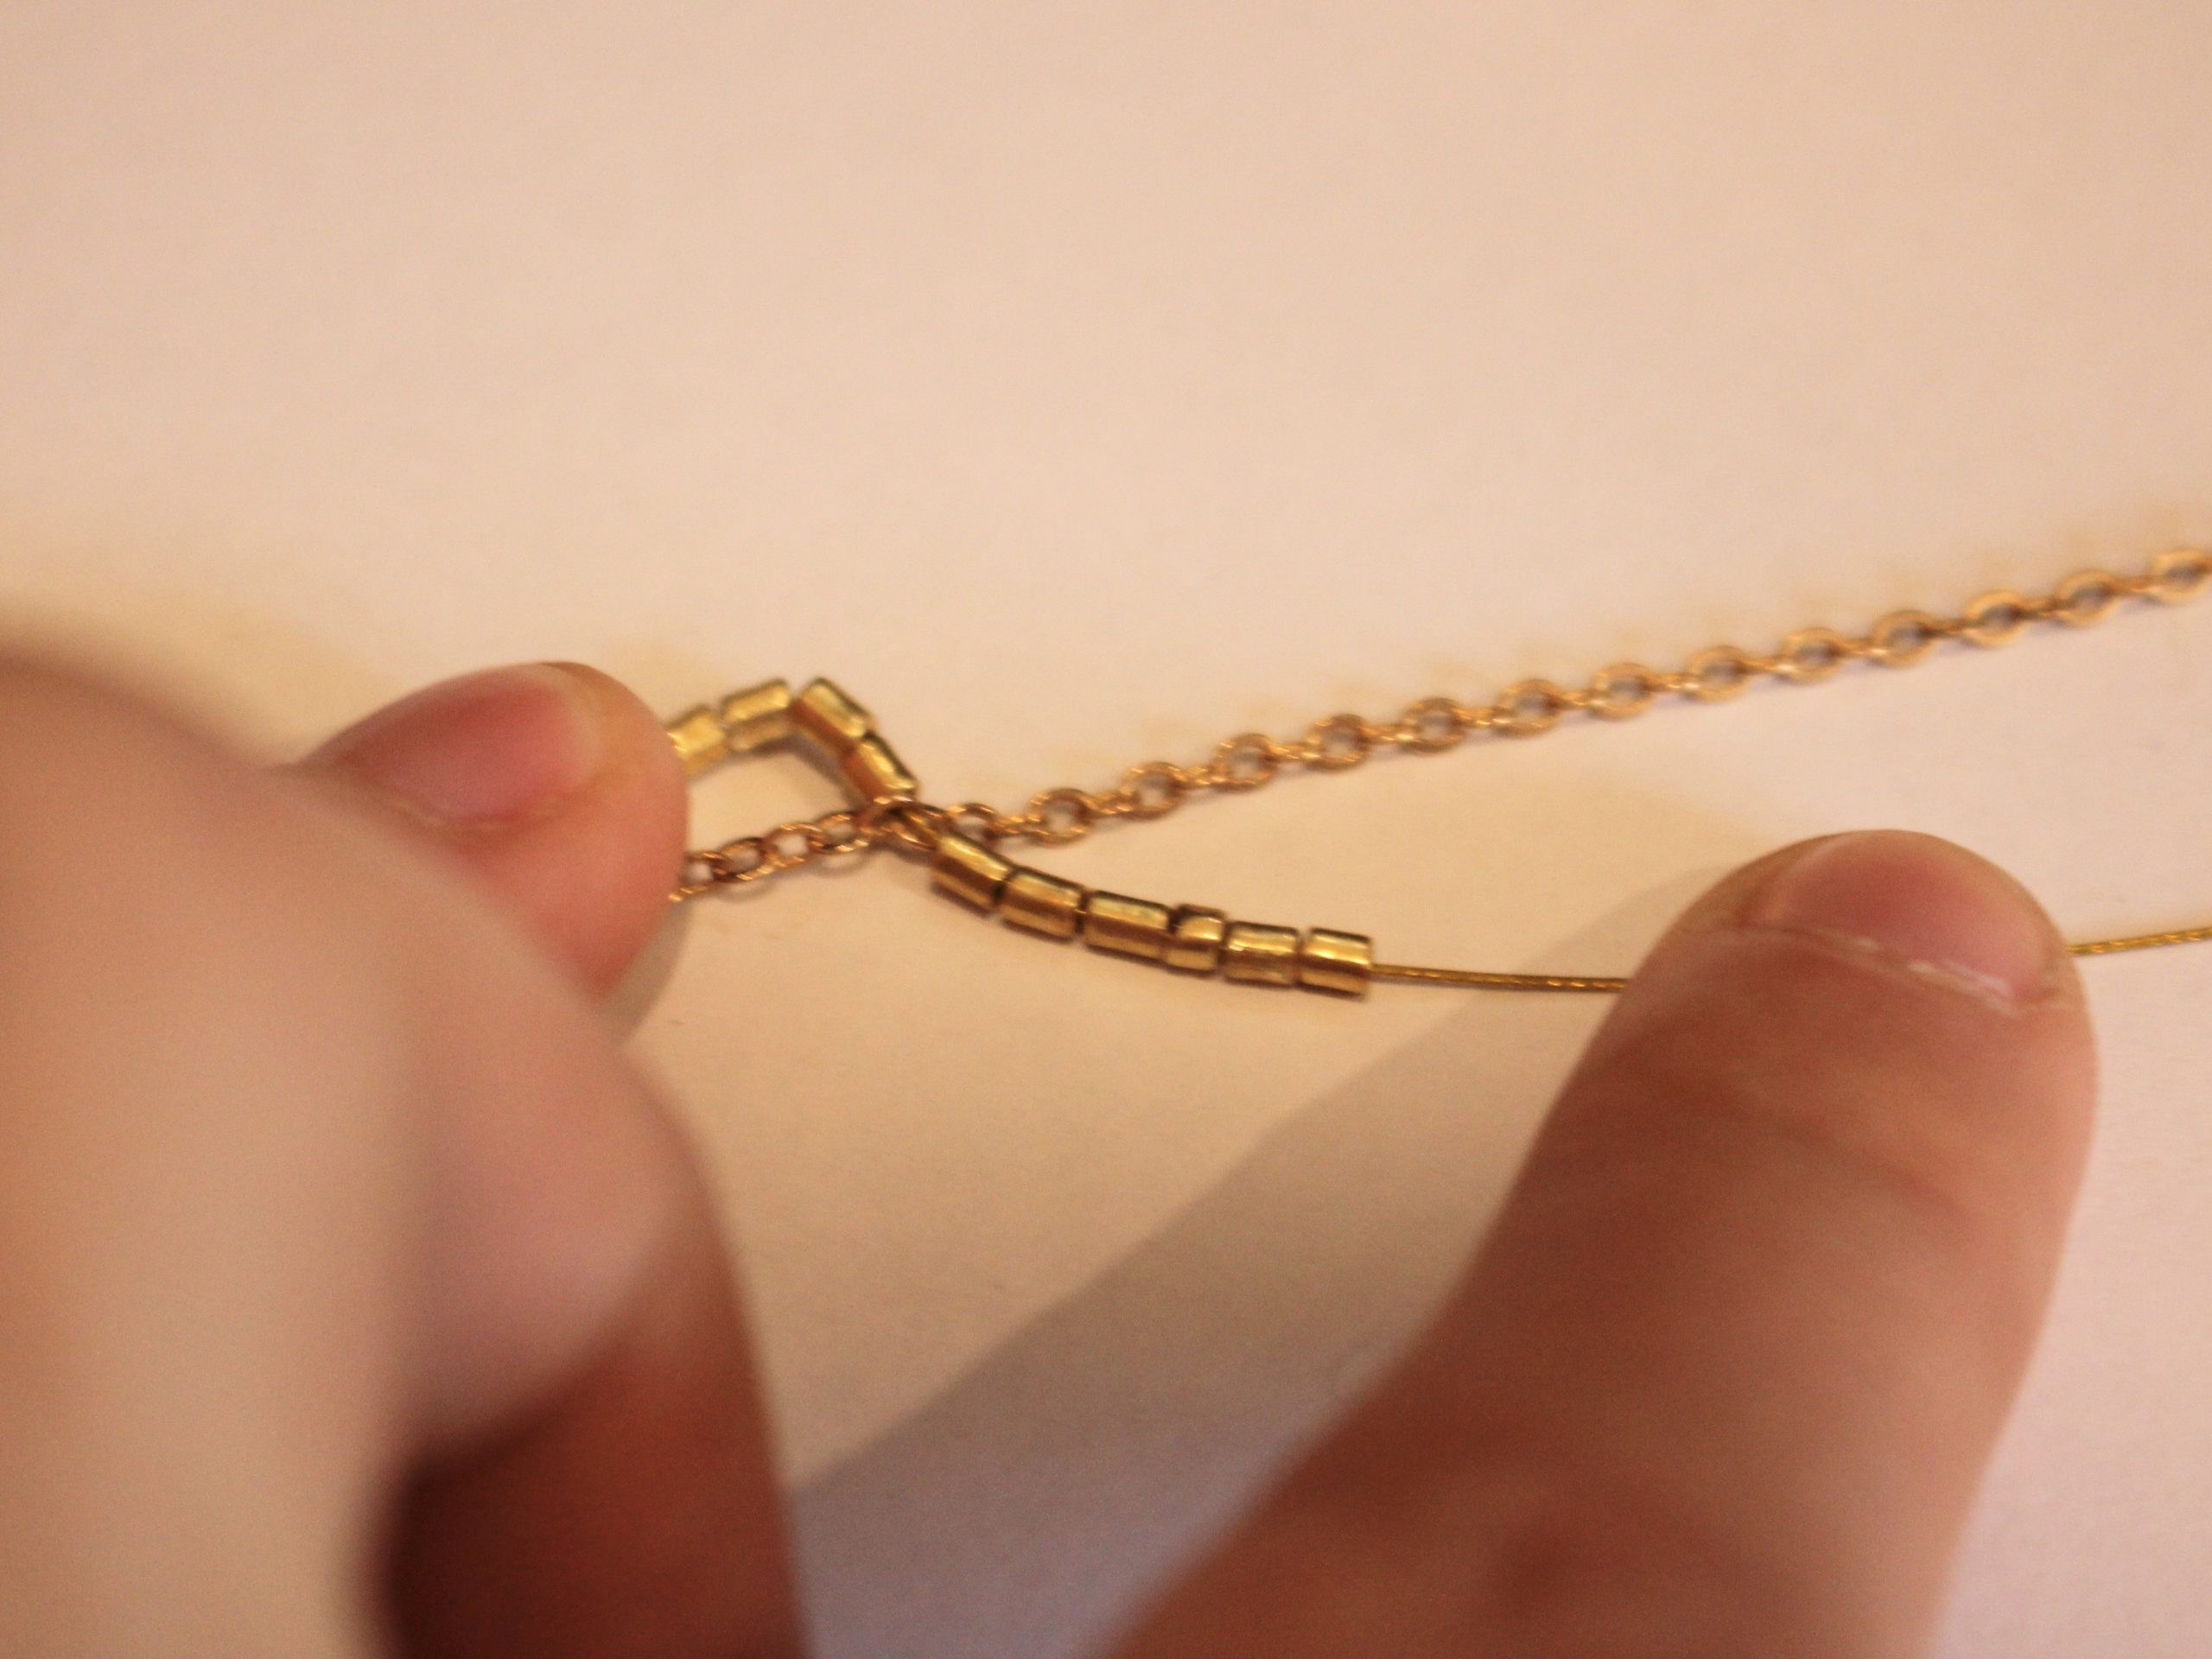

8: Keep beading and looping the wire until the chain is early complete, with just one loop to go.

9: Add the second jump ring to the end of the chain.

10: Add the last 6 beads and two crimp beads.

11: Loop the end of the tiger tail wire around the jump ring at the end and back through the crimps and end beads.
12: Squash the crimp beads.

13: Trim the excess wire.


14: Add the clasp to one end of the bracelet to finish it off! Now your fun wiggle bracelet is finished.


Here’s what the wiggle bracelet looks like when it’s being worn!


DIY Jewelry Hub
Welcome to DIY Jewelry Hub. If you’ve ever wanted to learn how to make your own jewelry this is the place to start! Jewelry is a great way to show off your individuality and style. You’ll be surprised at how easy it is to create your own unique pieces! DIY Jewelry Hub will equip you with all the knowledge and inspiration you need to make your own jewelry.


You May Also Like

Here’s how to make a floating bead bracelet!

Make Your Garbage Glam With This Cute Ribbon Bangle
