Step-By-Step Tutorials
-
Gaudy crystals are in! Here’s how to make some bold crystal earrings.

These crystal earrings pack a visual punch! Perfect for spicing up your go to outfit. This tutorial contains affiliate links.
You will need the following tools and materials to make these rhinestone crystal earrings.
1: Two strands of rhinestone crystals. I made mine approximately 12cm long.

2: Two larger rhinestones.

3: Two glue on stud earrings with backs.

4: Araldite glue

5: A skewer.

6: Scrap Paper.

Follow these steps to make your rhinestone crystal earrings:
1: Squeeze the Araldite glue out into equal parts and mix it on the paper.



2: Add the glue to the edge of the first large rhinestone.

3: Drape one of the rhinestone strands around the rhinestone and set it aside to dry. I recommend placing them on a cutting mat so that you don’t get paper stuck on your earrings.

4: Repeat steps 2 and 3 for the second set of rhinestones.
5: Add more glue to the earrings and place them on the back of the large rhinestones.

Once your earrings are dry they’re ready to wear! How perfect are these?
Here’s another pair I made using shorter pieces of rhinestone chain.

-
If you had a secret diary this lock and key tutorial is perfect for you!
For some reason I had a lock and key from my childhood diary lying around, so I decided to turn it into something nostalgic and wearable! This tutorial contains affiliate links.

You will need the following tools and materials to make your lock and key jewelry set:
1: Pliers. You will need your flat nose pliers and round nose pliers.

2: Two small pieces of chain.

3: One long piece of chain long enough to form a necklace.

4: Six jump rings.

5: A lobster clasp.

6: Two charm connector earrings.

7: Two keys and a lock. I used these ones from an old lockable diary.


Follow these steps to make your lock and key jewelry set:
1: Add a key to the end of each small piece of chain, securing them using two of the jump rings.


2: Add an earring finding to the top of the small pieces of chain using another two jump rings.


3: Now your earrings are finished, set them aside and start on the necklace!
4: Add the lock to the long piece of chain.

5: Add a jump ring to one side of the chain.
6: Add the lobster clasp to the open jump ring and close the ring to secure the clasp in place.

7: Add the other jump ring to the other side of the necklace chain to finish the necklace.
Now your lock and key set is finished and ready to wear! So cute!
-
I am obsessed with fruit charms right now, here’s another way to use them!

These fruit threader earrings are amazing and super easy to make! Tutorial contains affiliate links.
You will need the following tools and materials to make your fruit threader earrings:
1: Pliers. You’ll need your round nose and flat nose pliers.

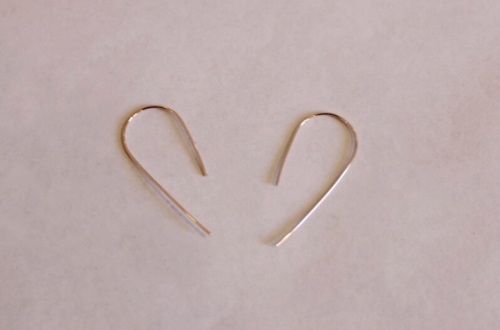
2: Two threader earring findings.

3: Two jump rings.

4: Two fruit charms. I used these glass orange charms.

Follow these steps to make your fruit threader earrings:
1: Add a charm to the bottom of the threader using one of the jump rings.

2: Close the jump ring to secure the charm in place.

3: Repeat steps 1 and 2 for the second earring.

That’s all! An amazing pair of earrings in three steps!
-
Here’s how to combine pearls and plastic to make some amazing earrings!
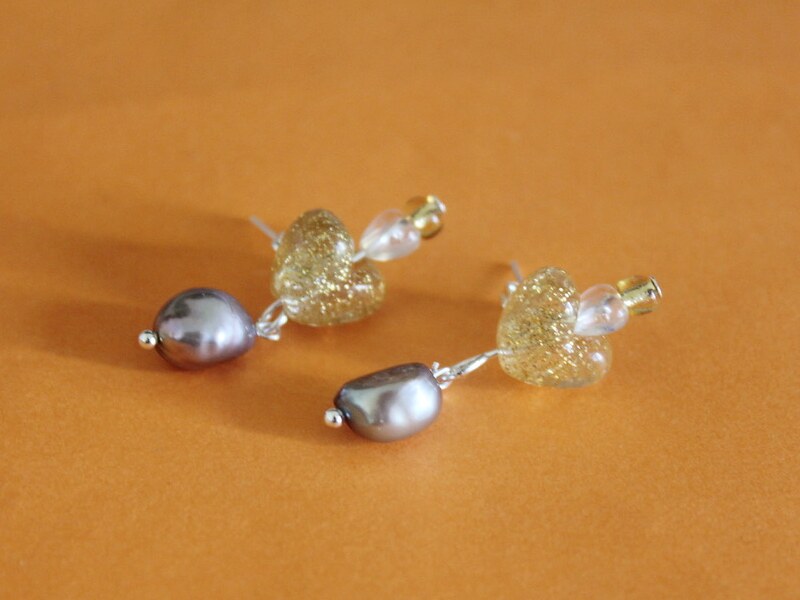
Pearls and plastic are a surprisingly awesome combination. I’ve been making lots of different variations. Here’s one way you can make your own pair of pearl earrings using some kitsch plastic beads. Contains affiliate links.
You will need the following tools and materials to make your pearl earrings:
1: Pliers. You’ll need your round nose pliers and flat nose pliers.
2: Two long head pins.
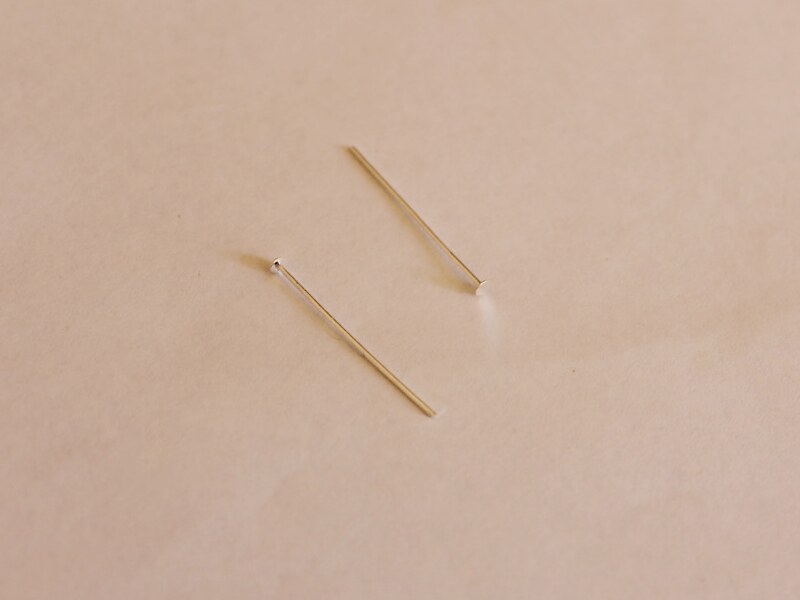
3: Two small head pins.

4: Two flat bed earring posts and earring backs.

5: Araldite glue.
6: A skewer.
7: A scrap piece of paper.
8: Two freshwater pearl beads.

9: An assortment of plastic beads (make sure you have two of each so your earrings match). I used these gold heart beads, small white heart beads and two glass yellow e-beads.
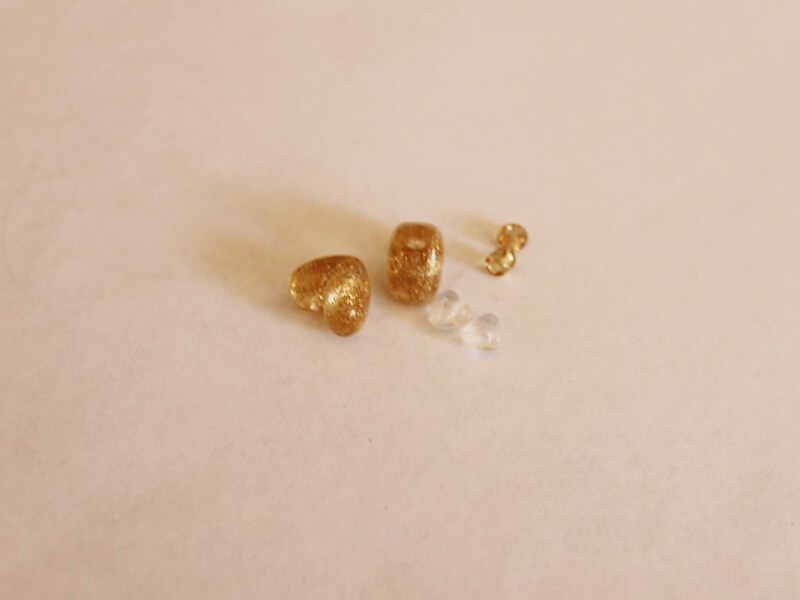
Follow these steps to make your pearl earrings:
1: Add the beads to each of the head pins.
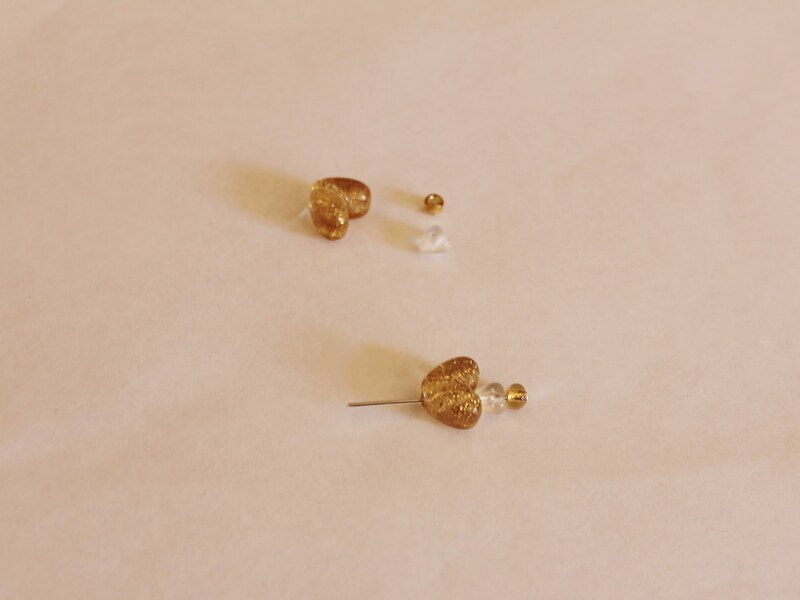
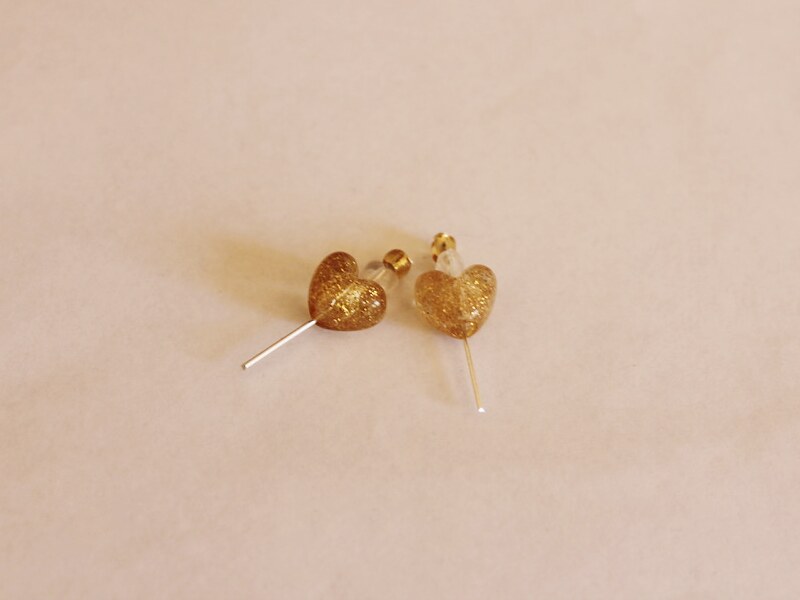
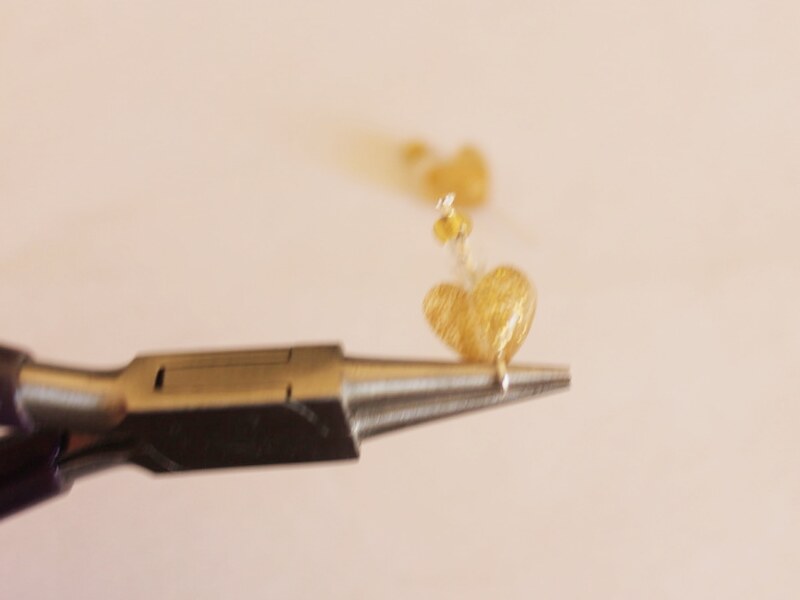
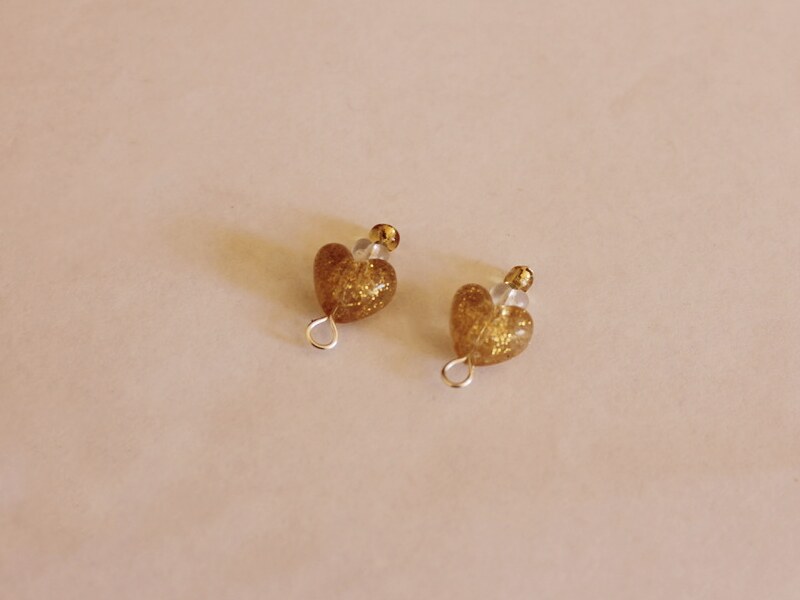
2: Bend each pin to form a right angle and then form a loop to secure the beads in place using the round nose pliers.

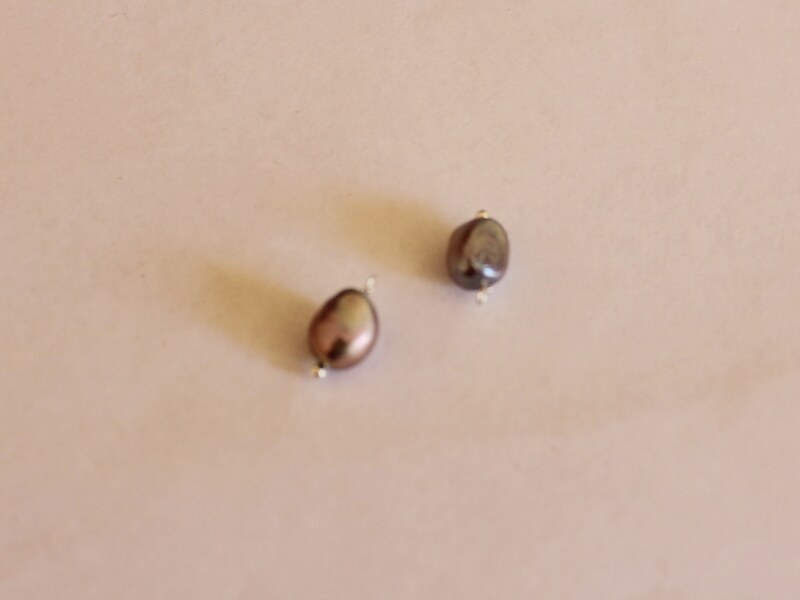
3: Add the pearl beads to the small head pins.

4: Create a loop at the end of each pearl pin using the round nose pliers.
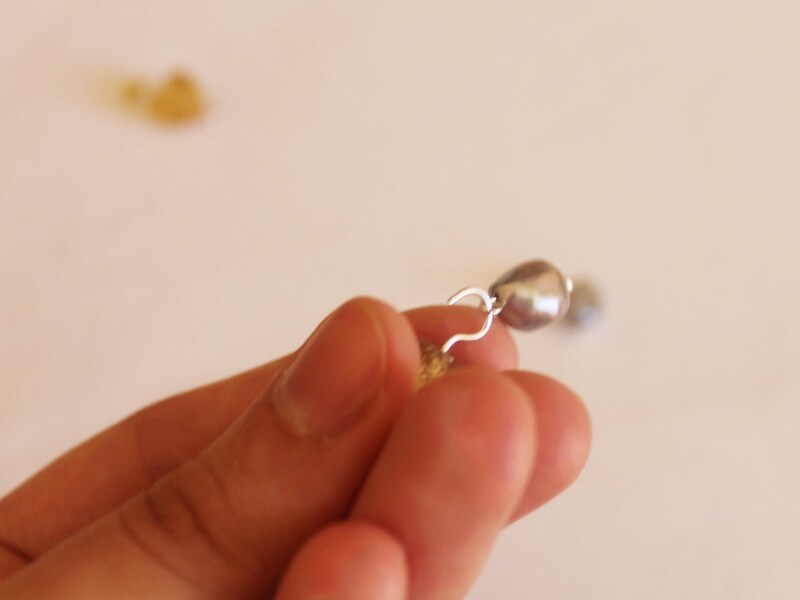
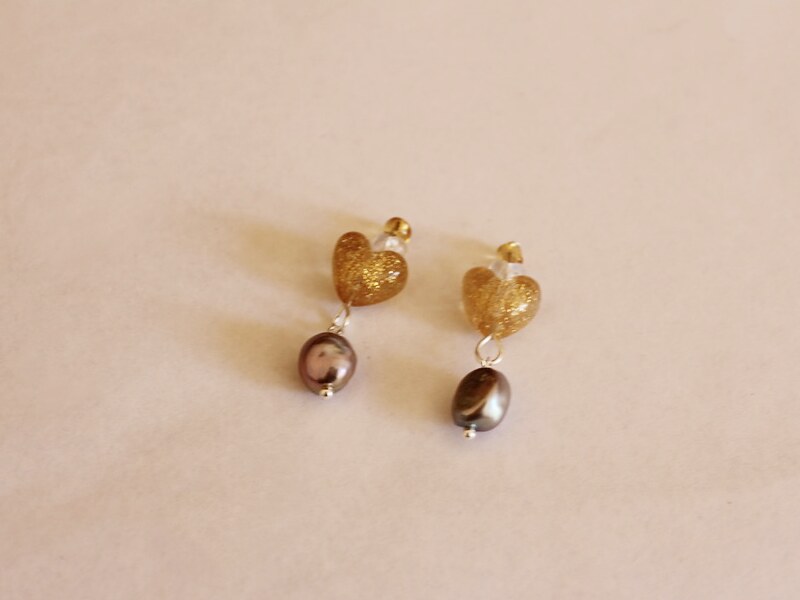
5: Attach the pearl charms to the loops at the bottom of each plastic charm pin.
6: Squeeze out the Araldite in equal parts and mix with a skewer.
7: Add the glue to the earrings and the backs of the large hearts.
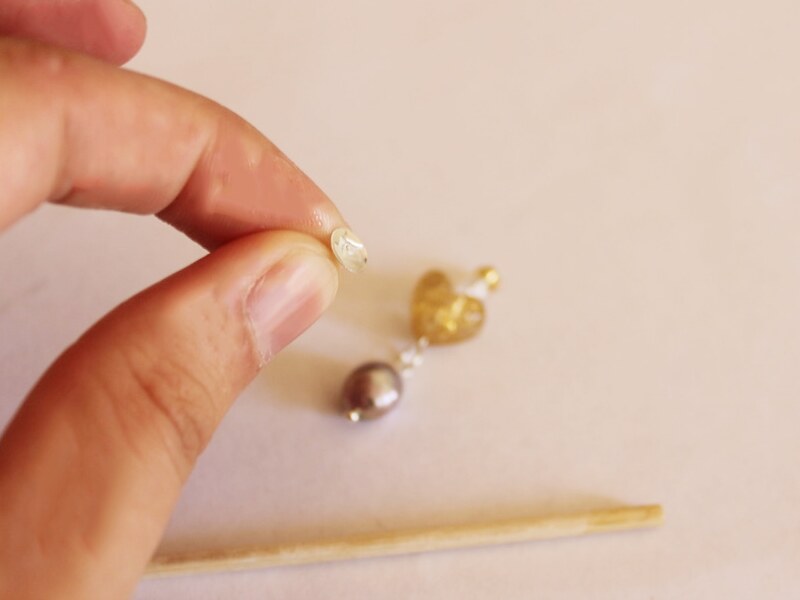
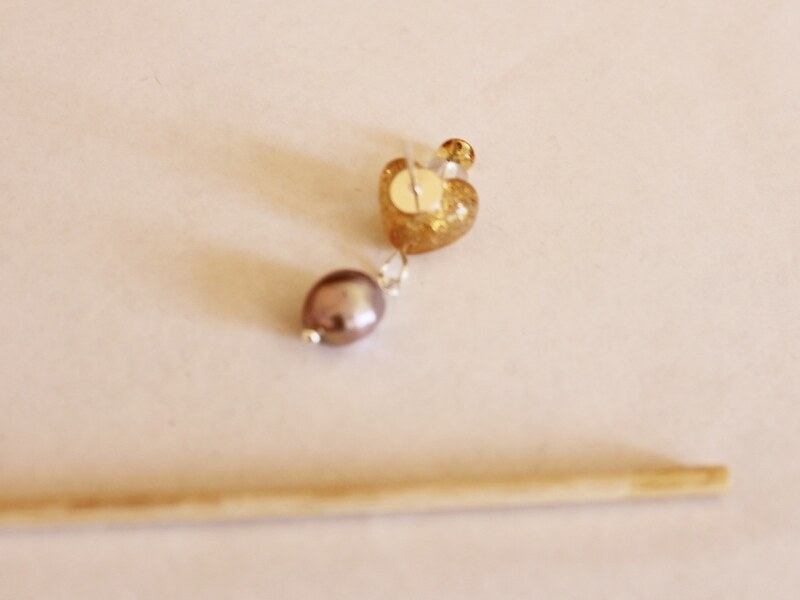
8: Place the earrings onto the heart beads and set aside to dry.
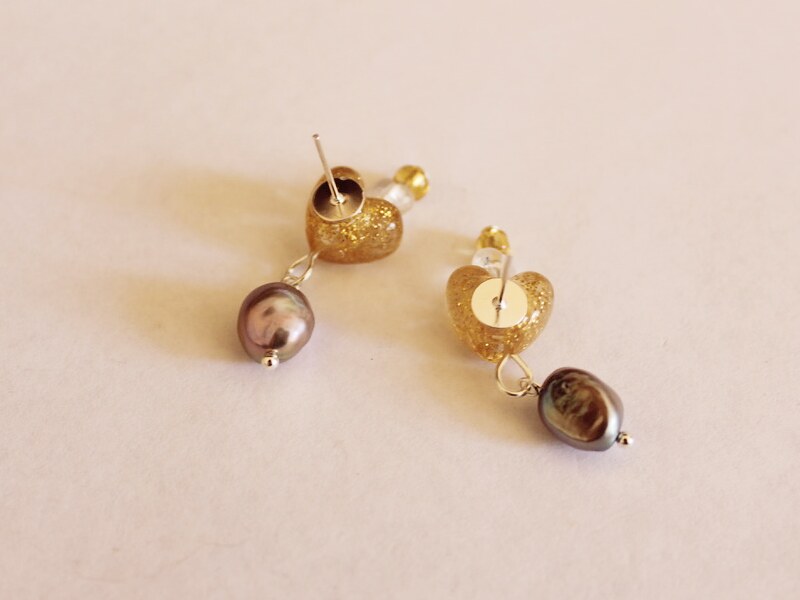
Once your earrings are dry they’re ready to wear!
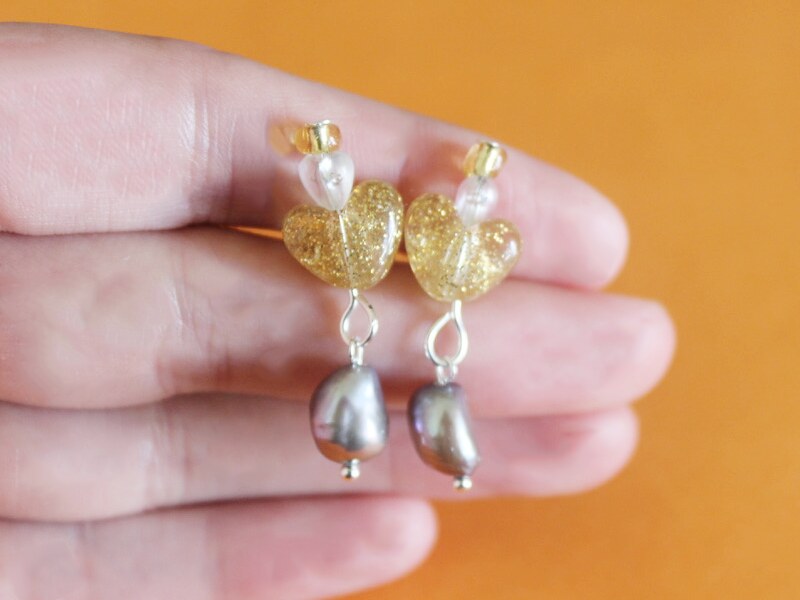
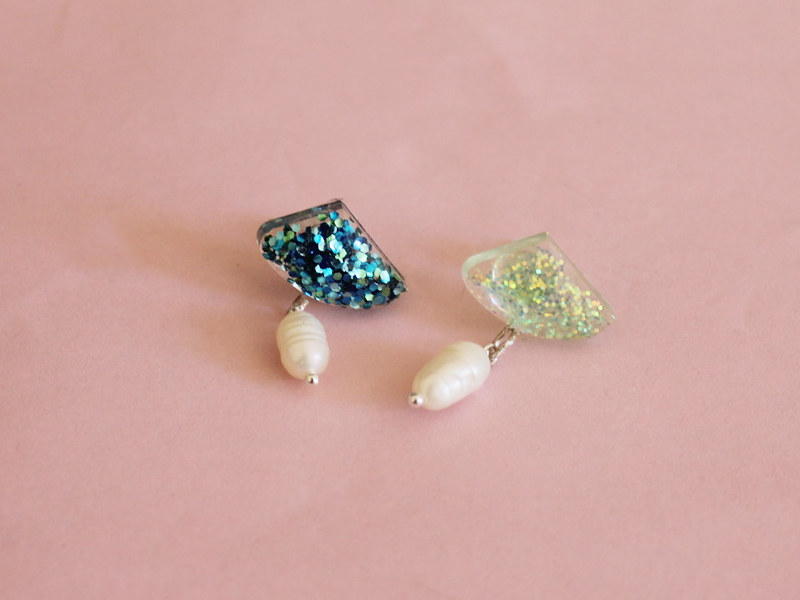
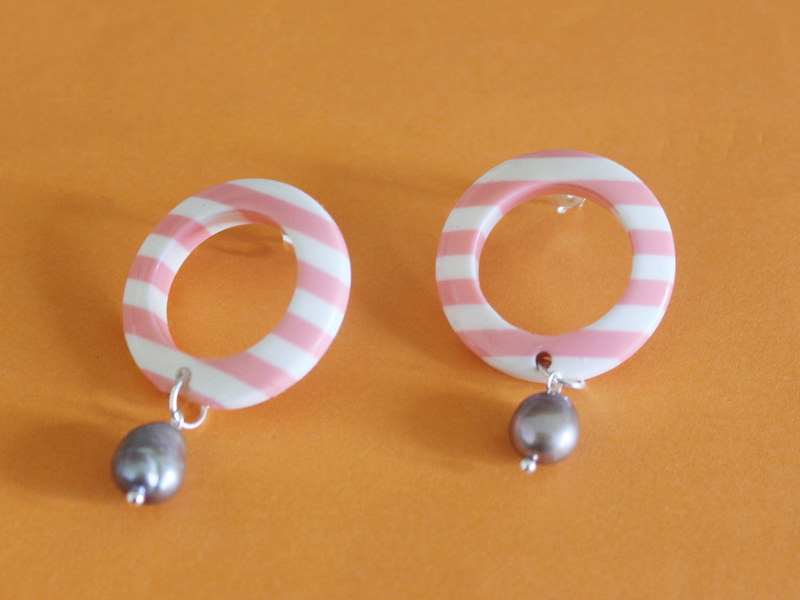
Here are some other pearl and plastic earrings I have made for some extra inspiration.
-
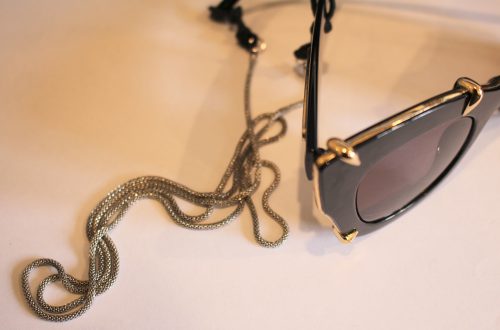
How to make a beaded glasses chain for summer
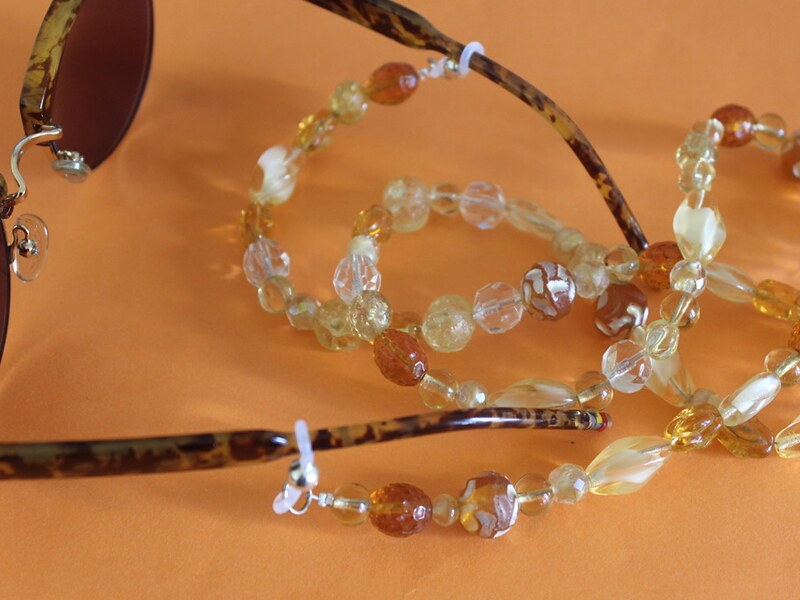
Do you love being able to hang your sunnies around your neck? This beaded glasses chain is perfect for keeping track of your sunglasses this summer. This tutorial contains affiliate links.
You will need the following tools and materials to make your beaded glasses chain:
1: Pliers. You will need your cutting pliers, flat nose pliers and round nose pliers to make this glasses chain.

2: A long piece of tiger tail wire (length depends on how long your want your chain to fall). I made mine approximately 50cm long.

3: Four crimp beads.
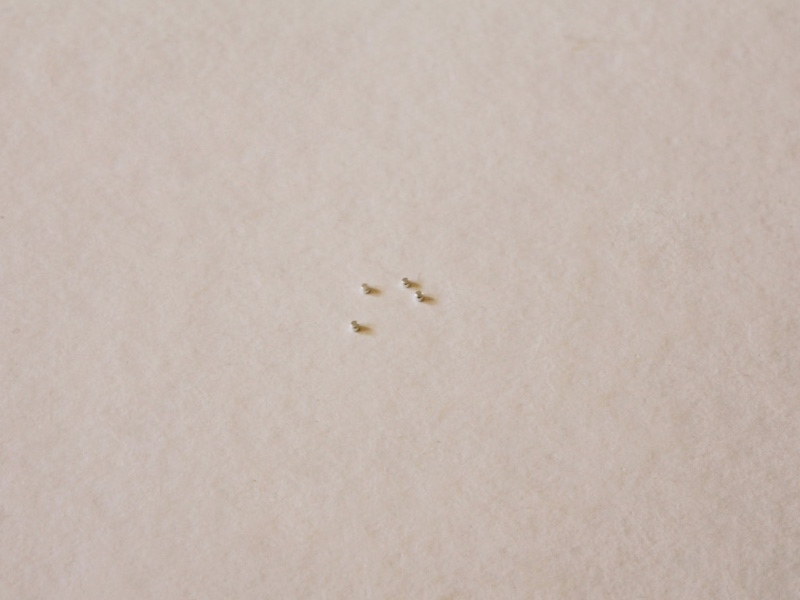
4: Two jump rings.

5: Beads of your choice. I used these vintage glass beads.

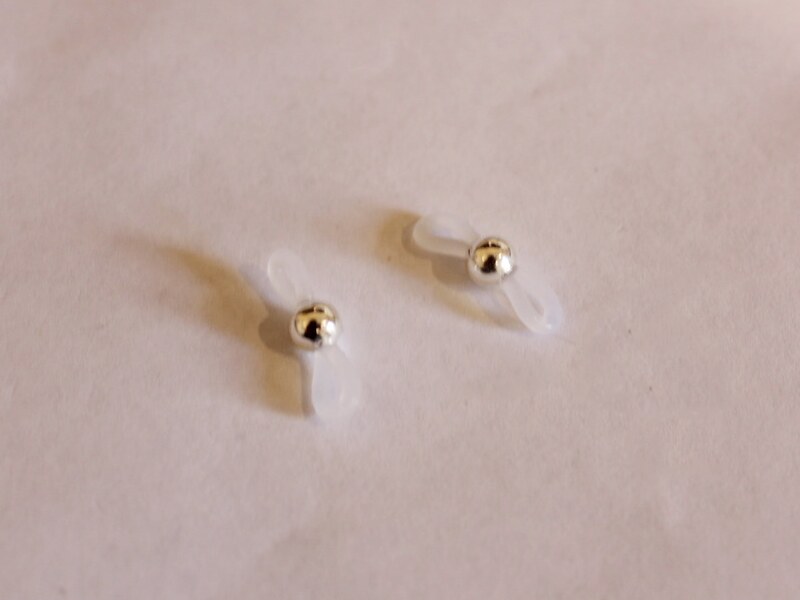
6: Two glasses holder findings.
Follow these steps to make your beaded glasses chain:
1: Add two crimp beads to one end of the wire.

2: Add one of the jump rings to the same end on top of the crimp beads.

3: Bend the end of the wire around the jump ring and through the crimp beads.

4: Squash the crimp beads using the flat nose pliers.


5: Add the beads to the strand. I added mine randomly but you might want to make a pattern.

6: Continue beading until it reaches the length you would like (leave enough wire to secure the strand closed).

7: Add the second set of crimp beads to the wire.

8: Add the other jump ring to the wire.

9: Loop the wire around the jump ring and back through the crimp beads and the first couple of beads pulling it tight.

10: Squash the crimps with the flat nose pliers.

11: Cut the excess wire using the cutting pliers.

12: Attach a glasses holder to each end of the strand.

Now your glasses chain is finished and ready for use! Use it all summer long!


-
This earring is HOT! Combine pearls and glass charms to make a cool statement earring

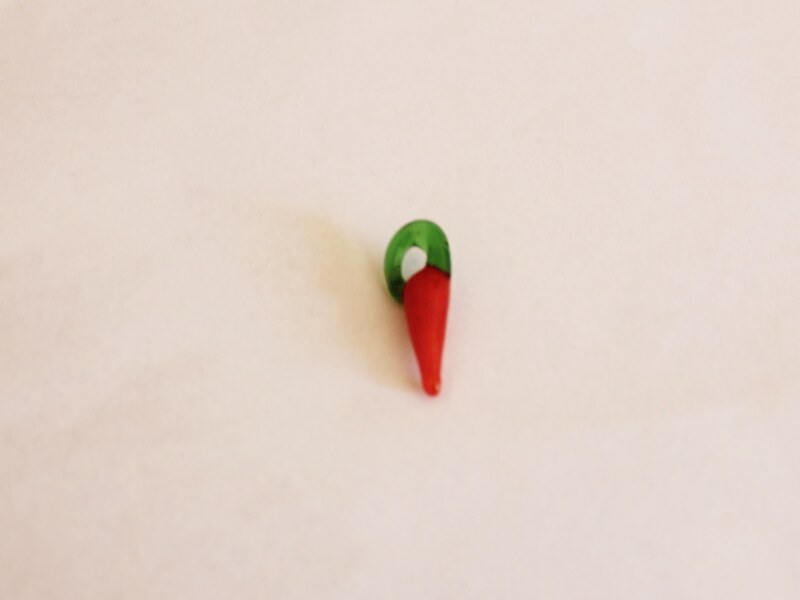
I can’t get enough of glass food charms. Here’s another idea for how you can use them in your jewelry designs. This earring uses pearls and a glass chilli charm to make something very sexy!
You will need the following tools and materials to make your pearl chilli earring:
1: Pliers. You’ll need your round nose and flat nose pliers.
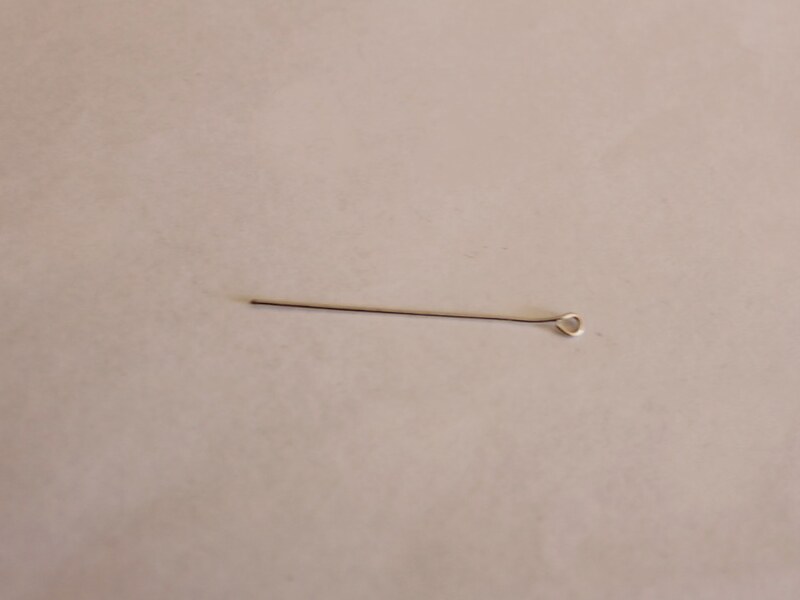
2: An eye pin.
3: A charm loop earring finding.

4: Two jump rings. One larger and one small.
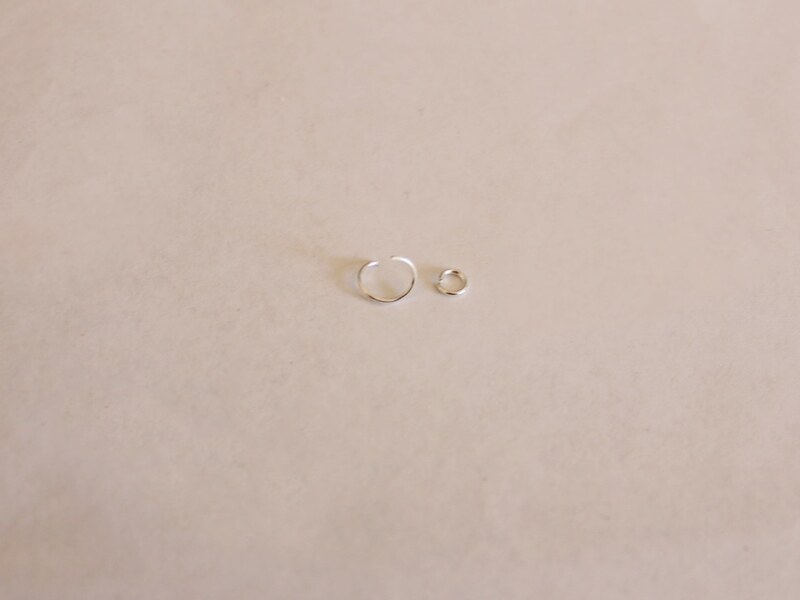
5: A glass chilli charm.
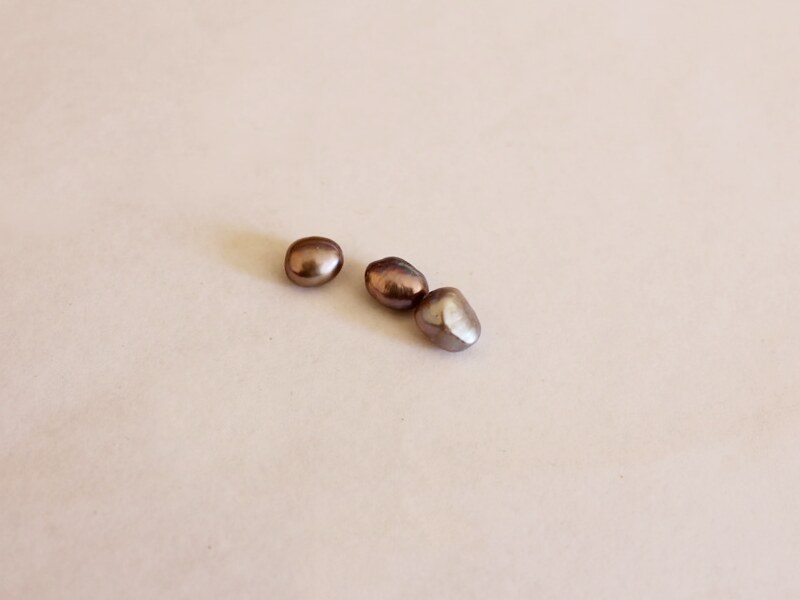
6: Three freshwater pearl beads.
Follow these steps to make your pearl chilli earring:
1: Add the pearls to the eye pin.
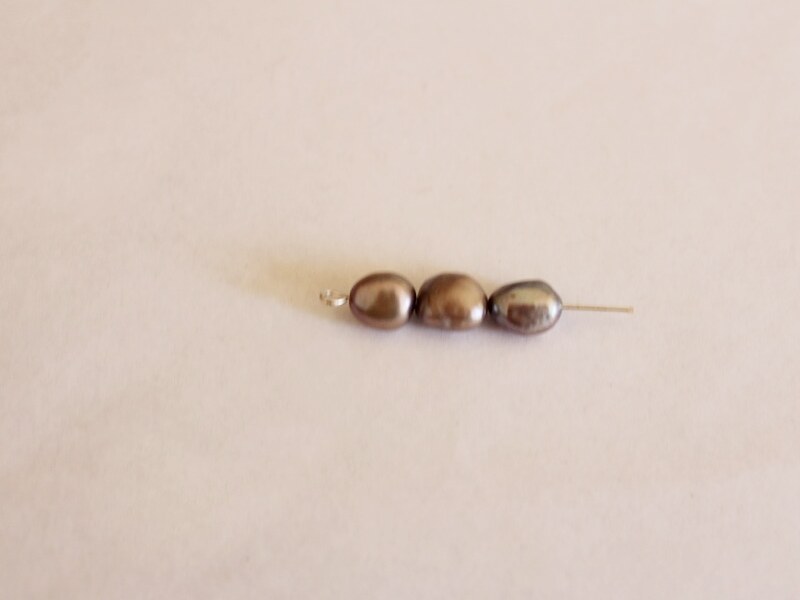
2: Create a loop at the end of the pin to secure the pearls in place.
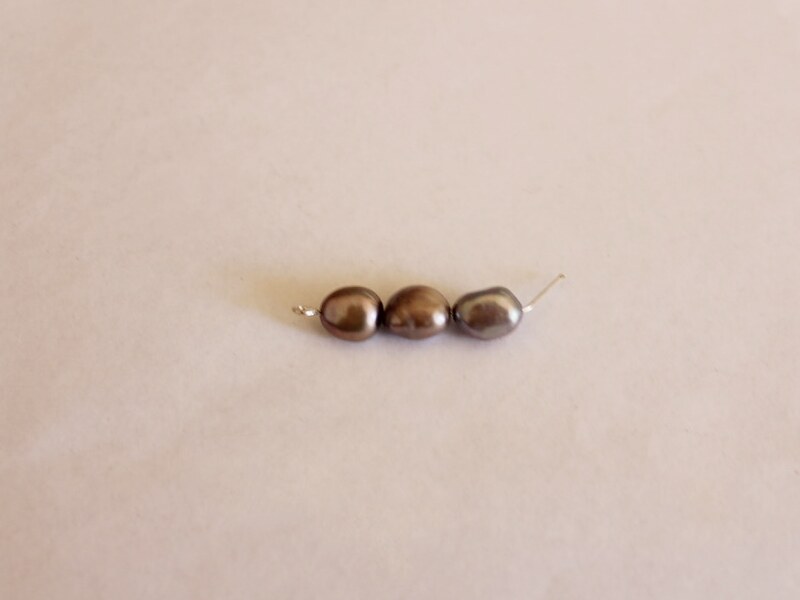
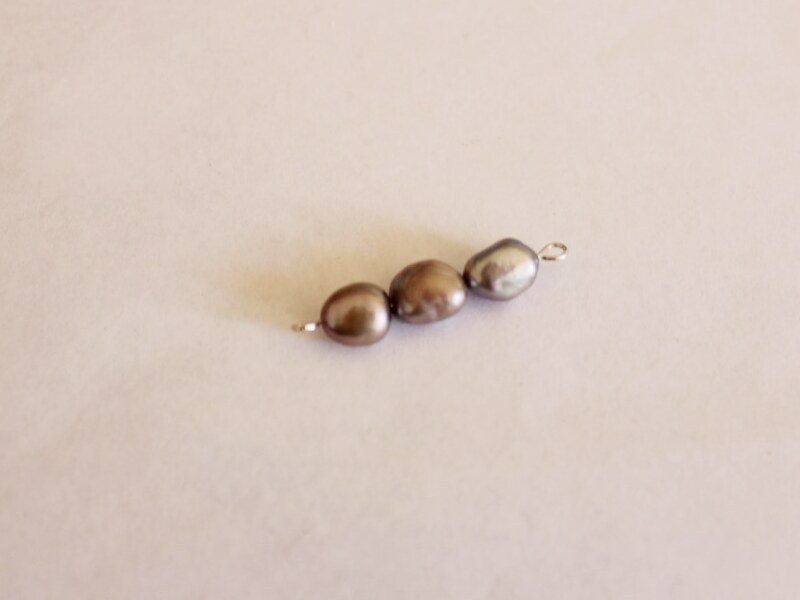
3: Add the chilli charm to one end of the pearl pin using the large jump ring.
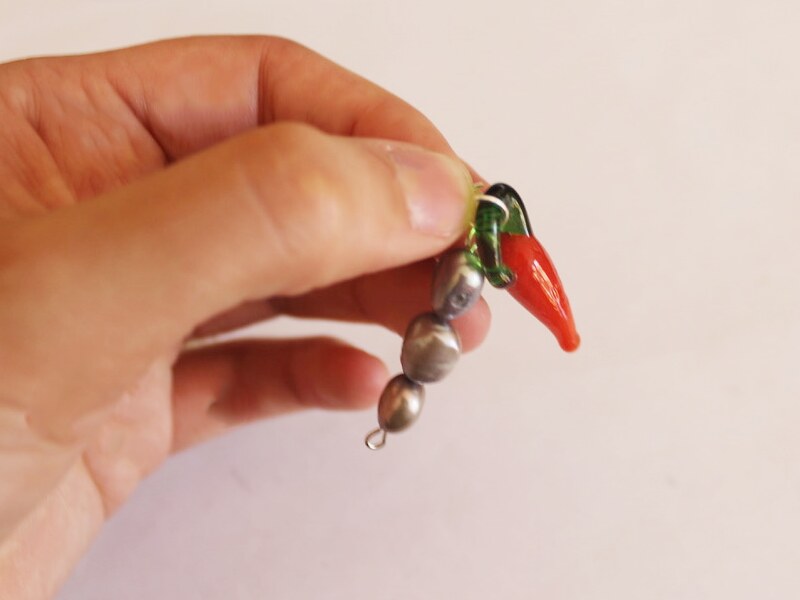
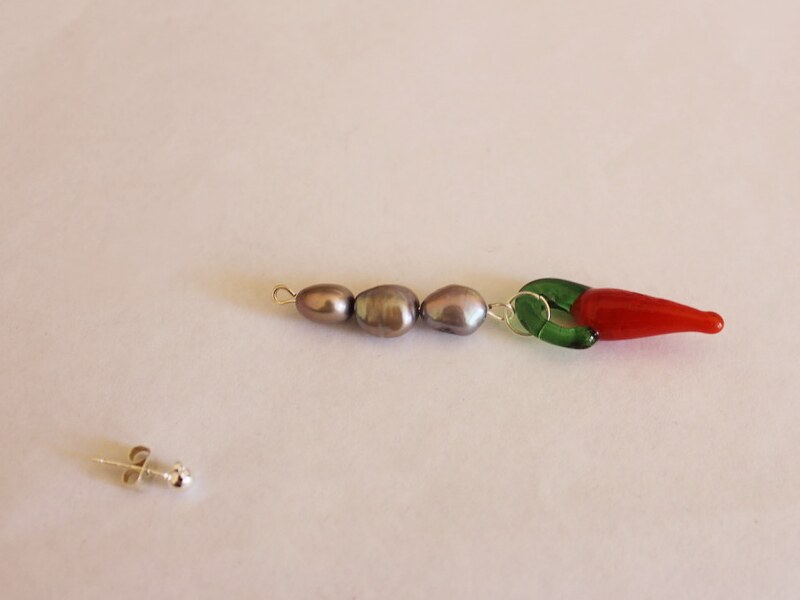
4: Add the earring to the other end of the pearl pin using the smaller jump ring.
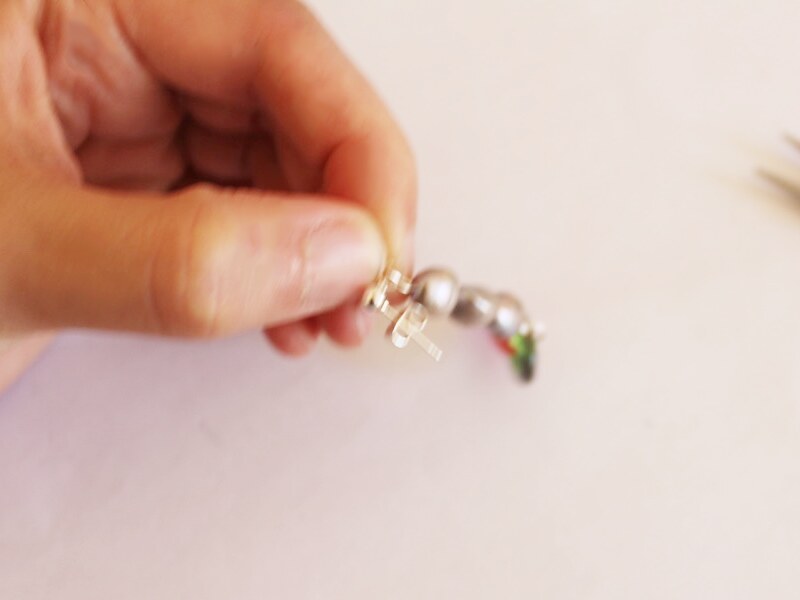
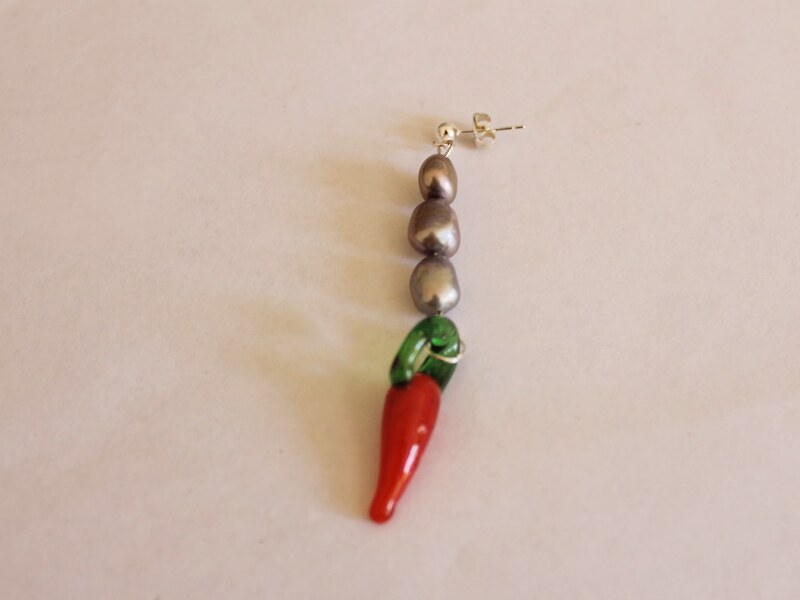
Now your earring is finished and ready to wear! How cool?!
-
Fruity Hoops! Here’s how to get in on the fruit jewelry trend.

Fruity jewelry is all over the place, why not get in on the trend with some beaded fruit hoops?
You will need the following tools and materials to make your beaded fruit hoops:
1: Pliers. You will need your cutting pliers, flat nose pliers and round nose pliers to make your fruit hoops.
2: Two pieces of wire approximately 12cm long.

3: Two earring hooks.
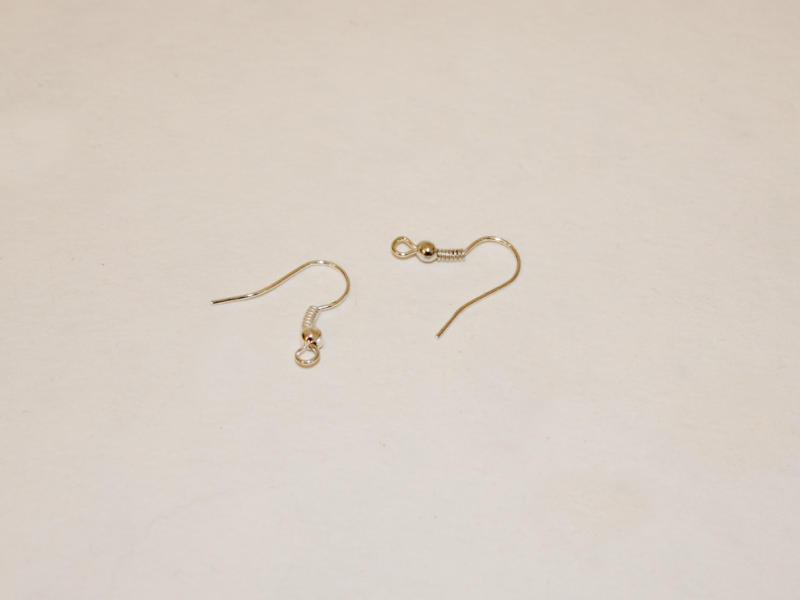
4: Beads of your choice. I used some glass beads.

5: Glass fruit charms. I used these pairs of glass charms.

Follow these steps to make your beaded fruit hoop earrings:
1: Create a loop at one end of one of the pieces of wire using the round nose pliers.

2: Add beads and glass charms to the wire in your pattern of choice.


3: Trim the excess wire so that there is only 1cm left.

4: Create a loop at the other end of the wire to secure the beads on the wire.

5: Bend the wire gently around to form a circle and link the end loops together.


6: Repeat steps 1-5 for the other piece of wire, making the second hoop.

7: Add an earring hook to the top of each hoop to finish your earrings off.

Now your fruity hoop earrings are ready to wear! How cute are they?

-
This adjustable chain belt can also be worn as a necklace.

An adjustable chain belt is a cool way to add some interest to your old outfits. This one is super easy to make and it could double as a lariat if you like!
You will need the following tools and materials to make this adjustable chain belt:
1:Pliers. You’ll need your cutting pliers, flat nose pliers and round nose pliers to make this chain belt.
2: A long piece of chunky chain. Long enough to fit around your waist with a little bit extra.


4: A large jump ring.

5: A head pin.

6: Beads of your choice. I used this metal cylinder bead and a pink glass e-bead.

Follow these steps to make your adjustable chain belt:
1: Add the beads to the head pin.

2: Bend the pin to form a right angle.

3: Trim the head pin so that only 1cm protrudes from the bead.


4: Curl the trimmed pin to form a loop. Once you have done this you can set the charm aside.

5: Add a lobster clasp to one side of the chain.


6: Add the charm to the other end of the chain using the jump ring.


Now your chain belt is done and ready to wear! Or throw it on as a statement necklace instead!

How will you wear your adjustable chain belt? What charm will you attach to yours?
-
How to make a beaded teardrop pendant

Here’s how to make a cute beaded teardrop pendant using memory wire. If you’re sick of making chokers with your memory wire coil this is another way to use it!
You will need the following tools and materials to make your teardrop pendant:
1: Pliers. You’ll need your cutting pliers, flat nose pliers and round nose pliers.
2: A piece of memory wire, half of a necklace loop.

3: Beads. I used these mixed glass seed beads.

Follow these steps to make your teardrop pendant:
1: Create a loop at the end of one side of the piece of memory wire.


2: Add the beads to the wire until there is only 1cm left unbeaded.


3: Create a loop at the other end of the wire securing the beads in place.

4: Link the loops together to form the teardrop shape.


Now your pendant is finished you can attach it to a chain or beaded strand of your choice!

Here’s a pair of earrings I made using the same technique. Just add an earring hook to the top of each teardrop instead of a chain!

-
Here’s how to make delicate shell threader earrings.

These shell earrings are a subtle way to get in on the shell jewelry trend. They’re simple, delicate and beautiful.
You will need the following tools and materials to make these earrings:
1: Pliers. You’ll need your flat nose and round nose pliers for these earrings.
2: Two threader earring findings.
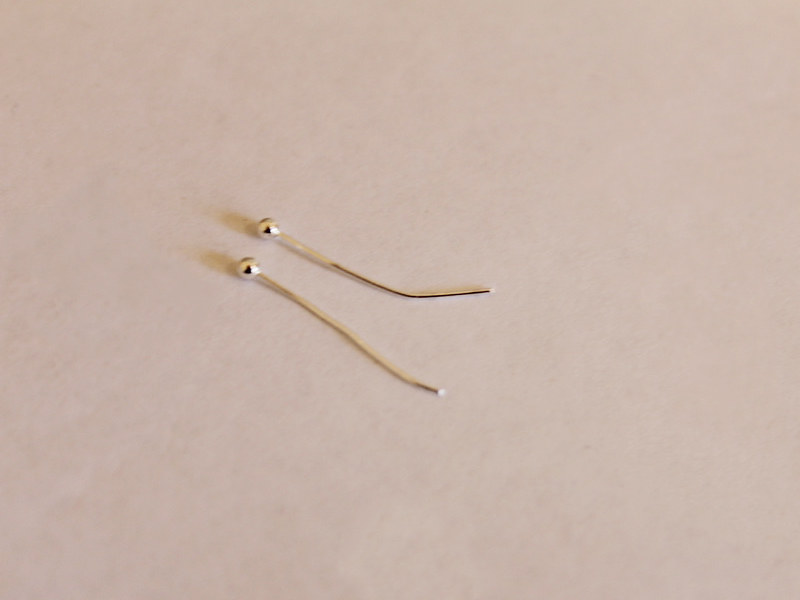
4: Shells and beads of your choice. I used these small shell beads and two blue glass seed beads.


Follow these steps to make your shell threader earrings:
1: Add the beads and the shells to each of the head pins.

2: Create loops at the top of each pin using the round nose pliers to secure the beads in place.


3: Attach each bead charm to the loops at the ends of the threader earring findings.


Now your shell threader earrings are finished! So cute!