

Got a broken snake chain? Here’s how to upcycle it into a bracelet.
I had this broken sterling silver snake chain. They’re notoriously hard to repair, so I thought I’d recycle it into a statement bead bracelet instead. Here are the steps I took to do it. You can follow along and make your own version, either with your own broken snake chain or some you bought.
Please note that this tutorial contains affiliate links for which we may receive a commission.
You’ll need the following tools and materials to make your snake chain bracelet:
1: A broken sterling silver snake chain necklace. I had this one that came from an op-shop with a pendant I liked on it. You can see how kinked and damaged it is.

If you don’t have any broken snake chain, you can get some snake chain here:
2: A sterling silver crimp end.

You can get silver crimp ends here:
3: Two part epoxy glue.

You can get glue here:
4: A skewer to mix and apply the glue.

You can get skewers or toothpicks here:
5: Scrap paper to mix the glue on.

6: A statement bead. I used this moss agate bead.

You can get similar beads here:
7: Cutting pliers.

You can get cutting pliers here:
8: A sterling silver jump ring.

You can get silver jump rings here:
9: Flat nose or parallel pliers for closing the crimp end.

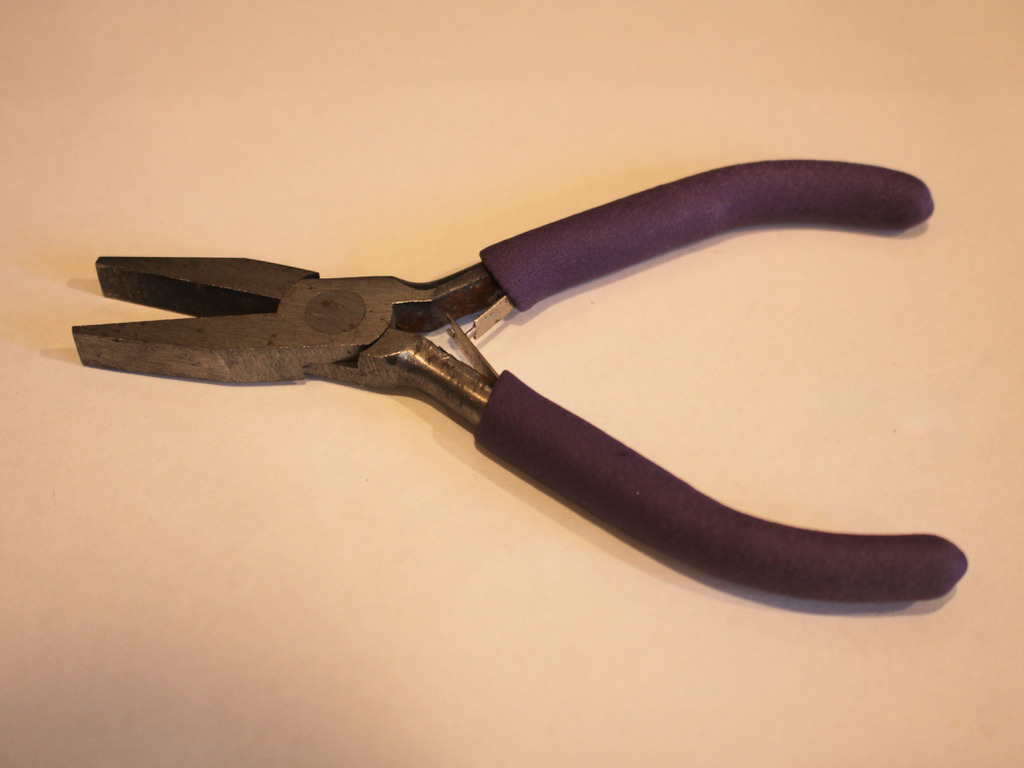
You can get parallel pliers here:
And you can get flat nose pliers here:
Follow these steps to make your own upcycled snake chain bracelet.
1: Assess where your chain is most damaged. I was lucky and the first kink was exactly the length I needed for a bracelet with the clasp on one end. Cut it to the appropriate length with the cutting pliers.


2: Thread the chain through the bead.

3: Squeeze some glue onto the scrap paper and mix it using the skewer.


4: Apply the glue to the crimp and place the chain on it. Set aside until the glue has cured and is dry.


5: Once the glue is dry, use the flat nose pliers to squeeze the crimp end around the end of the chain.


6: Add the jump ring to the crimp using the pliers as the finishing touch!


Now your bracelet is ready to wear! How cool! And you’ll probably have enough chain to make another one like I did. What a cool way to transform something broken into something great.


If you enjoy using upcycled materials in your projects, here are some other tutorials to inspire you:
- Here’s some tutorials that use broken headphones: here, here here and here.
- How to turn two bracelets into a necklace
- How to turn two beaded bracelets into a necklace
- How to transform an old jar into a jewellery container

DIY Jewelry Hub
Welcome to DIY Jewelry Hub. If you’ve ever wanted to learn how to make your own jewelry this is the place to start! Jewelry is a great way to show off your individuality and style. You’ll be surprised at how easy it is to create your own unique pieces! DIY Jewelry Hub will equip you with all the knowledge and inspiration you need to make your own jewelry.


You May Also Like

Here’s a fun DIY For you… hand painted wooden bangles!

Here’s how you can make a fun mixed bead bracelet to show off your personality!
